Week 2 - Laser Cutting & More
The purpose of week two is to get comfortable with computer-controlled cutting methods.
OVERVIEW This week’s challenge was to design and laser cut a cardboard press-fit construction kit. I don’t have any experience with laser cutting or implementing press-fits but I do have exposure to the challenges inherent with any kind of friction fit and the issues that cardboard might present.
I had two primary focuses this week:
- Making a fully parametric press-fit model that included automatic generation of slots for the press fits.
- Translating the 3D model into 2D elements for laser cutting without directly designing the 2D panels
Process
I started out doing some simple vinyl cutting of logos for my laptop. They turned out nice and the equipment was easy to use.
I started on my desk with Amazon-provided cardboard and an Xacto knife/rolling cutter.

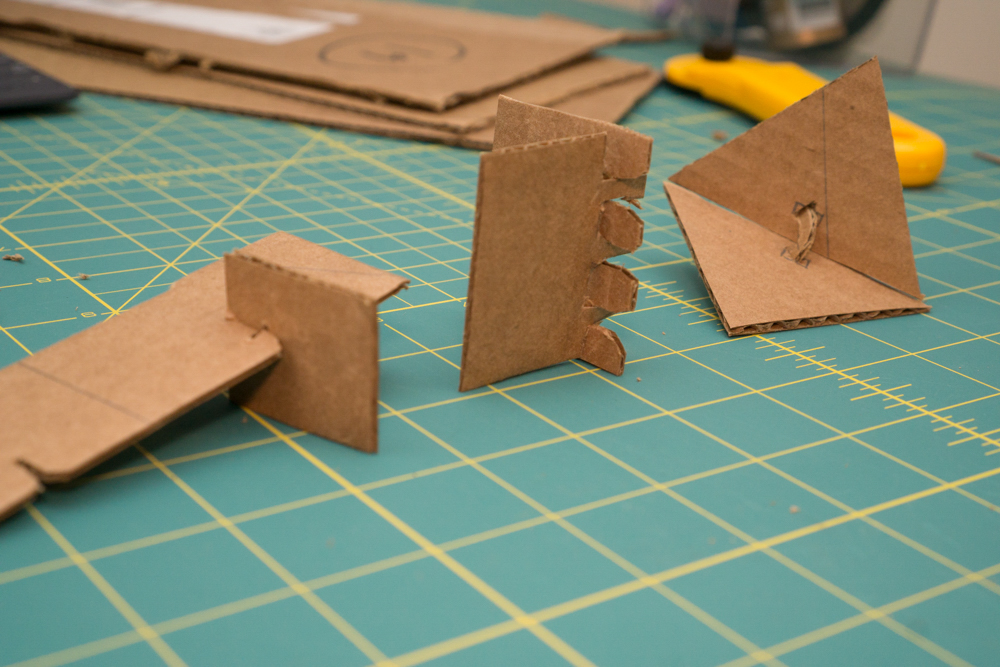
I wanted to spend some time understanding the actual press fit mechanisms before moving into designing an object. I created slots with chamfers, slots with an additional pin and half-circle joints that snap into place. With this more intuitive understanding of the mechanism, I moved into object design.
My intention here was to make a completely parametric object with joints that get automatically generated. I started with Grasshopper and Rhino. While it was straight-forward to get the geometry in place and to identify the right points for slots, I once again missed the simplicity and sketch-based approach of OnShape.

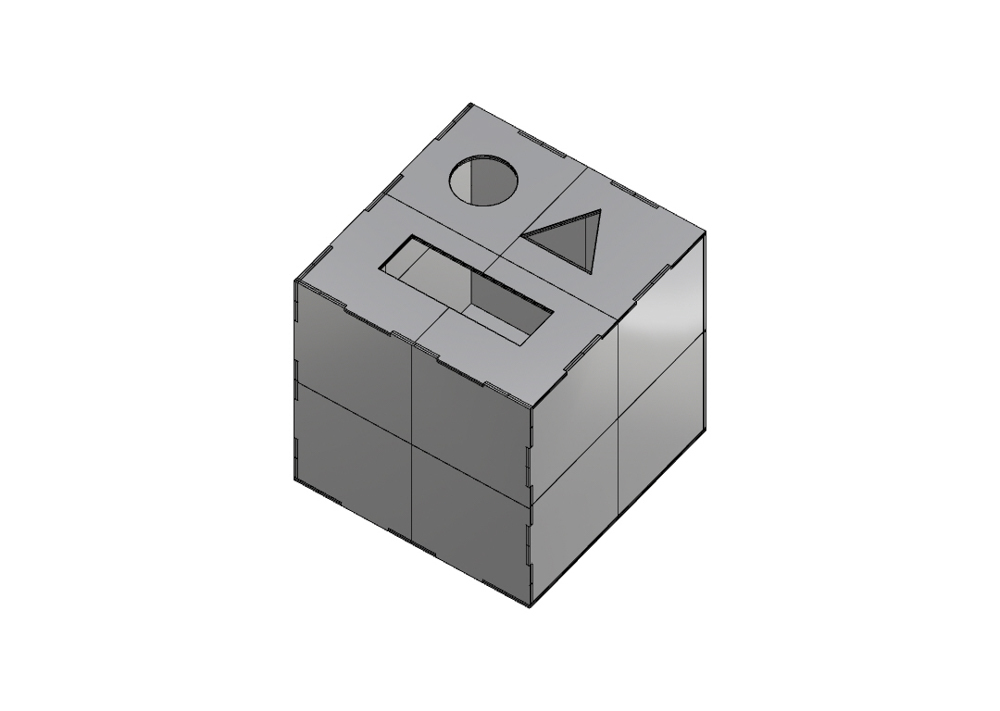
I decided to make a simple shape box for my daughter. I was able to get the object generated and completely parametric but abandoned it as a direction when I realized the joints weren’t working as I hoped.
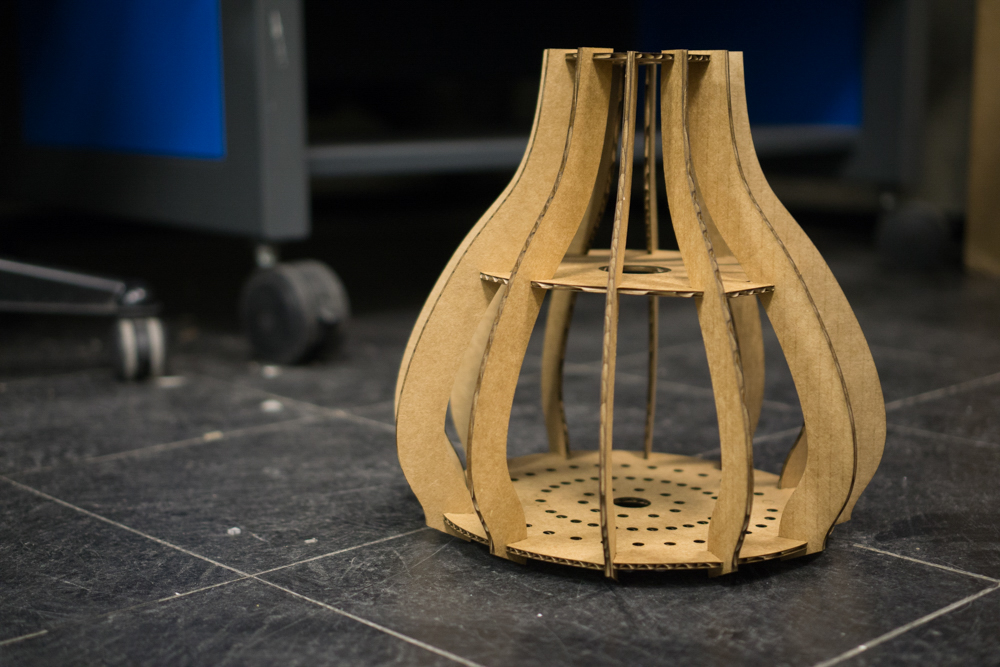
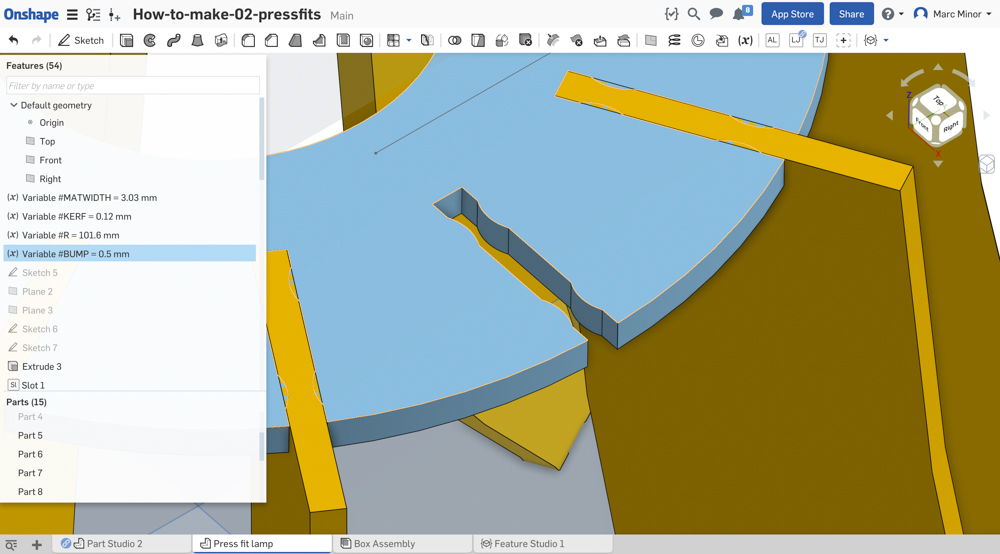
The night before the class I decided to quickly put together a slightly more complex object with more meaningful press fit joints. I also learned some Featurescript to automatically generate the slots with bumps for added tension. Like many who have come before, I made a lamp. It is an ugly lamp, in my case.
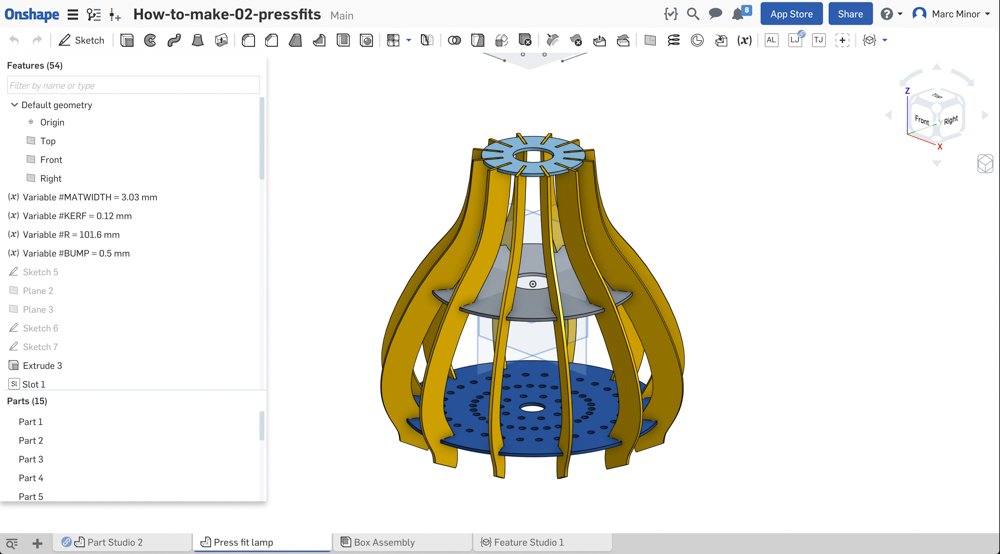
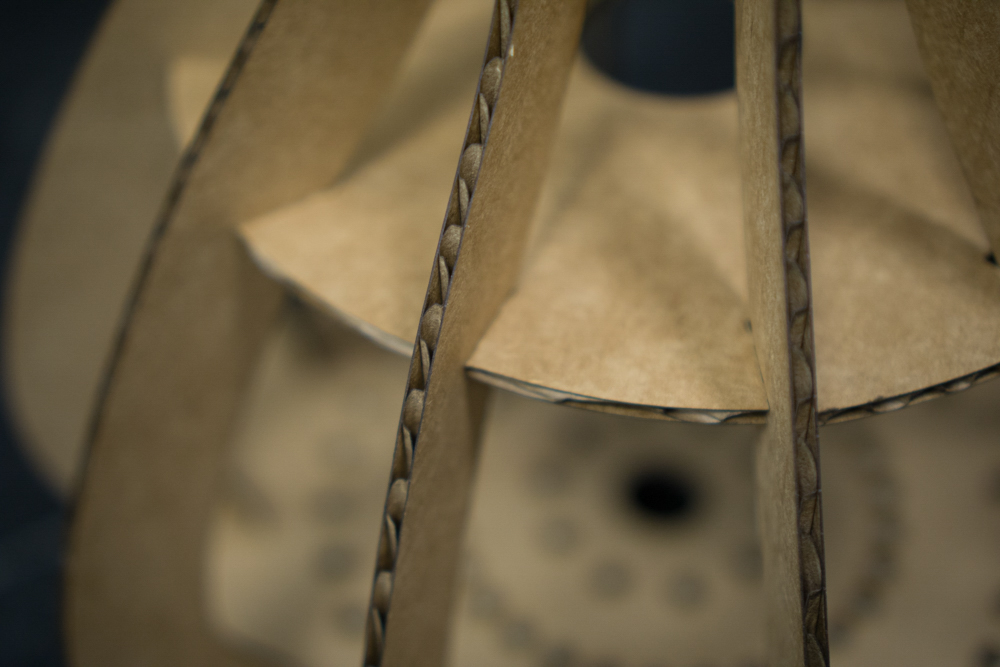
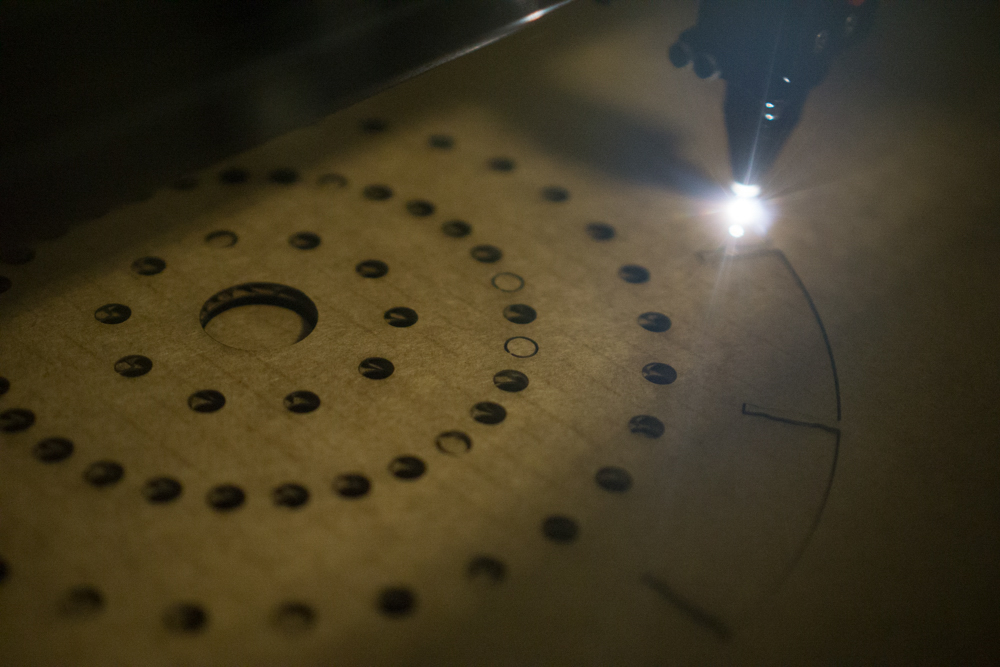
Every elements is parameterized with variables for the material width (MATWIDTH), the kerf, the radius of the base circle (R), and the bumps inside the press-fit slots (BUMP). This way, I can make a global change simply by changing a variable and everything else will change according to my design intent / dimensioning schemes.
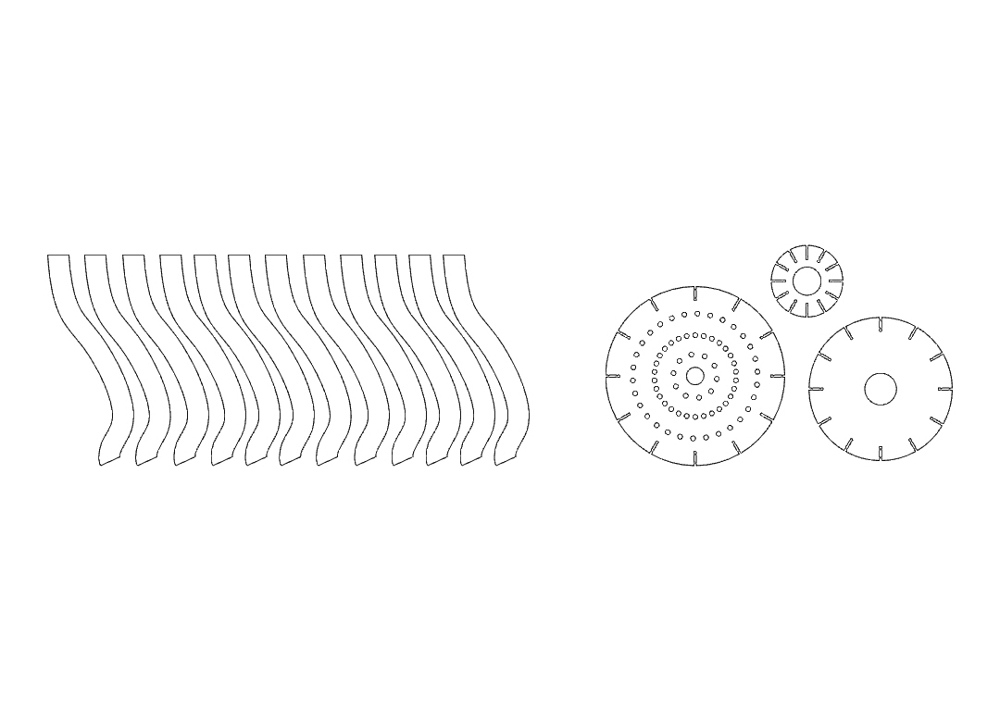
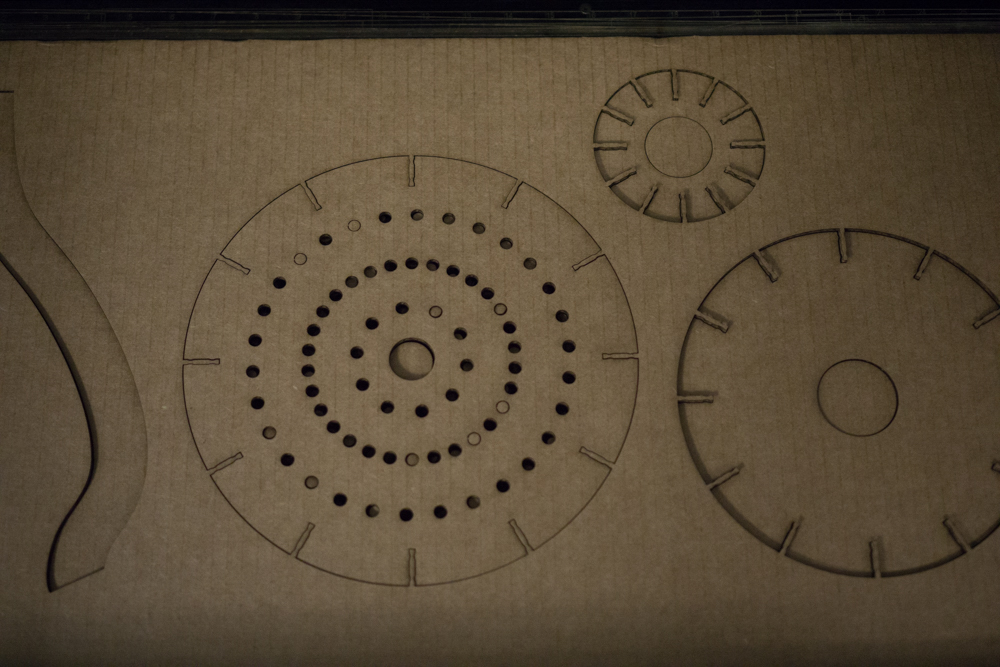
I found a wonderful featurescript add-on to make the elements 2D. I imported them to Rhino and got the laser cutting going.
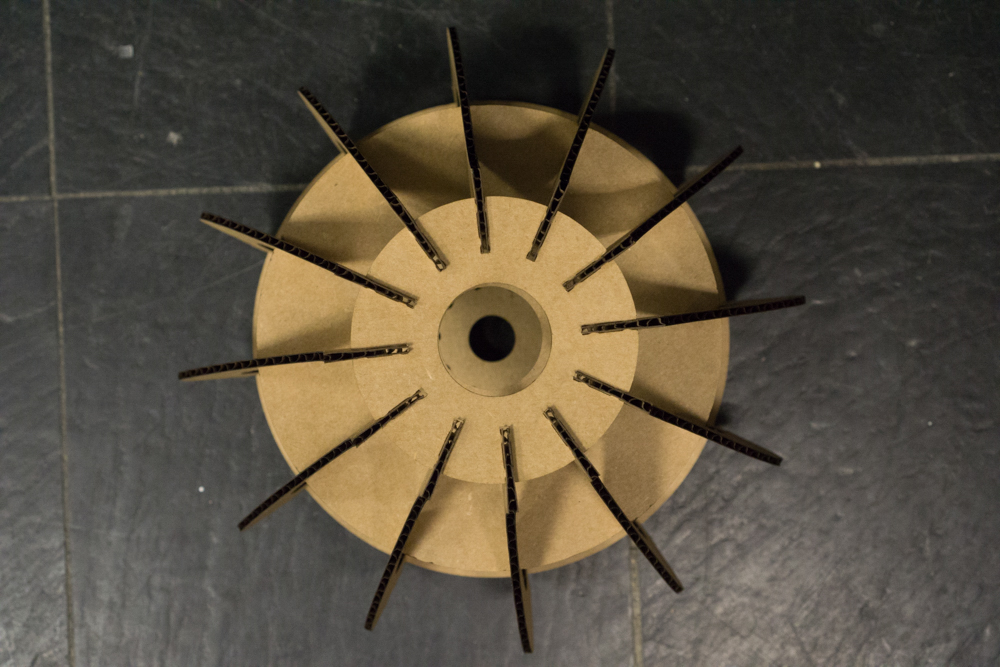
Result
It turned out I had all the right settings because the press fit joints held very tightly and the whole thing was together within the night. I was proud with the result even though is it terribly ugly.