Week 3 - Electronics Production
The first electronics-focused class in HTM(A)A is about making an in-circuit programmer (ISP). It’s largely about learning the skills, not the design.
OVERVIEW Neil mentioned that the third week would not be creative at all but that it would be crucial to the arc of the class, especially for folks like me who haven’t made a circuit board from scratch before.
This week we learned to mill a small circuit board, solder components according to a circuit diagram, test the board, and finally, program the board. This is preparation for week five where we design a board. Soldering was a particularly fulfilling part of this week’s work.
Process
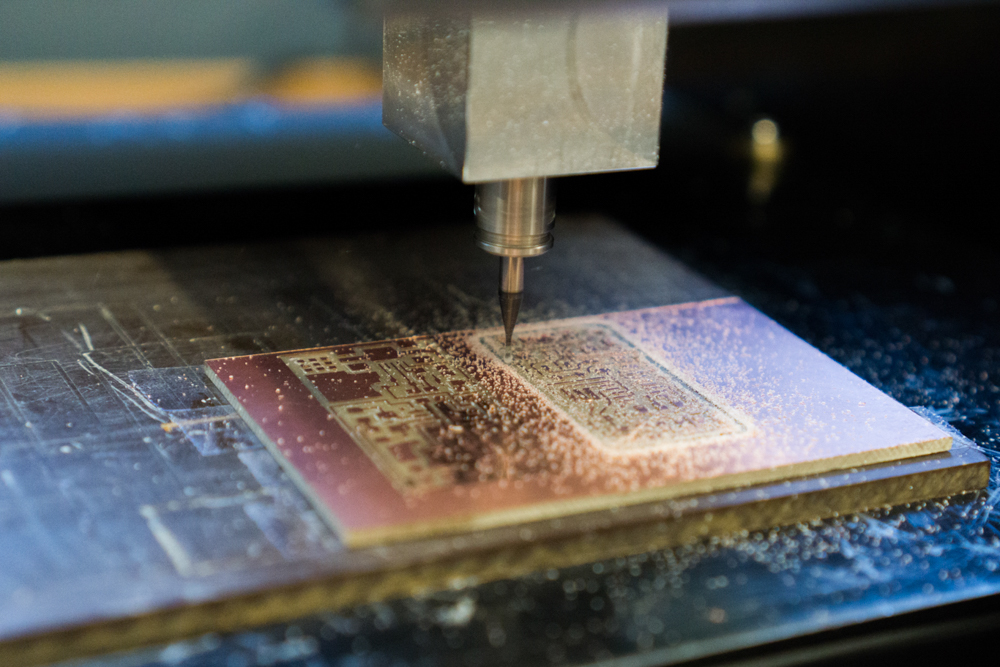
Milling the copper traces. The Roland milling machine can be a bit finicky, as Neil mentioned, so getting the settings right took a bit of trial and error.
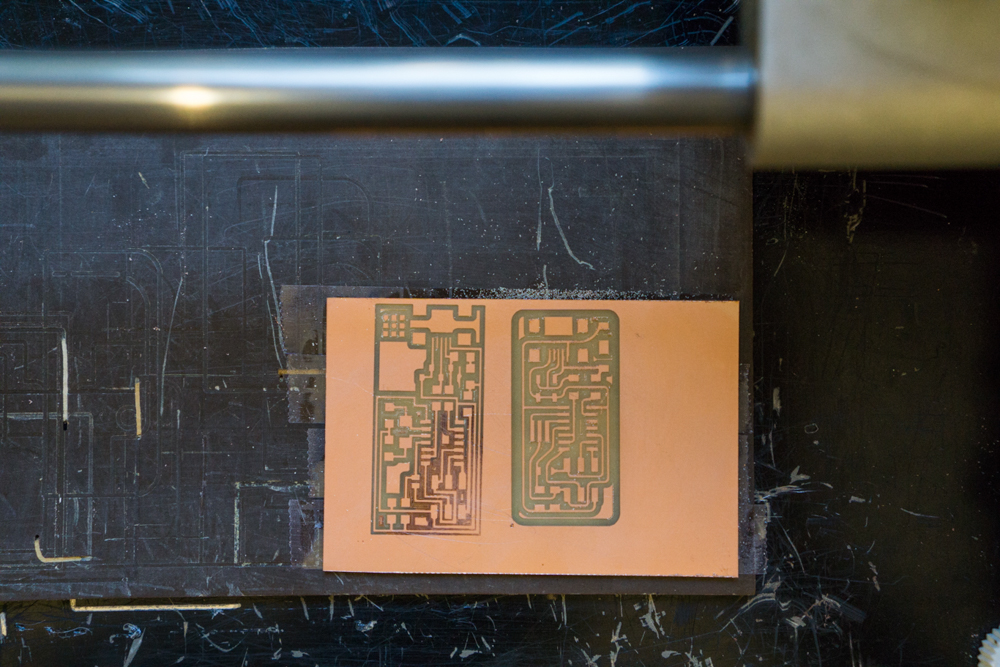
I ended up doing two boards. I started with Neil’s FabISP design (on the left) and followed it up with the FabOptimus (on the right). Both were pretty straight forward.
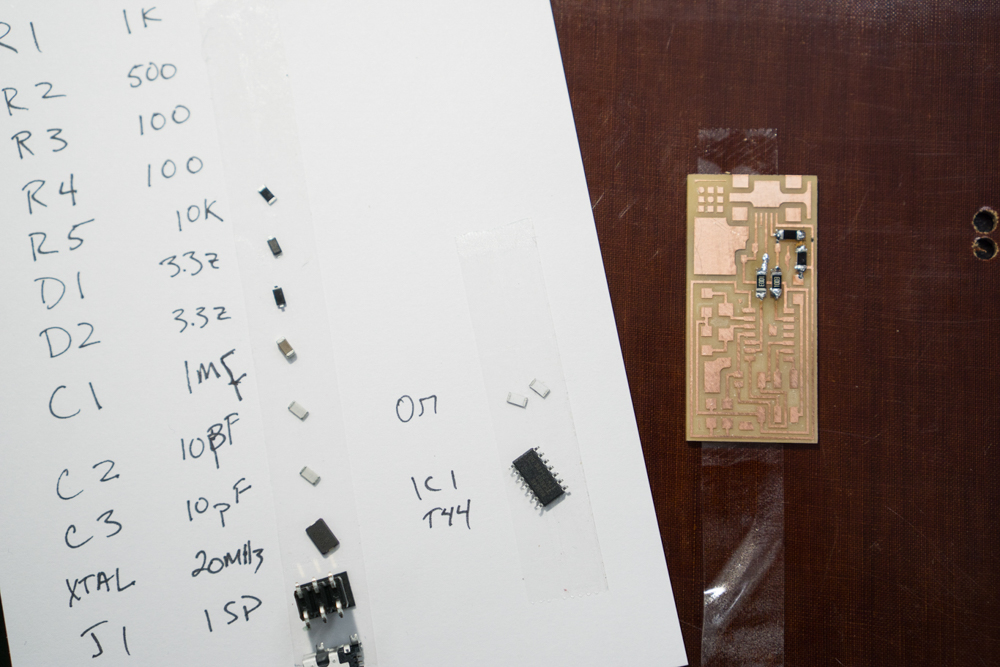
The process for identifying and organizing the components was super simple and smart. Two-sided tape on a card makes it simple to grab what’s needed during soldering without the r isk of tiny components sliding around and getting lost.
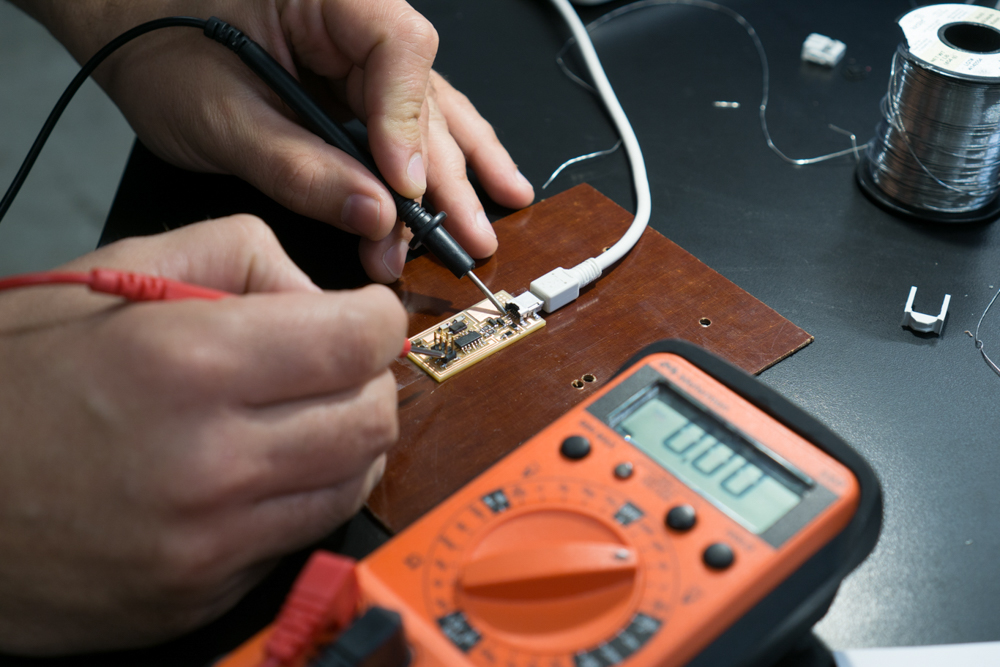
Soldering was a joy, although it did take a bit of getting used to. Unfortunately, I made some mistakes with my components in the first version and had to do some serious troubleshooting with the multi-meter in order to track down the short.
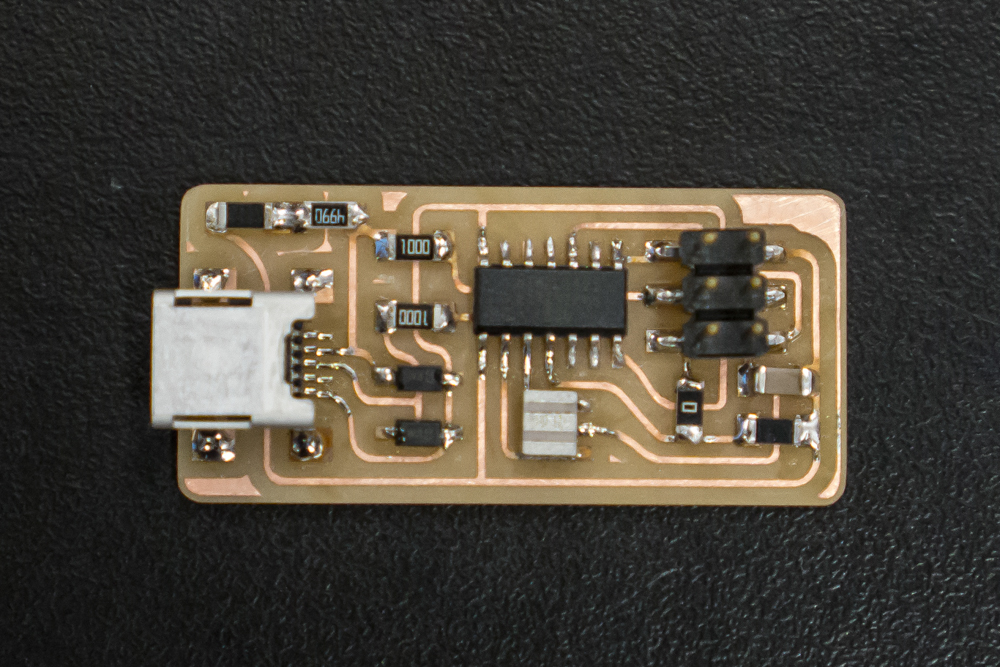
The completed FabISP board sitting on some sweet two-sided tape.
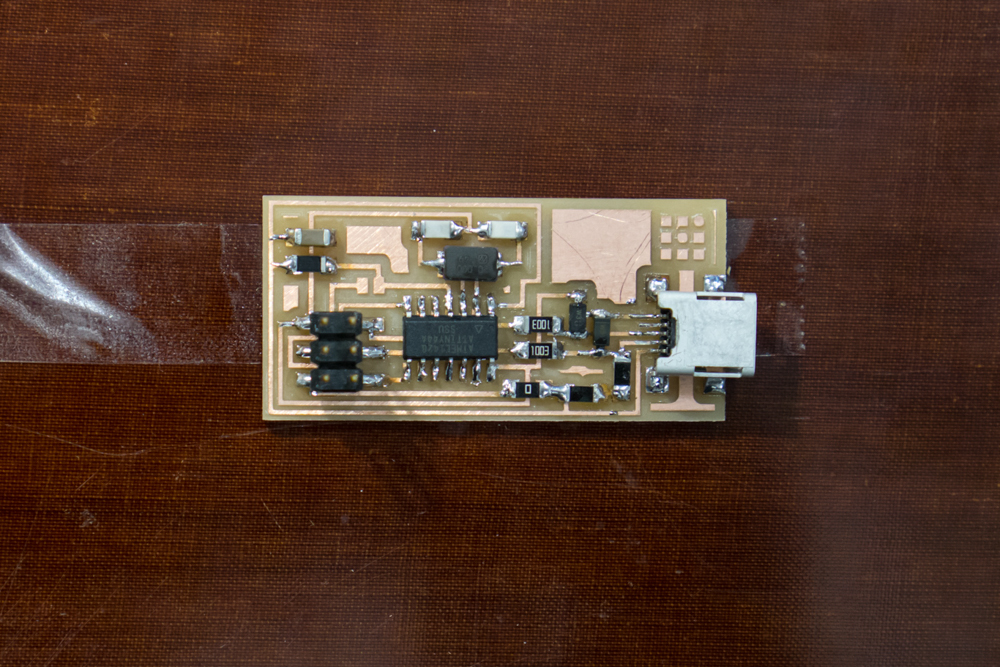
I ended up using the FabOptimus version which worked right away.