Week 4 - 3D Printing & Scanning
3D Printing — sometimes known as additive manufacturing or rapid prototyping — is an oft misunderstood and overestimated fabrication method. It is transformative (full disclosure: I work in the industry) but not in so obvious a way or as immediate as many would think. This week’s tasks seem meant to dispel the ‘just hit print’ misconceptions folks often have with 3D printing and, more generally, digital fabrication.
OVERVIEW
There are many approaches to additively building up an object. Each one makes trade-offs and none produces objects as reliably, accurately, and performative as subtractive means (yet). The major advantages to additive fabrication are:
- Ability to produce complex, “impossible to make” geometries
- Quick-ish turn-around times (depending on the tech and the geometry)
- Low-cost (depending on the tech, the process, quantity, and human resources needed)
It is definitely not a silver bullet. The key to leveraging 3D printing appropriately is to use the right process for the part and to pay attention to the process’ design rules.
The process I used for this exercise is FDM—Fused Deposition Modeling—or FFF, more accurately. I used two cheap hobbyist printers, cheap thermoplastic filament, and cheap software for slicing/part prep. Hopefully the word ‘cheap’ is coming through here…
My process is documented below in stages. We experimented with 3D scanning as well during this week and, while it is interesting, it’s not particularly compelling as a component for meaningful workflows unless you’ve got more powerful equipment than we had and have the time / need to scan objects.
—
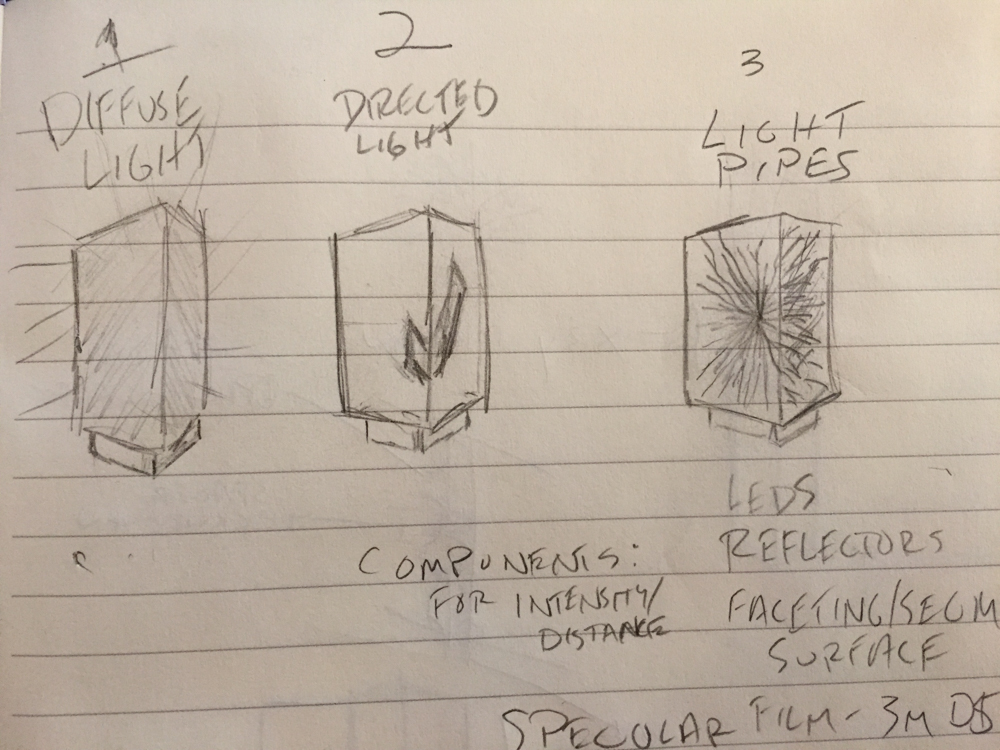
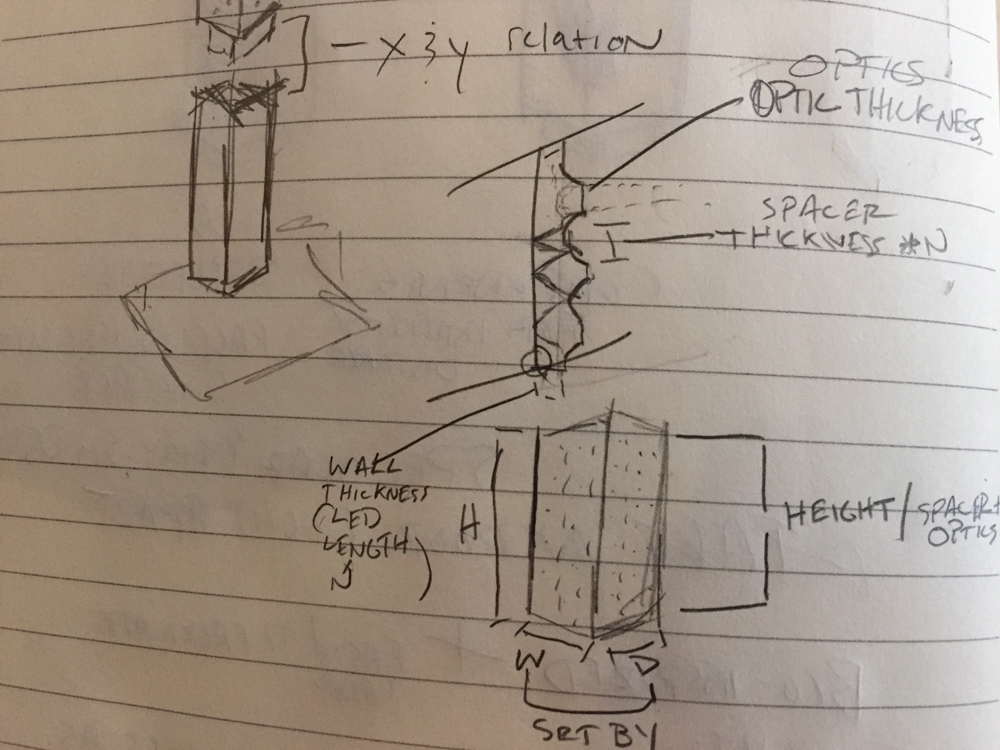
Concept
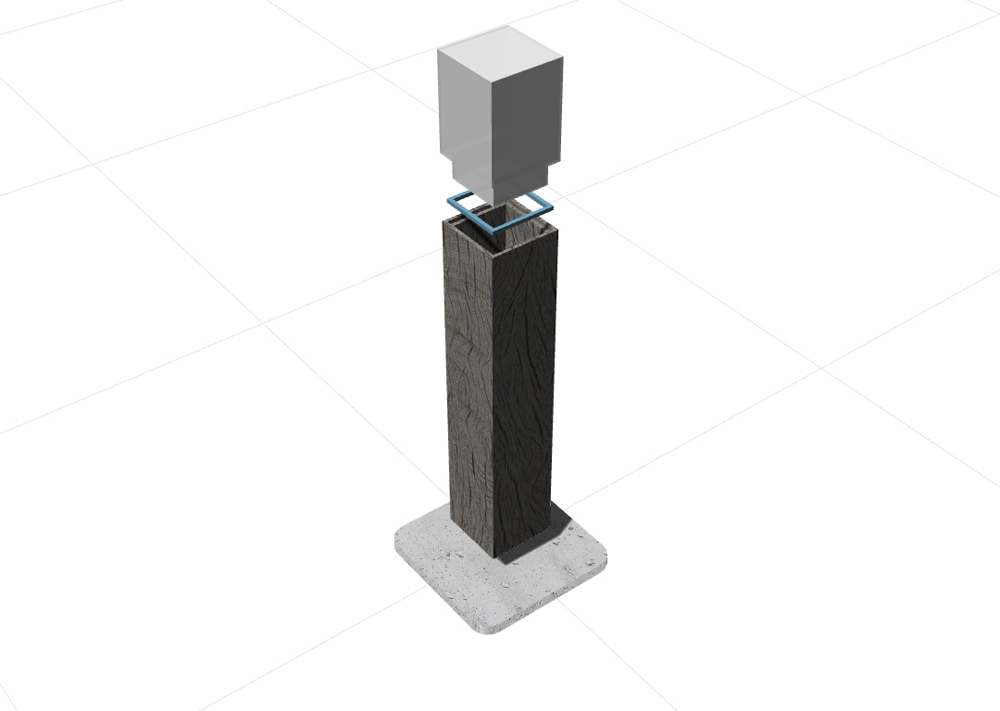
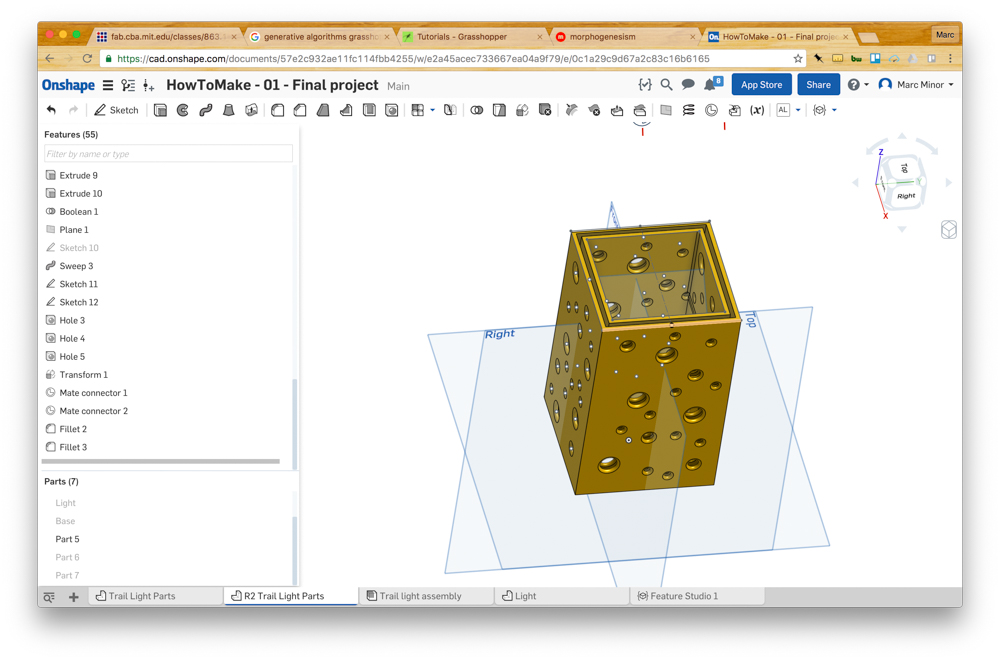
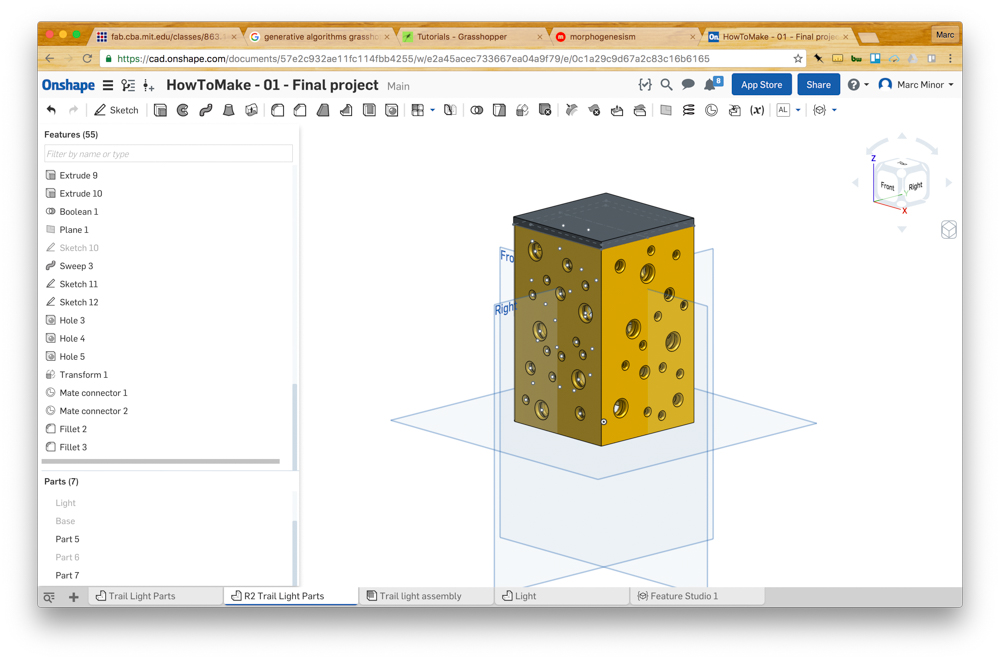
I began by sketching some ideas, starting from the final project concept I already have. 3D printing can be a great way to quickly test some assumptions about form or function. I wanted to investigate how I might accomplish the different states the trail light might have. I considered how I might embed LEDs directly into the enclosure, automatically generating a randomized, pattern of parametric holes that would perfectly fit the LEDs. This proved to be a bit too much to dig into at this point.
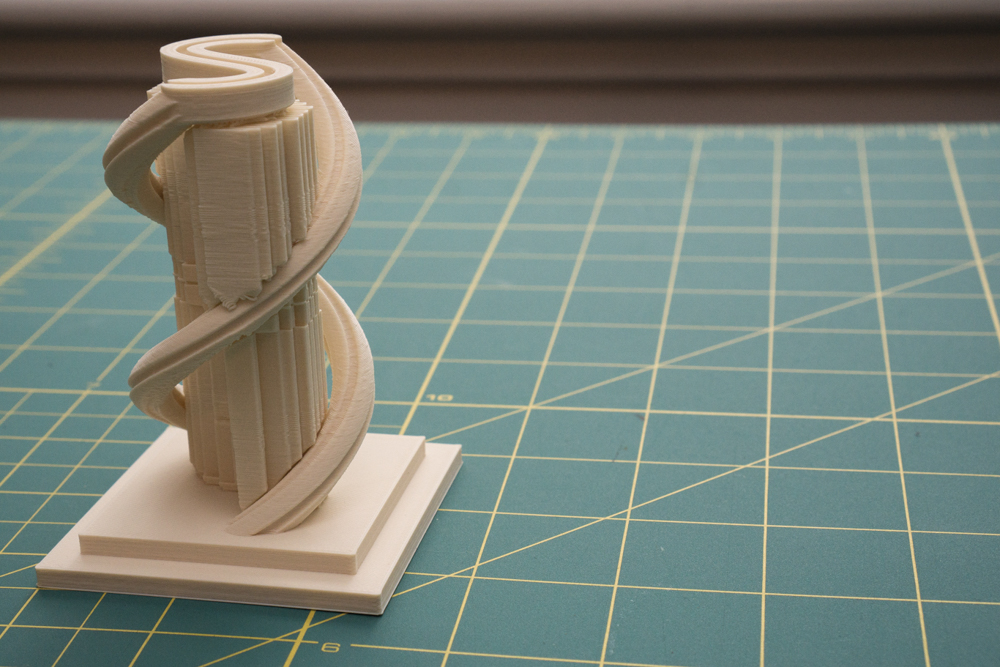
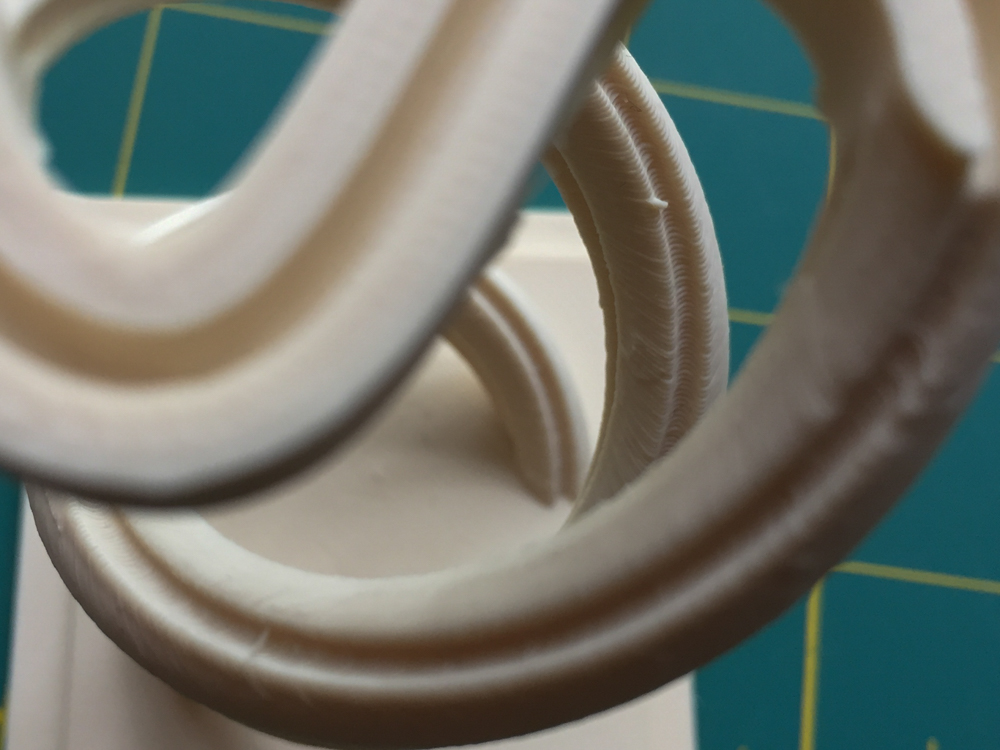
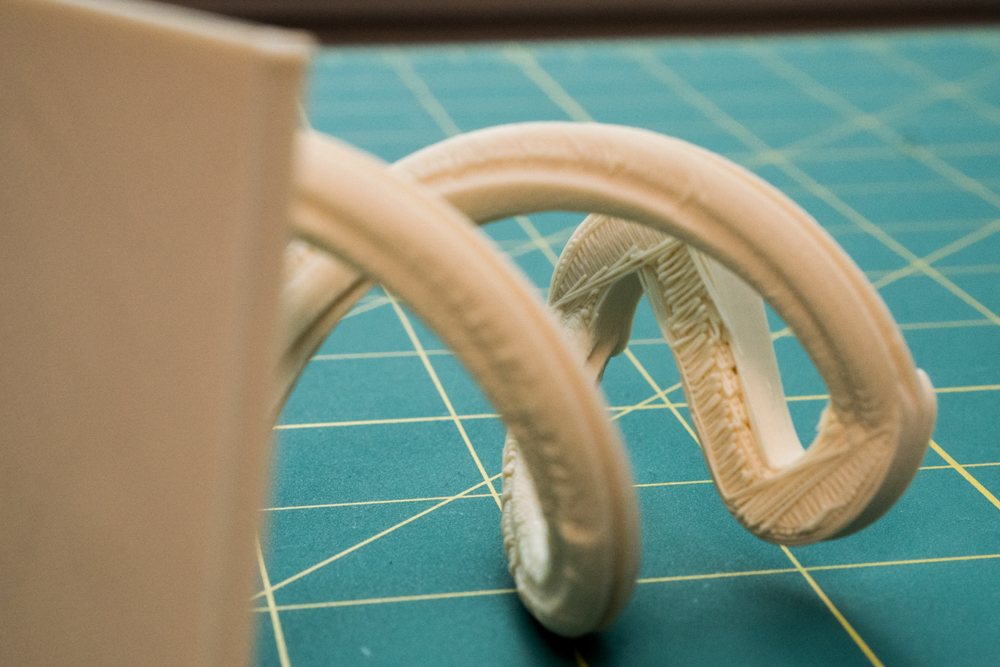
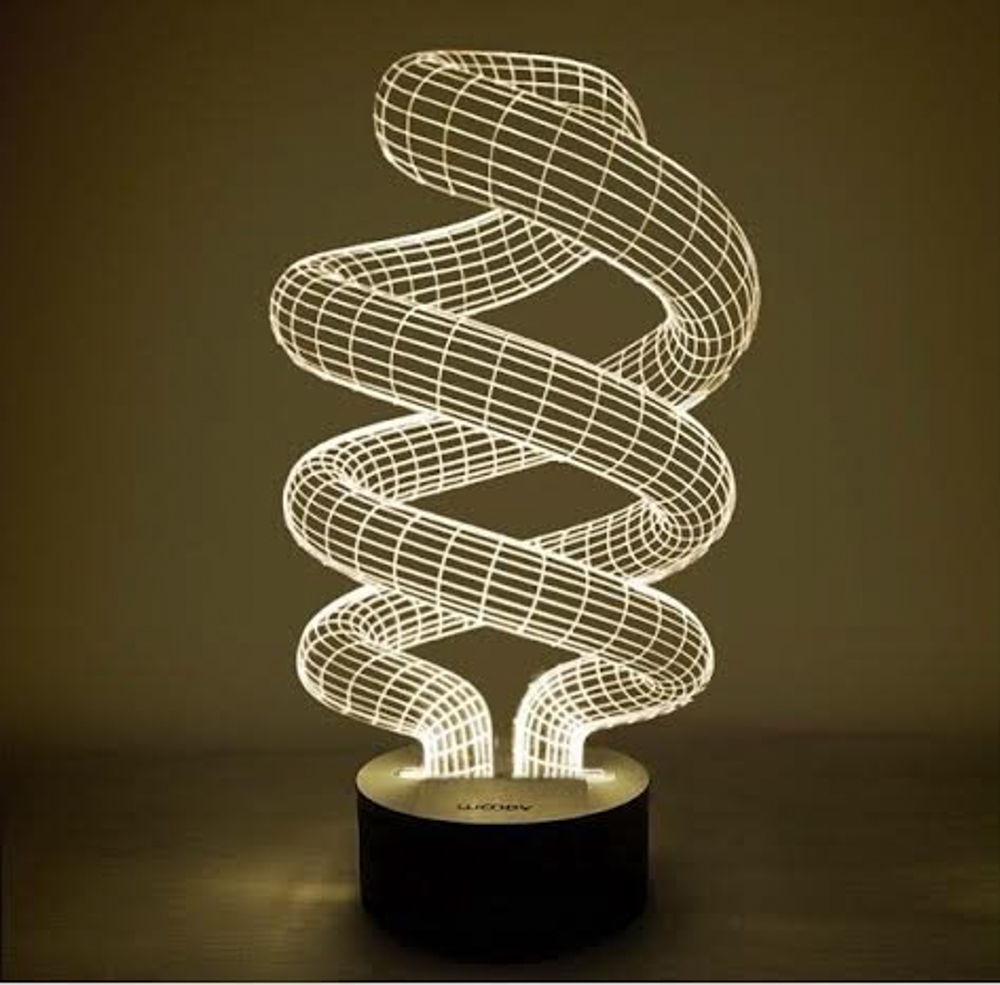
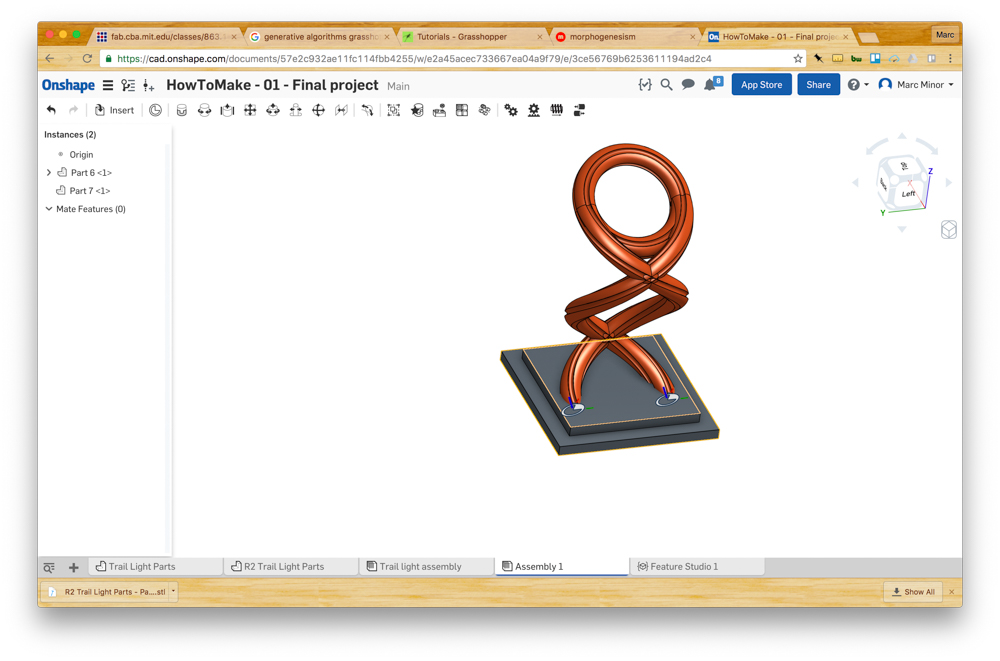
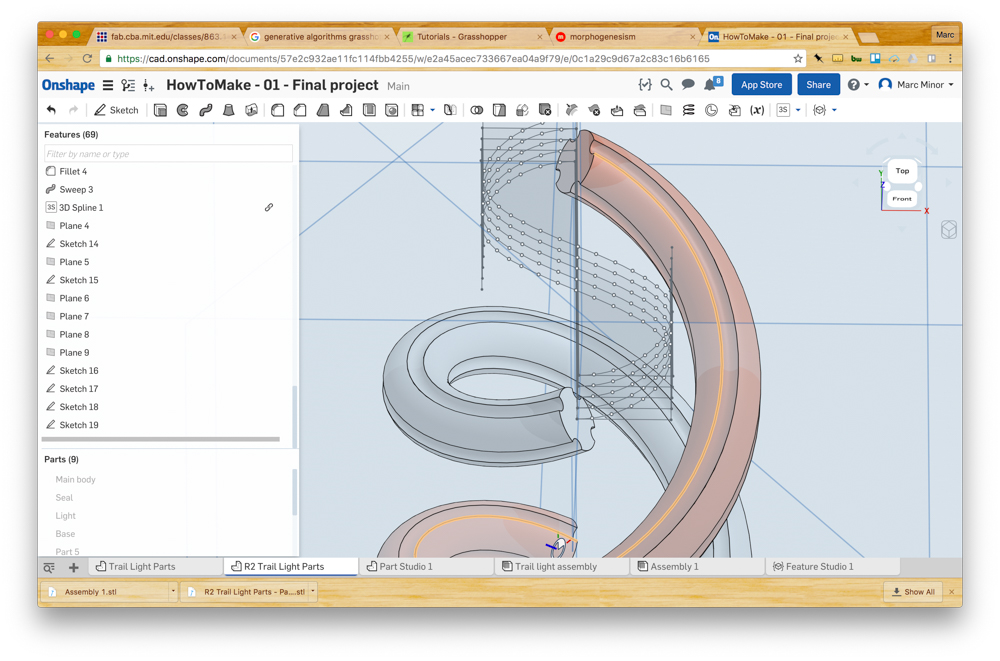
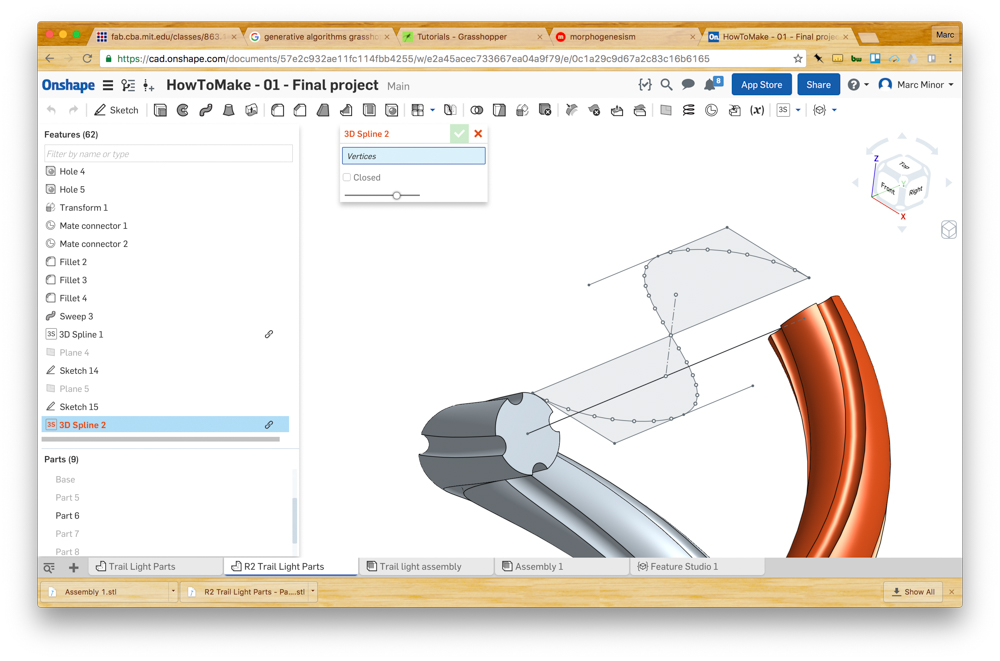
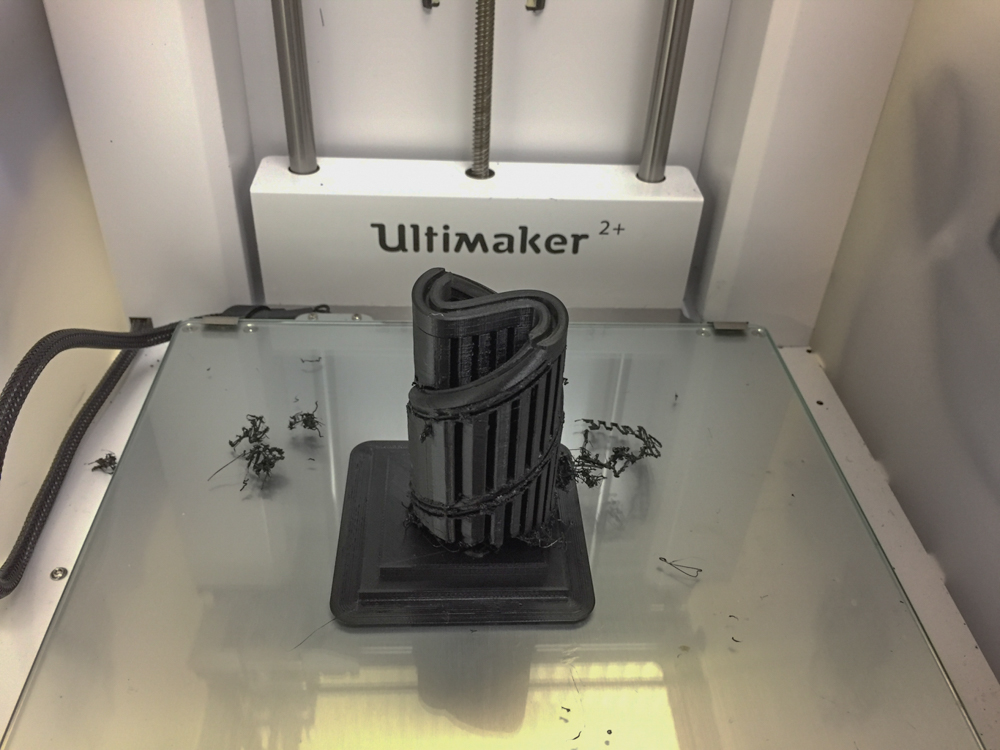
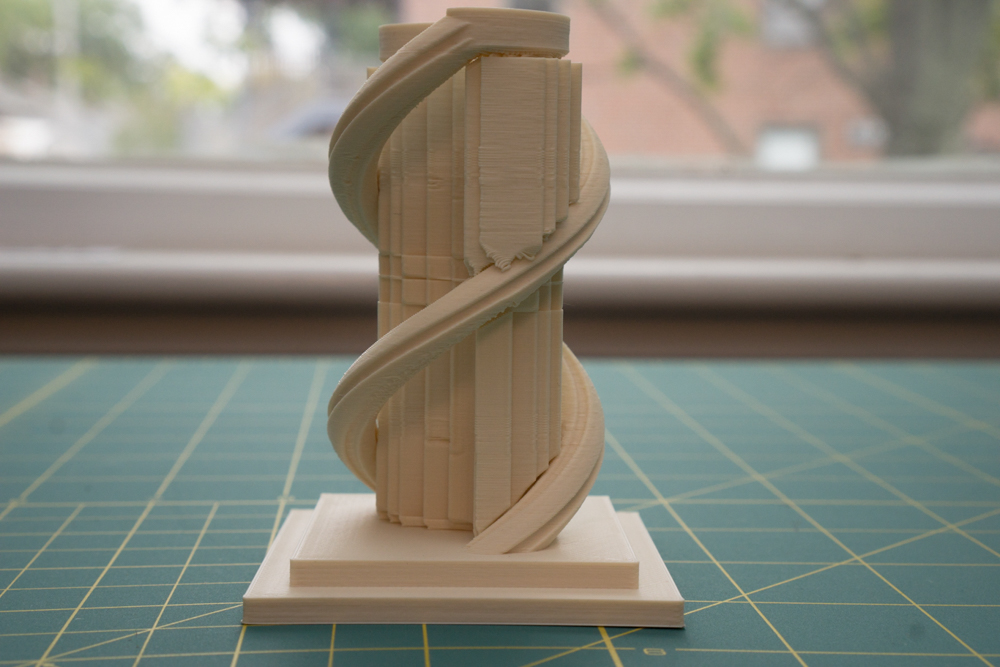
 I decided to simplify my intentions for this week and potentially for the way to execute the light overall. I was inspired by the Bulbing Table Lamp of MOMA store fame. I wanted to build a basic double helix structure for inside the lighting enclosure that would have diffused fiber optic cables embedded in it.
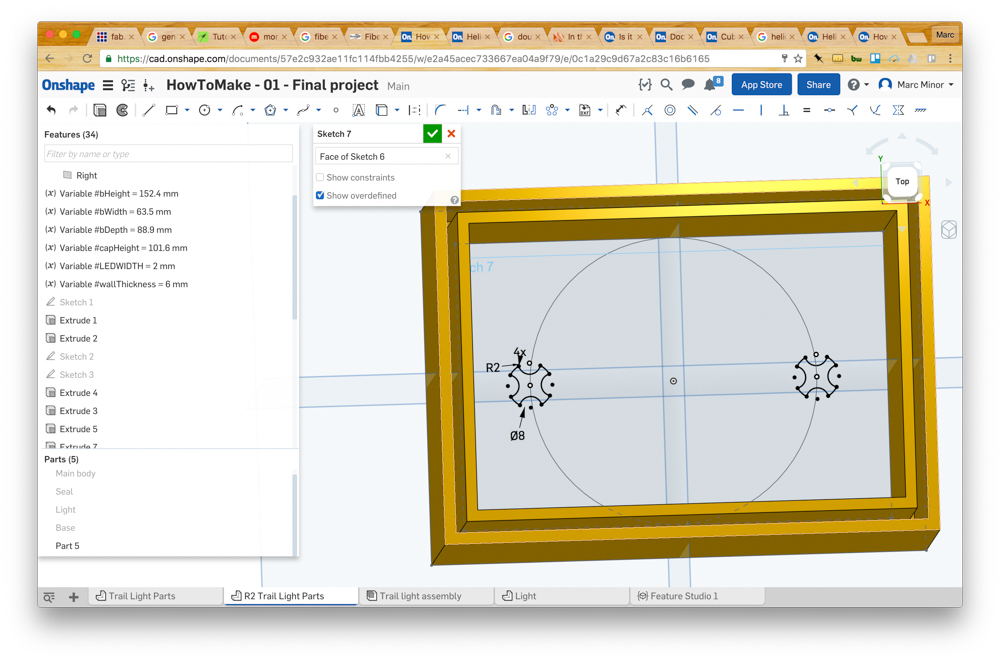
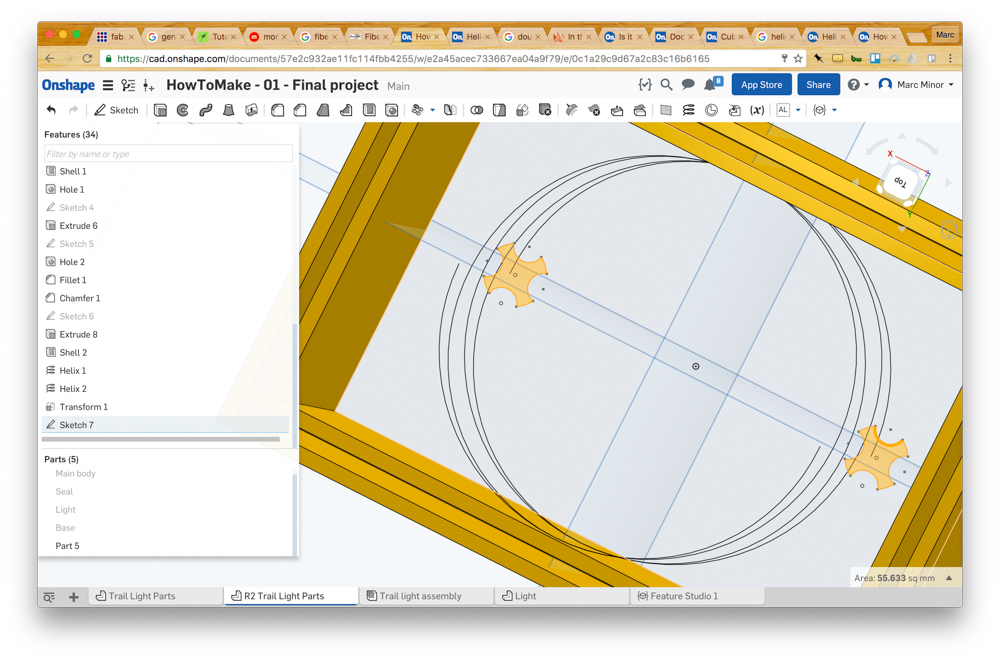
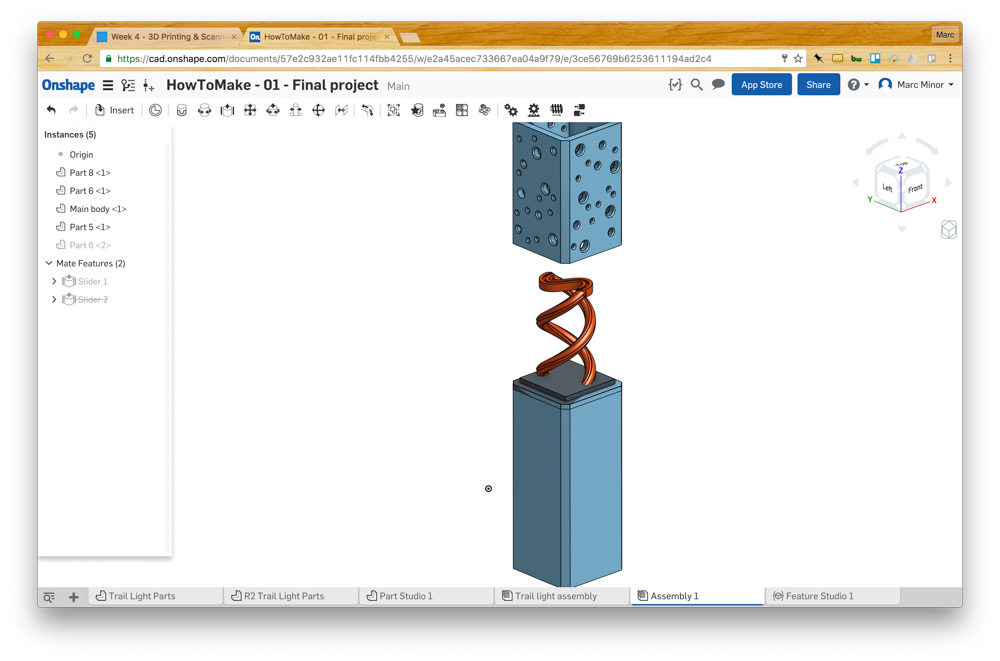
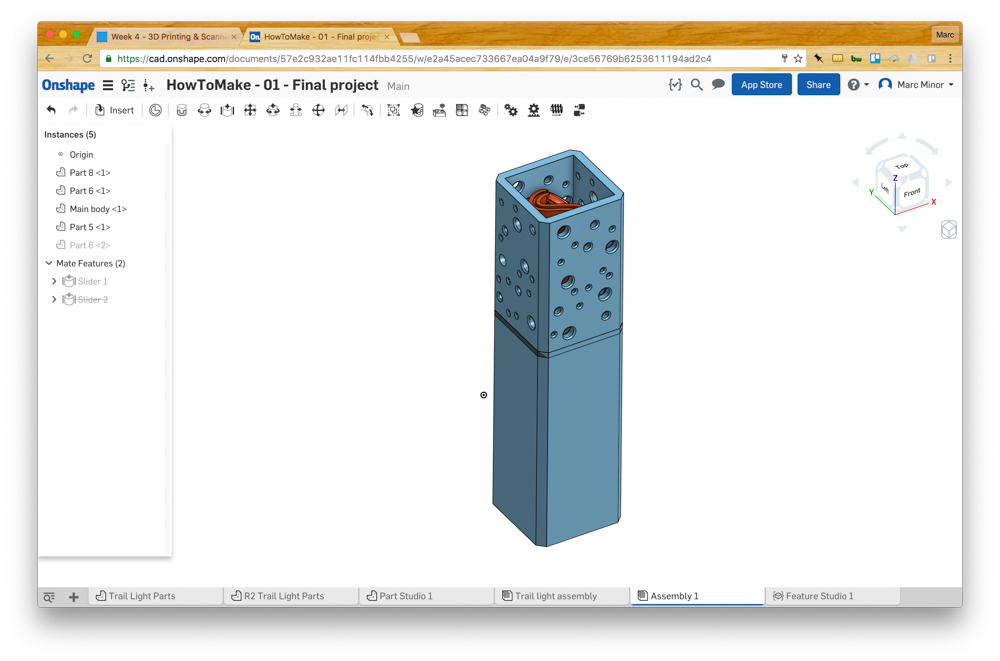
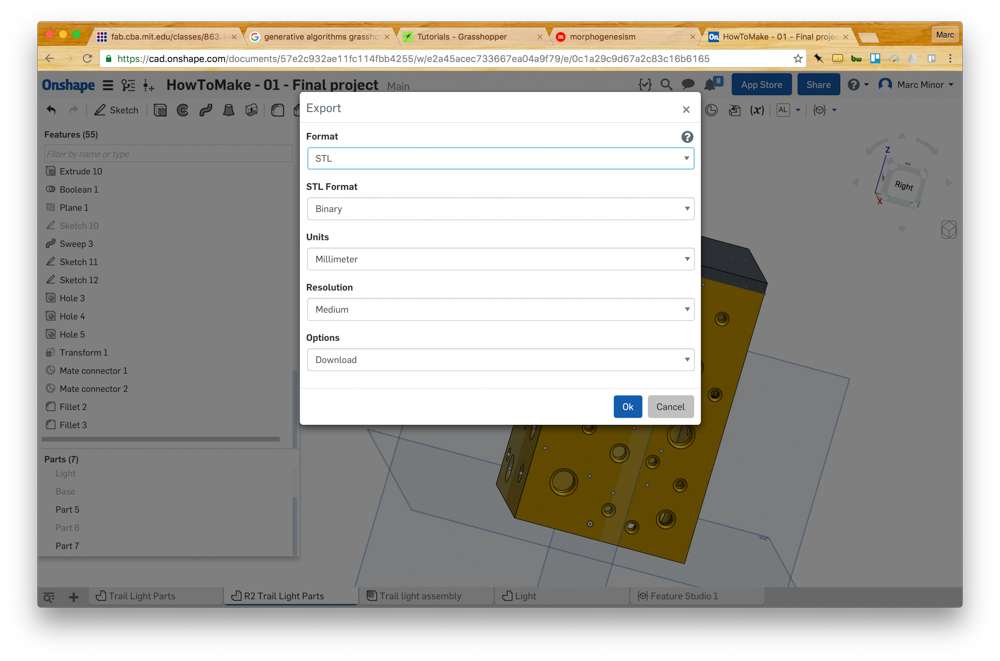
Design

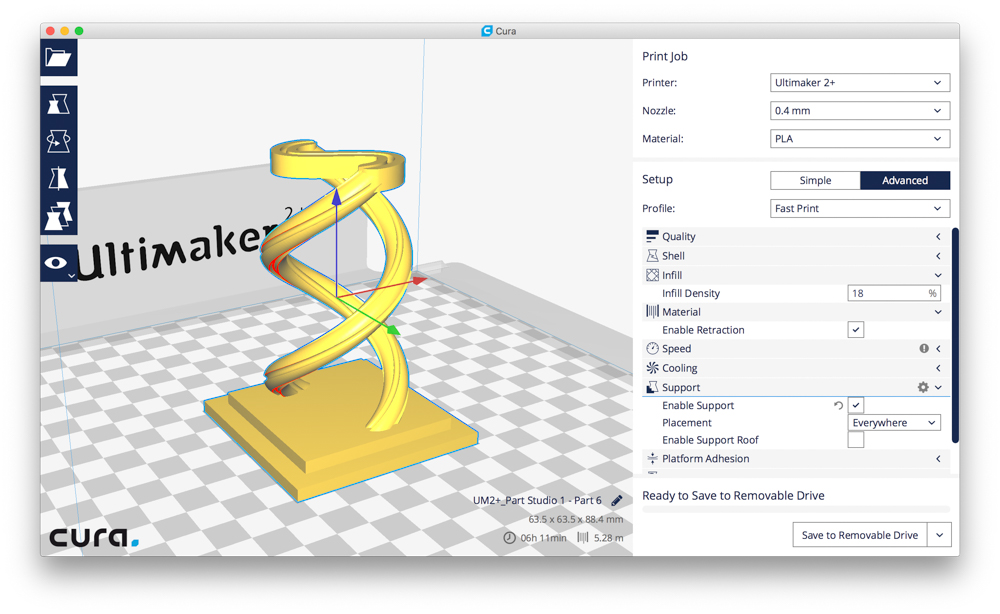
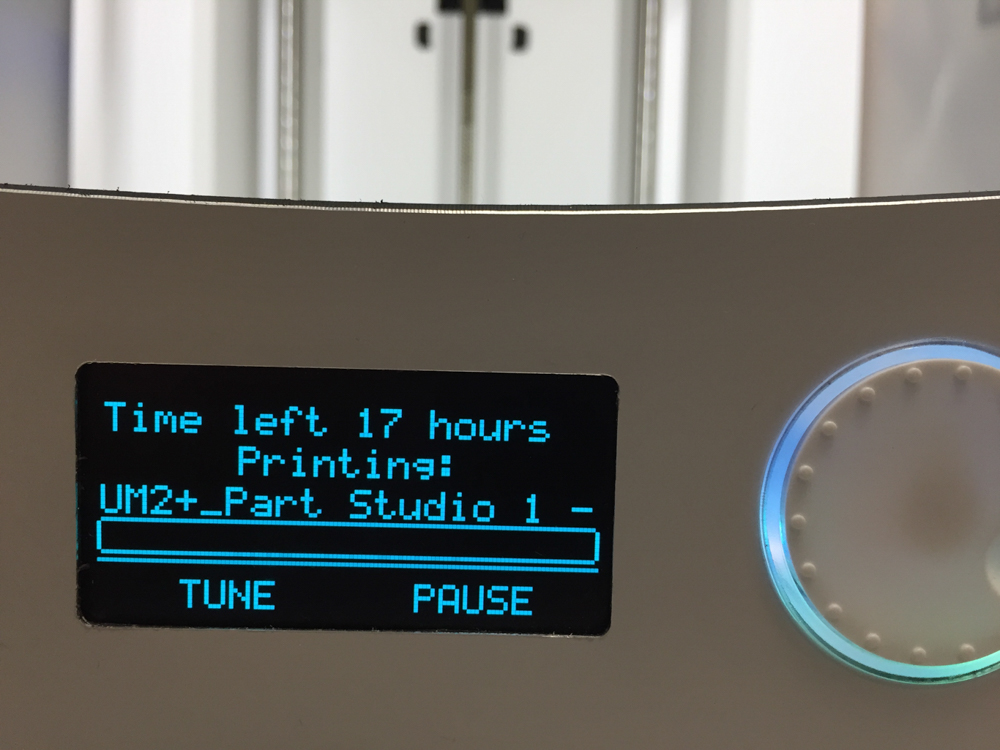
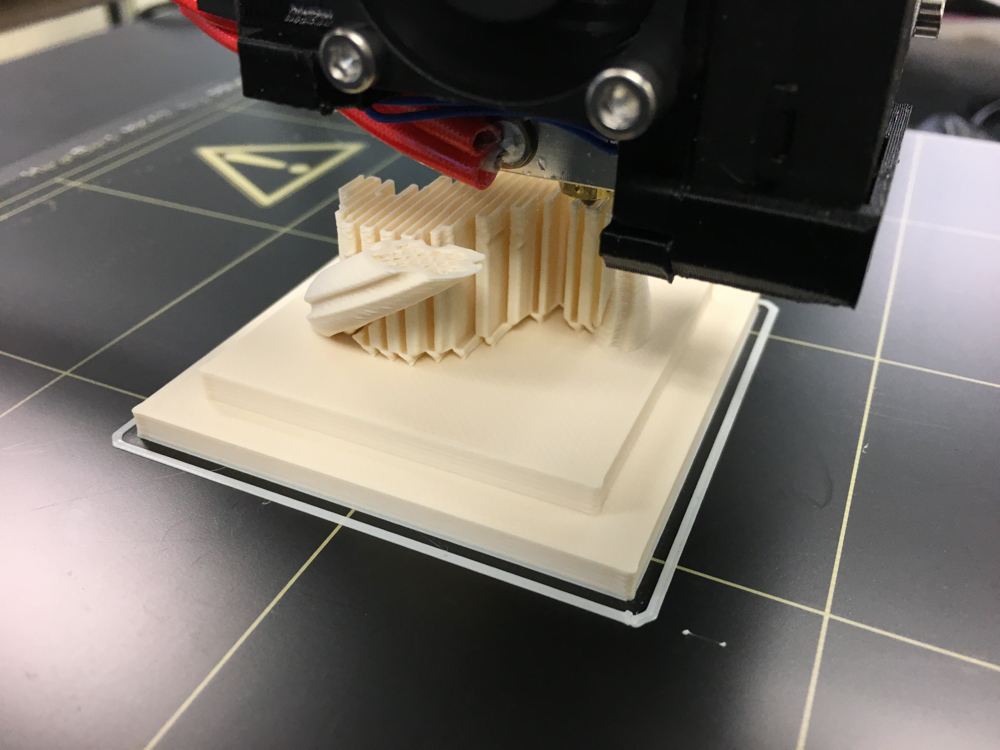
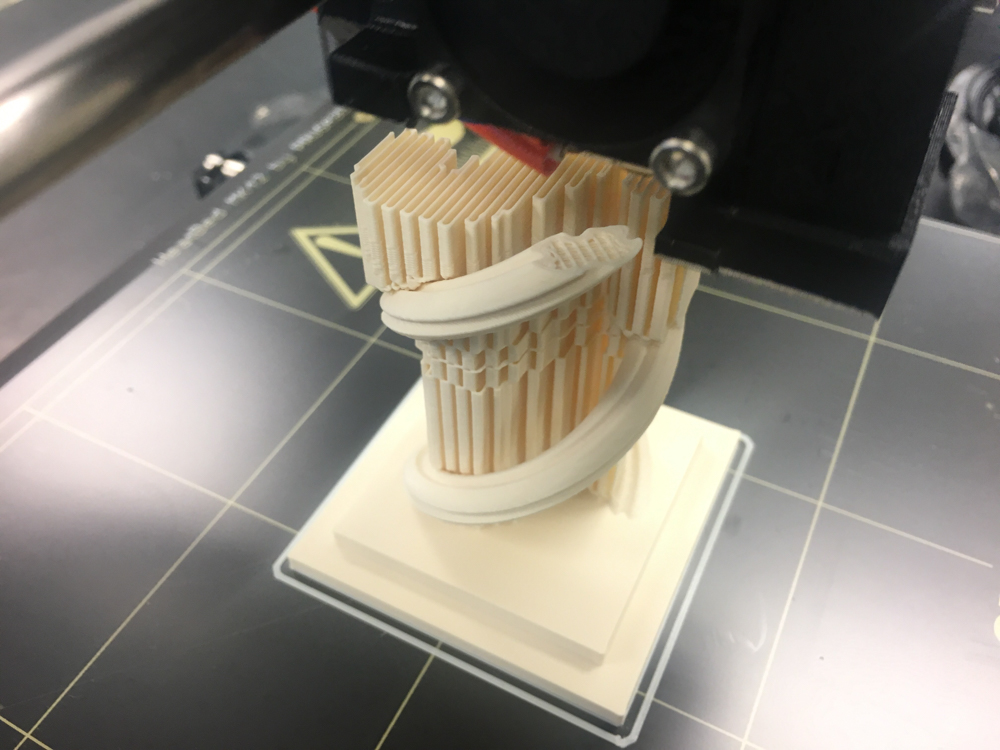
Printing
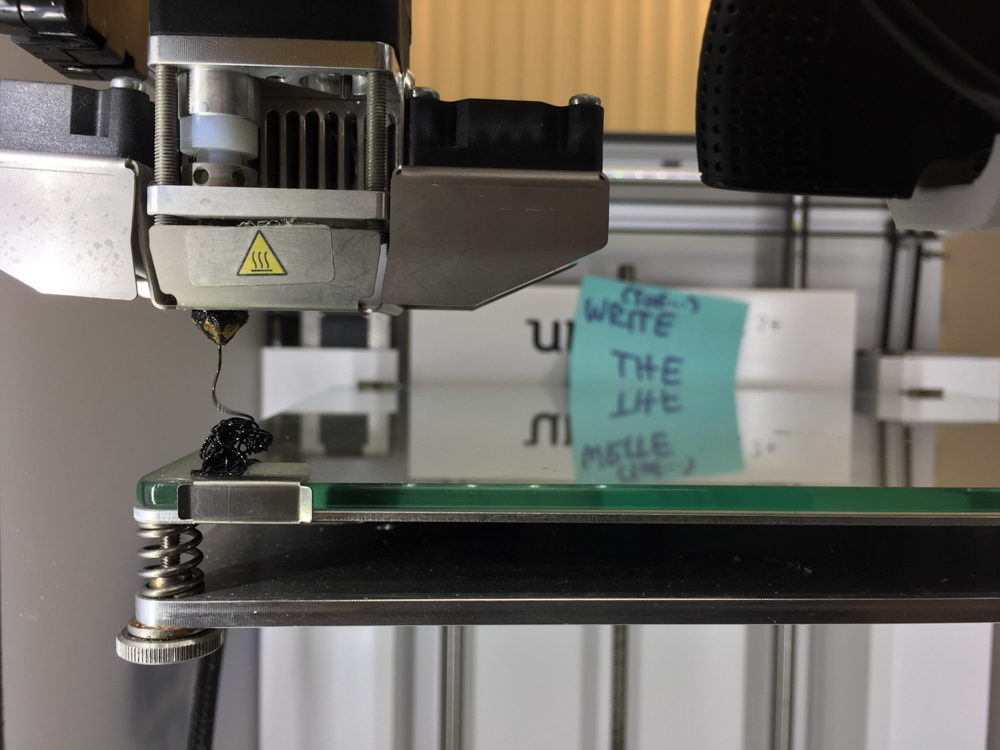
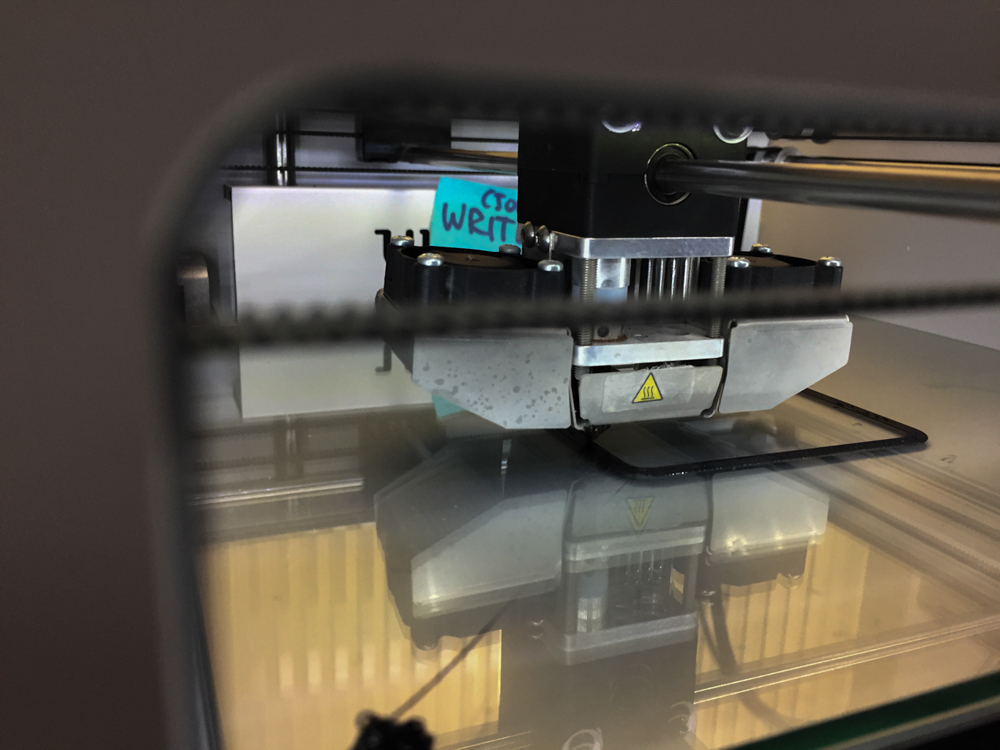
Round 1 — Ultimaker + nGen + Cura
- Ultimaker+ — $2500
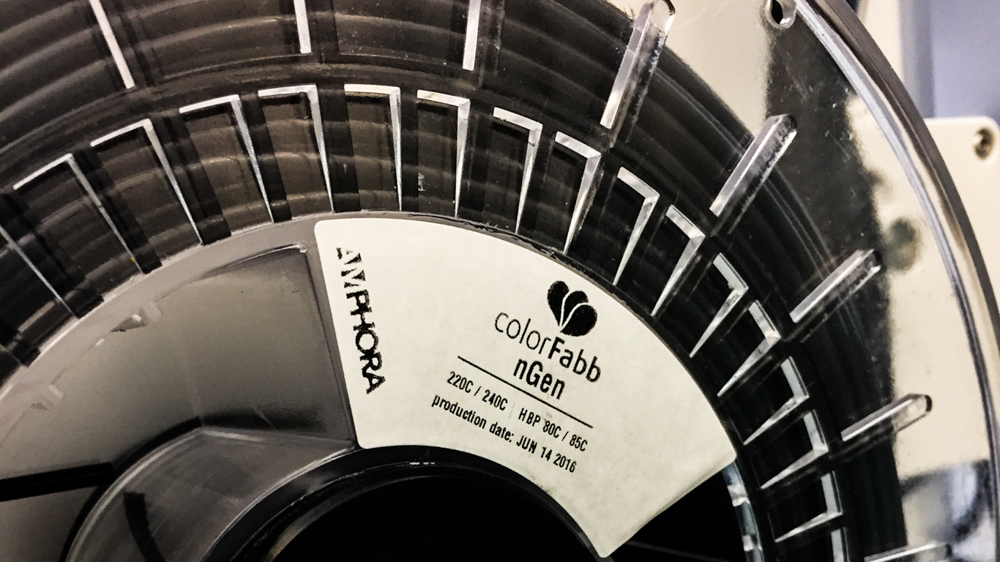
- nGen Black 1.75mm — $39 0.75kg
- Cura — Free
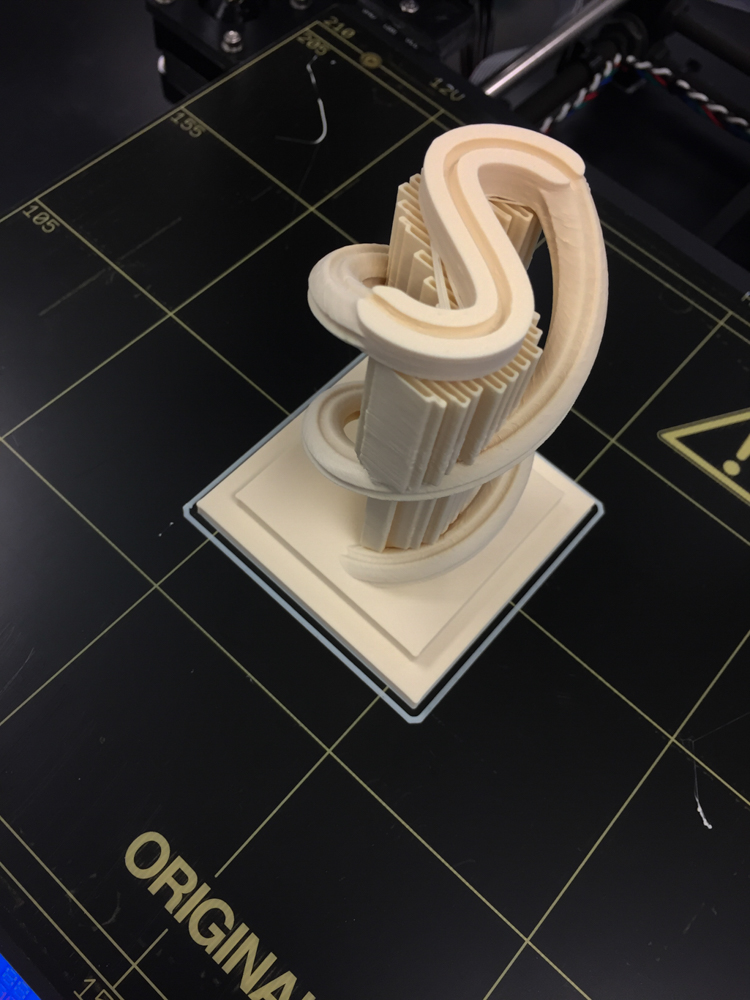
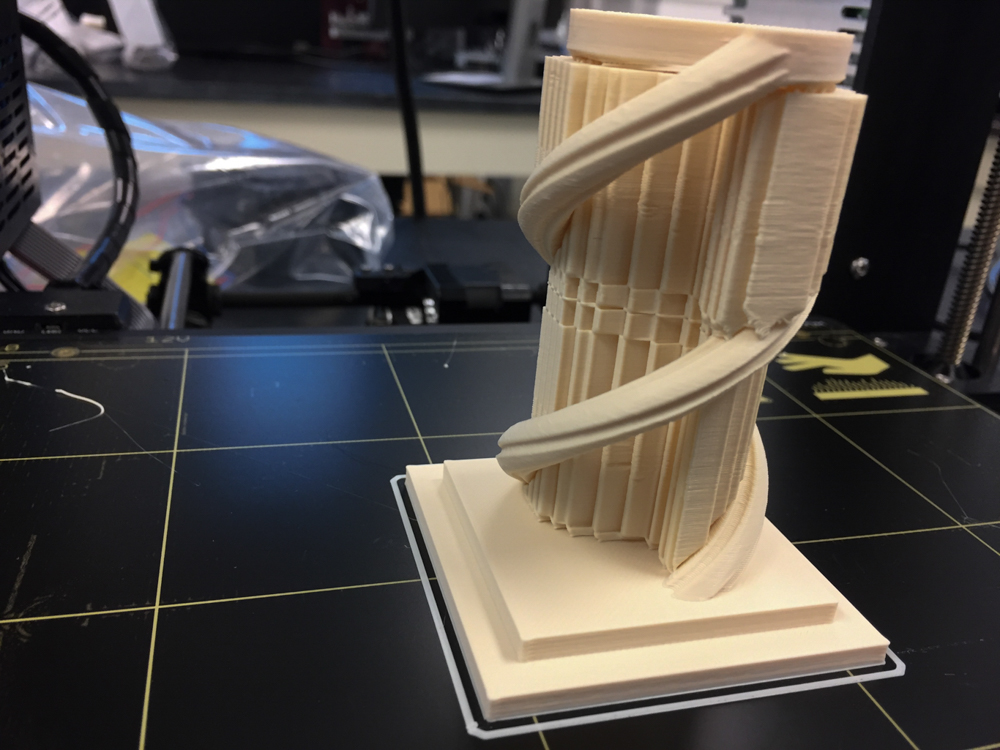
Round 2 Prusa i3 MK2 + PLA + Simplify 3D
- Prusa i3 MK2 — $700
- PLA Filament Tan 1.75mm — $29 1kg
- Simplify 3D — $150

—
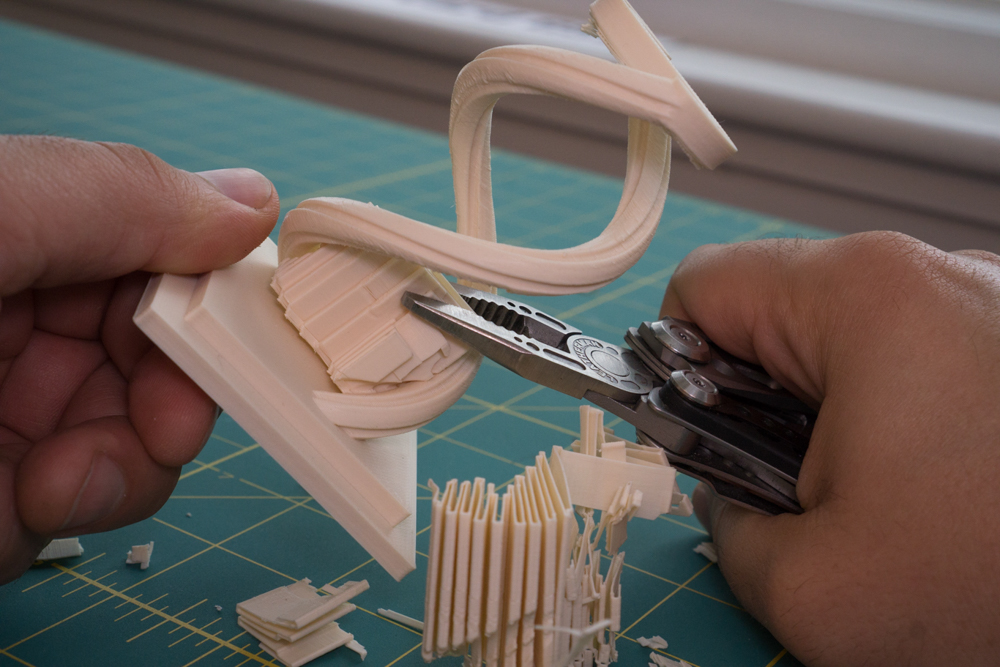
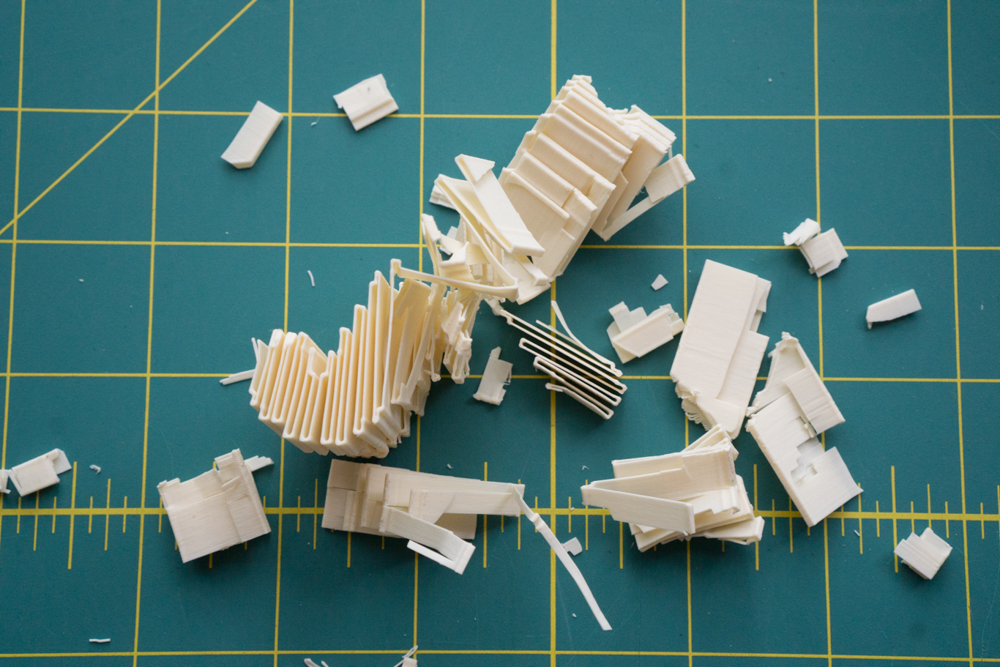
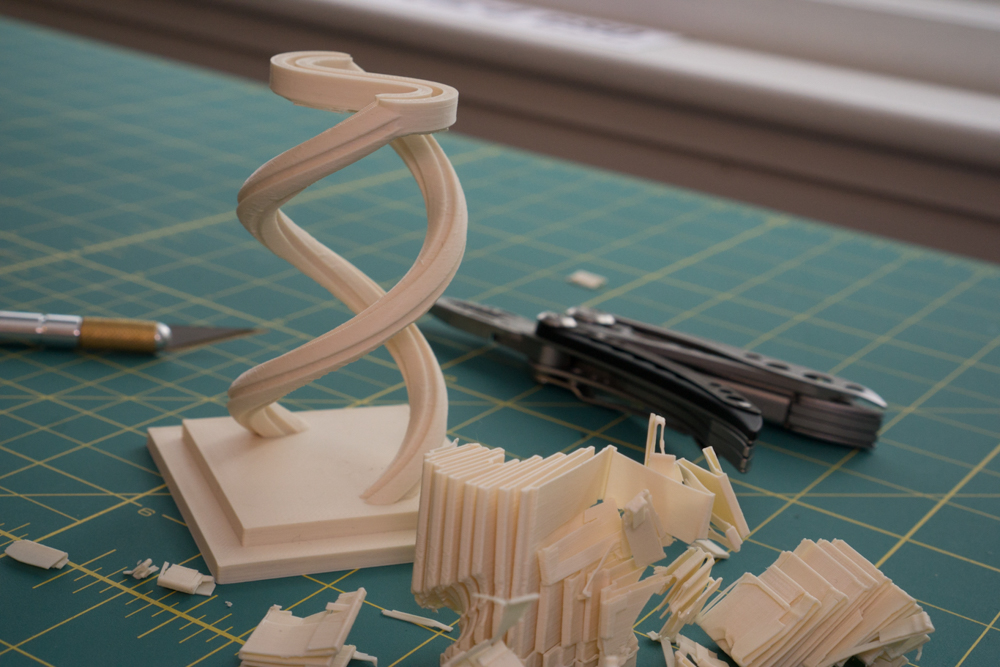
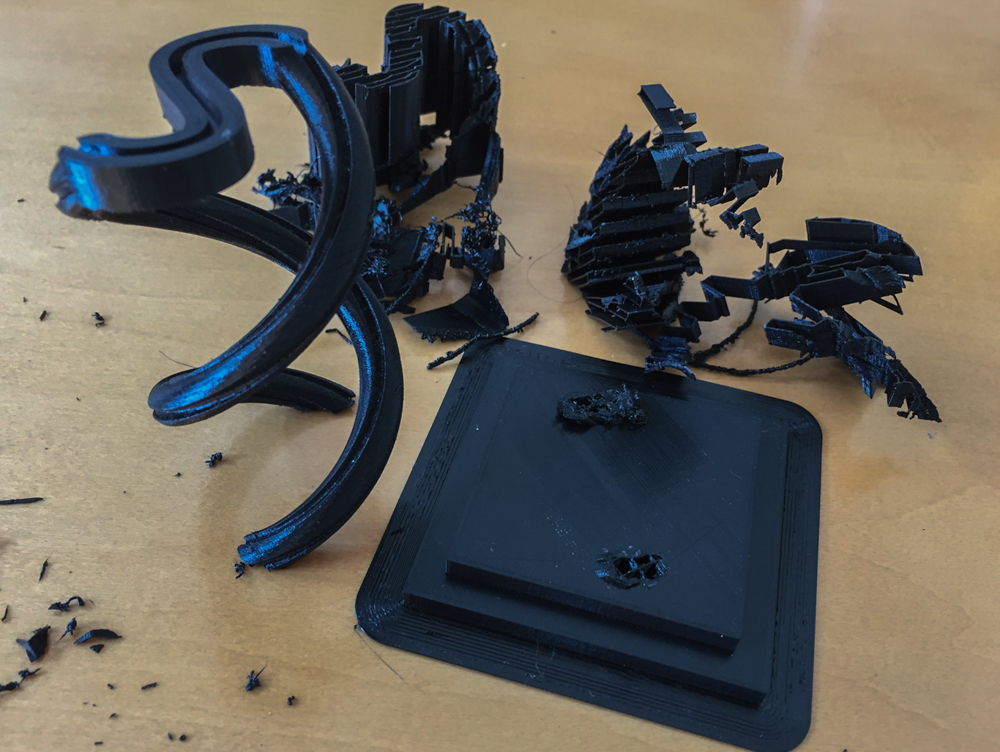
Post Processing