Week 6 - CNC Machining
OVERVIEW
Making something big. This week focuses on parametric design and fabrication using a CNC router. Key tasks include:
- 3D modeling (using correct design rules)
- Tool path generation & testing
- Fabrication
- Assembly
I had fun this week, even though the 3D modeling portion of the task was a huge time sink. Details below…
Object Design
Round 1 - Designing a Generative Coat Rack for CNC Machining
- Rhino + Grasshopper — $CASH
This week I wanted to spend some time digging back into Grasshopper & Rhino3D. I was interested in generatively designing a coat rack entirely in a Grasshopper C# component. This would, in effect, stretch my experience with fundamental Rhino objects, geometry (math != mySkillz), and C#. The benefit would be a fully parameterized coat rack with an ability to easily experiment with form. This challenge started well enough but devolved soon after into a Grasshopper rabbit hole. Picture story below…
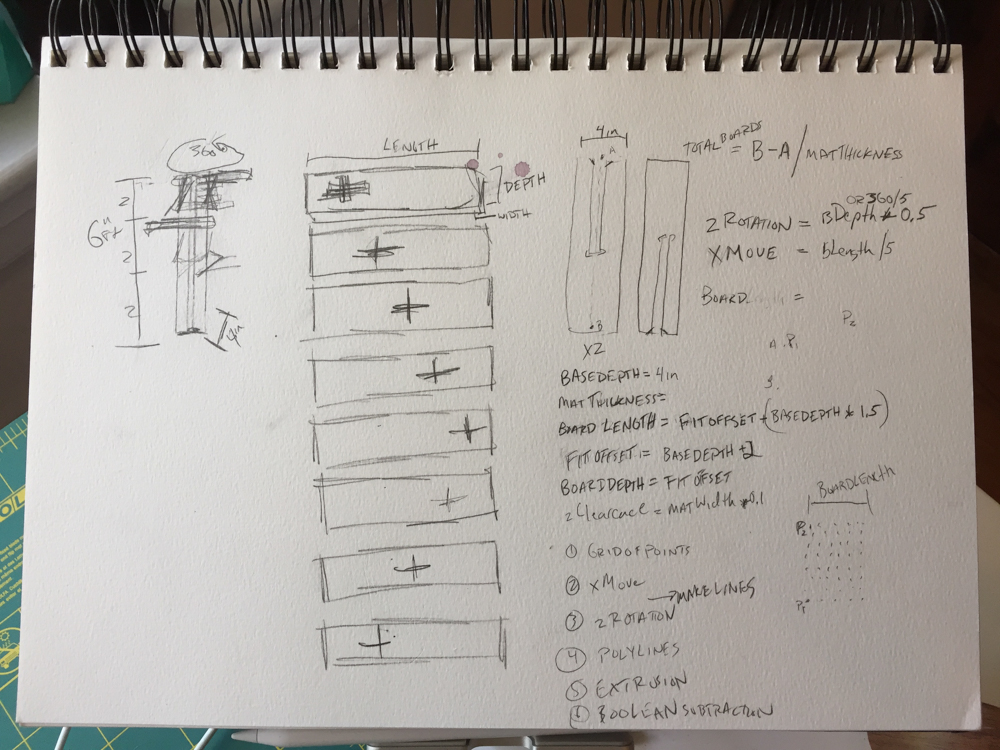
Initial design strategy
My strategy for a generative and parametric CNC routable coat rack was to use polar coordinate remapping to move and rotate wood boards one at a time. I included logic for rotating and moving boards in different ways and generated a structural post based on key parameters. The final product would be easily flat packable. Key parameters included:
- Material width
- Depth of the base (posts)
- Clearance for press fits
- Board length & depth
- Board shape
- Rack height (affects everything else)
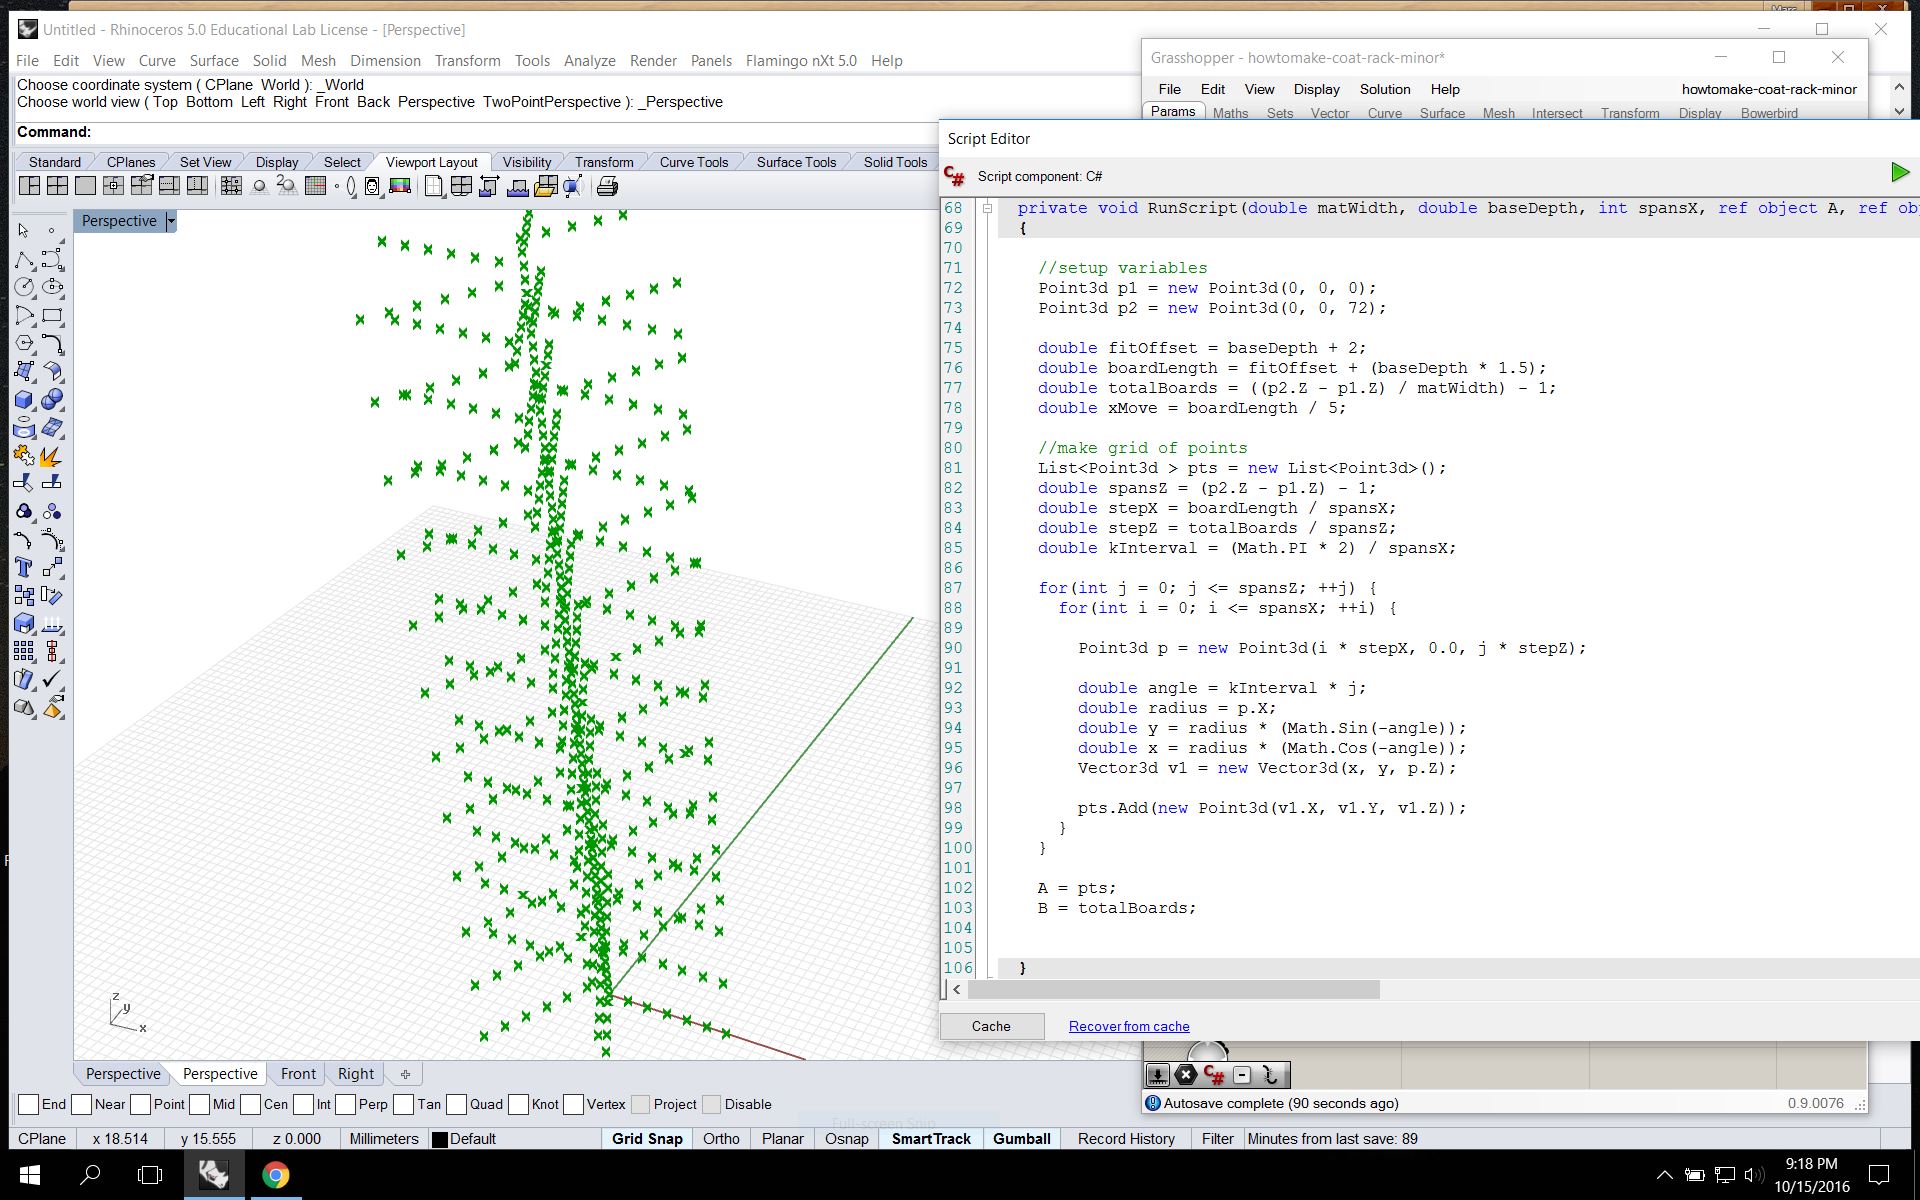
 Making a grid of points
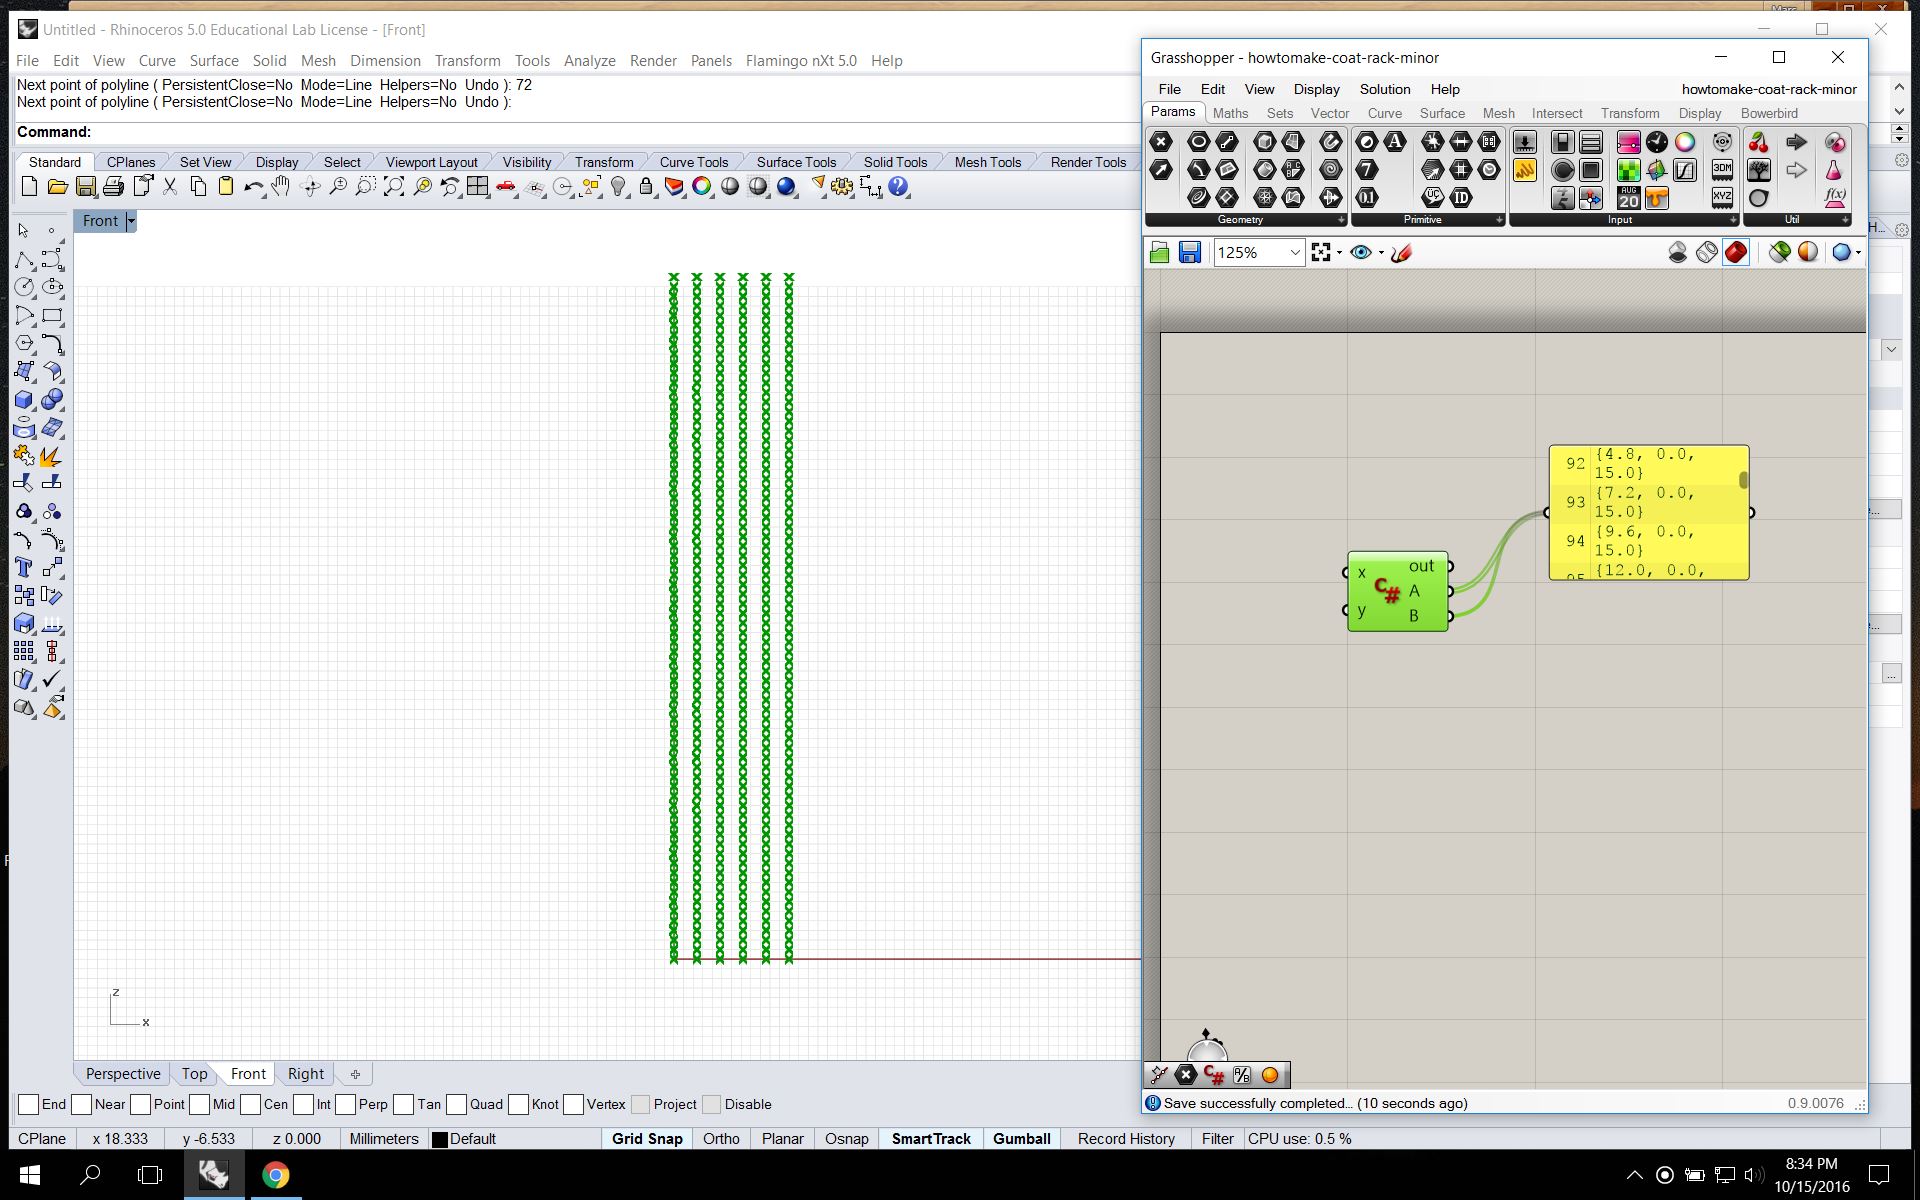 Polar coordinate remapping
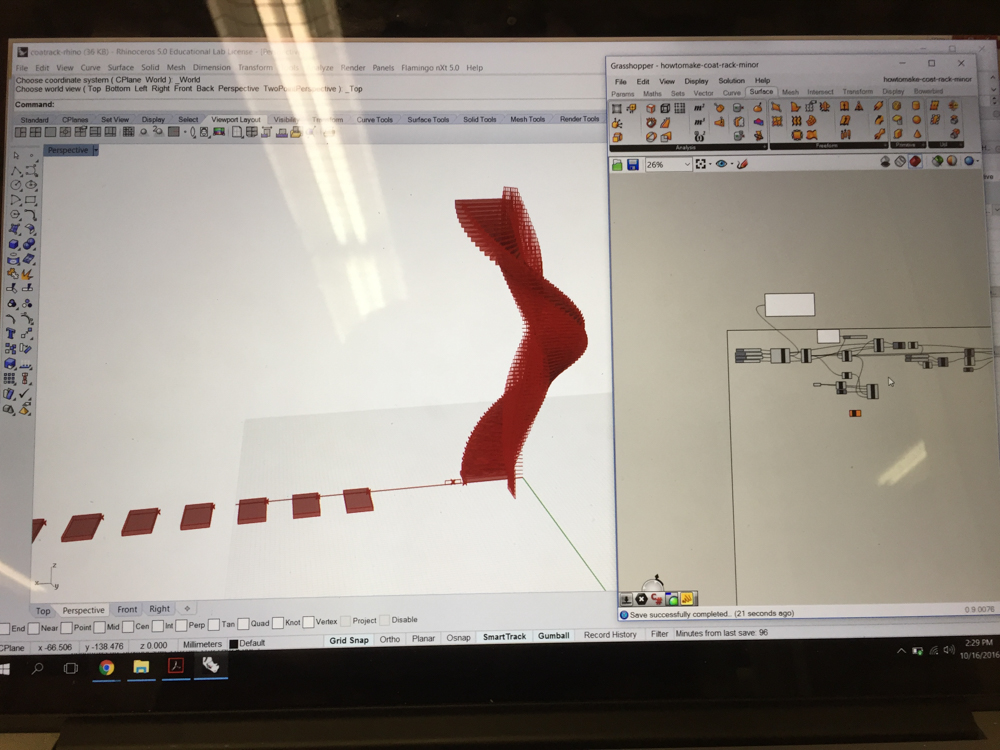
 Added logic for randomizing rotation and movement in XY
 Used GH components to re-orient and lay out panels for CNC machining
This step ended up being my downfall. While I was able to work out the lay-up for the simple geometry I originally wrote, the changes I made later down the line caused orientation to break and I was unable to figure out why.
 Generated posts & performed boolean difference
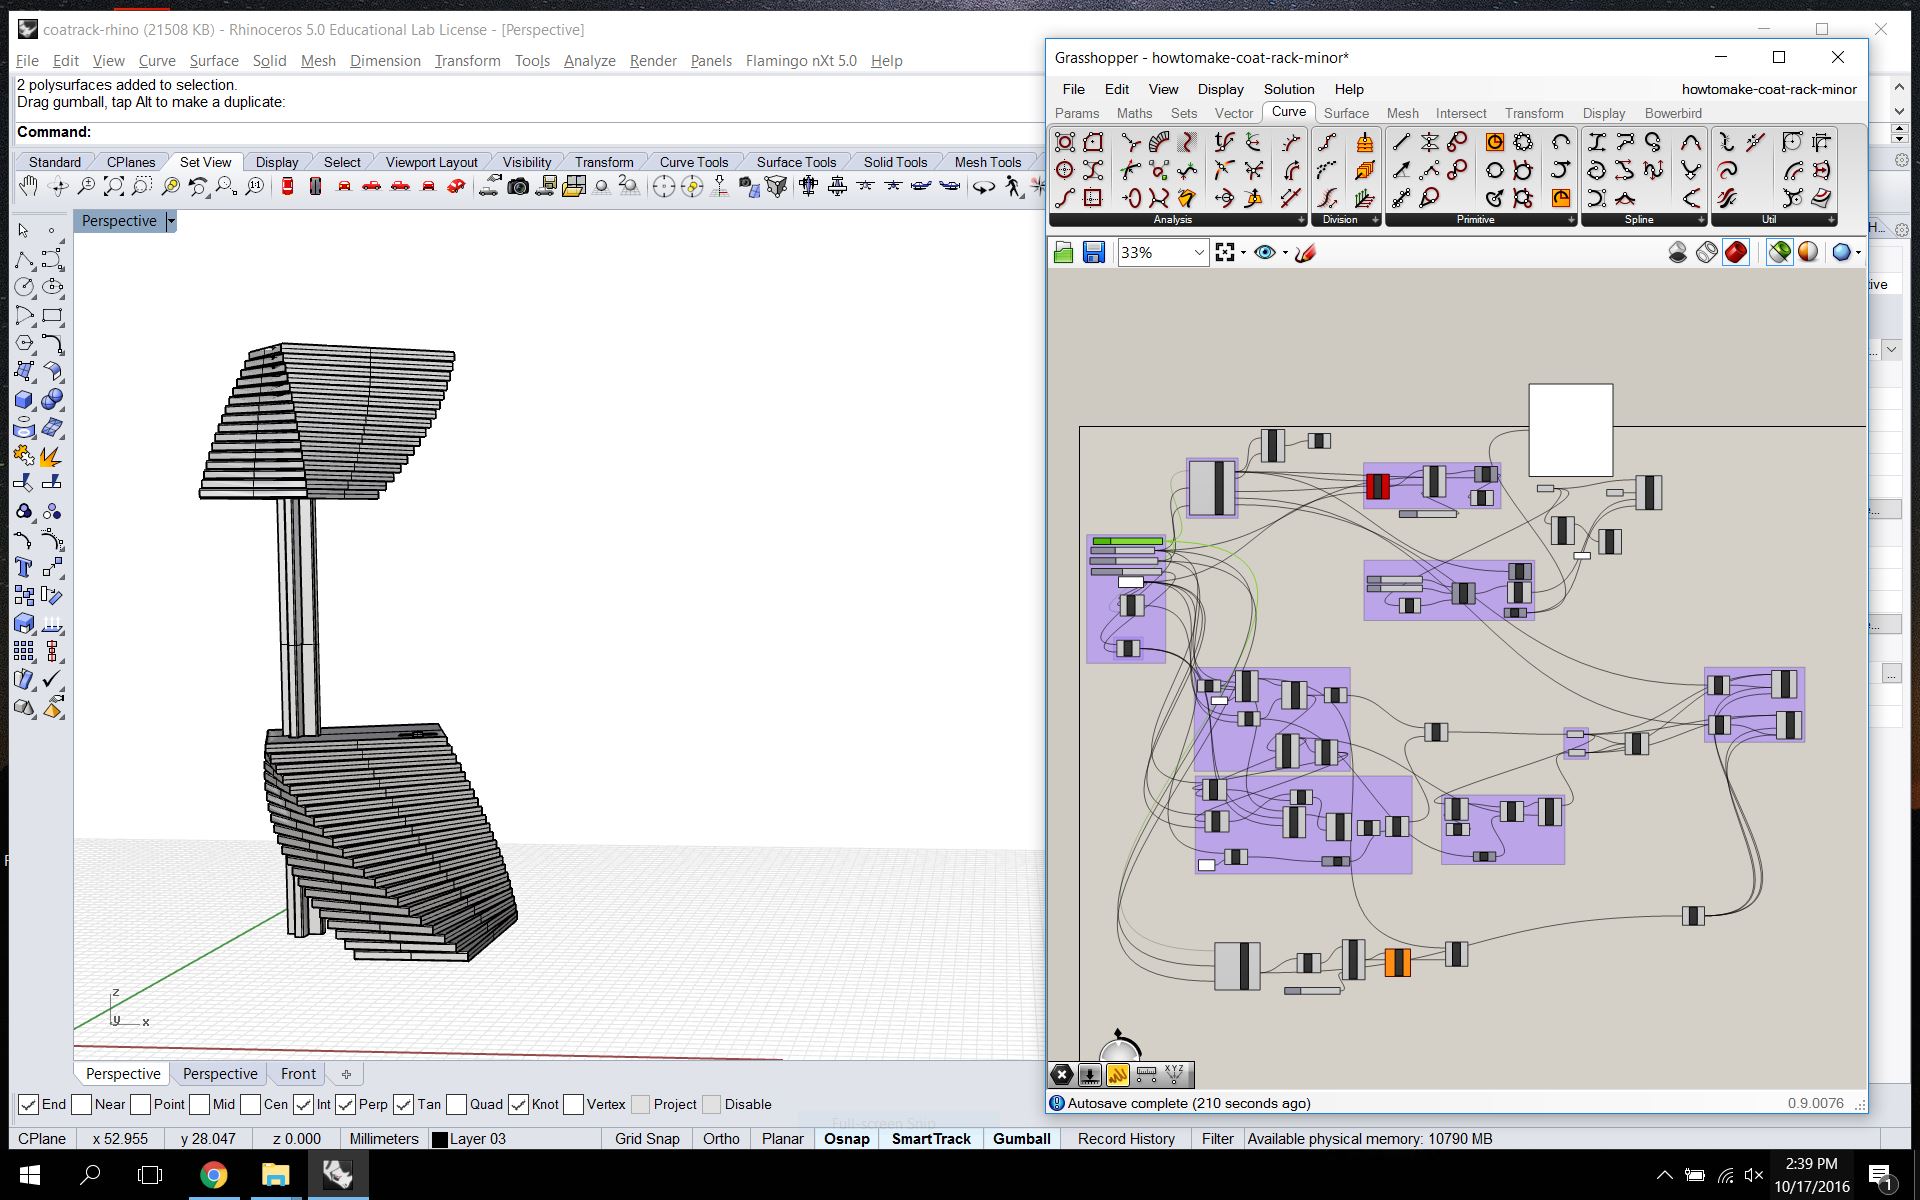
 Final form
I ended up with a 5ft tall coat rack that includes a drop spot after some experimentation with form and a reality check about amount / cost of materials. Overall, this felt doable to me…even though things in GH got TOTALLY OUT OF CONTROL…
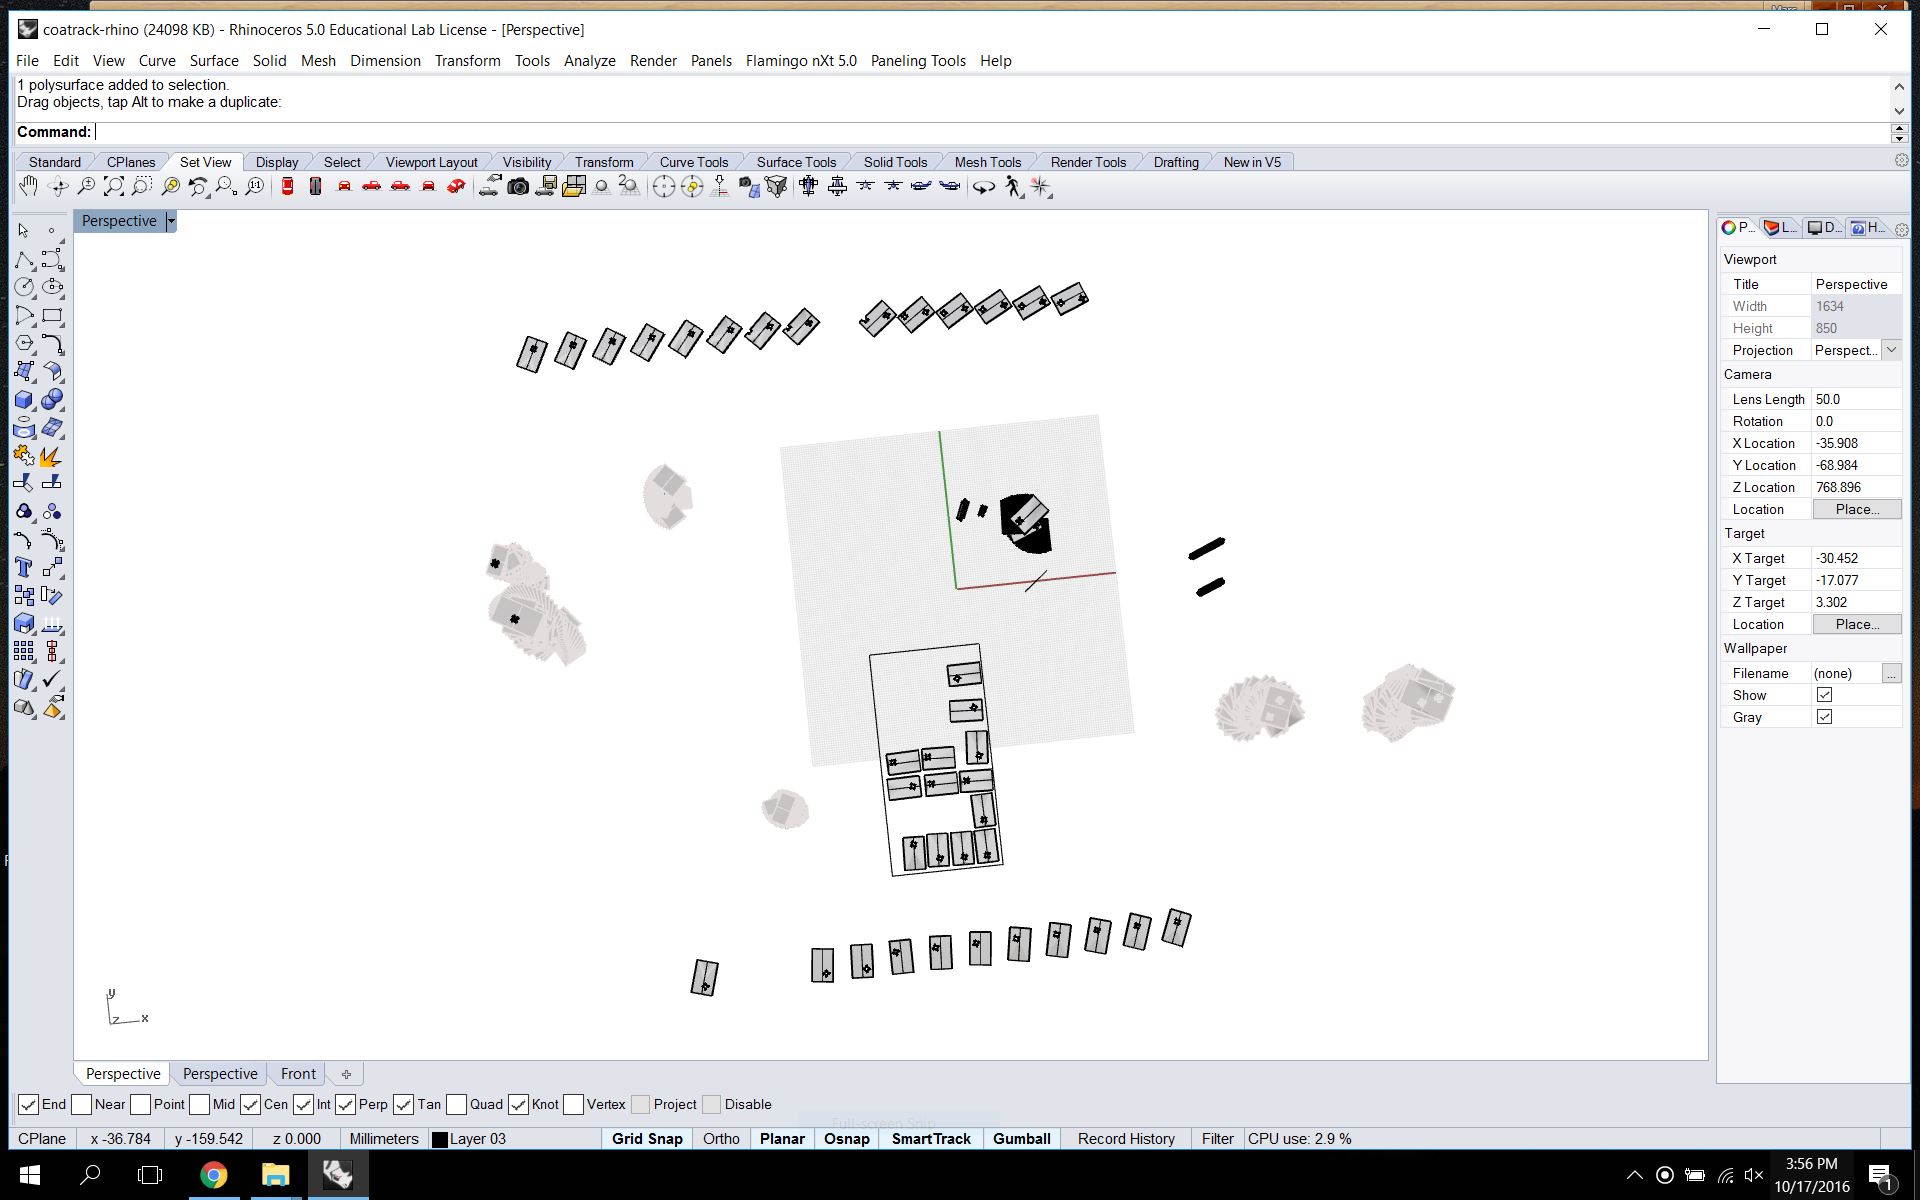
 Hours and Hours Later…
My orient and layout plan broke down for some reason. I spent hours working in Grasshopper to figure out why it wasn’t correctly aligning the panels before I finally gave up. I began to individually lay out the panels in Rhino. I may fabricate this but I ran out of time this week, unfortunately.
Round 2 - Selecting an OpenDesk object
- OpenDesk — $FREE
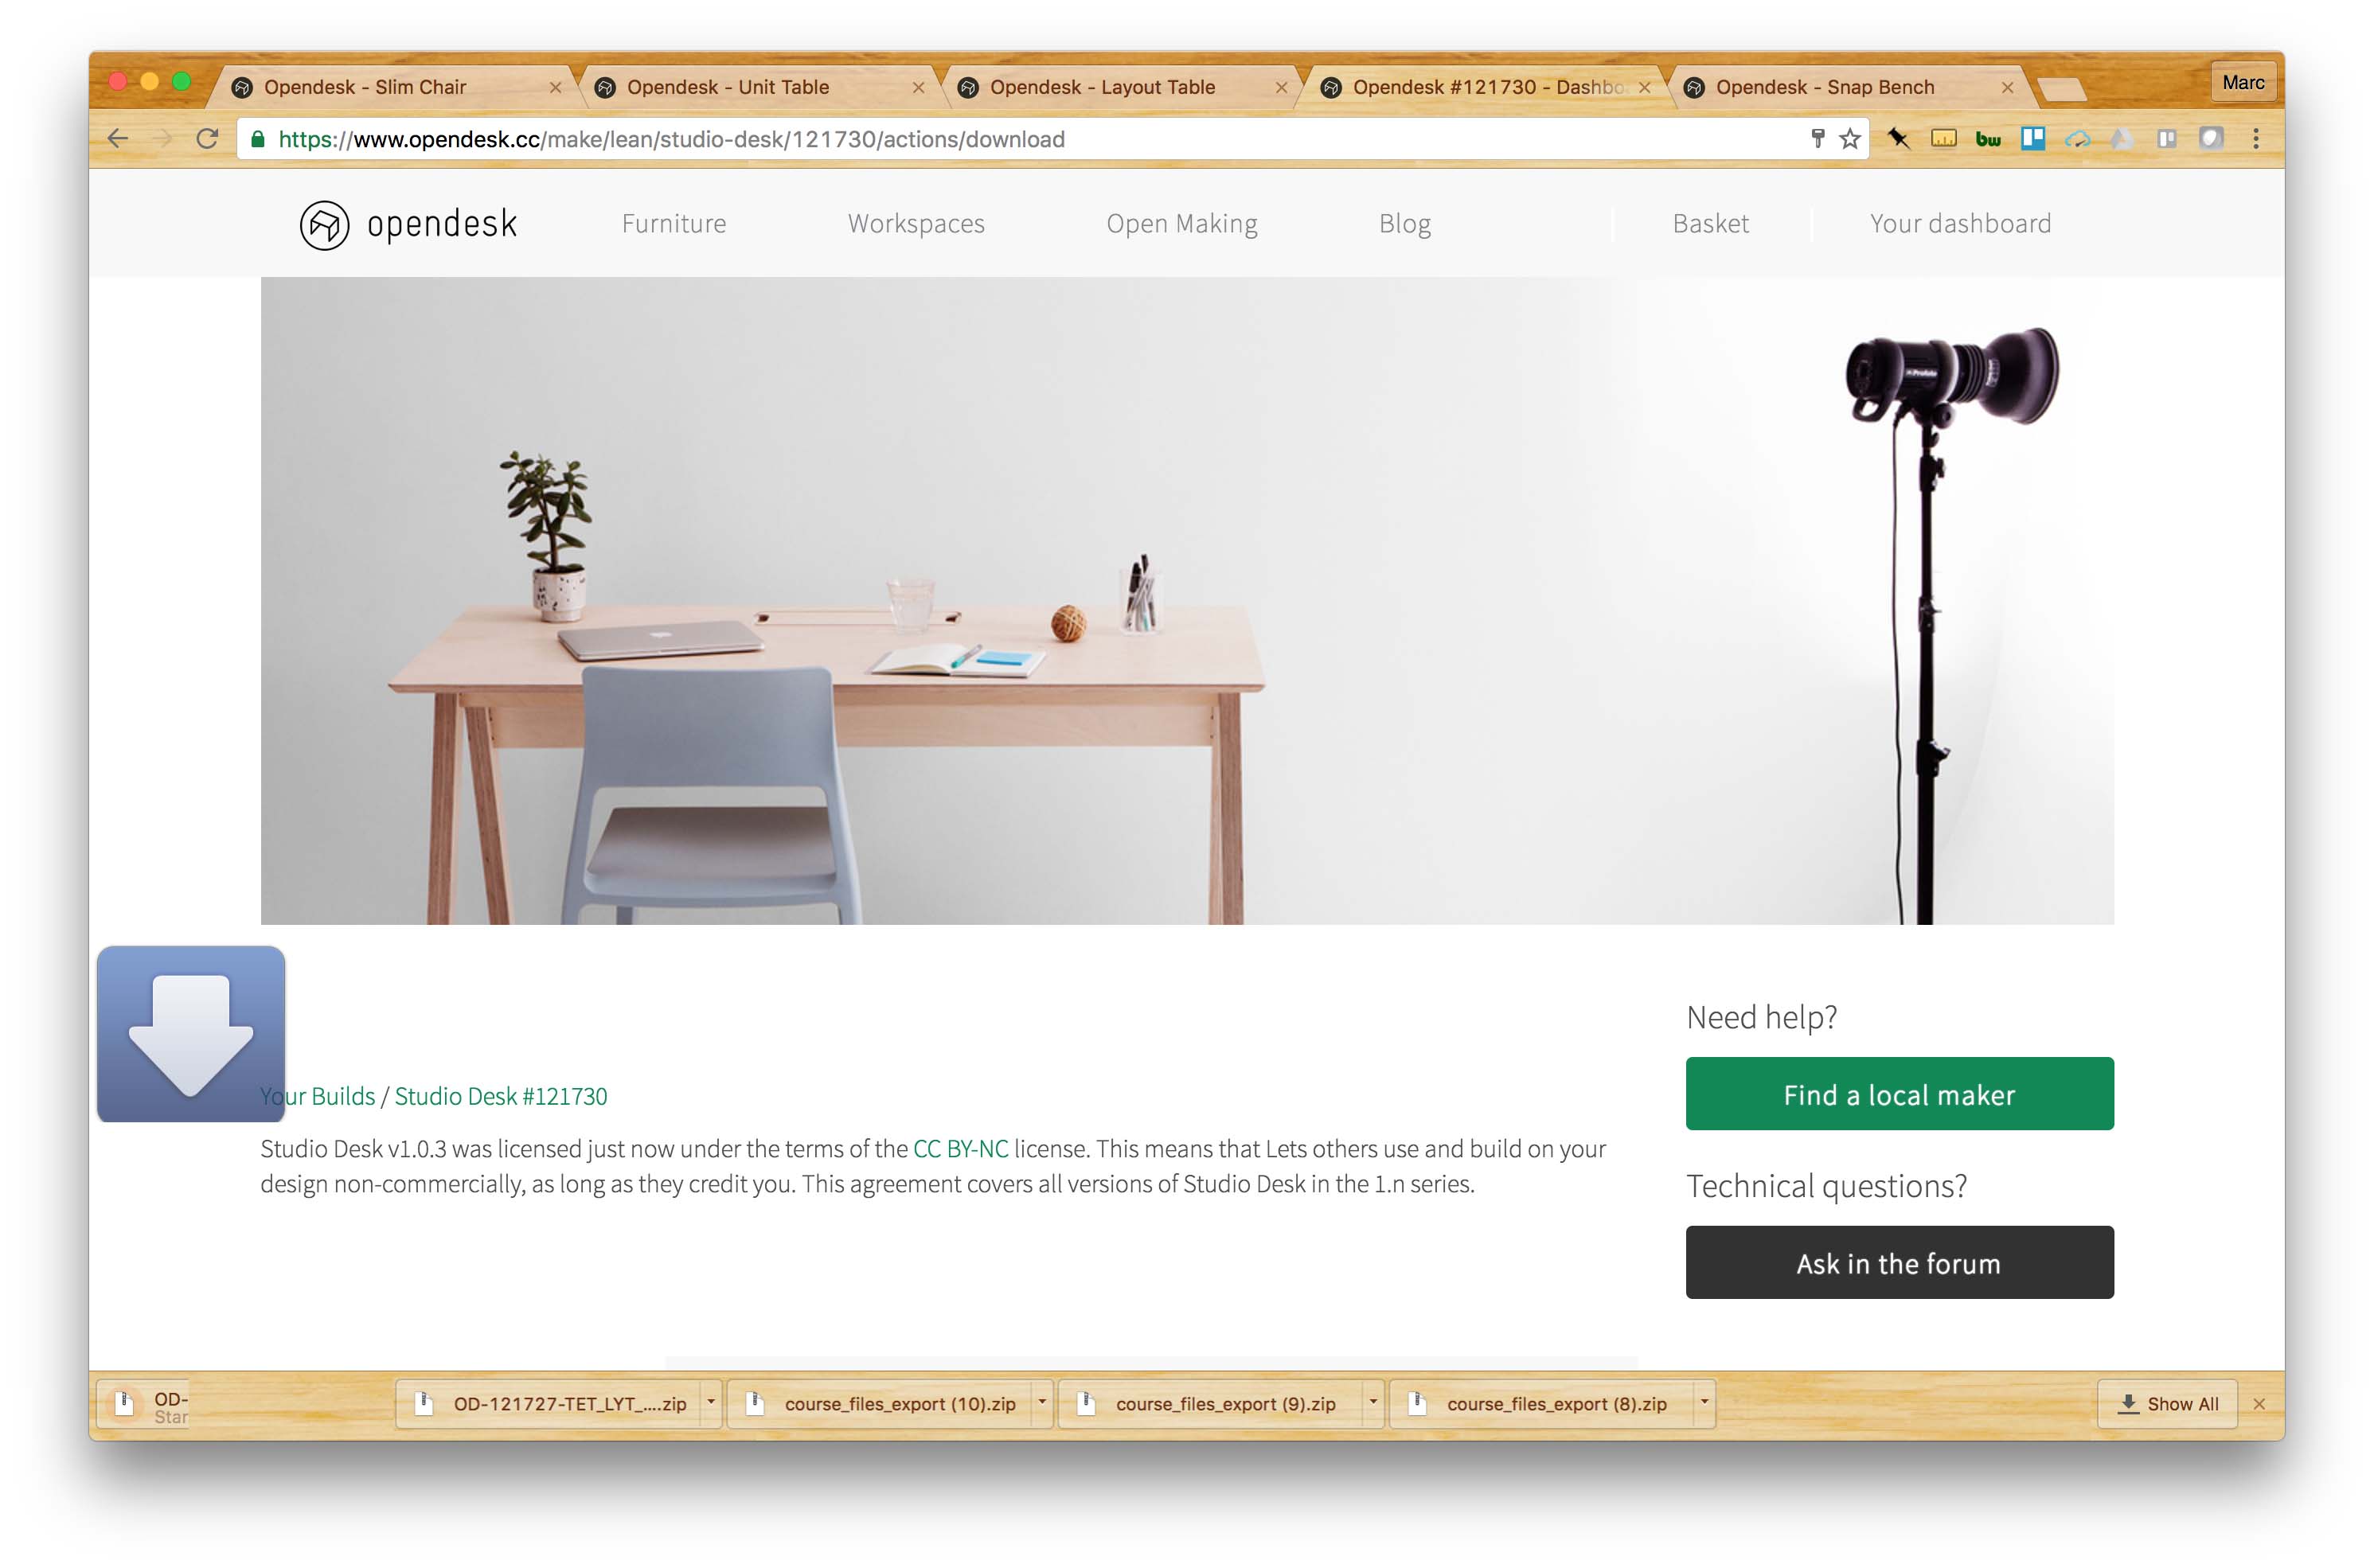
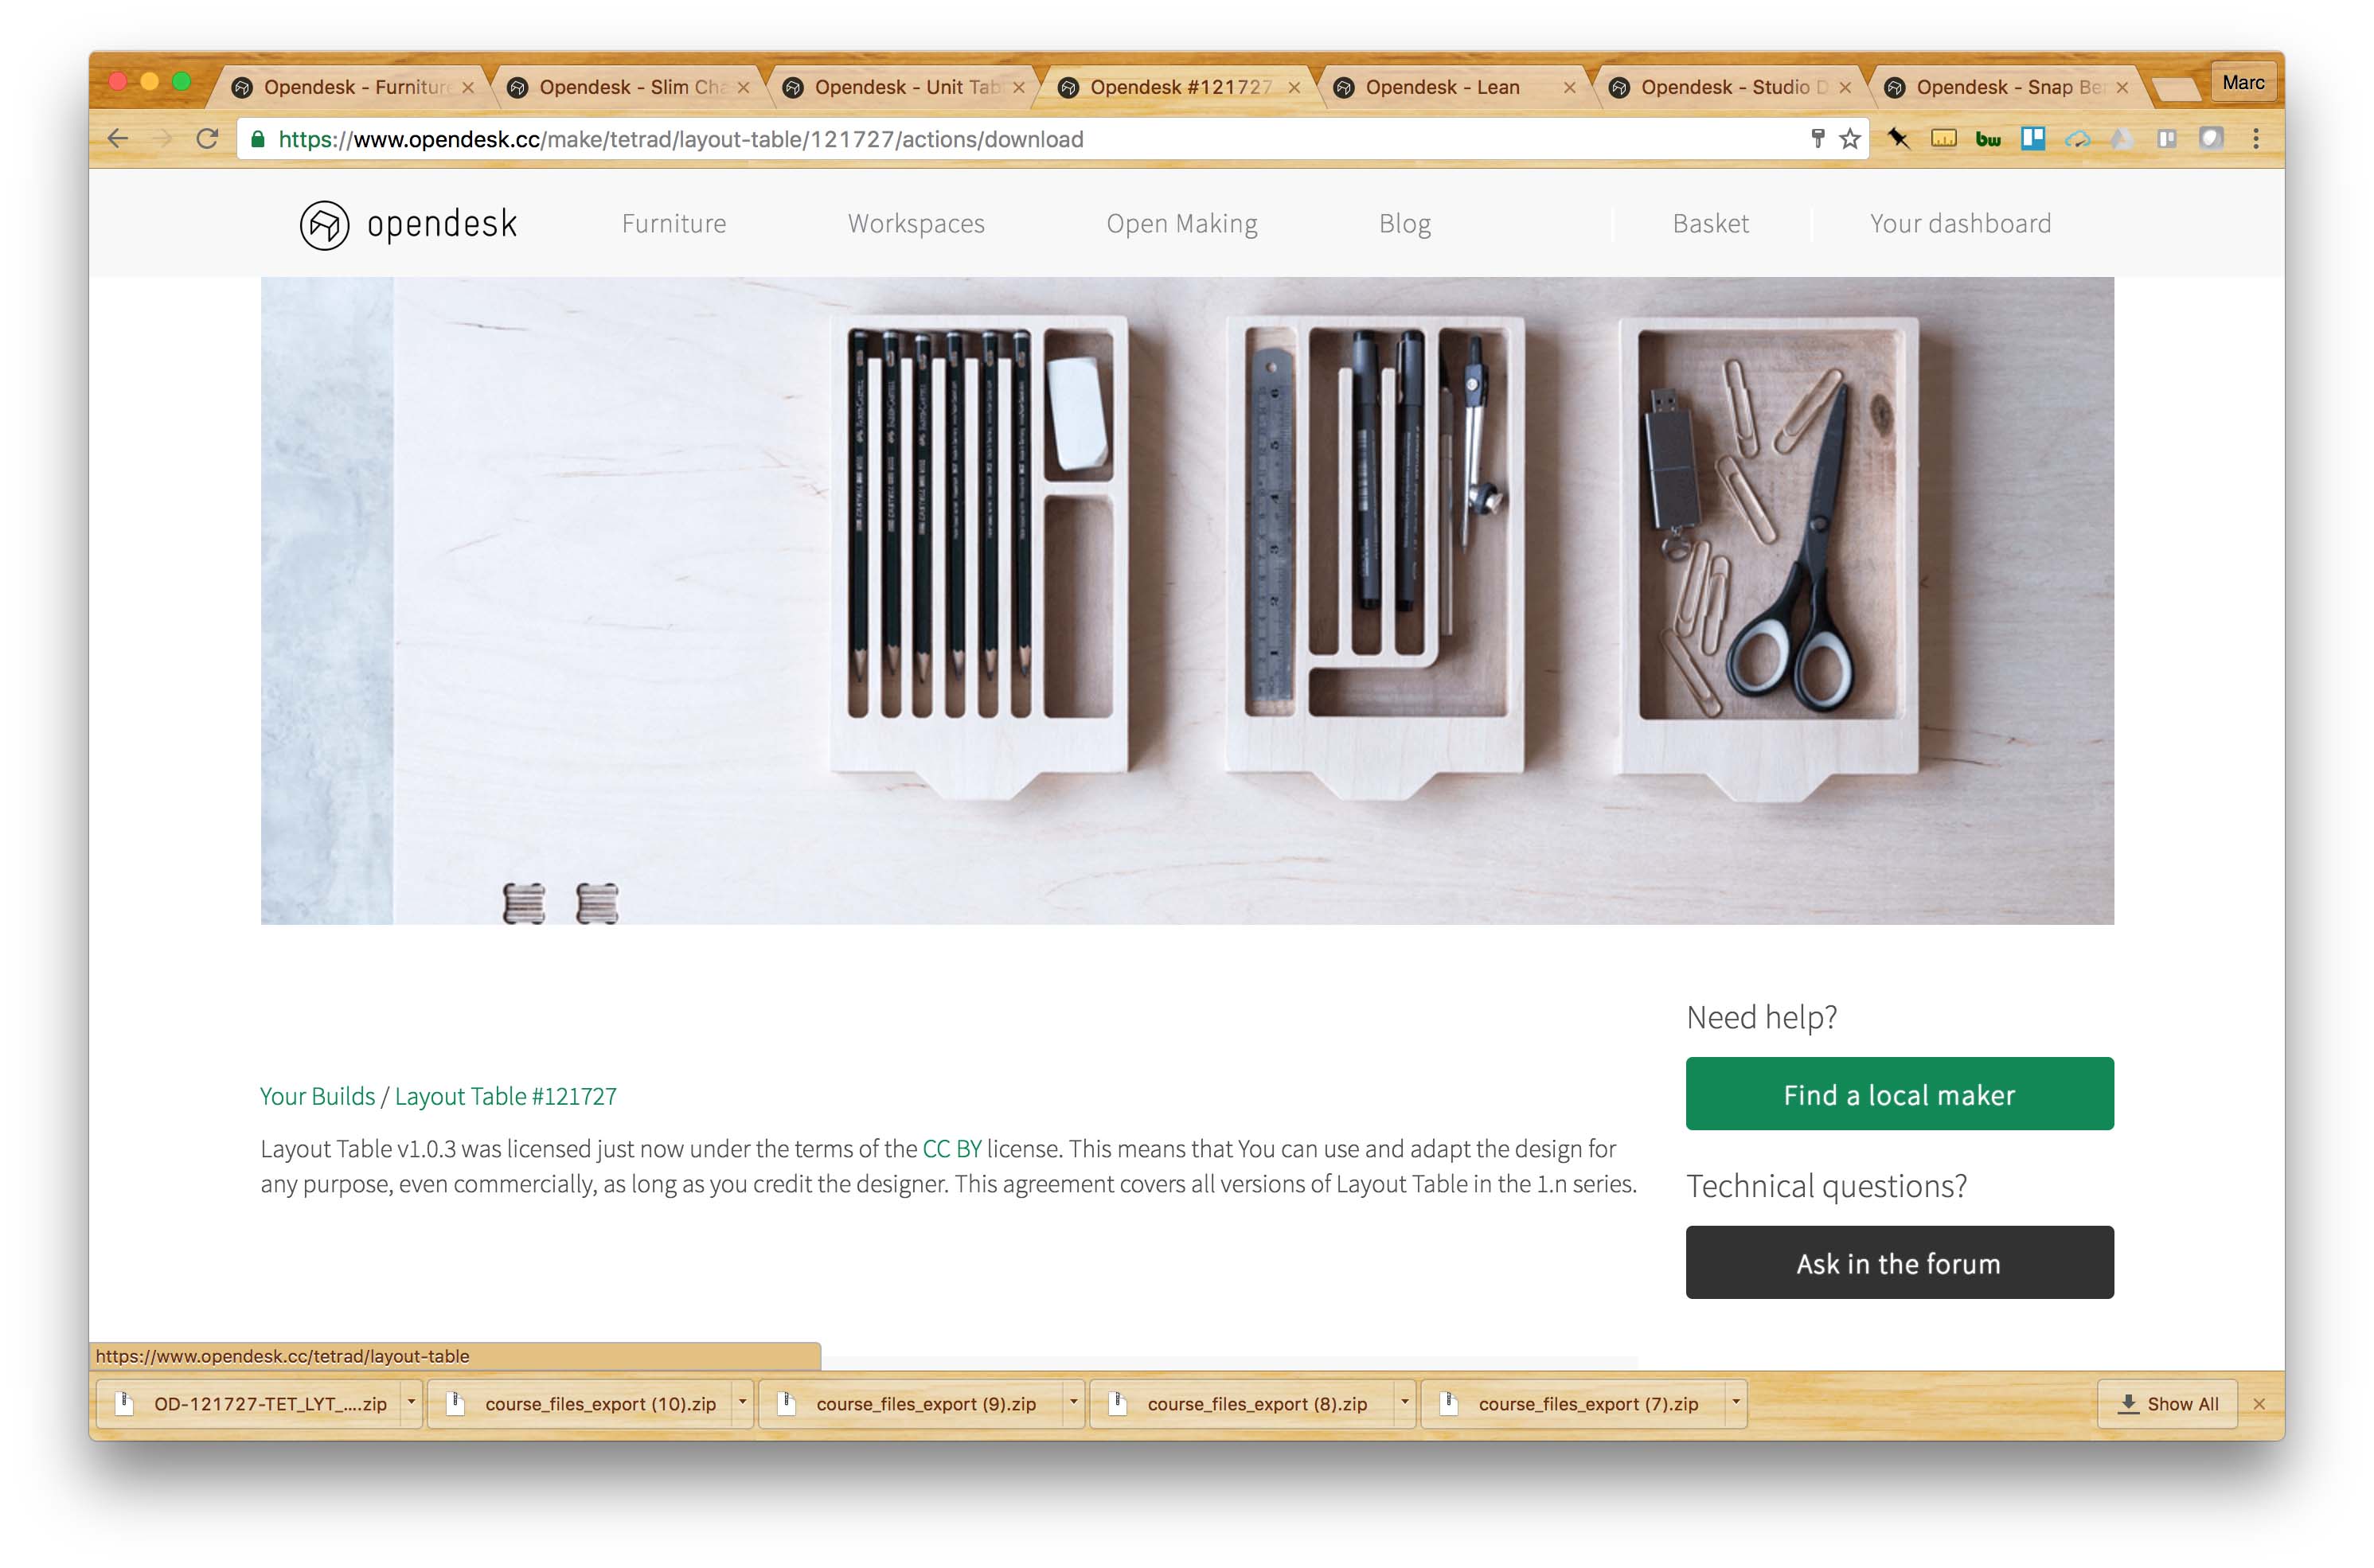
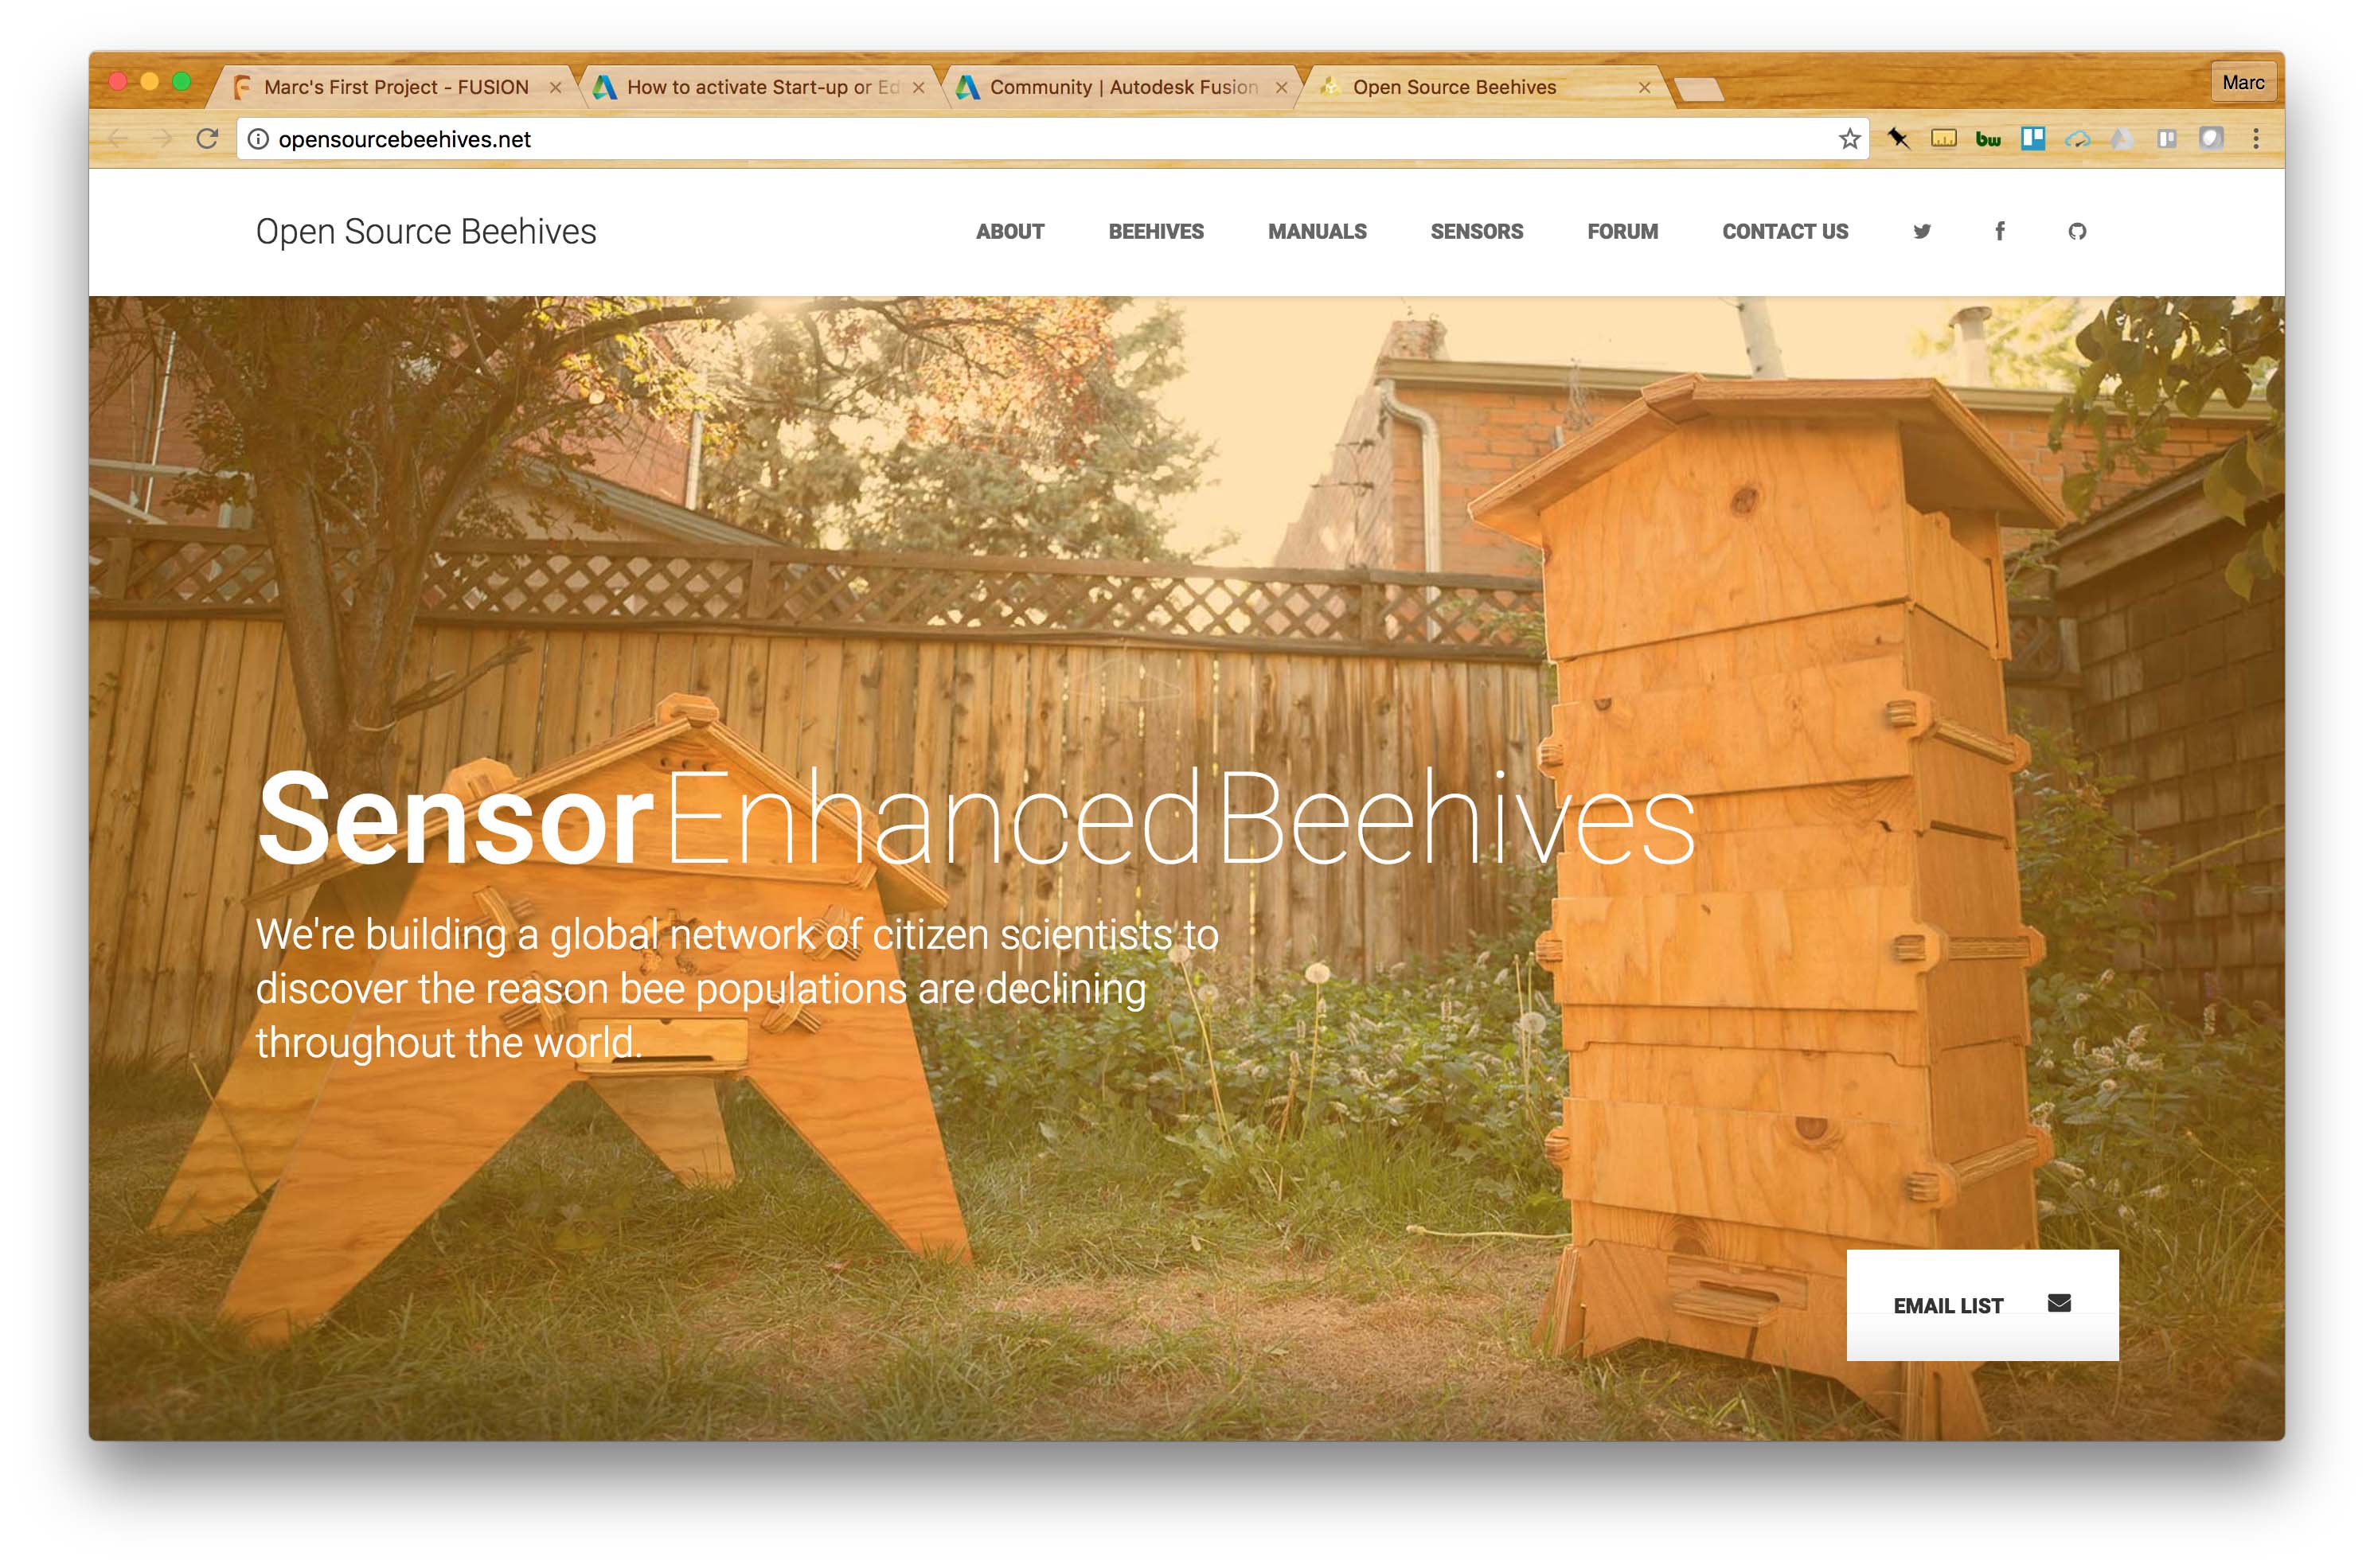
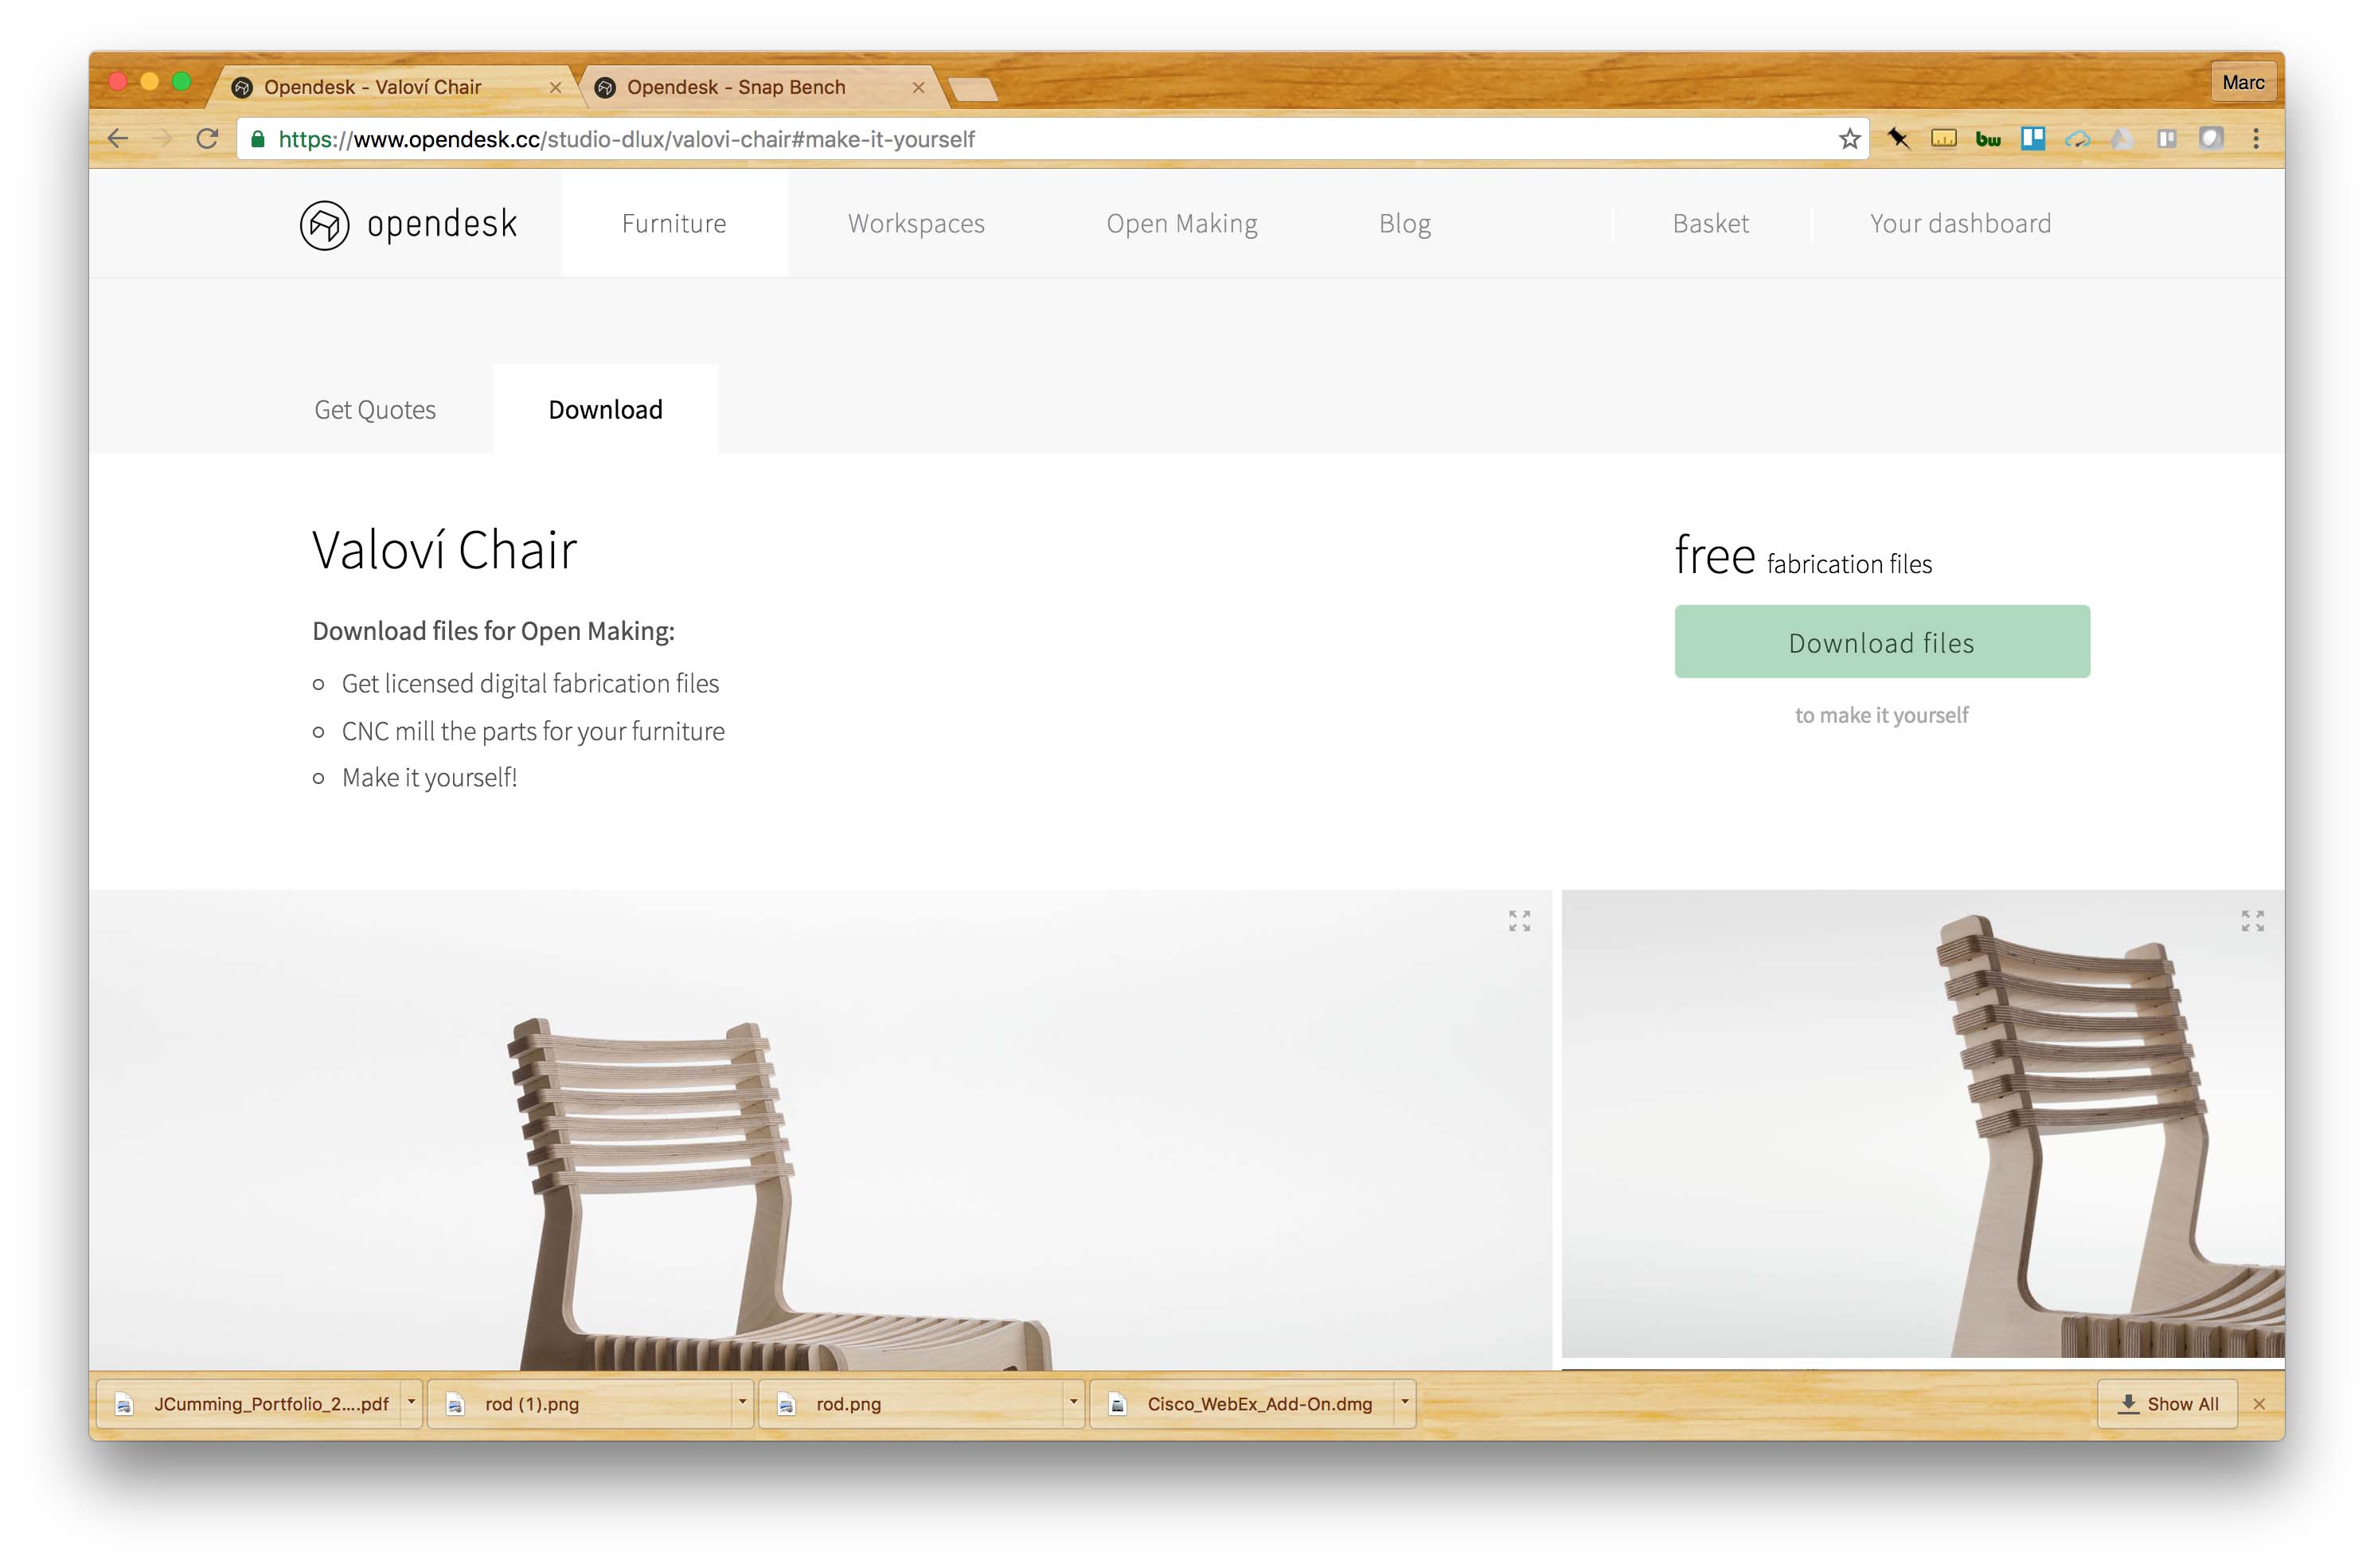
I decided to use an existing design to get some quality experience with the end-to-end workflow of CNC machining. The added benefit for me was exposure to a design that is optimized for this process. The first step I took was to select a few objects I liked. I highly recommend OpenDesk. They have done an excellent job of creating a beautiful set of designs that are offered free for non-commercial use. I explored a few desks, a beehive, and settled on a chair.
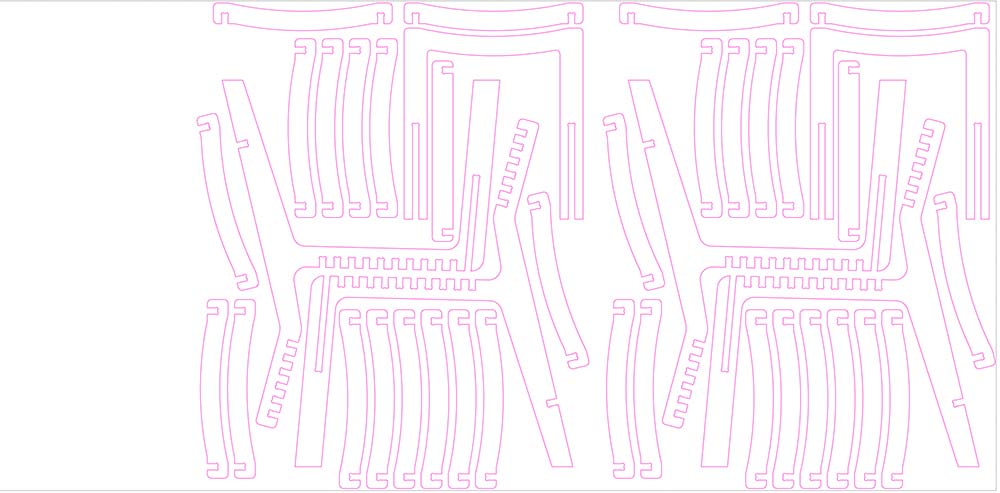
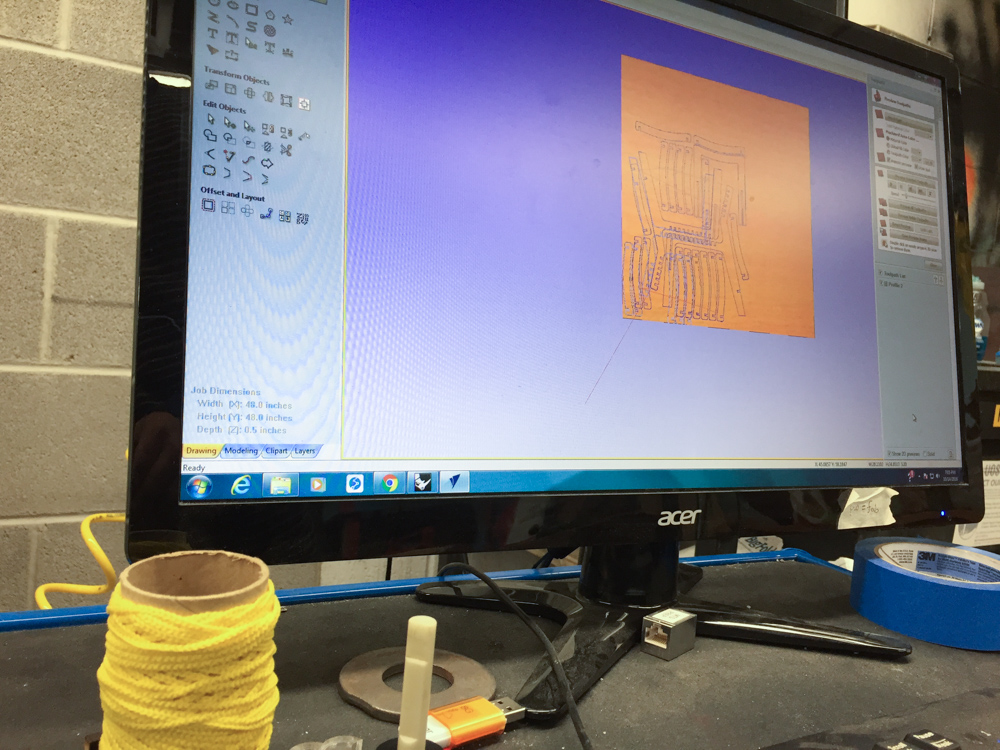
Laser Cut Test & Tool Path Generation
I needed to make several adjustments to the design of the chair to fit it to the bed size we had (4x8) and to account for the material thickness. Since CNC routing is kind of like a large version of laser cutting, I decided to perform a laser cutting test before moving to the ShopBot for routing.
MasterCAM is used professionally for toolpathing but is overkill for my needs and the learning curve would be a bit steep. The ShopBot software was simple to use although the UI is a bit strange. It replicates a number of design features you’d find in modeling software which can come in handy if there is a quick adjustment needed. In general these feel unnecessary though.
A few watch-outs:
- Double check your settings for cut depth and number of passes…these can be easy to miss
- Adjust the auto-generated tabs so that they aren’t placed in difficult to reach or delicate spots
- Make sure all paths are closed
- Check tool diameter settings
- Remember to hit ‘close’ on the preview toolpaths in order to save. It was oddly difficult for me to realize.
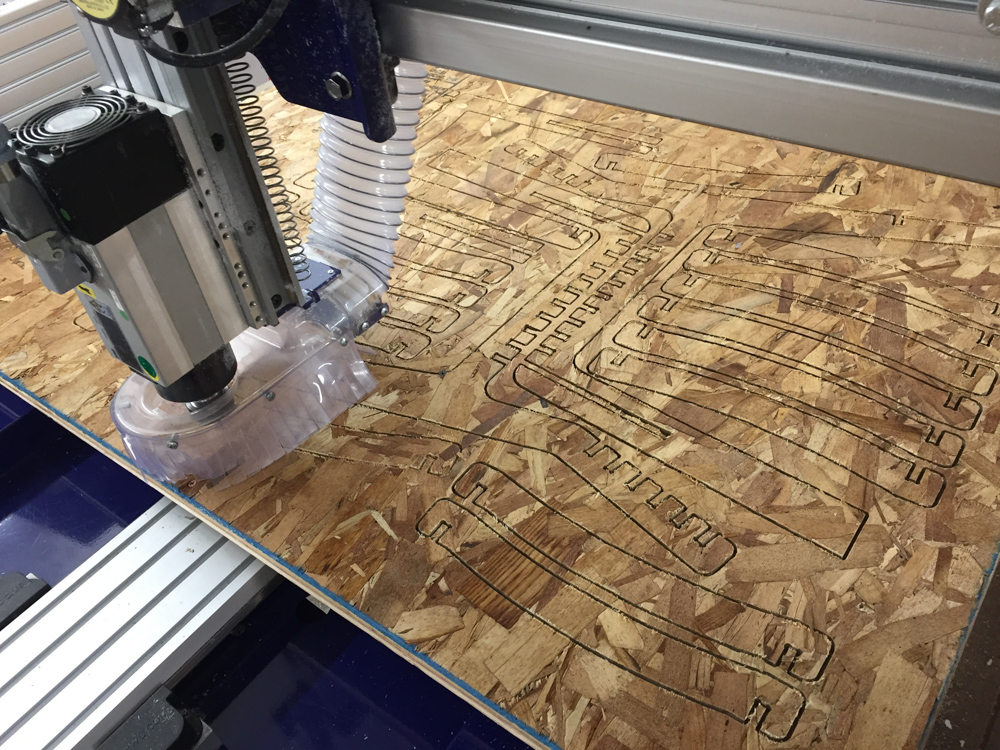
Fabrication & Assembly
Before routing…don’t forget:
- Screw the work piece down if there isn’t a different mechanism available
- Zero the bit in XYZ
- Don’t home to XYZ…the bit will break
- Do a short but helpful air cut to test your file/settings before cutting
- Do buy better wood after testing with OSB
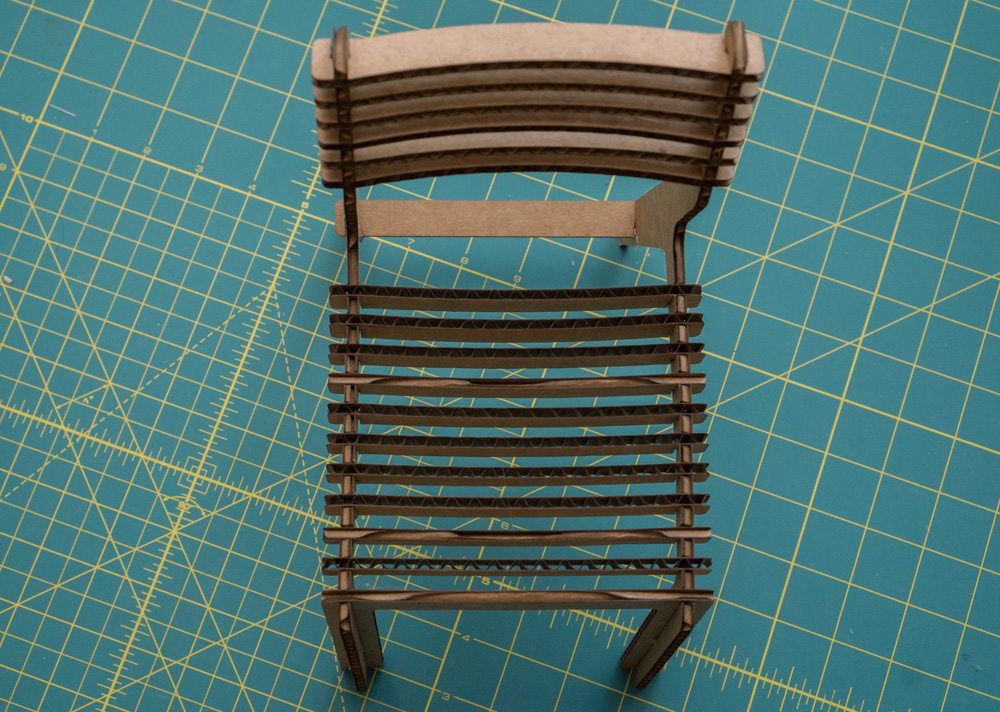
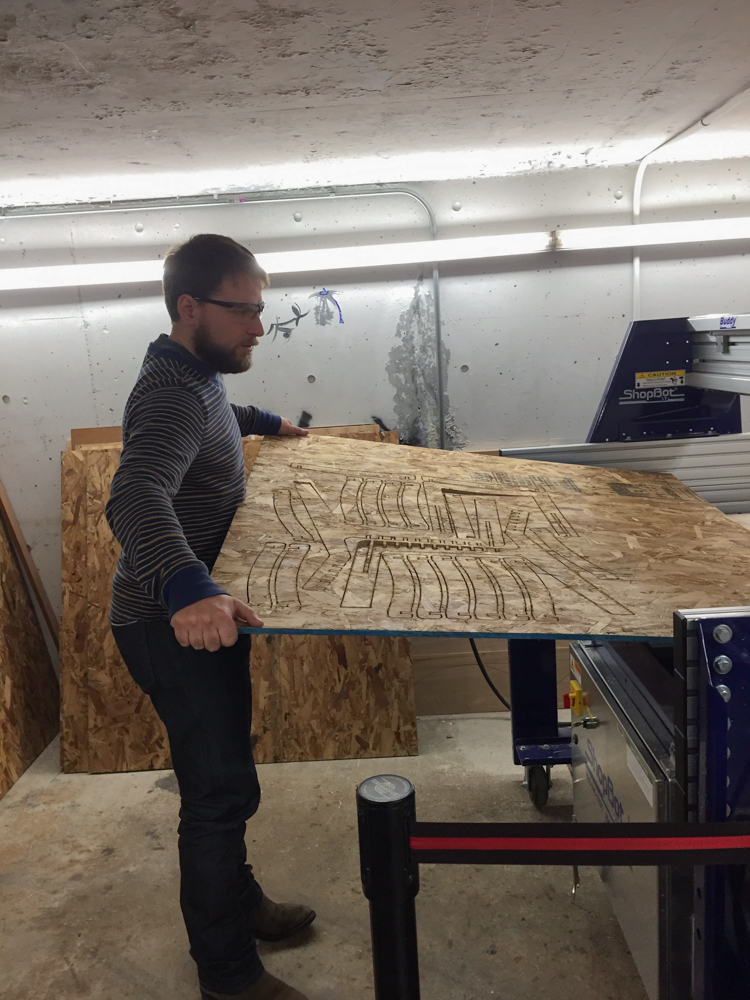
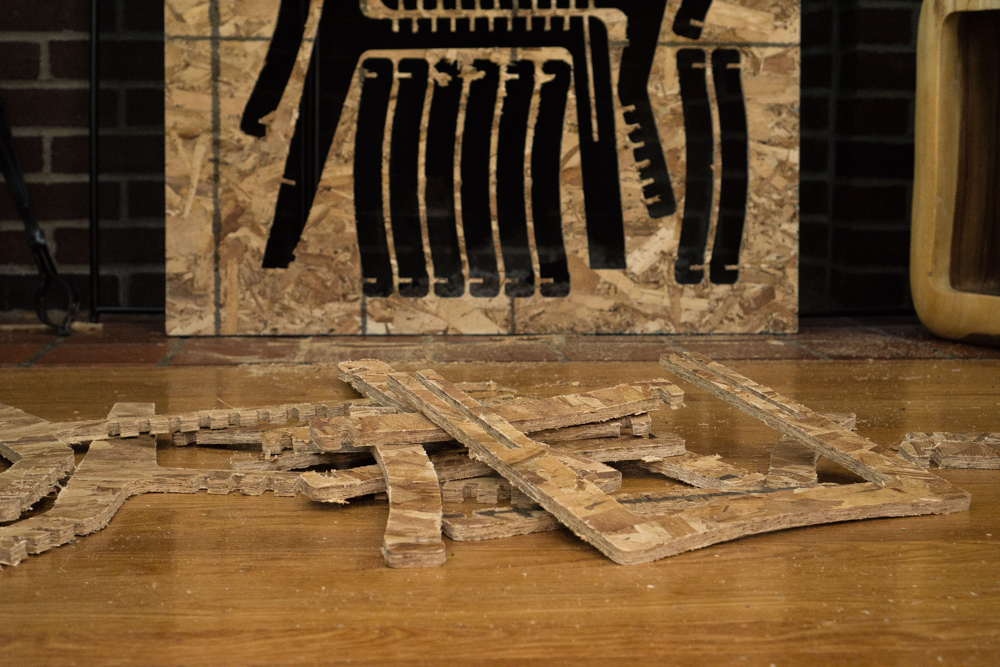
 Yup…super strong
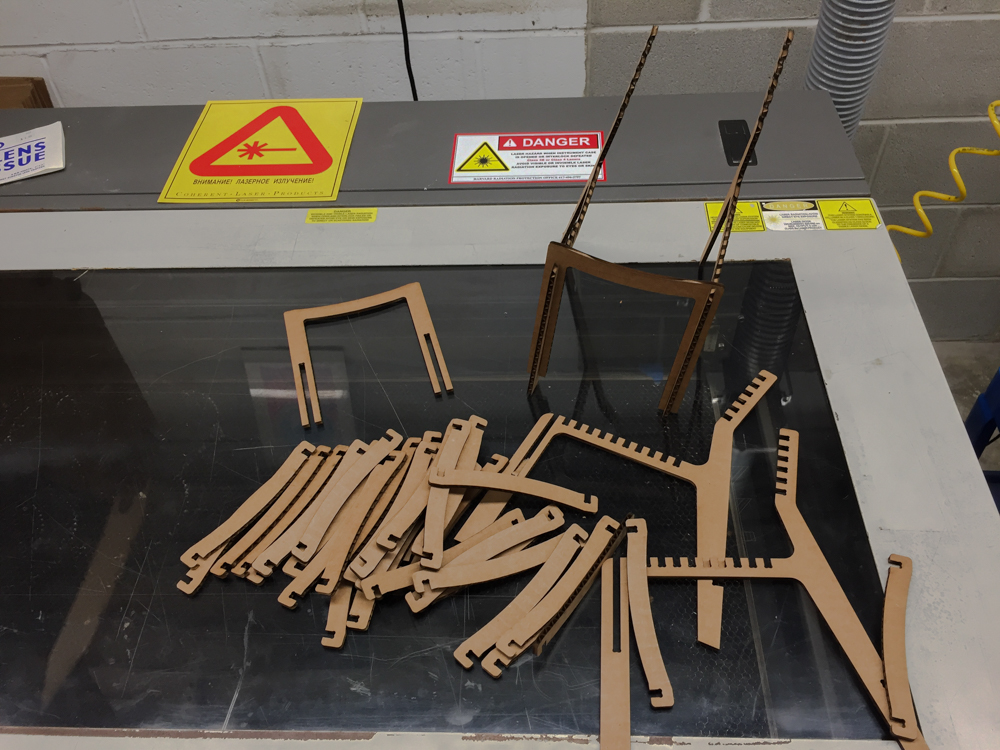
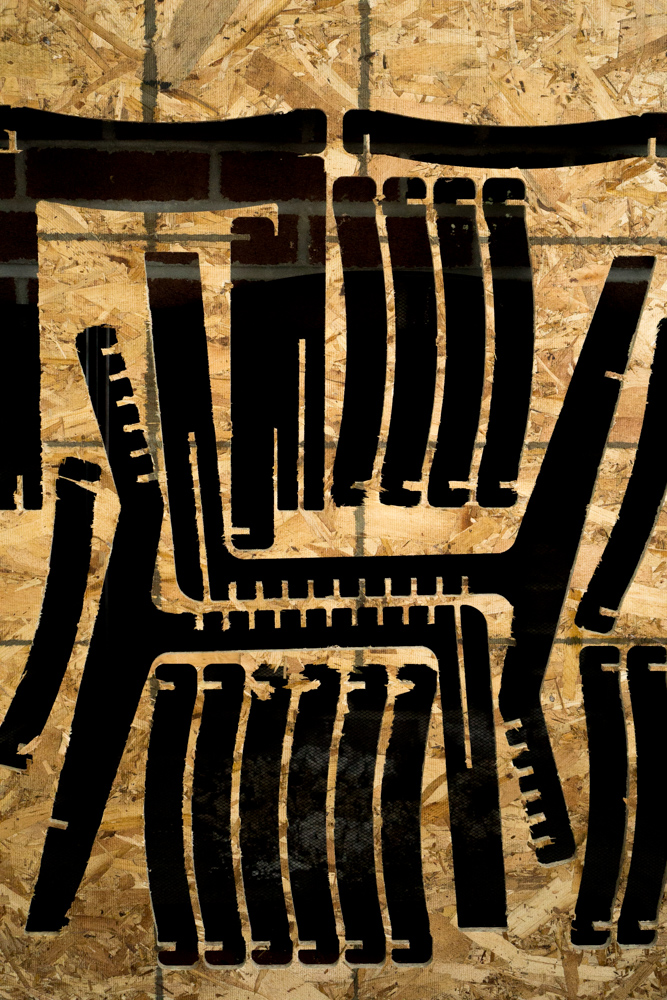
 Results of some elbow grease and a knife
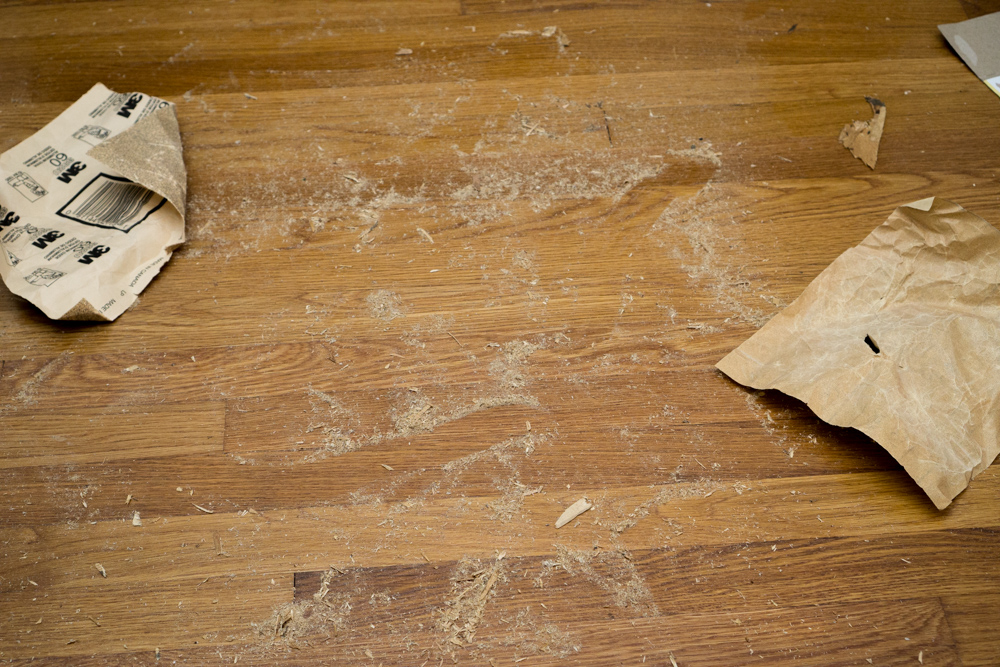
 Sanding aftermath
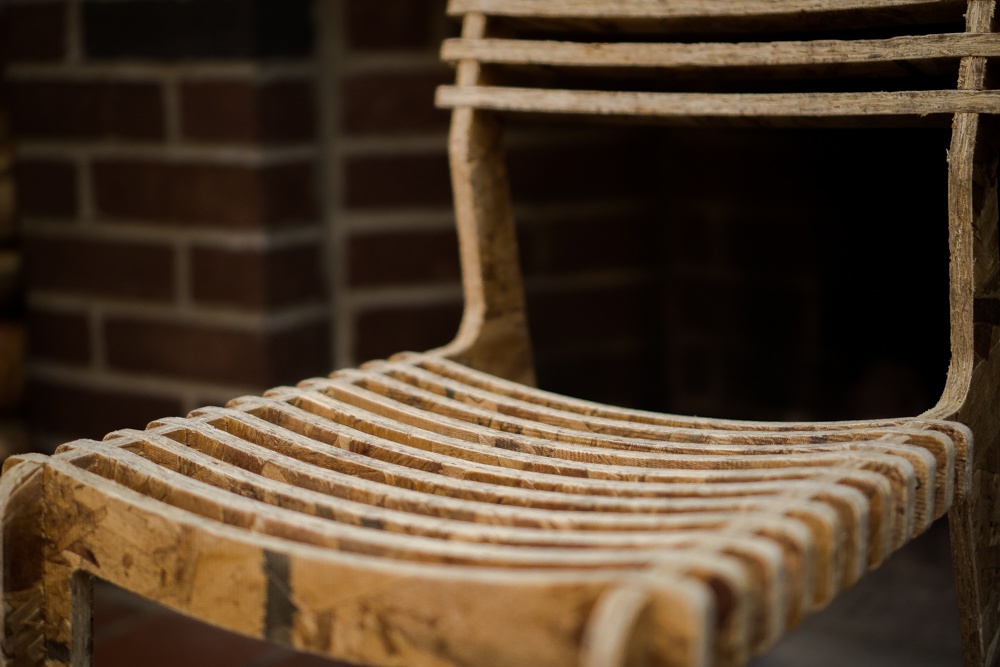
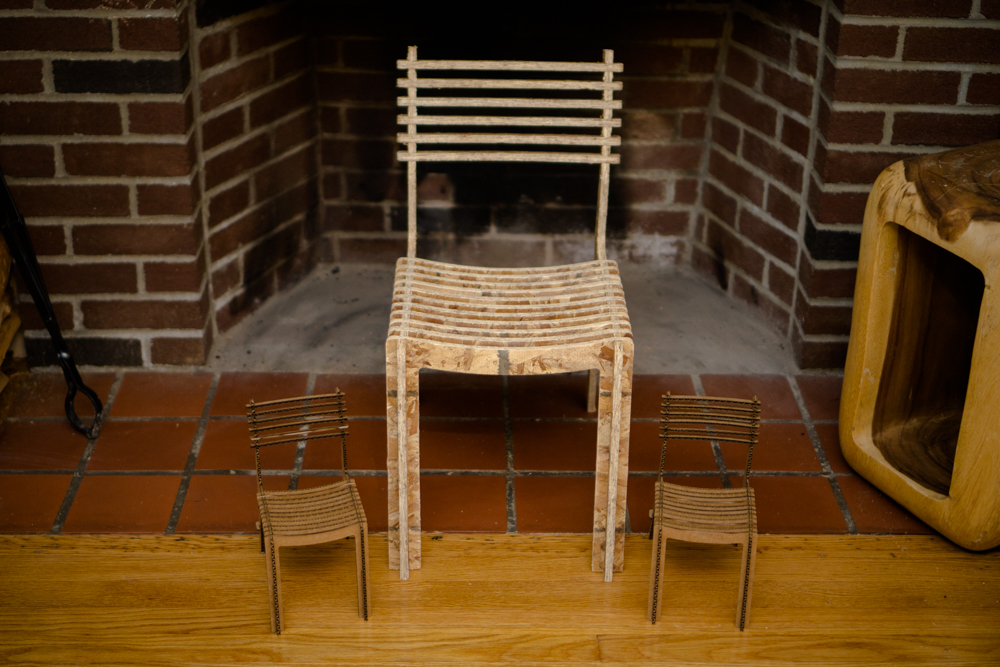
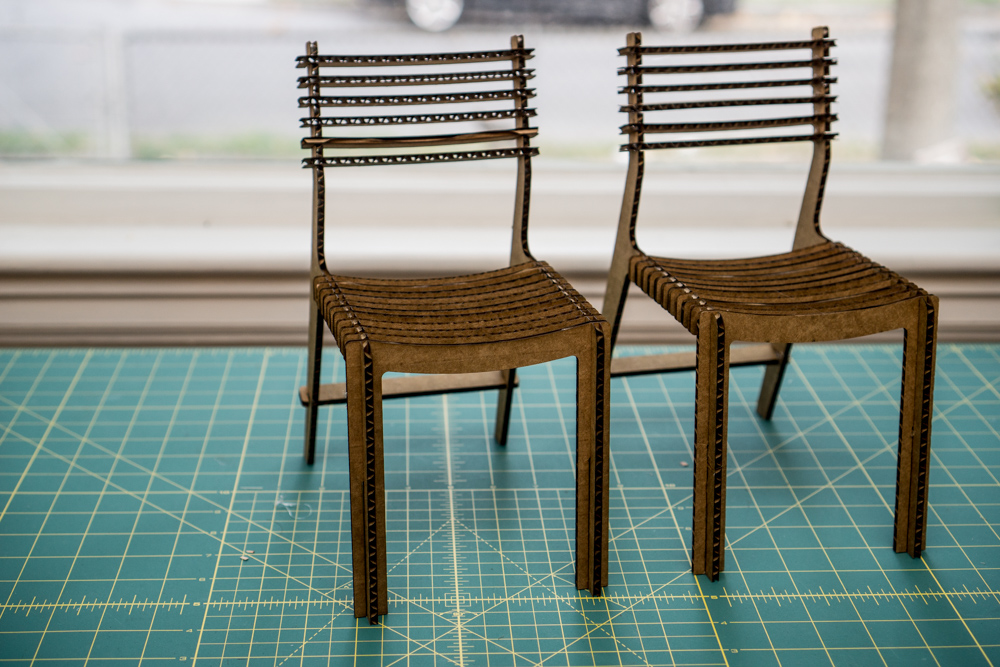
 The final piece and its little siblings