Week 8 - Molding & Casting
OVERVIEW
Design a 3D mold, machine it, and cast parts from it. There is more than meets the eye with casting.
My strategy for casting was to keep the design side simple by leveraging the fabOptimus enclosure I designed last week. I noticed some issues after printing it on the Form 2 and I wanted to fix them this week. I also wanted to create a mold insert and frame — a common approach for molds with internal geometry. These decisions ended up being my undoing…
Updating the fabOptimus enslosure
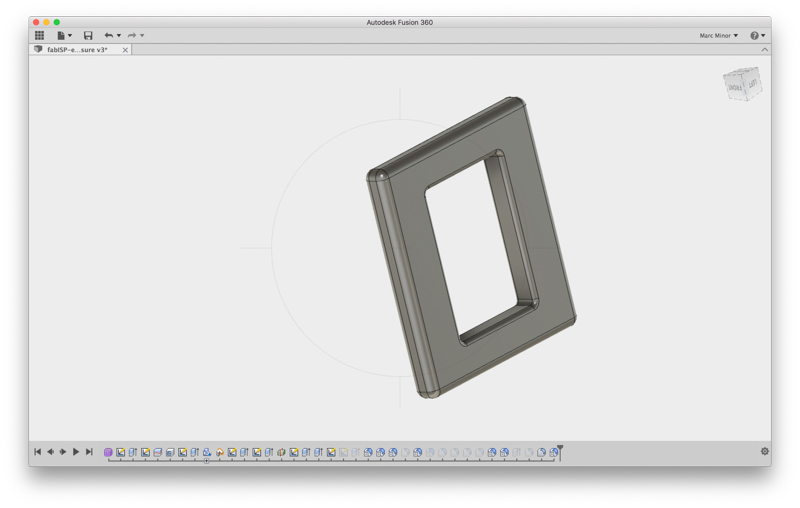
My first version of the enclosure ended up having a few accuracy issues because the location of the micro usb on the chip wasn’t centered as it was in my CAD. The first order of business was to adjust the enclosure to address this.
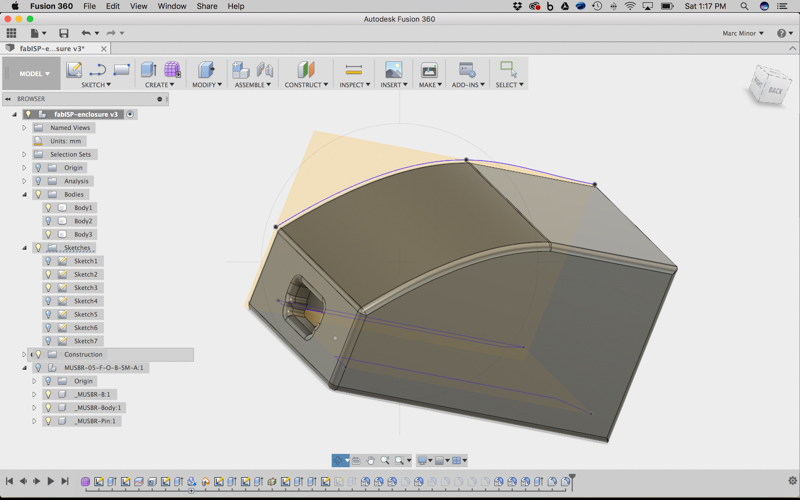
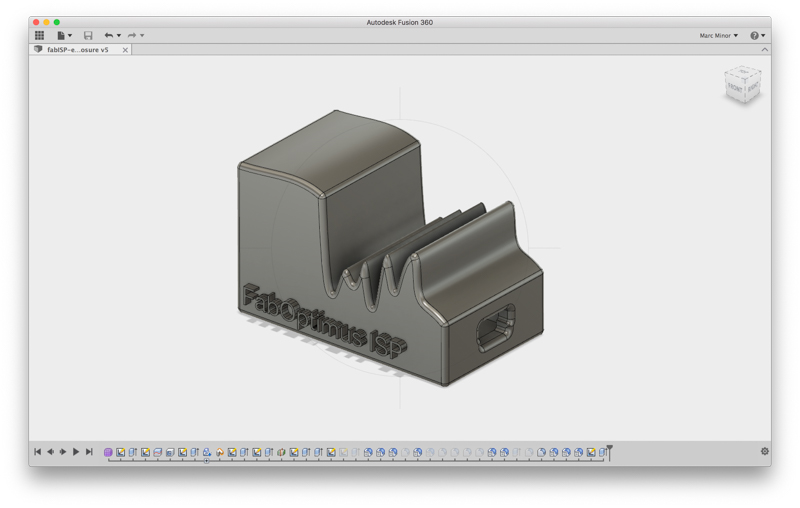
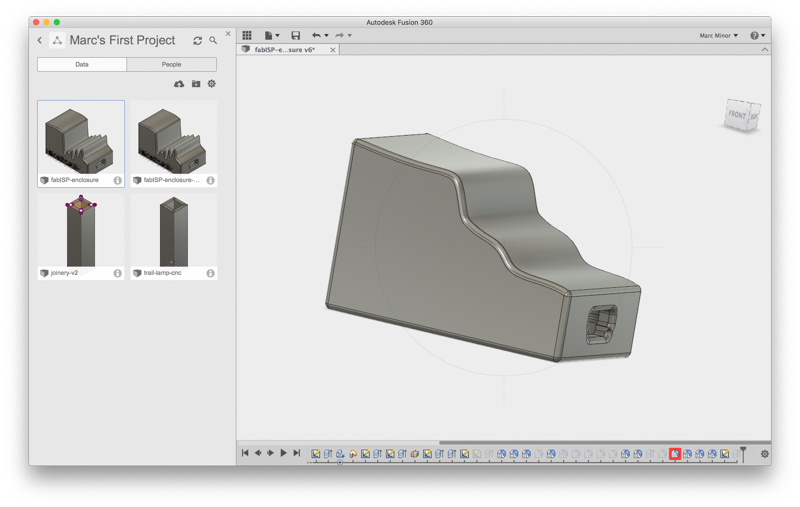
I also wanted to add more extreme geometry and more noticable fillets to take advantage of the benefits of casting. I adjusted the profile to make it more like a landscape topology and added a nice label for kicks.

Updating so that it is routable
It turns out I hadn’t thought through the routing very well. I updated the design so that the ShopBot could handle it.
Designing the mold
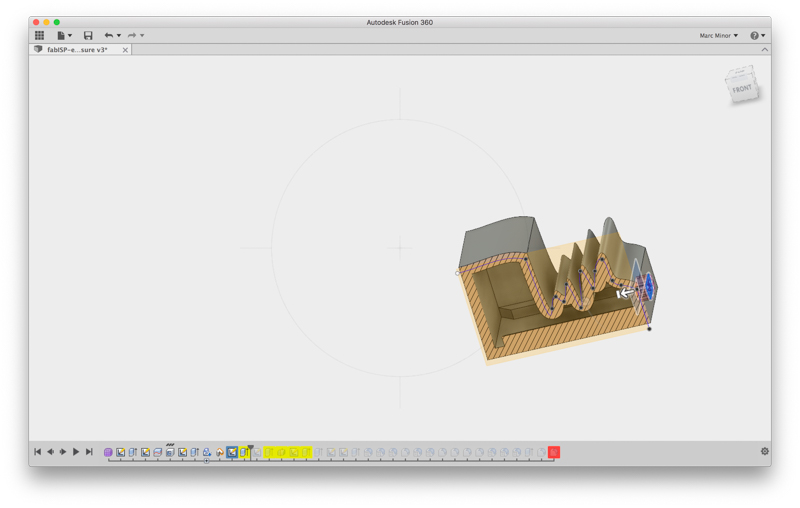
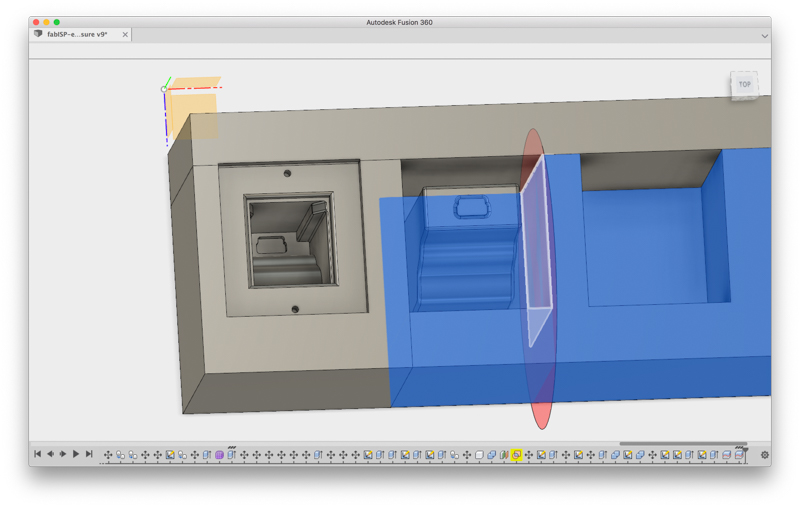
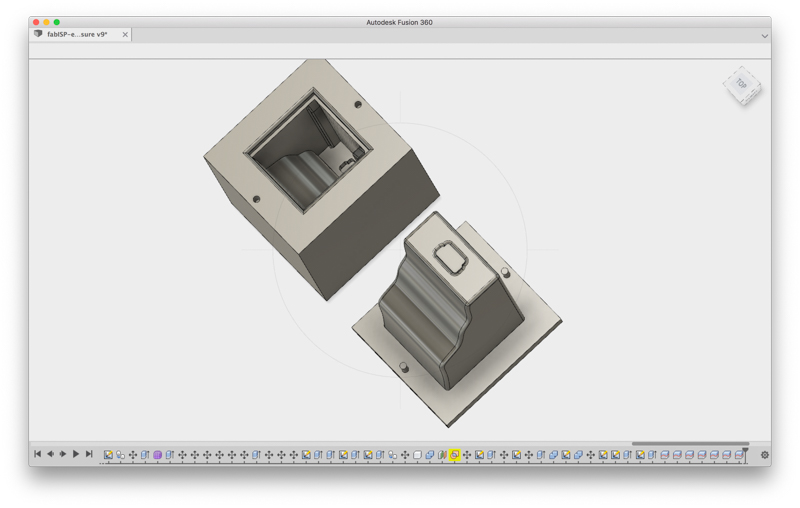
It was a long, arduous process to determine a strategy for the mold positive and to get Fusion 360 to cooperate with my desire to have two separate STLs of the insert and the shape geometry.
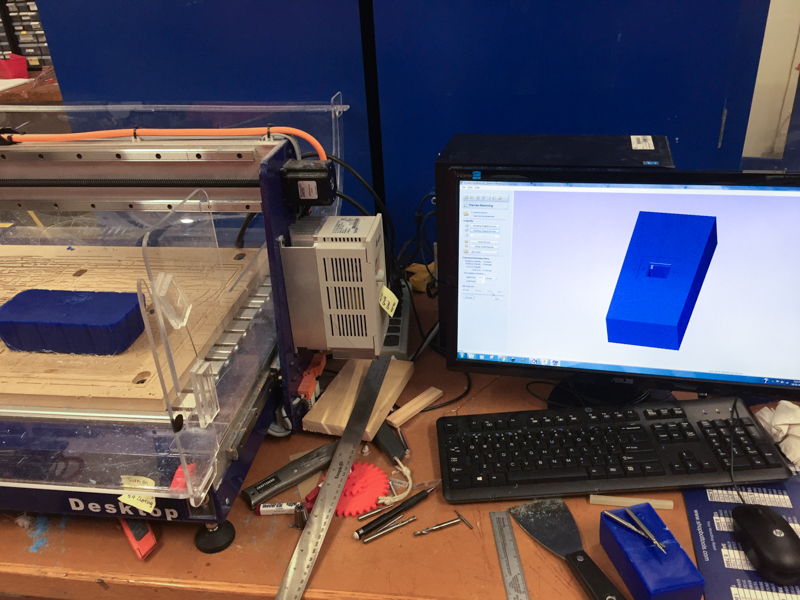
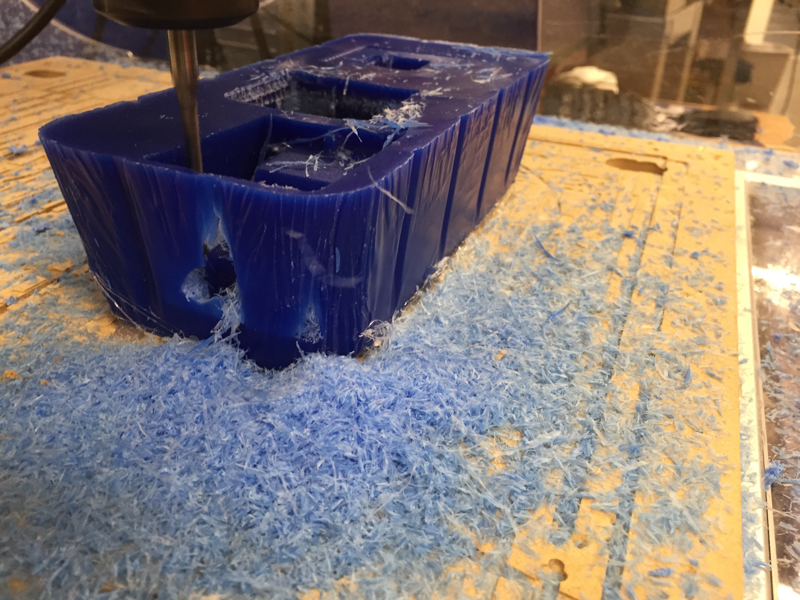
Milling the wax postive
Milling was also a long, arduous process. My object was probably going to exceed the height of the wax block so I went in a few circles trying to figure out a solution, from using a band saw to cut a block in half to reducing the size of the object (not an option).
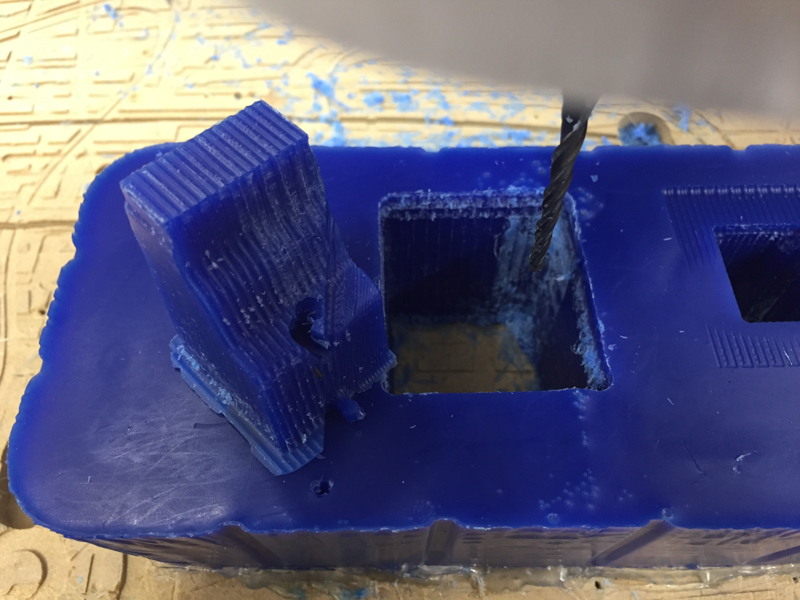
 Regular suction was required to keep the bit from gumming up and remelting the wax
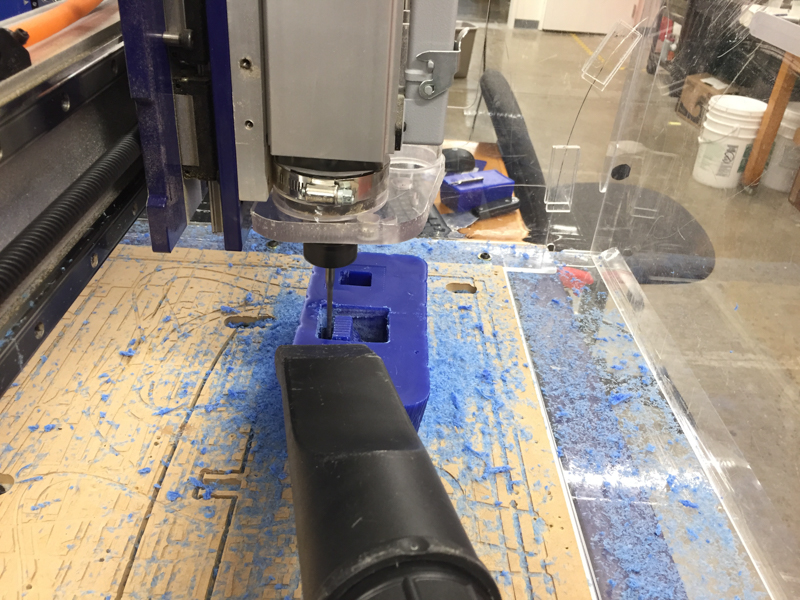
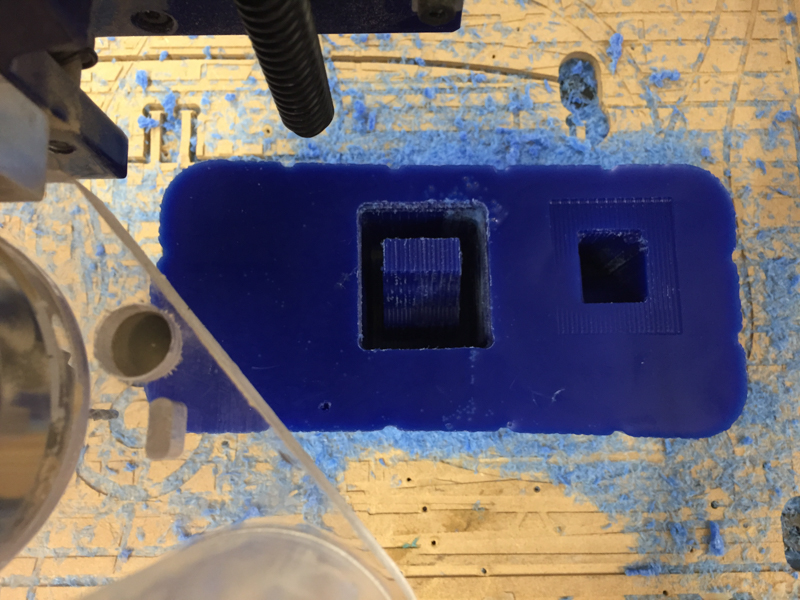 The other major issue I had was that there weren’t any drill bits tall enough to mill this geometry without the thicker top portion of the bit marring the wax. The first shape mold I did completely came off the wax block.
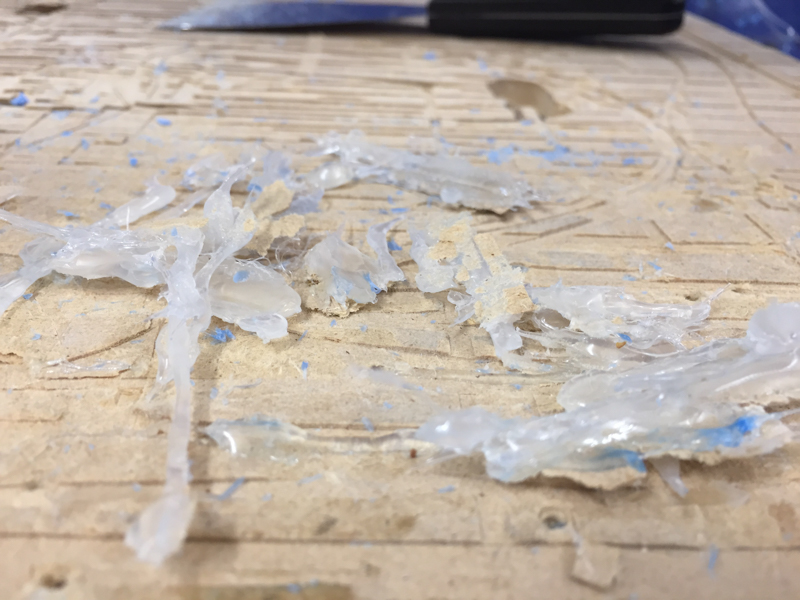
 I had to lay it on its side and plan to figure something out later. Unfortunately, that one also broke outside the mold area due to a taper along the edge of the wax block. Lots of wax shavings and glue later, I had a marred wax block.
Creating the mold
Mixing and pouring OOMOO 30 is dirt simple. I noticed a few folks were using the degassing to get air bubbles out but I didn’t really see a need for mine since it was already pretty compromised.
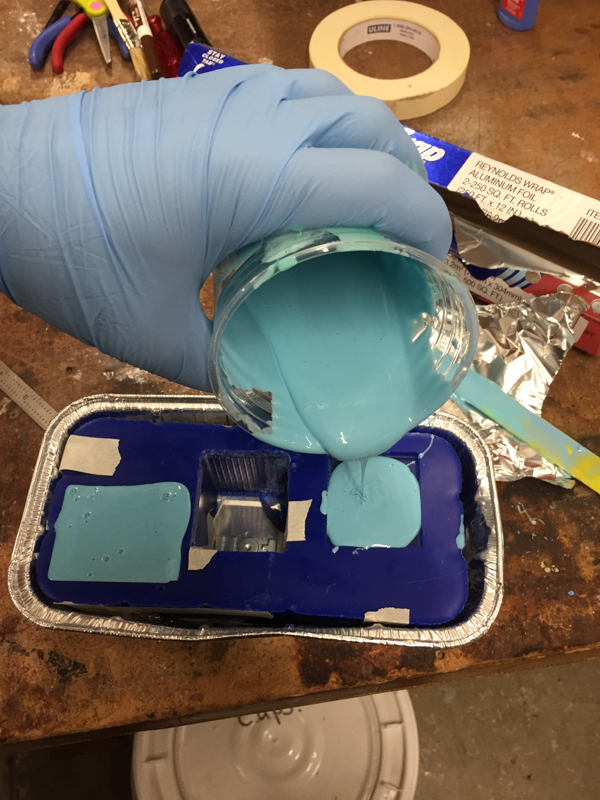
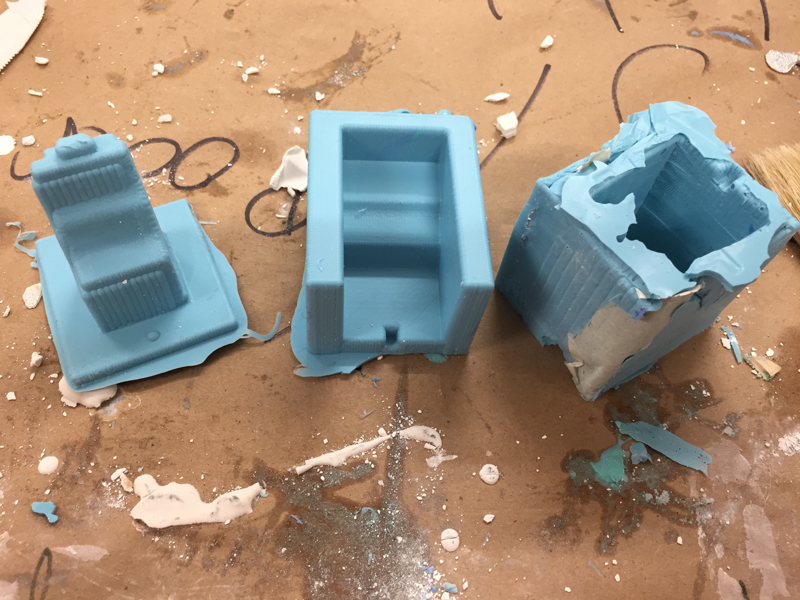
My final mold was three parts, in theory. The problem was that I didn’t actually design it that way. It was supposed to be two parts (an insert and the outer shape). When I called the audible to lay it flat for milling at 11:30pm, I didn’t actually design a third part for the mold to serve as the wall. I jerry-rigged the failed outer shape mold to see if it would work (far right) as well.
Casting with metal
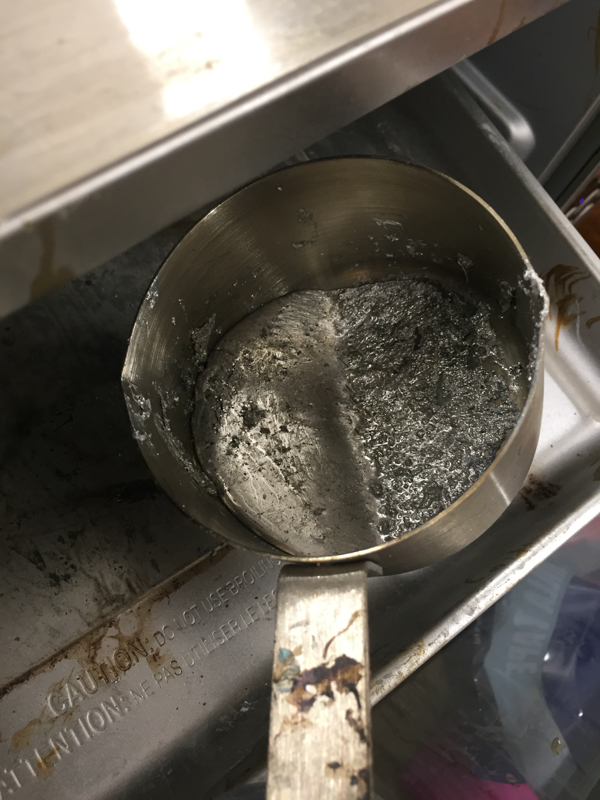
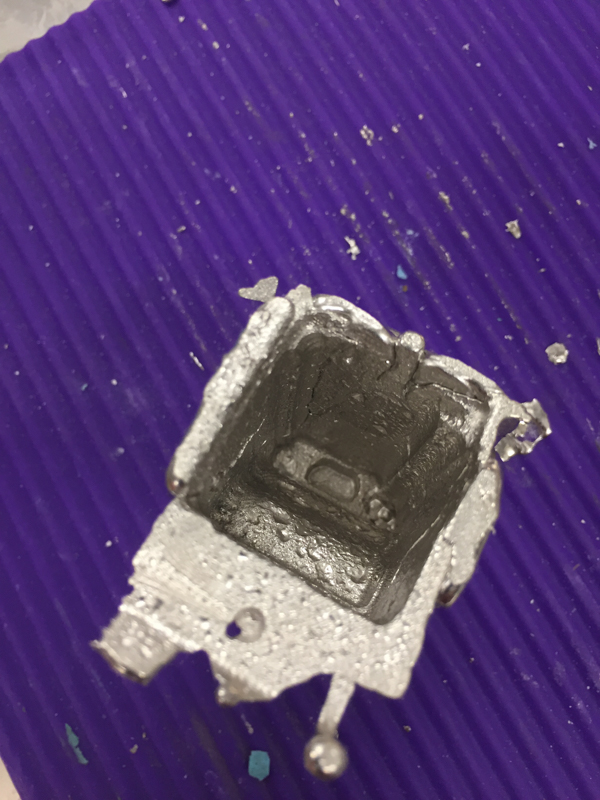
At the end of the process, it was clear that my mold wasn’t going to make a part that reflects its reason for being. Namely, it wasn’t going to precise enough to fit the fabOptimus ISP. So, I decided to take this chance to cast with some metal. We had a low-temp alloy to be used in a conventional oven.
It baked at 400 degrees F for ten minutes
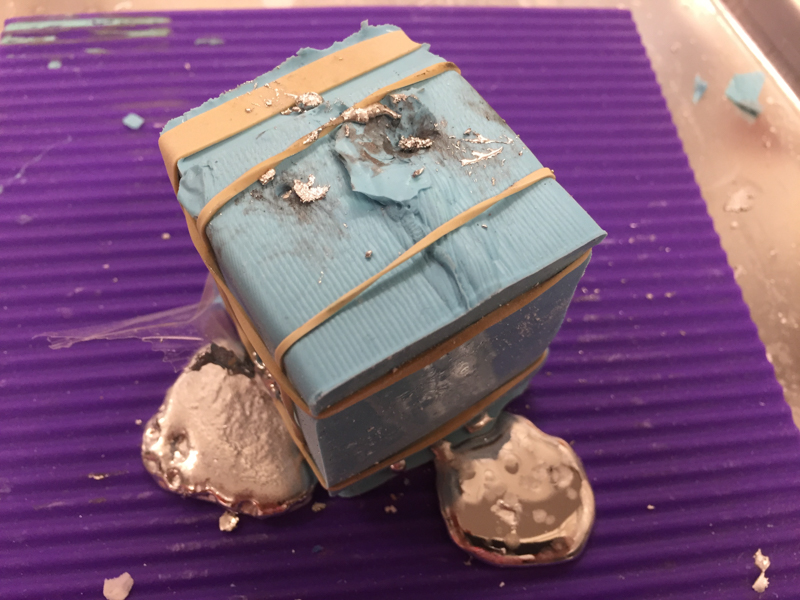
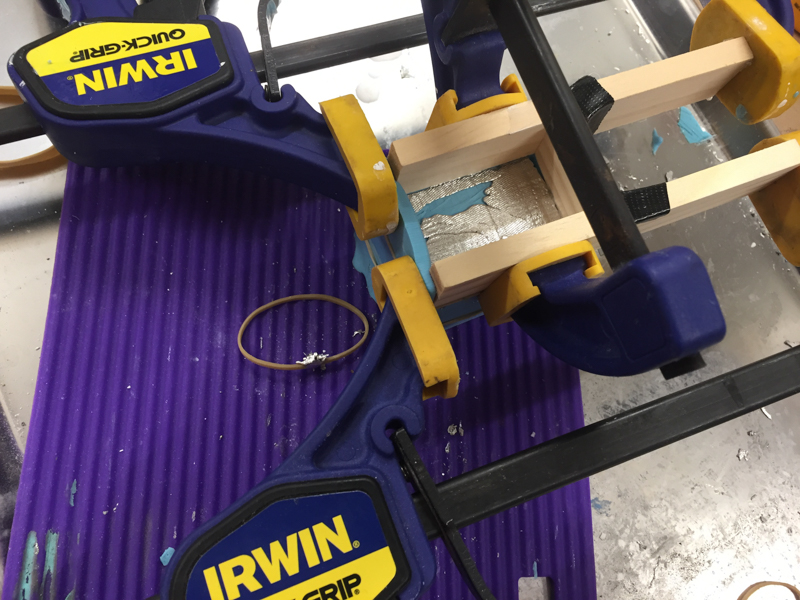
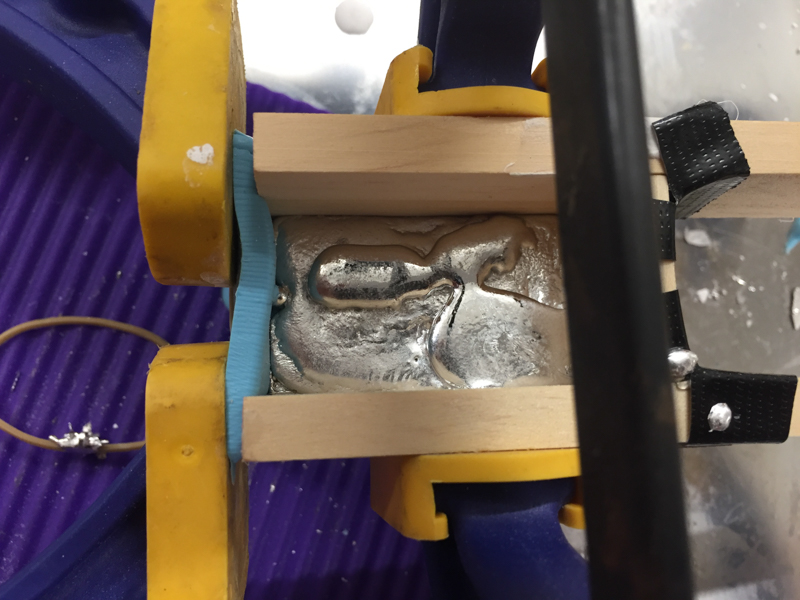
My attempt to salvage the mold for metal uses clever rubber banding techniques
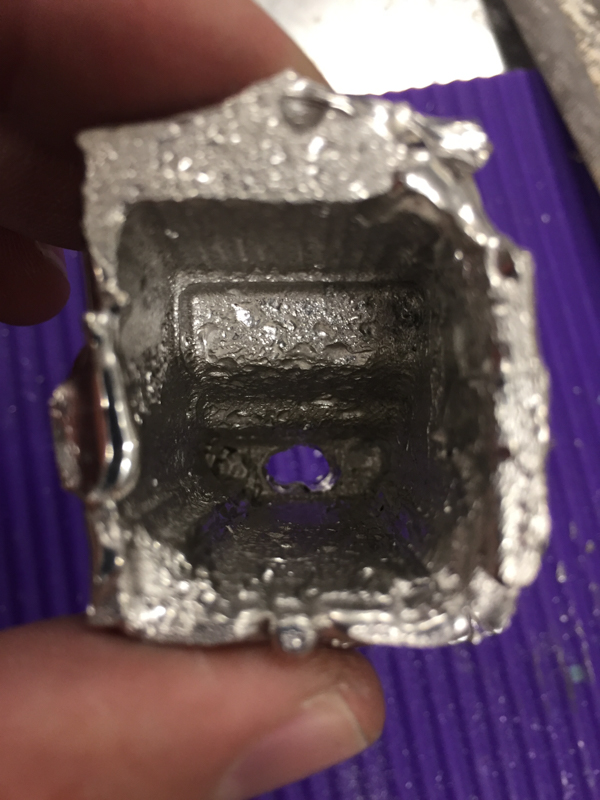
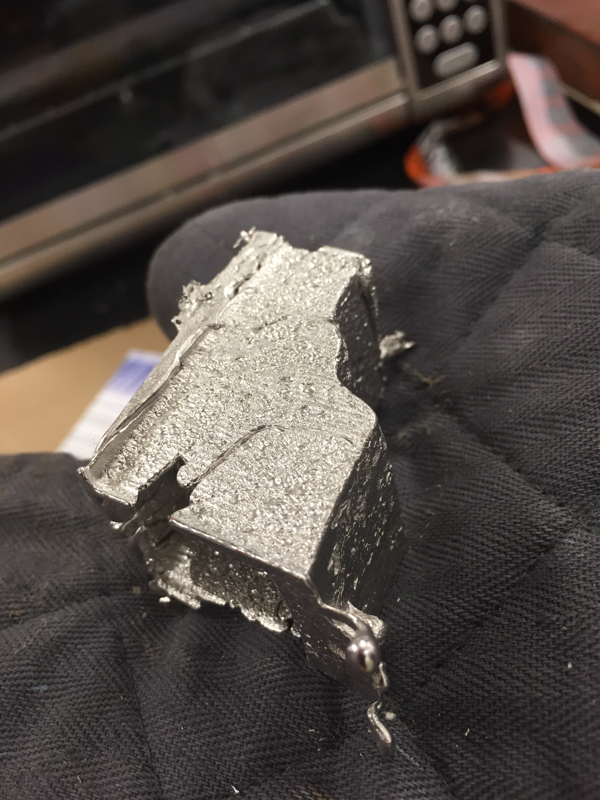
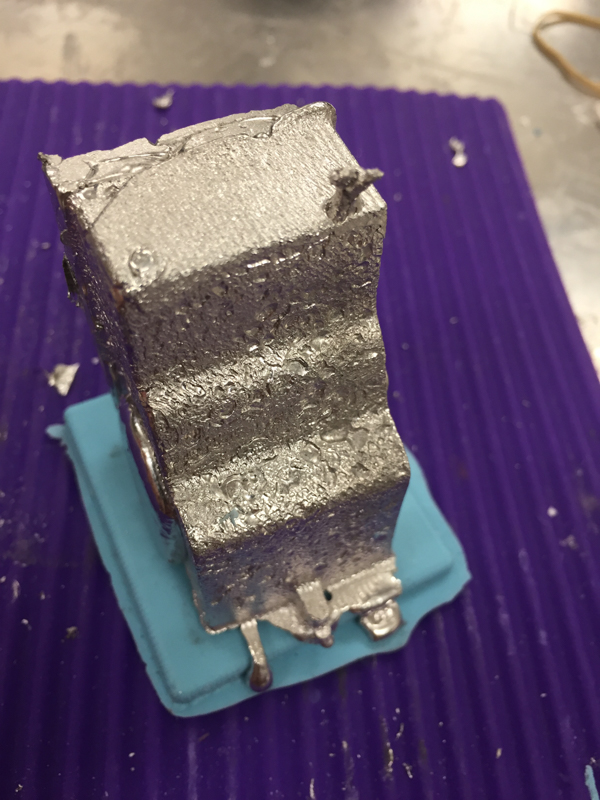
It’s cast but it has a bunch of missing walls
Adding walls ad hoc
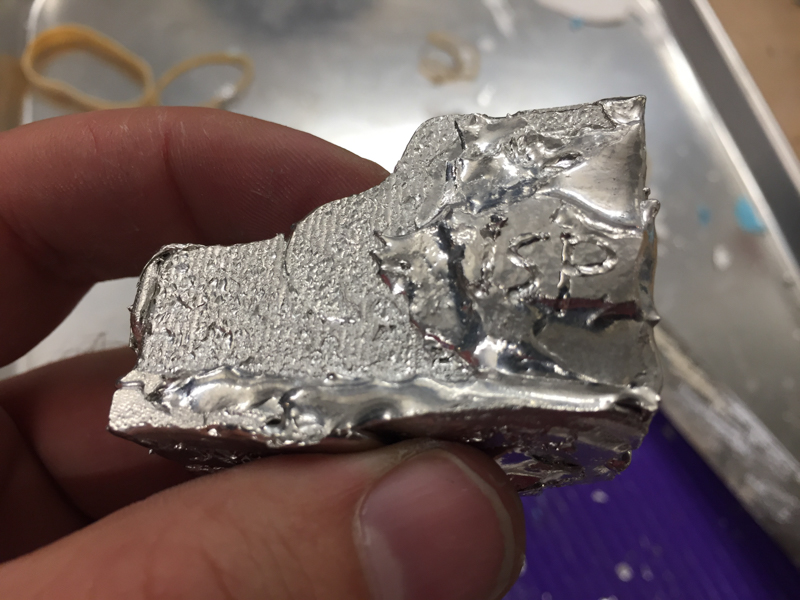
The final thing
I used the soldering iron to add some text and poke a hole