Week 10 - Composites
OVERVIEW
Read the material safety data sheet MSDS and technical data sheet TDS for the resin.
Design and fabricate a 3D mold (~ft2) and produce a fiber composite part in it.
I decided to use the week in composites to consider a different idea for my final project. I am considering a connected pull-up bar (ideally outdoor). Outdoor pull-up bars are increasingly common but they are often badly designed. Additionally, they represent an excellent opportunity to bring an element of playfulness and competition into what is often banal. This pull-up bar would use FSRs combined with a break beam sensor to determine if the user is starting, completing, or failing a pull-up attempt.

Preparation for Wet Layup
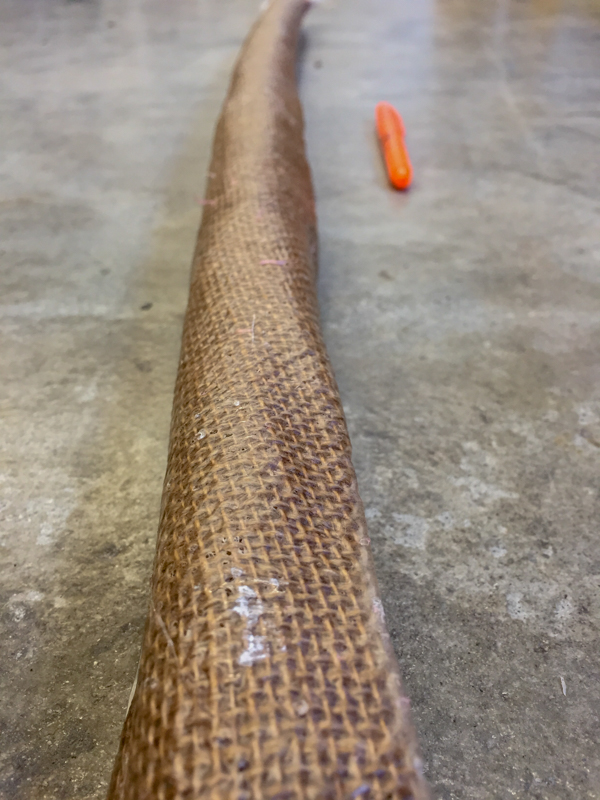
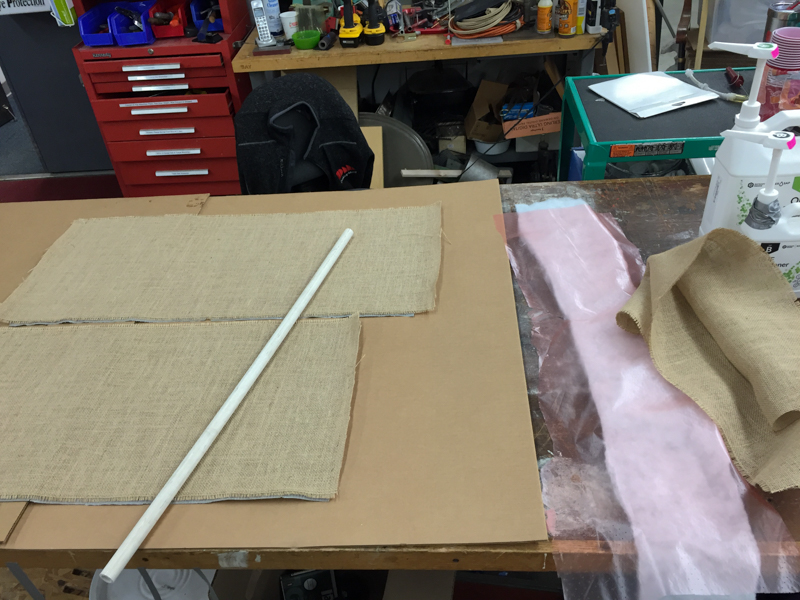
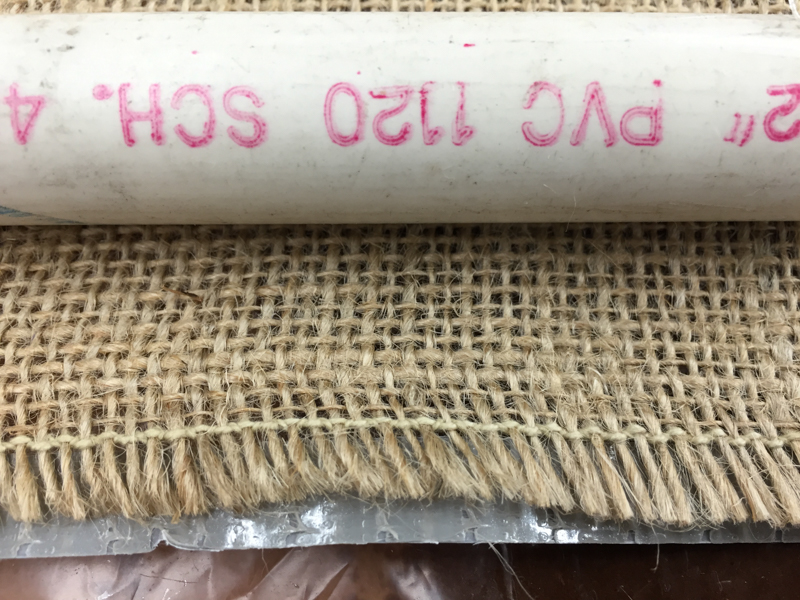
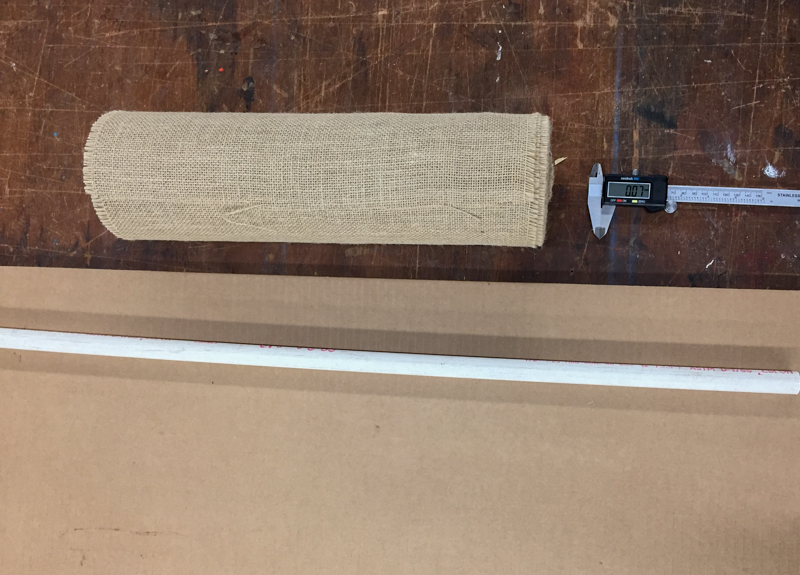
Composite fabrication processes involve some form of molding, to shape the resin and reinforcement. A mold tool is required to give the unformed resin / fiber combination its shape prior to and during cure. In my case, I simply used a PVC pipe as a tool without using a mold. This ended up being a major issue, even though it made fabrication simple. The fiber we used is simply burlap.
Wet Layup & Vacuum Bagging
The most basic fabrication method for thermoset composites is hand layup. Wet layup is a version of this where each ply (fabric layer) is coated with resin and placed in the mold. We used the Super Sap One Resin from Entropy Resins in this exercise. It is a biobased resin with a 25 minute pot life so be sure to get the layup done within that time period otherwise the resin will begin to cure.

The first step is to dispense the epoxy and the hardener into a cup in order to activate the resin. Note the mixing ratio on the TDS and on the container! Once dispensed, you must hand mix it…see what joy it is in these videos.
This takes about 5 minutes of hand mixing… here is a timelapse for posterity.
The resin is finally in its ready to spread state.

Once the resin is completely mixed, it is spread evenly across the fiber (burlap, in our case). Its important to work the resin throughout each sheet evenly. Since I used a PVC pipe as a tool/core, I simply wrapped the wet burlap around the pipe, one layer at a time.
—
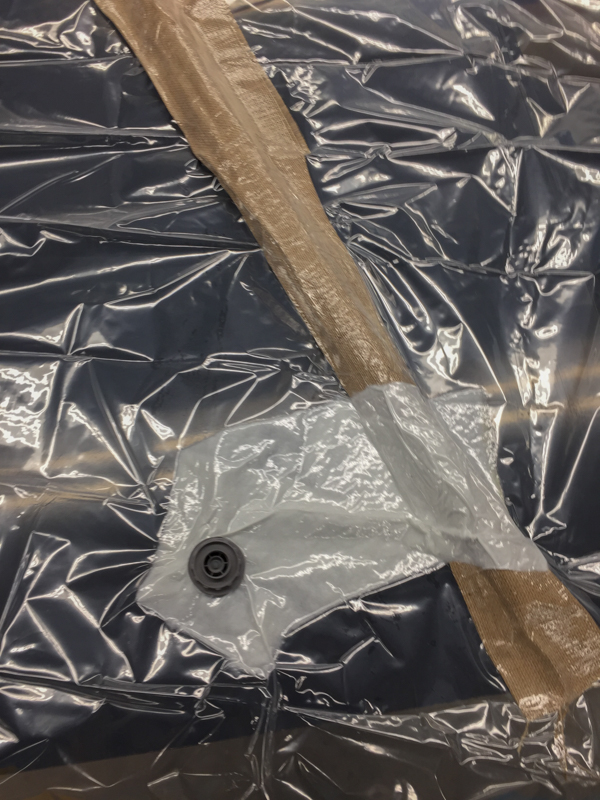
A vacuum bag, with breather assemblies, is placed over the layup and attached to the tool, then evacuated using a vacuum pump before cure. The vacuum bagging process consolidates the plies of material and significantly reduces voids due to the off-gassing that occurs as the matrix progresses through its chemical curing stages.
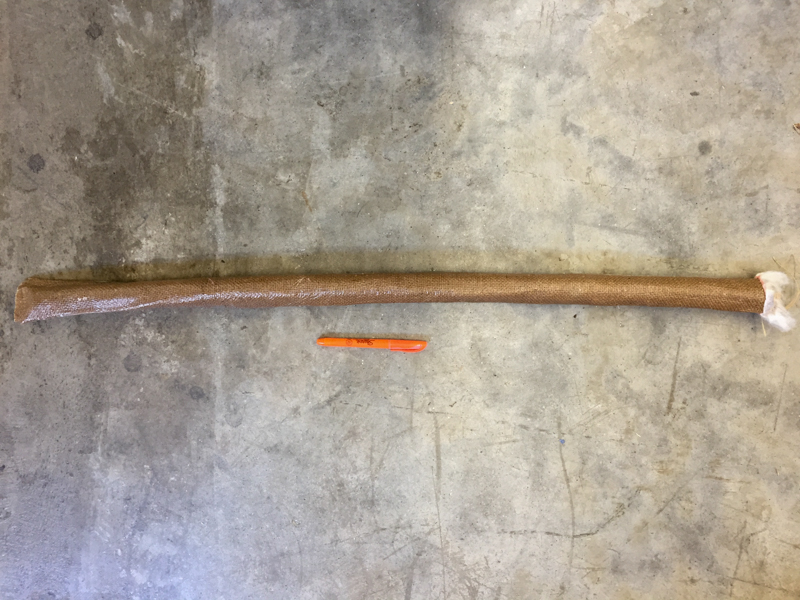
48 Hours Later
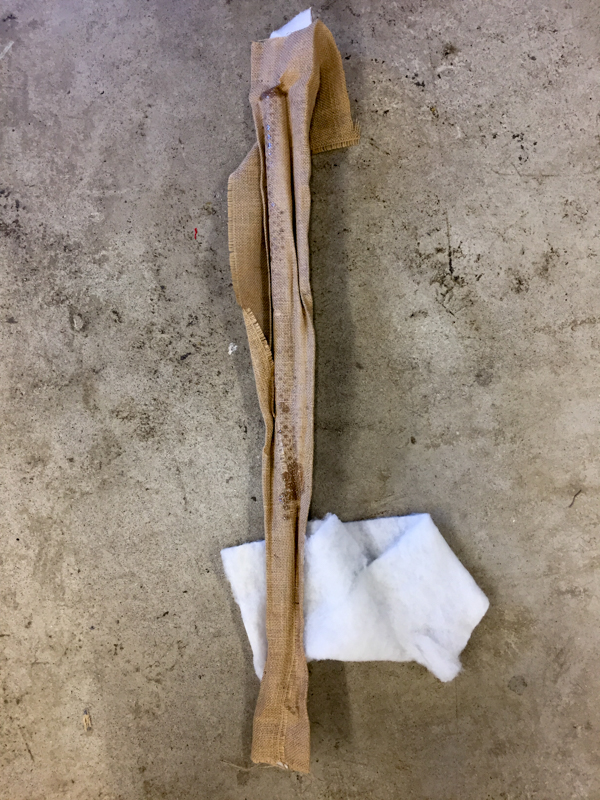
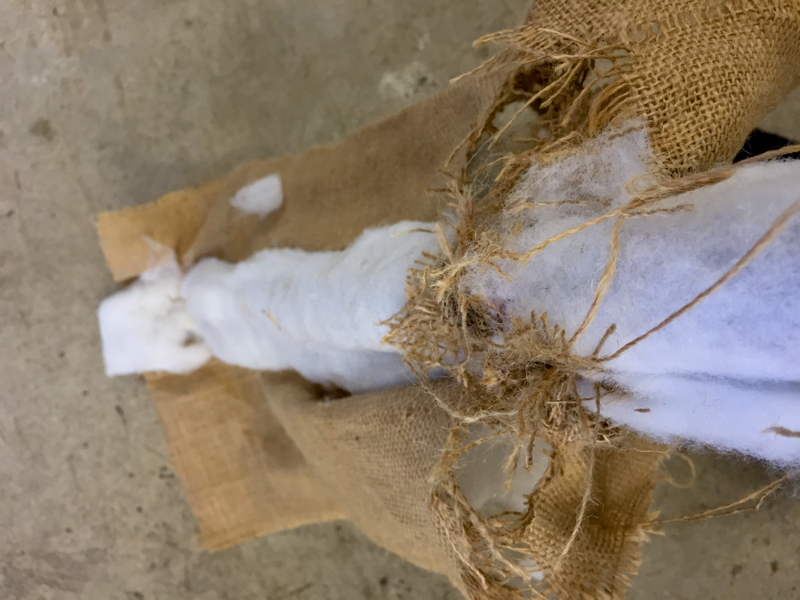
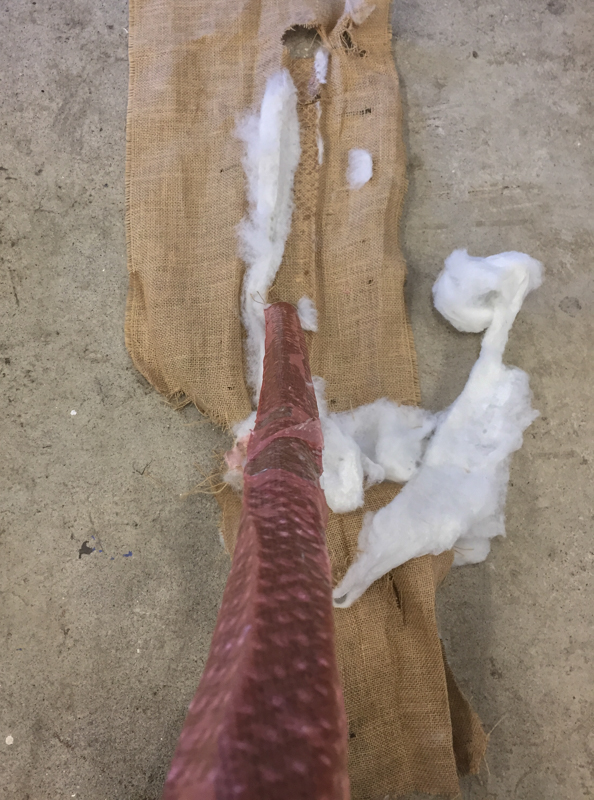
Once the bar was completely cured, I removed it from the vacuum bag and went about peeling off the sacrificial layers and mold release. The mold release was incredibly difficult to remove. I used the pre-perforated version which, it seems, is fairly weak.
The Result & Next Steps
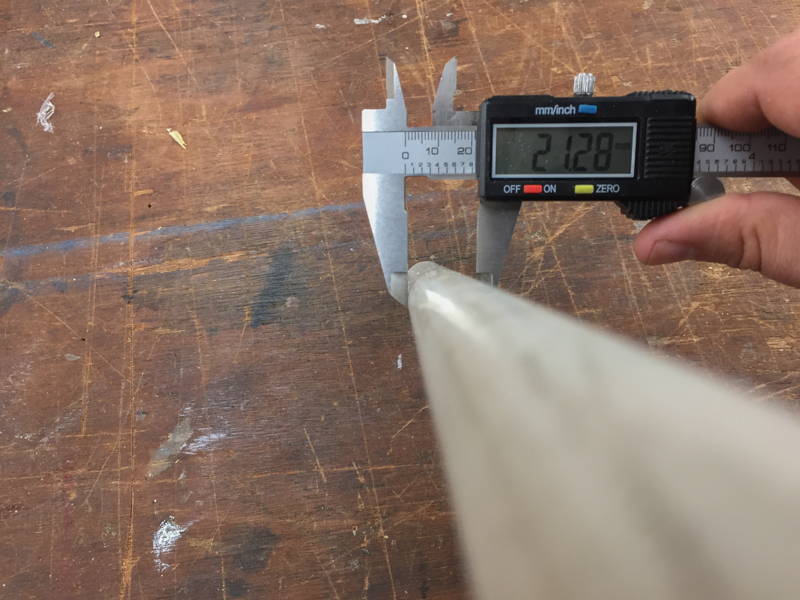
This exercise ended up being a successful demonstration of the strength and simplicity of creating a composite pull-up bar. As I suspected, though, the lack of a mold to restrict folding, pinching, and deformations during the cure is a major problem. Not only are there significant pinches throughout the bar, but the overall shape also deformed (it appears as though is is bent) from the cure. Additionally, the mold release and polyester batting folded into the structure near one end, requiring the use of a saw to remove it.
My next steps are to create a new version of the bar with force sensitive resistors embedded in it just below the final layer.