Week 2: Computer Controlled Cutting

Introduction
This week, I designed, and made a parametric press-fit construction box accounting for the lasercutter kerf. This was for my final project. I also used the vinyl cutter to make a sticker of a bicycle. I chose a bicycle because I have biked between Harvard and MIT 106 times this semester (partly as a result of this class).
Designing and Making the Object
In order to design the box, I used Inkscape. Inkscape was annoying to download – it was very slow and didn’t give me any feedback on the process. After an hour or so, it finally showed up.
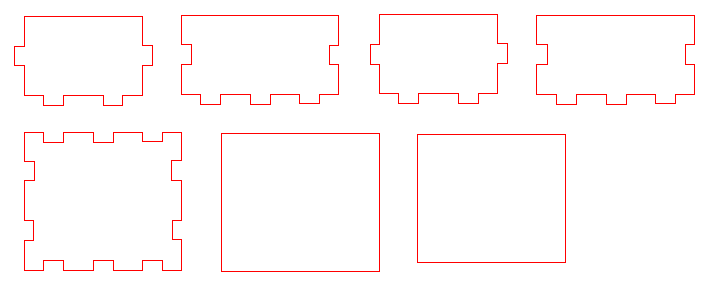
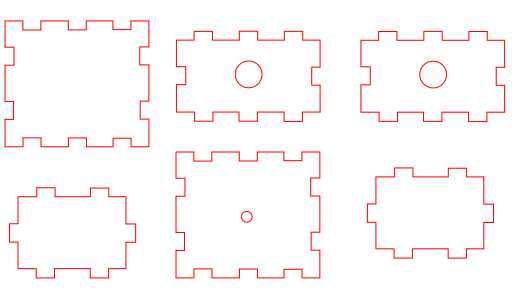
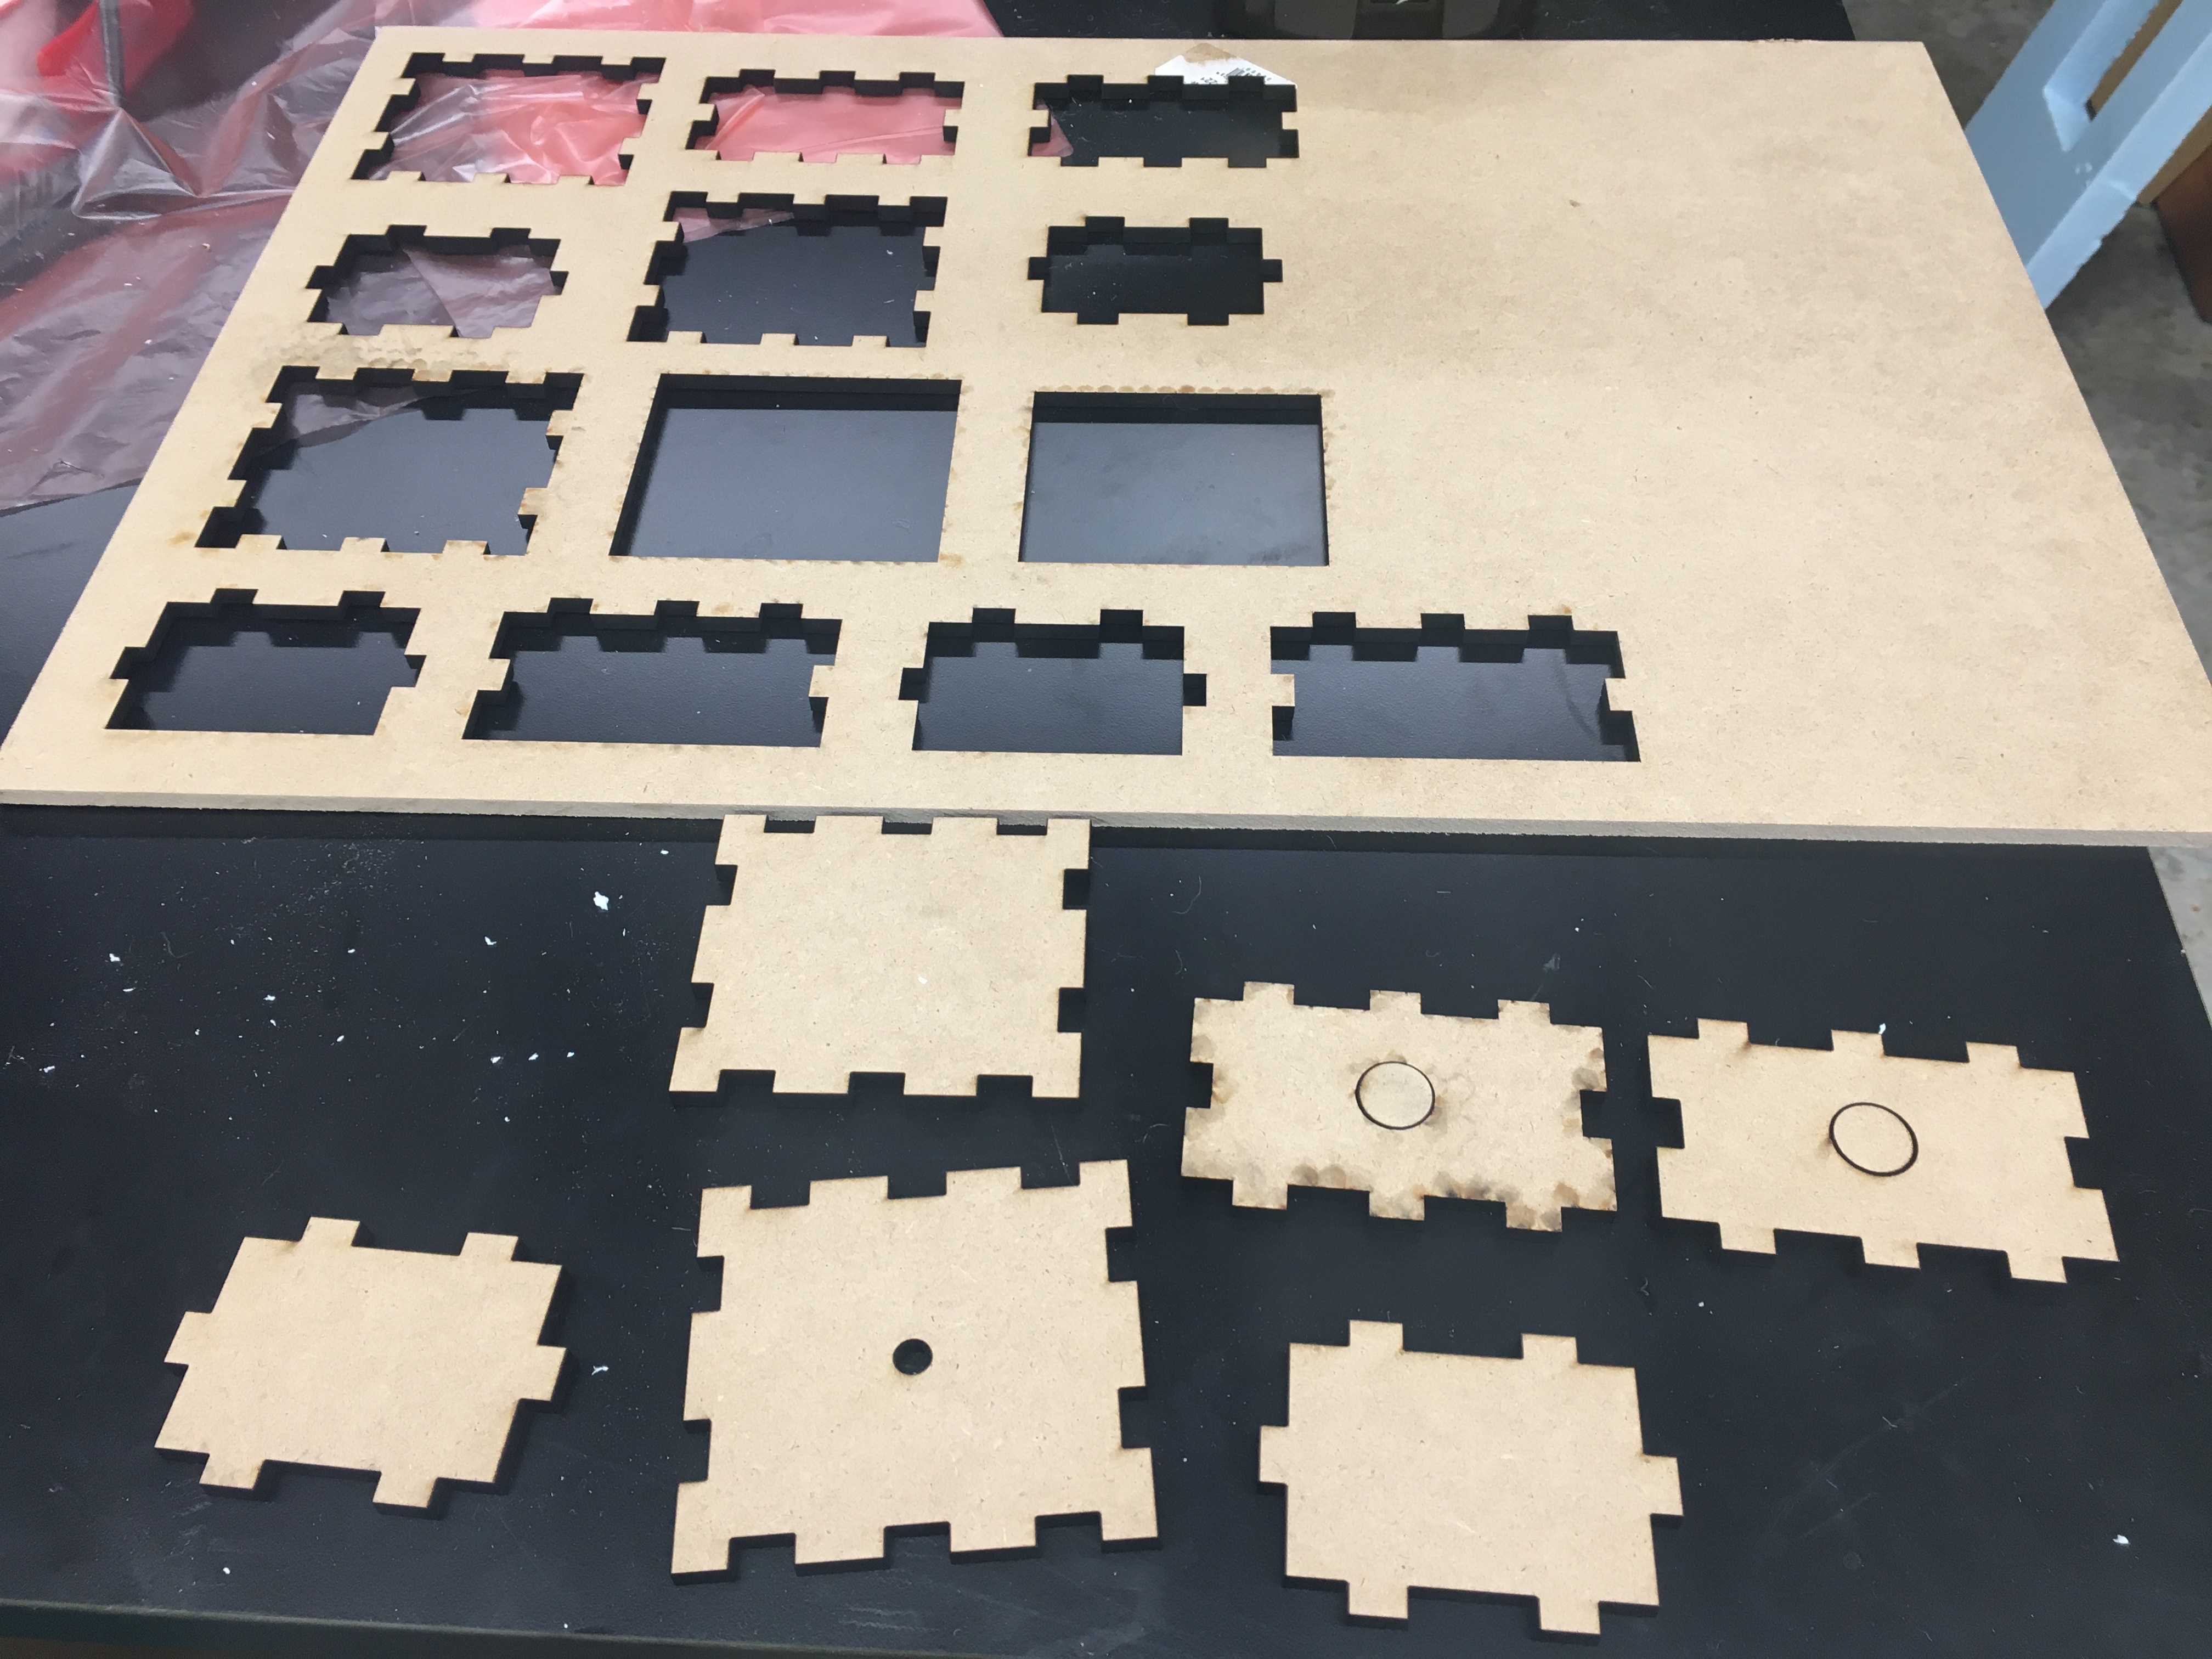
To make the boxes, I created the six sides of the box as rectangles, and then created mini rectangles that were used for the press-fit.
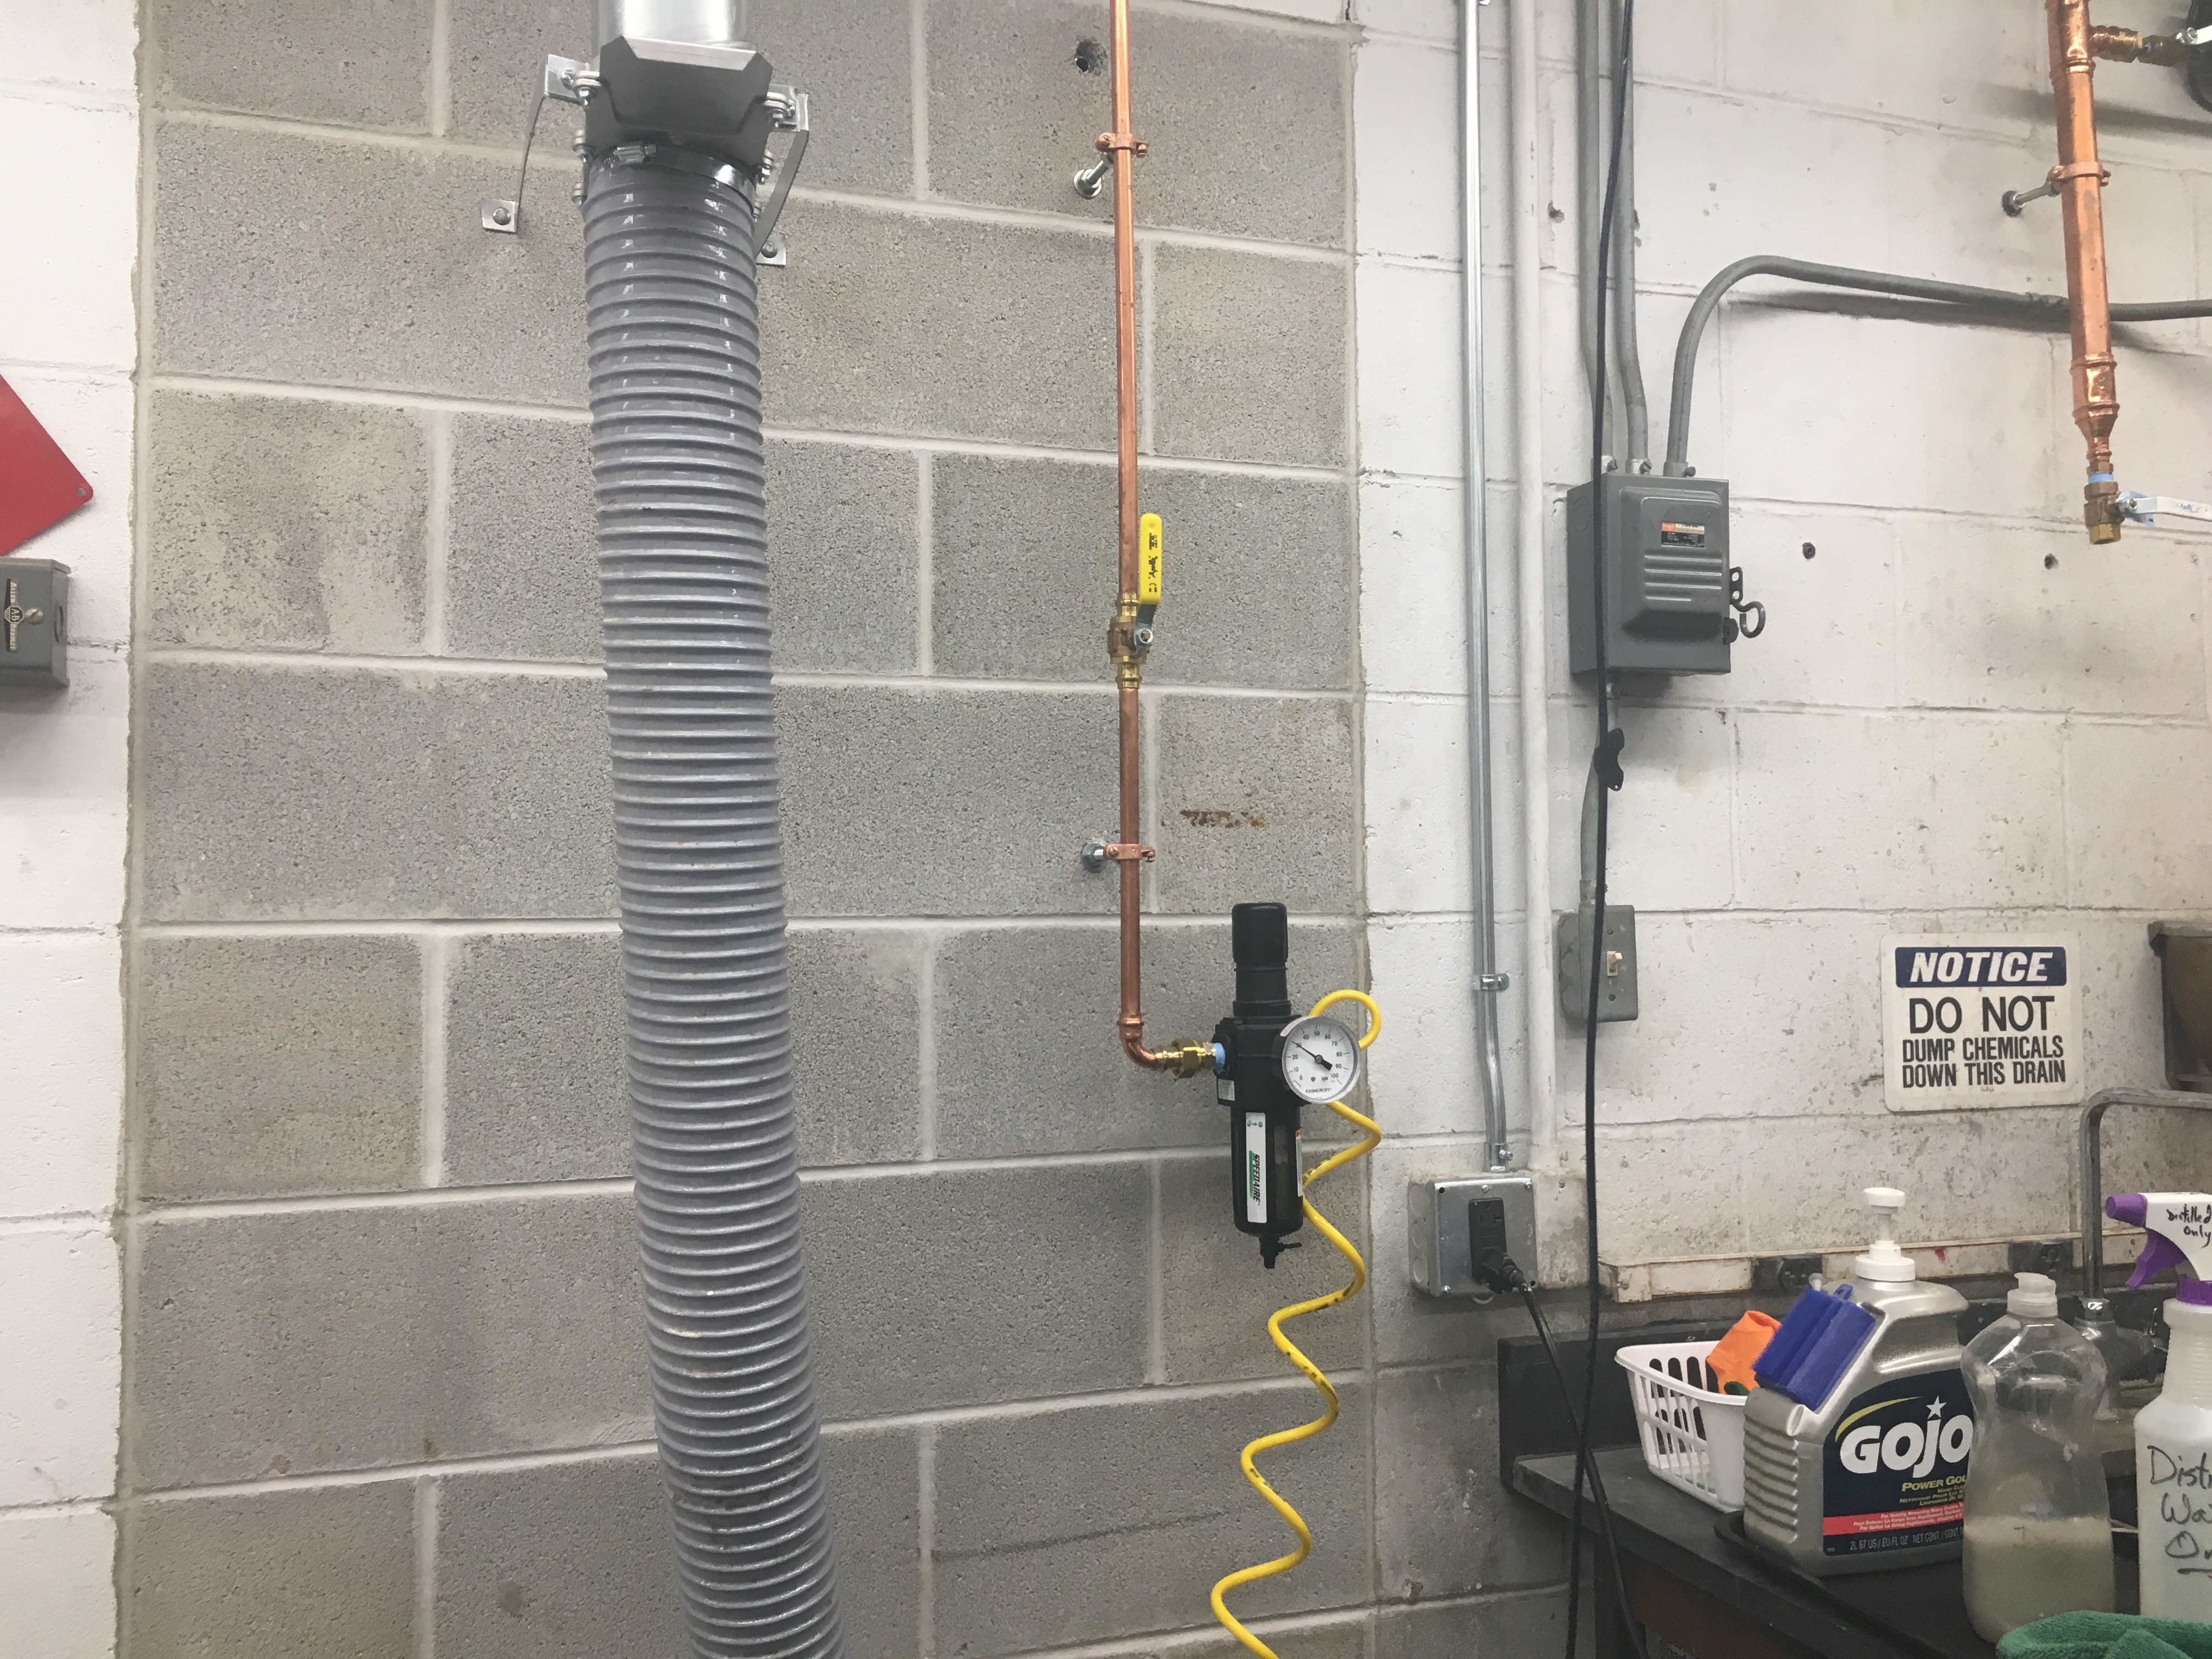
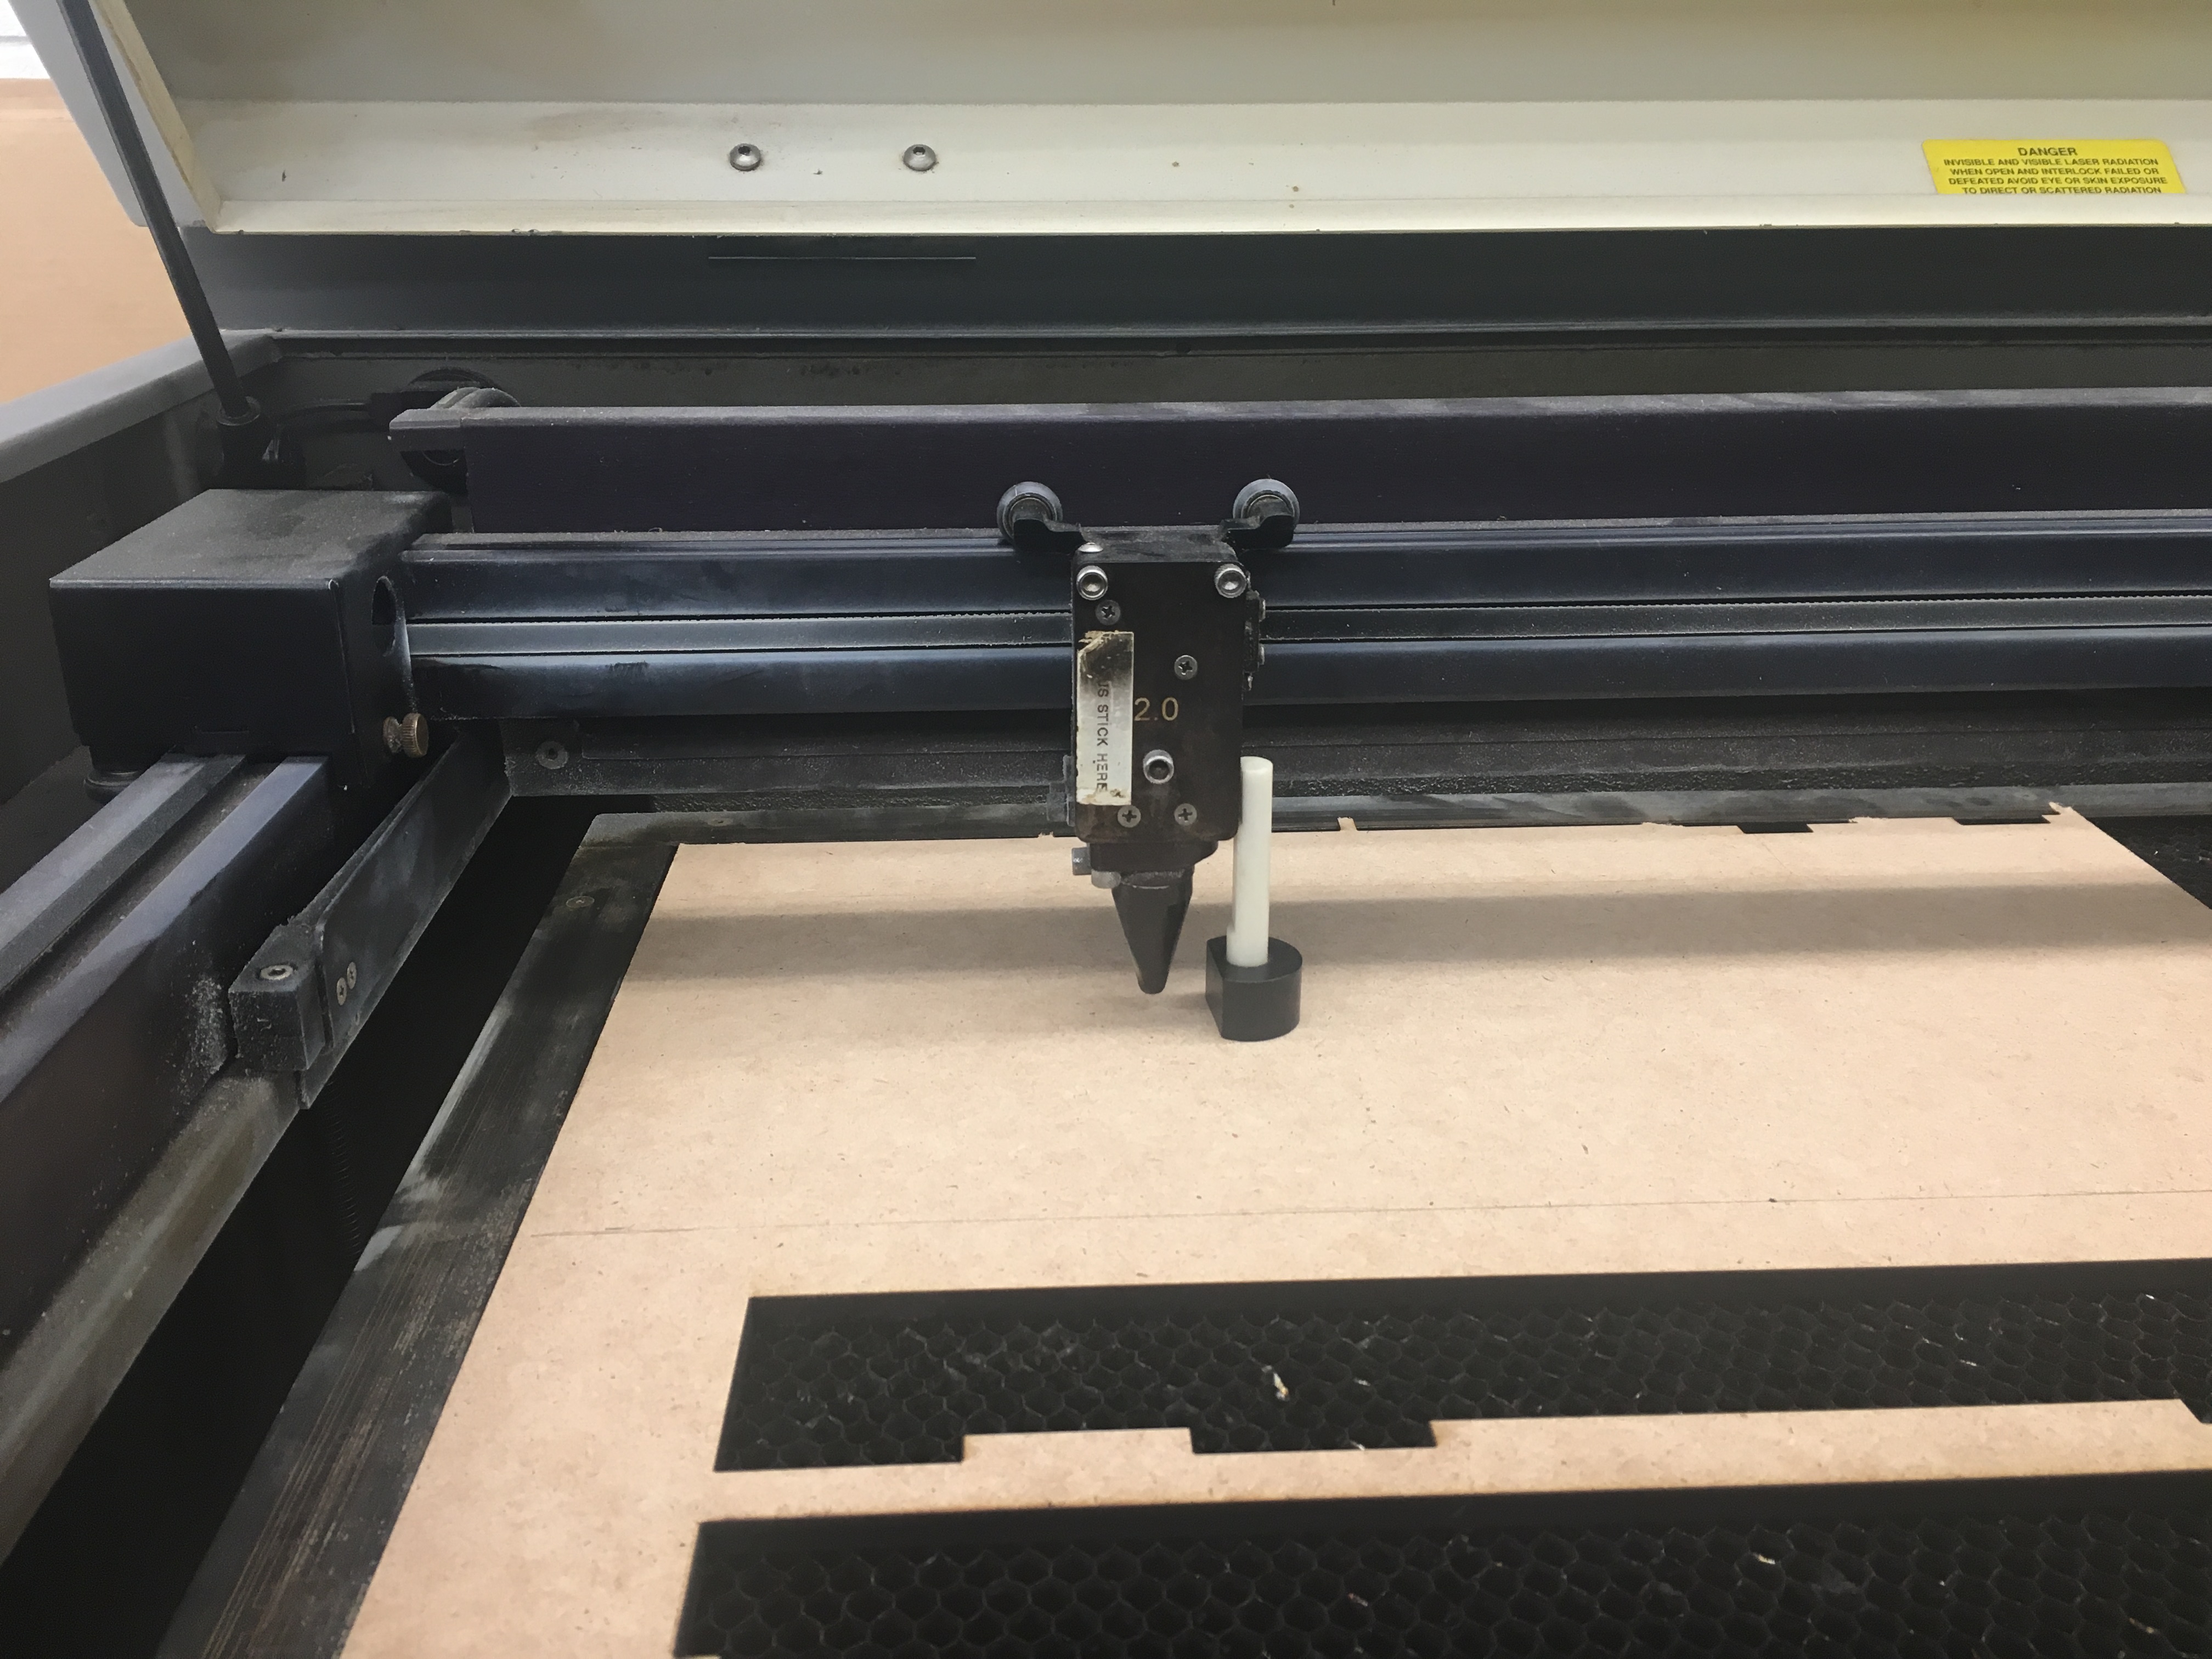
I had to set up the laser cutter properly. This included turning on the ventilation, turning on the gas, and zeroing the z-axis using the rod tool in the picture below
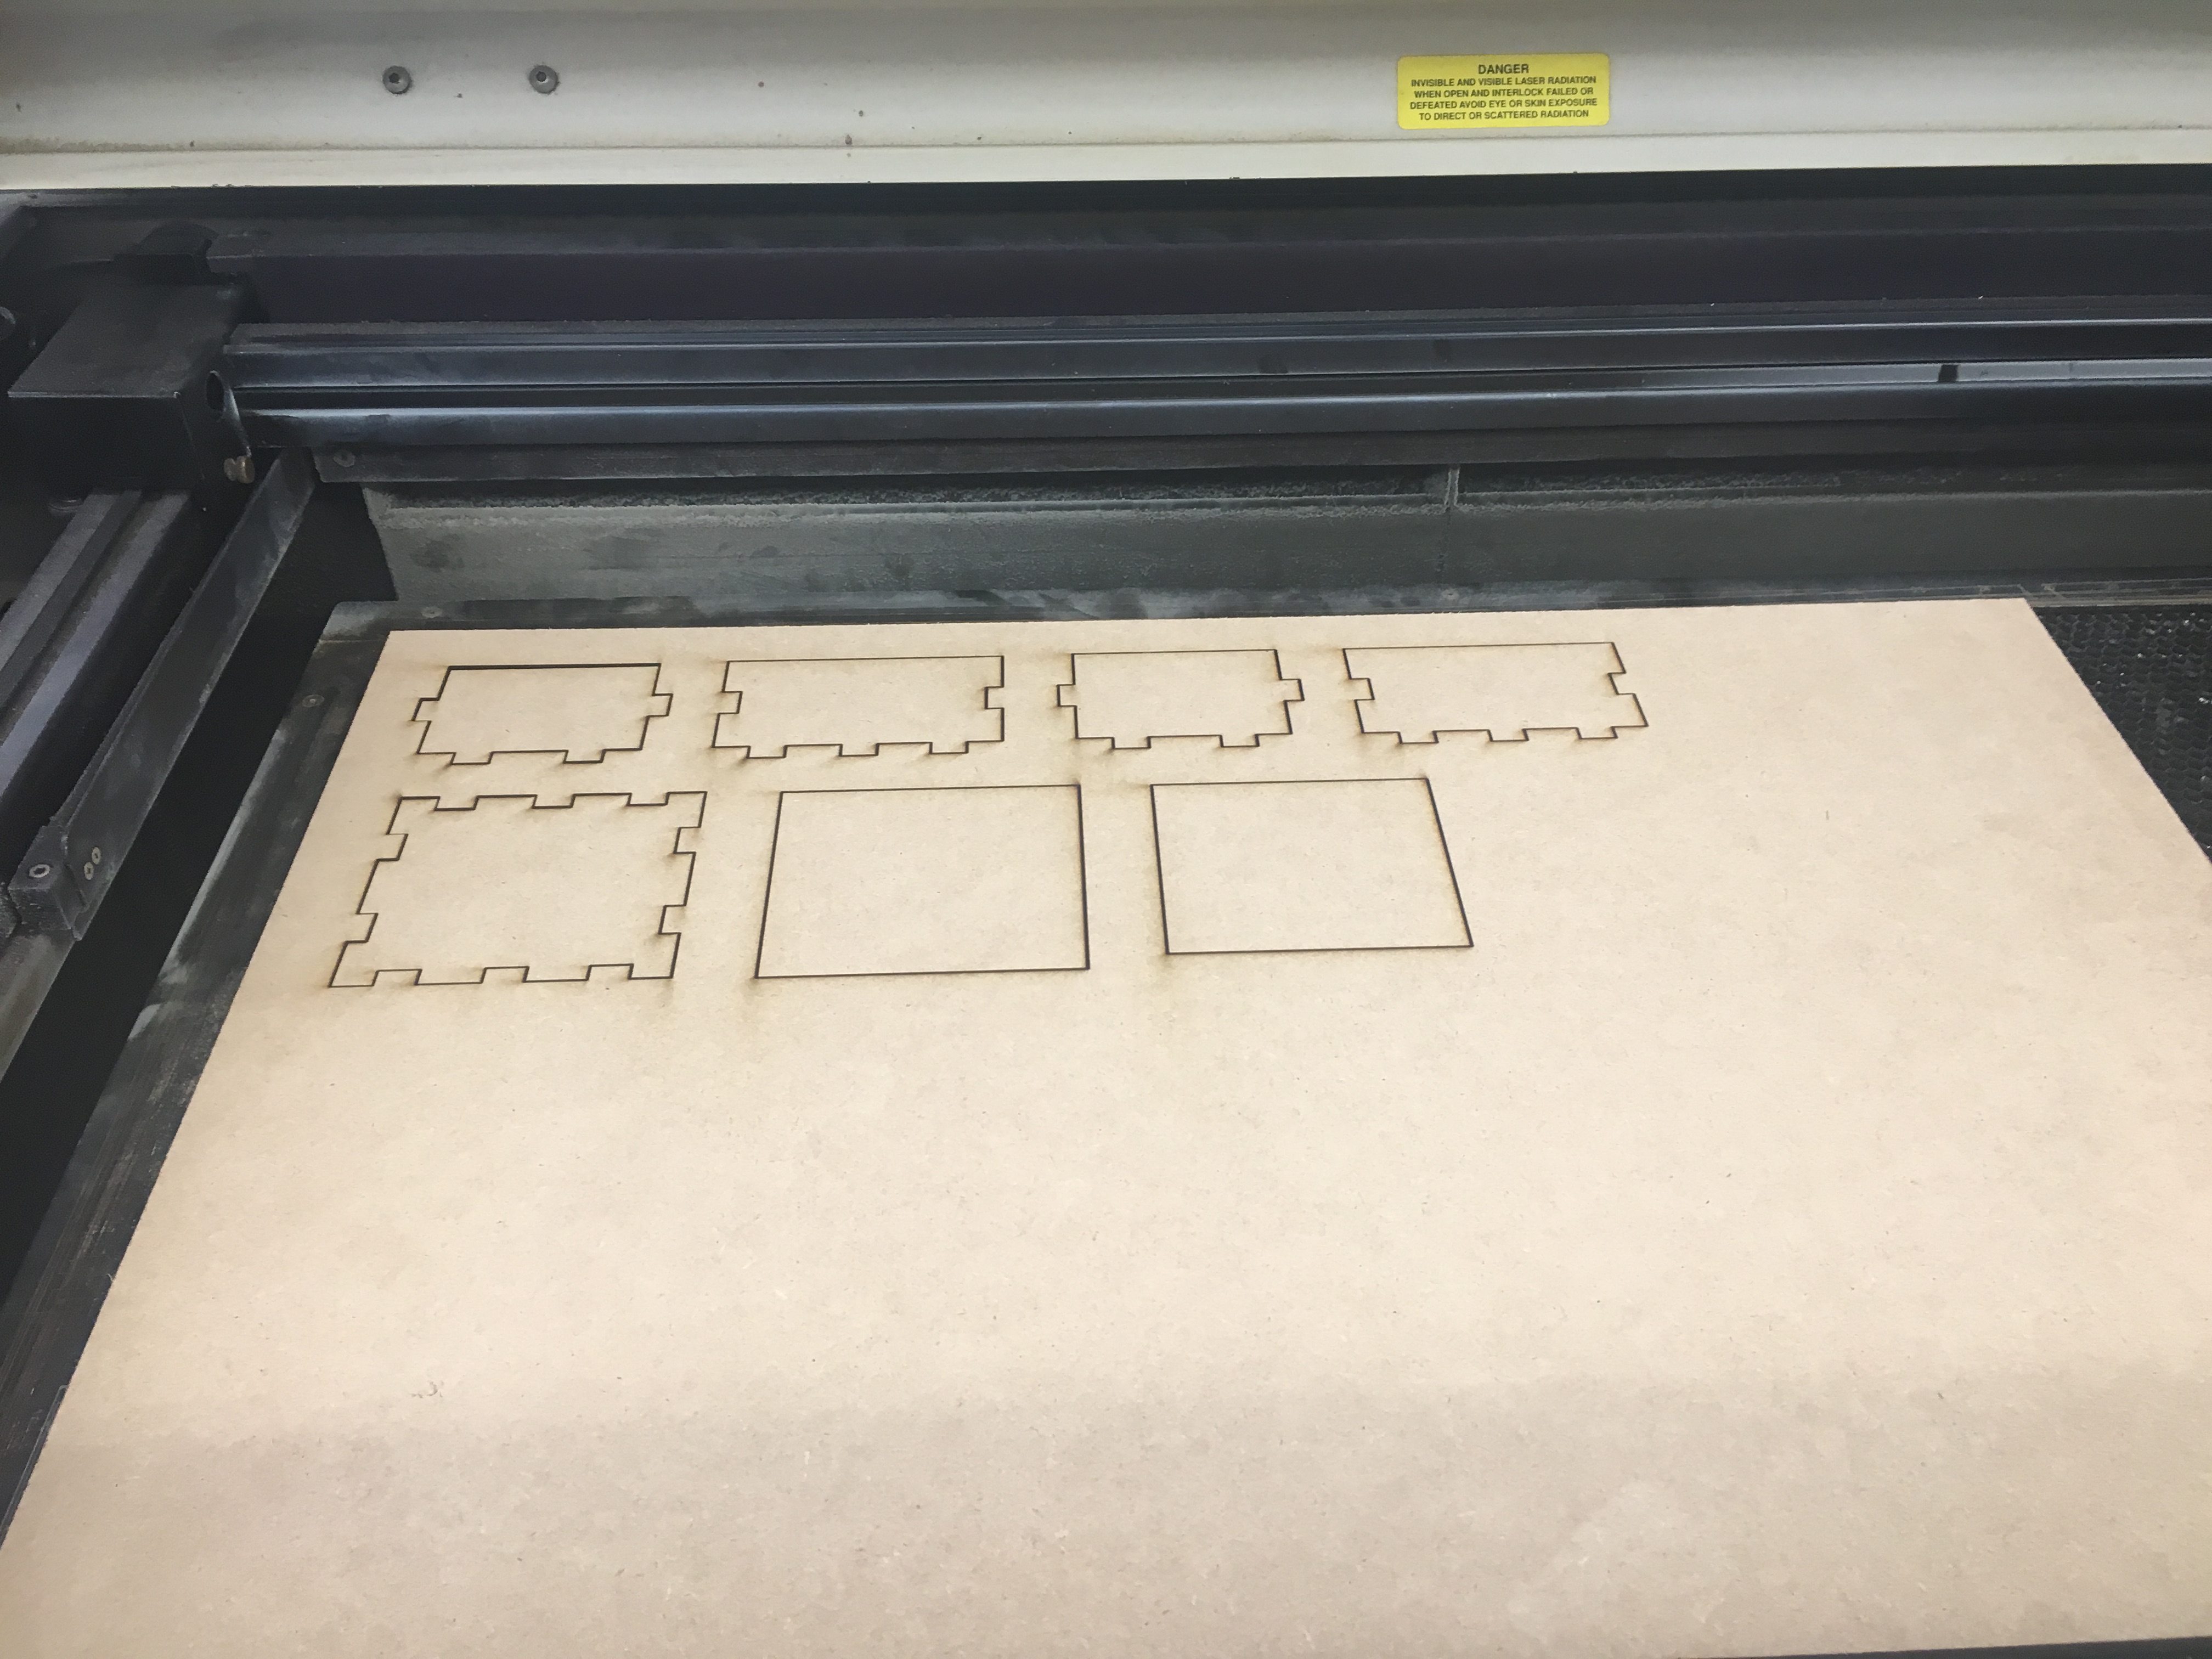
Then I sent the file as a .dxf to the laser cutter. The file is: Laser Cut Box File. The laser cutting went fine, but when I put the pieces of the box together, the pieces joined very loosely. This was because I didn’t take into account the lasercutter kerf.
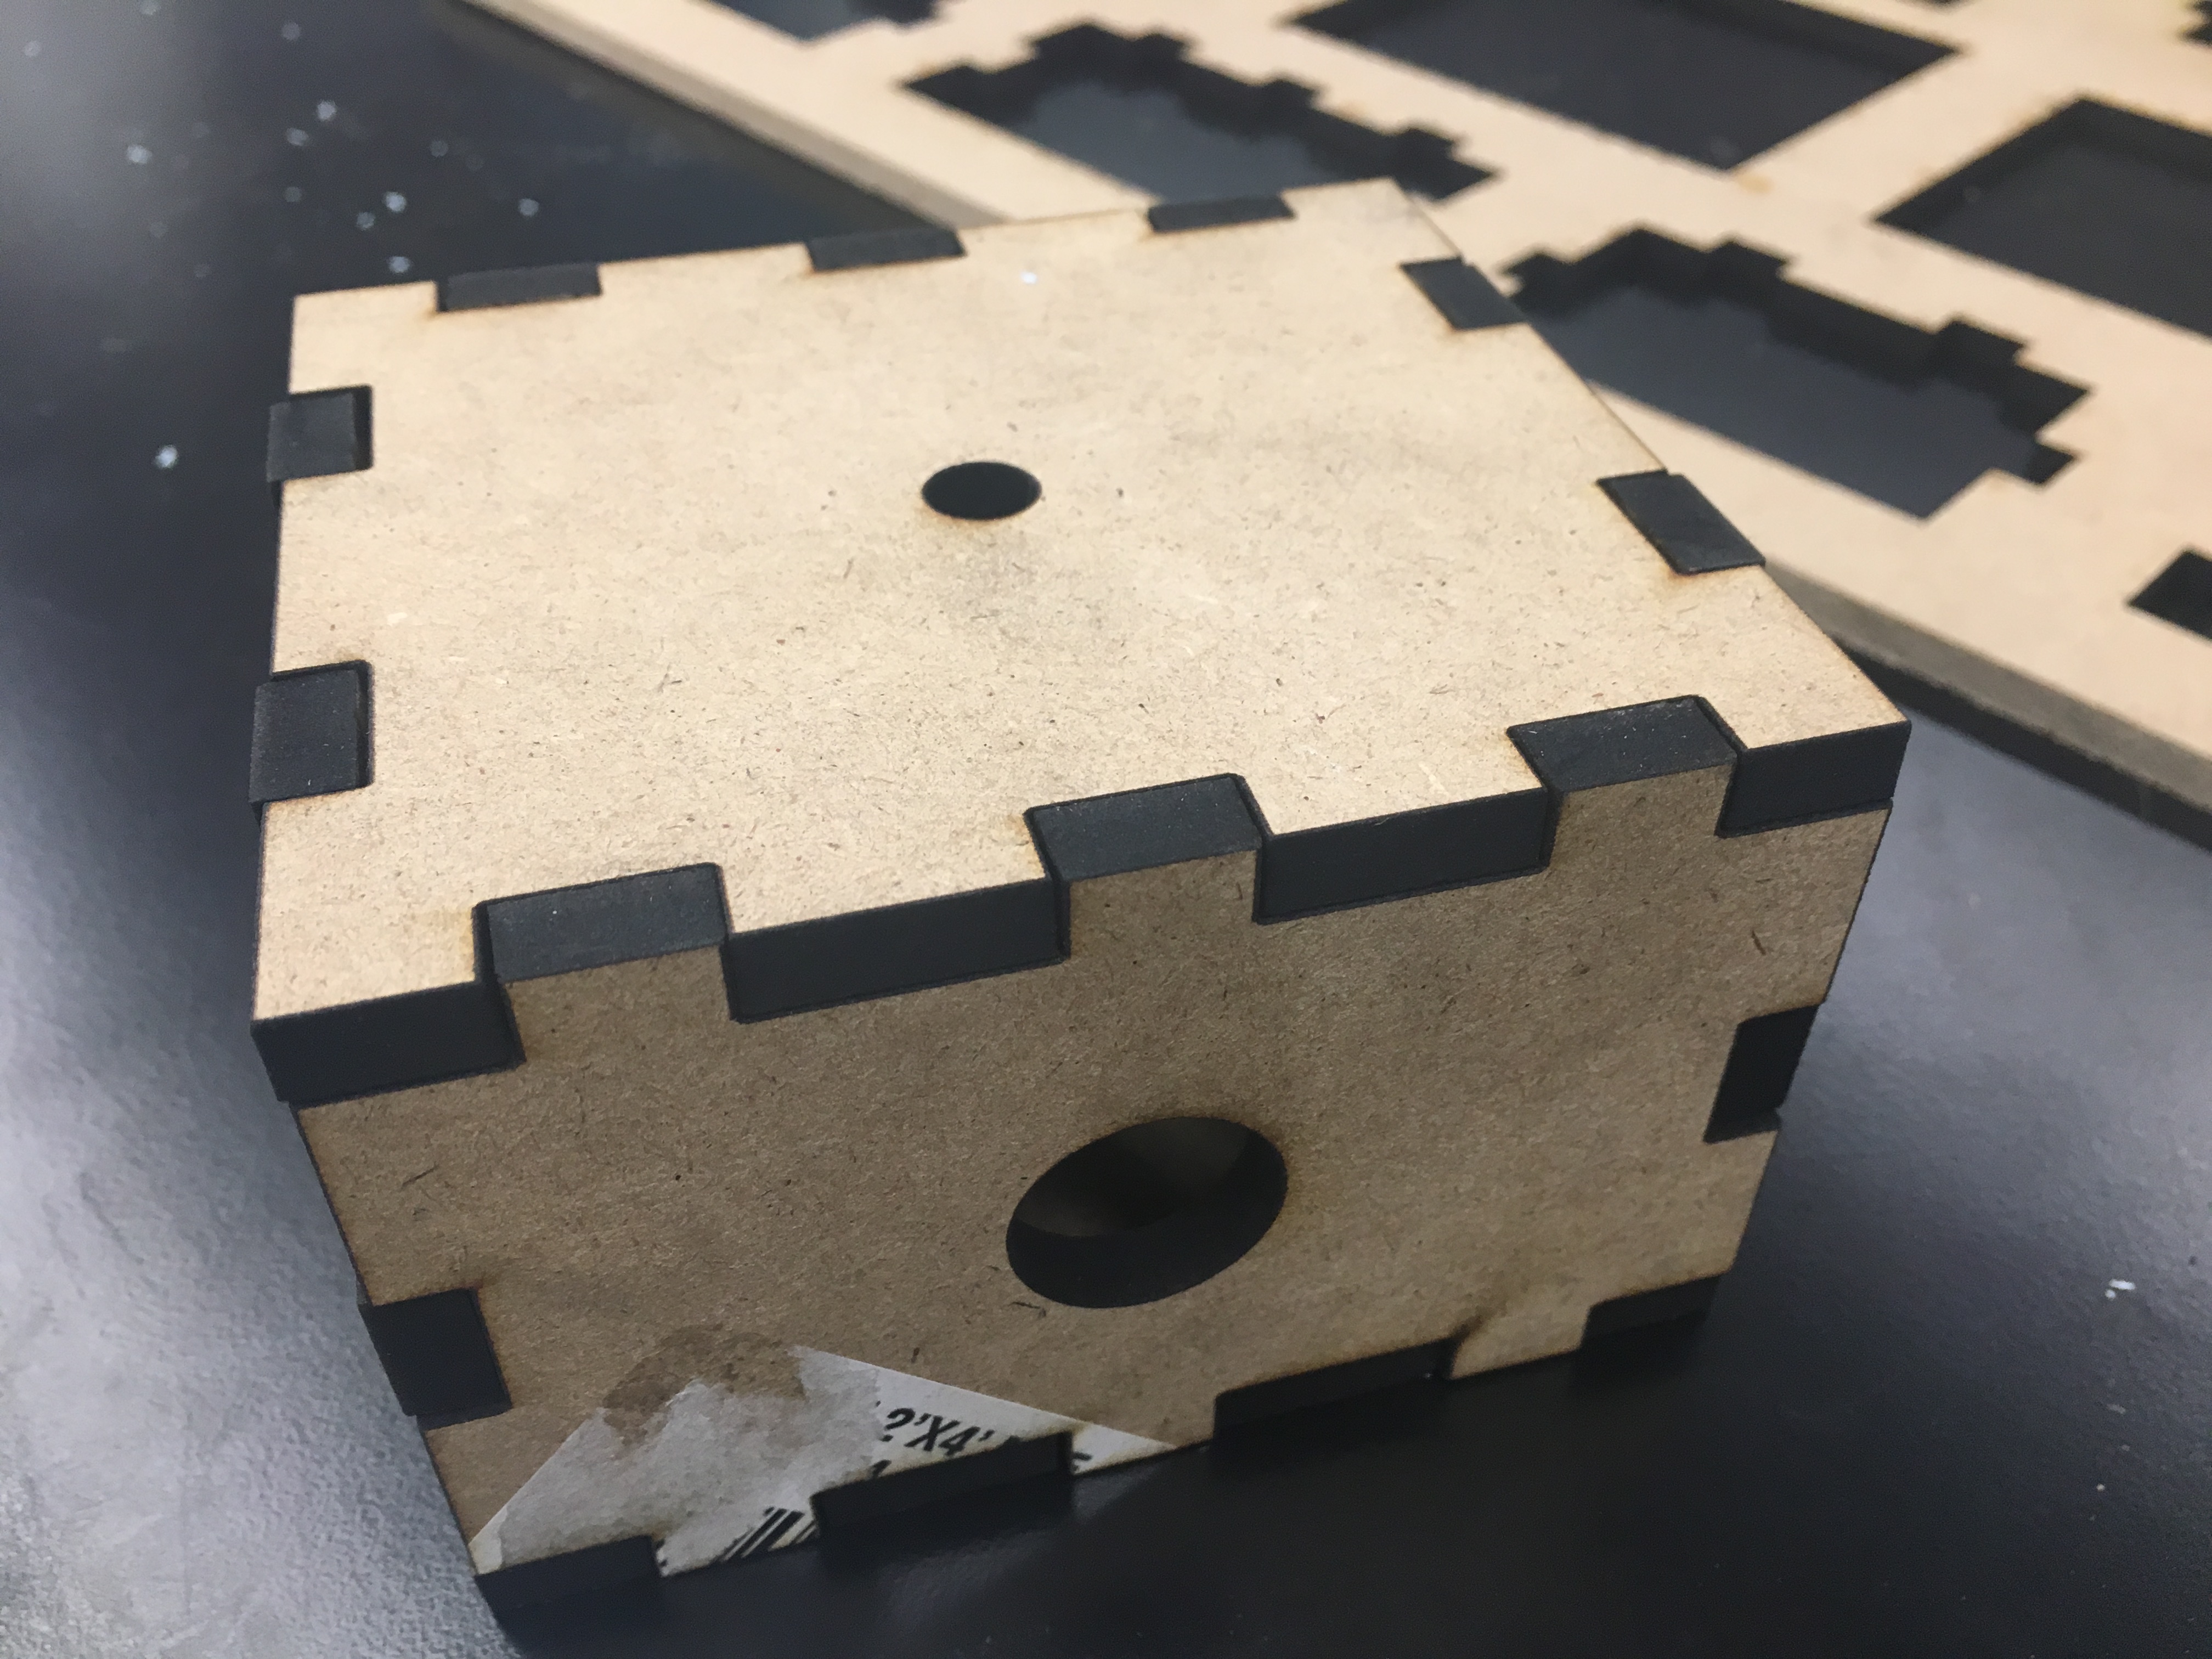
So I went back to Inkscape, and this time, I made the sticking out boxes slightly wider (by a hundredth of a mm). I also decided to add the holes to the box so that I could put the wires through the box, and I added the hole for the potentiometer. I measured the diameter of the potentiometer and wires and made the appropriate holes.
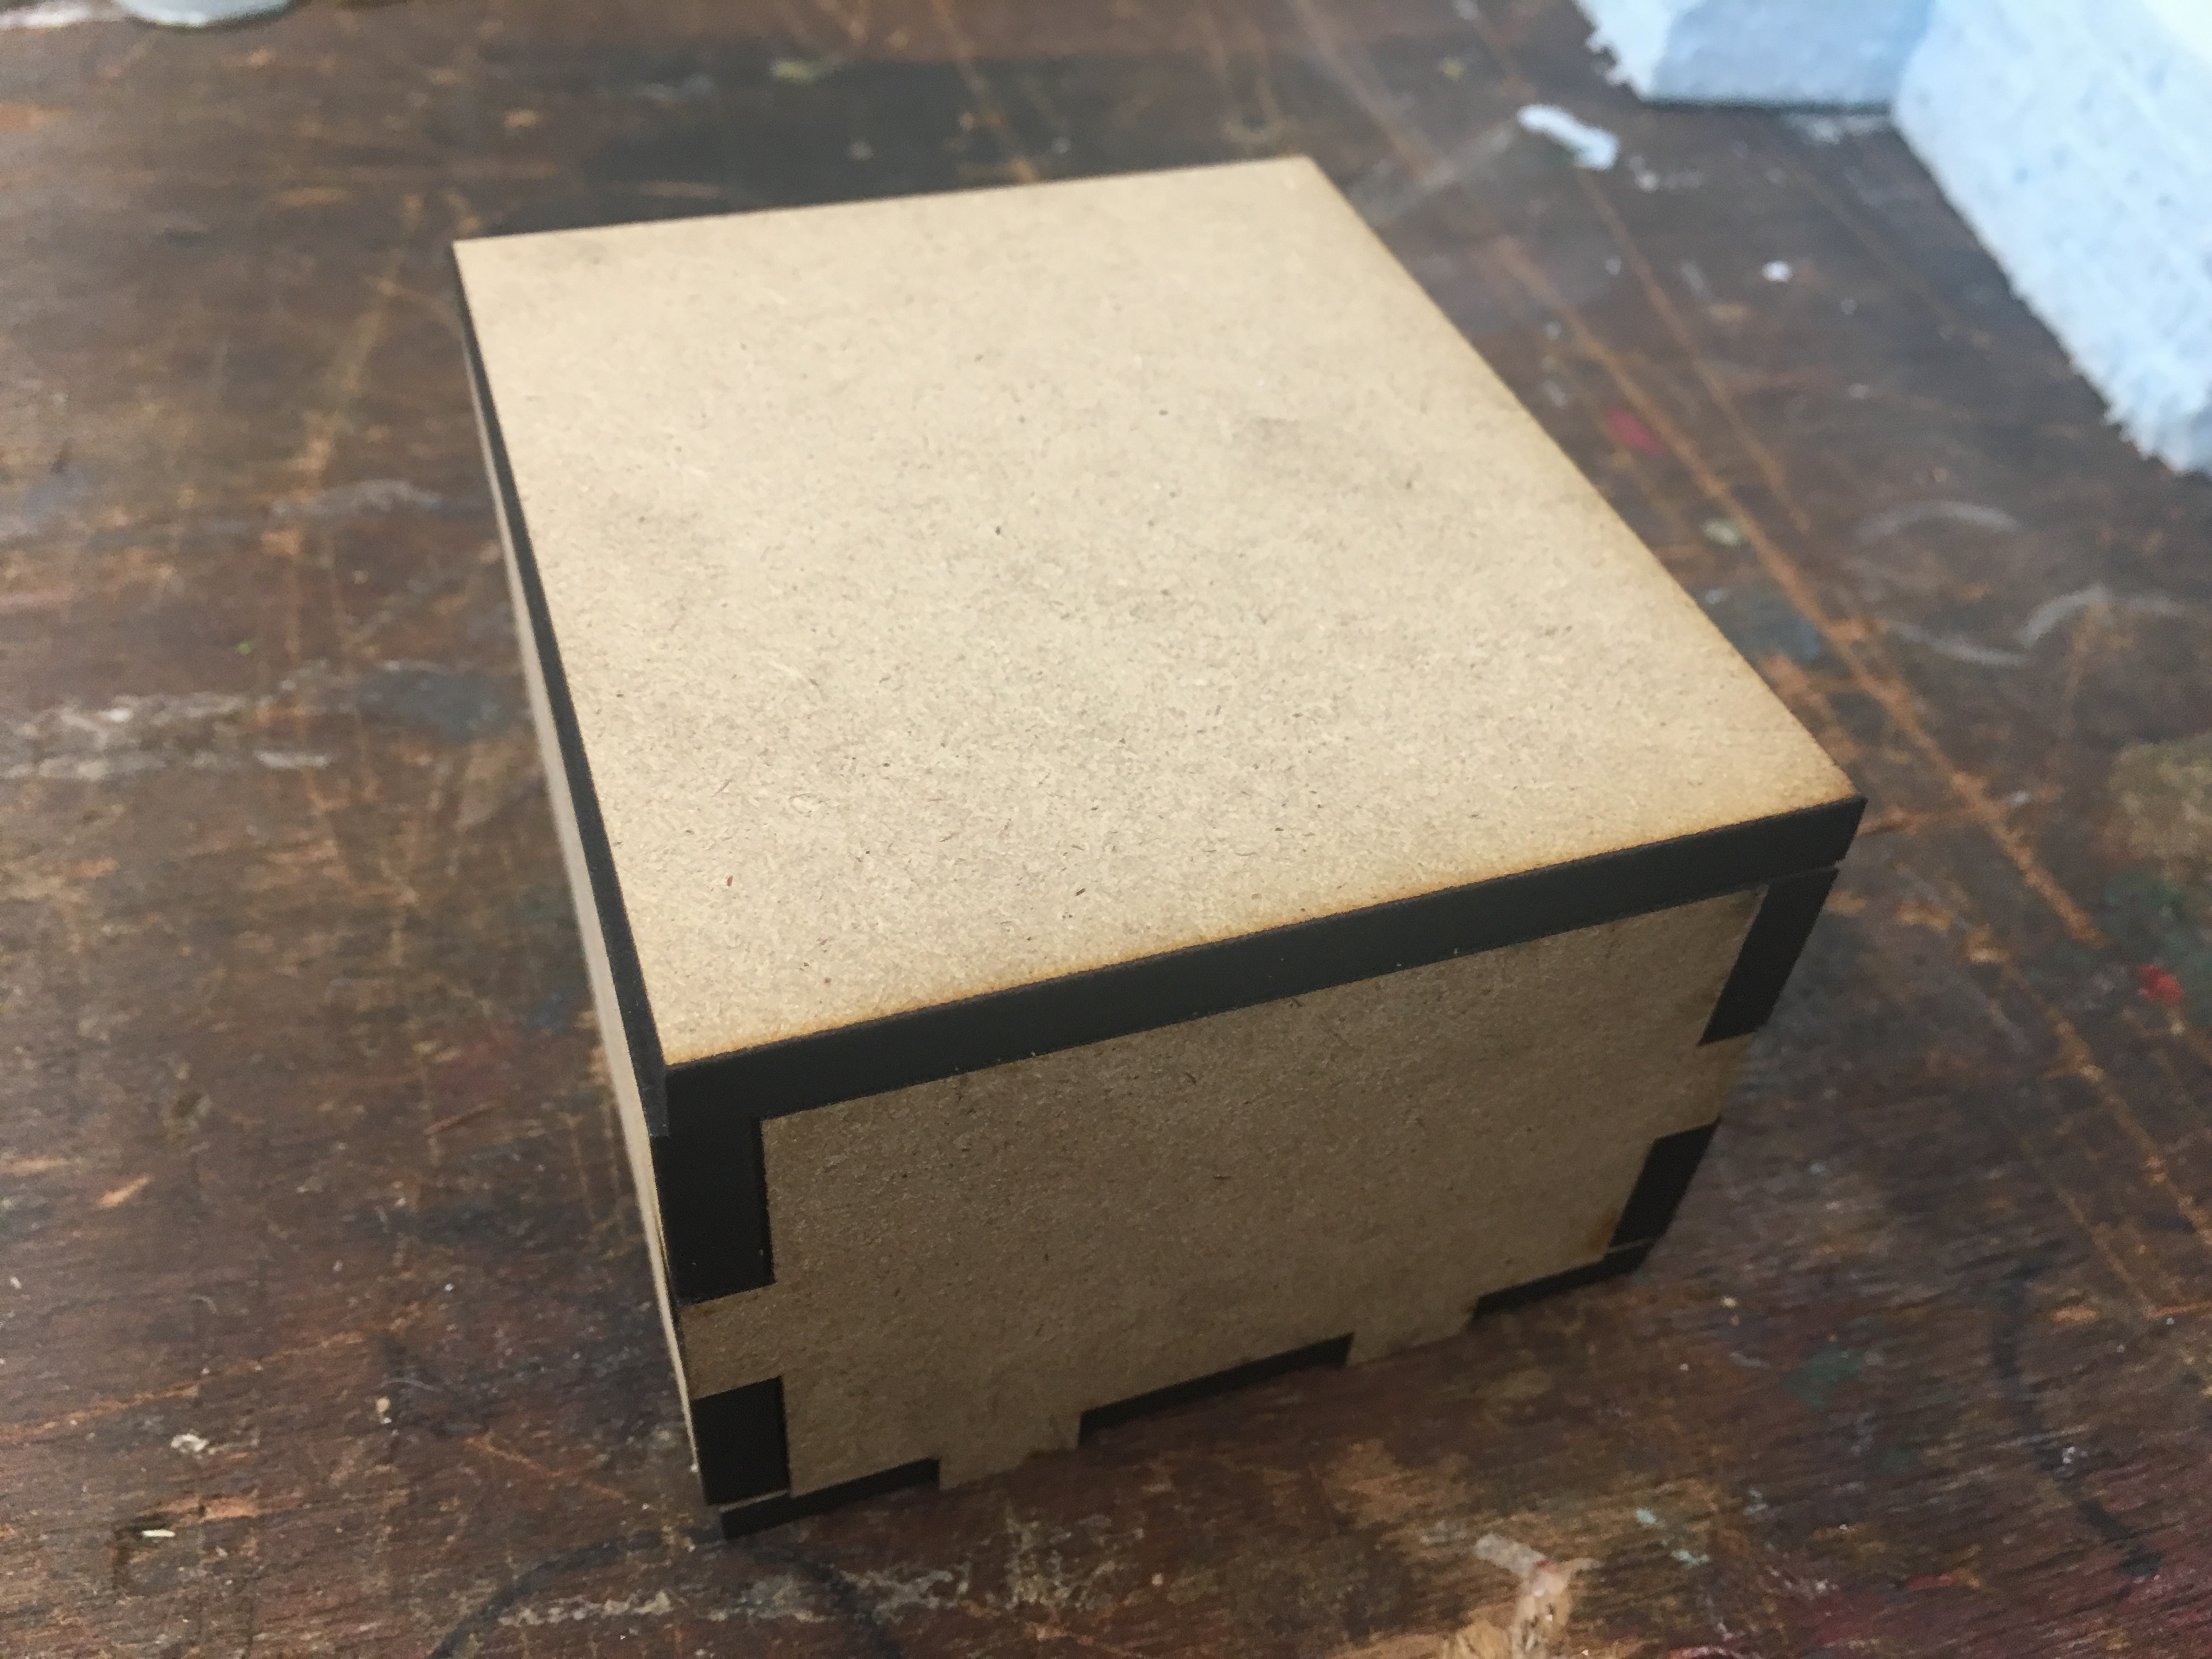
I laser cut the new box and it came out much better! The fit was snug.
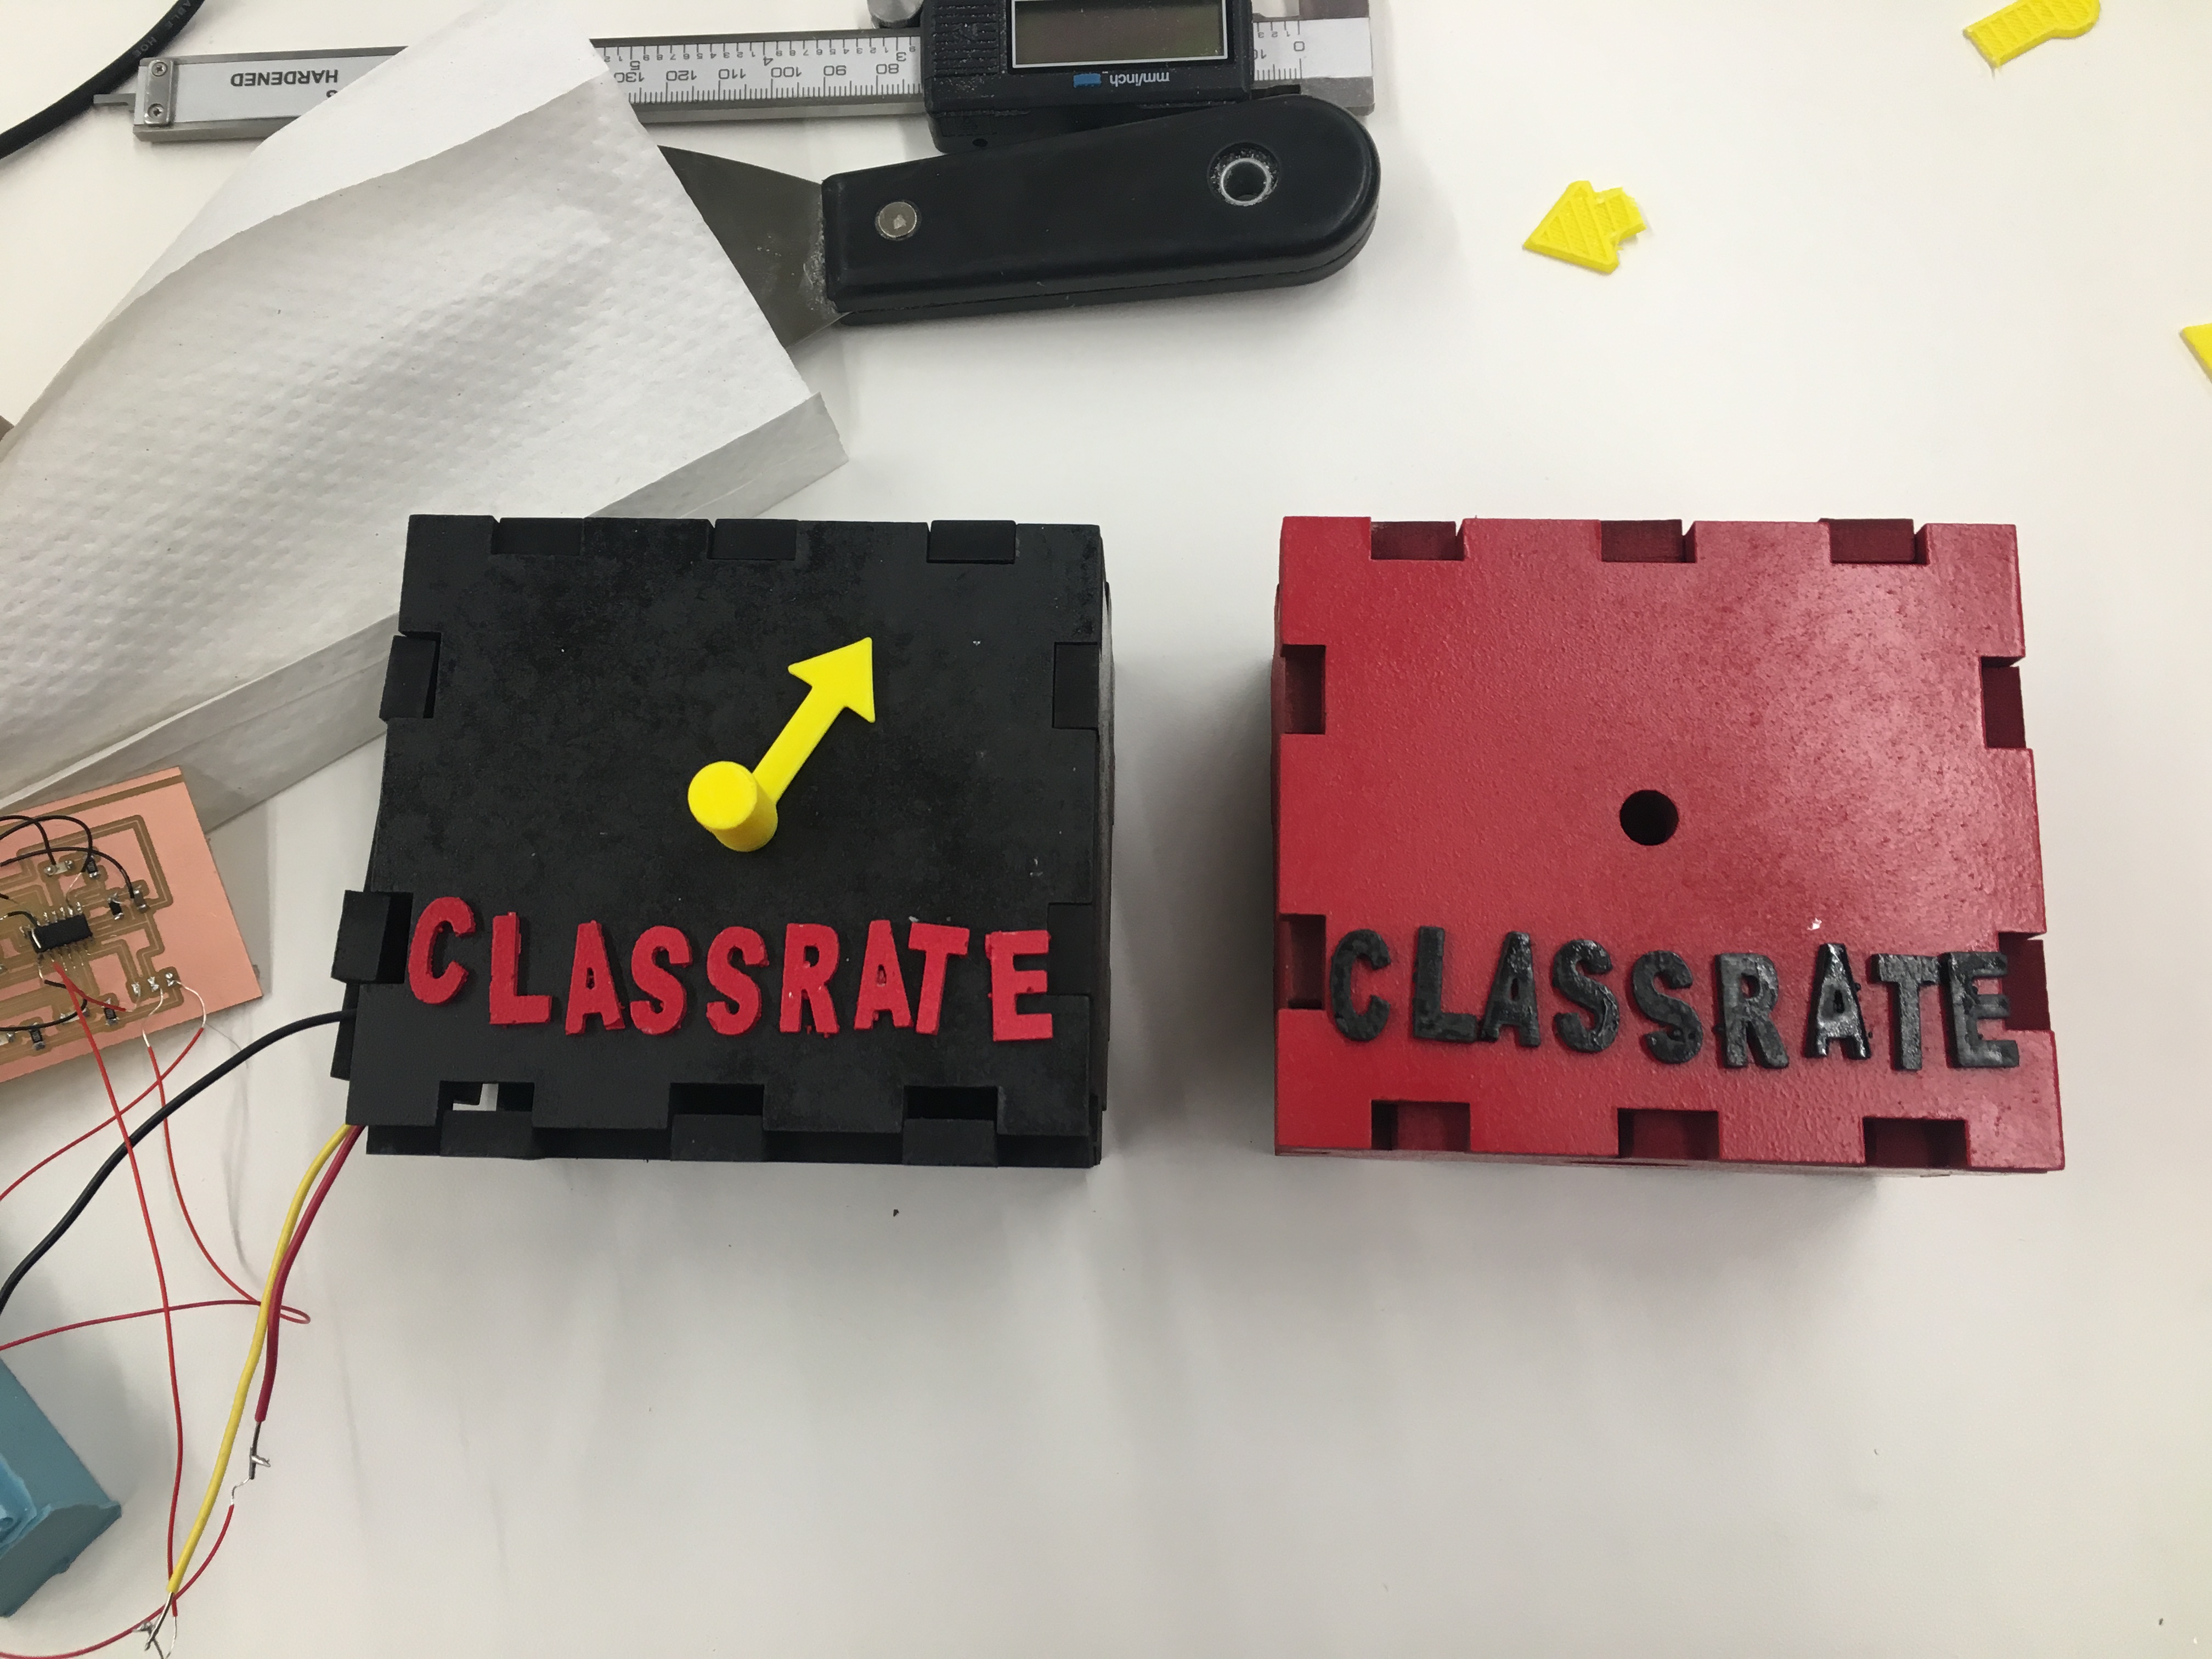
I also spray painted the boxes. It turned out pretty well.

Vinyl Cutting
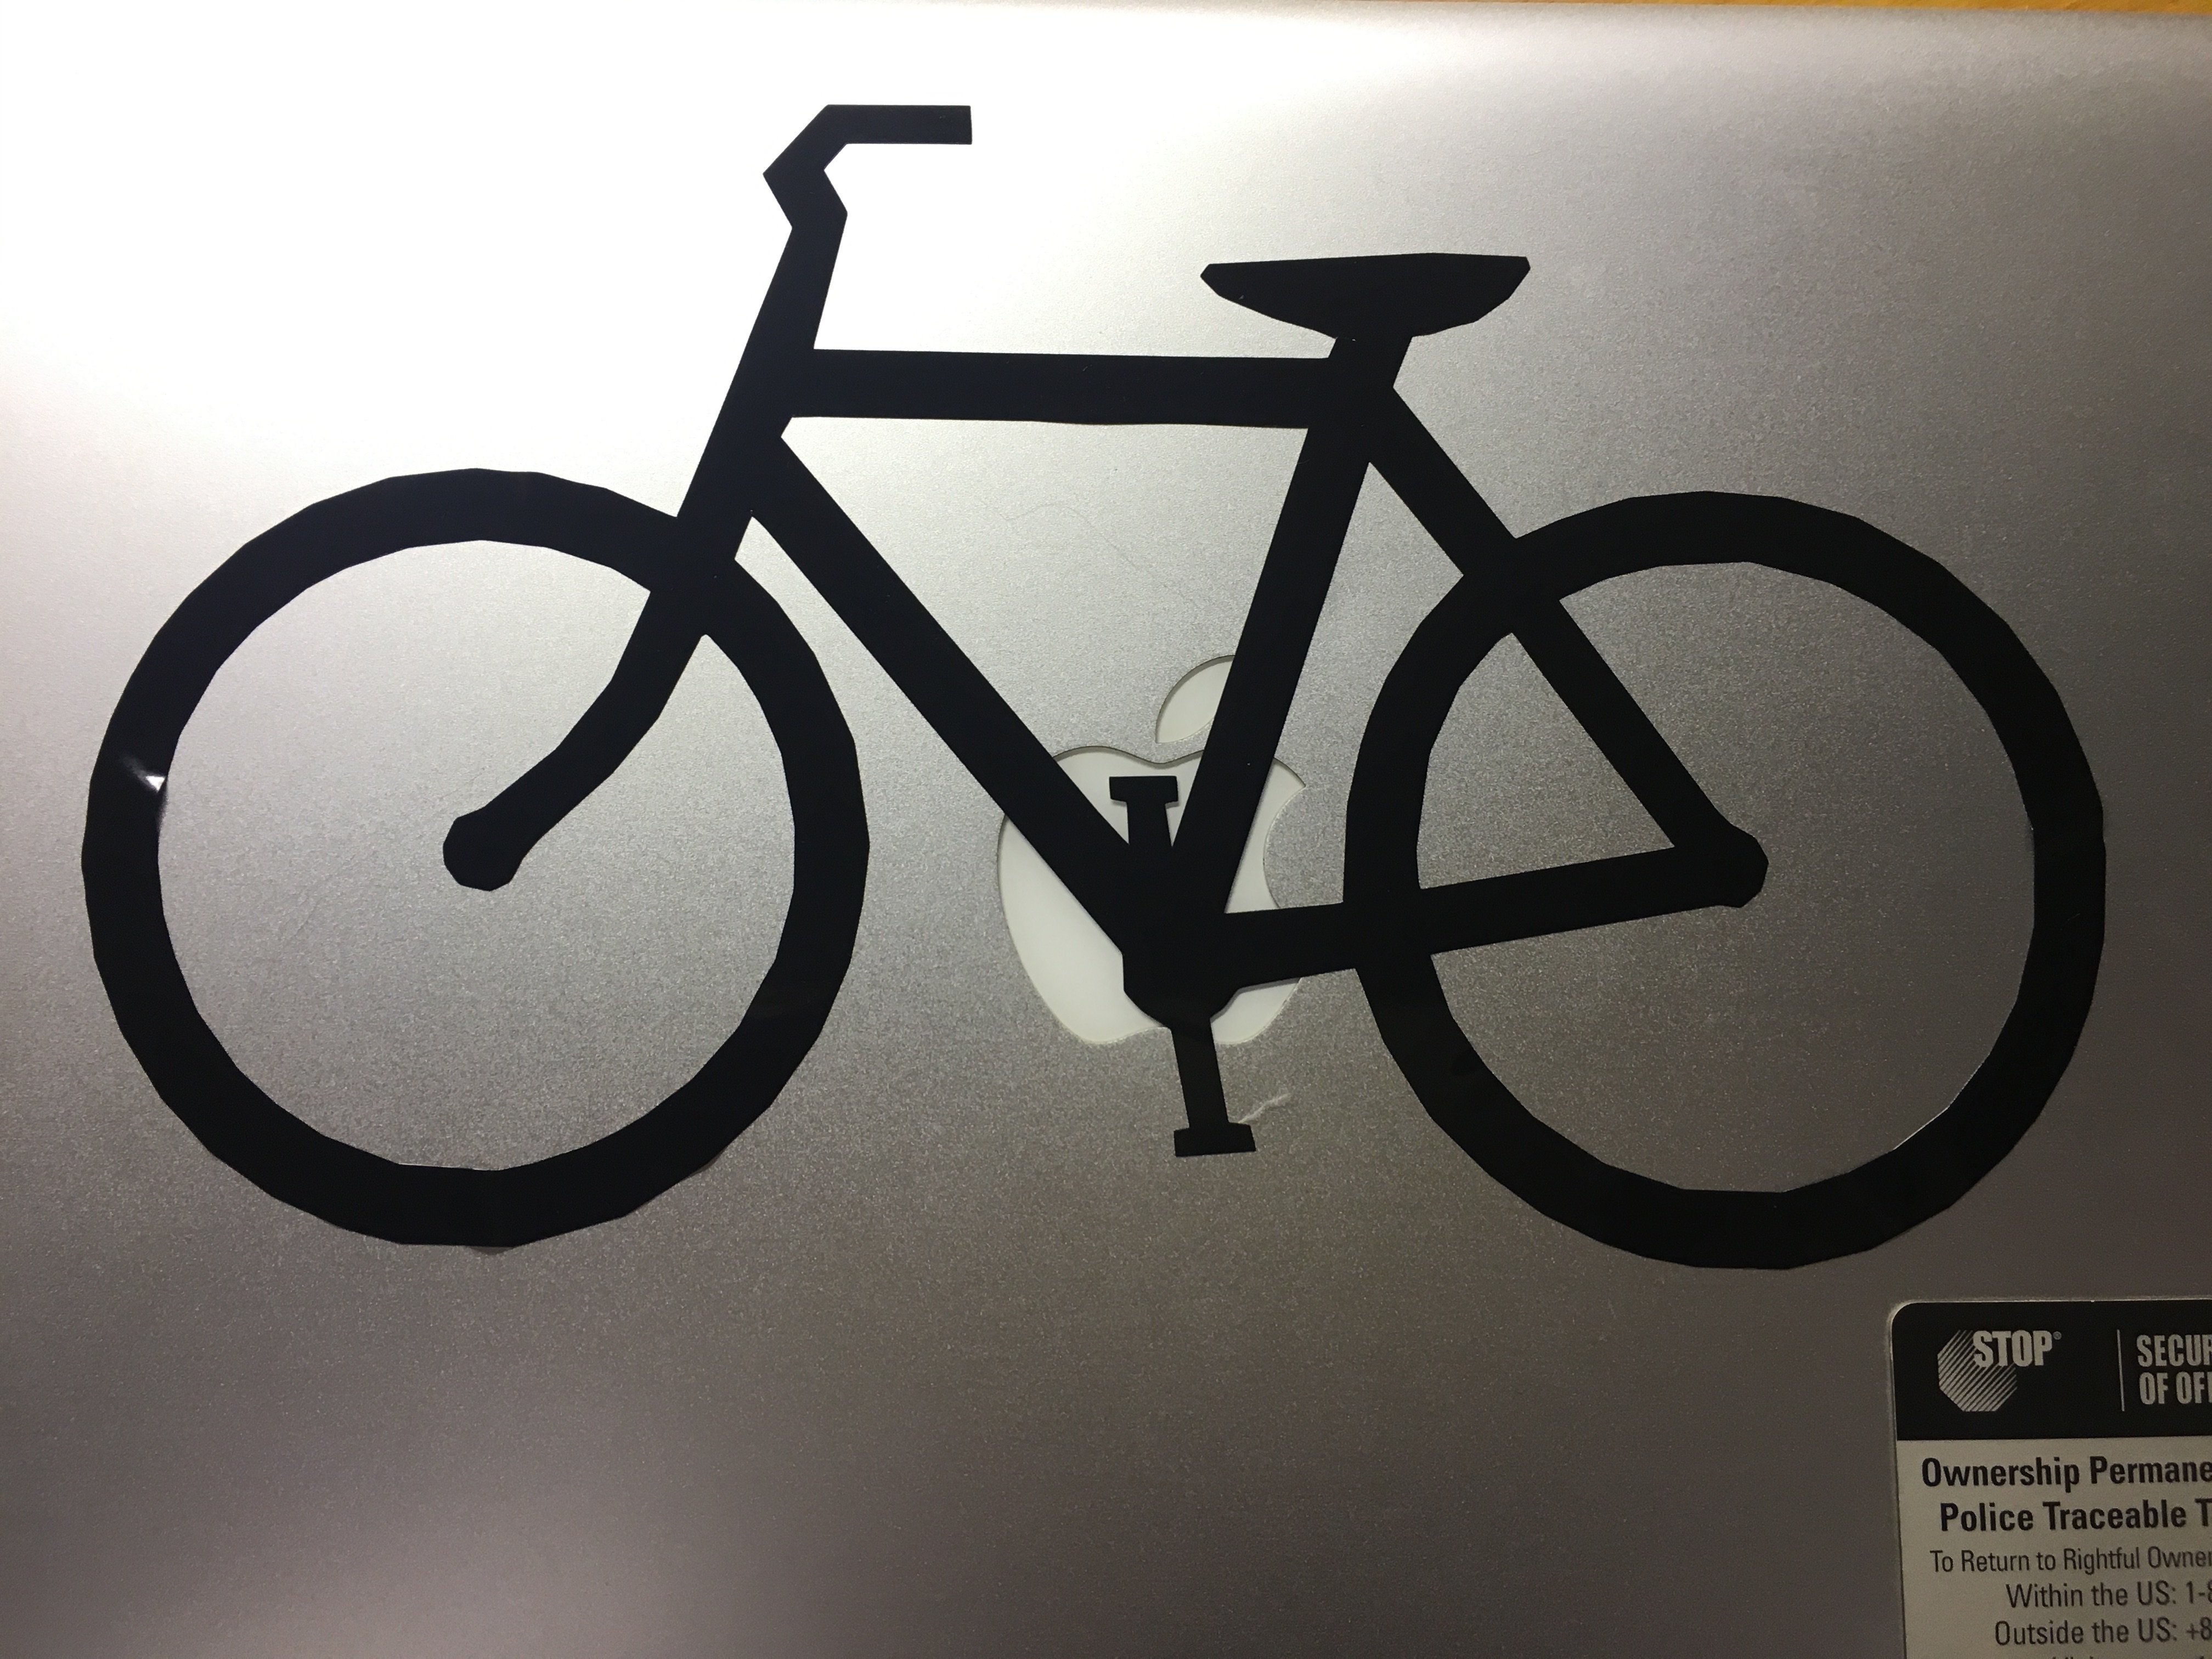
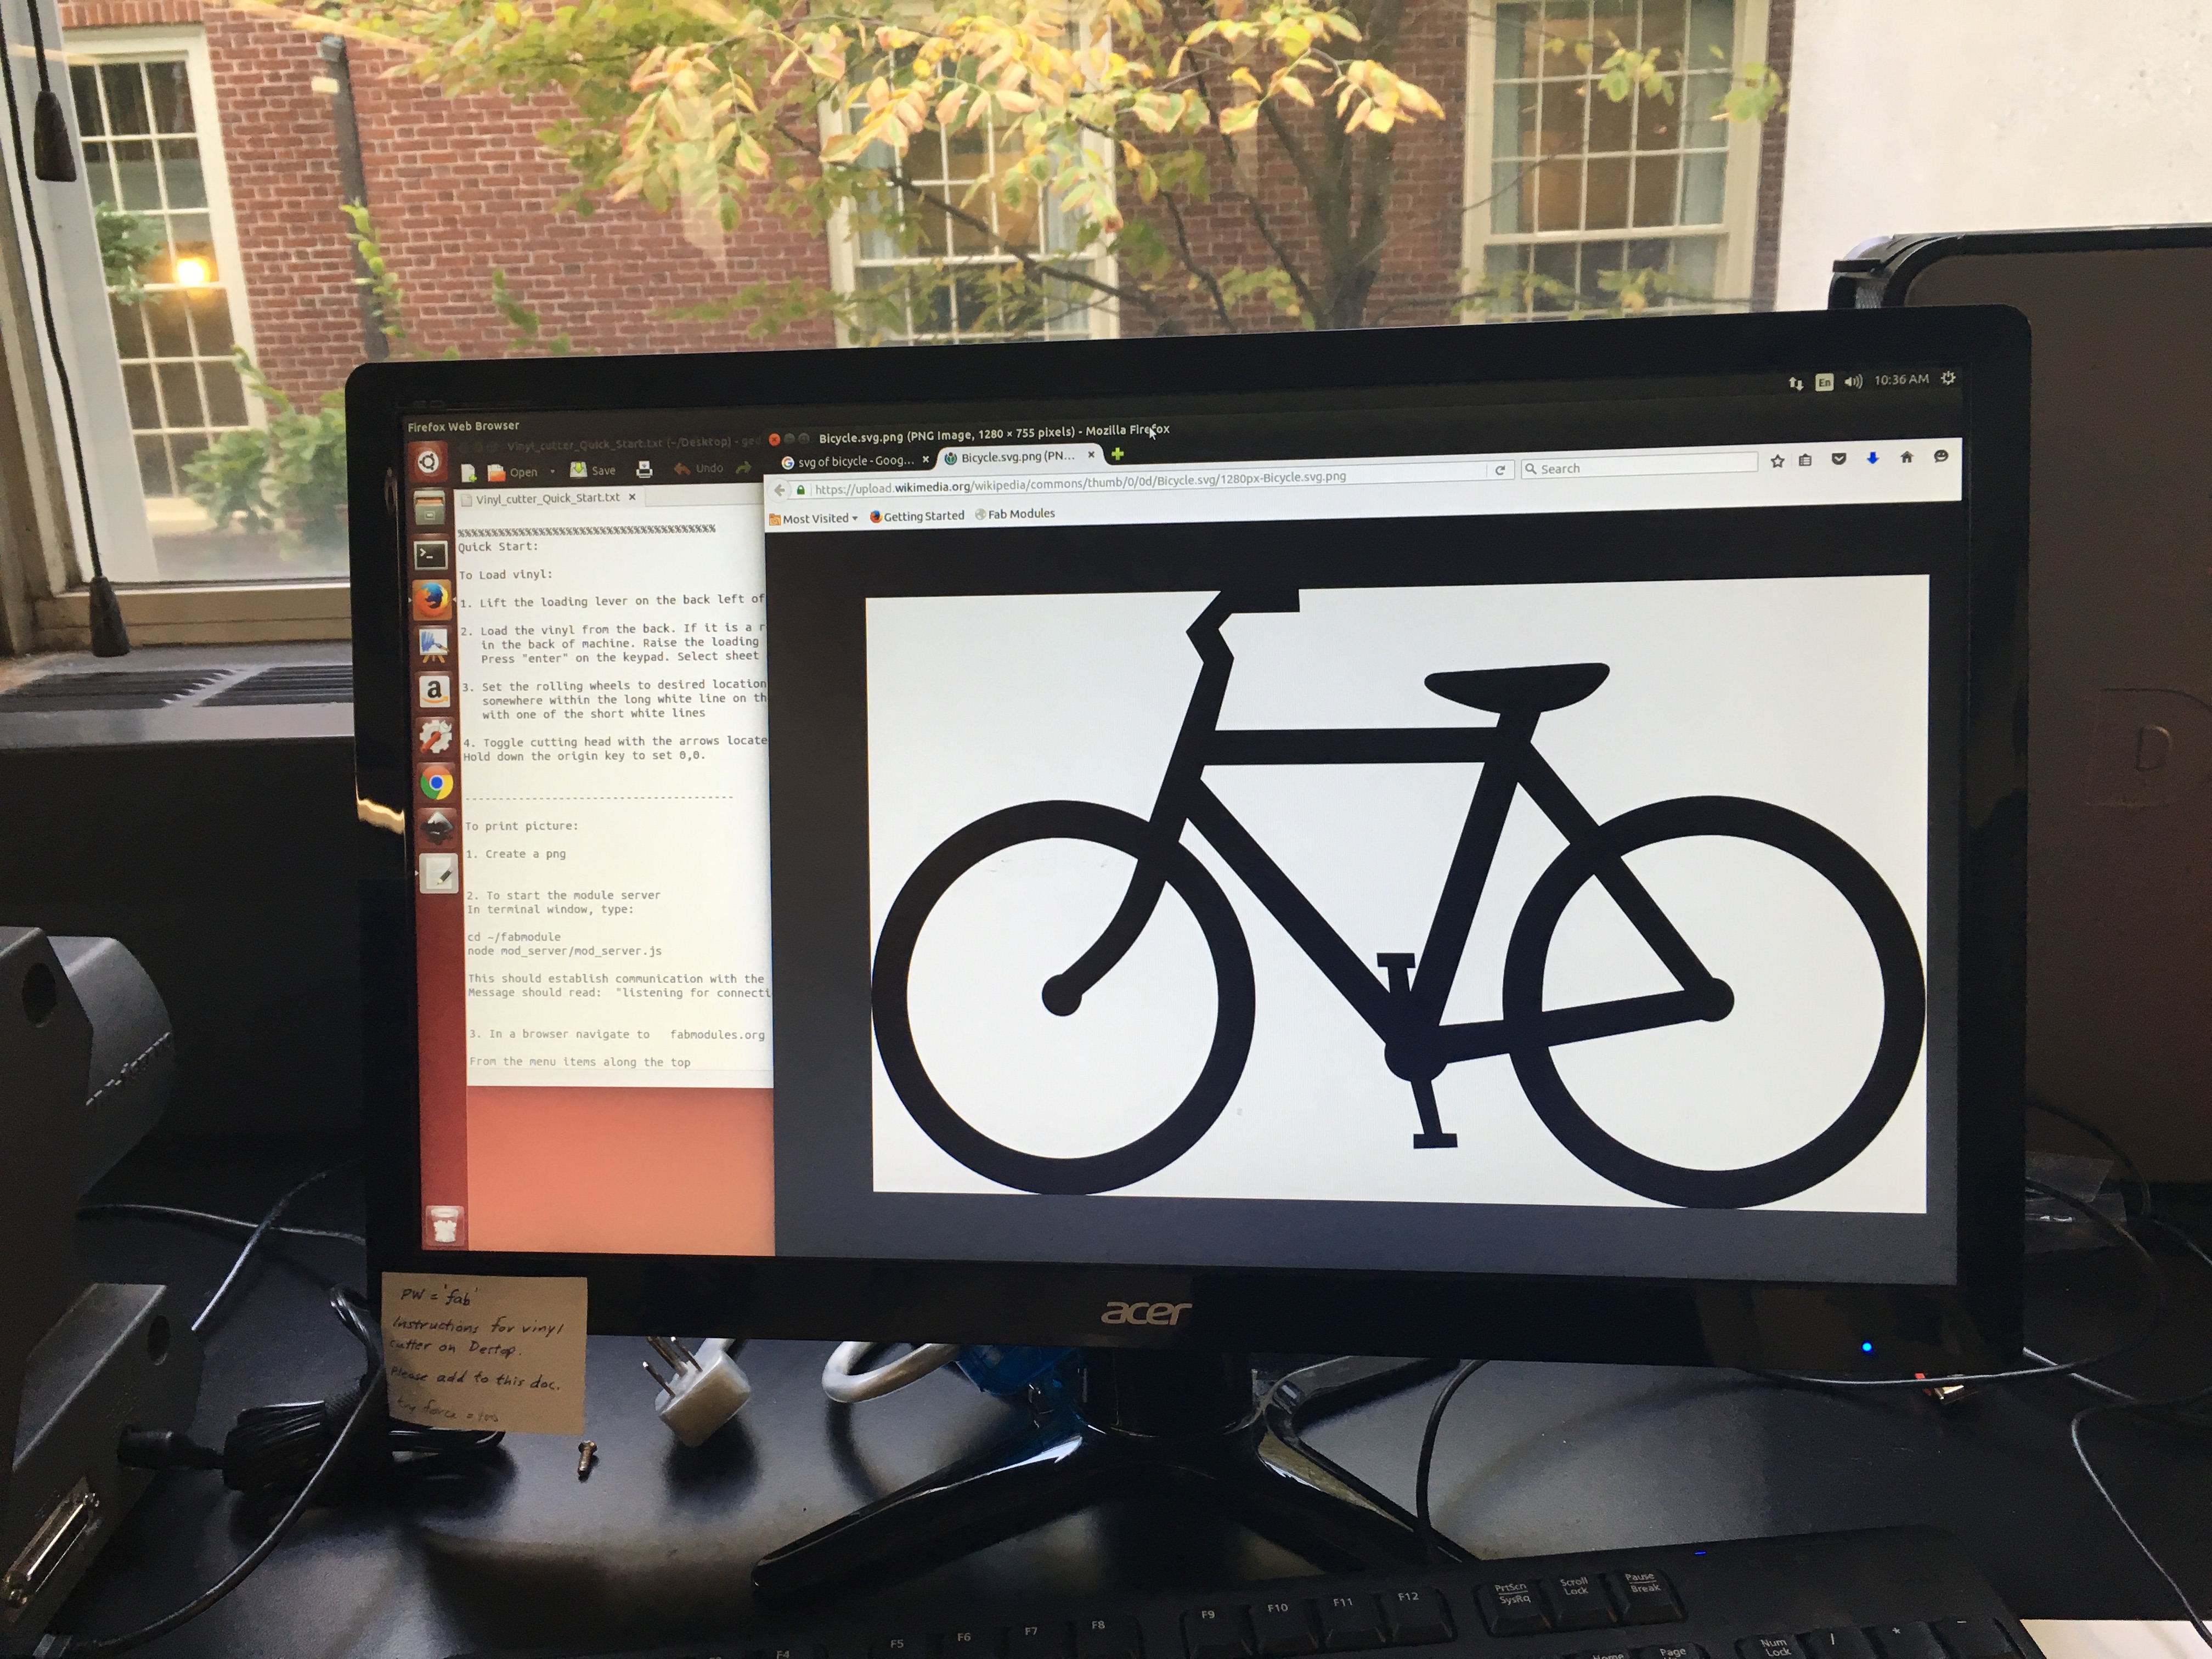
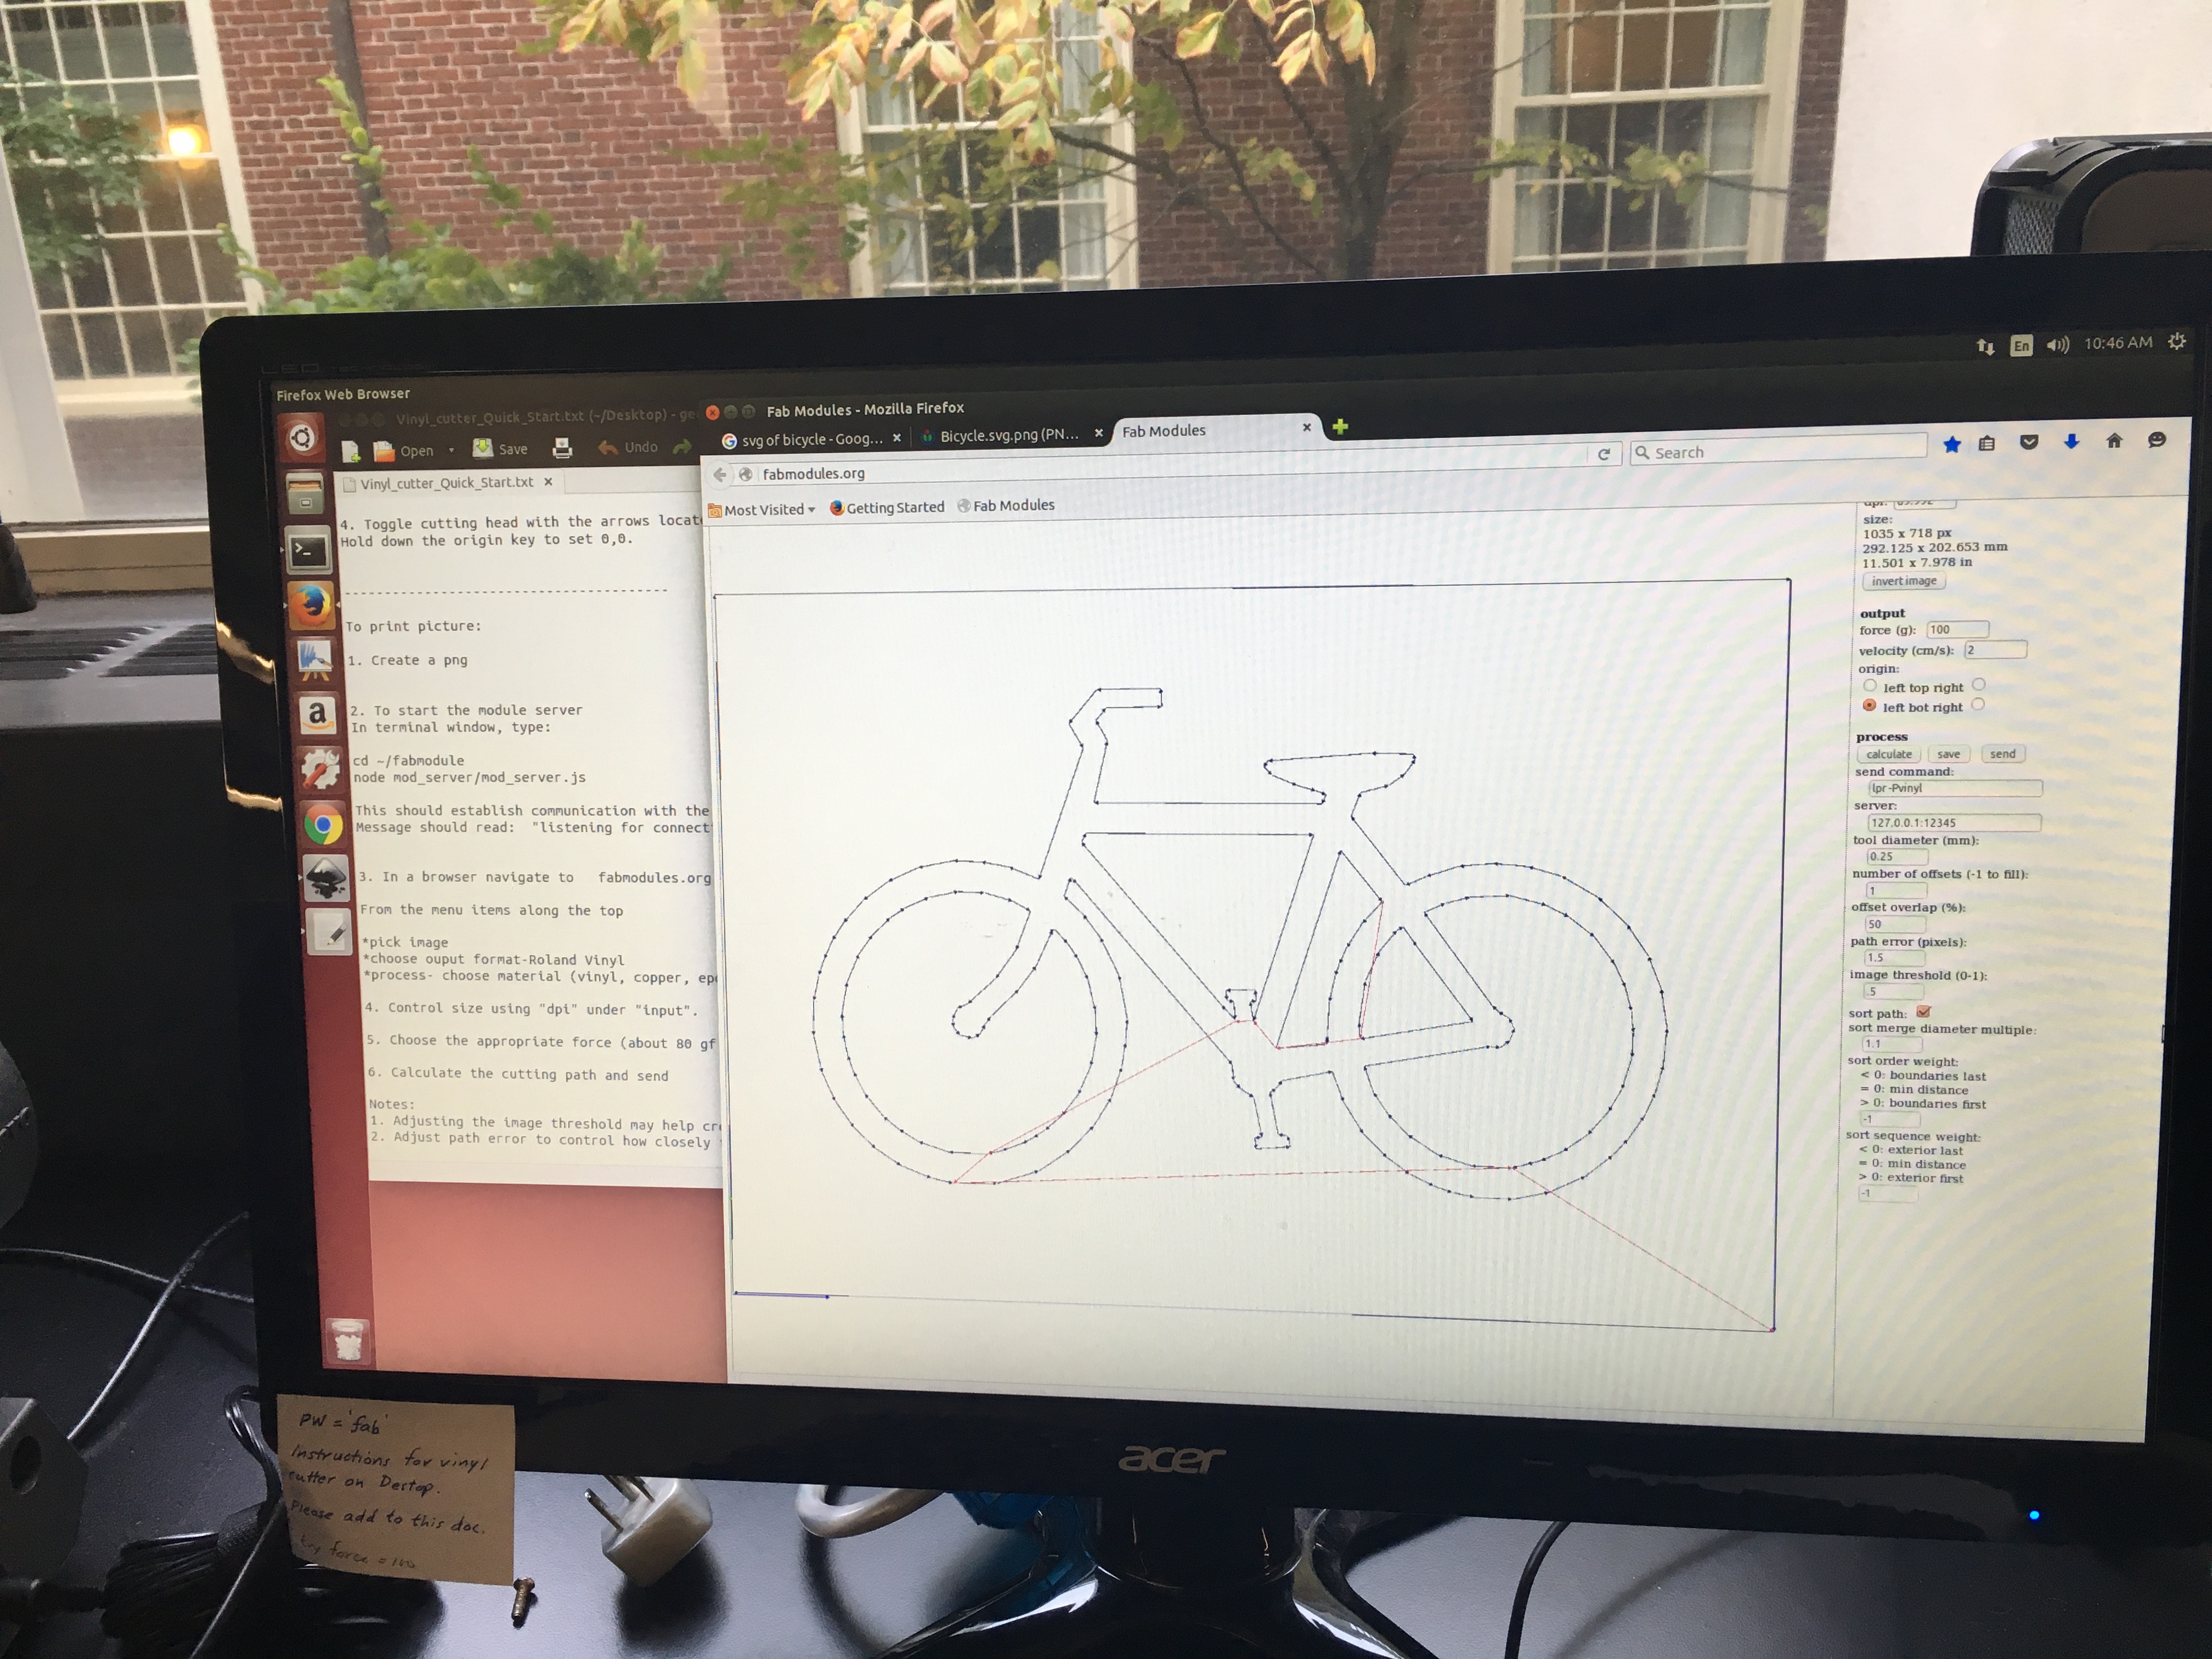
I found a nice png image of a bicycle on the internet.

I uploaded it to the fab modules and selected 'Roland vinyl' and the output is a .gcc. I made sure that the force is 100gf to ensure that I can peel off the sticker. I also adjusted the dpi to get the size of the sticker that I wanted.
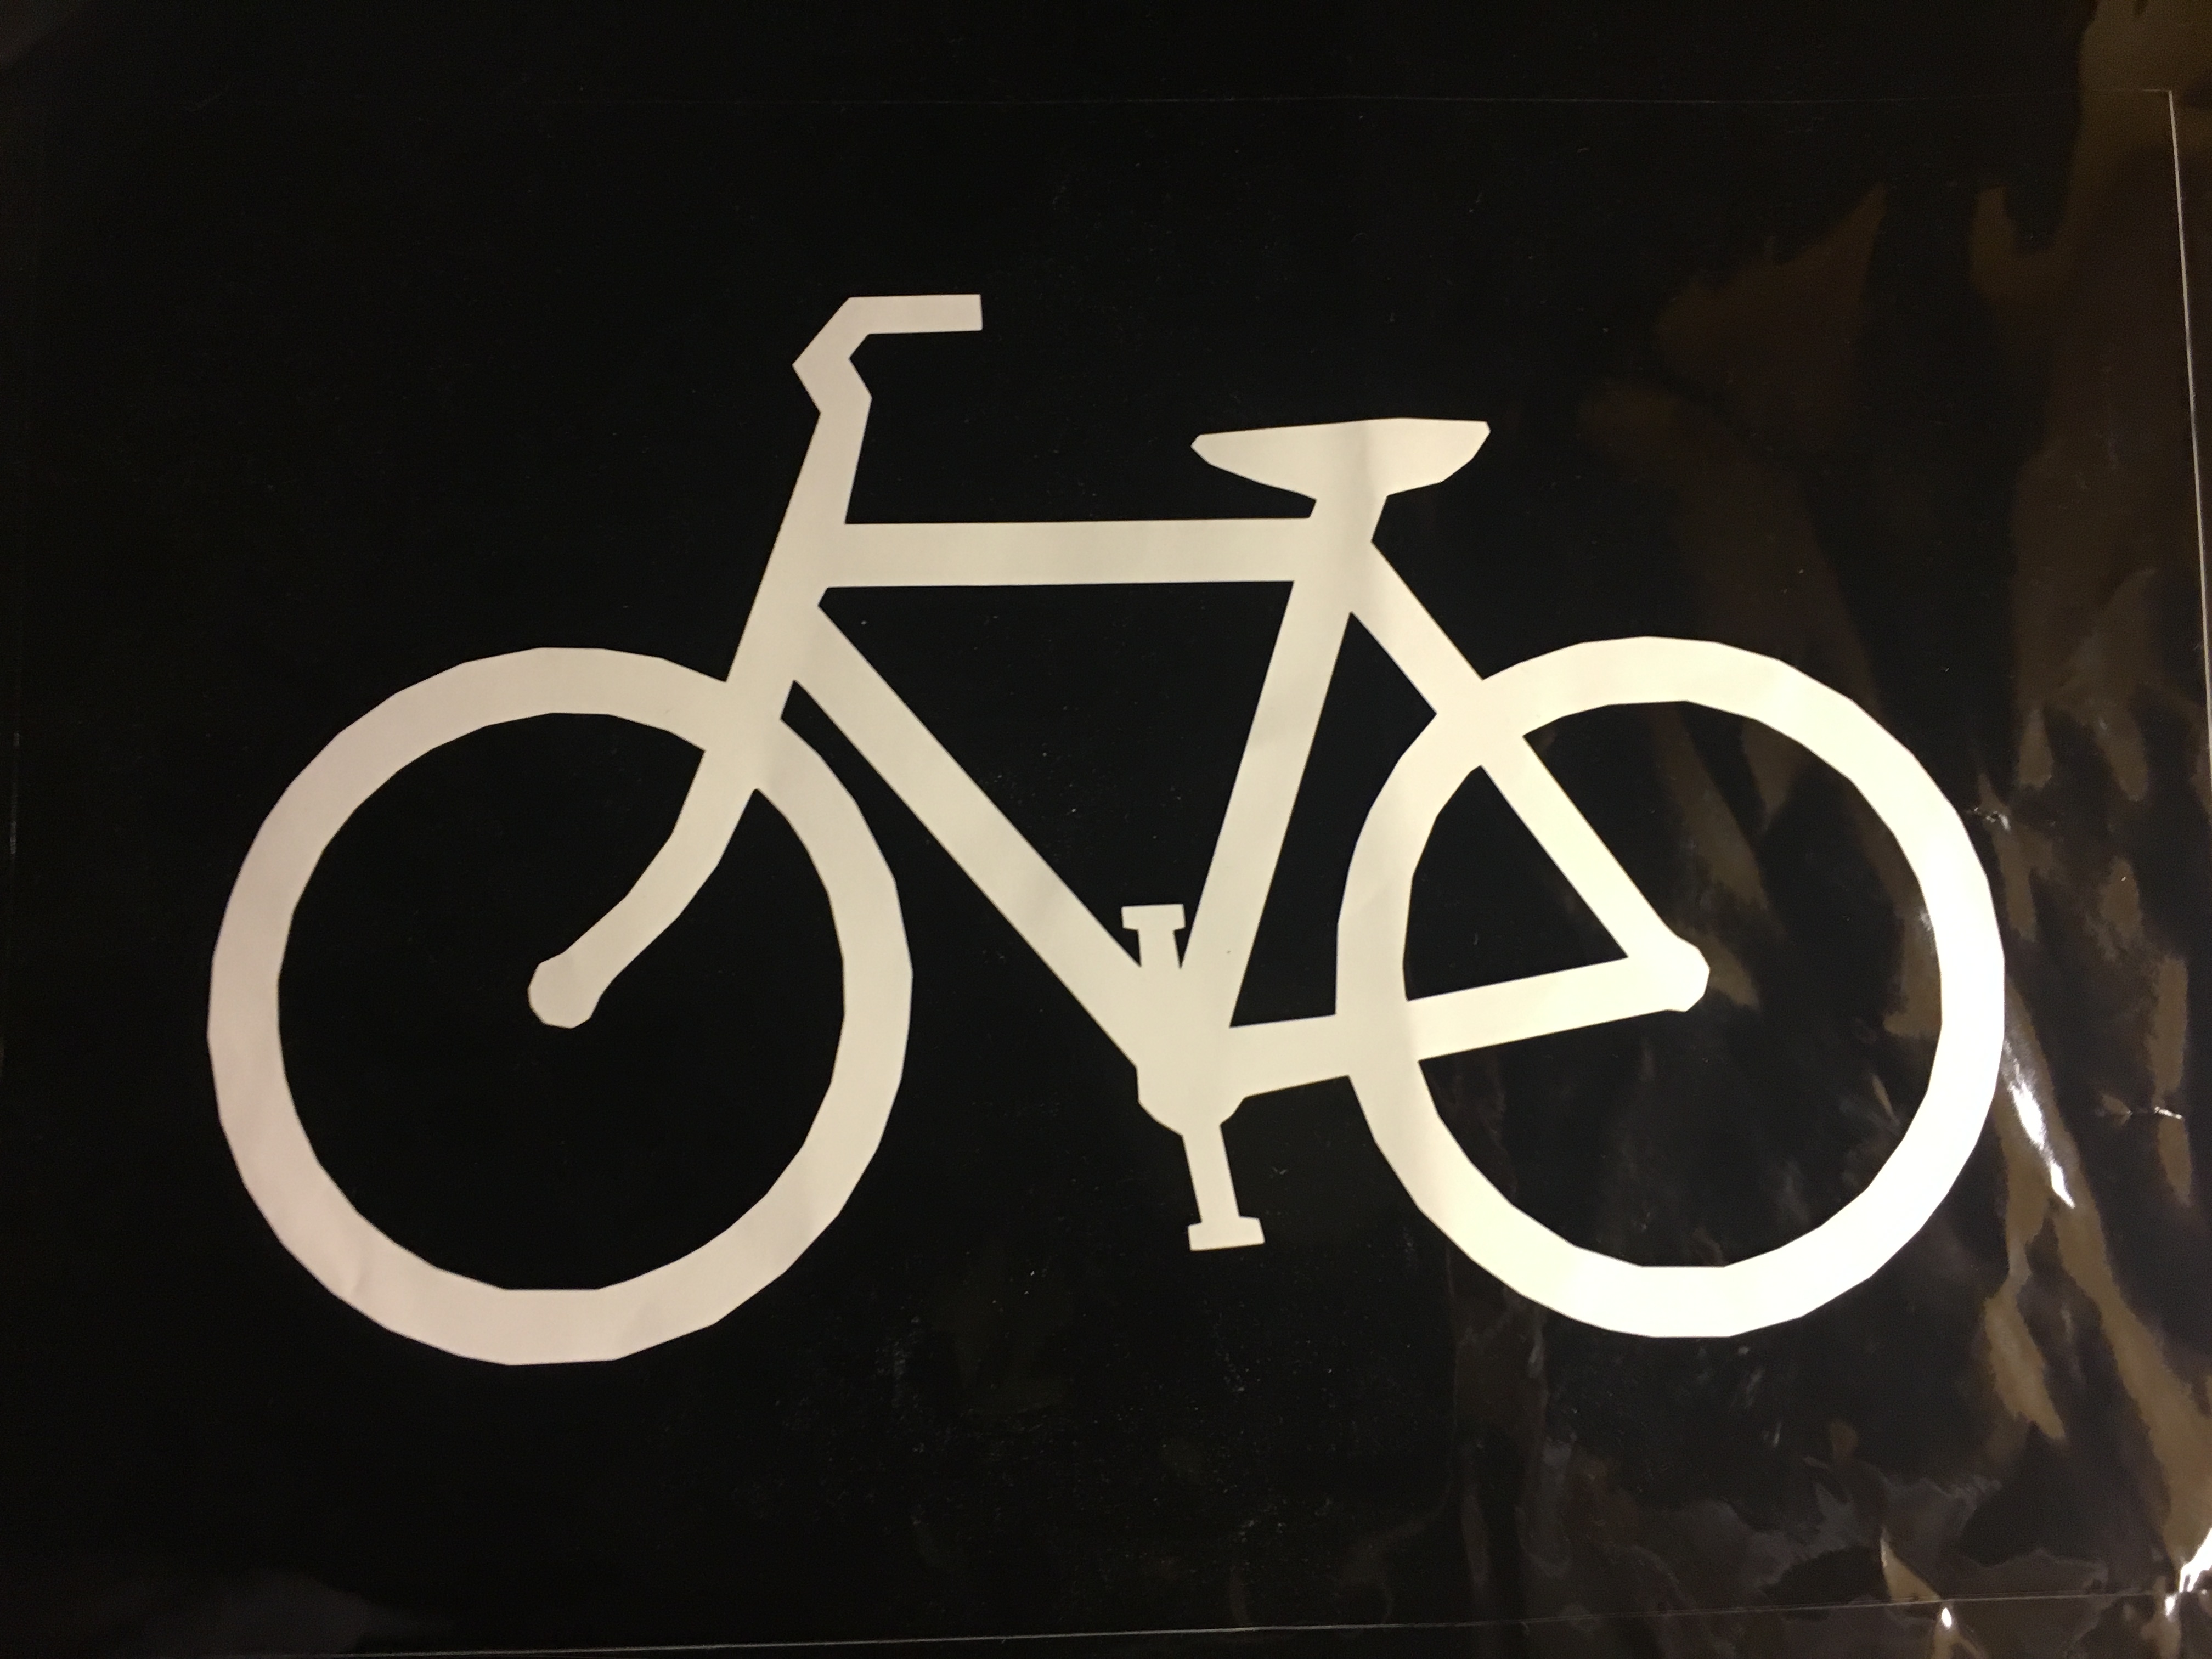
Next, I prepared the Roland vinyl cutter. I put in a roll of black vinyl material. Make sure that the rollers are aligned with the white sticker on the vinyl cutter. Put the roll in between these rollers. Then I clicked 'send' on the fab modules and the vinyl cutter will ask you what you loaded. You can select different options by clicking on the 'down' arrow. I selected 'roll'. Then it calculates the length and width of the piece. And then it cuts!

It turned out nice and I will be using it as a laptop sticker!