Week 8: Molding and Casting
Introduction
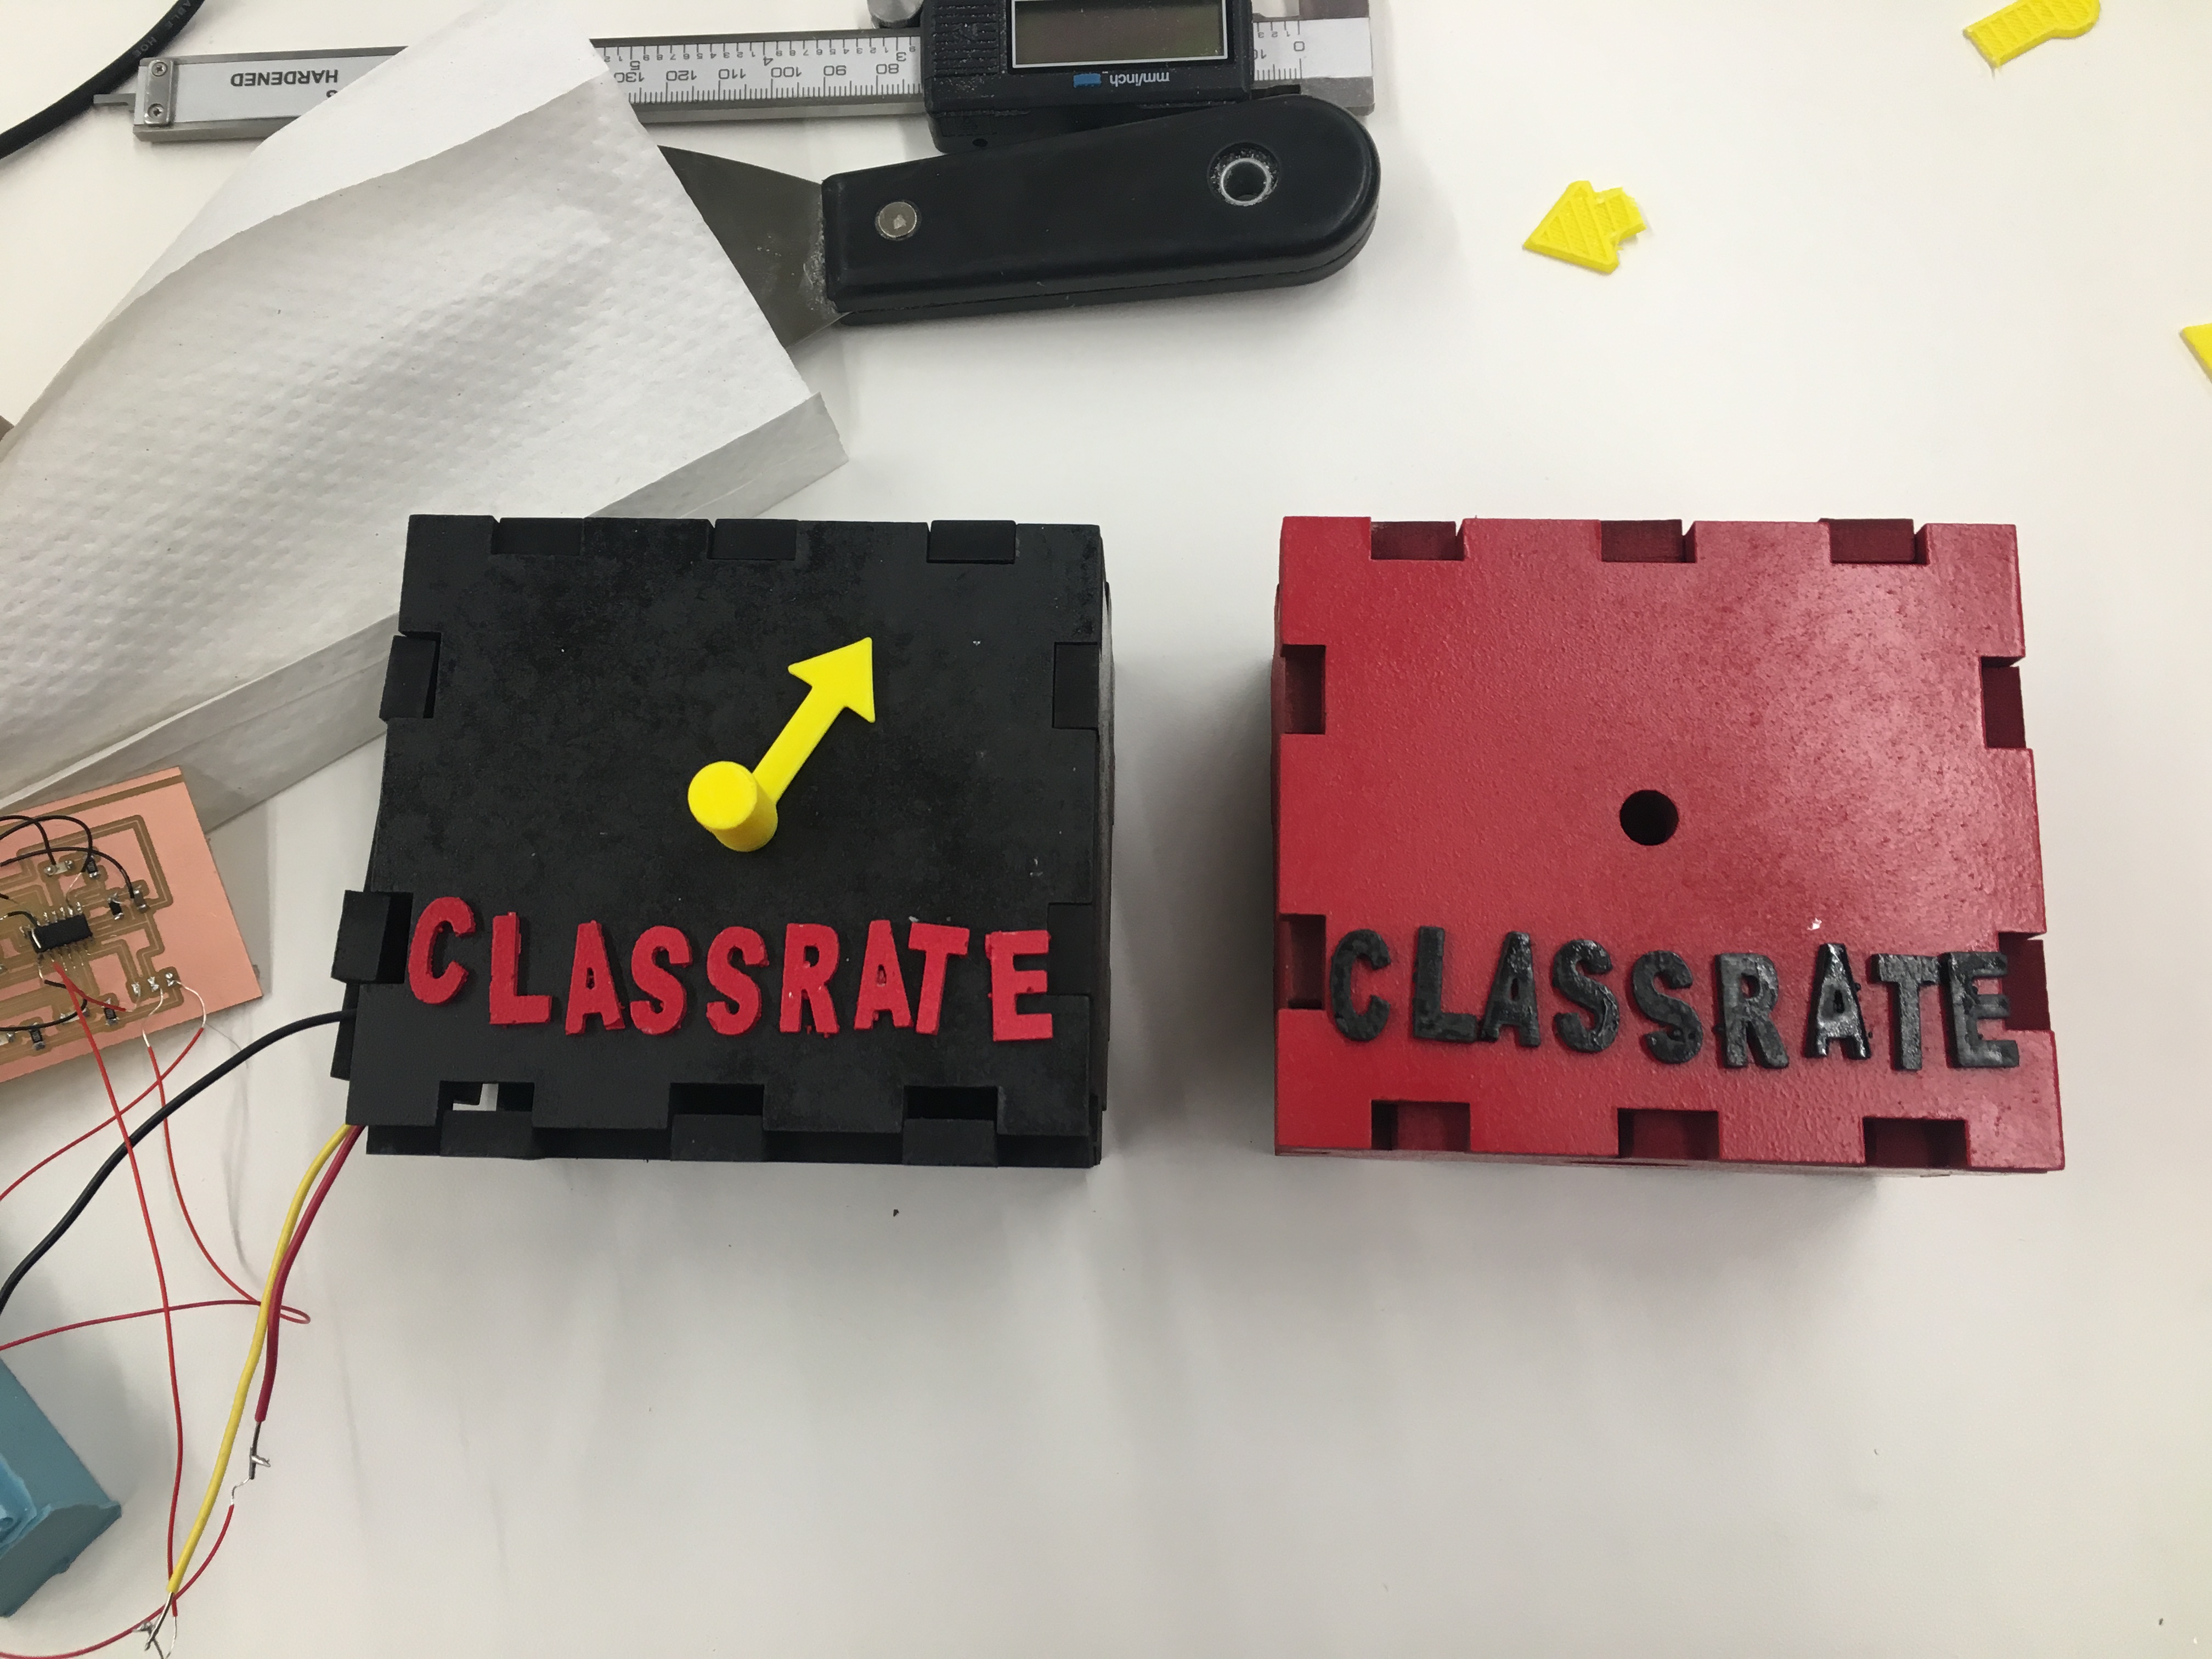
This week, I molded and casted the letters ‘ClassRate’ for my final project
Design of the logo
I used TinkerCAD to make the logo because TinkerCAD comes set up with letter shapes. I measured the width of the box that I was putting the logo on, and then adjusted the size of the letters accordingly. Each letter was 8mm wide, 15mm tall and 2mm thick.

Machining the wax
Then I used the ShopBot to cut out the logo. Molding and Casting requires some thinking on the positives and negatives of the mold! Since I wanted the individual letters, my oomoo should have a block with the indentation of the letters. In order to create an indentation of the letters in the oommo, I would need to pour the oomoo in a box with the letters sticking out. So that it what I did! I added a box to the design in TinkerCAD and had the letters sticking up from the box. I was using the 1/16 bit, but then the fine details of the letters didn’t come out (for example, the hole in the A), so instead I used the 1/16 bit for the roughing toolpath and then changed the bit to a 1/32 for the finishing toolpath. The toolpaths looked great, and then I machined the max.


Messy Oomoo
Now that I had the wax mold, I would need to pour the oommo. So I followed the instructions and measures equal parts of part A and part B of the oommoo mixture. I added about 100g of each. I mixed them well together in a beaker. Then, I placed the beaker in a vacuum and sucked out the air.


EXPLOOMOOSION! The oomoo exploded all over the chamber of the vacuum and made a huge mess. It blocked the valve for the vacuum and there was blue stuff everywhere. I cleaned everything up, and then tried again.

This time, I put the mixture in a larger cup so that it wouldn’t overflow as quickly. I put the vacuum on and stopped when the oomoo reached the top. The vacuum is used to remove bubbles. Once I had that, I needed to pour the oommo into the wax mold. Since my letters are very thin (2 mm thick), I needed to add a wall for the wax mold structure so that there the oomoo could be poured into it. So I added a wall around the letters. Then I poured the oomoo. I found out later that I was supposed to let the oomoo flow, but I didn’t know that, so when I poured it, I just poured it all over – this led to some small bubbles. Now, I waited for the the oomoo to dry. The box said it would take only 75 minutes, but I ended up waiting 5 hours before it was good enough to take out


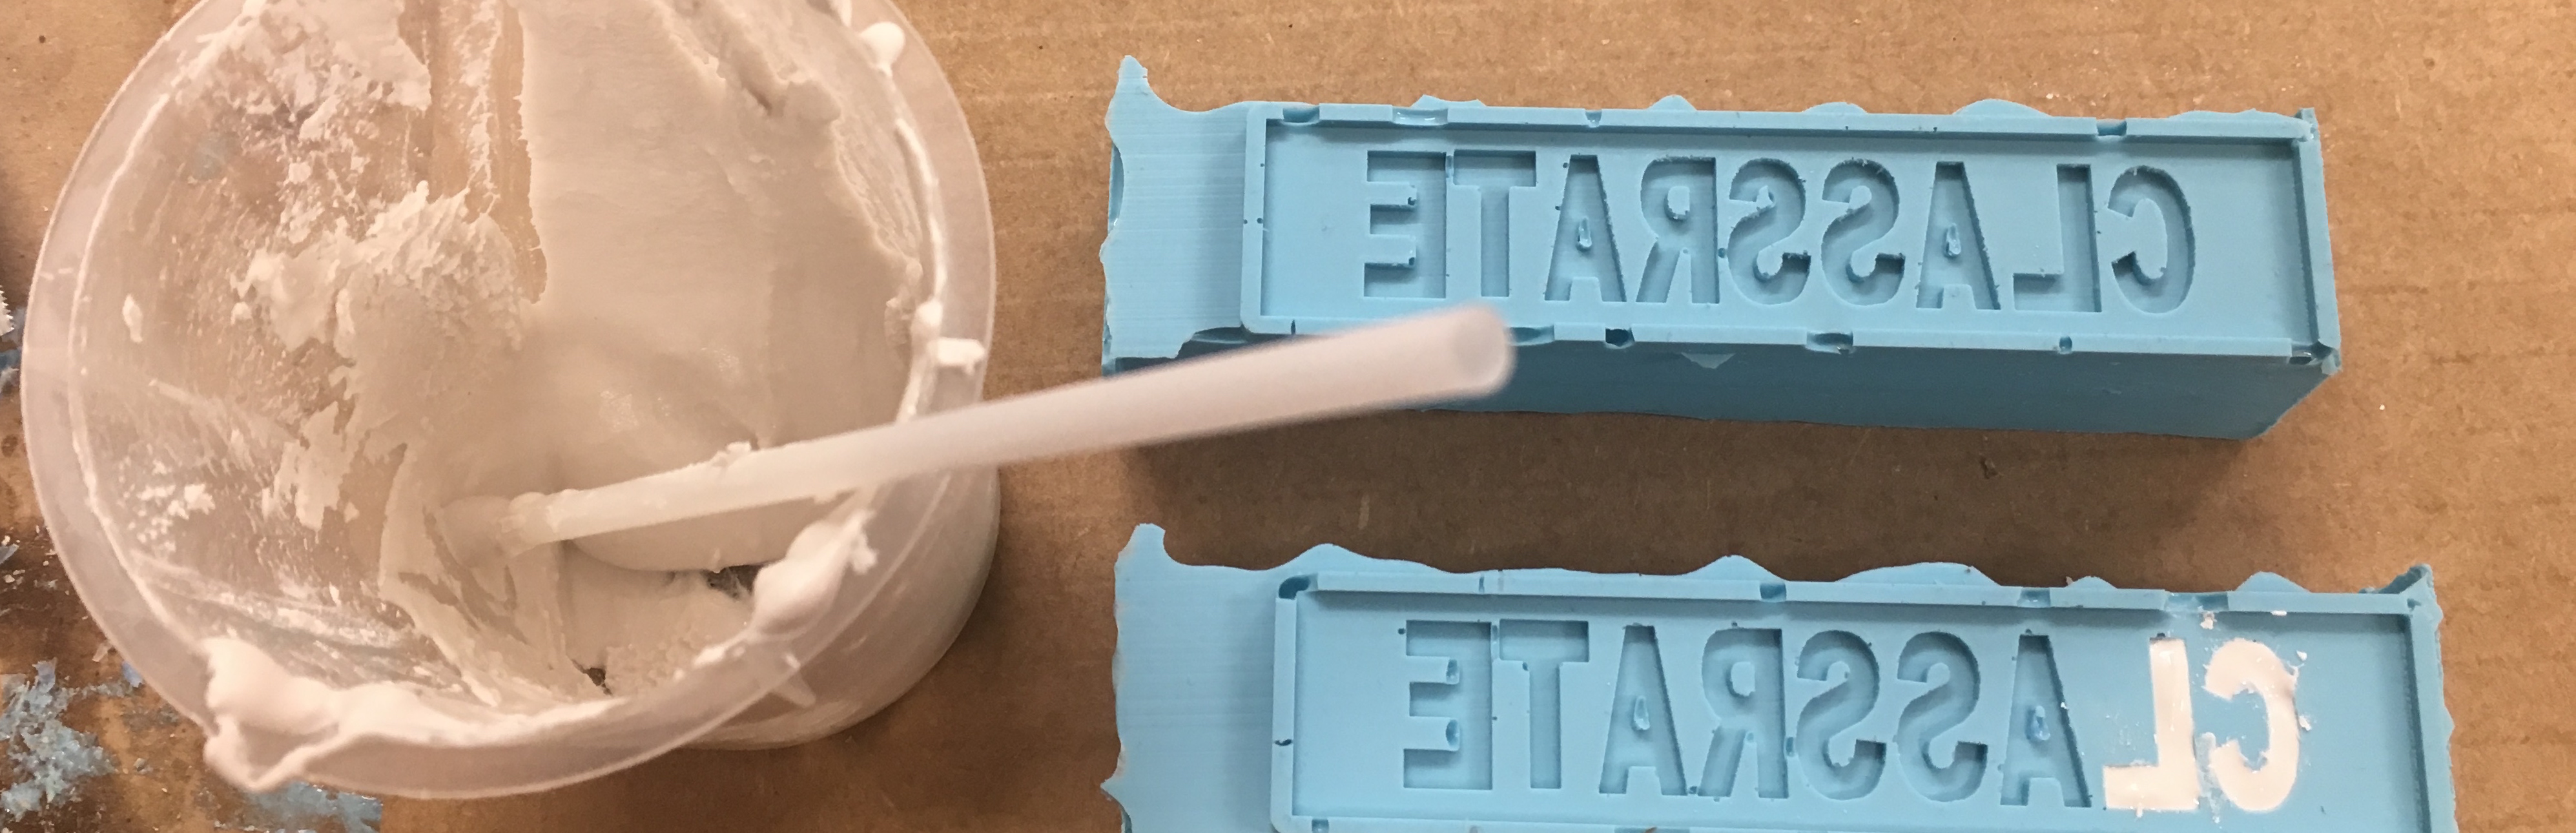
Hydrostone

The oomoo turned out well, despite a few small bubbles.
Now, I mixed the hydro-stone. I used about 50g of the hydro-stone powder and 16g of water. I then started pouring the hydro-stone mixture into the individual letters, but that was taking long and the hydro-stone was drying out, so instead I poured the hydro-stone onto the whole thing, and then smoothed it out with a wooden spatula. This was MUCH quicker. Now, I waited for this to dry. This didn’t take too long to dry – about a couple of hours. I have my molded and casted logo!


SprayPaint
I spray-painted the hydro-stone logo.