Computer Controlled Cutting: FLOWER TECTONICS
Week 02 | How to Make (Almost) Anything | MIT Media Lab | Fall 2016
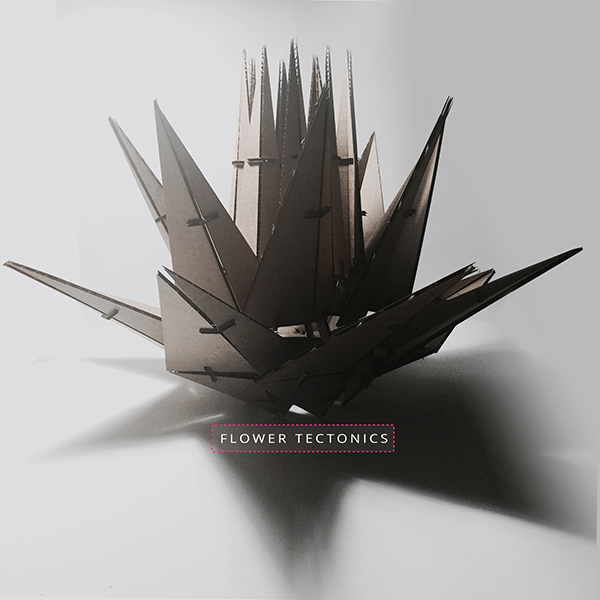
Building upon concept for final project, I decided to do this week's assignment exploring flower tectonics- rotation, layering, angle, etc.
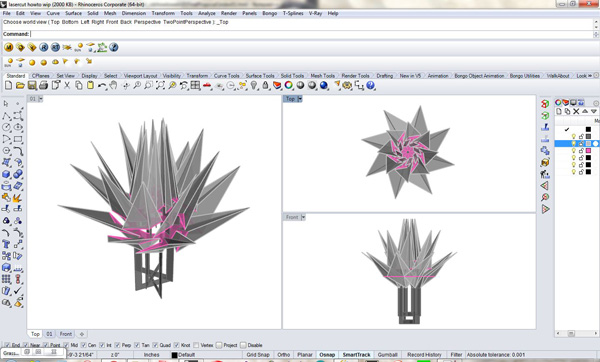
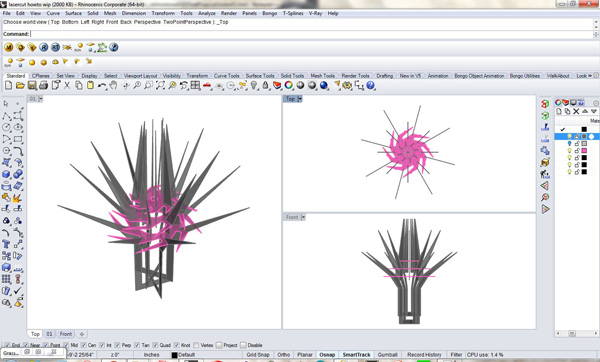
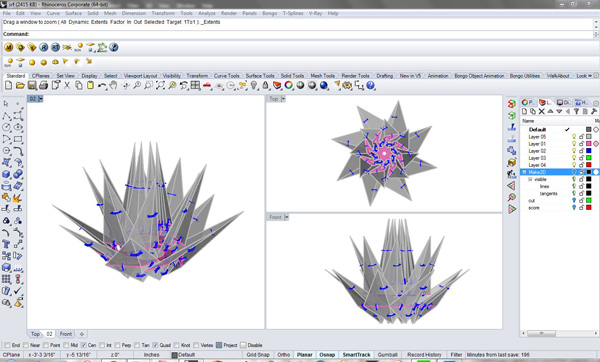
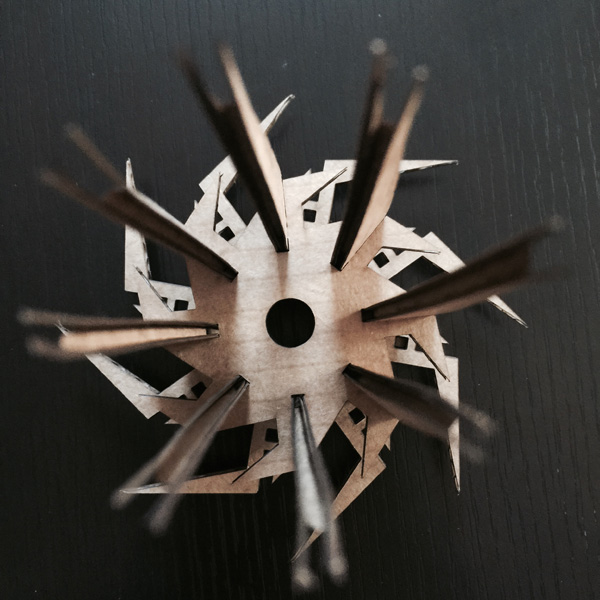
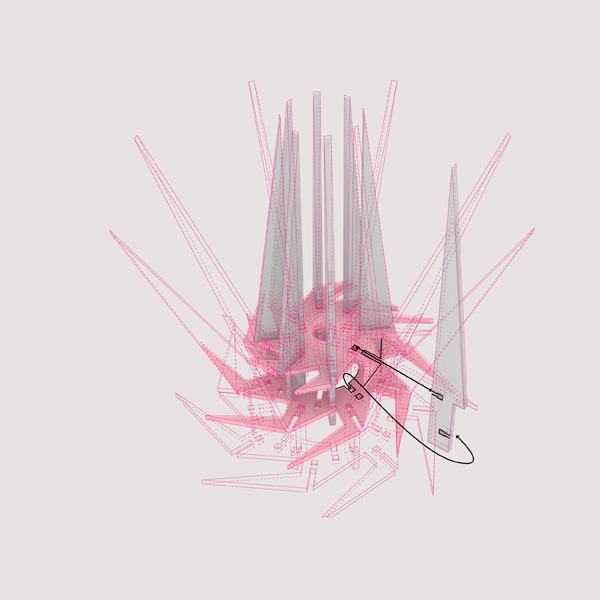
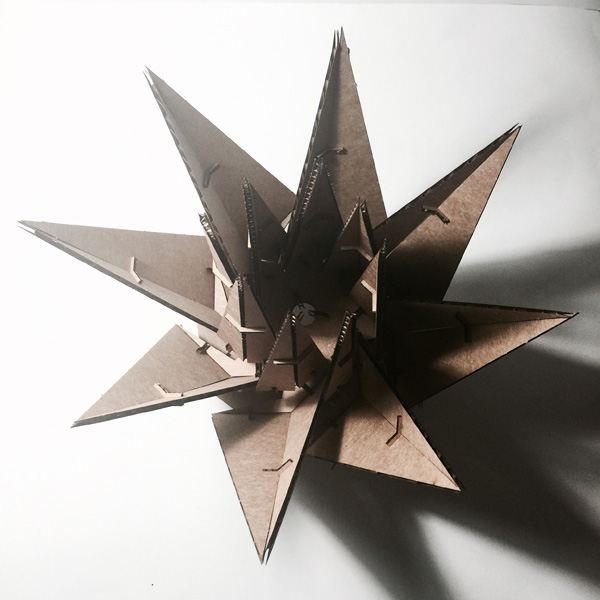
The digital model was done in rhino. Three layers (could be more) of circular plates as the core, each rotated 30 degree (could be different), with 8 petals (could be changed). I've tried physical modelling both the skeleton model and surface model separately.
The goal of the study model is to understand the factors that control the angles of the each petal along three axis- how it opens up differently between the inner and outer layers, the overlap situation of all the petals within the same layer which controlled by the small fins on the horizontal central plates.
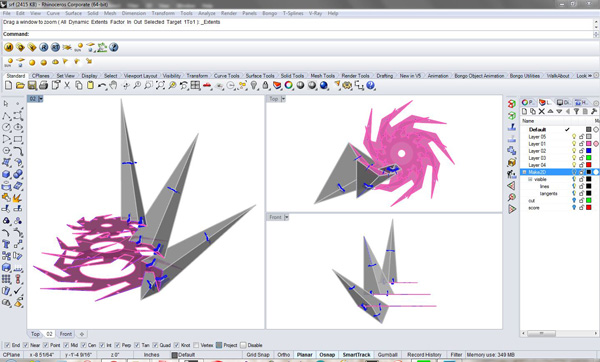
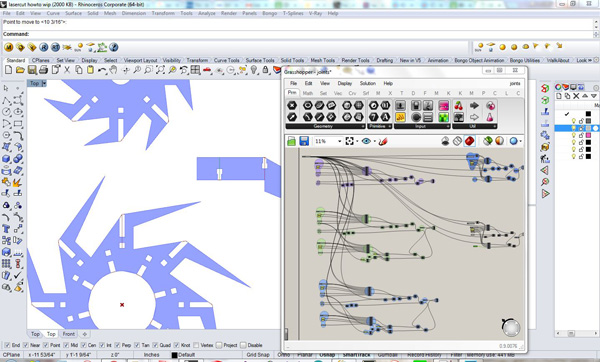
For the skeleton model, I used one of the notch profile introduced during last Wednesday class, parametrically modelled in grasshopper.
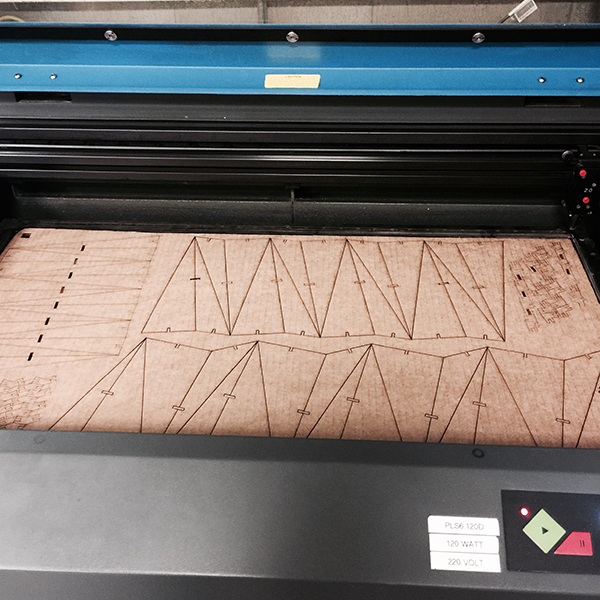
I spent quite a long time lasercutting throughout the time doing architecture and have been collecting experience dealing with various issues of settings and materials. This time the unique challenge is mainly the construction material and required notching techniques. First of all, cardboard warps! I put it onto the laser bed and panicking about calibrating the laser head height. The tolerance built up to about half inch towards the center. Using masking tape on the edge helped a little bit, and I also tried cutting the sheets smaller so the height difference is reduced. The cut was done on 120W Denis at GSD. I typically do a tiny square test cut on the blank space before going for the actual cutting. It came out perfectly with a crisp line cutting through at the setting- power 50, speed 15, 220ppi, top and bottom laser. However, the whole sheet turned out unevenly with the right bottom completely not cutting through and the lines were fat. I ran a second cut on some parts, and ended up raising the power and lower the speed (60/10) for the rest sheets.
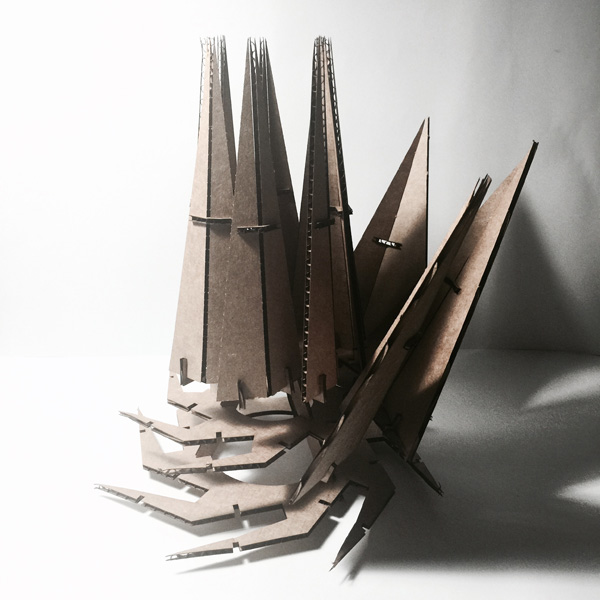
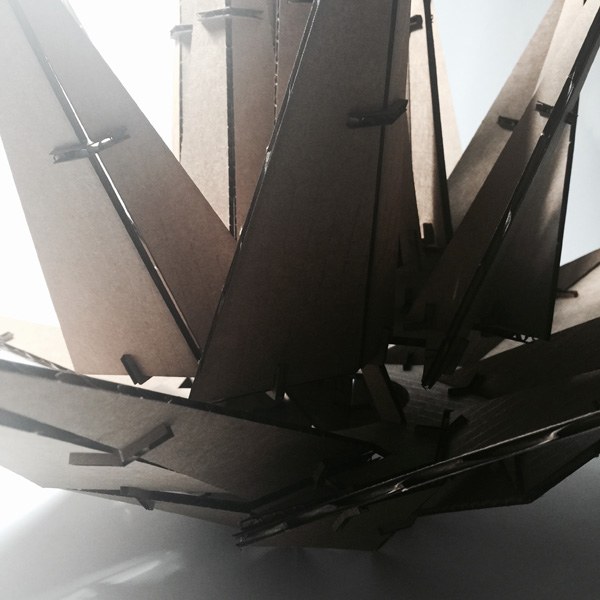
Construction process of the skeleton model:
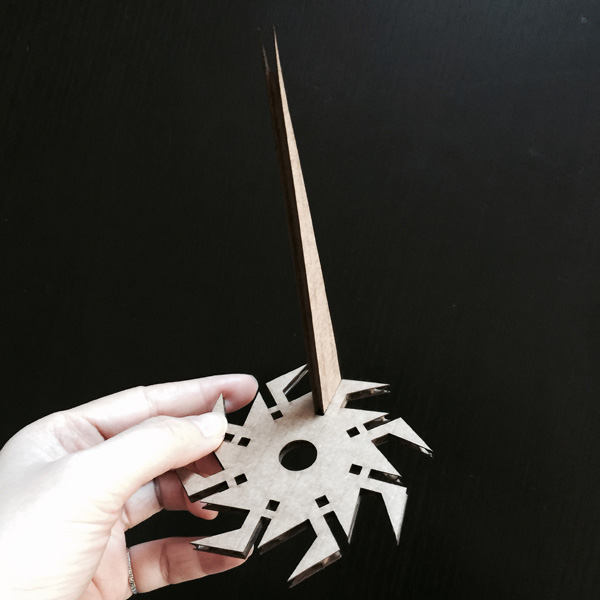
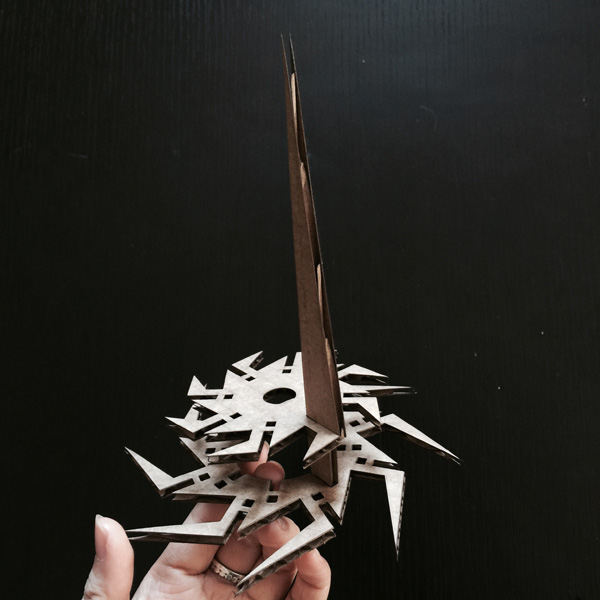
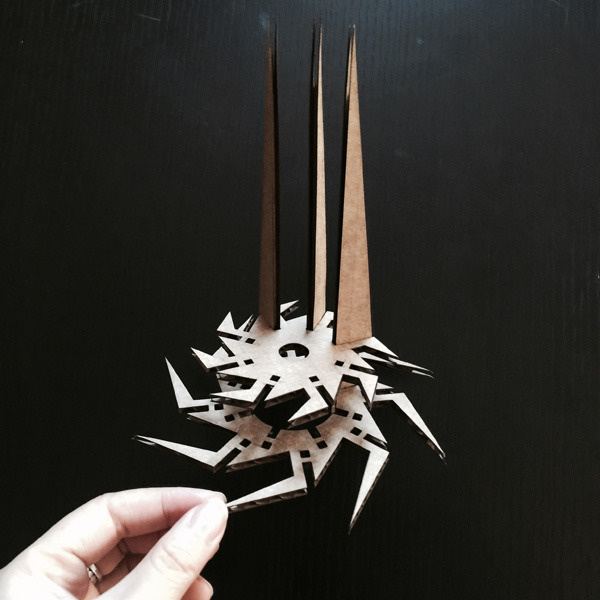

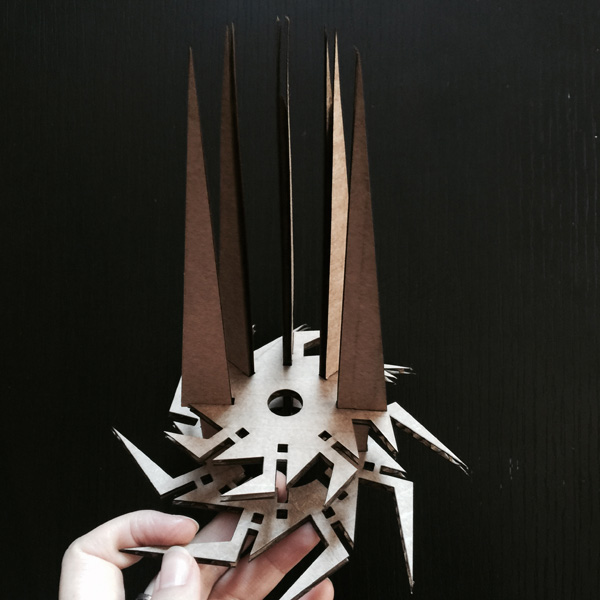

Each petal is connected with double notches, on the outer edge of the central plate on its own layer, and the inner edge on the layer below. This is a tricky detail for constructing with normal rigid material, however, the special characteristic of cardboard makes this feasible and sturdy joints.
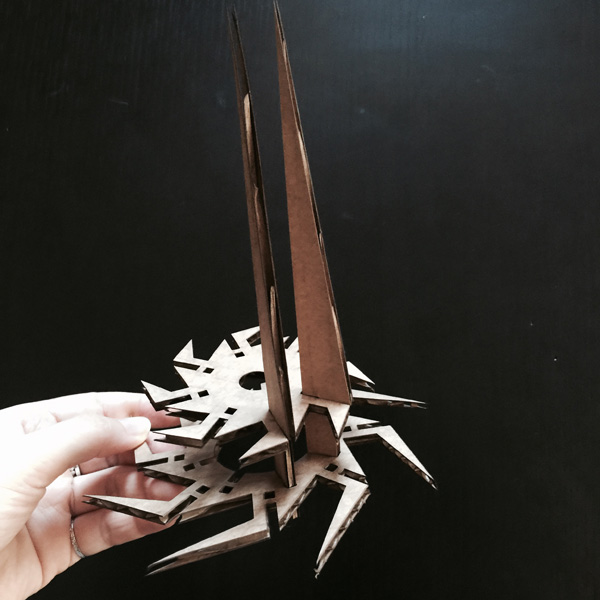
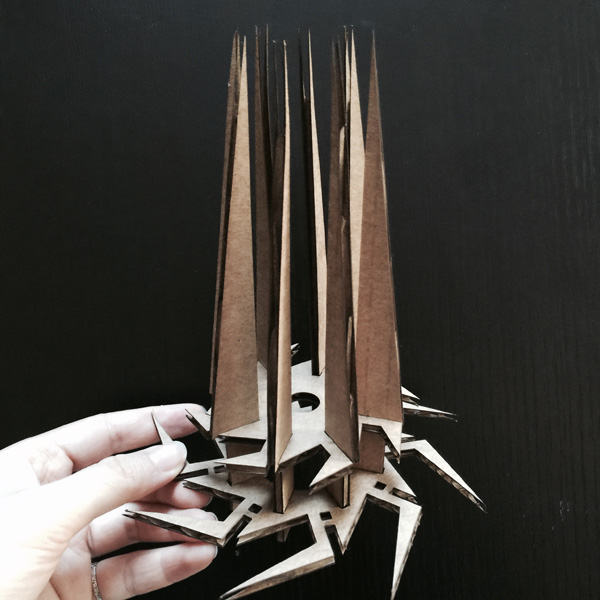
To improve the design, a fillet or chamber at the corners would definitely help in this case. I manually squeezed the cardboard and put quite a bit force towards the final couple pieces in each layer, because the central plates were locked in place stronger as more skeleton being put into place.
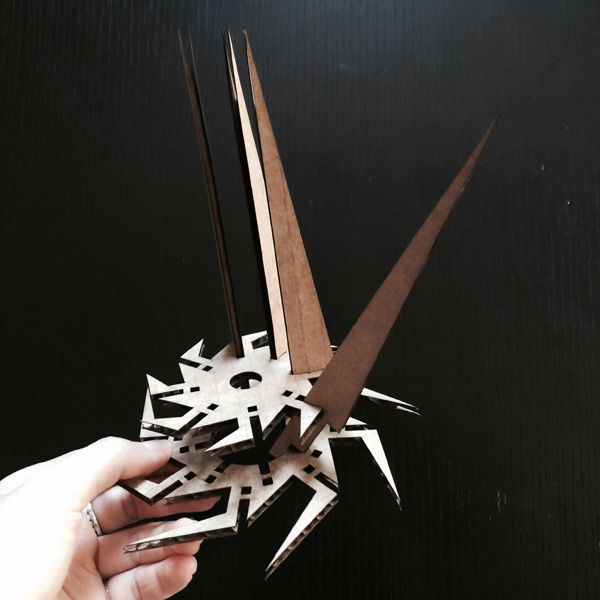
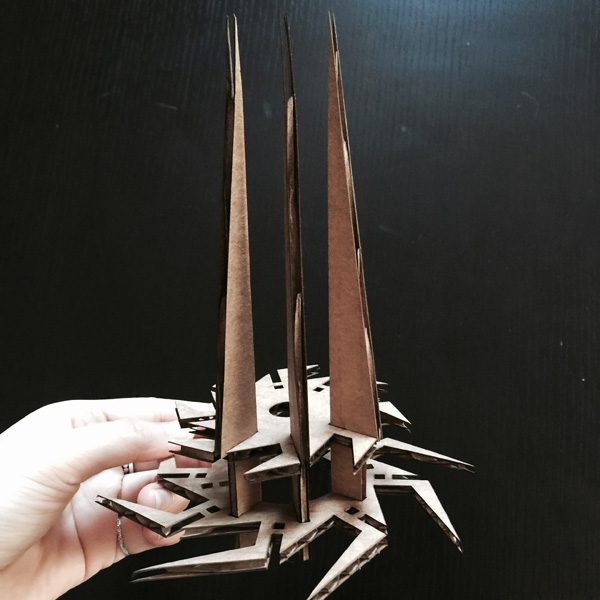
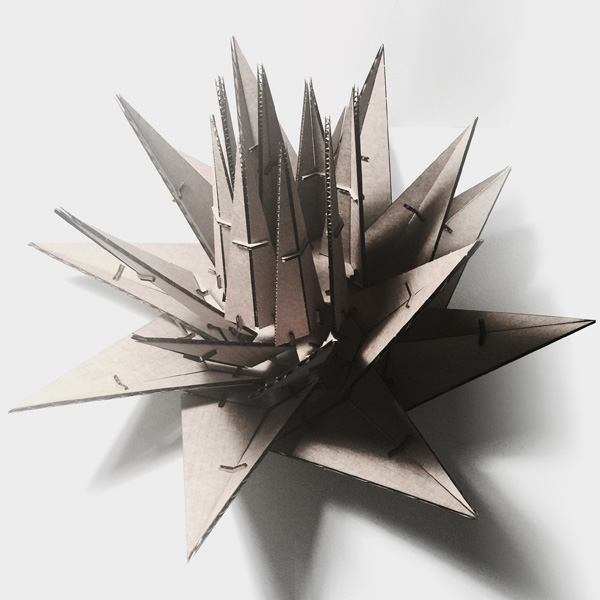
Final skeleton piece:
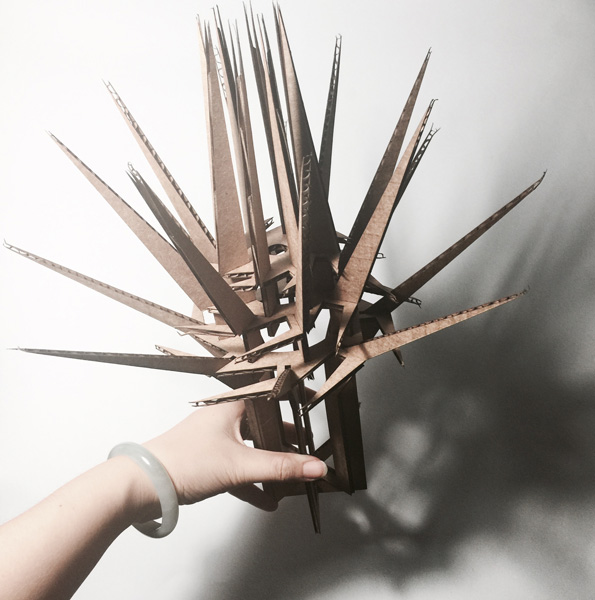
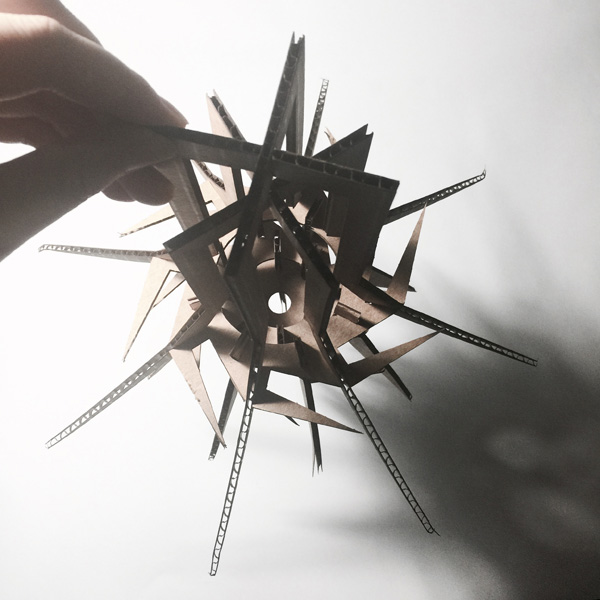
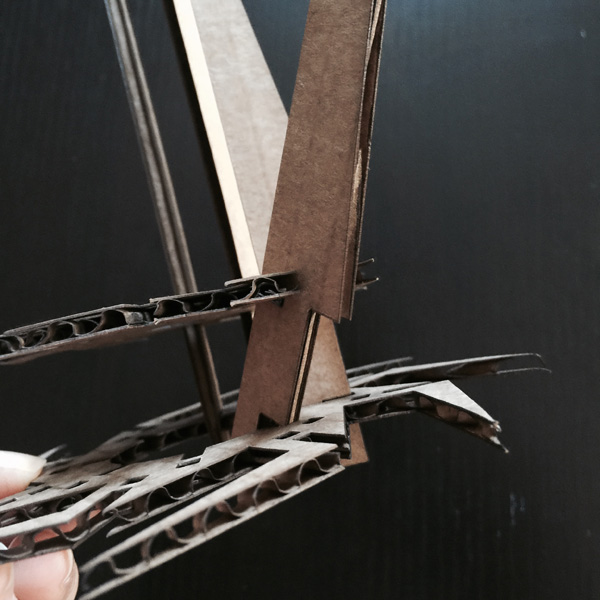
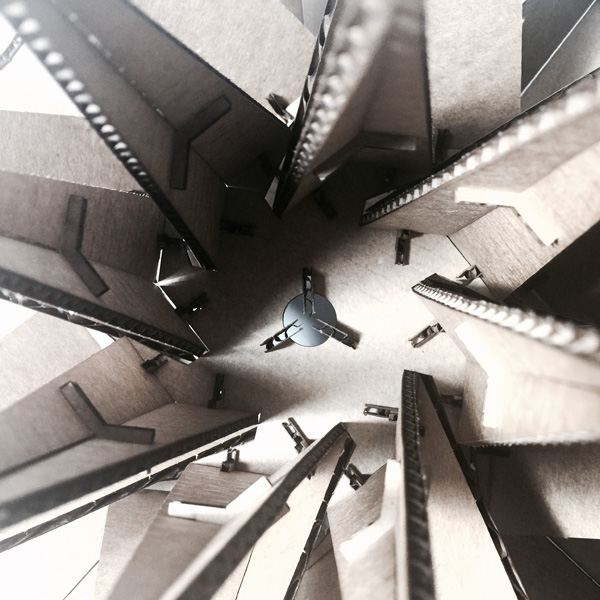
Construction process of the surface model:

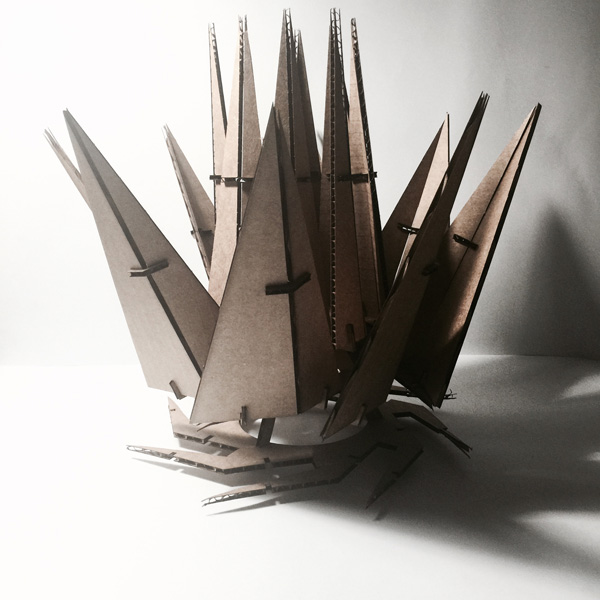
During the assembling process, I realized that I should have used the 3D interlock joints for this one although it looked more delicate with smaller joints. The weight of the petals, the length of the notches and the direction of cardboard sub-layer all made the joints weaker than the skeleton model- great to learn from the struggle of making.
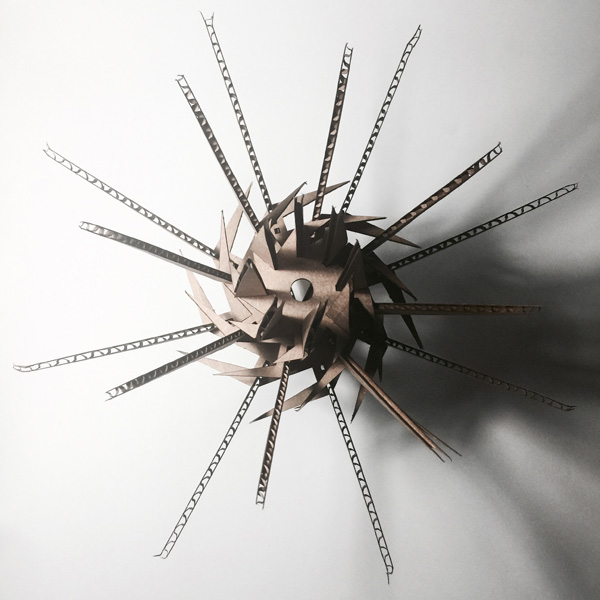
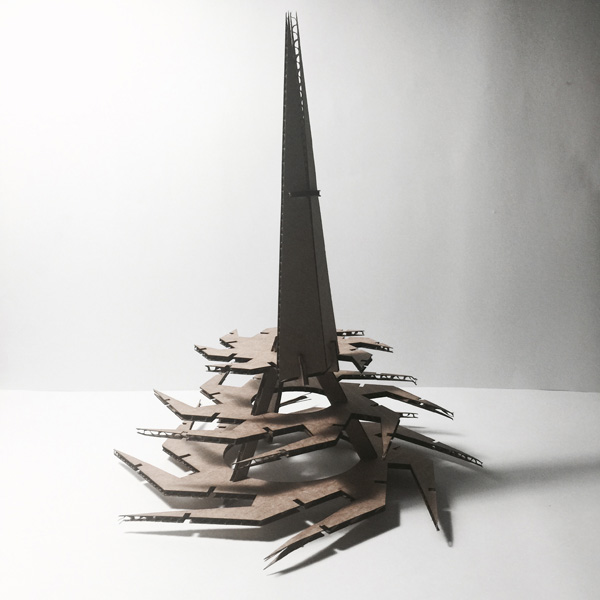
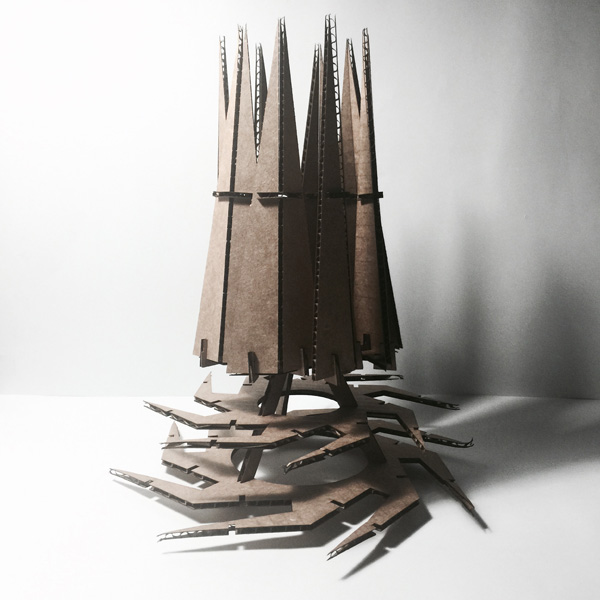
A few zoomed in shots:
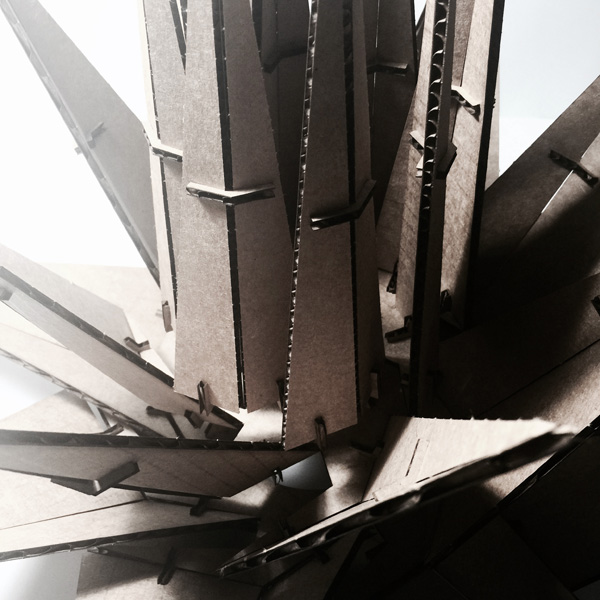
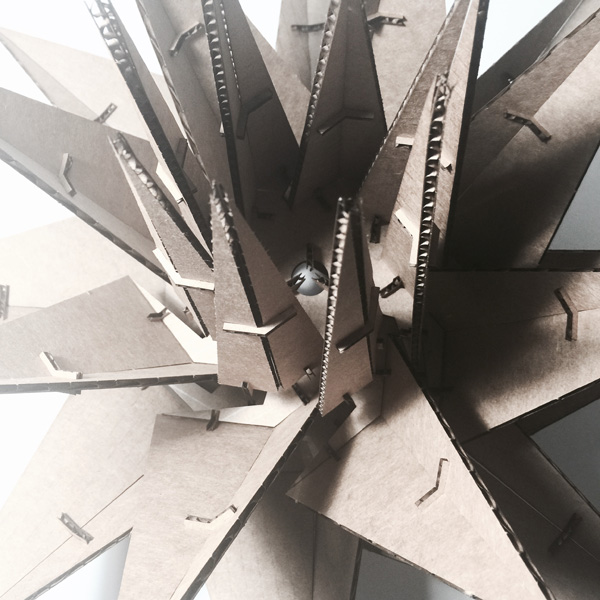
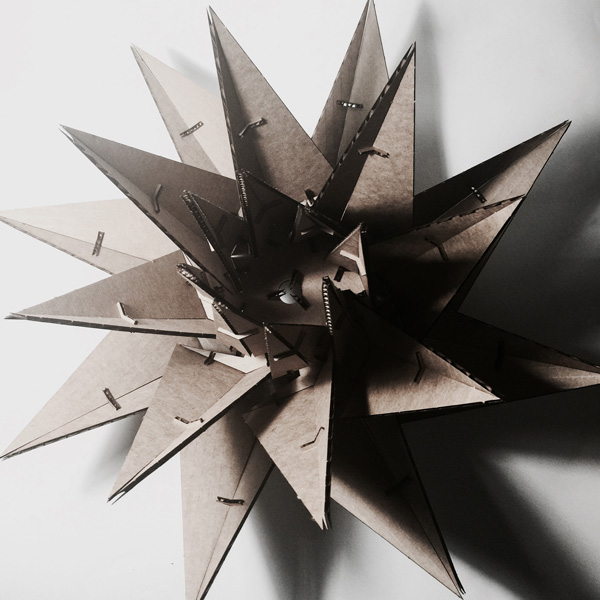
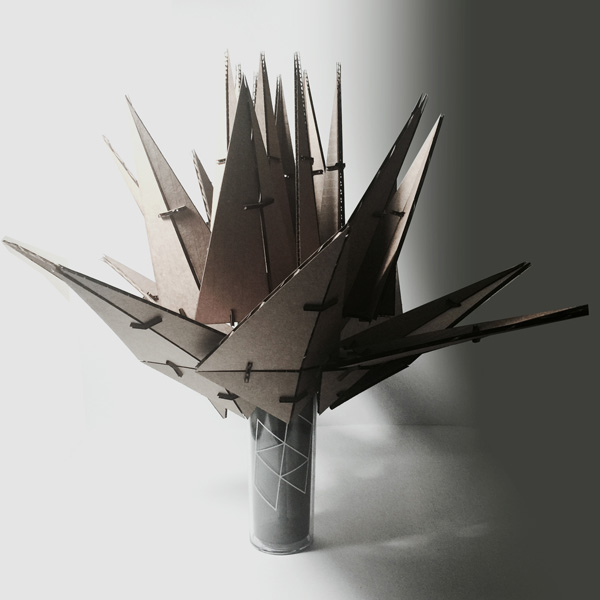
Final surface piece:
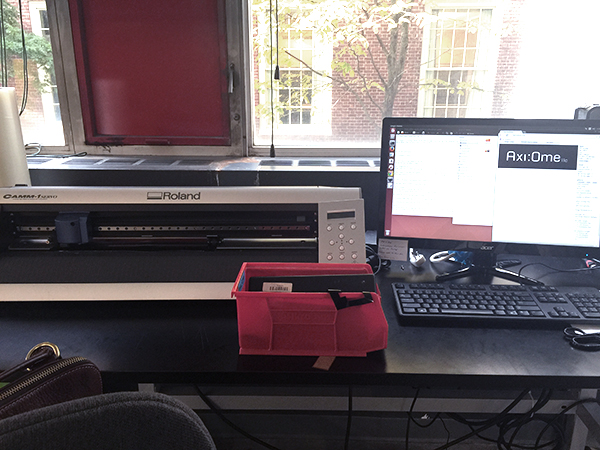
For vinyl cutting I tested on the Axi:Ome (http://axi-ome.net) logo. Operating the machine was straight forward. I set the power to be 100 and image threshold .5 to start, although showed correct in the path calculation on screen, some thin letters were cut out almost as a single line. Turning up the image threshold helped, but small parts were easily peeled away while removing the undesired area (needs a more careful operation..). Will update this post as I have more stickers customized with the understanding of the capacity of the machine.

Thank you for reading!