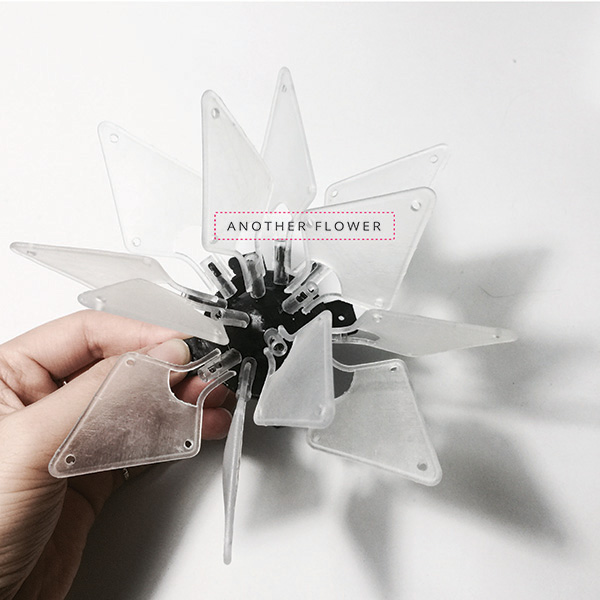
3D Scan & Print: PETALING
Week 04 | How to Make (Almost) Anything | MIT Media Lab | Fall 2016
My plan for this week was to start building a series of test pieces for final project. Some spinning "flowers" that has thermal components on the petals and could have different configuration to get various phenomenon during testing process using Schlieren Imaging setup.
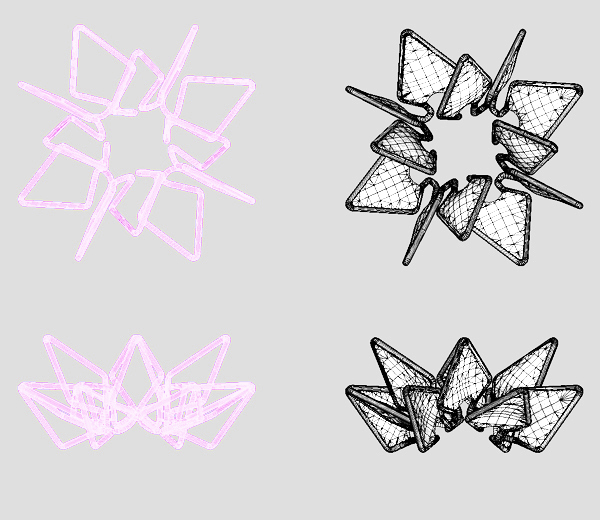
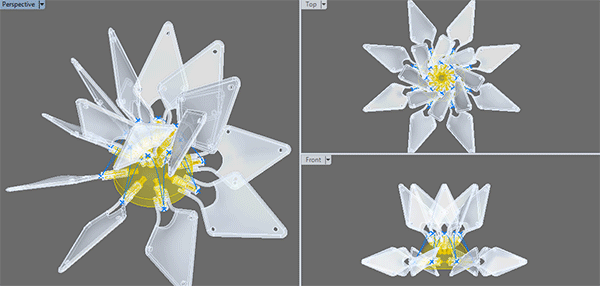
I started from writing a C# script to study how different numbers of petals could be arranged three-dimensionally. And got a few very interesting configuration.
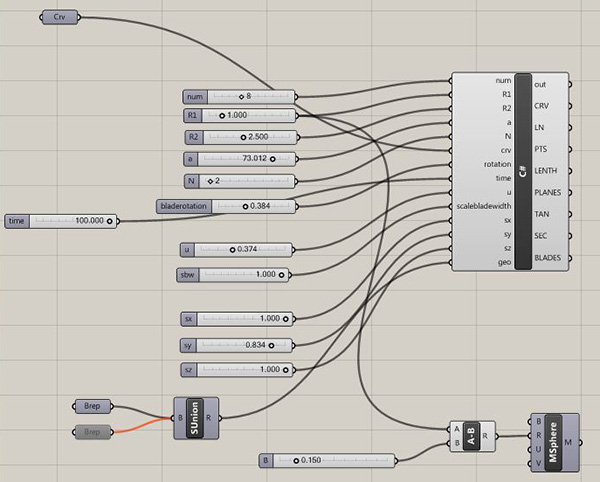
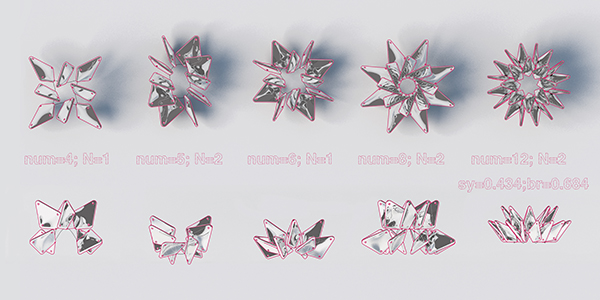
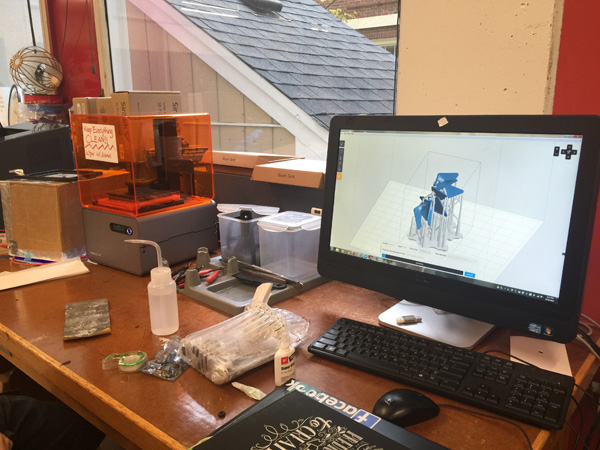
The question now is how these could be assembled physically using 3D print as a major tool. So for my first print I developed the following models:
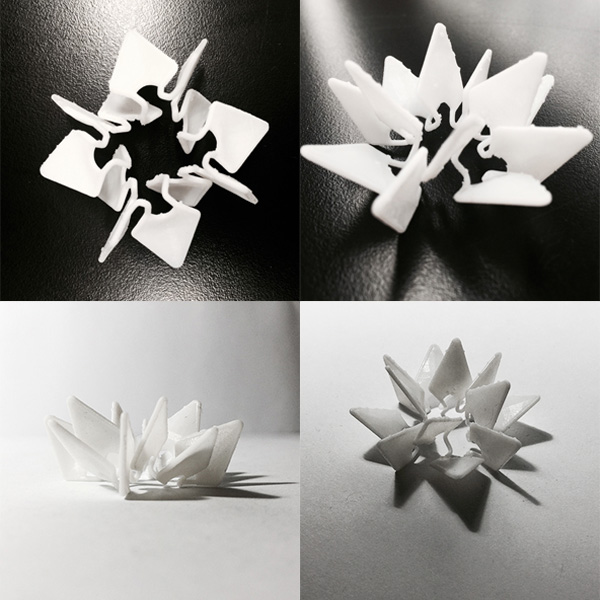
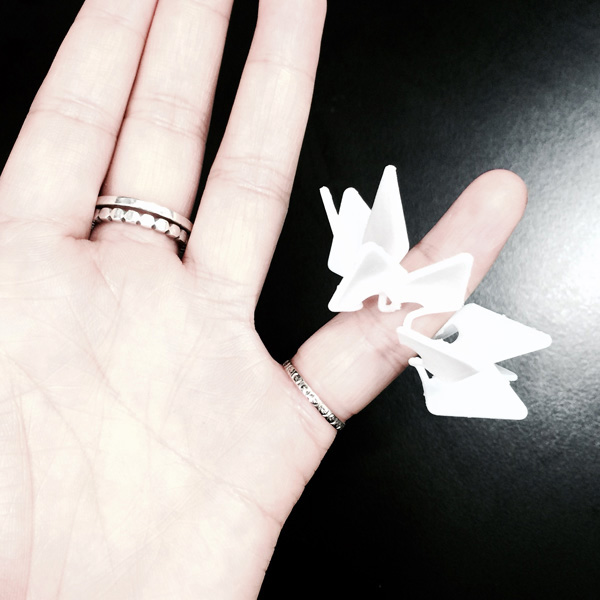
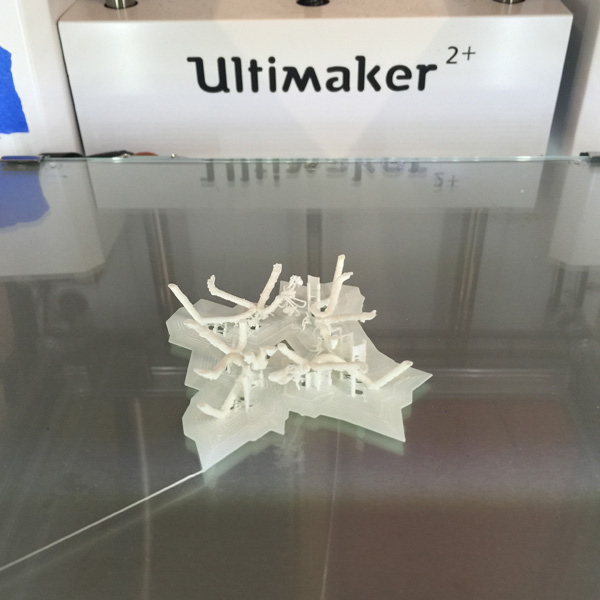
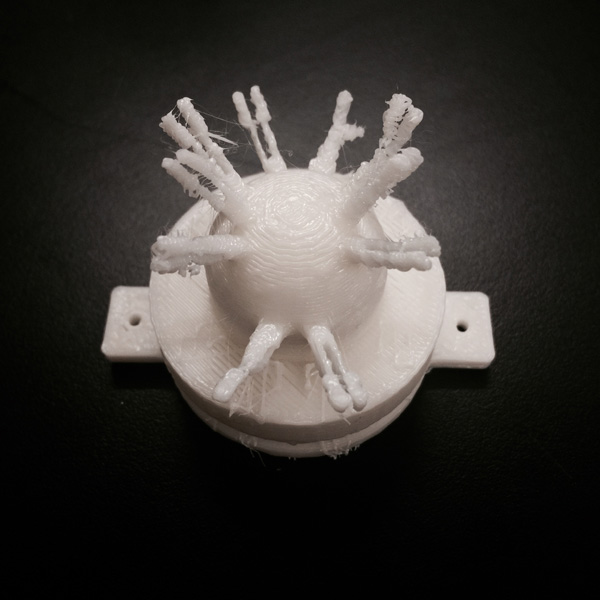
Tested the first print on Formlab using white resin. The model was scaled down to about 1/3 of the original size to save some time.
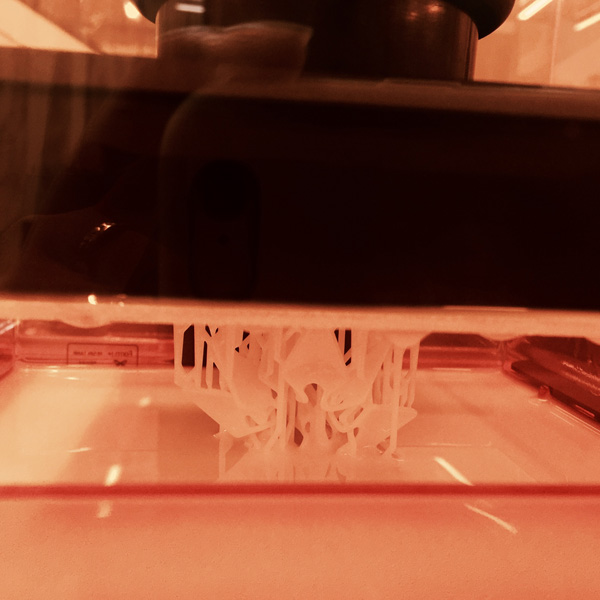
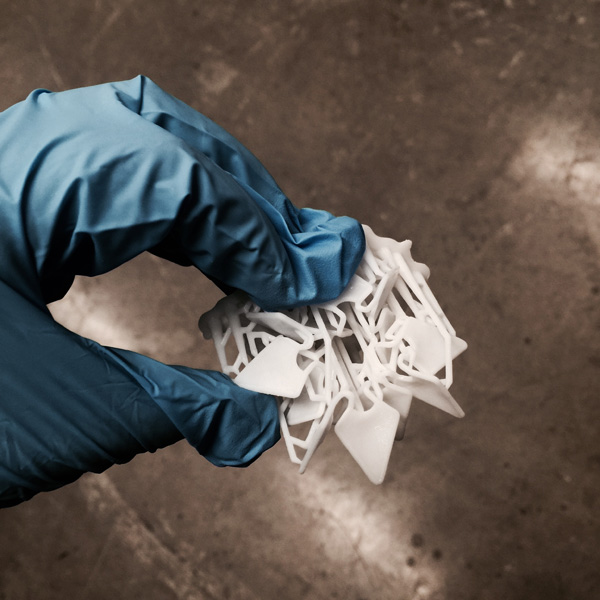
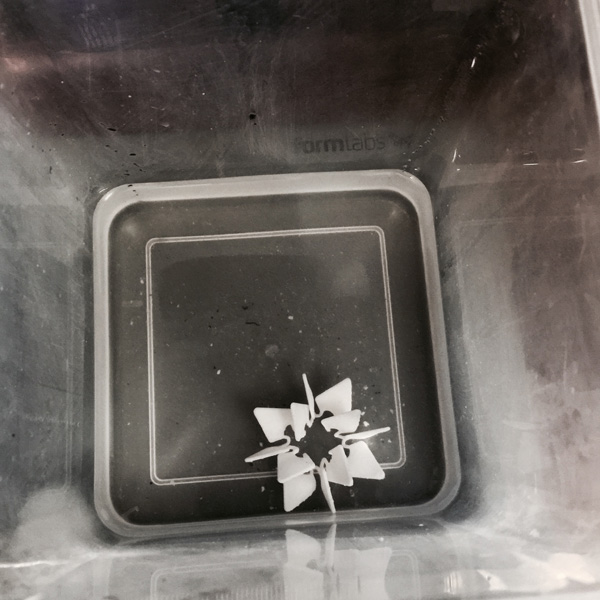
It came out very thin and delicate, and very flexible (not as intended). After letting it sit in the dirty alcohol for about 15 minuets, I spent quite a while removing the very dense supports, and put it into the clear alcohol.

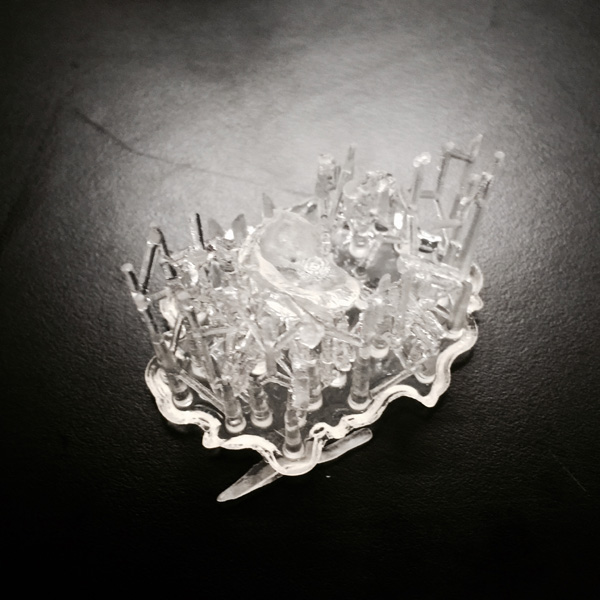
However, this is apparently not the best way for building components for testing because each configuration will end up being a separate print. So I came up with a central joint that could have petals being inserted onto or being removed. As long as I have a certain number of petals printed, they could be reused on different central joints.
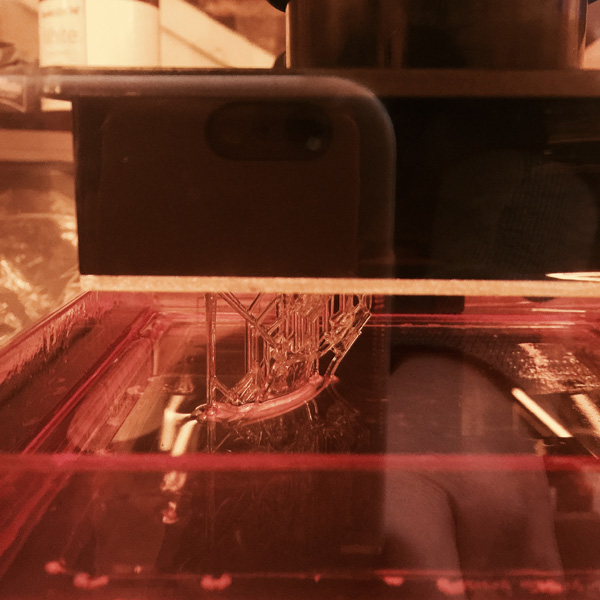
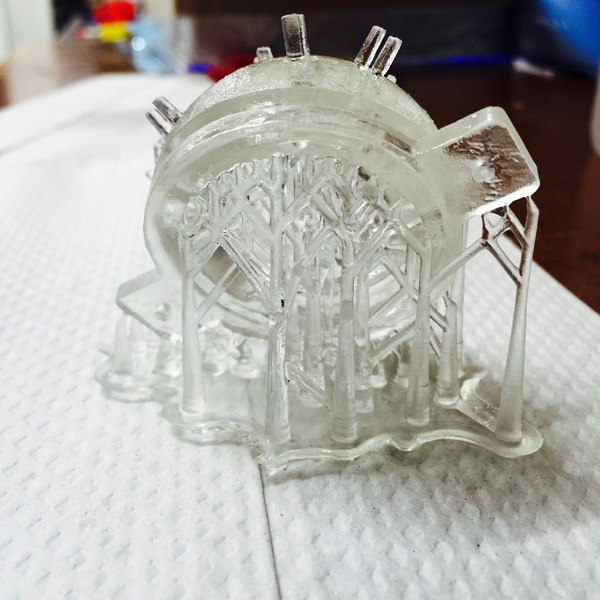
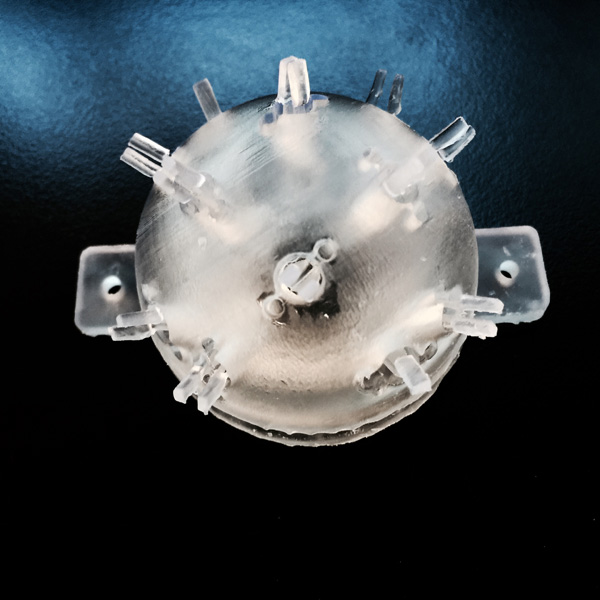
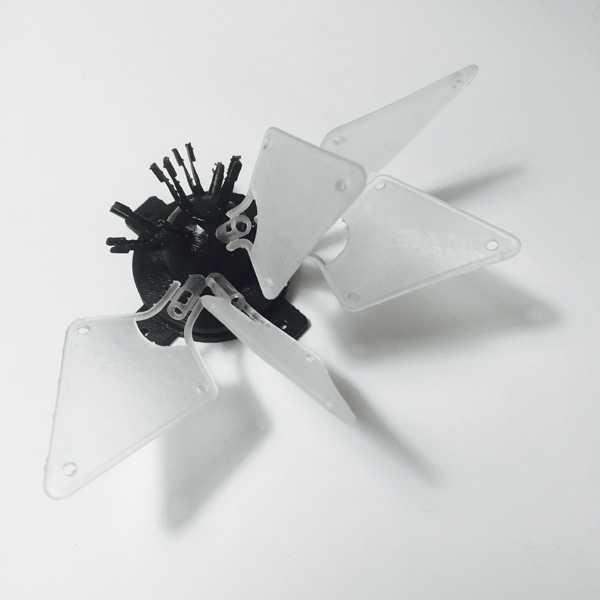
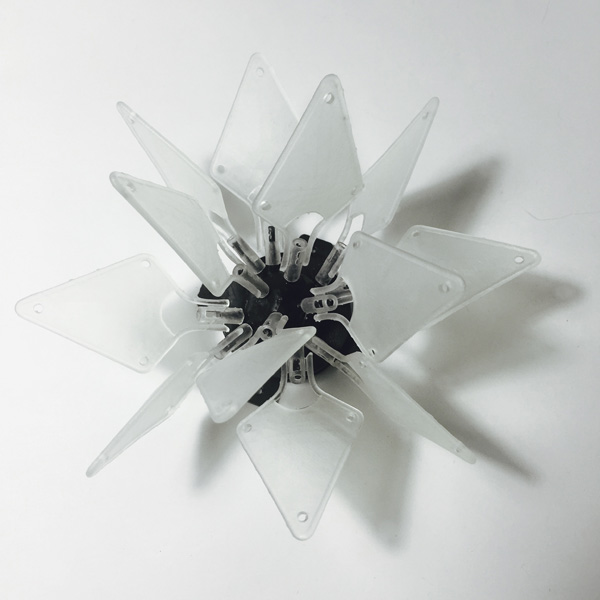
This time I used clear resin for showing physically pieces being assembled together due to its transparency.
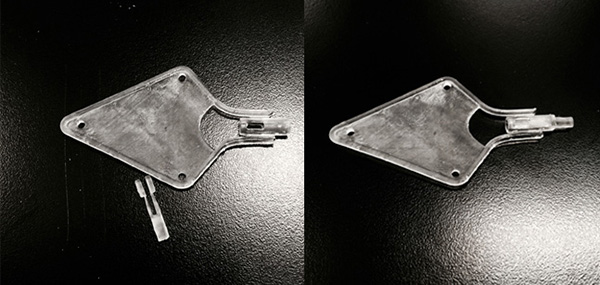
Tested of petal and a single joint before printing the whole central piece. They fit well but the joint piece was very soft.
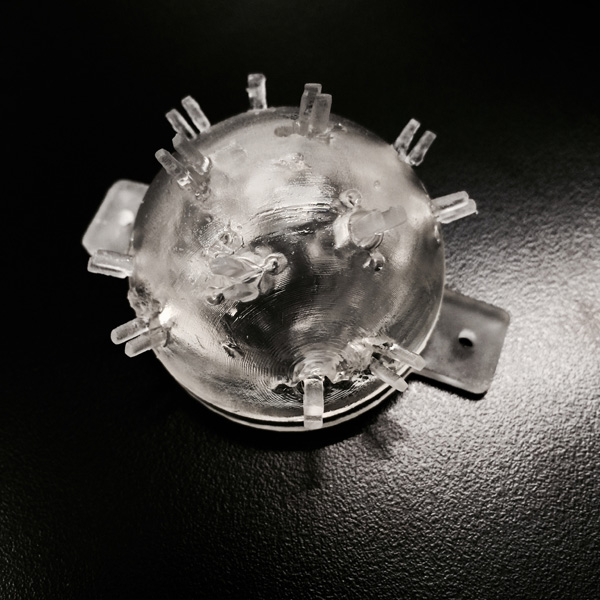
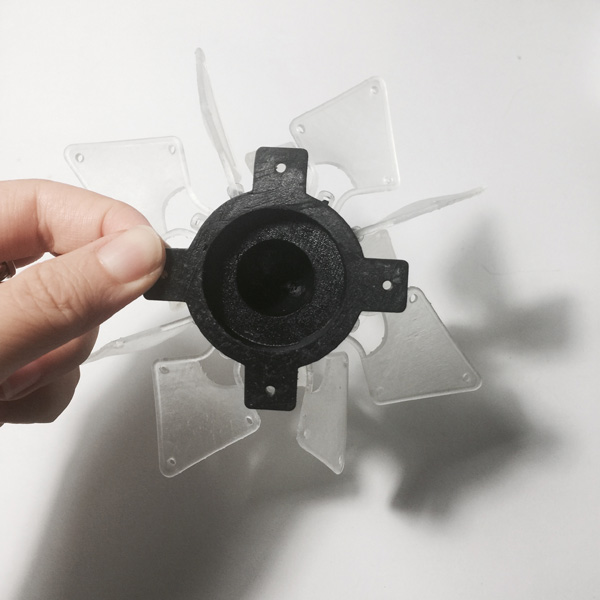
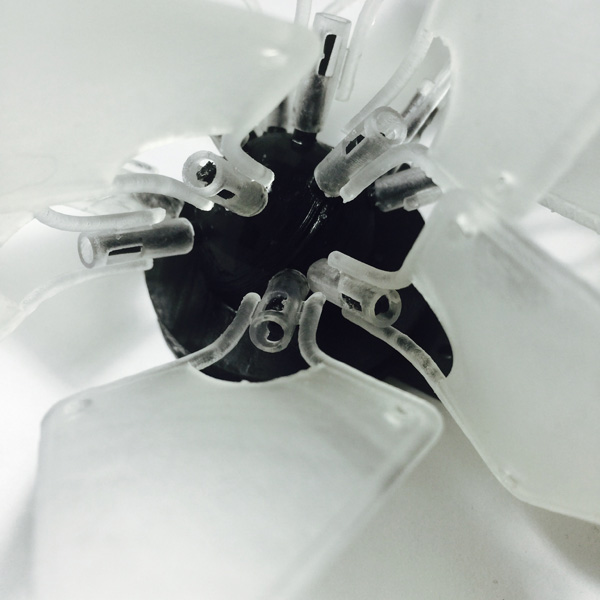
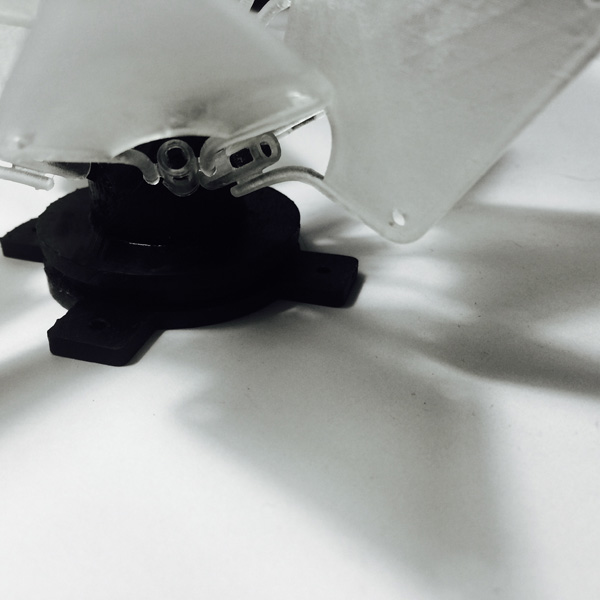
Central piece was difficult to arrange supports because of the void on the bottom but having four small pieces for future assemble of motors as well as mounting to larger platforms, and meanwhile, the tiny joints for each petal were protruding out at different angles. Although it looked pretty nice, the petals were very hard to fit onto it- the joints need to be exposed more.
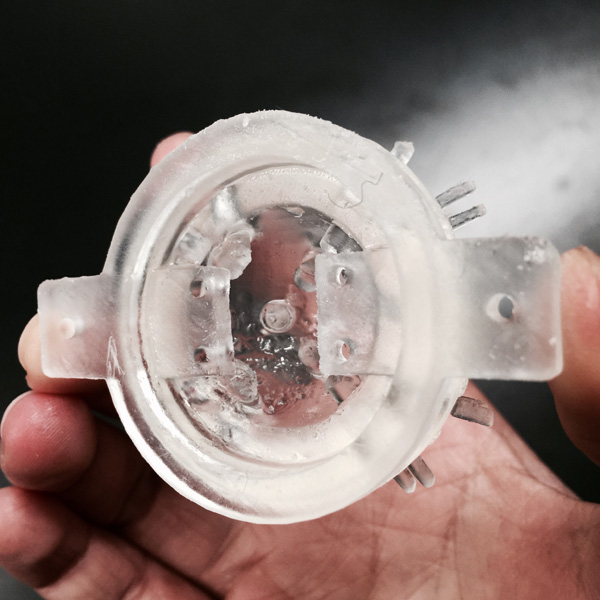

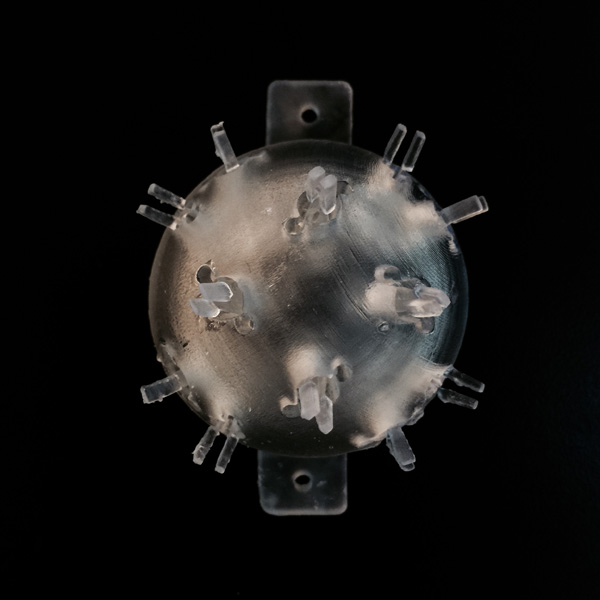
The clear resin tank got clouded on the base that caused a few prints by different people failed in the center area. I ended up using black resin for the revised central piece.
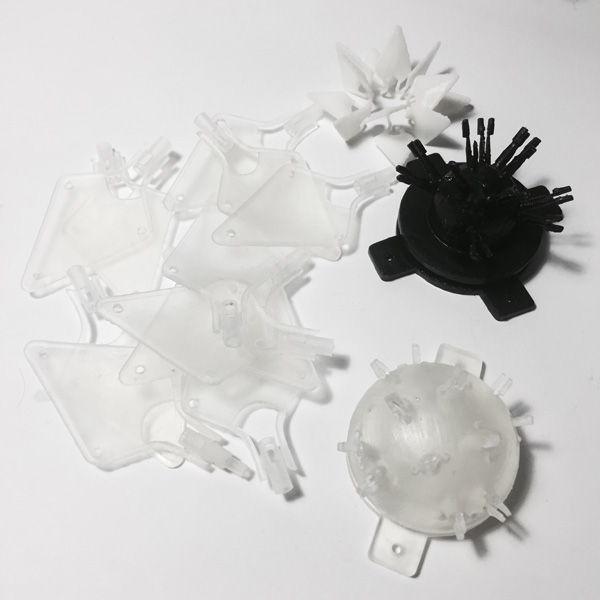
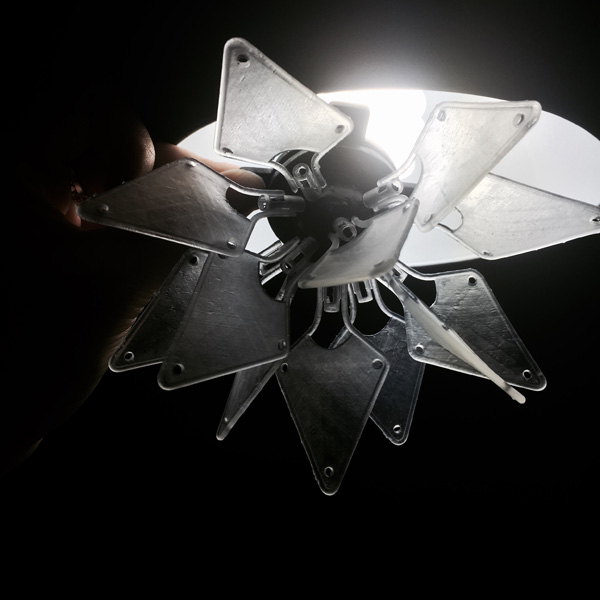
Almost all the prints before assembling:
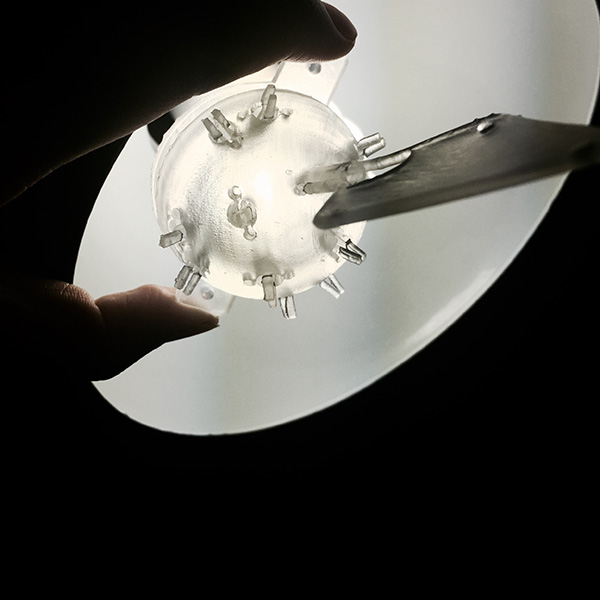
Assembling process and details:
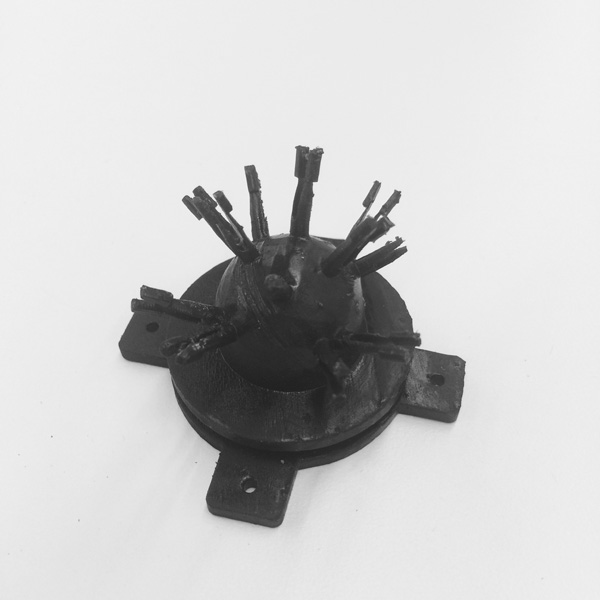
Some failed prints:
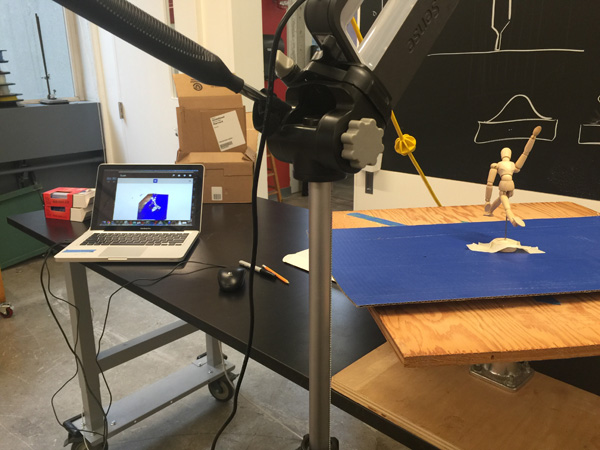
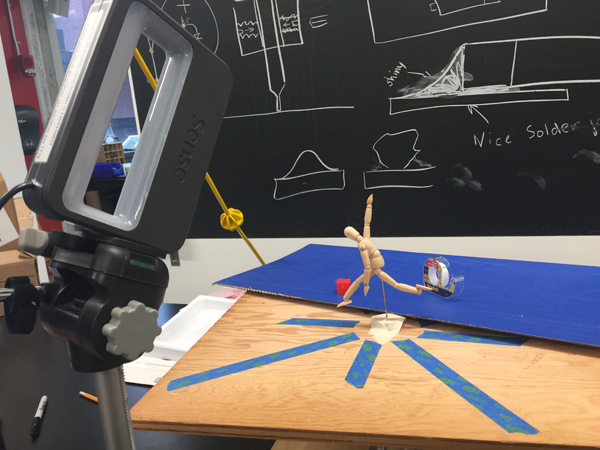
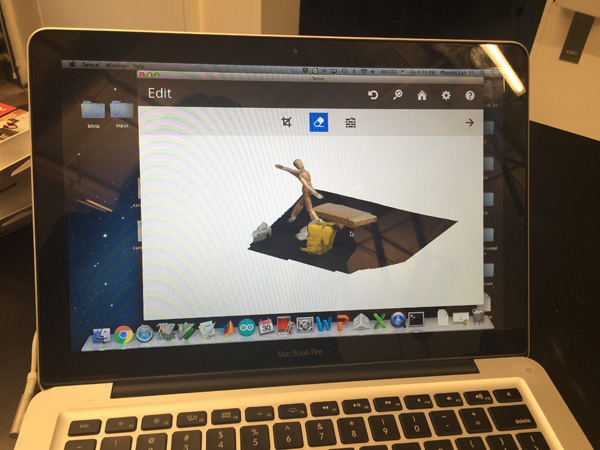
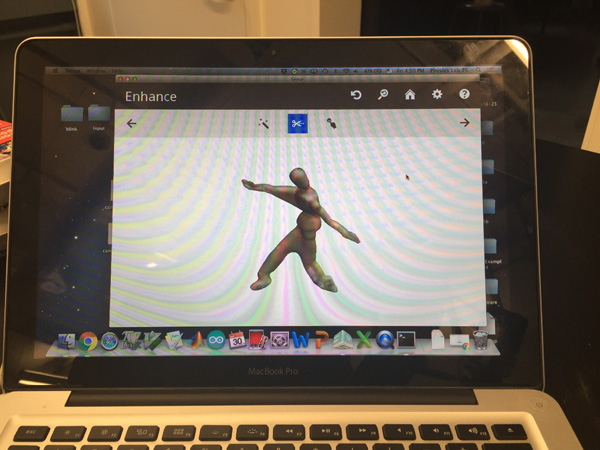
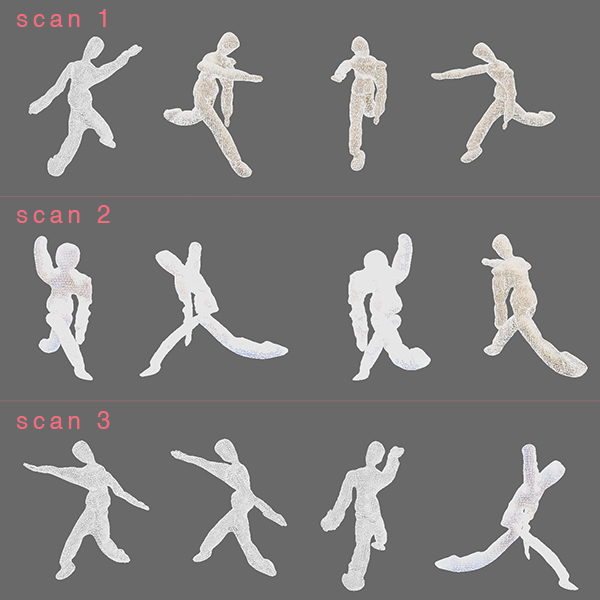
I brought my small wood human figure for 3D scan. It was not as good as scanning actual human using Sense. I tried using a higher contract background on the turntable and a few other objects to help the Sense recognizing the figure. There were lots of details not being captured. But some of the broken surfaces could be filled by using building solid function.
After trying many times I got a few nice results.
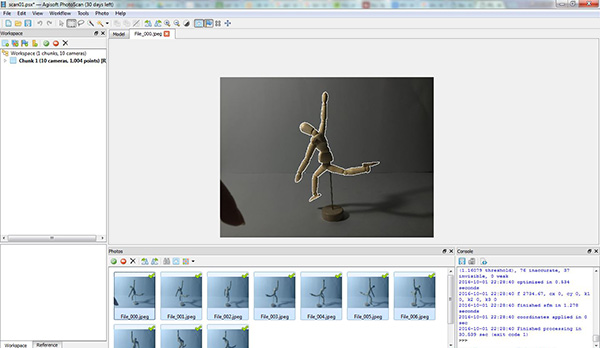
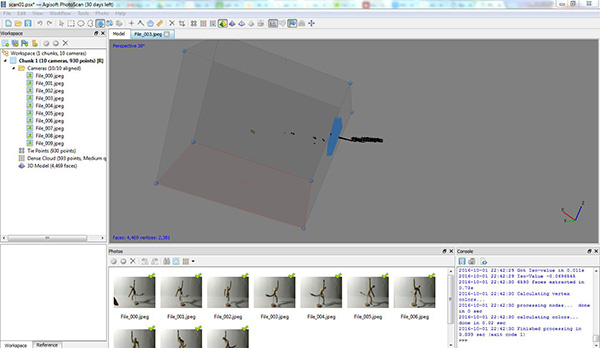
I also installed PhotoScan trial version. Taking a series of photos, masking the background, and generate point cloud and mesh of the scanned object is how it works in theory. So I followed the tutorial provided on the official website, but haven't get any success by far. Will try more times with different lighting and maybe a turntable.
Thank you for reading!