Computer-controlled Machining: BIG
Week 06 | How to Make (Almost) Anything | MIT Media Lab | Fall 2016
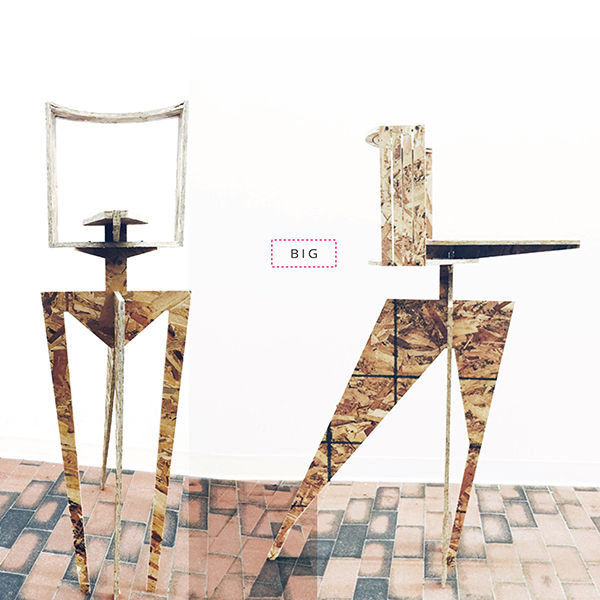
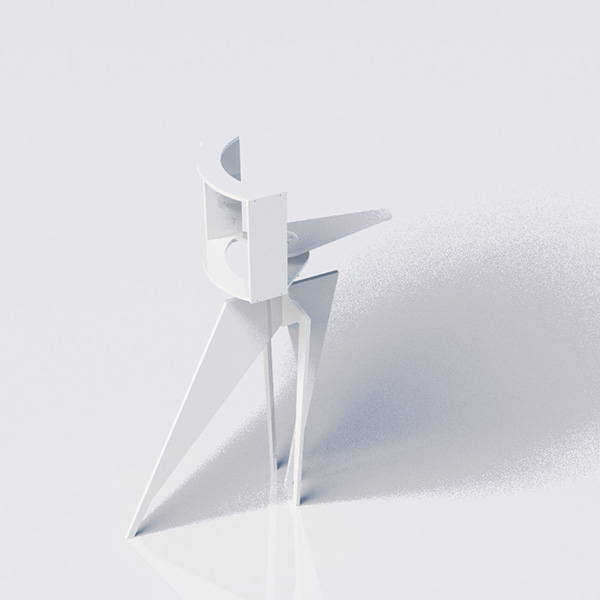
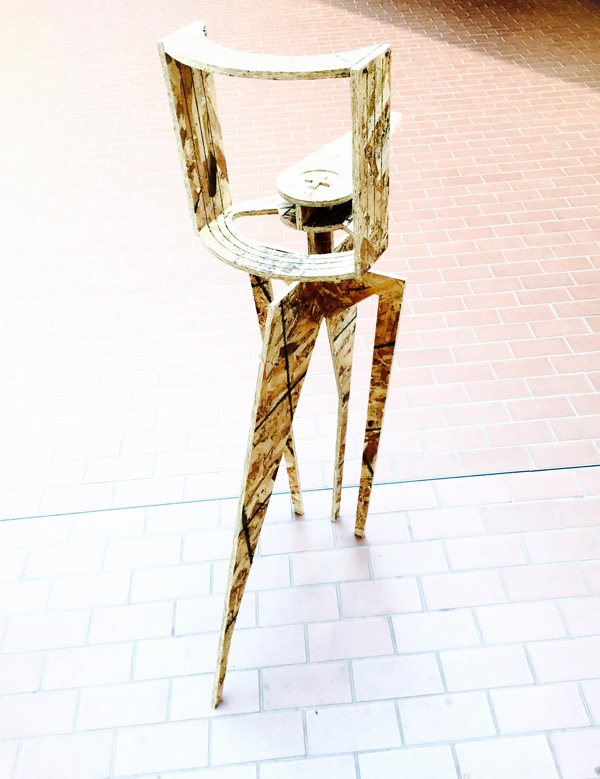
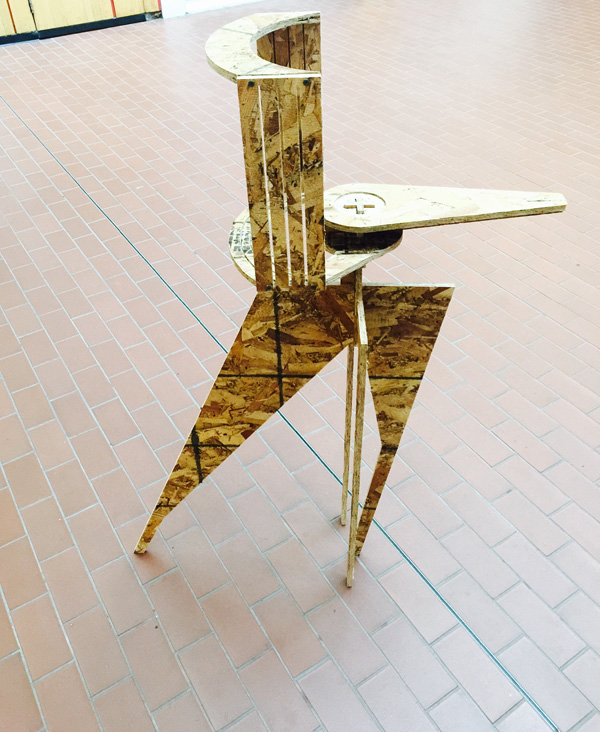
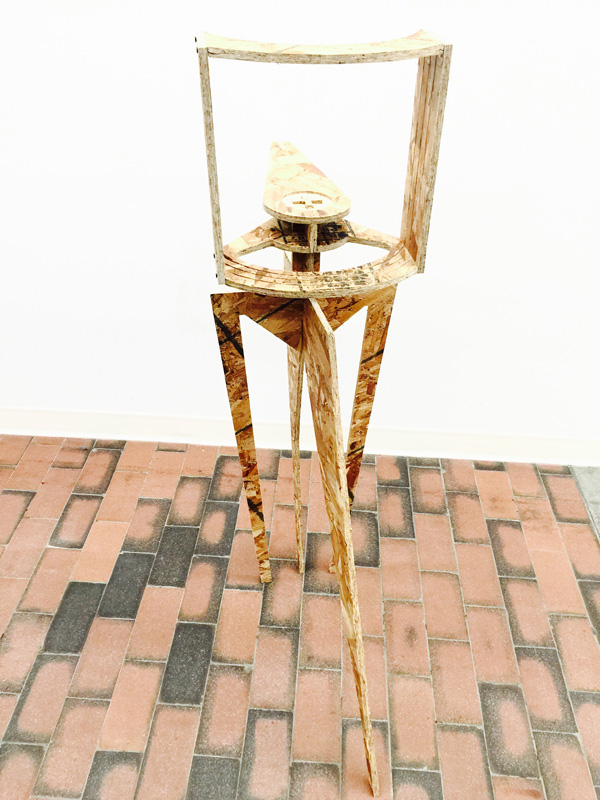
"Make something big" using CNC is the assignment for this week. I made a small big thing that doesn't take too much space (it's kinda vertical), and easily carried around- could be seen as a stand for my final project, with a curved backdrop and a place for camera on the other side (camera holder attachment to be made soon in future assignment).

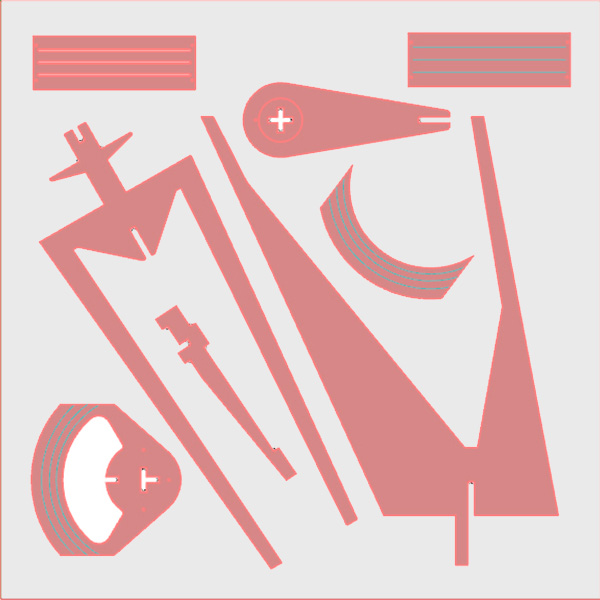
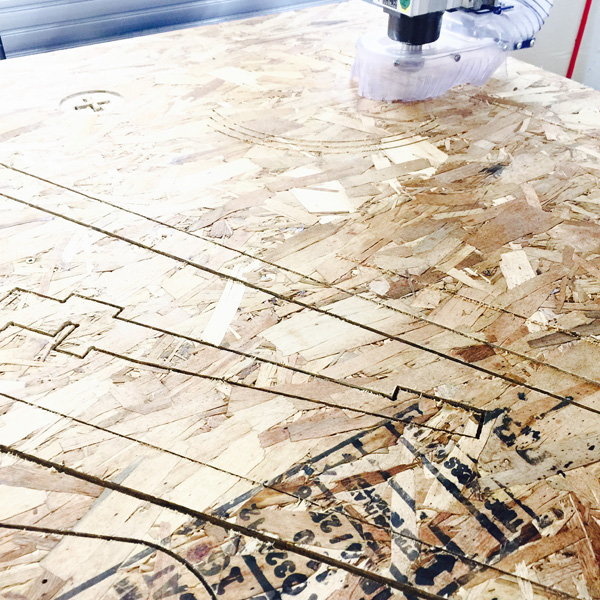
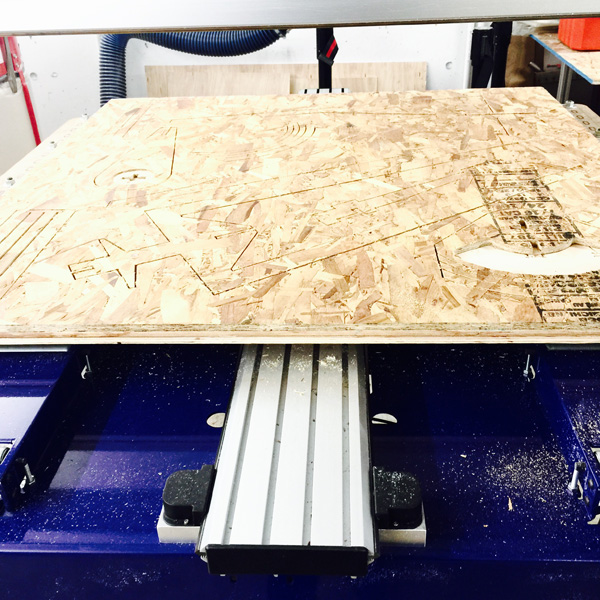
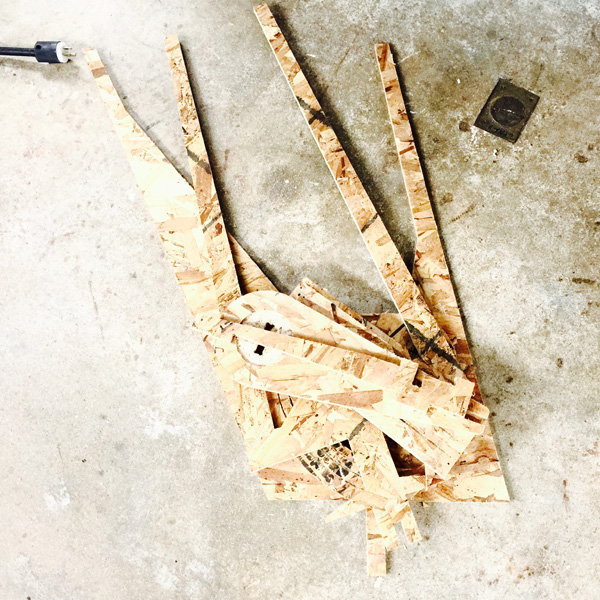
All the pieces fit on one sheet of 4 x 4. There were basically three types of toolpaths:
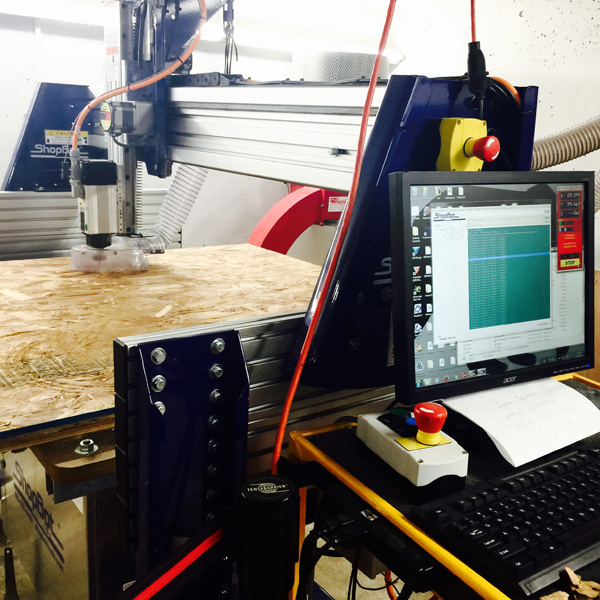
1. drill- for assembling the frame for the backdrop components and securing some other pieces in place. It was done at the beginning of the milling job. Shopbot will ask at beginning and at the start of the second toolpath whether the bit is the correct one to use. It drills at the center of the circle with whatever size of bit that is installed on the machine. I used 1/8" for the entire job so the holes were 1/8" diameter- worked fine with wood screws found in the shop.
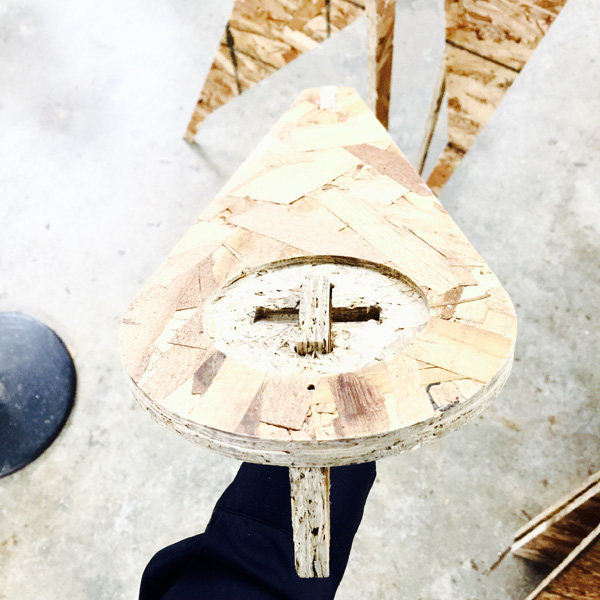
2. pocket- for interlocking the base of the displayed model on the top surface. It was set to be 1/8" deep.
3. profile- there were three types of profile toolpath I used: cut at outside, conventional; cut at inside, climb for openings in the piece; cut at the center for those blue lines to create shallow tracks to slide in backdrop panels. I added three tabs for each piece along the outline.
After loading the OSB onto the bed, zeroing the axes, air-cutting, it was ready to mill the actual parts.
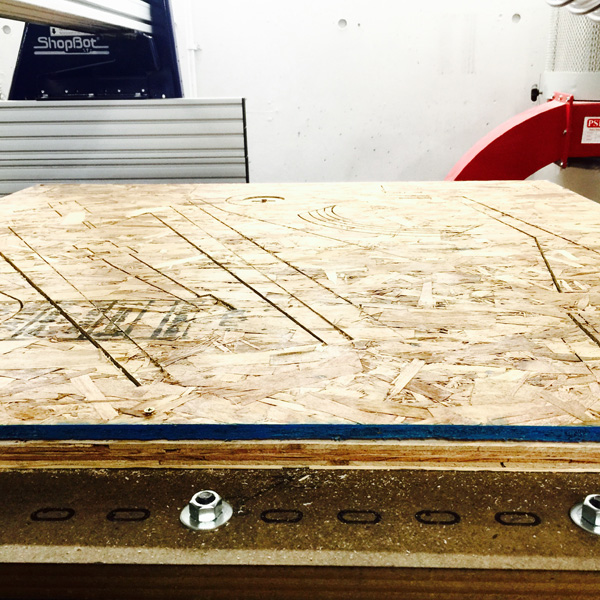
All the parts:
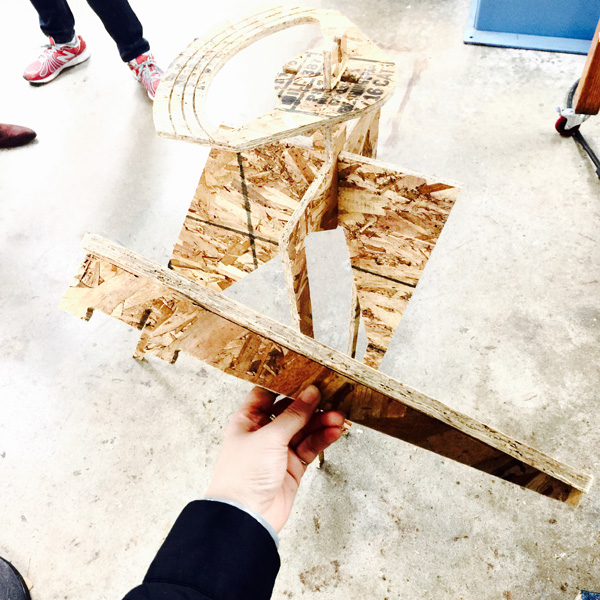
Assembling process. The notches fit well.
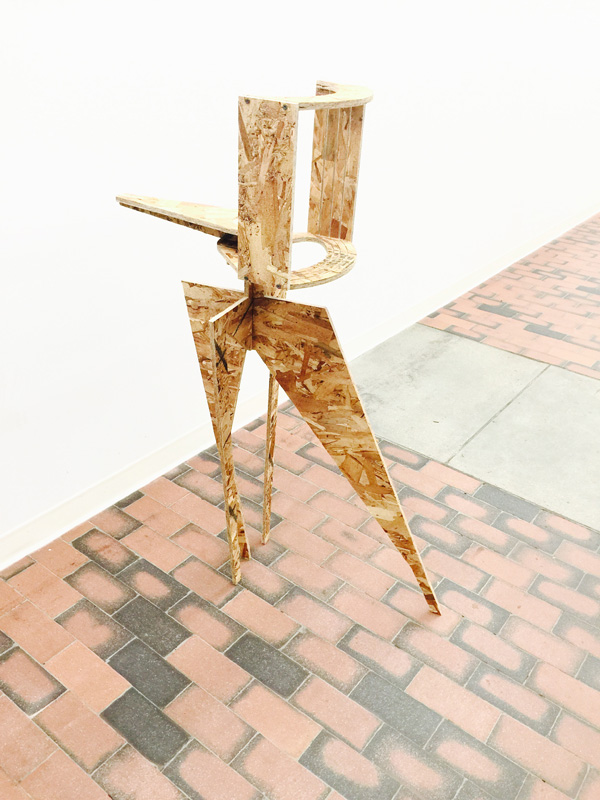
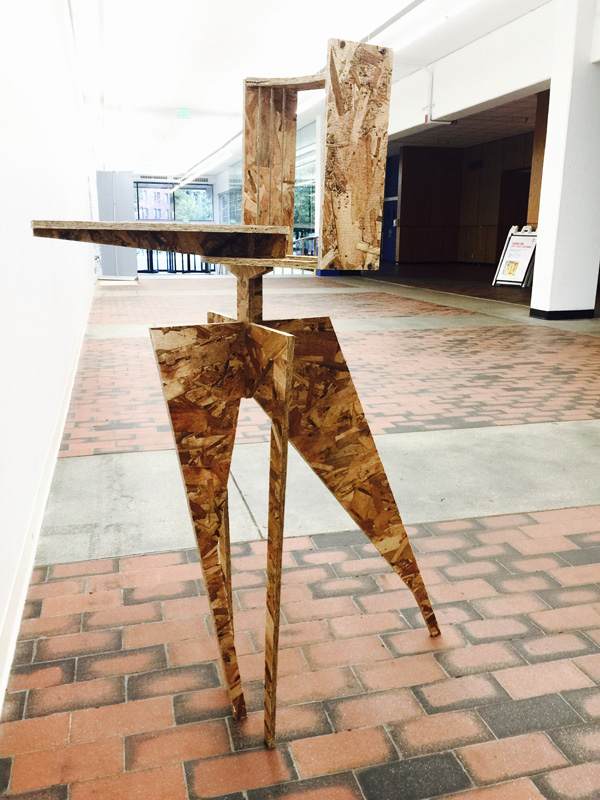
Final big thing:
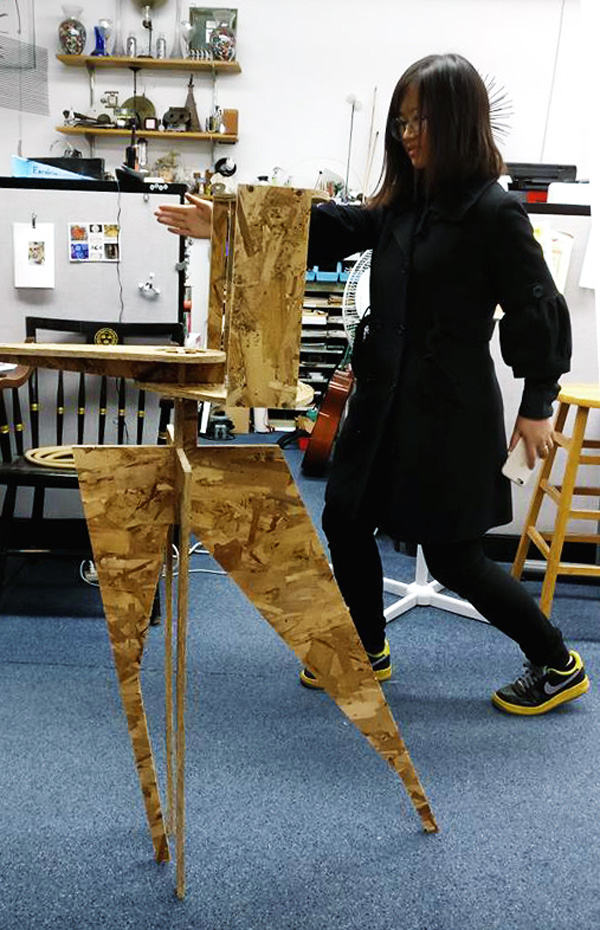
Me mimicking my model. Photo credit: Dixon Magister
Thank you for reading!