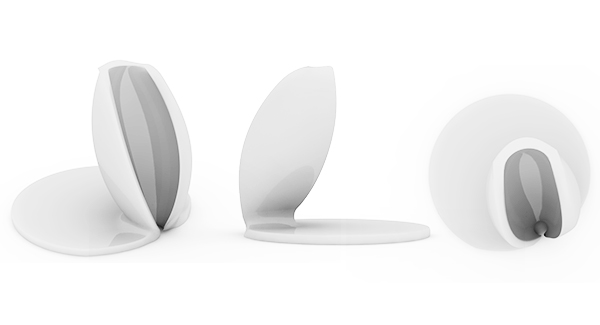
Molding and Casting: UNTITLED
Week 08 | How to Make (Almost) Anything | MIT Media Lab | Fall 2016
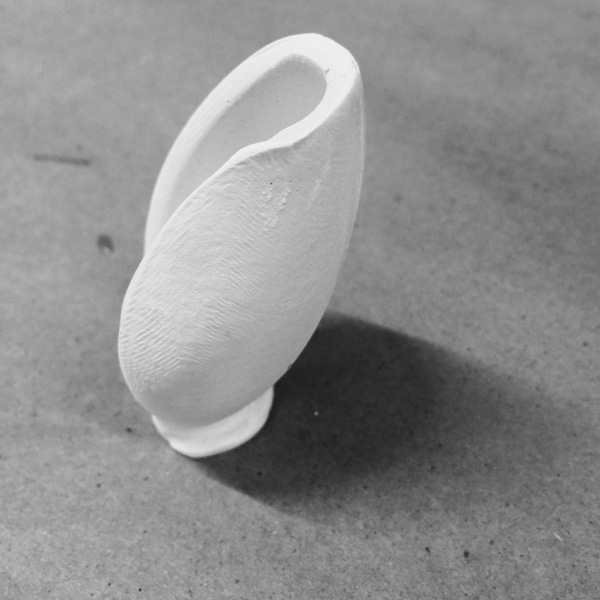
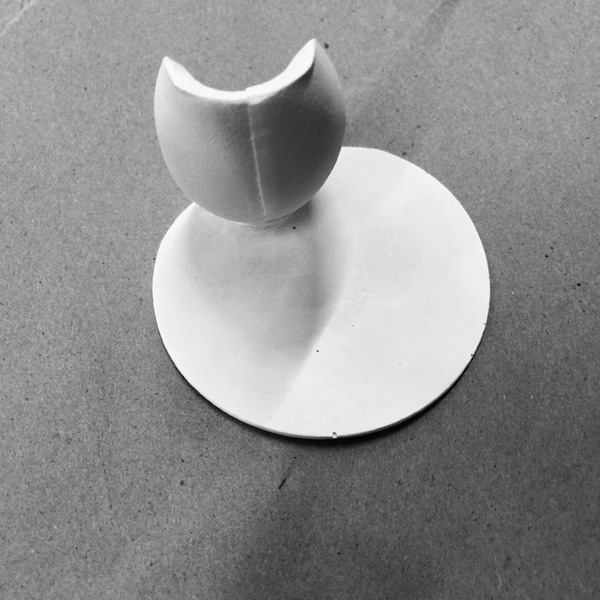
I had a bit experience casting with rigid acrylic/polystyrene/3d print molds. The capacity of achieving overhangs through flexible silicone molds got me to think about casting a geometry with overhangs alone multiple axes.
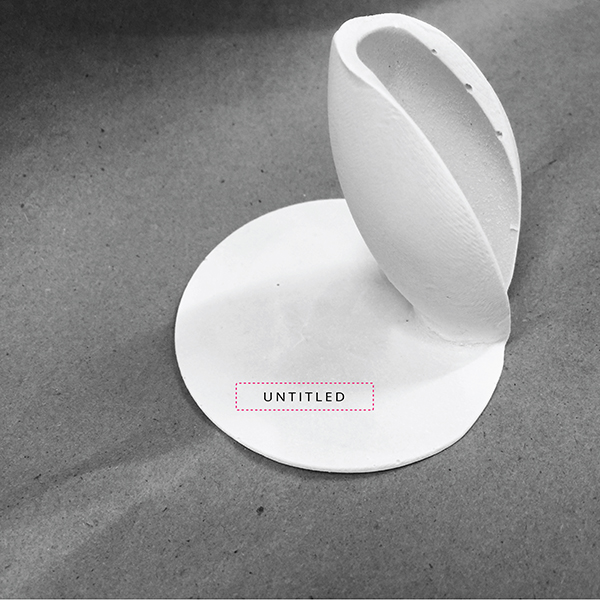
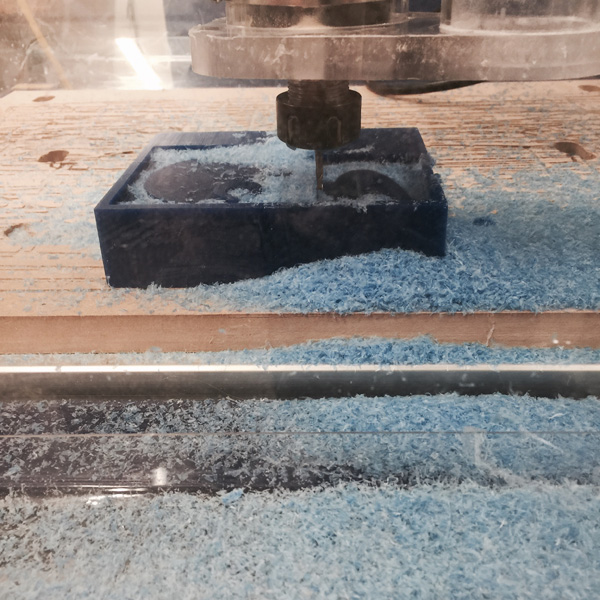
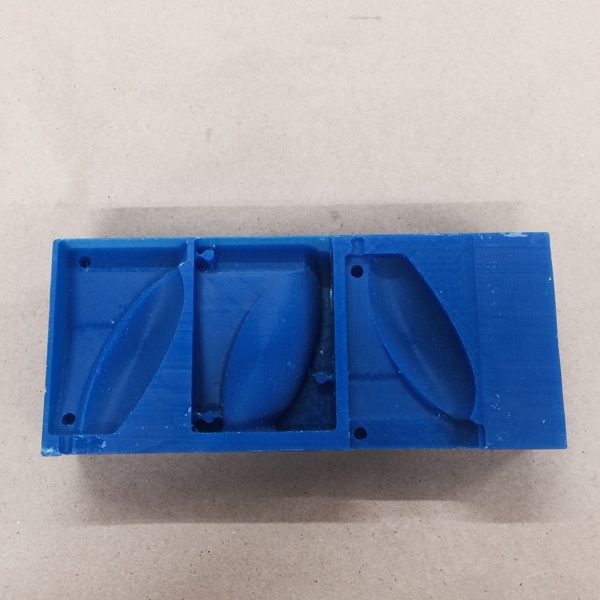
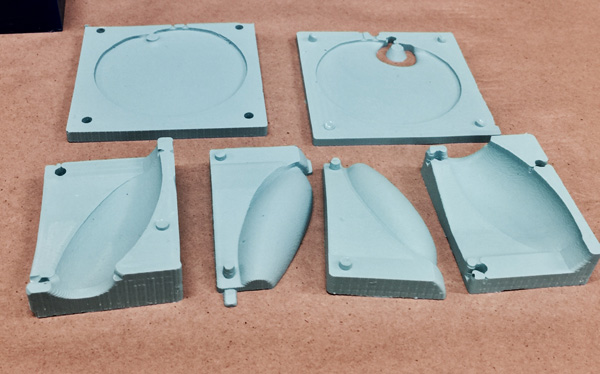
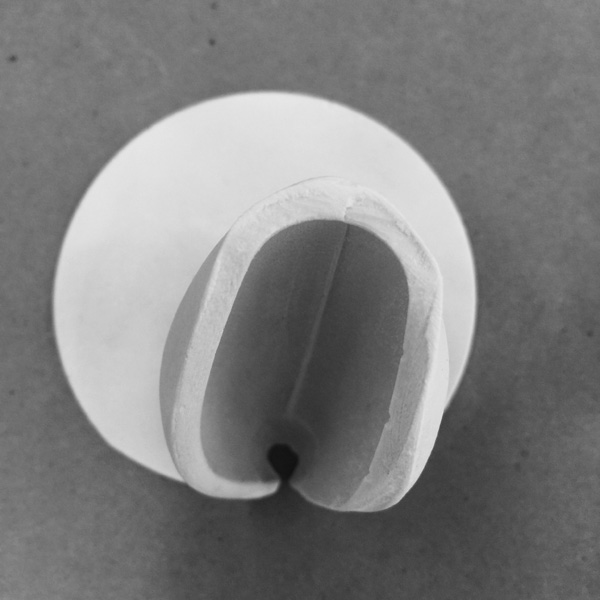
The model looked pretty simple- one continuous smooth surface. But it ended up requiring a multiple-part mold- in this version, 6 parts. Here is a diagram showing assembly and individual part being milled. The center two parts were puzzles for me thinking about de-molding. I was hoping they could be squeezed enough to be pulled out of the void.
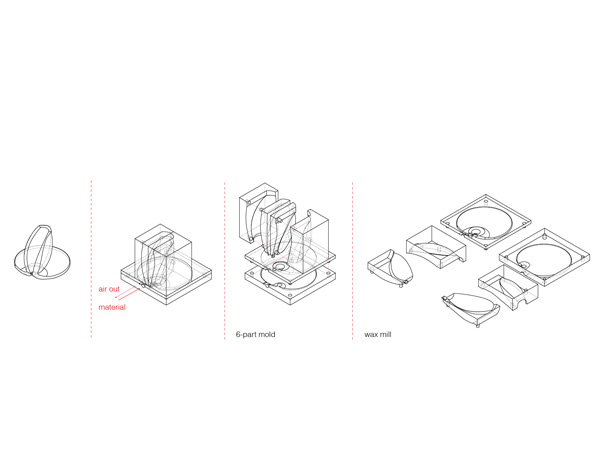
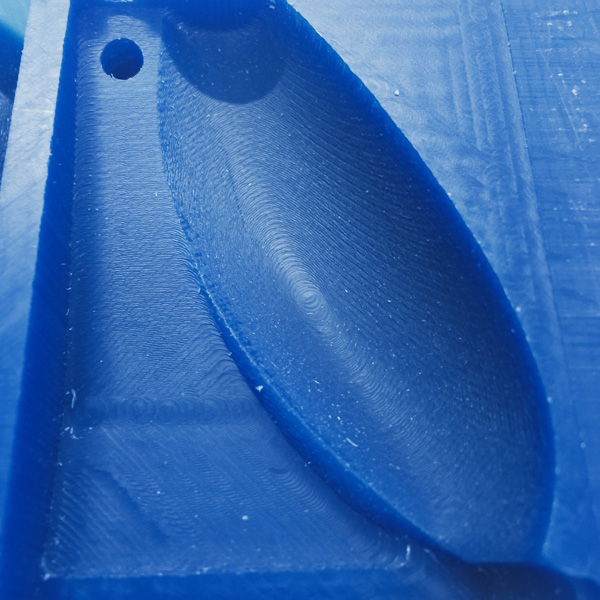
I used 1/8 end mill for both rough and finish cut considering the fact that 6 parts would take quite a bit of time to mill, and there was no detail really needed a smaller bit. The bit length is limited so some deep area will be very difficult. A few places were a little too tight for the 1/8" bit to go in but it didn't affect the actual cast, but that was something to note for future mold making.
I used the vacuum to get rid of the air trapped while mixing part A and part B of oomoo. Although, I think I might have done it for too long. It got a little to dense and was hard to pour out, which resulted in some bubbles at the edges.
All the parts:

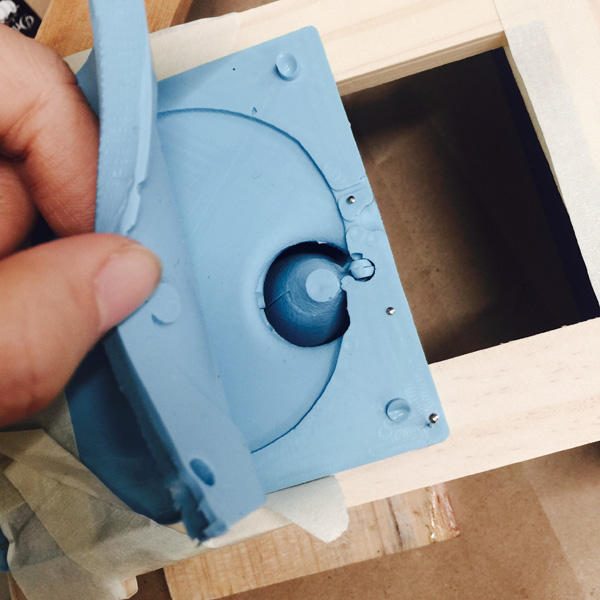
Assembled mold:
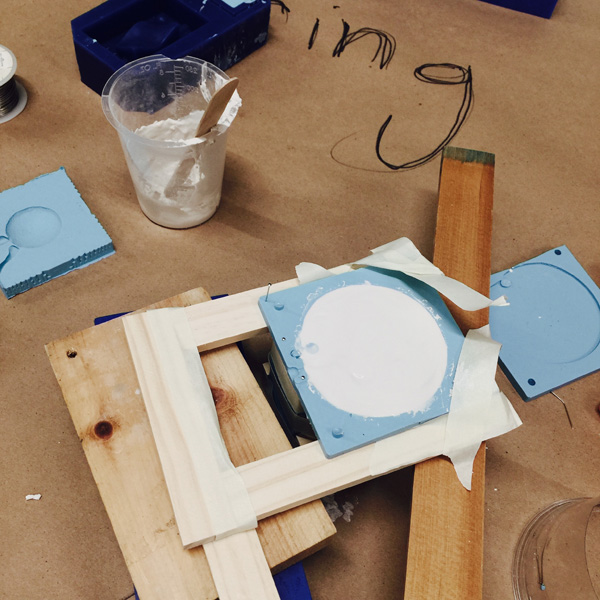
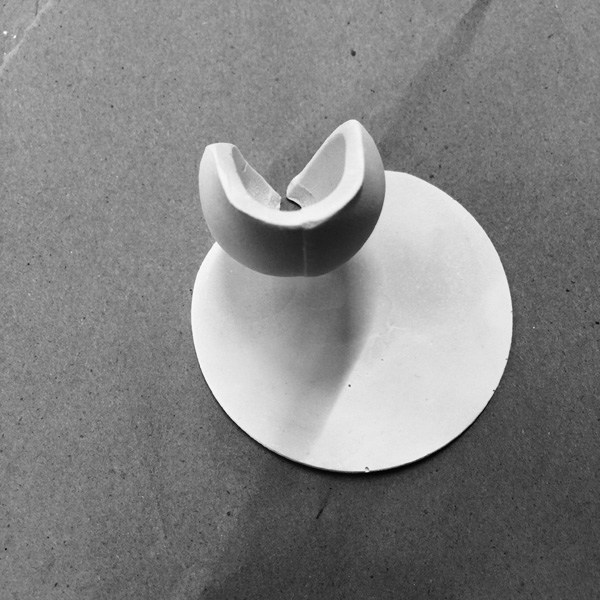
Since the horizontal part of the oomoo mold was too thin and flexible, the first test casting I was only able to do a 5-part instead of 6, which needed to flip the entire mold 90 degree and pour the final portion for the horizontal plate. Needed to make a sturdy support support system for the entire operation.
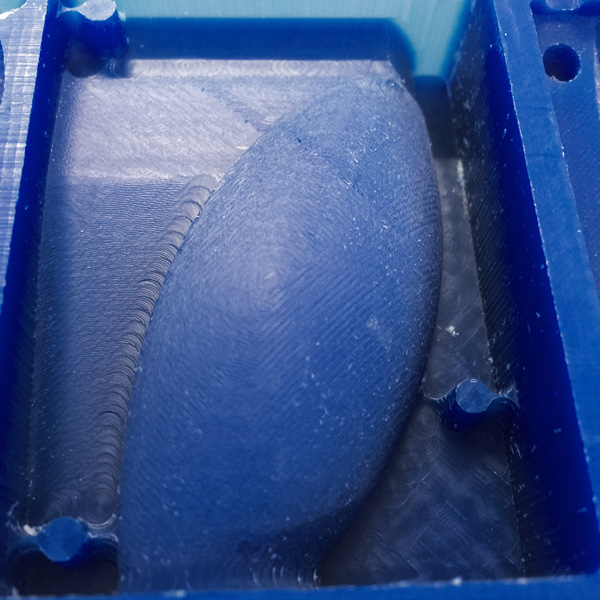
I used drystone and it worked very well with this set of molds because the unwanted parts from the leakage could be easily trimmed and sanded off if treated soon after curing.
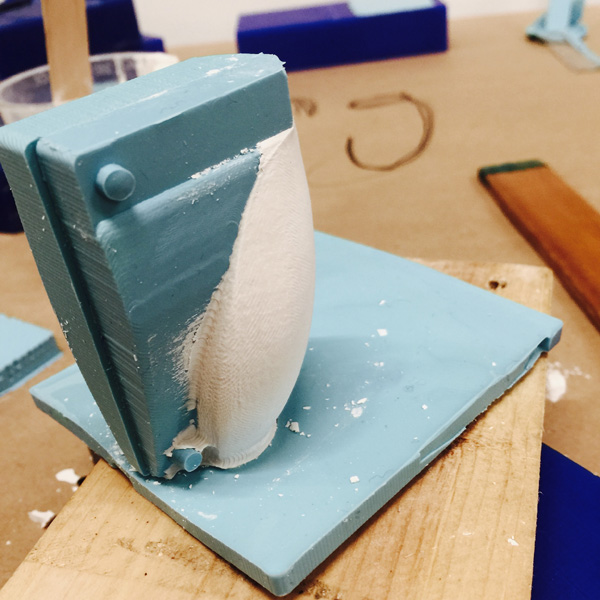
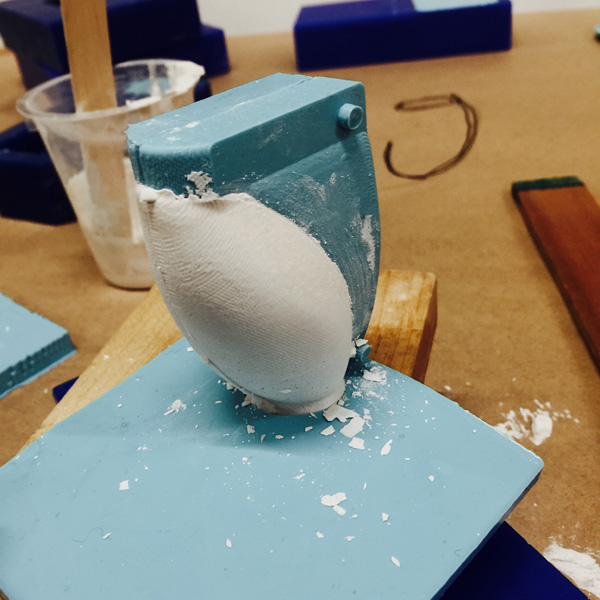
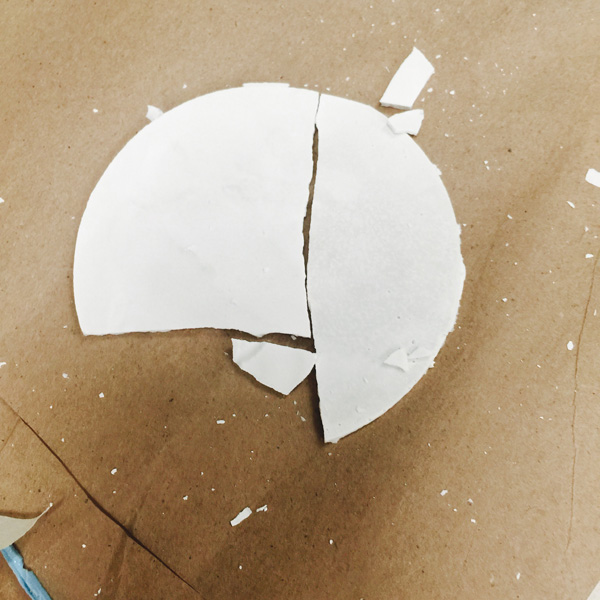
The horizontal plate ended up being half of the thickness and was easily broken when demolding.
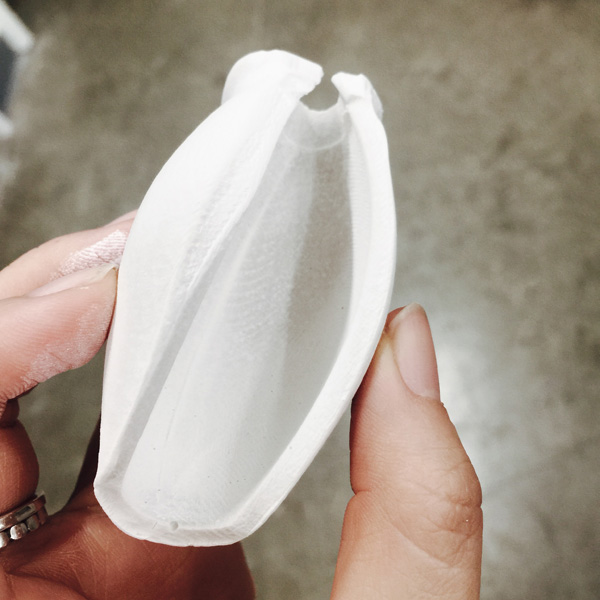
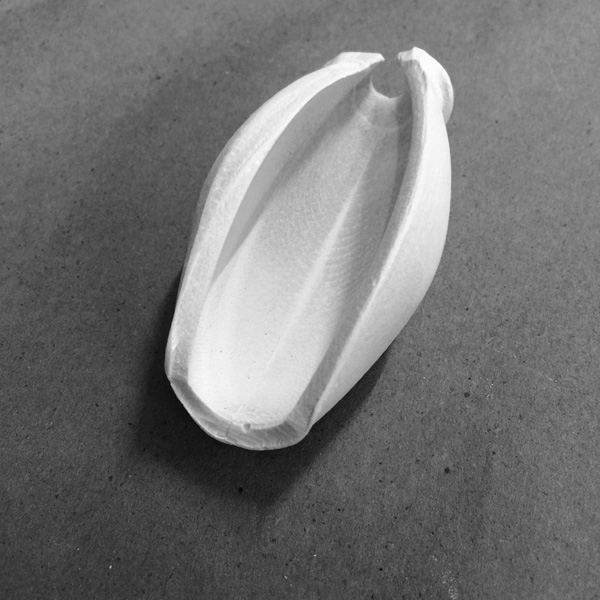
However, the center two parts were able to be pulled out (need some effort...) which was very satisfactory. The vertical piece turned out to be nice after some sanding.

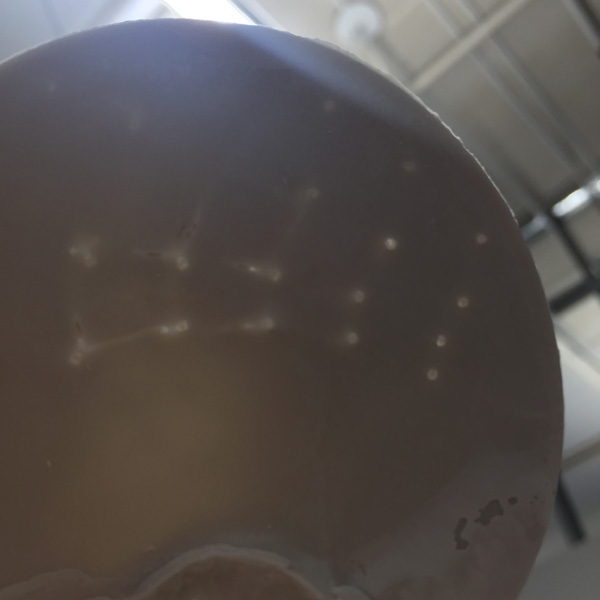
During the very limited amount of time left for this week I decided to give another try with a better support system. I was also inspired by the translucent concrete block (example ) and went ahead 3d print with clear resin for some light channels. Another try.
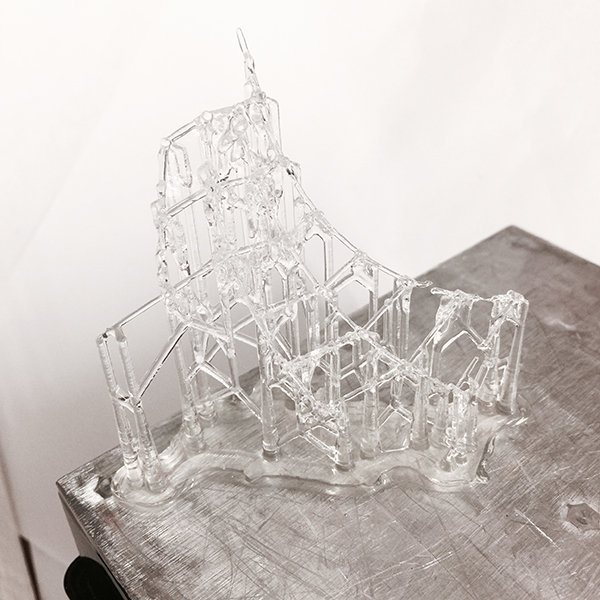

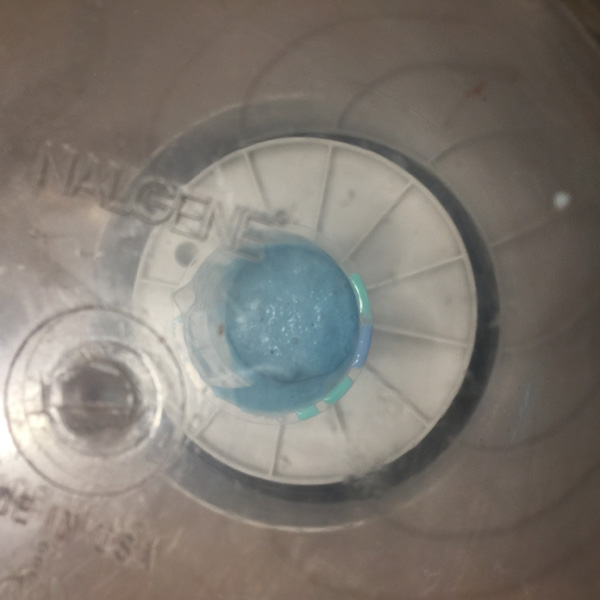
This time due to my terrible job pouring, the bottom piece broke again. A glance at the translucent dots:
Last try:
Thank you for reading!