Composite
Week 10 | How to Make (Almost) Anything | MIT Media Lab | Fall 2016
A very experimental week. I tried to do something less as an object but a 3d pattern with textures, openings, lines, etc. that are unique with the fibers (burlap, in this case).
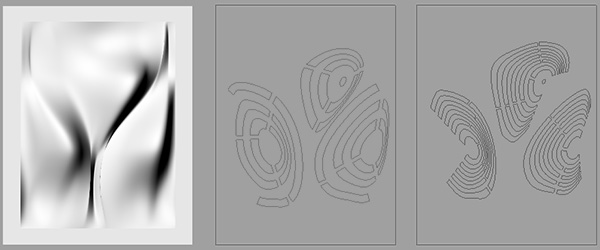
A quick mountain and valley model in rhino, and some lasercut patterns based on the contours.
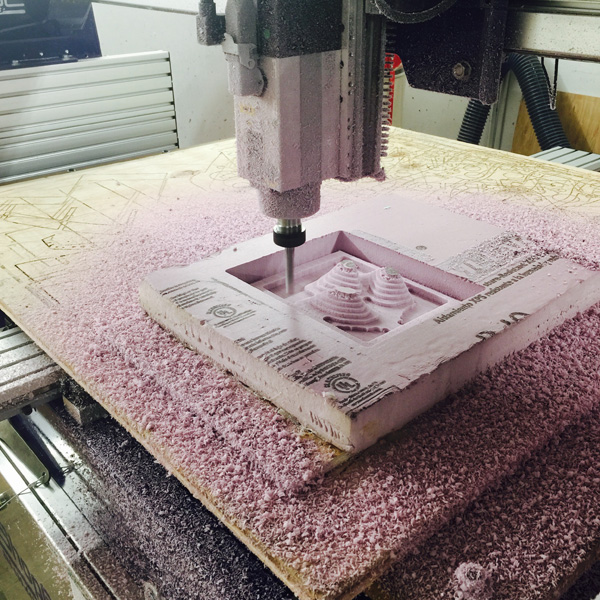
Milling on Shopbot with 1/2" end mill, rough cut:
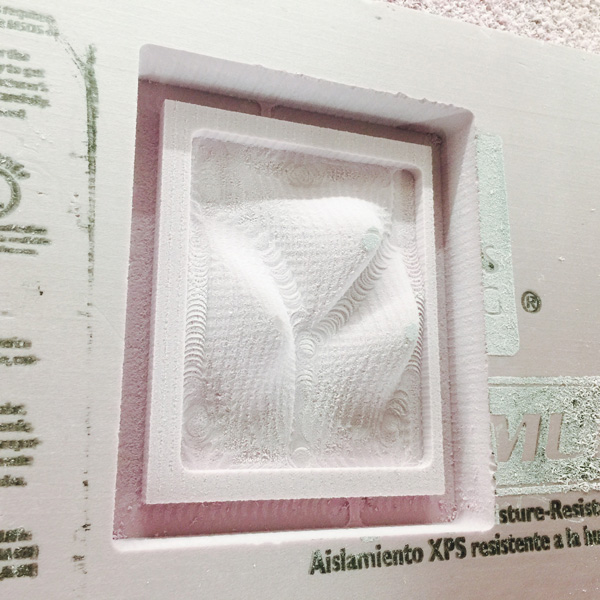
And the finish:
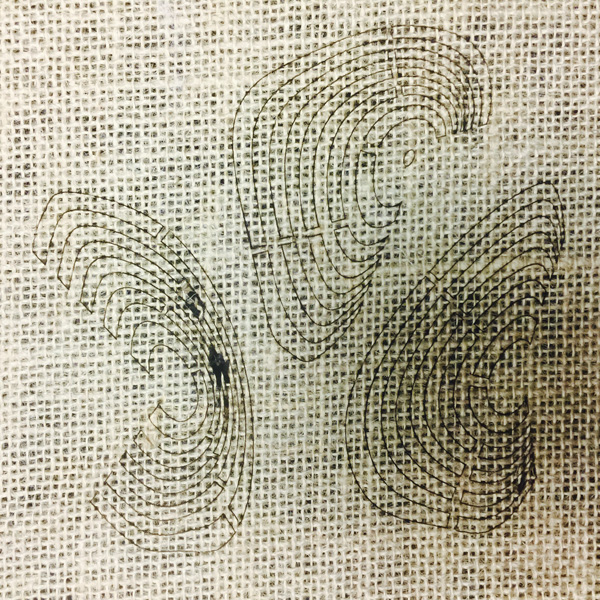
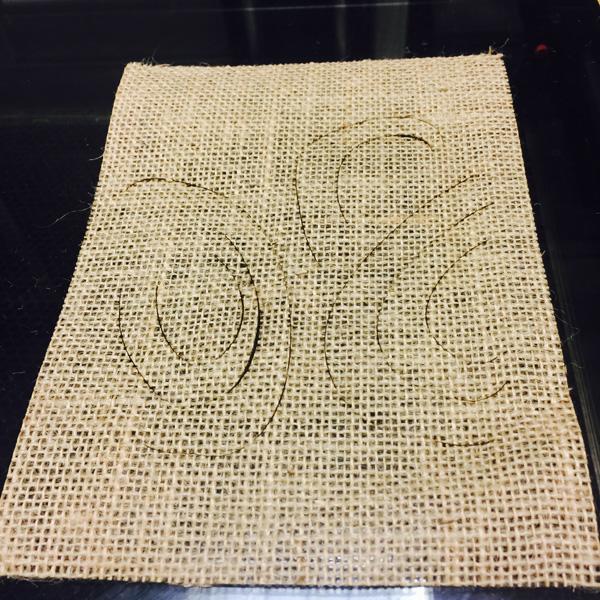
Then I tried to lasercut the patterns. The setting below worked very well on 150W lasercutter at the GSD.
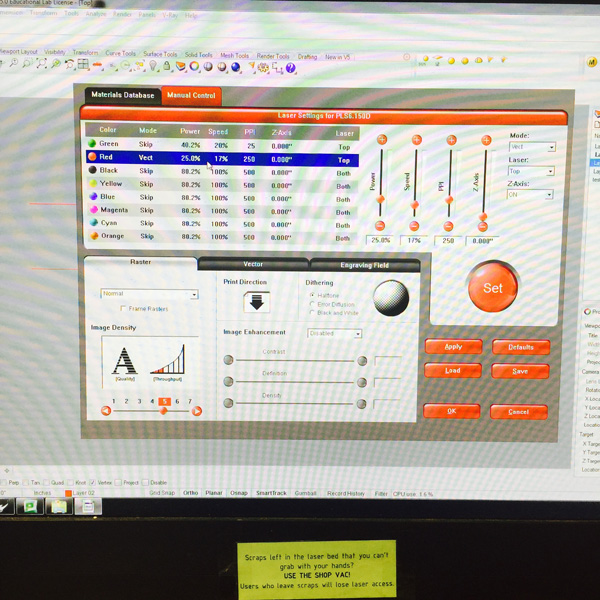
I was quite happy about the cut.
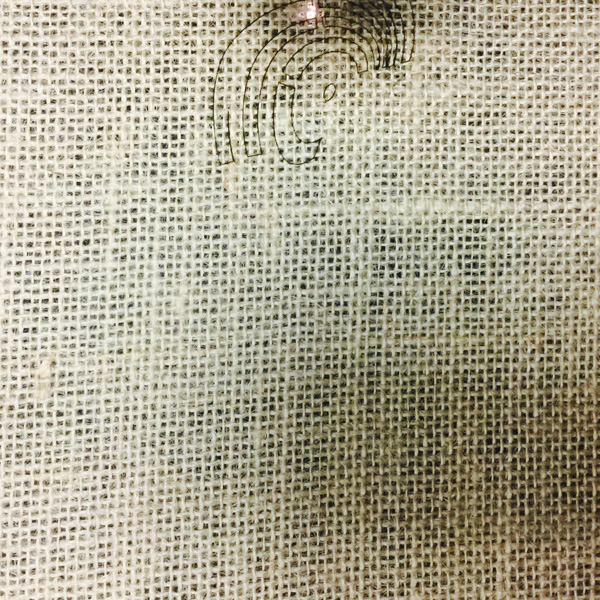
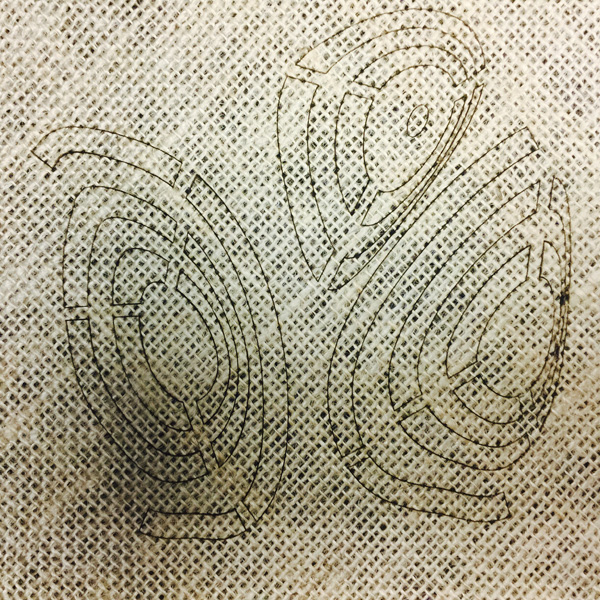
Until.....
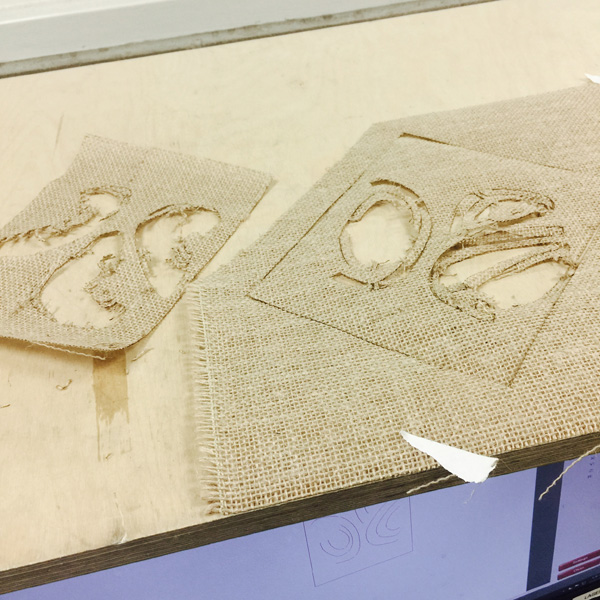
All the narrow curved pieces fell off after being removed from the bed. I figured the weaving of the fiber was so loose that I would need to reduce the density a lot.
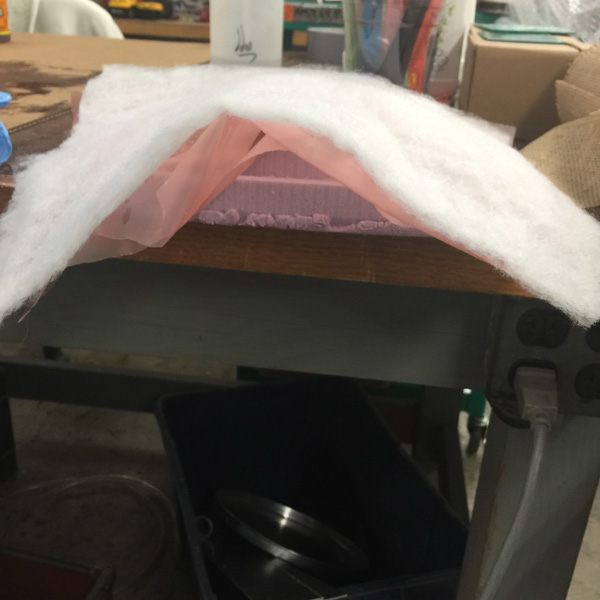
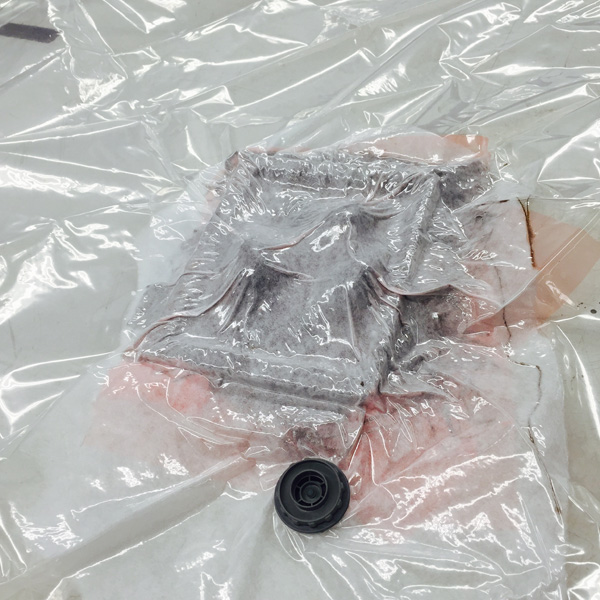
Notes on working with burlap and 3d mold: 1. lay one layer of plastic on top of the mold 2. prepare the other sheet with holes for air and resin to be pulled out in vacuum bag later 3. cut a sheet of cotton at a proper size 4. put on rubber gloves, mix epoxy with 2:1 ratio (don't mix too much because it gets very hot in a short while) 5. apply to the burlap, as many layers as needed 6. cover them with the porous plastic sheet, and cotton layer on top 7. put everything into vacuum bag, make sure air has a way out by locating the nozzle within the cotton sheet area.
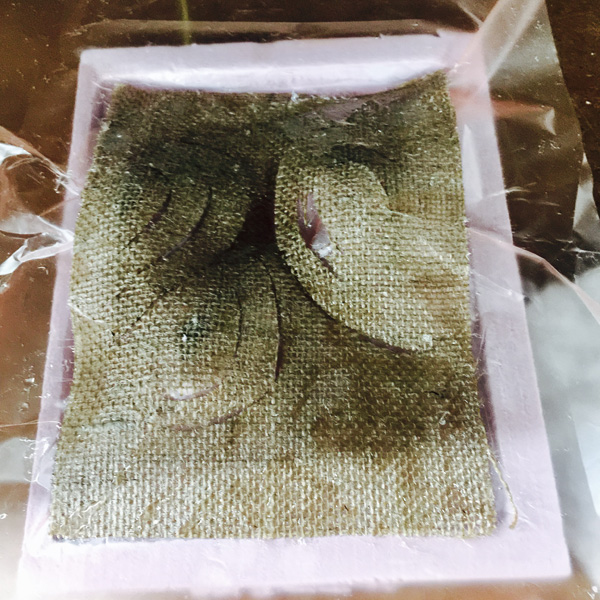
The first one did not cure after a whole day. I guess because the ratio I mixed the epoxy wasn't right.
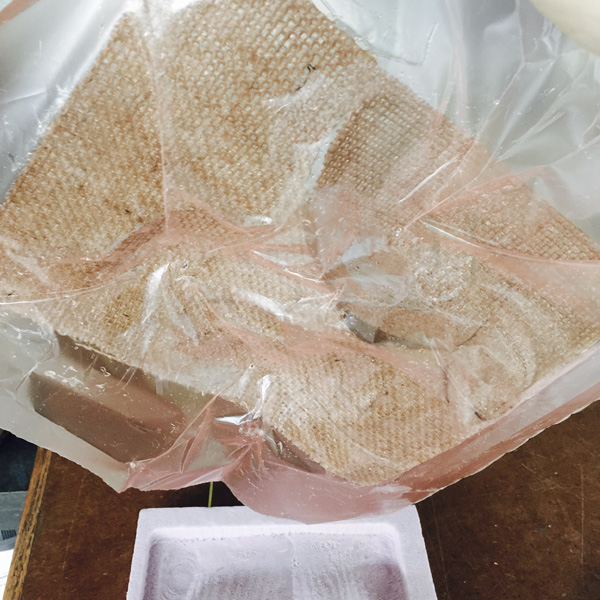
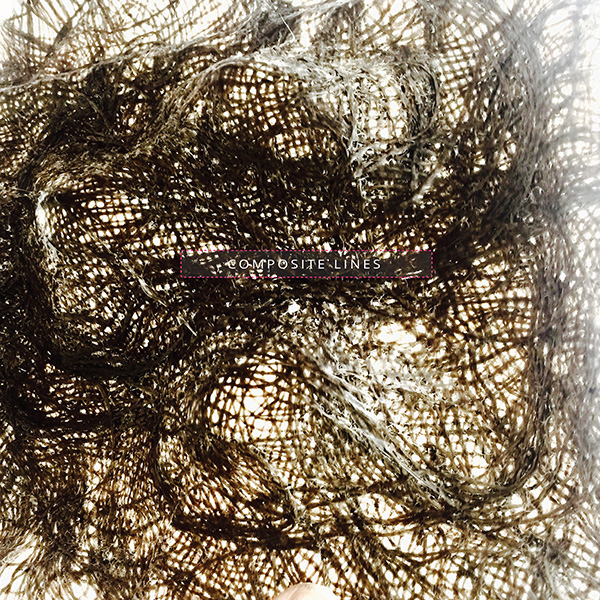
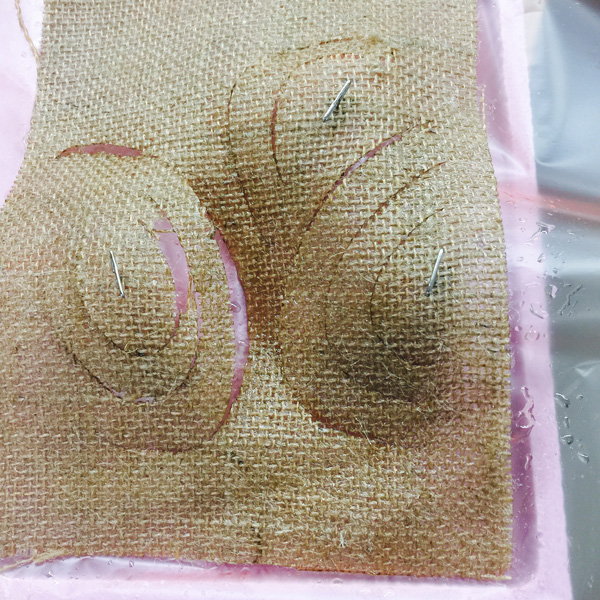
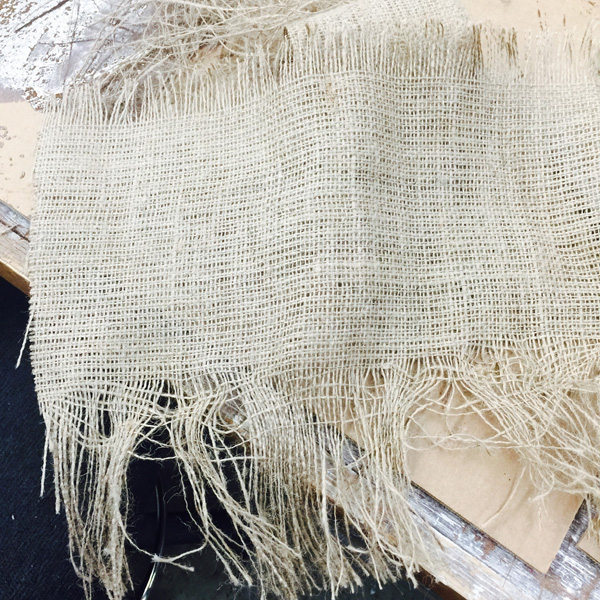
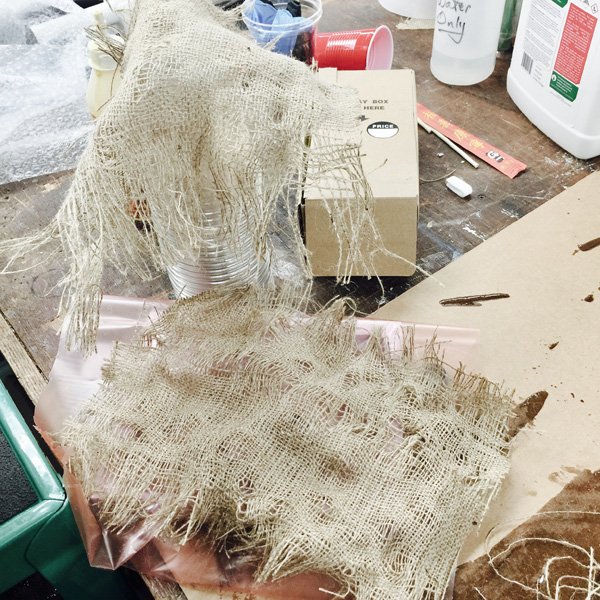
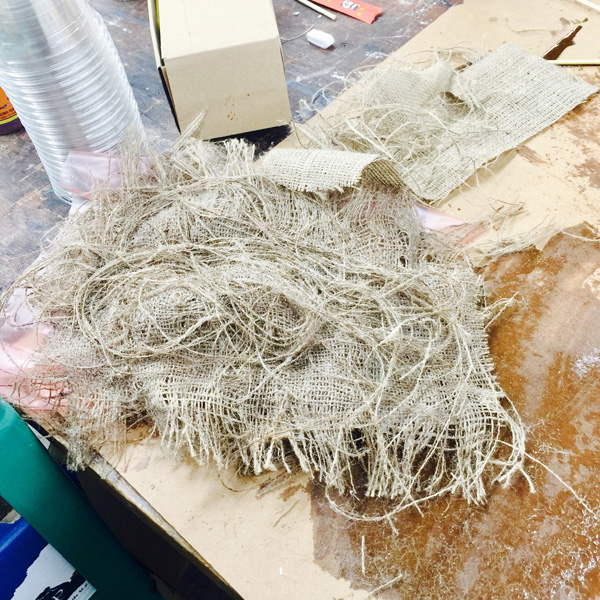
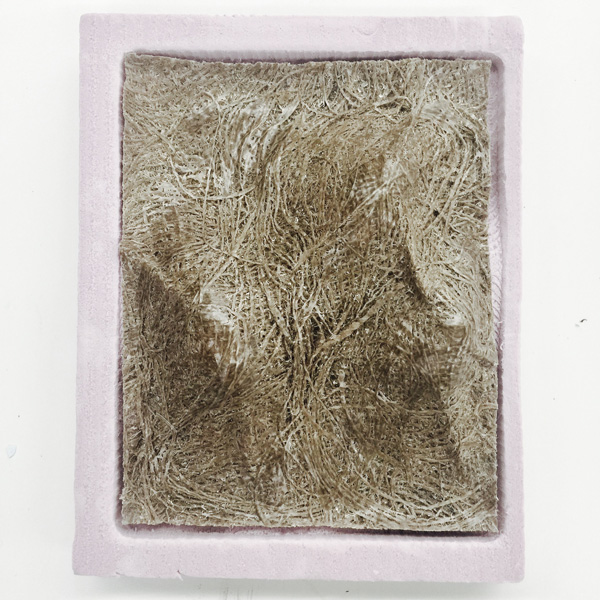
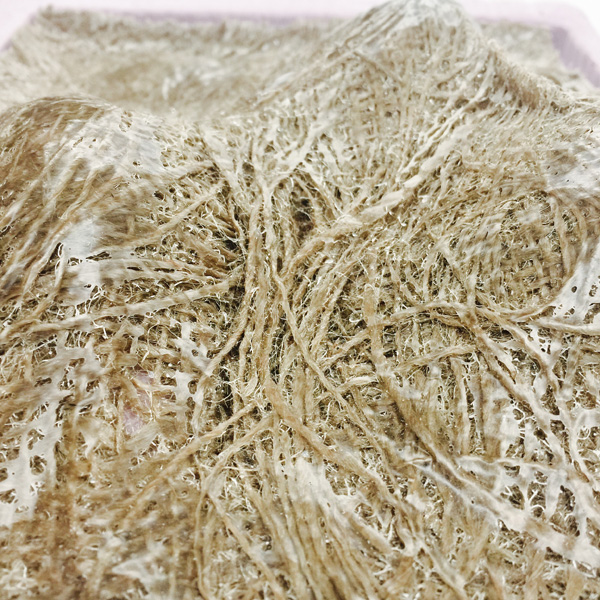
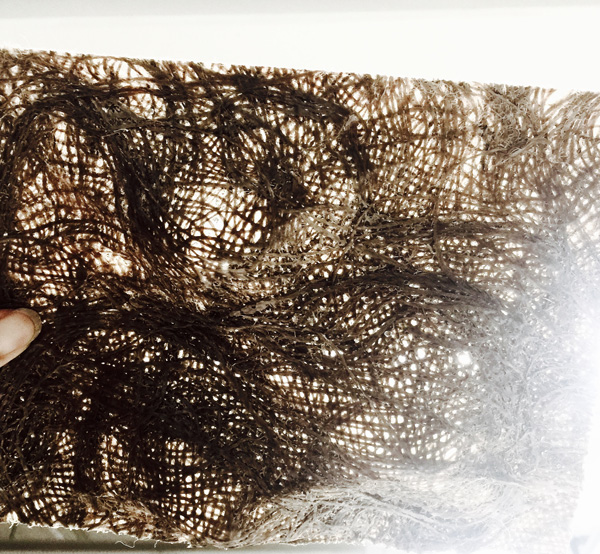
I decided to try something little different for the second one. I pulled out some of the fiber and discretized the sheets of burlap. Two layers were used to make sure the openings are visible (I should use one instead). I also placed the individual fibers on top to create some gesture along the contours.
Vacuum again:
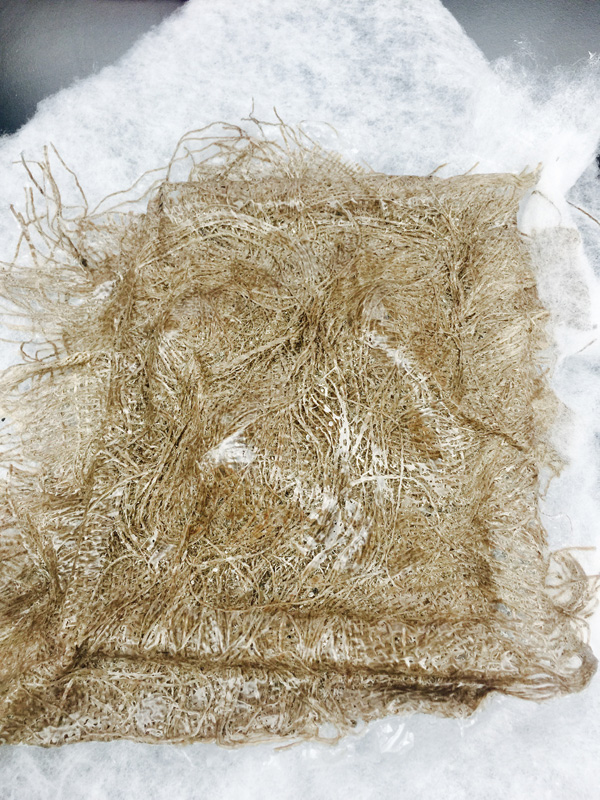
De-molded and then trimmed with band saw:
Thank you for reading!