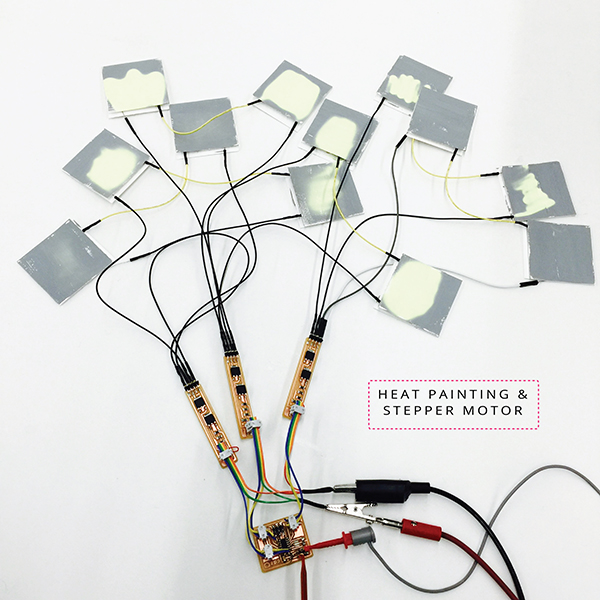
Output Devices: HEAT PAINTING & STEPPER MOTOR
Week 11 | How to Make (Almost) Anything | MIT Media Lab | Fall 2016
I tried to push the key components for my final project this week, which are tiny heat coil circuit and stepper motor control.
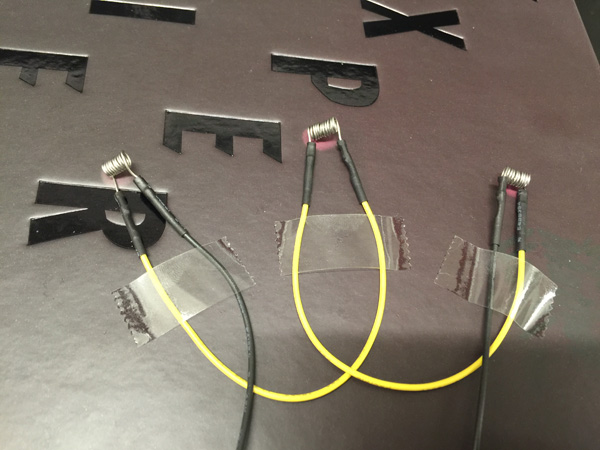
I purchased a roll of 0.5mm heat wire a while ago for testing. It turned out that they have very small resistance given the size I would prefer to limit to. I started from a simple board testing how much current the coil needs in order to get hot.
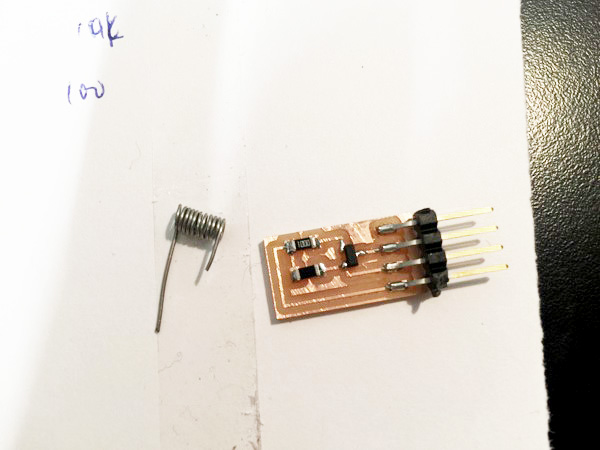

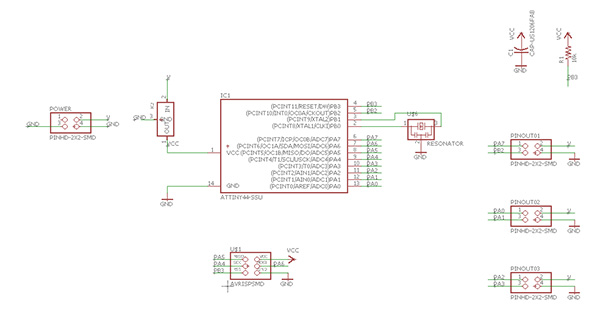
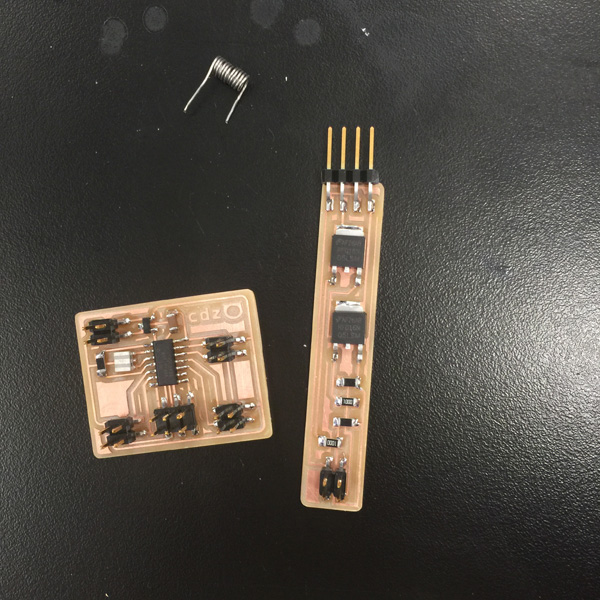
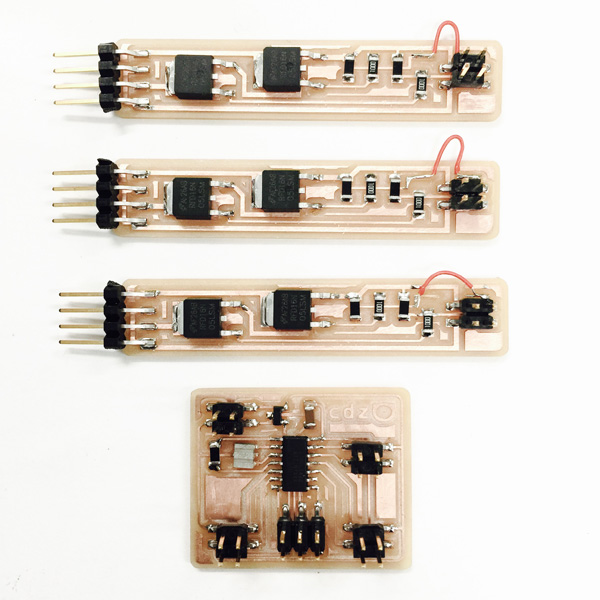
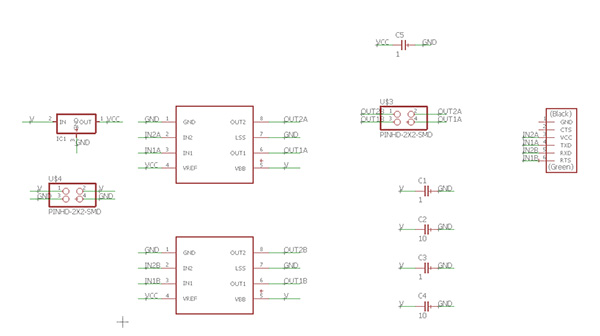
And then I moved forward designing a main board with attiny44 and breakout board that connects to power, ground, two pins through a 2x2 header. Although, I later figured that the traces for power and ground were way too thin.
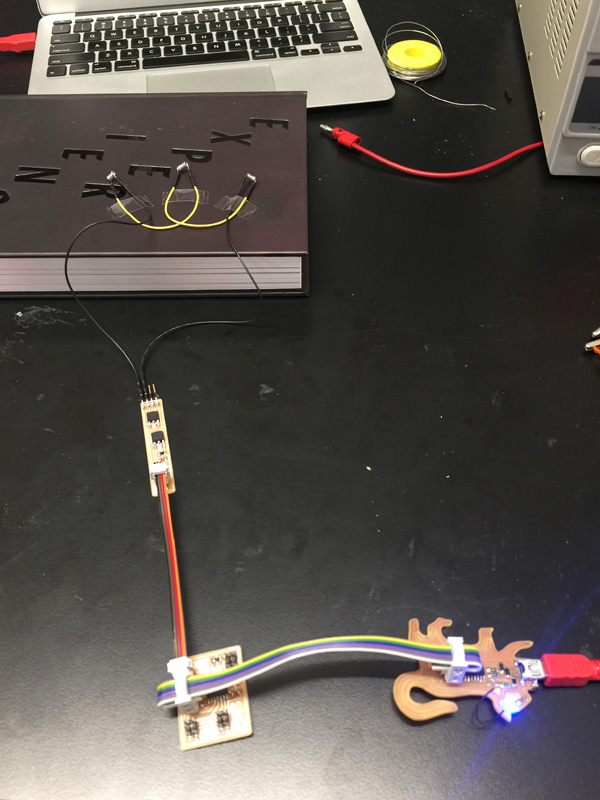
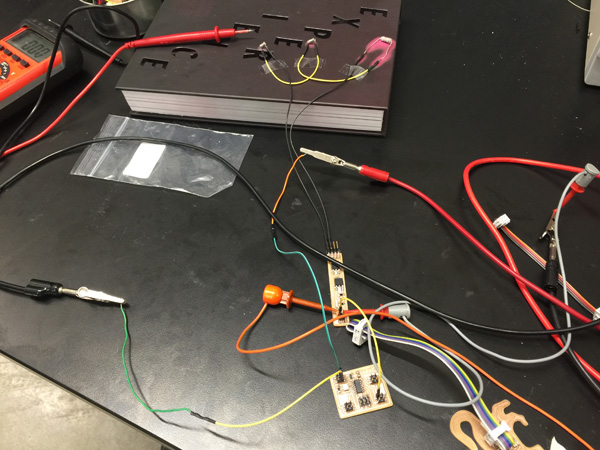
Setting up with 3 coils on one pin. And they were put on top of the book "Experience" with heat sensitive cover designed by olafur eliasson.
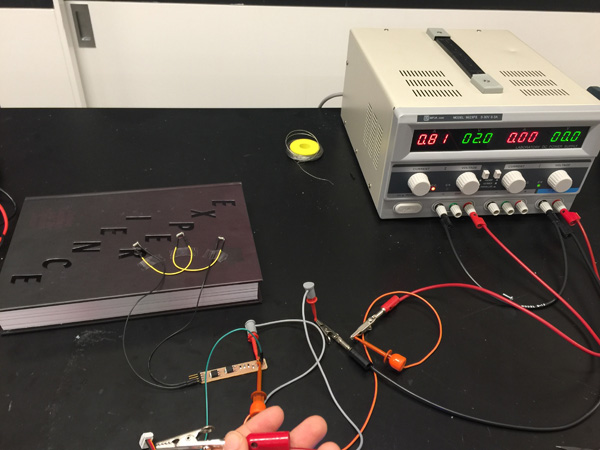
I tested the breakout board directly connect to power and it worked. But when it connect to attiny44 nothing ever heated up. Xiaoment Liu helped tremendously debugging my board and eventually we figured it was the power supply that I connected to was not sufficient enough.
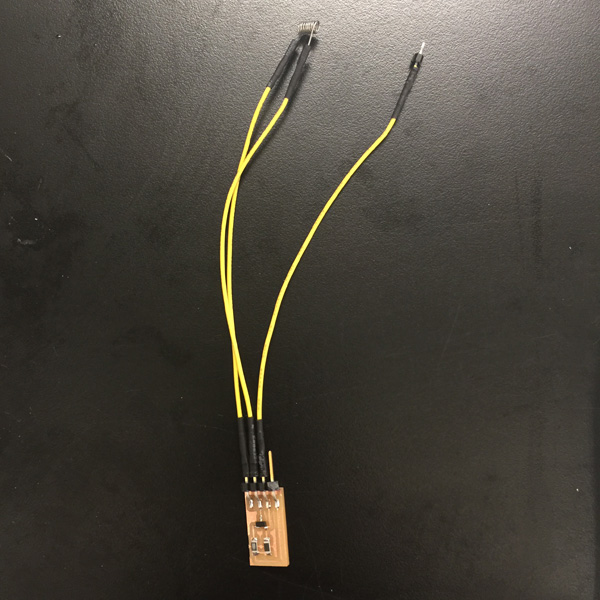
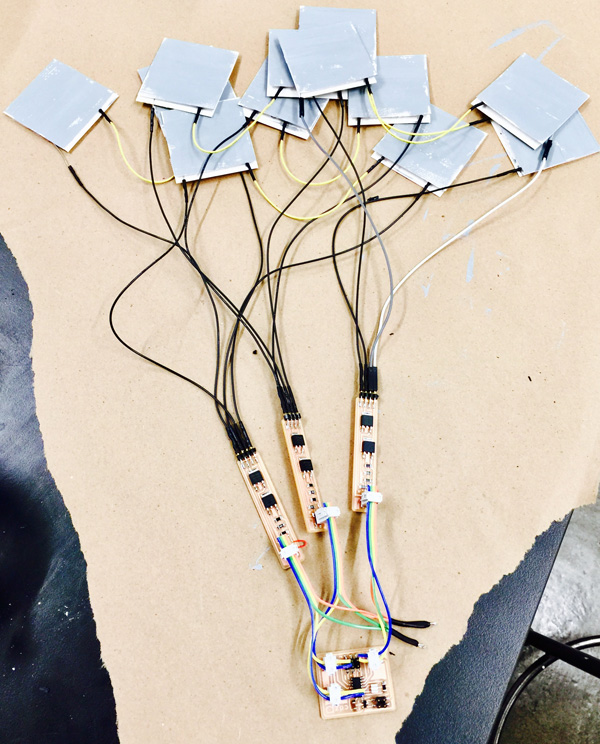
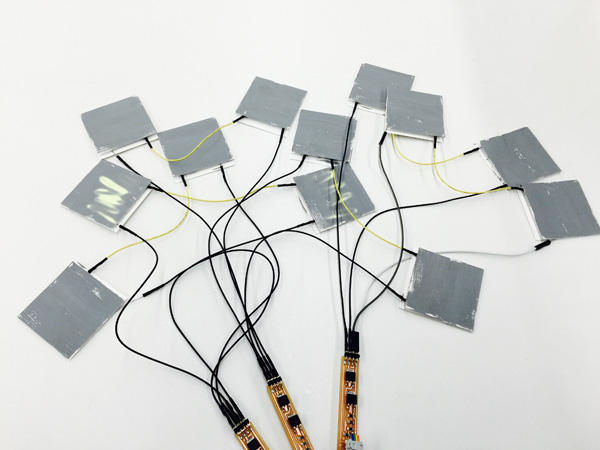
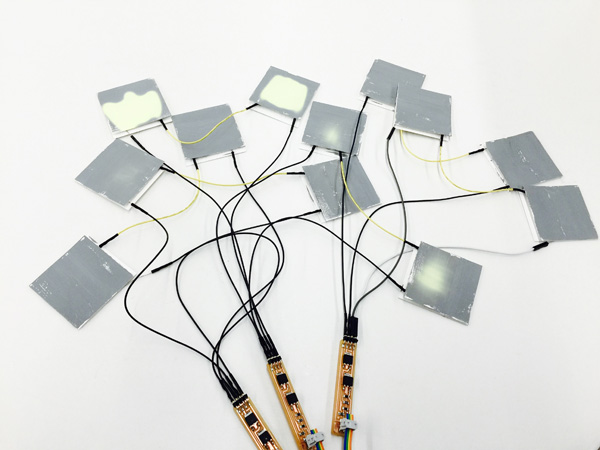
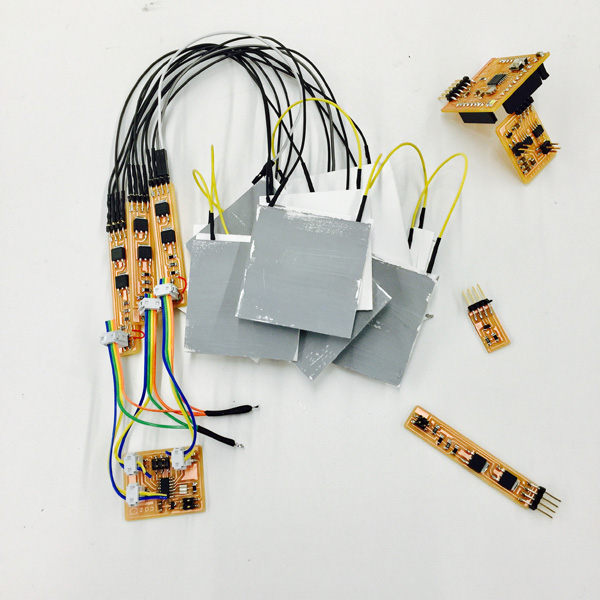
I widened the trace for the breakout boards and milled out the rest. There are 6 groups of coils in total. I used the larger MOSFET for its capacity running large current (since the heat wire I used at the beginning had small resistance, there would be large current at certain moments even if I programmed it to be on and off at a fast rate). For my final I went ahead purchasing a much thinner heat wire and it should be a lot better to work with.
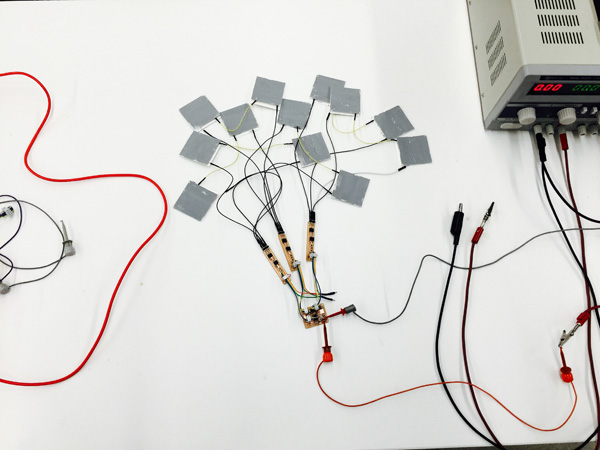
I also got my own two-color heat sensitive paint (black to yellow) and made my own heat painting panels. And then assemble and program time:
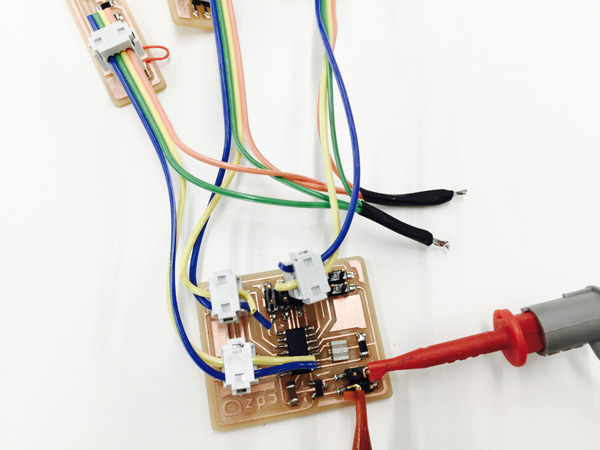
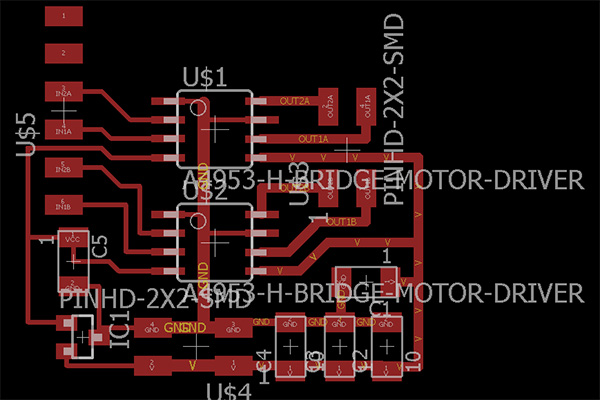
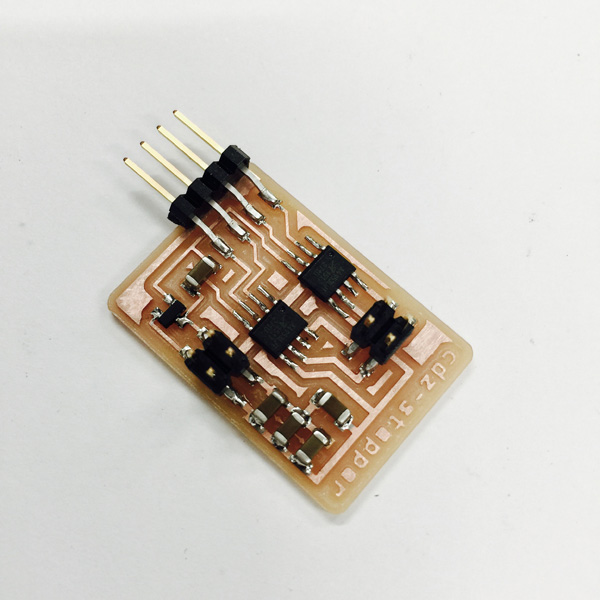
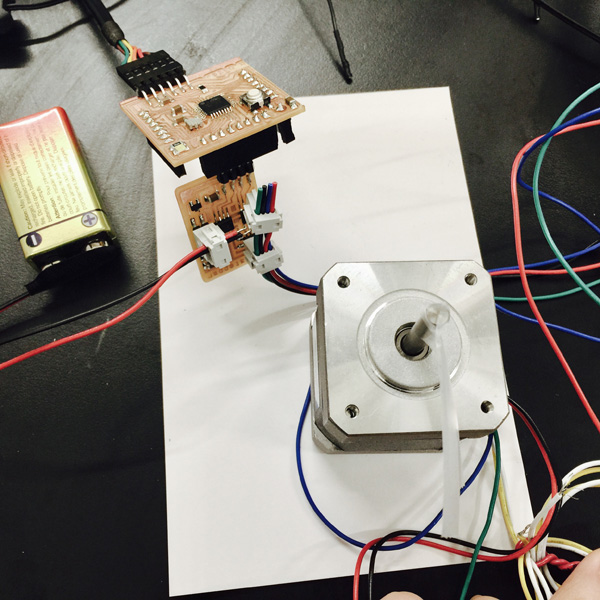
For stepper motor I modified Neil's bipolar hello board to work with Fabduino I did earlier this week.

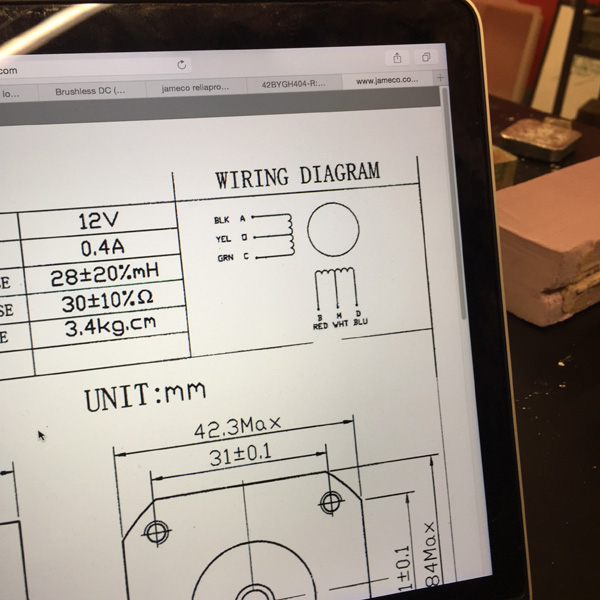
The four wire should be group into black+green, and red+blue.
Borrowed Rob's stepper motor that already had the cable in place:
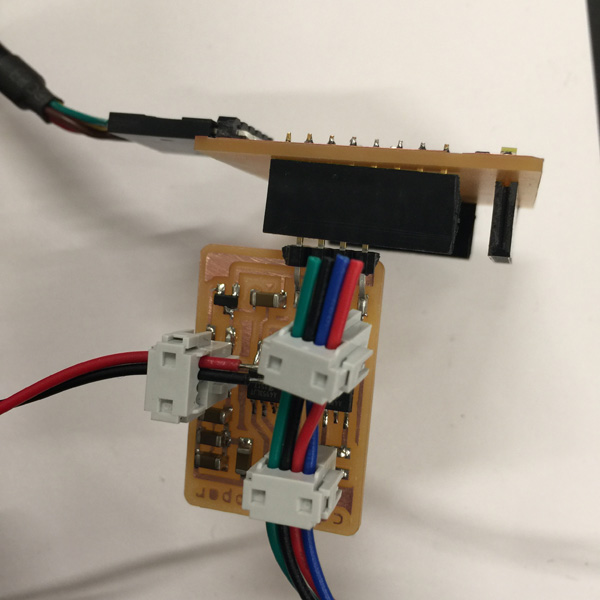
Tried with Arduino IDE:
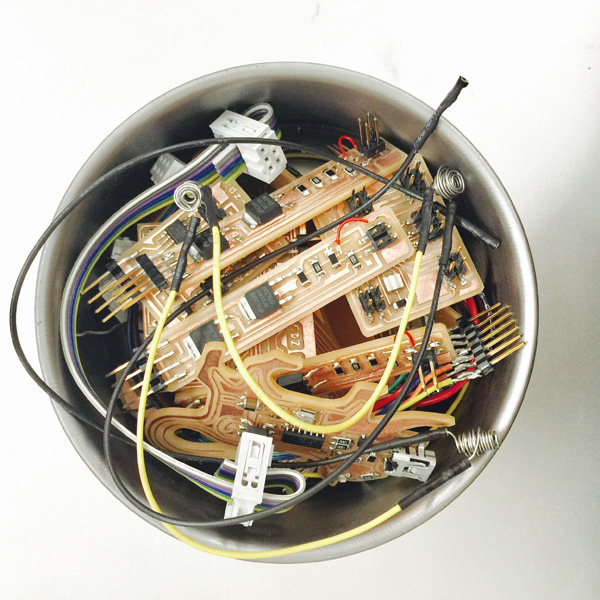
Sum up this week:
Time for a bigger bowl.
Thank you for reading!