week 11: interface & application programming
This week's assignment was to write an application that interfaces with one of our input or output devices, comparing different tools. I used my Echo Hello World board from electronics design week which I had added a LED and button to.
I'm already comfortable with web development, Python, JavaScript, and Processing from other classes and internship experience (I'm course 6-3). So this week I didn't want to spend my time writing an elaborate visualization or anything, since I know that I am already able to do that when I put the time into it. Instead, what I wanted to get out of this week was familiarity with different ways of setting up serial communication that allows this creation of applications that interface with hardware.
When I connected my board, I tried using screen to monitor the serial communication with my board. I should have been seeing messages like "light on" and "light off", but I was seeing diamonds with question marks. I also tried using pyserial to access the serial communication from the board, but I saw the same symbols:
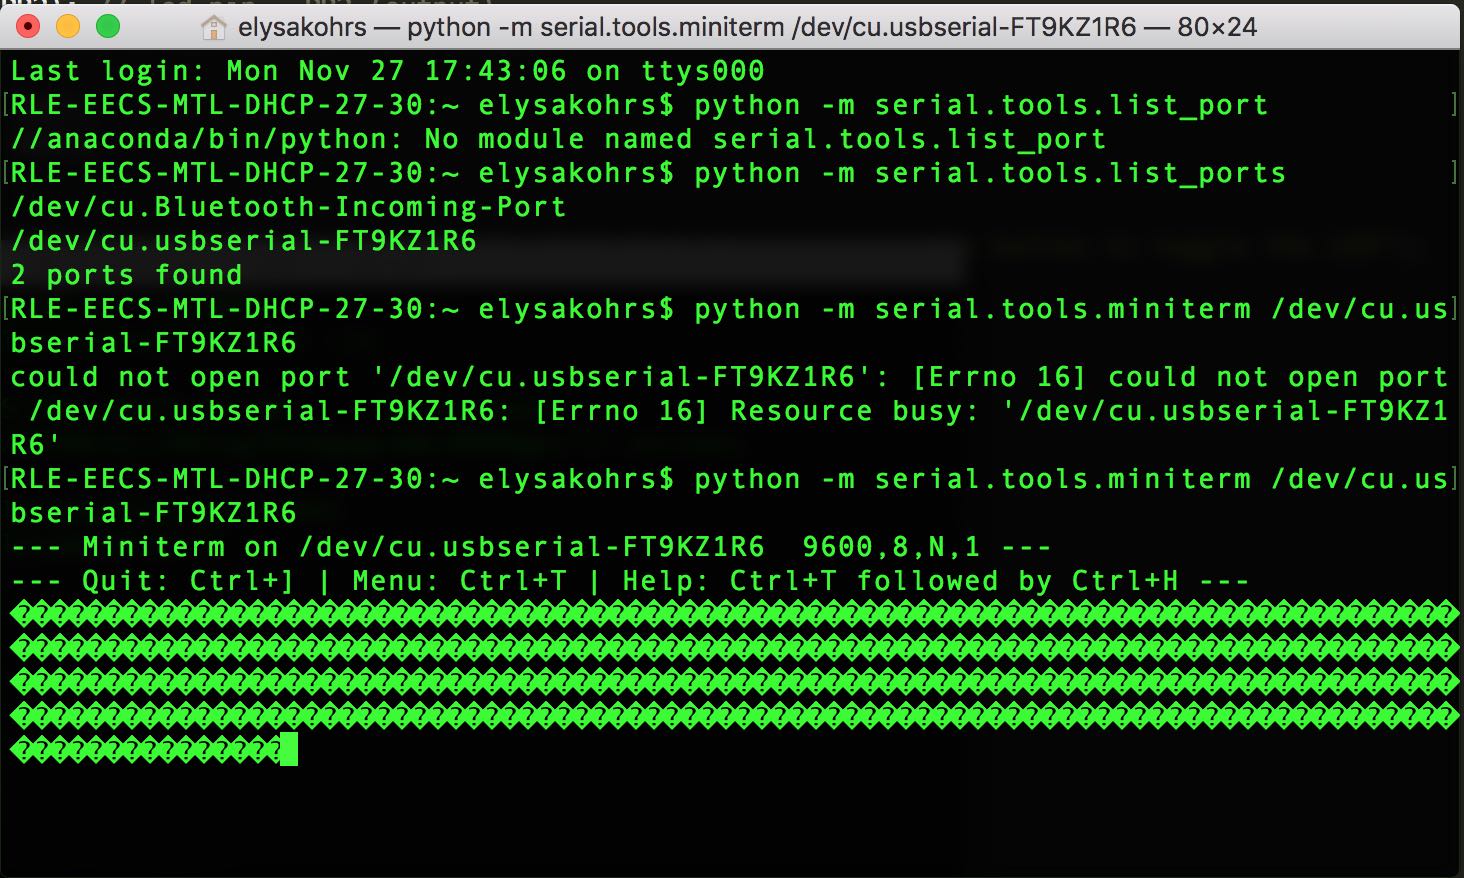
Well this doesn't seem right.
I asked Gavin and he said the bit rate was probably the culprit, and in fact it was. I forgot that when I had previously used screen, I had included the baudrate in the command. Once I added that, the messages showed up correctly. I changed the serial communication to write a '0' when the LED is turned off and a '1' when the LED is turned on. I also added a delay to my C program so that after a LED is turned on or off, it can't be set for another second. Without this, it was actually always a 50/50 chance as to whether the LED would stay the same or change when you press the button because it was cotinually toggling while the button was pressed.
Now that I had the serial communication working with screen and pyserial, I wanted to hook this input from the board into a visual program. I decided to start with Processing. I referred to the Processing reference for Serial. I realized that I needed to connect to the fourth available serial port, and after some debugging, I was logging 0's and 1's from Processing corresponding to button presses on my board. I wrote up a quick visual to indicate the light turning on or off. Here is a video of it working:
Here is my Processing code:
This visualization is super simple, but I think it's moments like this that keep me hooked on making things. I've had so many struggles throughout the course of this class. For the vast majority of boards that I've made, I get rc=-1 errors when I try to program them. And I still find electronics in general really hard to grasp. But when I get something really simple working like this connection between my computer a board with a button and LED, it is amazing and makes me want to keep doing things like this. Anyways, back to what I did this week...
I've used node.js plenty of times before, but usually when I use it, the files are already set up for me, and all I have to do is type a command like npm start, and everything works. When I have attempted to do things like set up servers and sockets and whatnot, I always run into trouble, so I wanted to do just that. I used node.js with serialport and ws. I referring to Neil's hello.mag.45.js and hello.mag.45.html and tried to make some modifications so that I could sense when the LED was on or off.
As expected, I ran into a lot of trouble. I had trouble just installing the serialport package. It turns out because I had updated my OS recently, I needed to reinstall xcode command line tools in order for the installation of serialport to work. I also had problems within the Javascript file with serialport. Neil must have used an older version of serialport, because the syntax is slightly different now. I referred here to figure out some of the changes I had to make. I also wasn't actually sure how to start the server, but figured out I needed to use the command node led.js 127.0.0.1 1234. Eventually I got the server running, and it would print to the terminal when I pressed the button on my board.
I was somewhat confused about the specifics about what was printing out. I was printing the data that the serialport receives, and data was a buffer. When I printed out data[0], I would see the numbers 48 and 49. Finally, when I tried printing out data.toString(), I saw the numbers 0 and 1, which were what I wanted. I used svg within my html file to take the 0 or 1 coming from the websocket and turn it into a yellow or black circle. Again, super simple but very satisfying to get this working.
Here are my Javascript and html files: