For my final project, I want to make a game with a physical input.
Specifically, I want to make Pac Man that you play while riding a bike, in which the speed at which Pac Man moves is controlled by how hard you pedal.
I looked online for some open source Pac Man games and found this good one on git hub. you can play it here. The github is here. I can see that there is a variable that takes in speed, so next I want to see if I can feed a variable speed into it.
I ended up having to tweak the code a bit. I started with the hall sensor html and js files from Neil and a html and js file for pacman from Dave's github. First I wrote a javascript script in the hall sensor html file to process the data coming in from the javascript file reading the serial port. Then once I had it properly counting rotations per second and updating a bar on the html, I needed to make it feed into the game. Since I'm completely new to html and javascript, this took longer than it needed to, but basically I just pulled the script I wrote and put it into the pacman javascript file, then run the hall sensor javascript file and open the pacman index file. This works because the hall sensor javascript reads the serial port and sends the data to the script. The script converts the data to rotations per second then puts that value into the speed of the pacman. This javascript file gives the data to the pacman html.
Writing in Javascript was knew to me, so I was pretty proud of getting the rotations per second script to work. I had a count to keep track of the number of times the magnet was sensed. For my first step, I just got this sensing working. Then, I got it so that if someone was going really slowly, it wouldn't double count the sensing of one magnet. I thought this would be possible because the program checks for the magnet every tenth of a second, os if someone was stopped on the magnet it would read it as a fast speed. To do this I incorporate a flag that would turn false when the magnet wasn't selected and then the counnt would only update when the flag was false and then turn the flag true. I need to think harder about rotations per second to make sure this doesn't mean faster readings will be affected. For instance, if the magnet rotated every tenth of a second or faster it woudl miss readings or not read at all. I don't have a conception of speed so I don't know if this is possible. Also, right now I'm only using one magnet on the wheel that is spinning so I think it'll probably be fine. Then next thing I did was to get the counter working as such. Finally, I needed the timer. To do this, I check if the program is at a full second mark away from the start of the entire program. It works surprisingly well.
Finally, in terms of tuning the parameters, I had a large tolerance for sensing the magnet. This is needed because at higher speeds the magnet sensing is worse (ie. the normal reading is about 509, the sensing of the magnet at high speed will be 580 or 600 rather than 900 or 1000 at low speed). However, because of my flag, it means there needs to be enough space in between magnets. Anyway, I tuned the parameters so that it worked when I tested it.
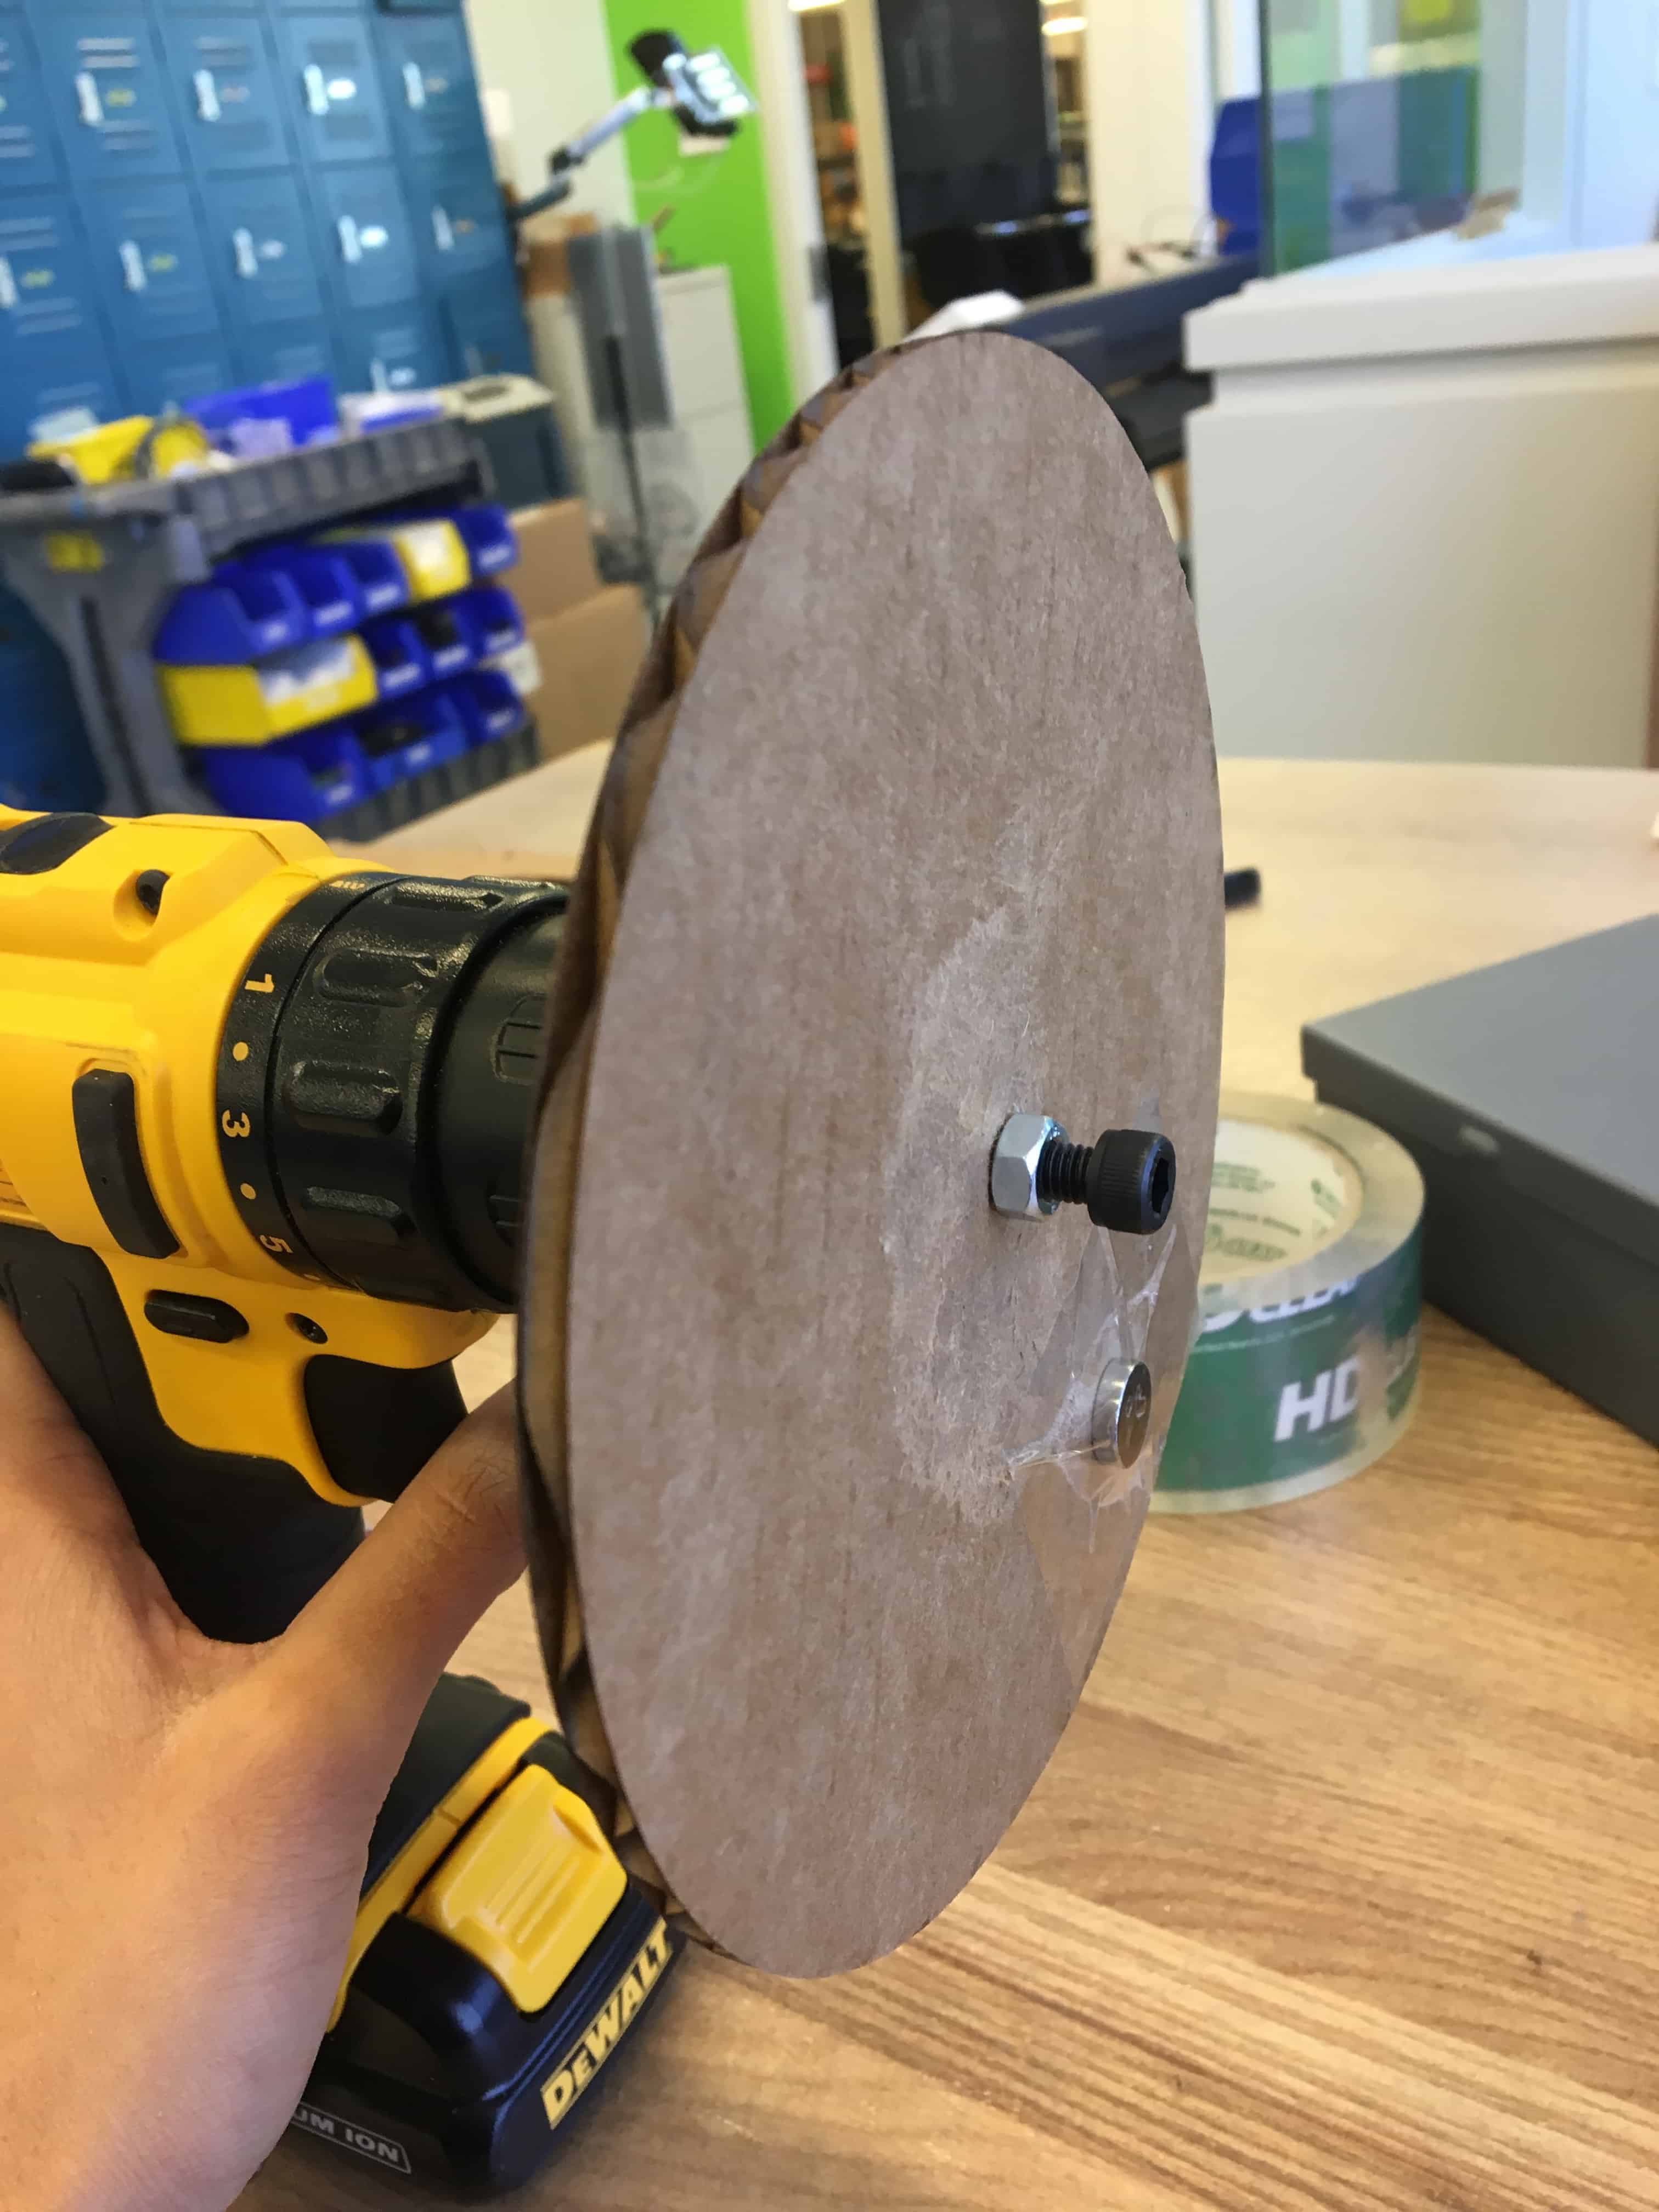
To test it, I needed something that would spin fast and I got the idea of using a drill from Chris Carter from a previous year (but I did it slightly differently). I laser cut some cardboard circles then drilled a hole in the middle (could've just cut that in hindsight). Then, I inserted a screw, through the cardboard and into the drill. I used a nut to secure it in place. I glued the magnet to teh cardboard and can now use the drill as a speed gun!
First, there was a problem where pacman would glitch and run into and over the walls. Then he would get stuck on the other side and be trapped. While pretty funny, it significantly detracted from game play. This was happening because Pacman's next position was calculated from his current one plus his speed times a distance. This incremental distance was never greater than a single square for the original code writer. With my new code, it definitely easily could be. To fix this I found wall collision detection code that had been written for the ghosts and tweaked the Pacman code to use the same thing. Now, no matter how fast he's going he won't go through walls.
That worked, but Pacman's movement is really jumpy right now, so that's the next thing to fix.
In a previous year, Chris Carter created a bike-data collecting project which measured speed from rotations of metal cylinder. I would also use the rotations per second as the speed input. To measure this, he used something from the Allegro A130x series of Hall sensors and an Analogue to Digital Convertor on the Attiny44. He also had the good idea of attaching at LED for debugging purposes.
I still need to find what device will be best to play the game on. Right now I'm thinking of an iPad with a keyboard attached. I wonder if it would be hard to add two buttons that could be put on the handles that control the left and right movement.
I've decided on a hall sensor with magnet and my laptop. As described above, I've got it working fine.
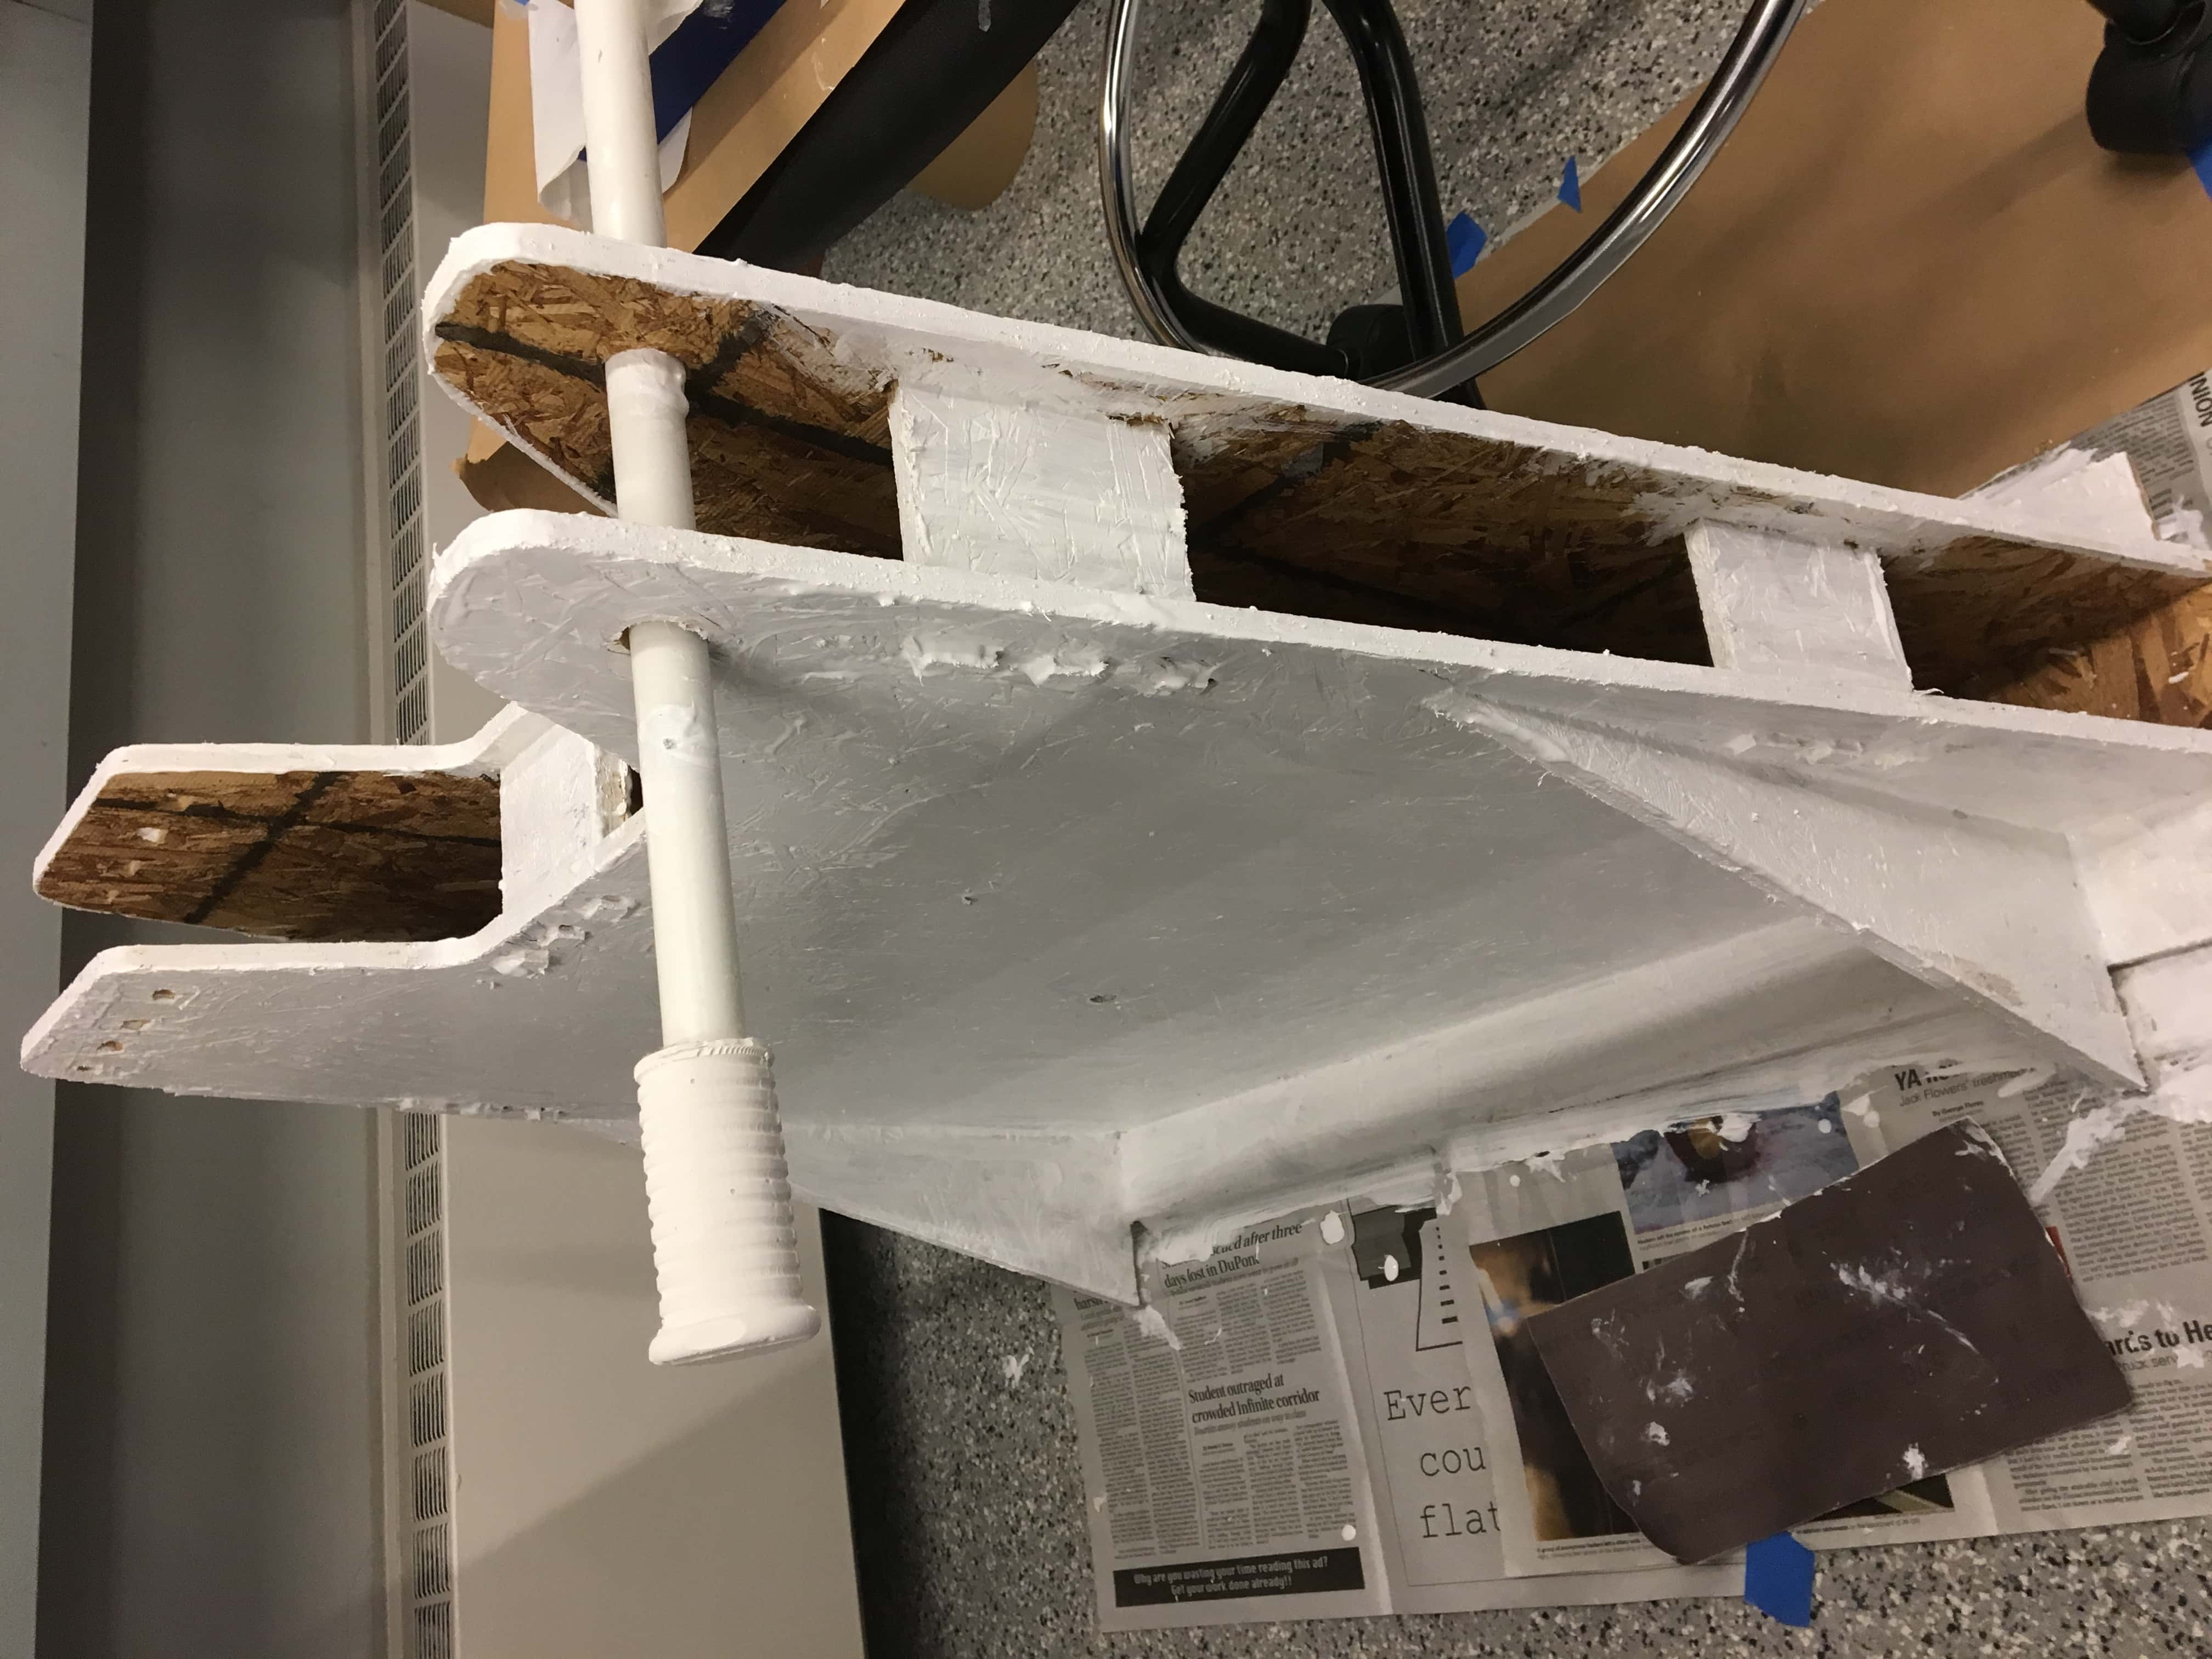
In the machining week, I made a stable bike-shaped seat with holes for a handle, crankshaft and pedals, and space for a seat. I still need to install pedals because I haven't decided if I want to pull them off my bike or buy new ones. I need to make the seat more comfortable. Finally, there is still a little wobble, so it would be best to find a way to get rid of that.
After researching stationary bikes, I think the best way to add resistance will be with a felt clip. There is space to install a fan in the current set up, however, a fan gets harder linearlly with pedal speed. This isn't the type of effort relationship I want for the game. I think a flywheel would be too heavy. A magnetic flywheel or any magnet at all will interfere with the Hall Sensor.
I've ordered felt tape. More importantly, I've yanked the pedals and crankshaft off my old bike. Yes, I could've ordered or even made them myself, but I knew the ones on the bike would be strong enough. Now that it's coposites week I realize I could've done a composite of a 3D print maybe, but I had already started on the bike. It was harder than I thought and wouldn't have happened at all without Dave and John's help!
I did, at least, make the bike seat, which you can see in my composites week here
Today, I finished making the handle bar and bike handles, installing the pedals (mostly), and started painting the bike. I was planning on finishing the bike fabrication according to my demand-side-schedule but couldn't before 7, when the lab closed, so I will start early on the electronics stuff.
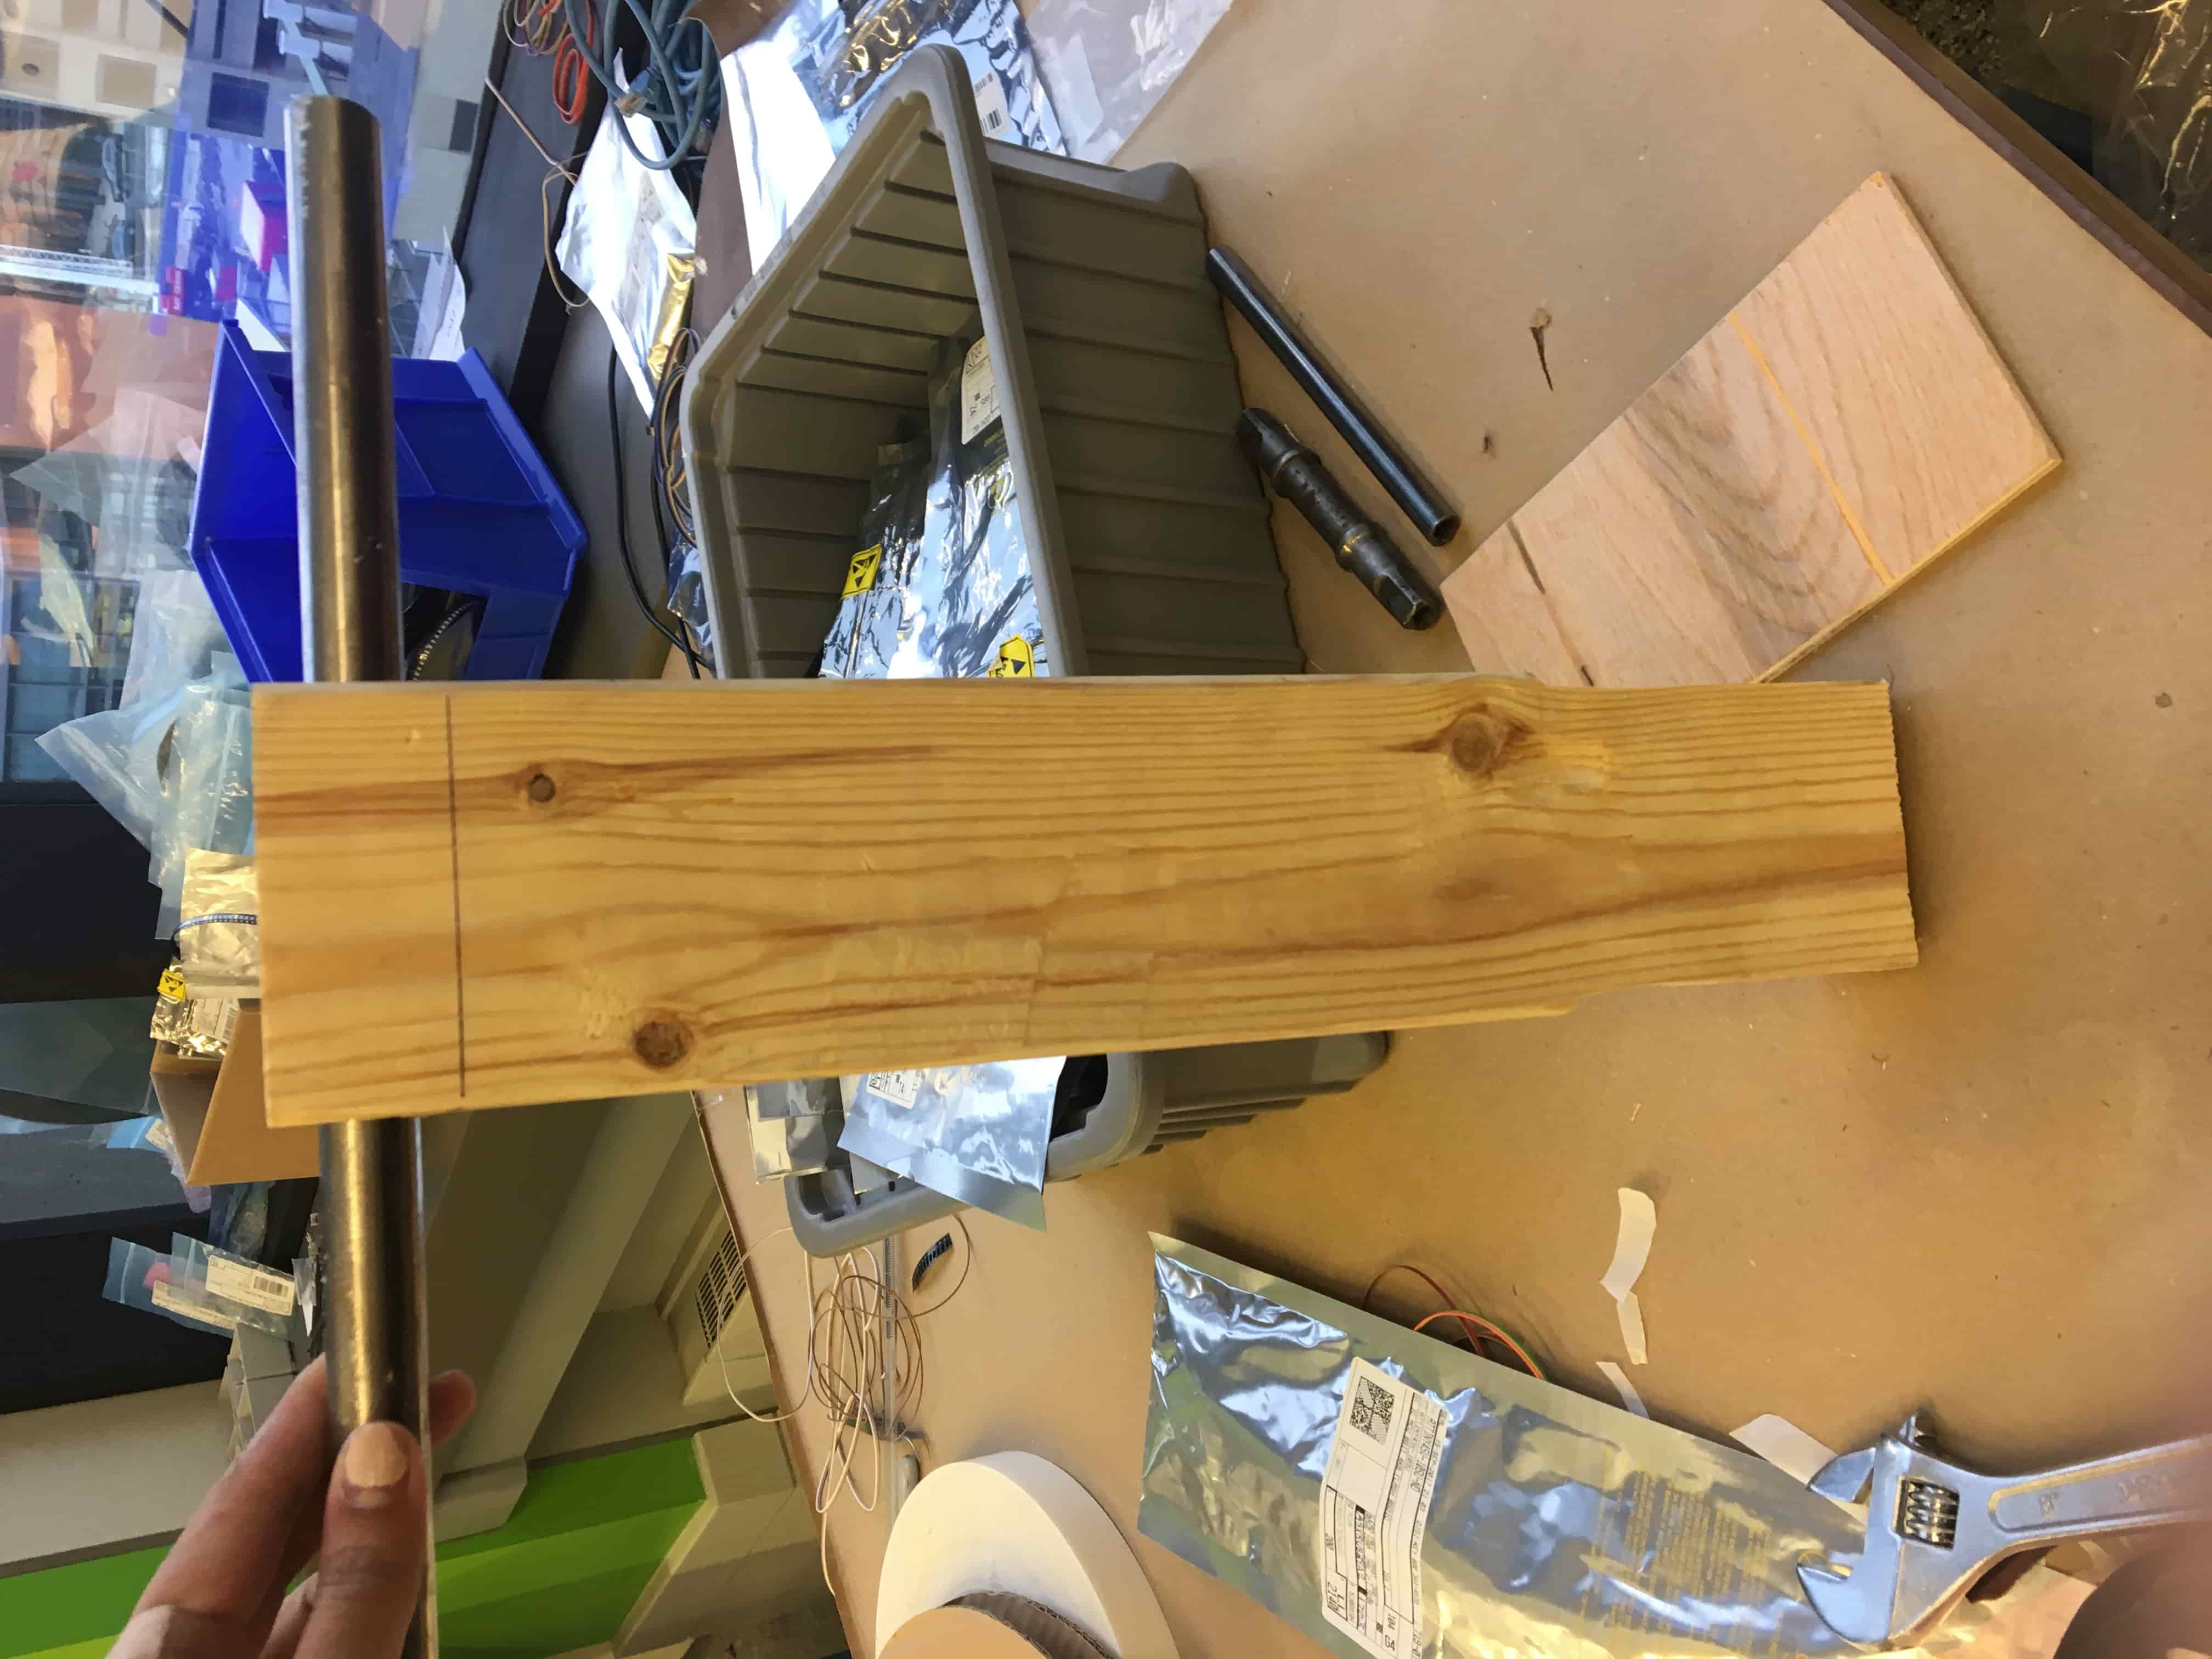
To install the pedals, I had to first cut down the steel tubing I had to size. I didn't know what type of metal it was so I took it to the DLab shop to use their bandsaw. Someone told me to see if it would notch and if it would then use a handsaw or the bandsaw. It did notch and I was able to get through it with the handsaw. Then, I hammered the pedals onto the rod (this took some trial and error and help from Gavin). Then, I put wire and pieces of paper into the spaces to act as shims. I still haven't figured out how I am going to hammer the other pedal on since it needs to be fed through the bike. I also considered printing bearings for these holes but decided not to because we didn't think the plastic would hold up.
I put two coats of the gesso paint primer on the bike. I mixed water into the first layer, as it suggested to better fill the cracks in OSB. I also sanded in between layers. The coats of paint are helping reduce the splinter count.
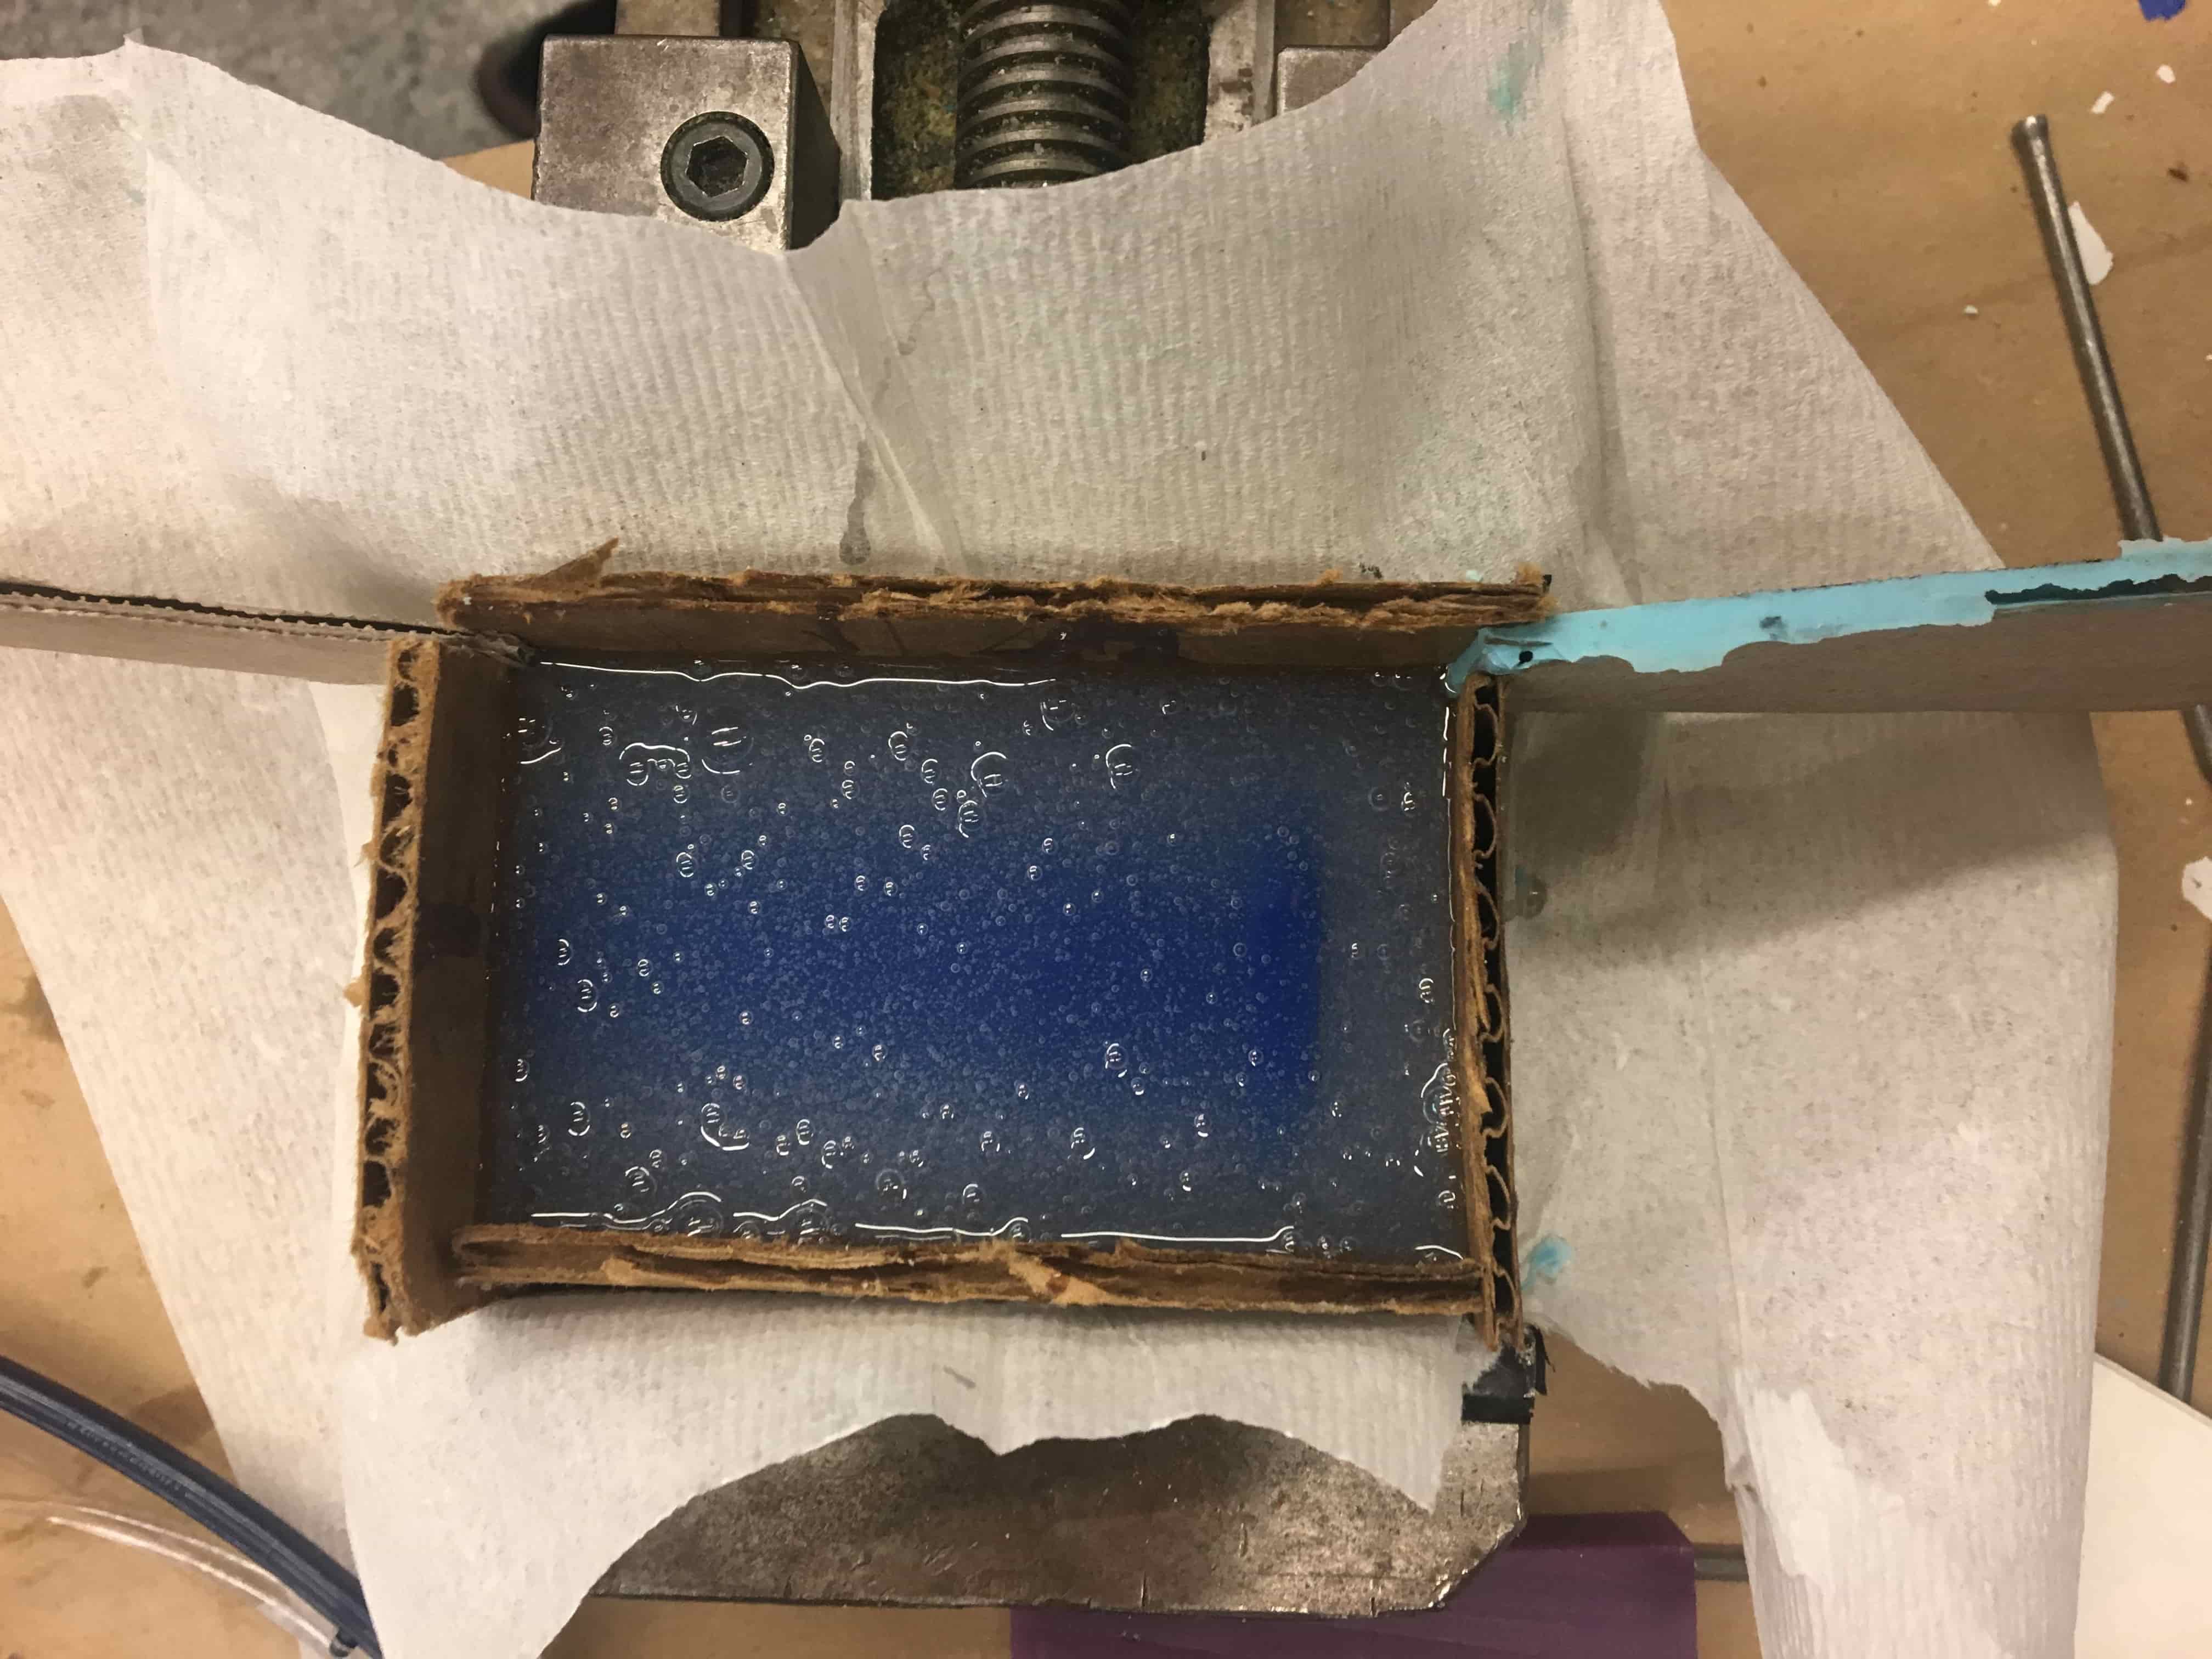
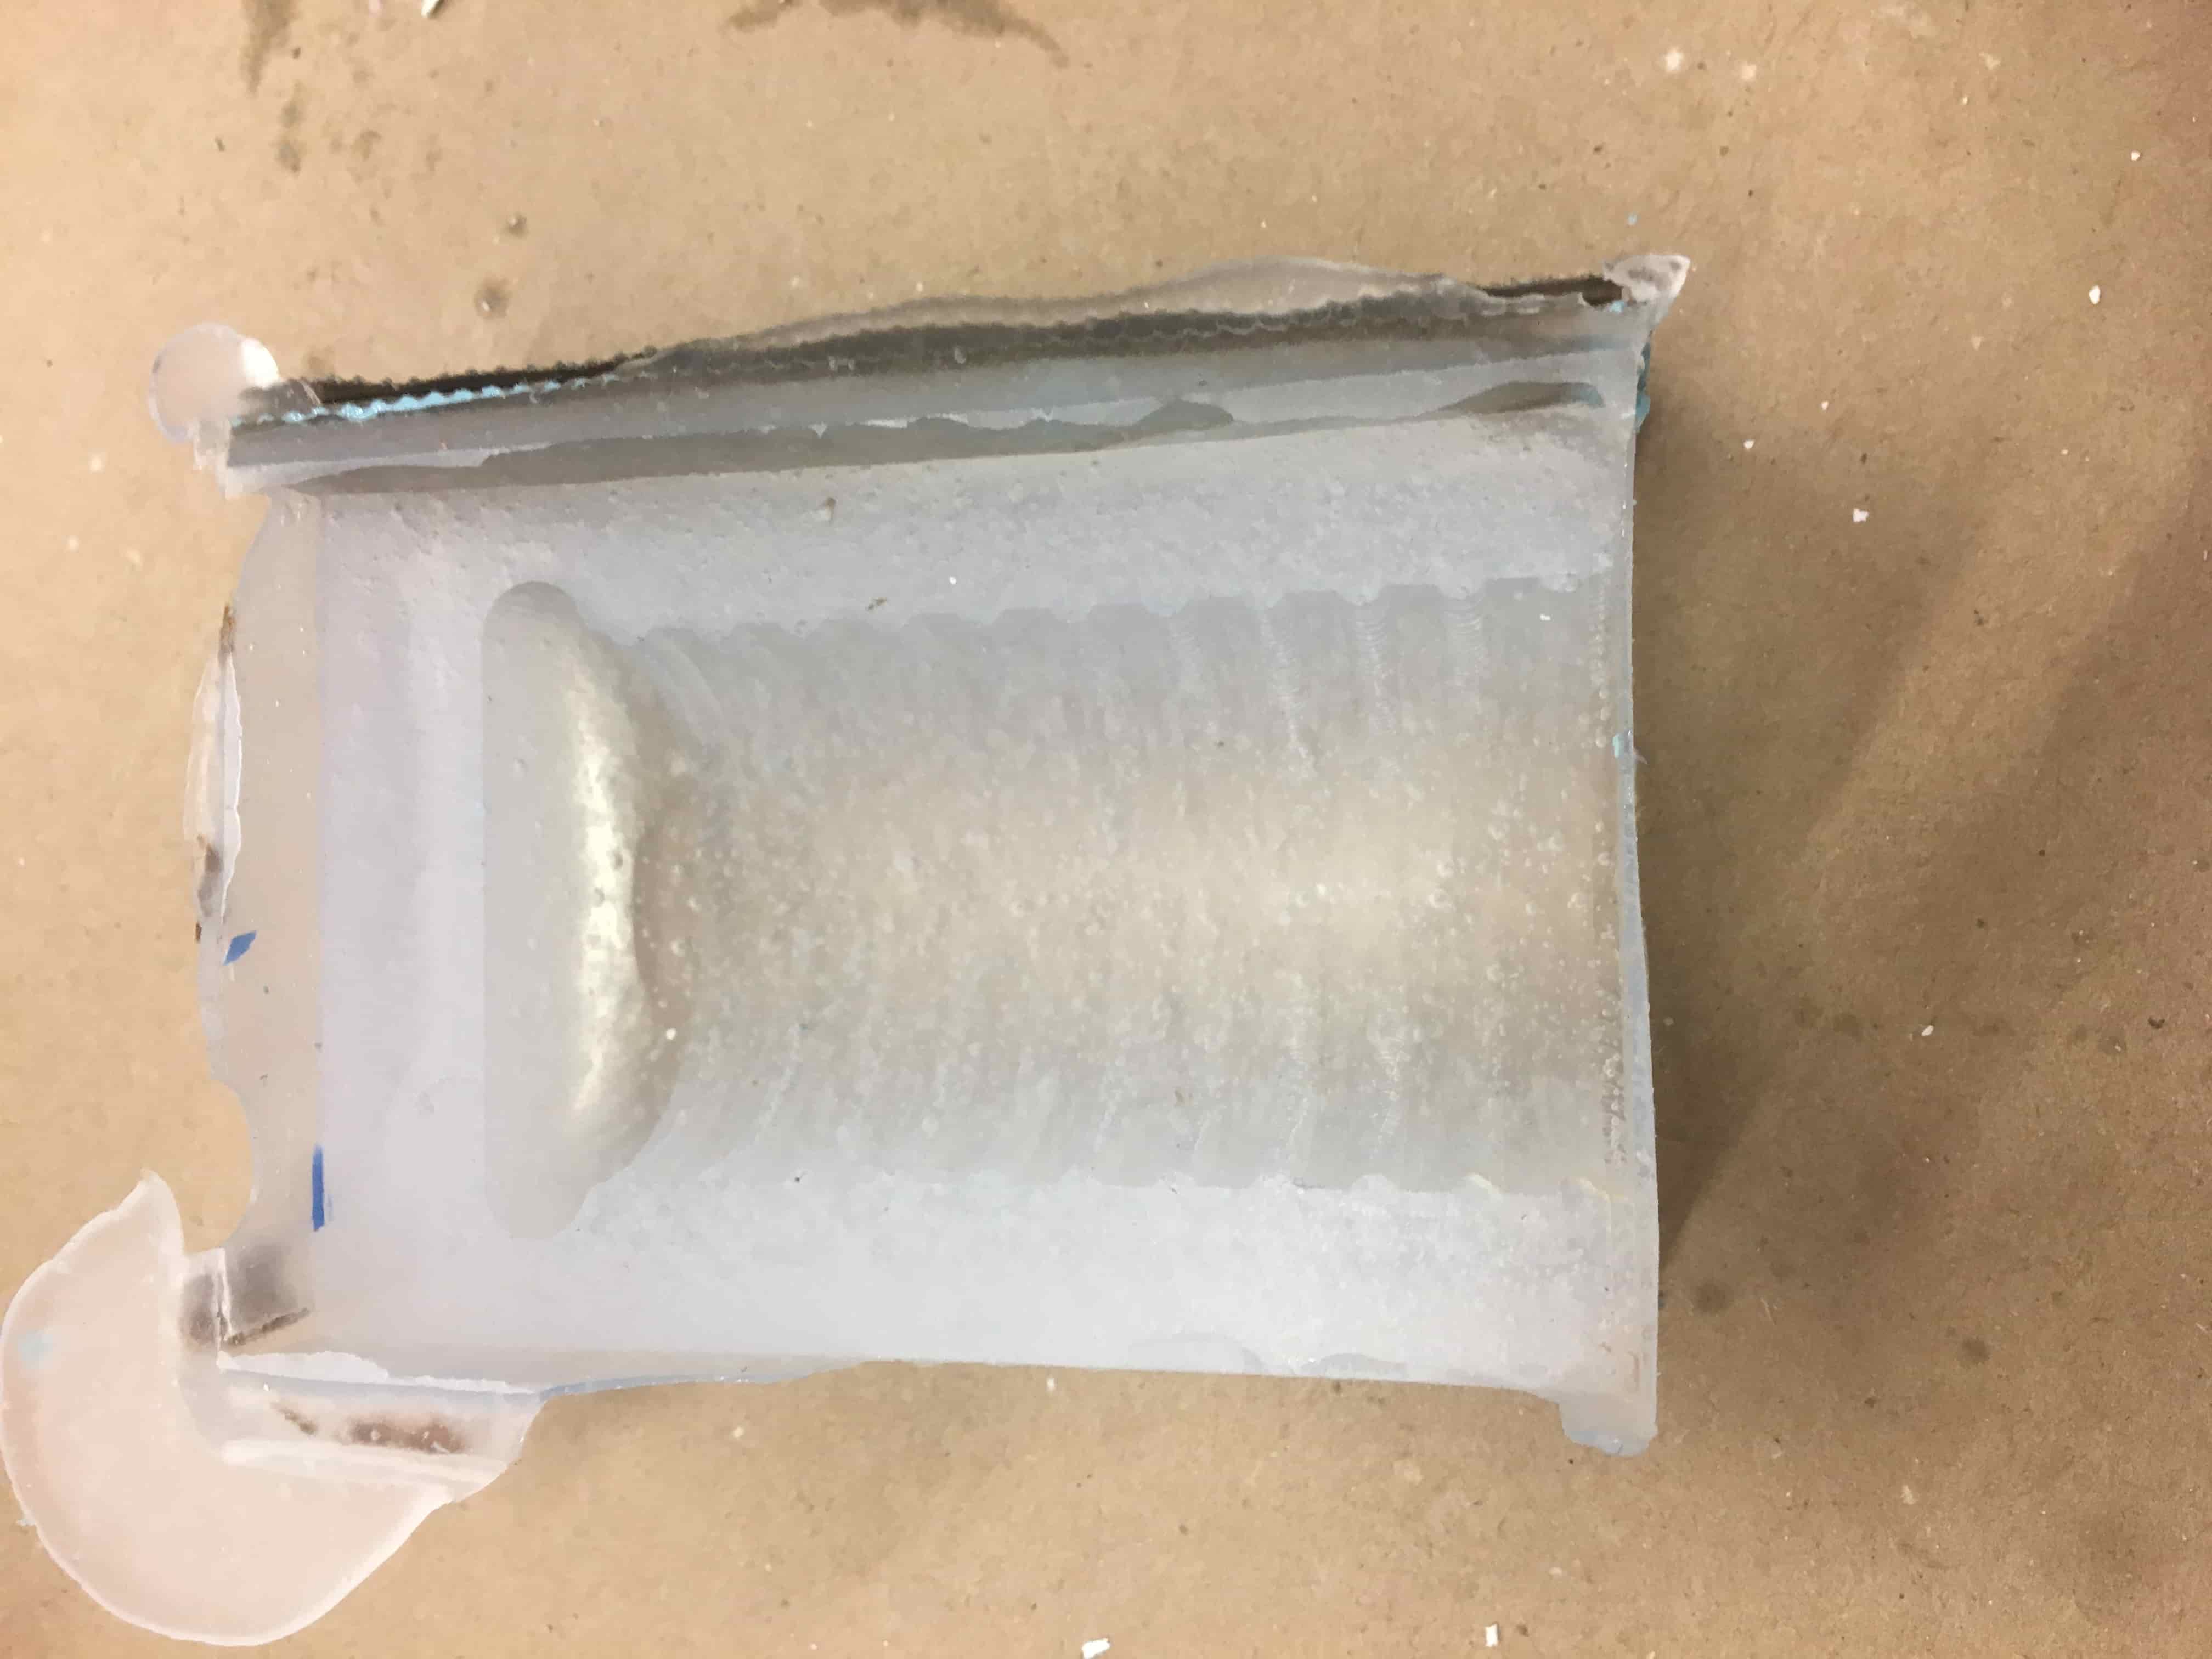
I tinkered quite a bit to get the handles working. I made another OOMOO mold so I would have two. However, my mold wasn't perfectly centered like I had assumed it would be so I needed a good way to line up the pieces. To do this I put the OOMOO pieces on the handle I already had. Then, I drove "nails" (they weren't really nails) through the sides to make holes that would hold the pieces together in place. I loosened the nails enough to take the handle off. The general strategy was to secure the mold, pour in the Drystone, and then put it on the handle which was already through the bike. I secured the cracks of the mold with tape (and also needed tape in the opposite direction to hold that tape). I put cardboard, with a hole the size of the PCB handlebar, on the open end. Then I poured in the DryStone (I was used to making the amount for one half handle and forgot to double it so I had to make a second batch quickly :/). Then, once I poured it, I realized I made it more watery this time, so I let it dry some before turning it on its side to push onto the bar. This worked well. I also drew a line on the mold along the axis of the handle so that it would be aligned with the bar. Since I was using a chair to prop up the mold, I had to make a rig with some napkins and other place holders to hold the mold in place. I think at some point this moved which is why the handle is off kilter.
Over the last few days, I've made a lot of progres. I ran around everywhere getting the parts for the pedals. I went to a hardware store and bought the full thread rod to get a better hold on the pedals. I had to make a (few) runs to the DLab shop to get the right threaded 0.5" nuts.
This is what the bike looks like now!
What's left: One more coat of gesso, paint the bike red, laser cut and apply the fabrics to the composite, attach the last pedal, paint the handles.
I am going to make a demand-side-scheduled for the last week as suggested.
This was everything on my list in order of priority: -finish one handle on pcb -mill bike seat, cut out strips -design board and email to Ben -fine tune code -install pedals -finish documentation -install avconv -paint bike
Now that it's Saturday, I've finished it all, except for one tuning thing still in the code. I've added an output device I've been working on. Now that is my first priority as well as fixing the code, improving the pedals rig, and then the handles (I want to make them out of OOMOO on a steal rod).
I know I'm on a lower level "spiral" for the electronics stage. By Sunday I had my input and output board working. However, when I tried networking (comupter to output board) I destroyed it and now I'm too sad to make another one. If I were to make another one, I would go through the steps we went through with the echo hello board to reading a button, but instead of using the button to light one light, I would use a computer command over serial to run the proper charlie plexing commands.
I'm not sure where to put this, but I really went down a large rabbit hole trying to install avconv and imagemagick. At one point I even upgrade to the new OsX operating system because I was having so many issues. I realize now that that was probably drastic. I got avconv to work relatively simply after I took a break and came back to it. All I had to do was install libav. Instead of Imagemagick I'm using an online photo compressor. I used these links for debugging at various points: https://stackoverflow.com/questions/8253362/etc-apt-sources-list-e212-cant-open-file-for-writing https://trac.macports.org/ticket/35045 http://www.macinstruct.com/node/415
Once it was all finally set up, this command was helpful for compressing multiple videos in a folder at once: for i in *.mp4; do avconv -i "$i" -vcodec copy -ac 2 -strict experimental "out-$i"; done
I've decided to fix up some of the other pieces because I feel bad for not having better electronics. (Although I have what is necessary for the initial idea I had which is good).
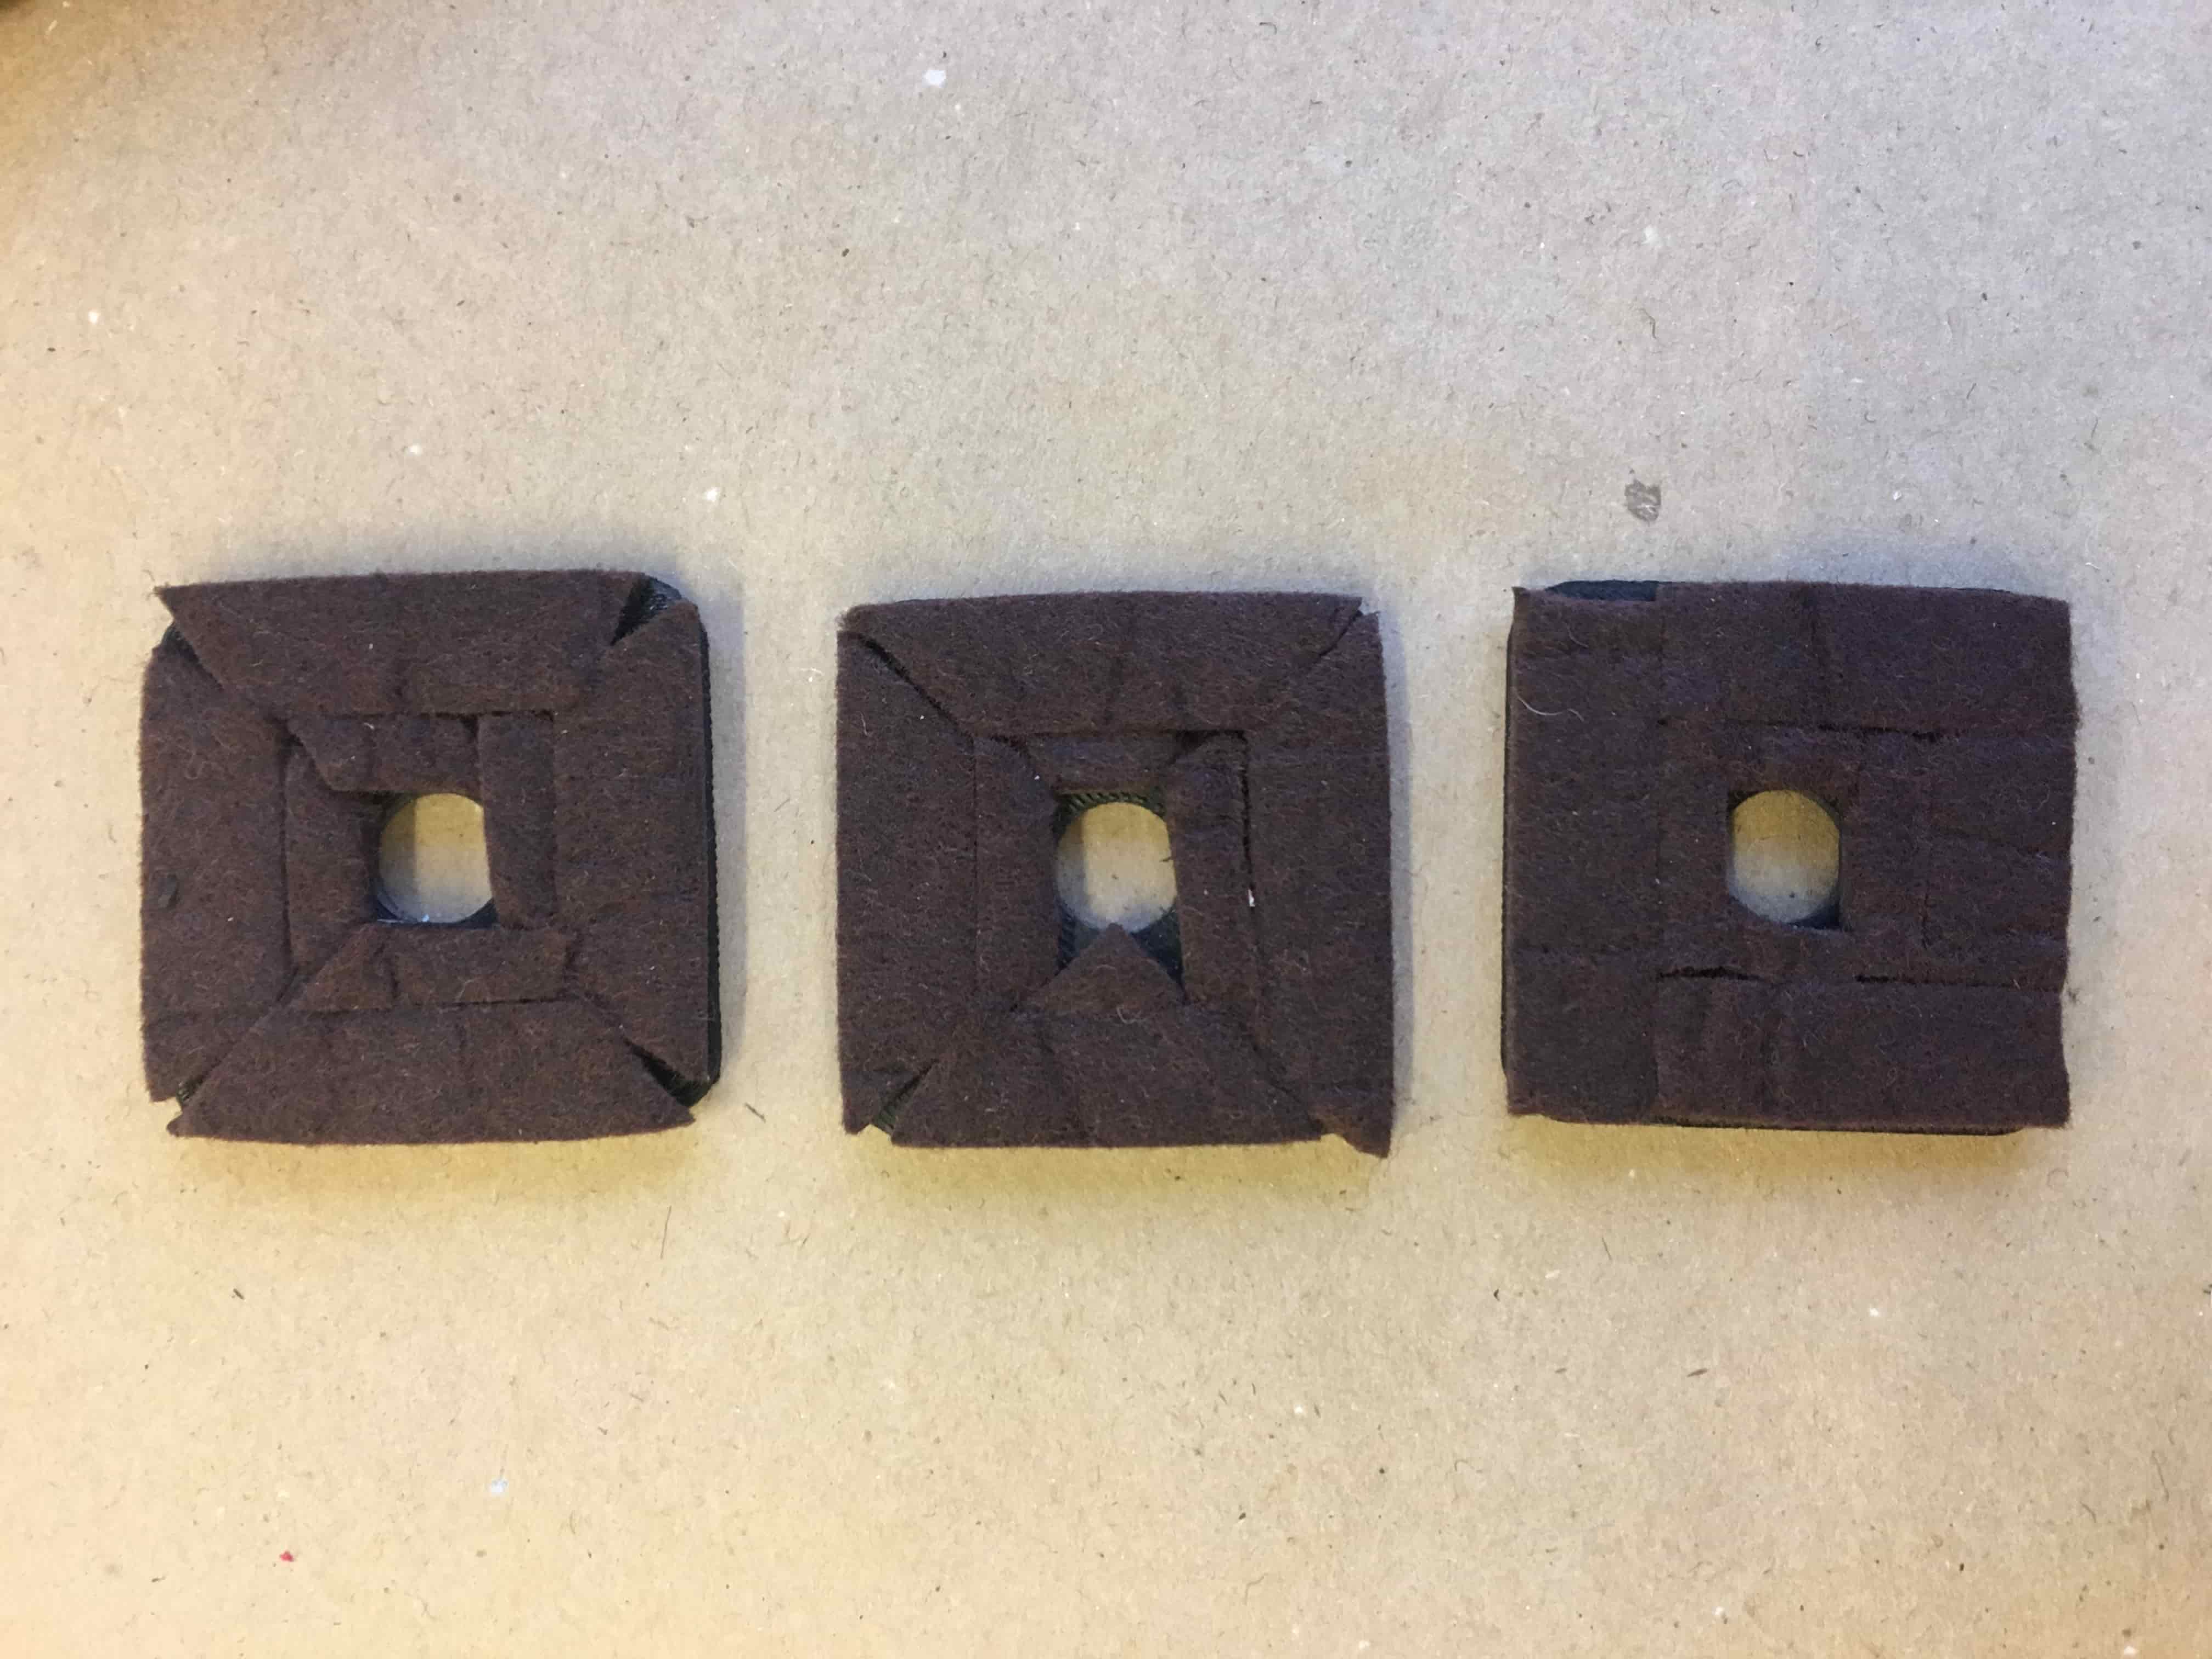
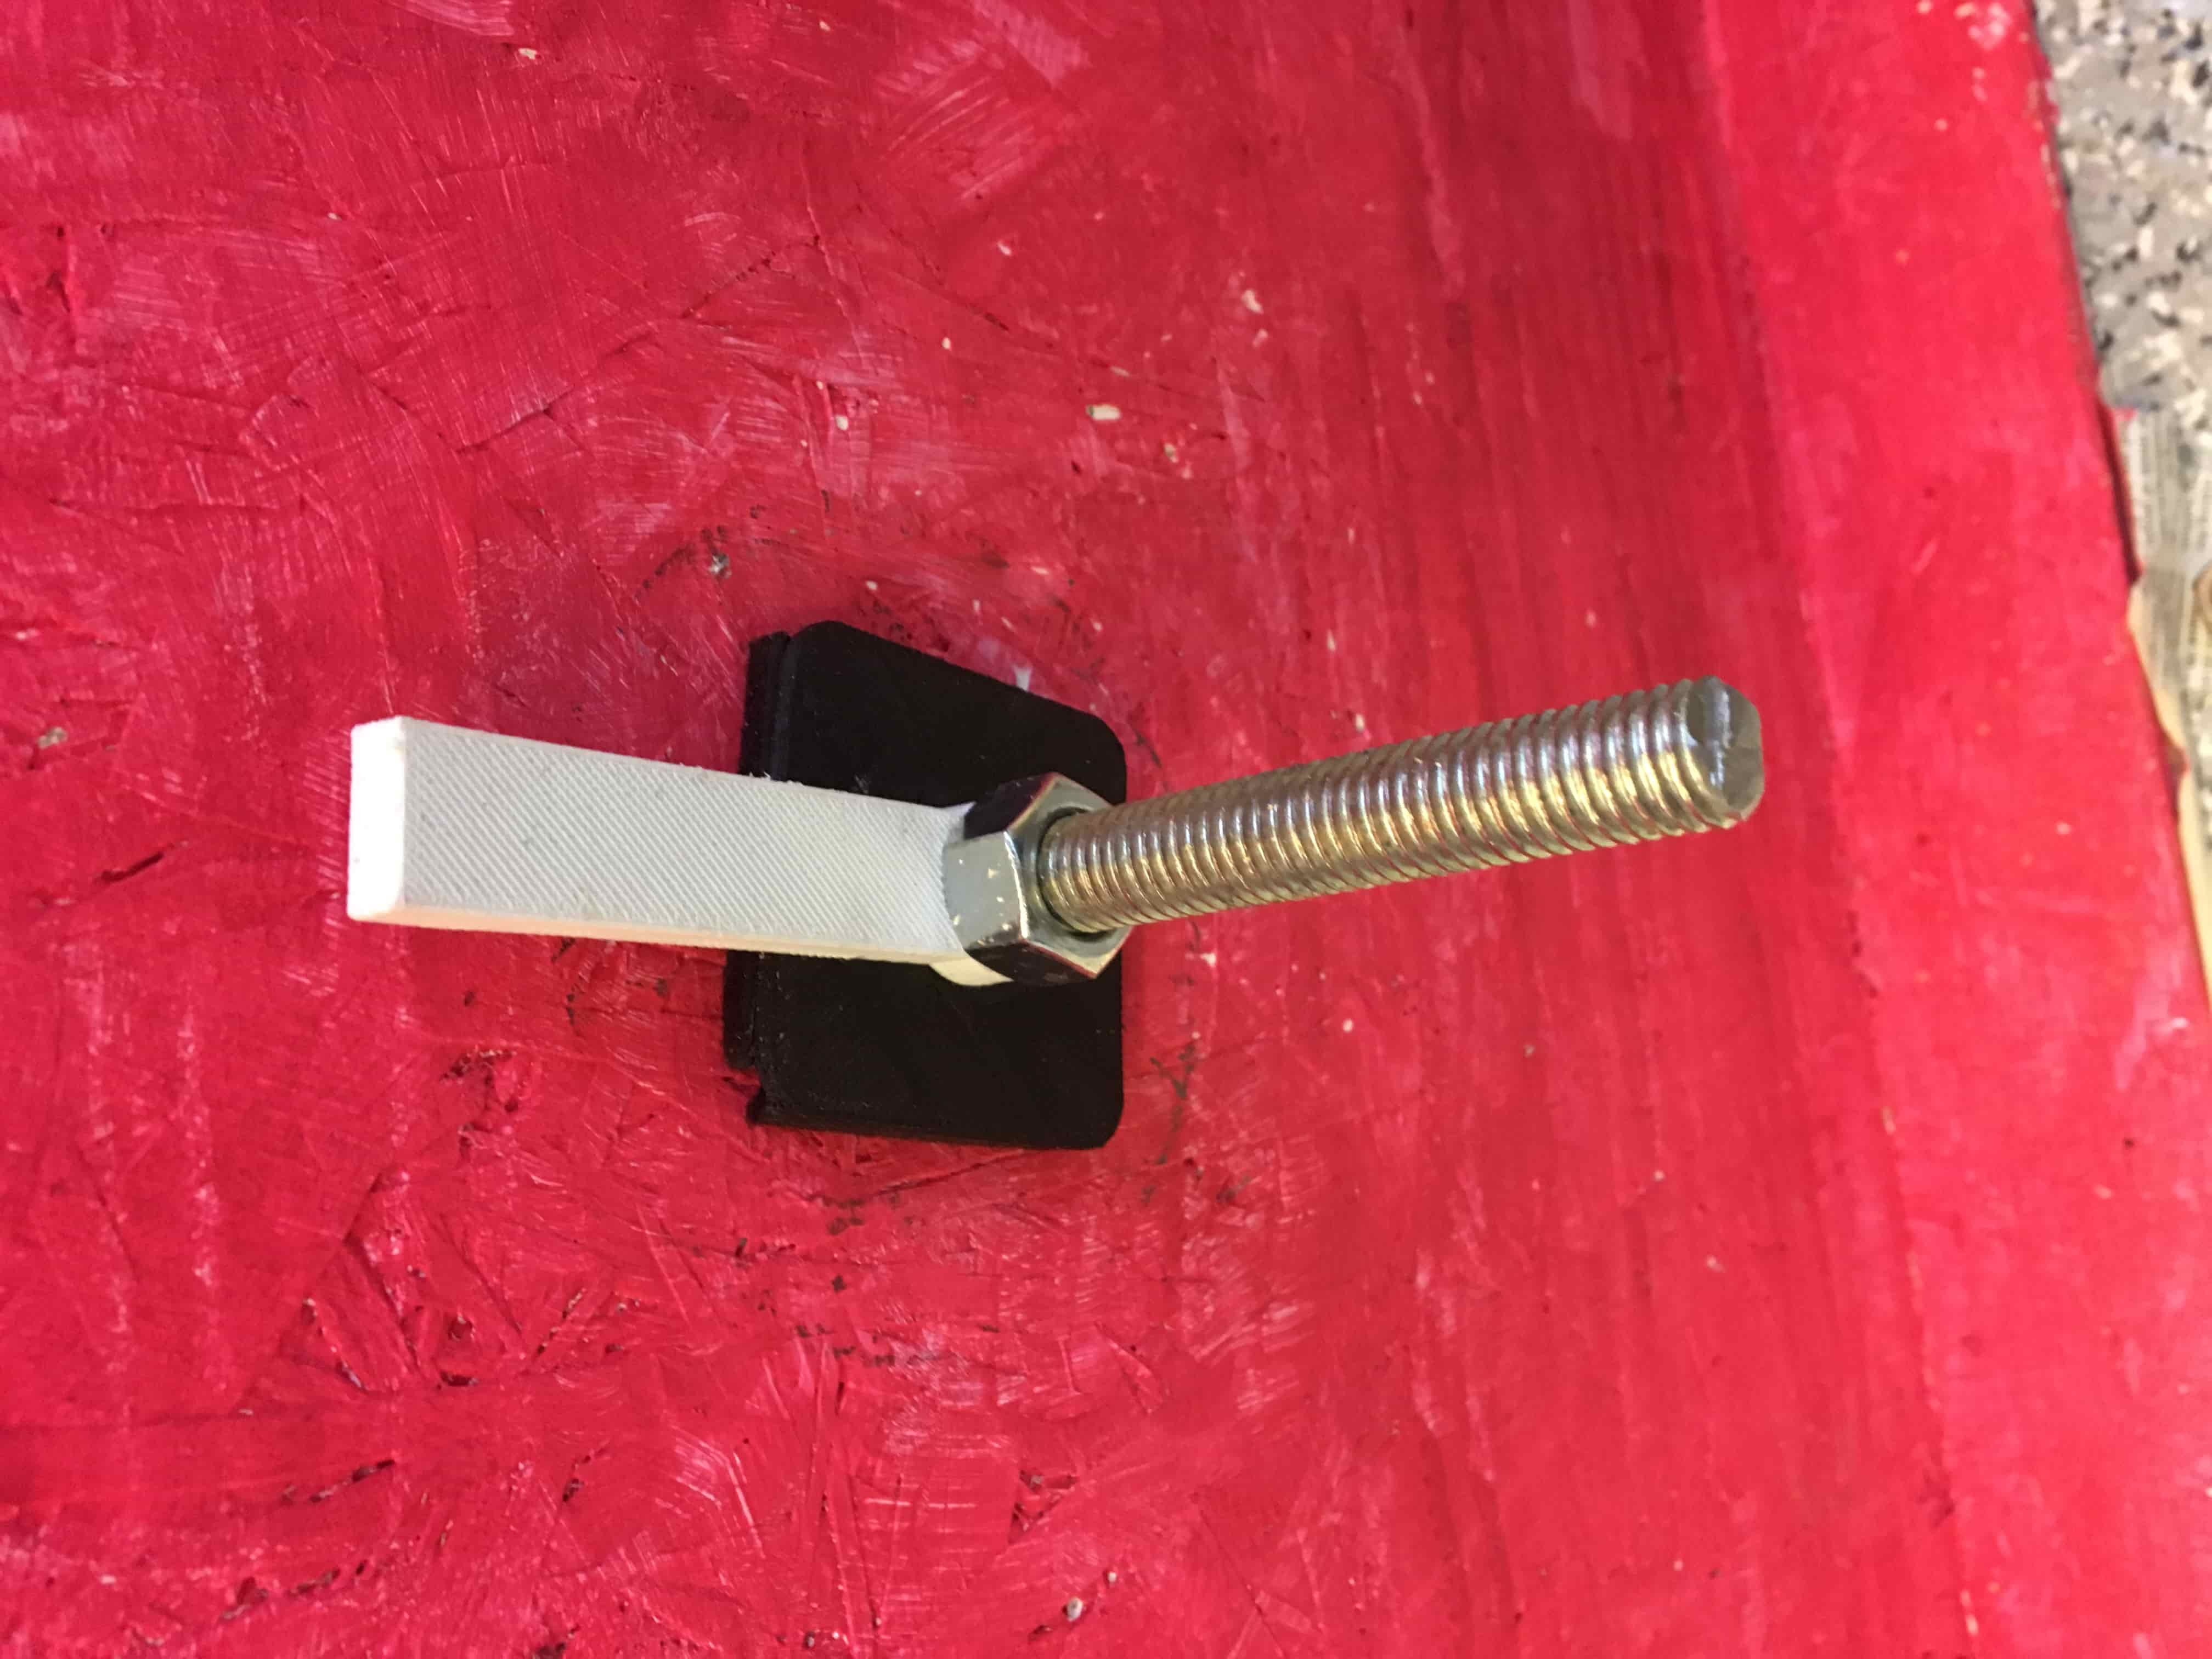
I 3D printed pieces for resistance. I put the felt tape I ordered the previous week on them. I got the idea by researching how actual stationary bikes create resistance. I also 3D printed a part to hold the magnet. I press fitted a magnet into the end and it works really cleanly. I secured all the different parts with nuts so that the pedals work and the magnet rotates with the axel! It does get loose however after a while of pedaling. I wonder if this would be fixed if I flipped the entire pedal contraption, but for now I will just bring the wrenches with me tomorrow.

I printed a holder for the board. This helps hold the sensor closer to the magnet as well as prevents me from having to super glue the board itself to the bike.
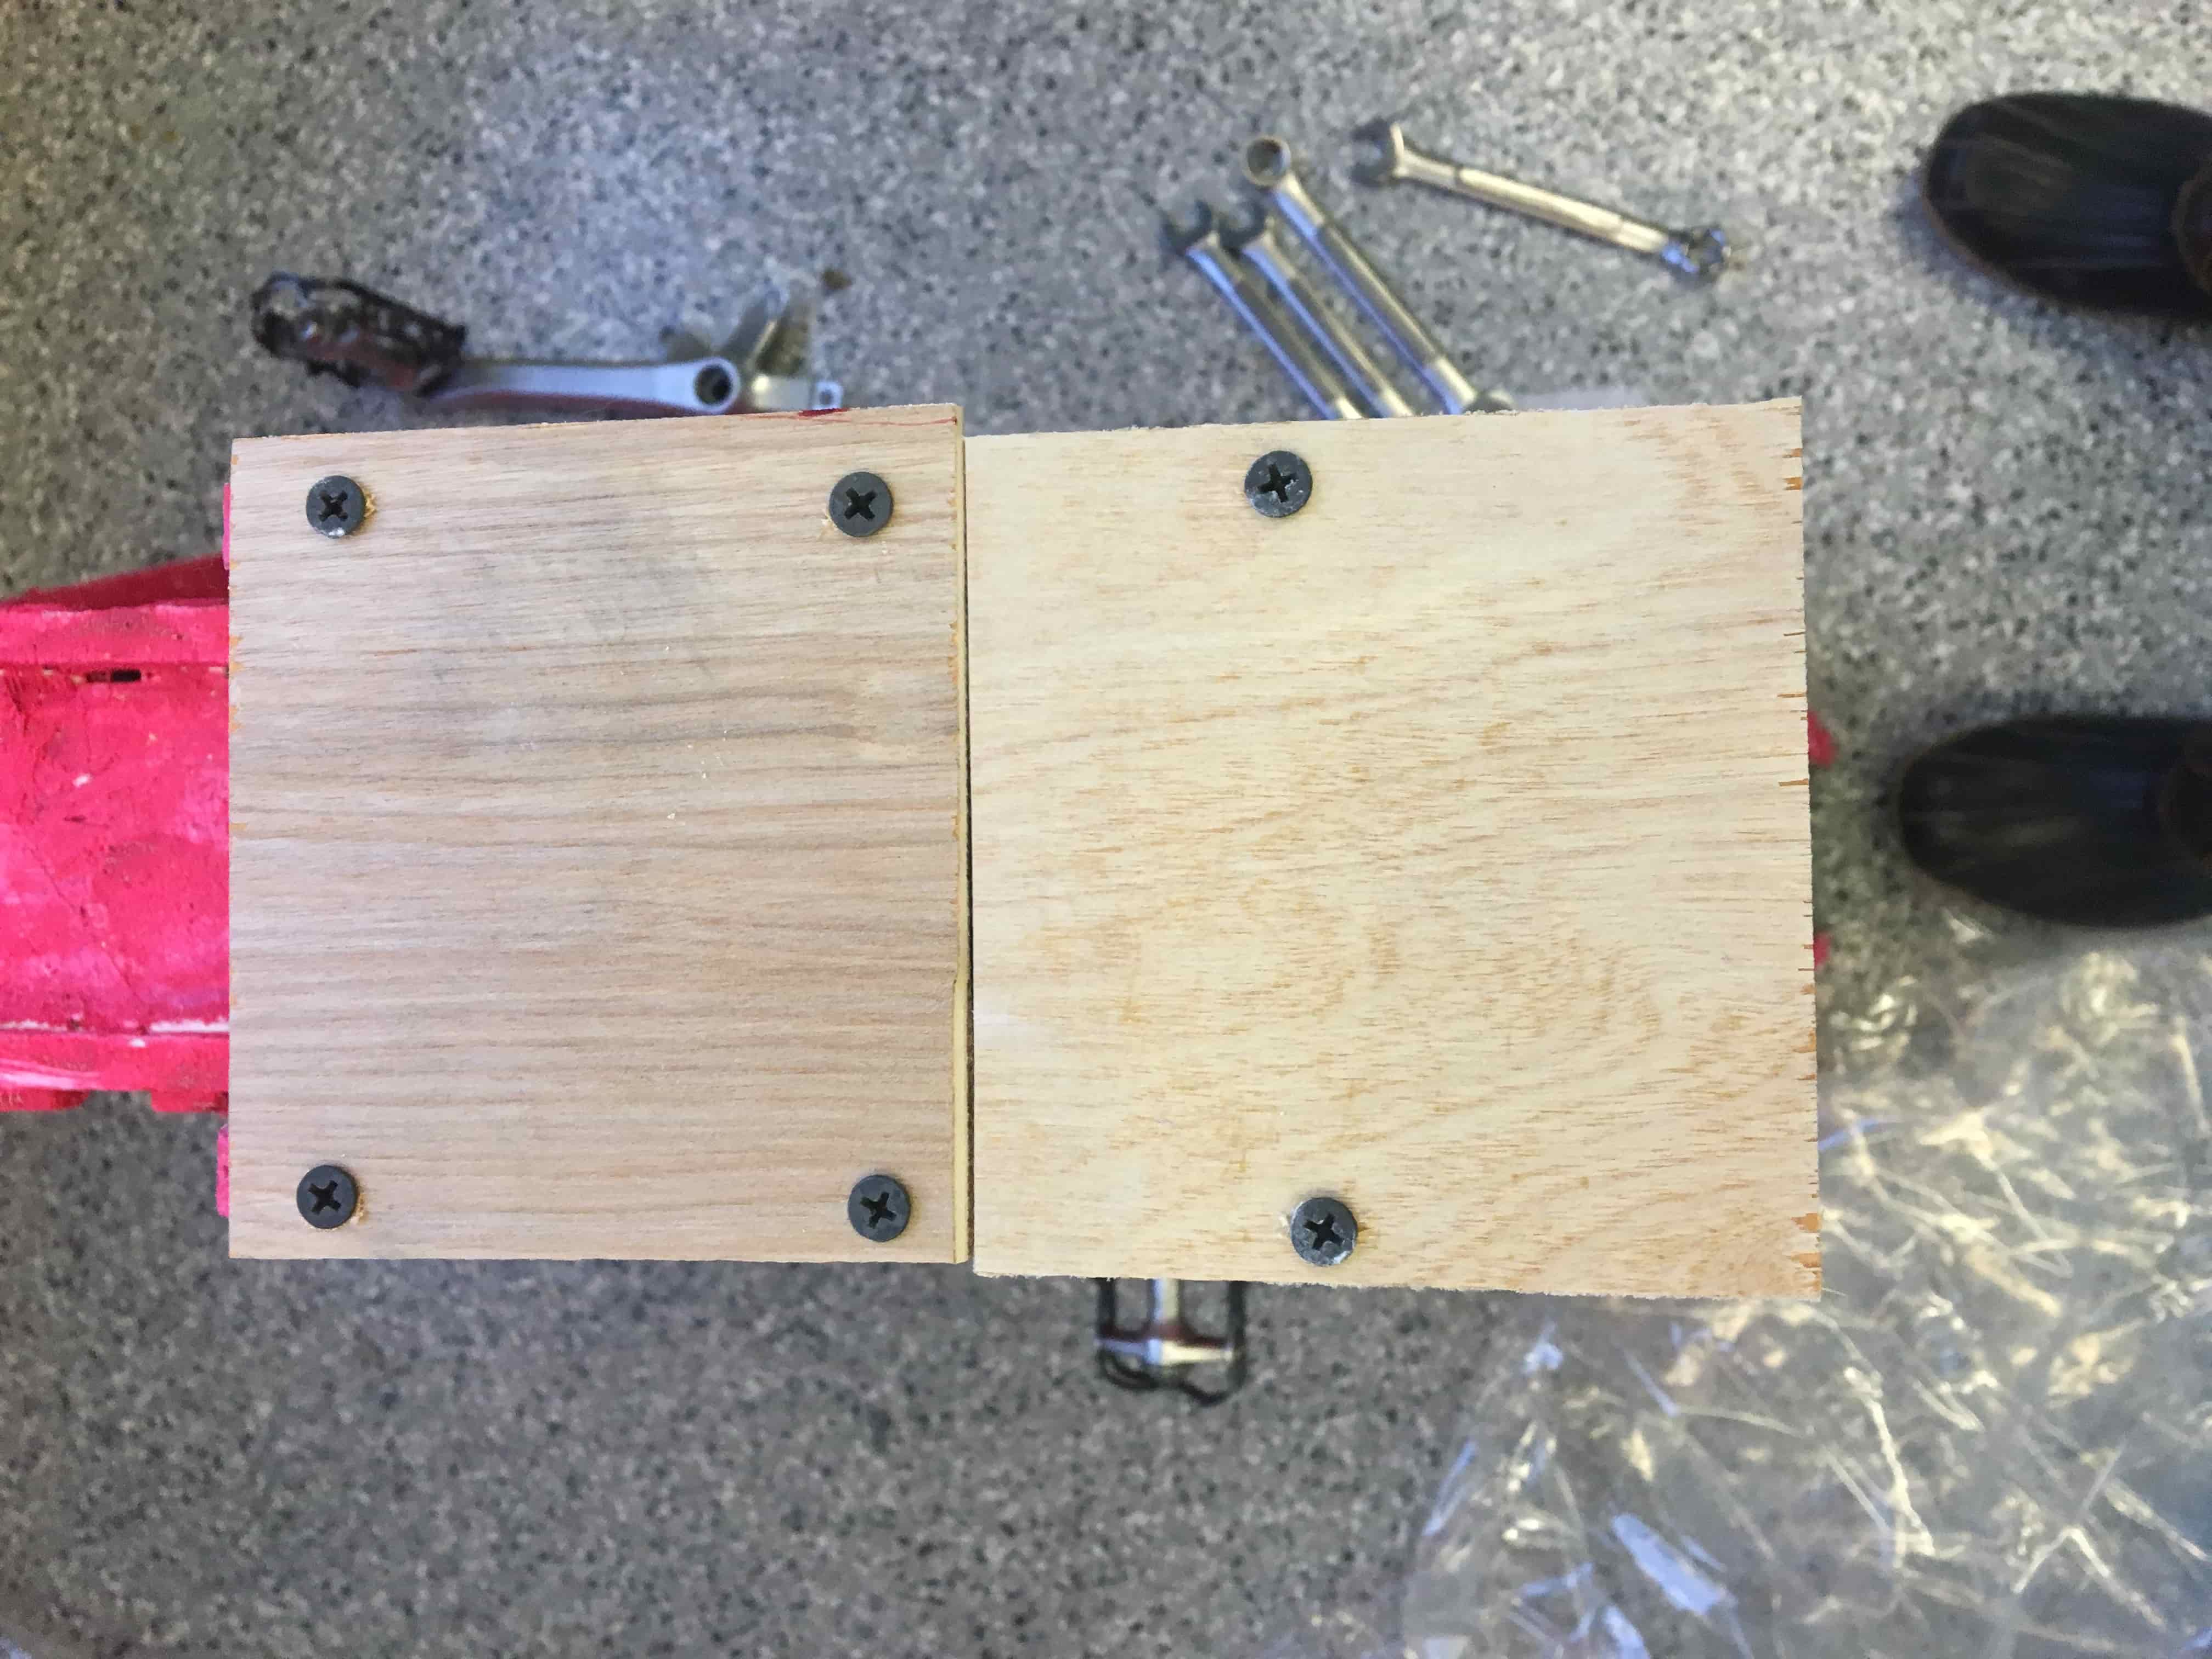
To secure the seat, I used screws to attach a piece of wood to the bike. Then I sanded the seat with a belt sander and glued in down with Gorilla glue. To improve the handles, I learned how to use a drill press to put a hole through a piece of wood. I sanded down the edges so that it will fit where the current handle is. I am casting new handles, but out of OOMOO this time so they are soft. Since the handles themselves are now OOMOO, I realize this means I could mill a mold out of wax instead of making molds, however, I even want more than one mold so I'm going to continue with my current process.