
Machine Design

Modular machine design
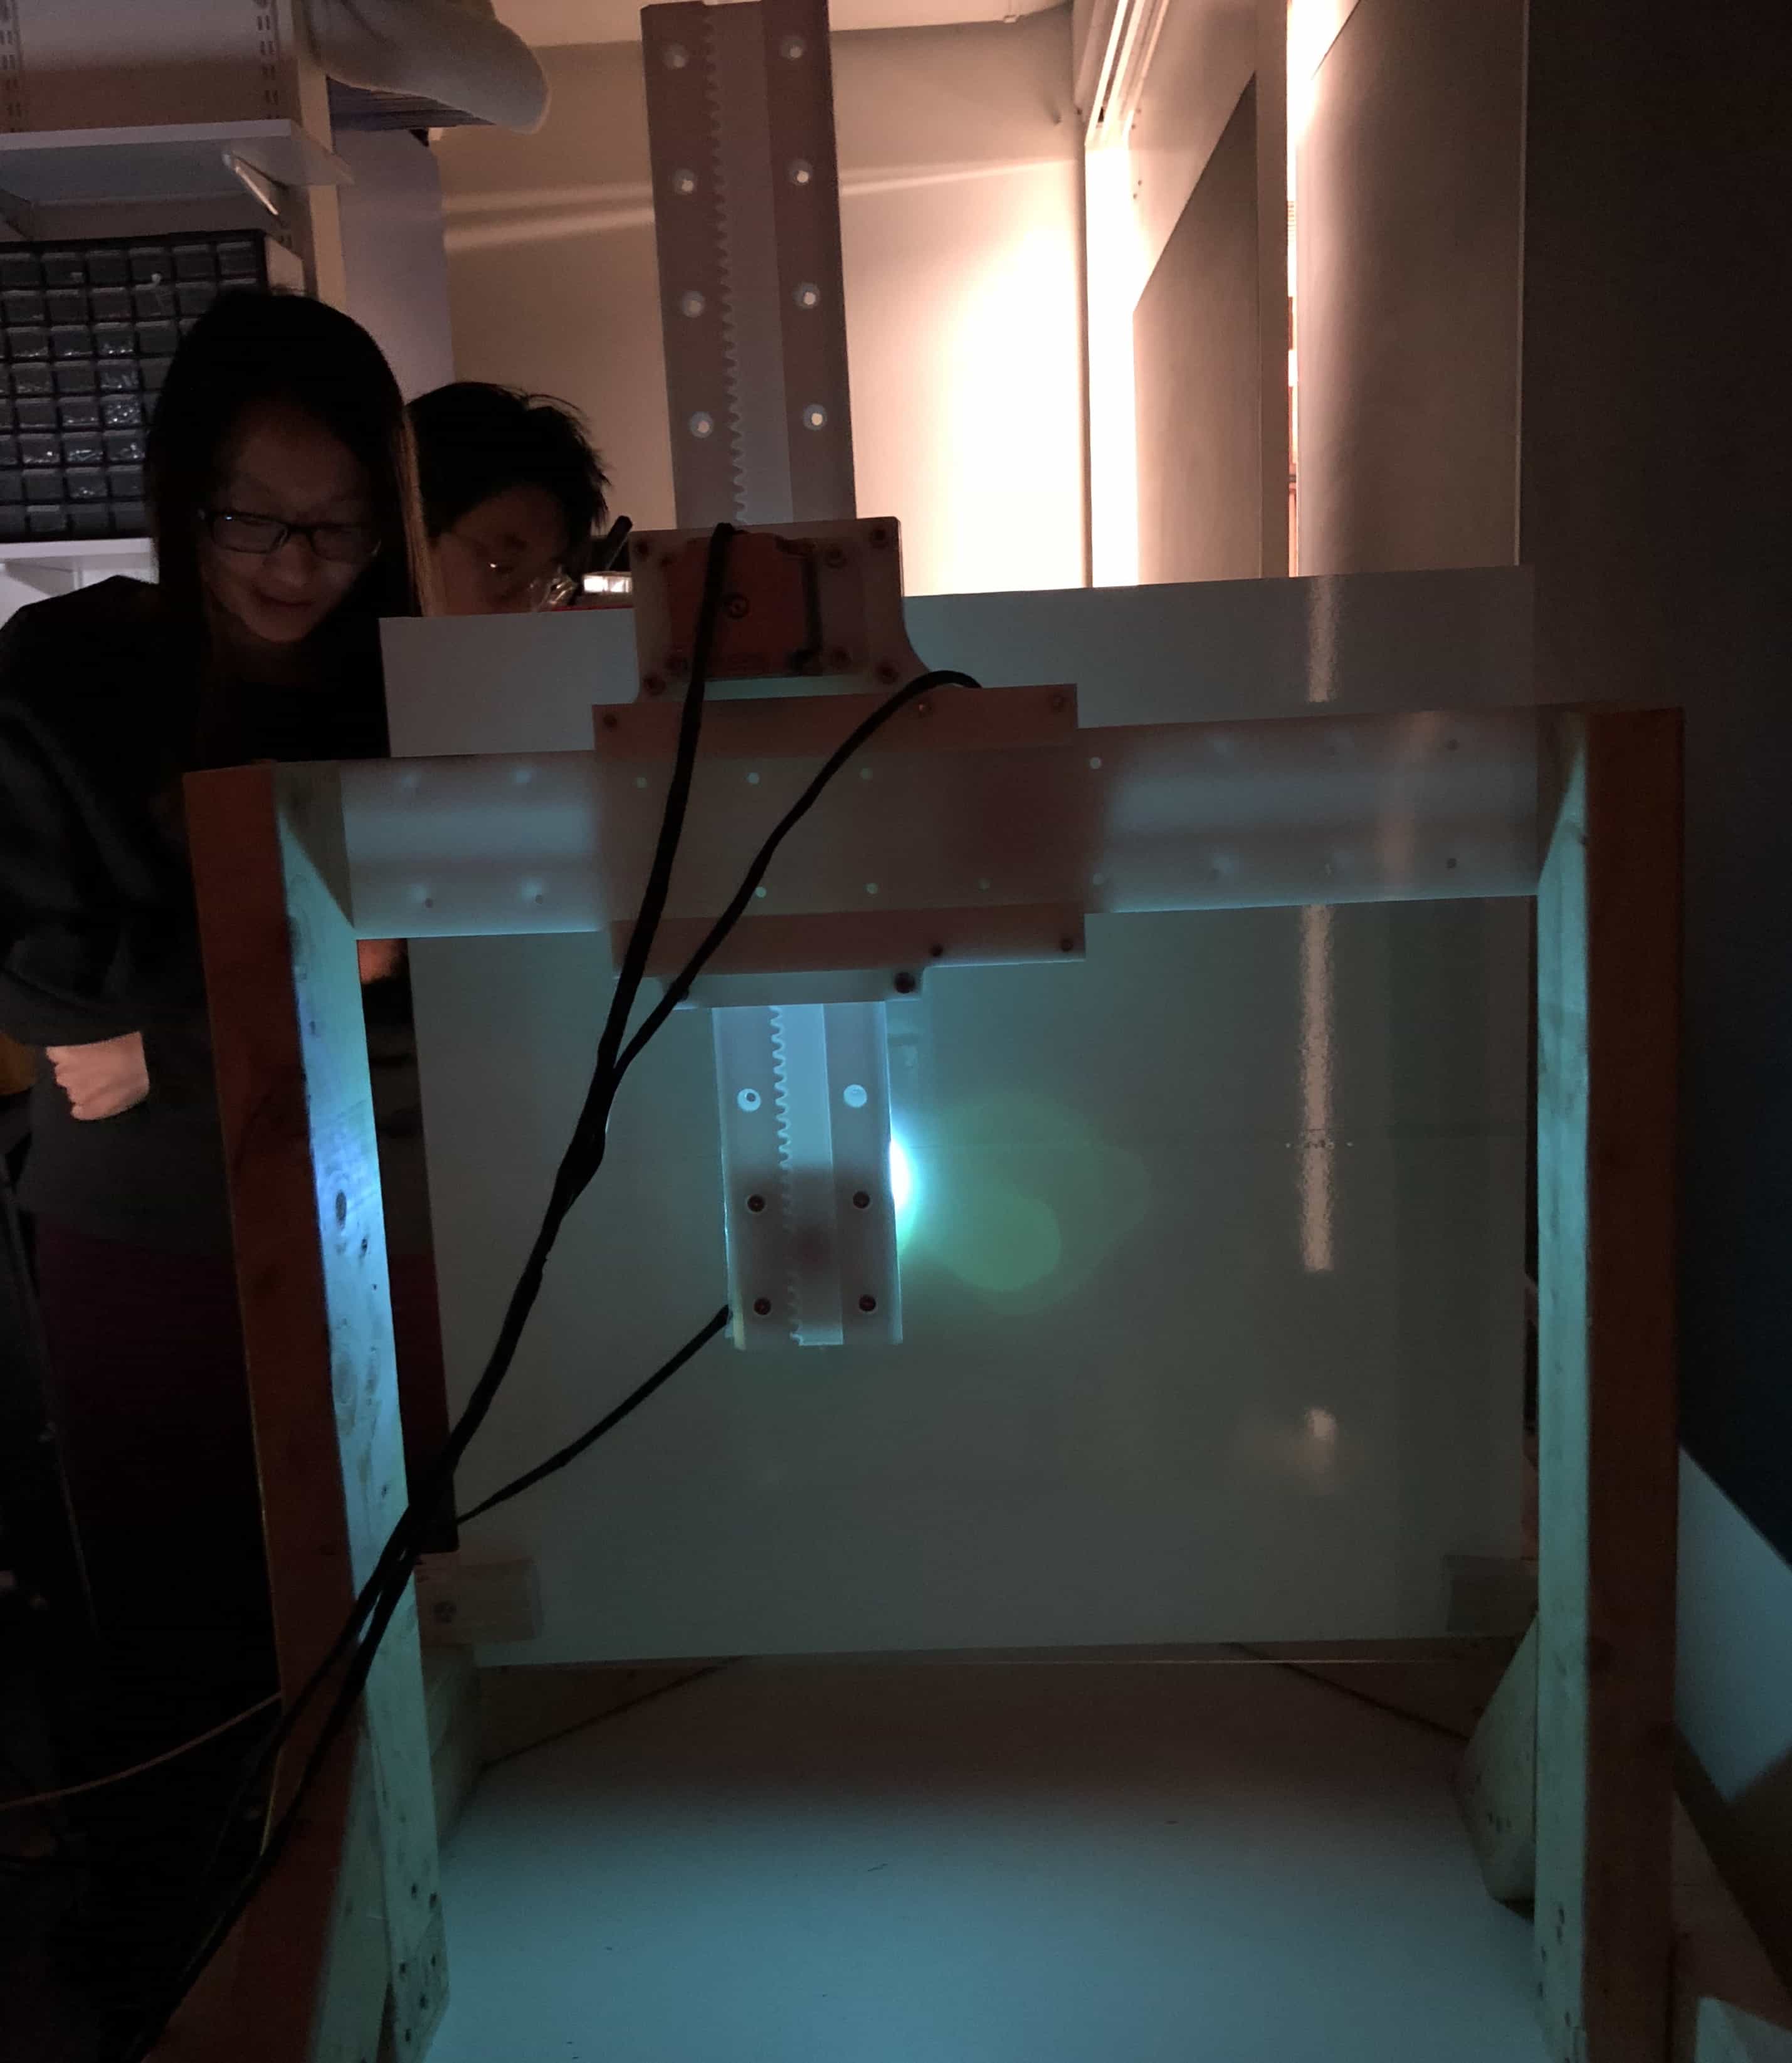
This week's mission is to plan and make a machine. I'm in the Harvard section. We decided to make a light painting machine. The whole process documentation is here.
Light painting machine
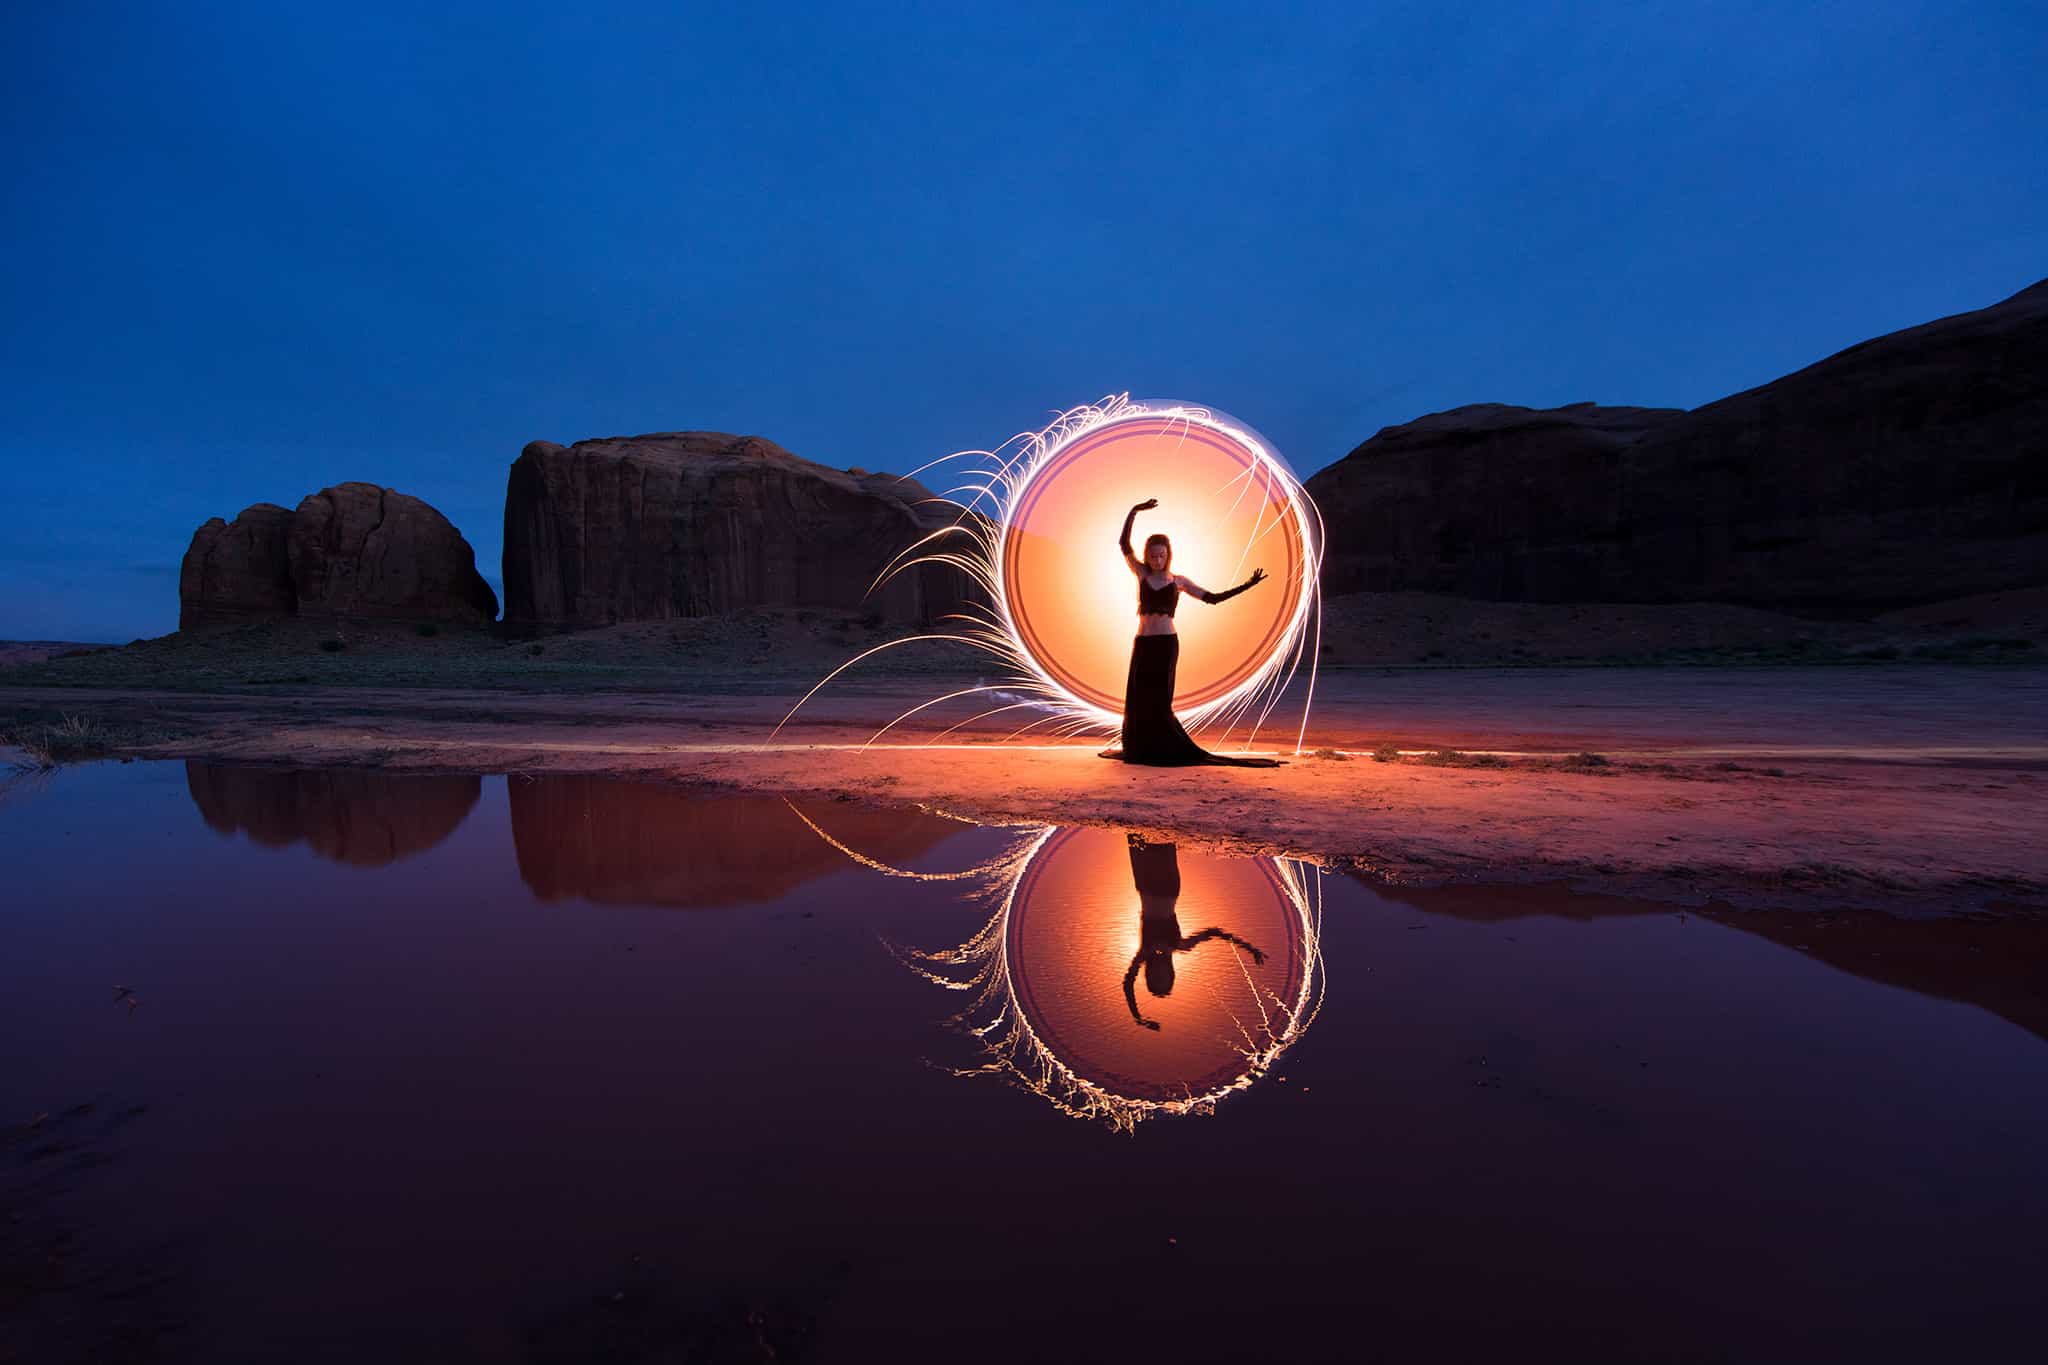
Light painting
I'm always fancinated by light paintings, and building a painting/drawing machine is on my top bucket list. So I suggested our group to make a light painting machine.
Material
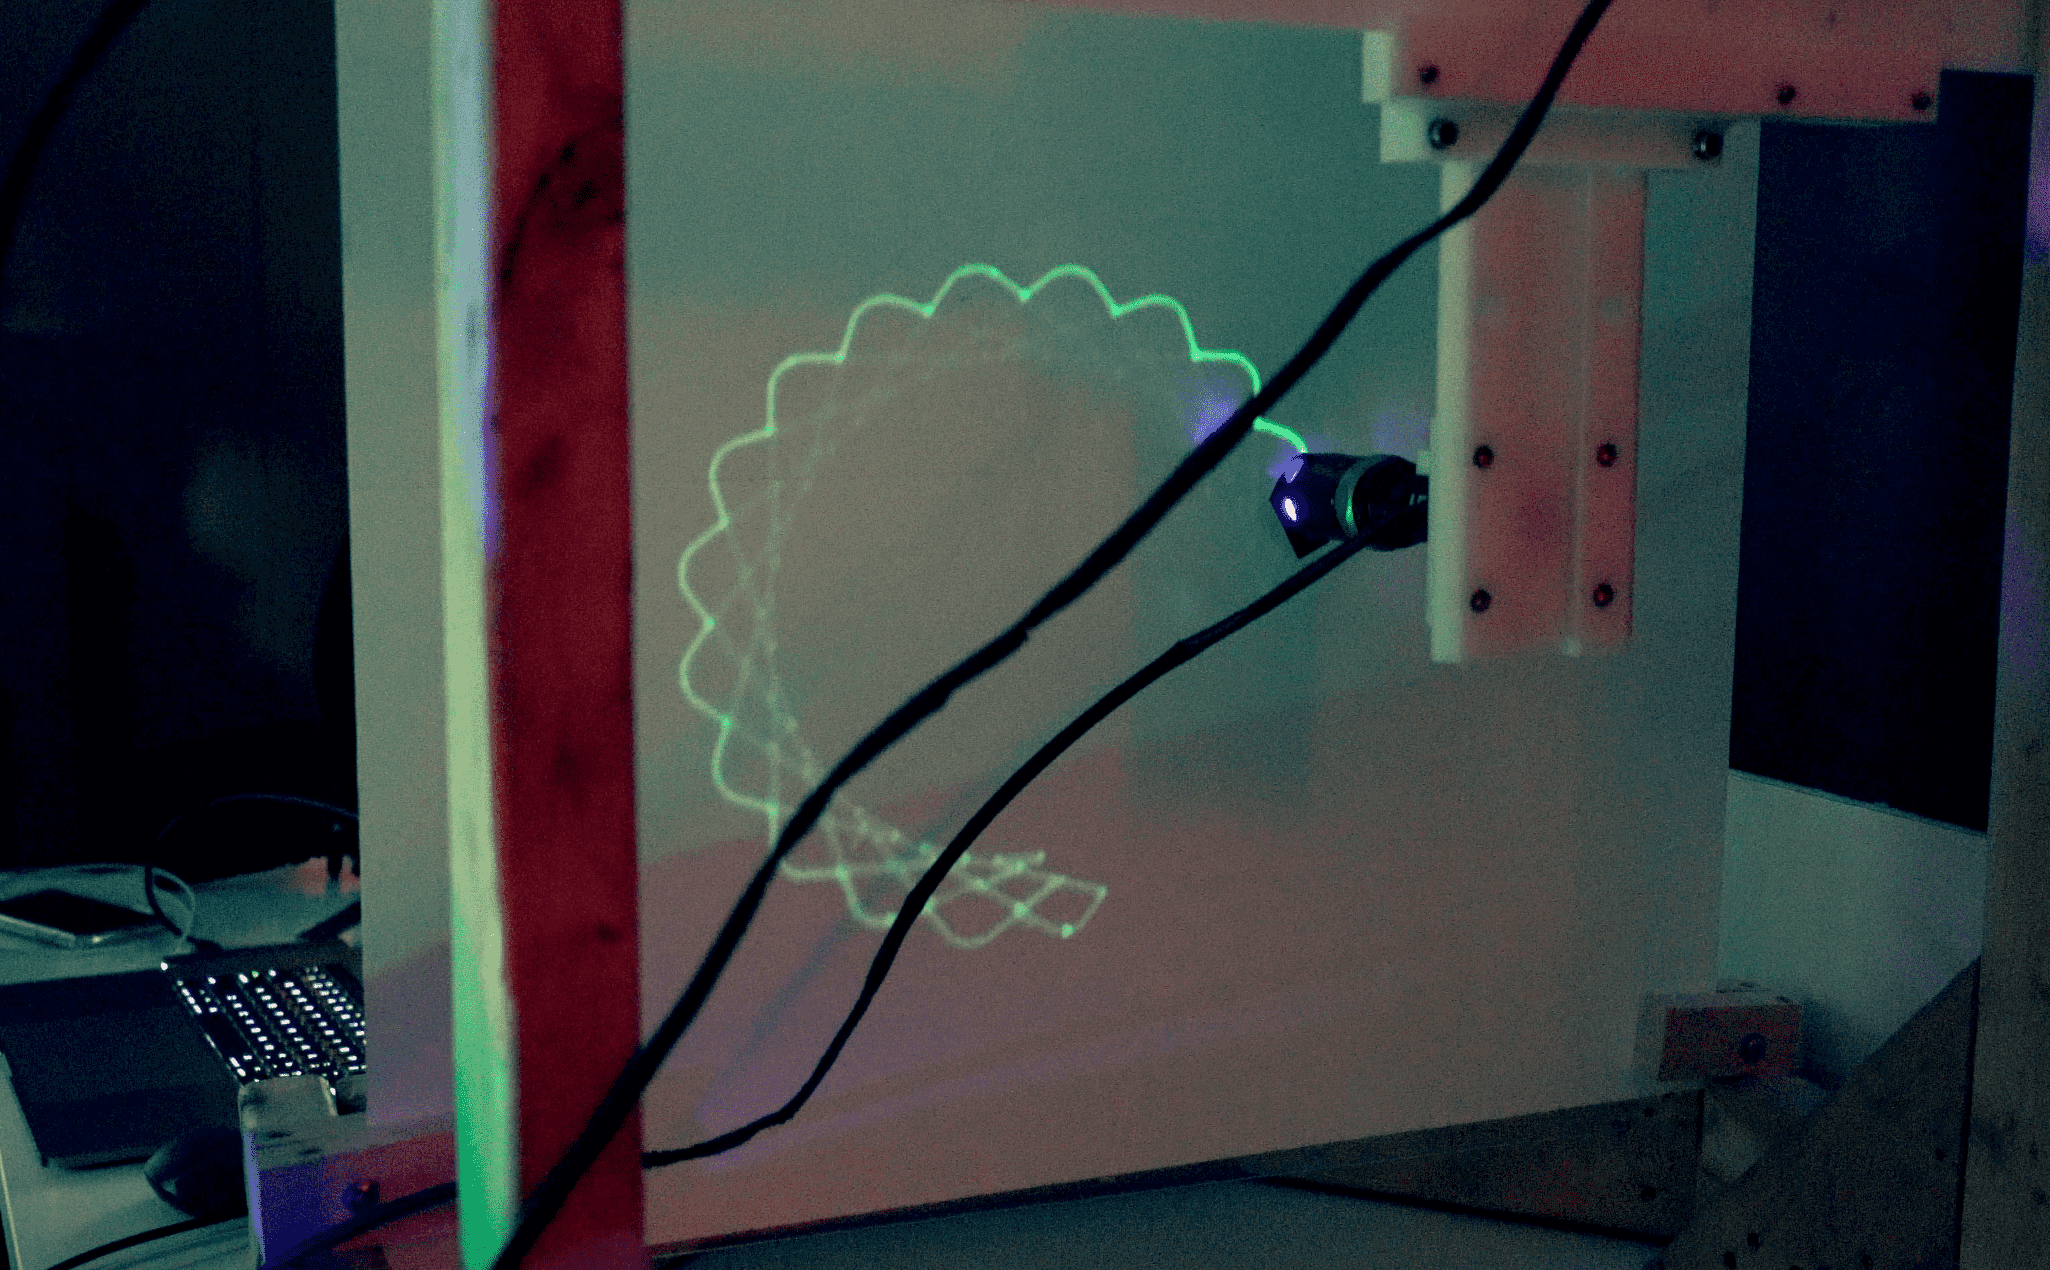
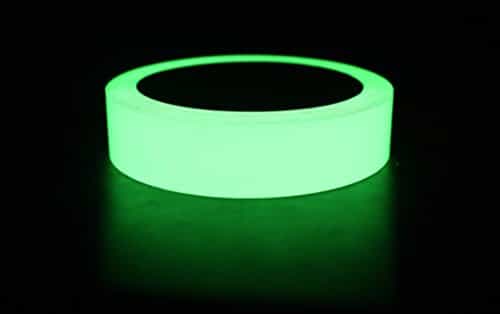
We are using UV light as paint brush. The "Glow-in-the-Dark Luminous photoluminescent / luminescent emergency roll" as the canvas. The light disappears after a while, so the canvas can be forever reused. The ephemeral of the painting makes it unique.
End Effect
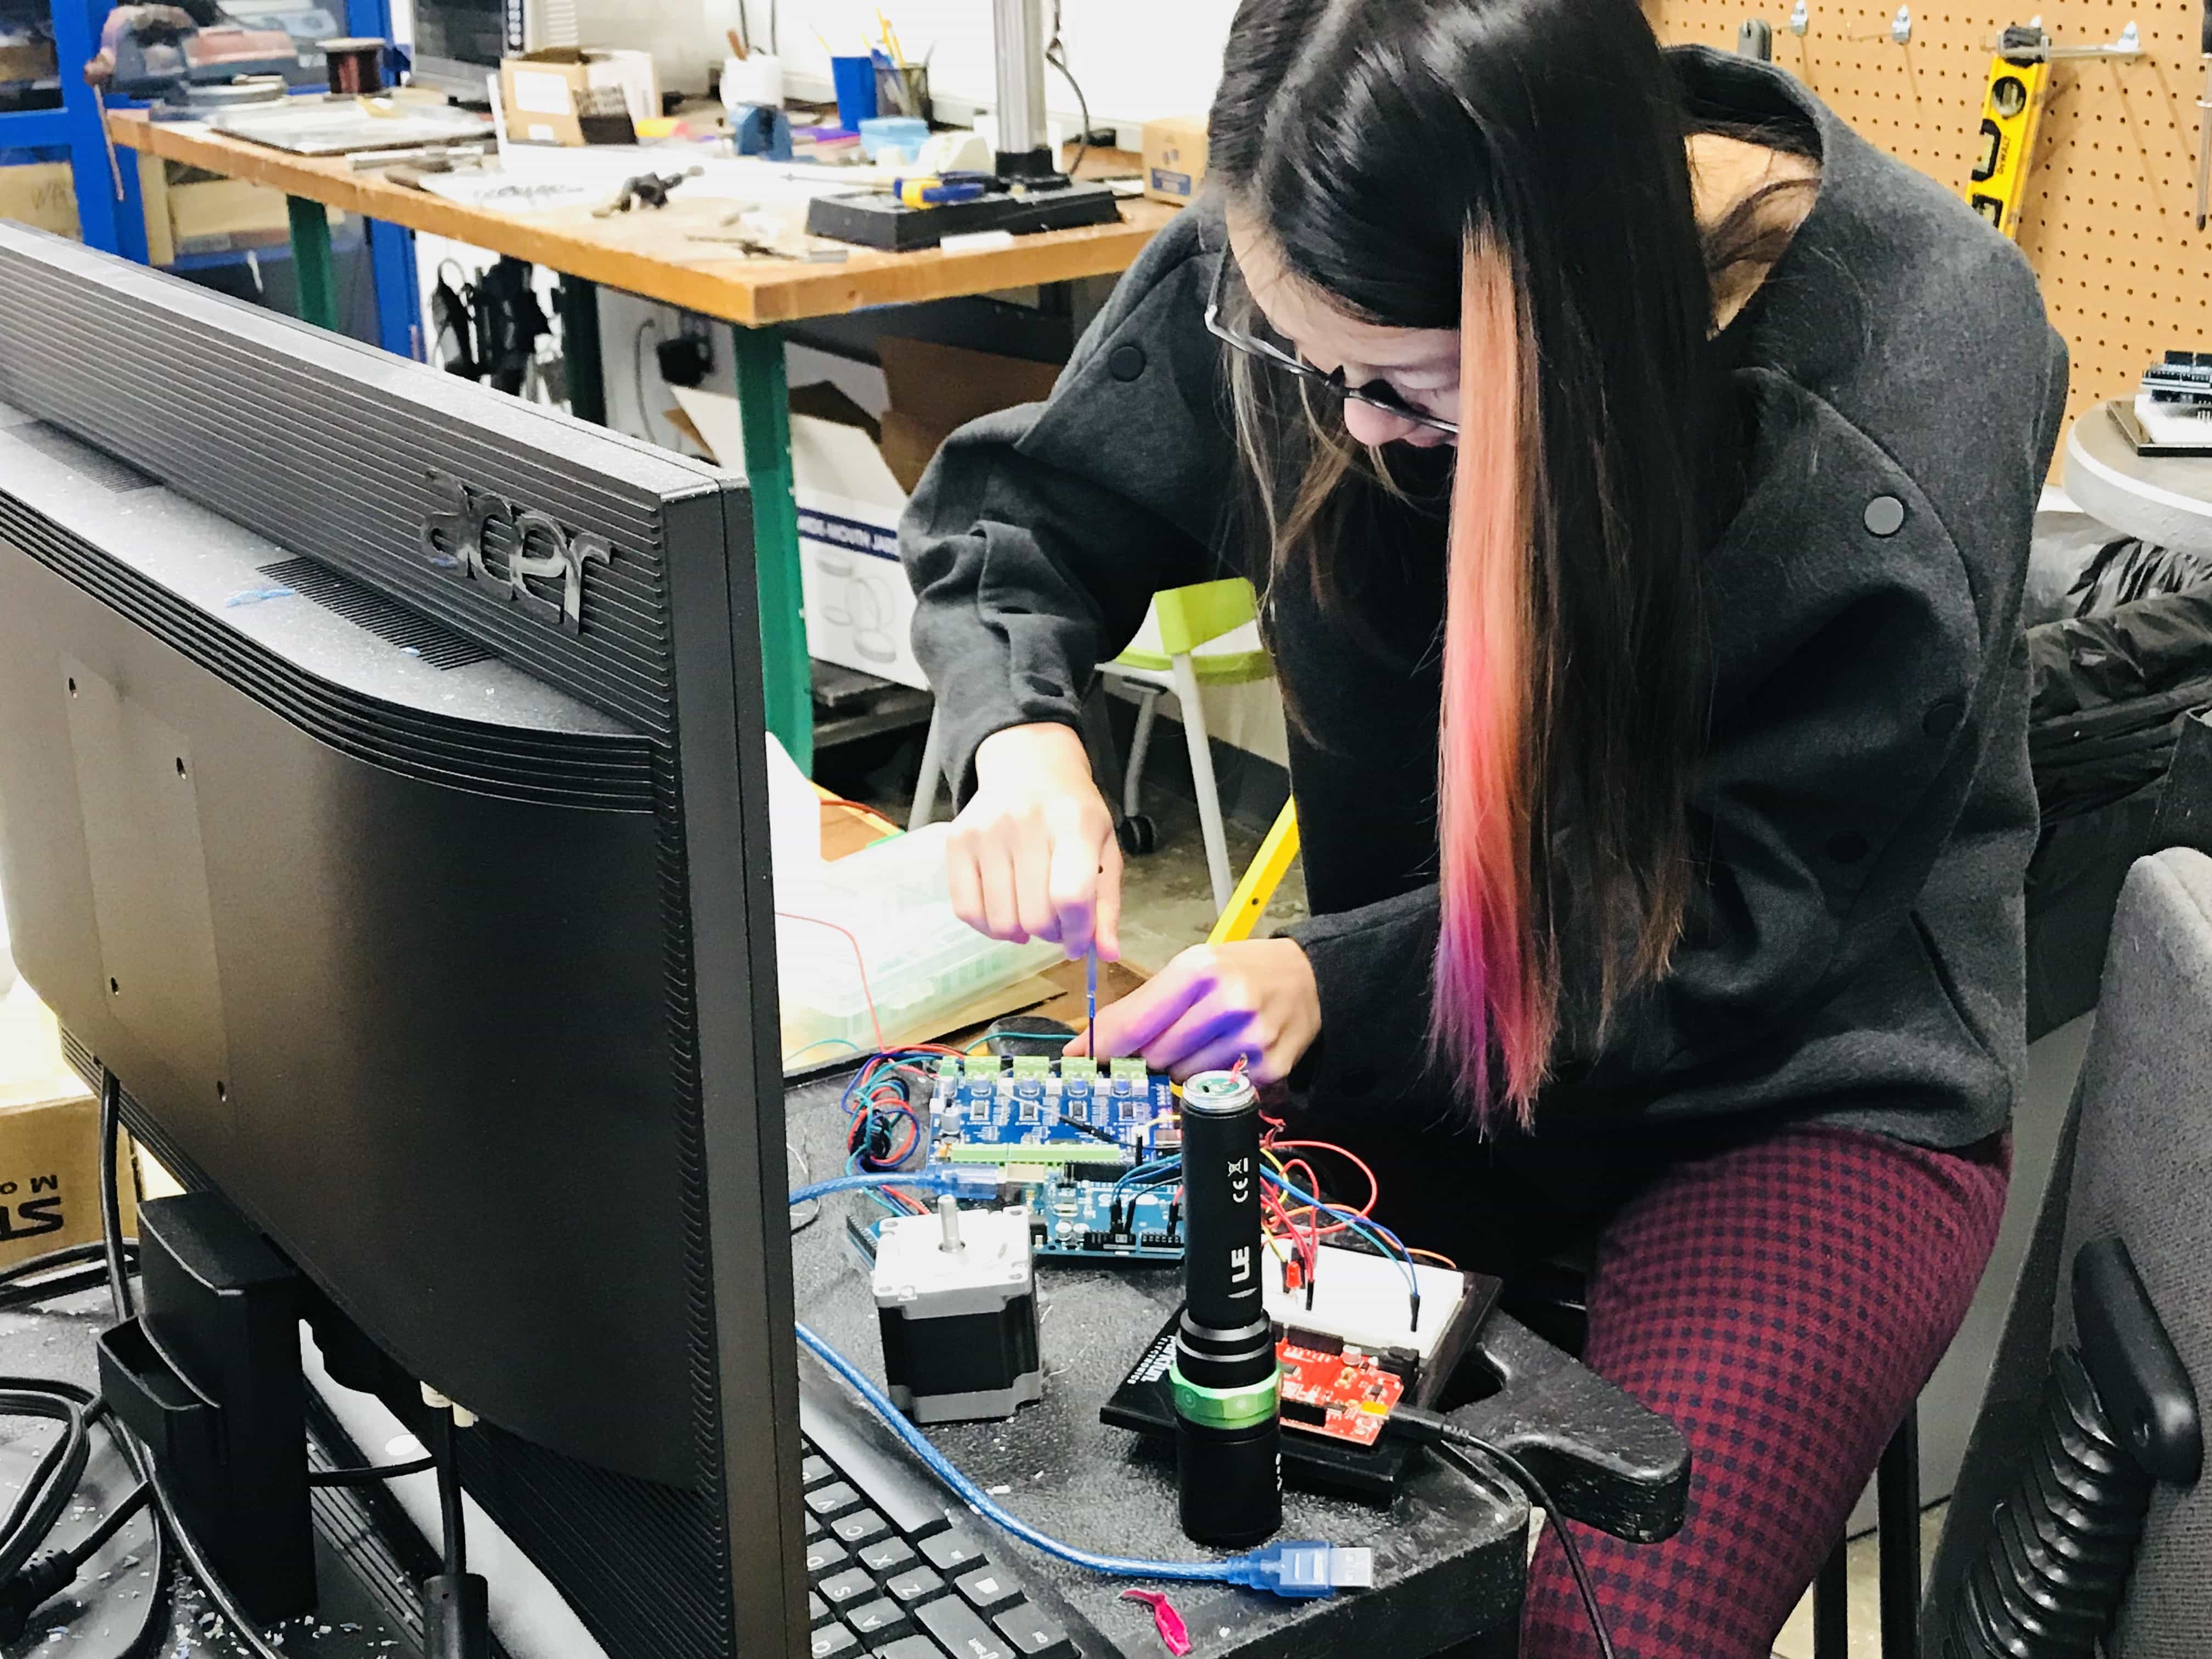
Honghao and I are in charge of the programming and fabrication of the end effect.
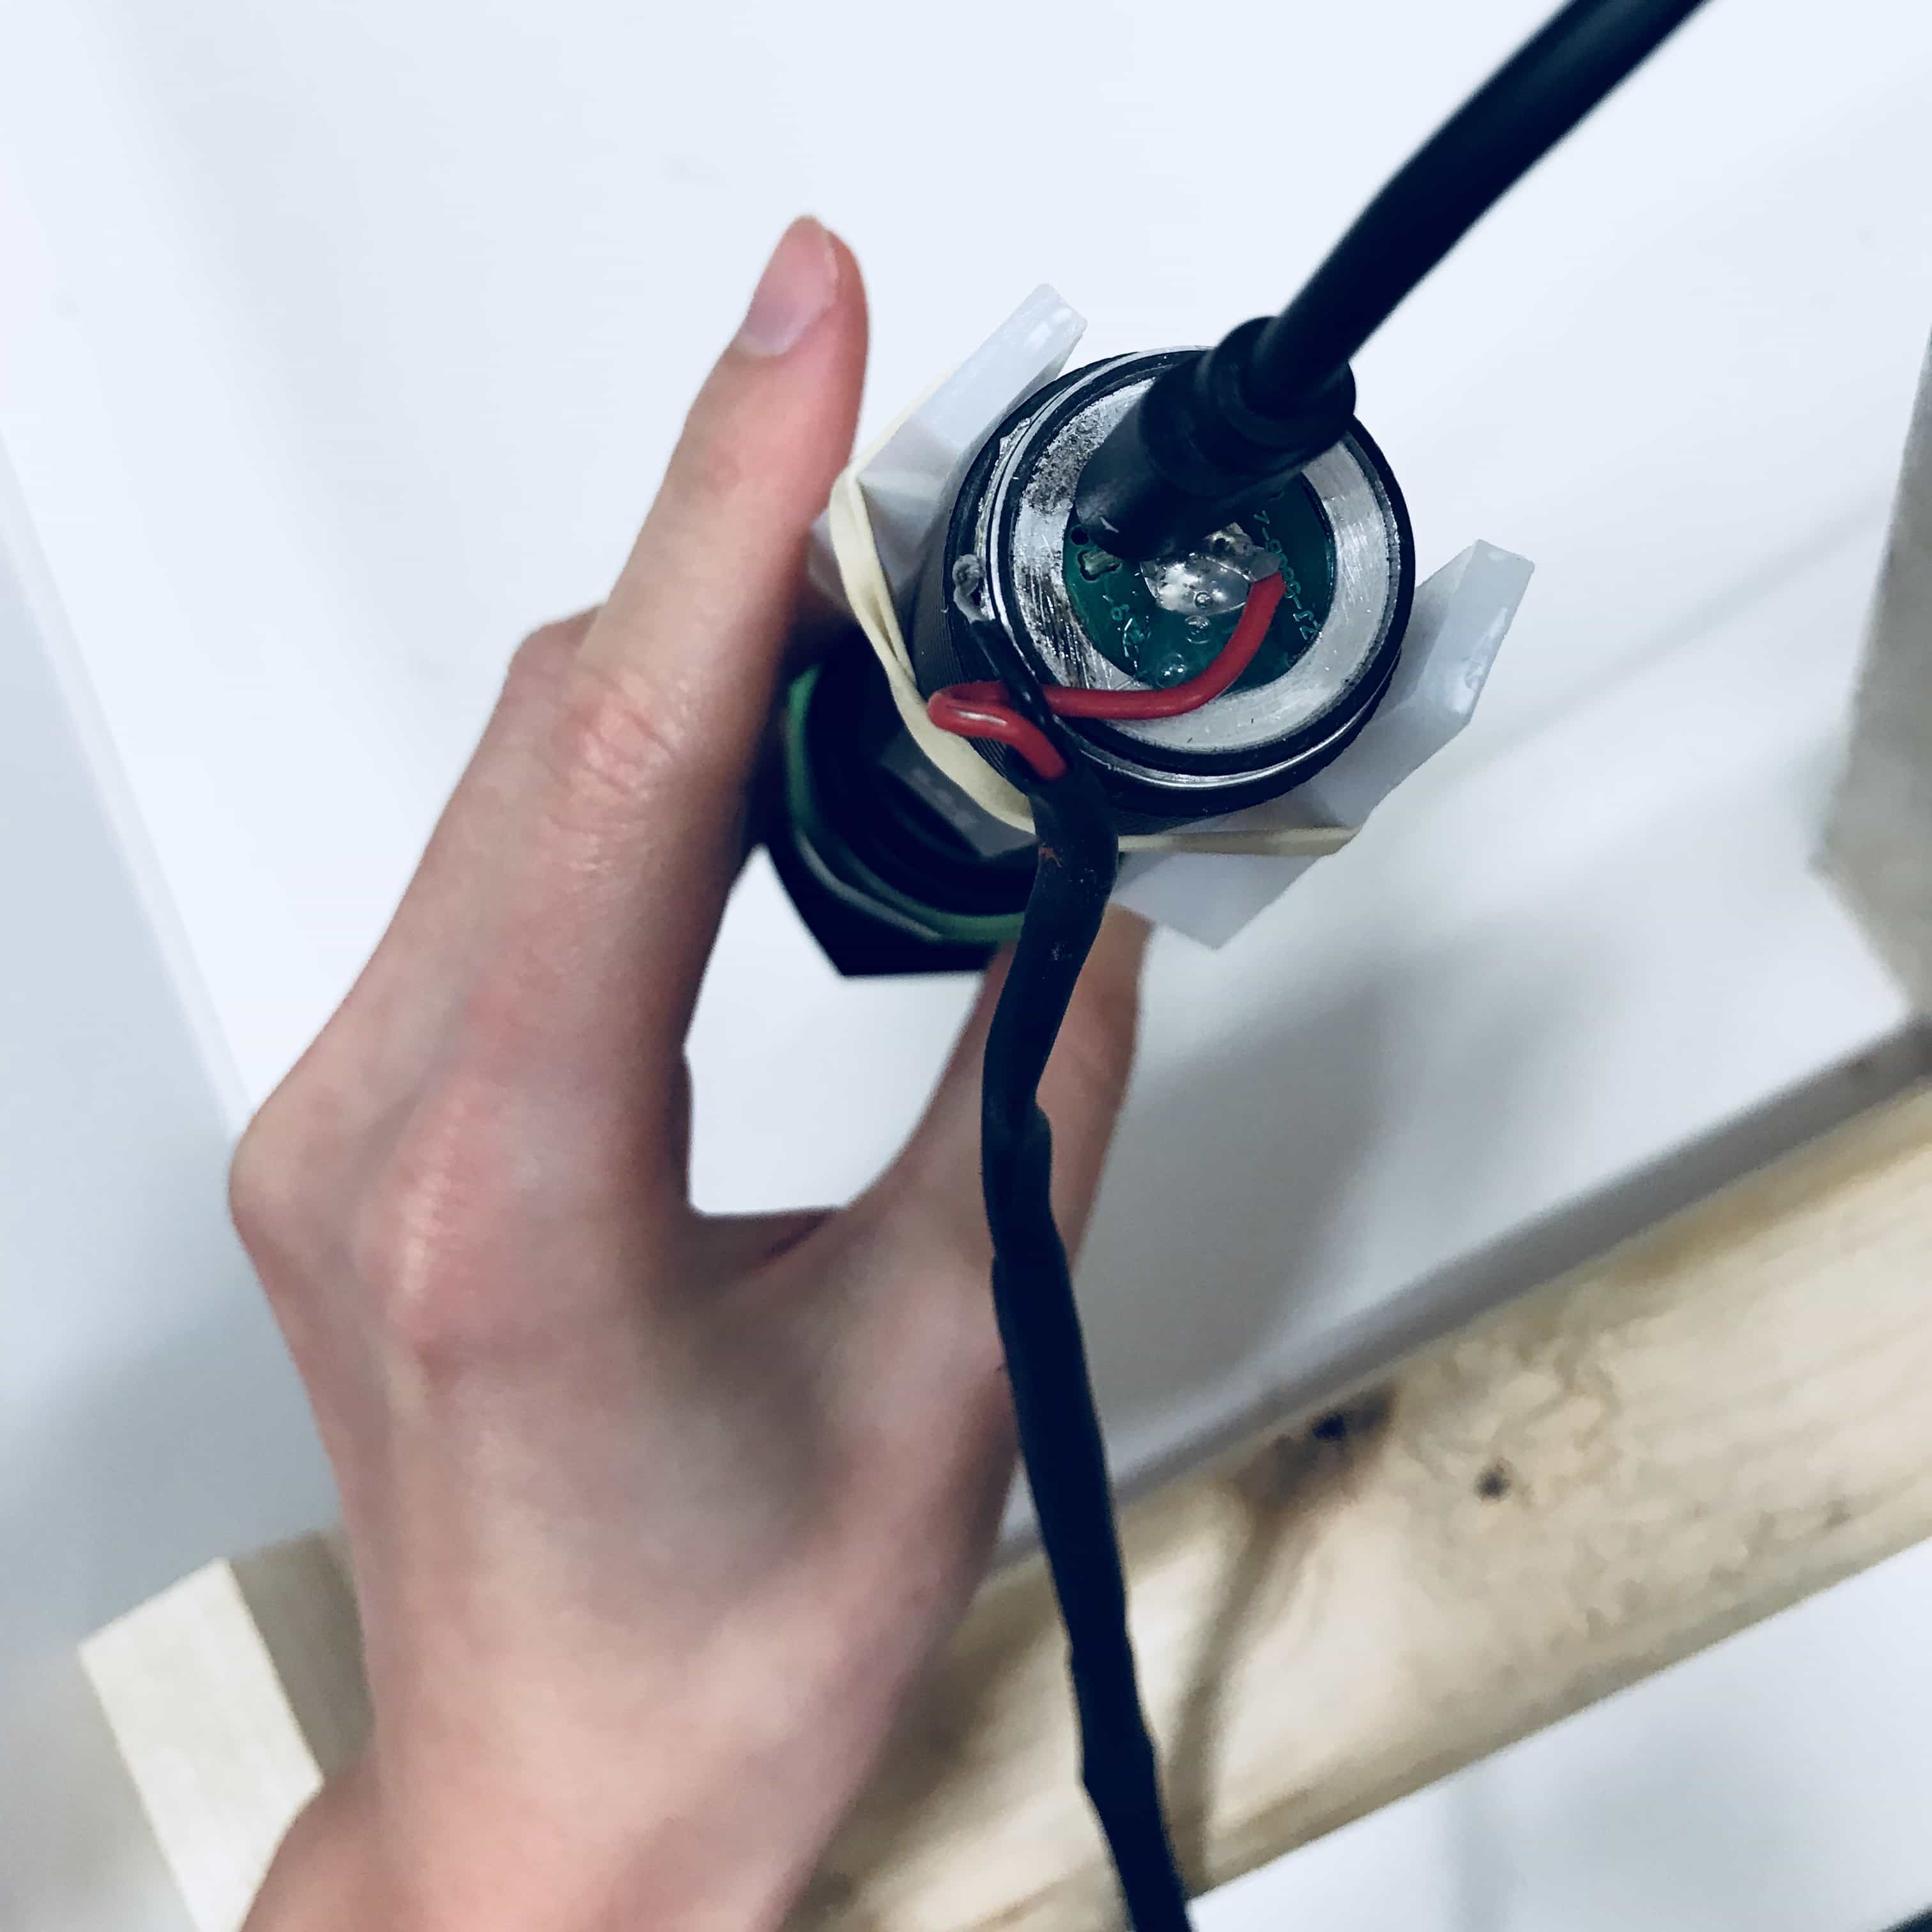
UV Light
The switch at the bottom of the UV torch light is just linking the center and the circular parts together to turn the light on and off. So I Extened the two parts out and used a MOSFET to control its on/off.
Hack Z Axis Jog
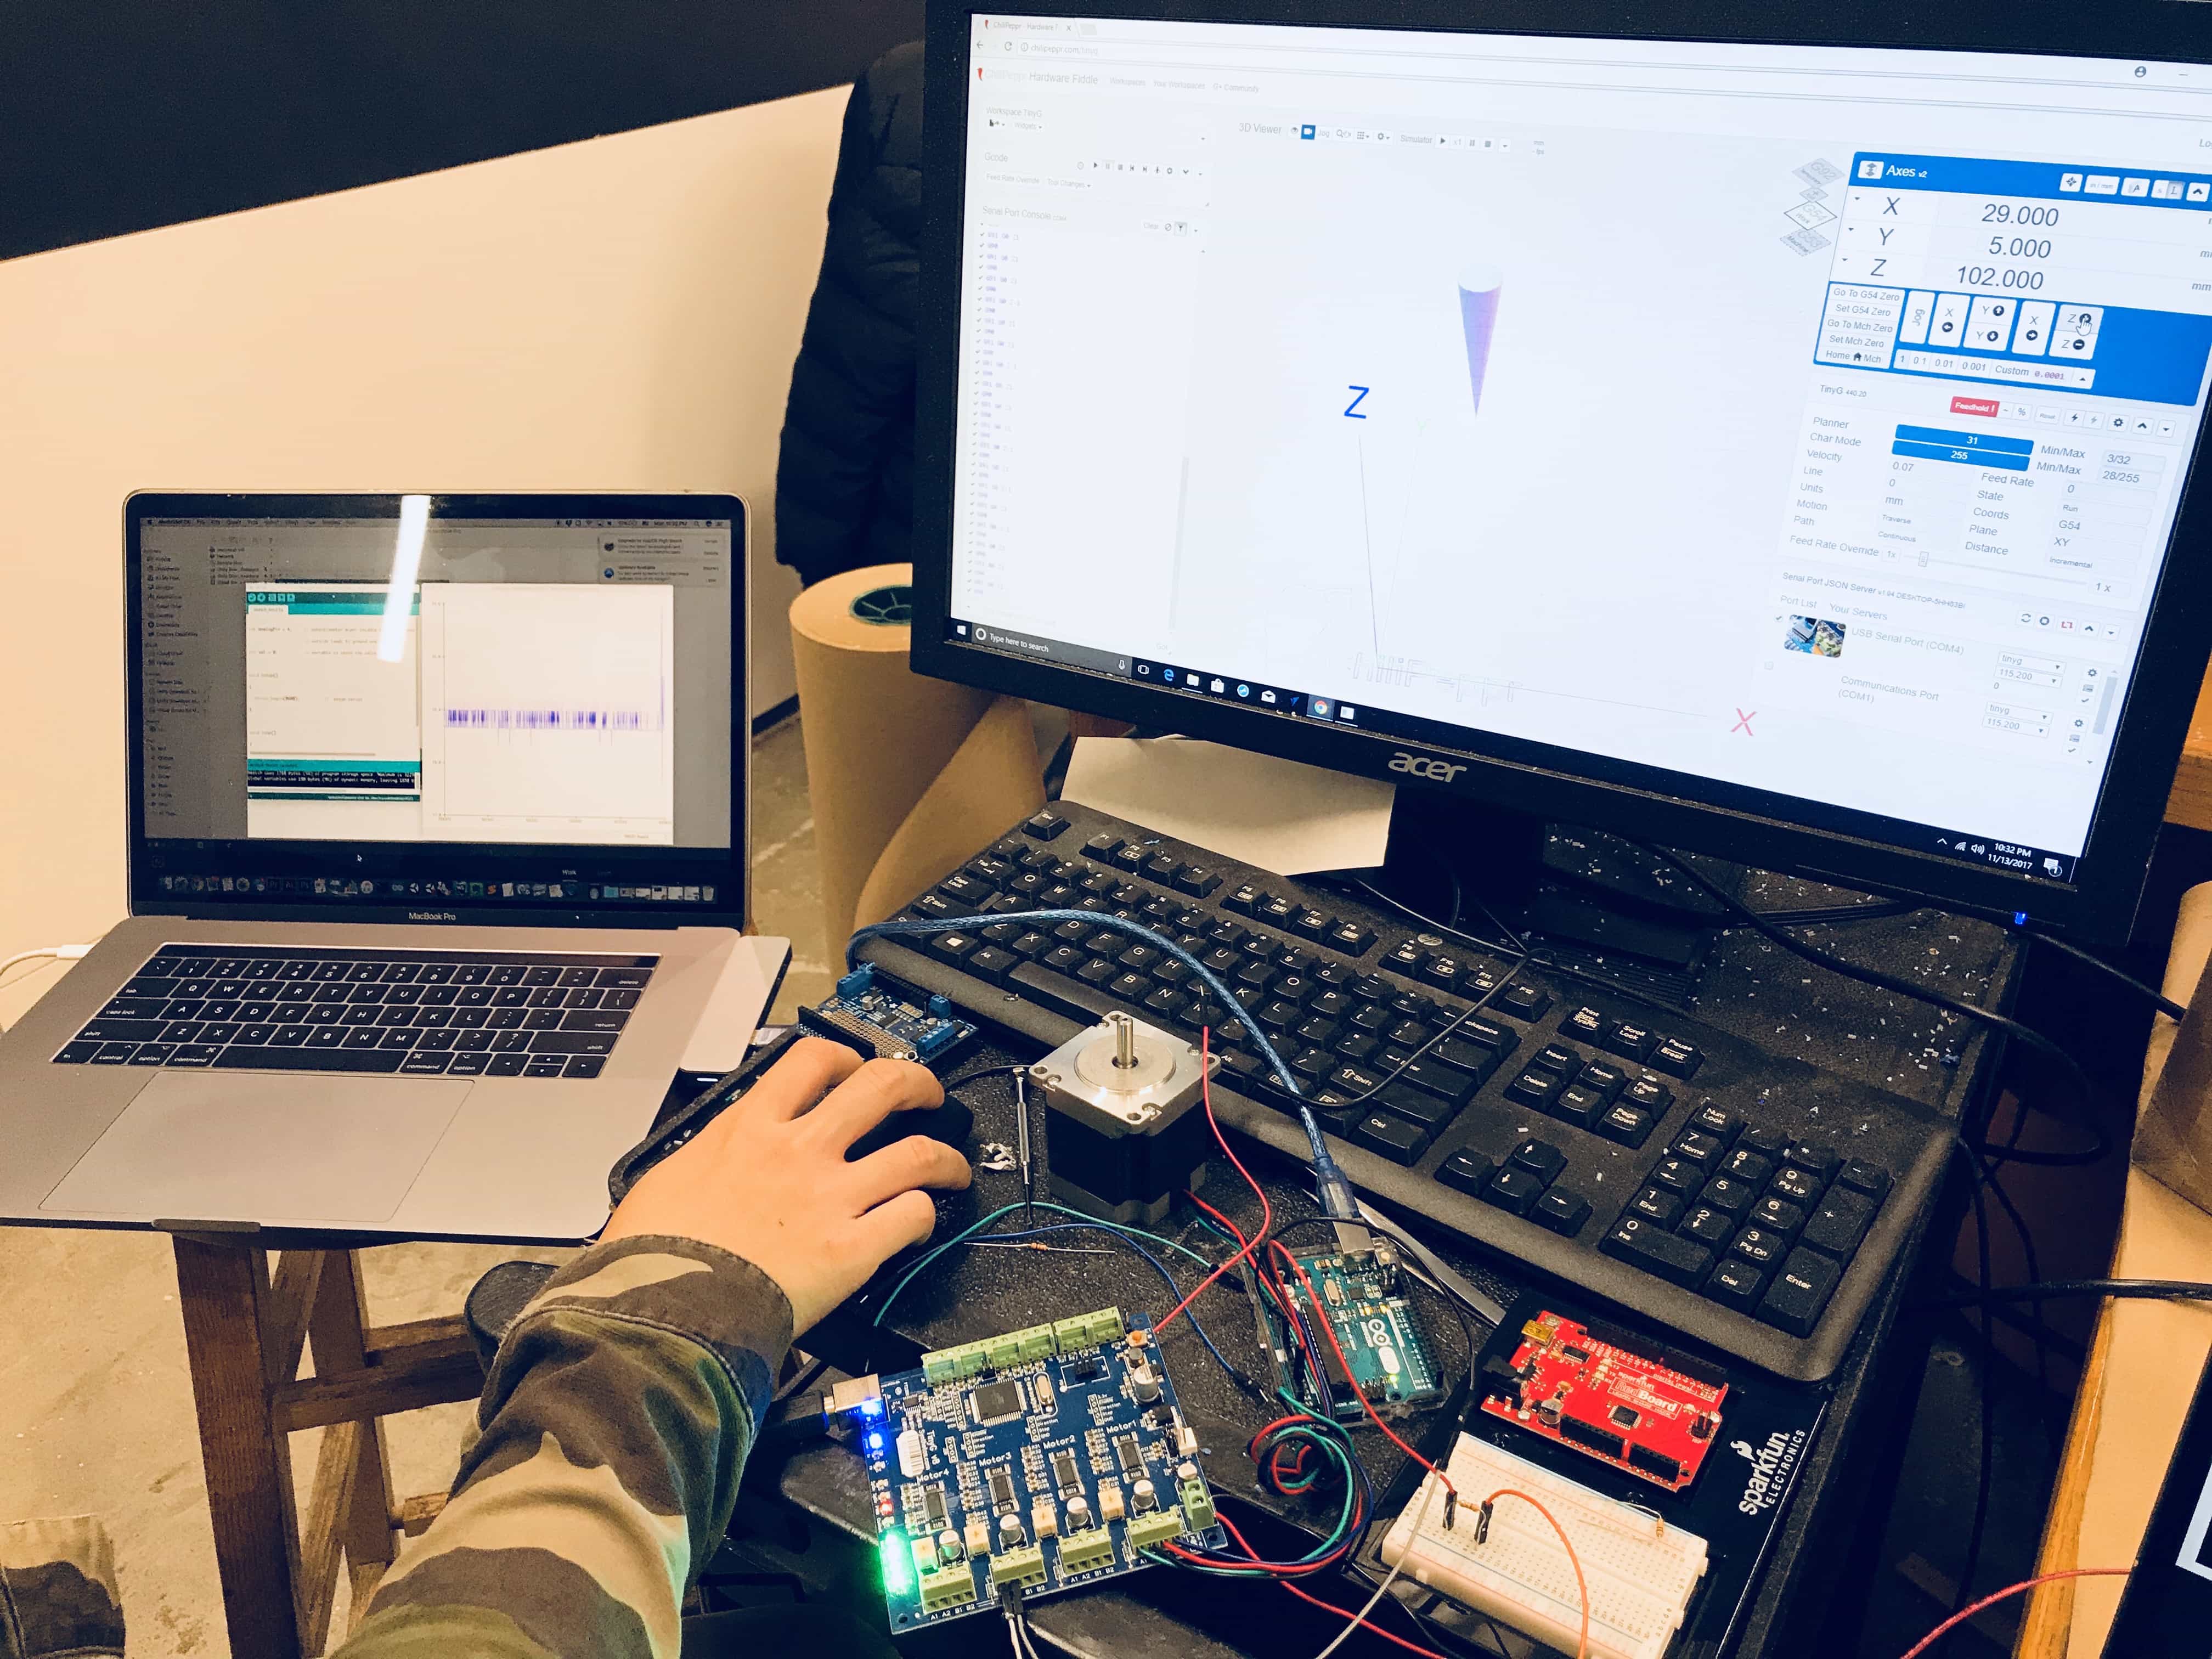
Our machine only has motor on X and Y axis, so we use the movement of Z axis to control the light. The idea is to turn on the light while "milling", and turn off the light while jogging. That means, when Z changes, the light toggles.
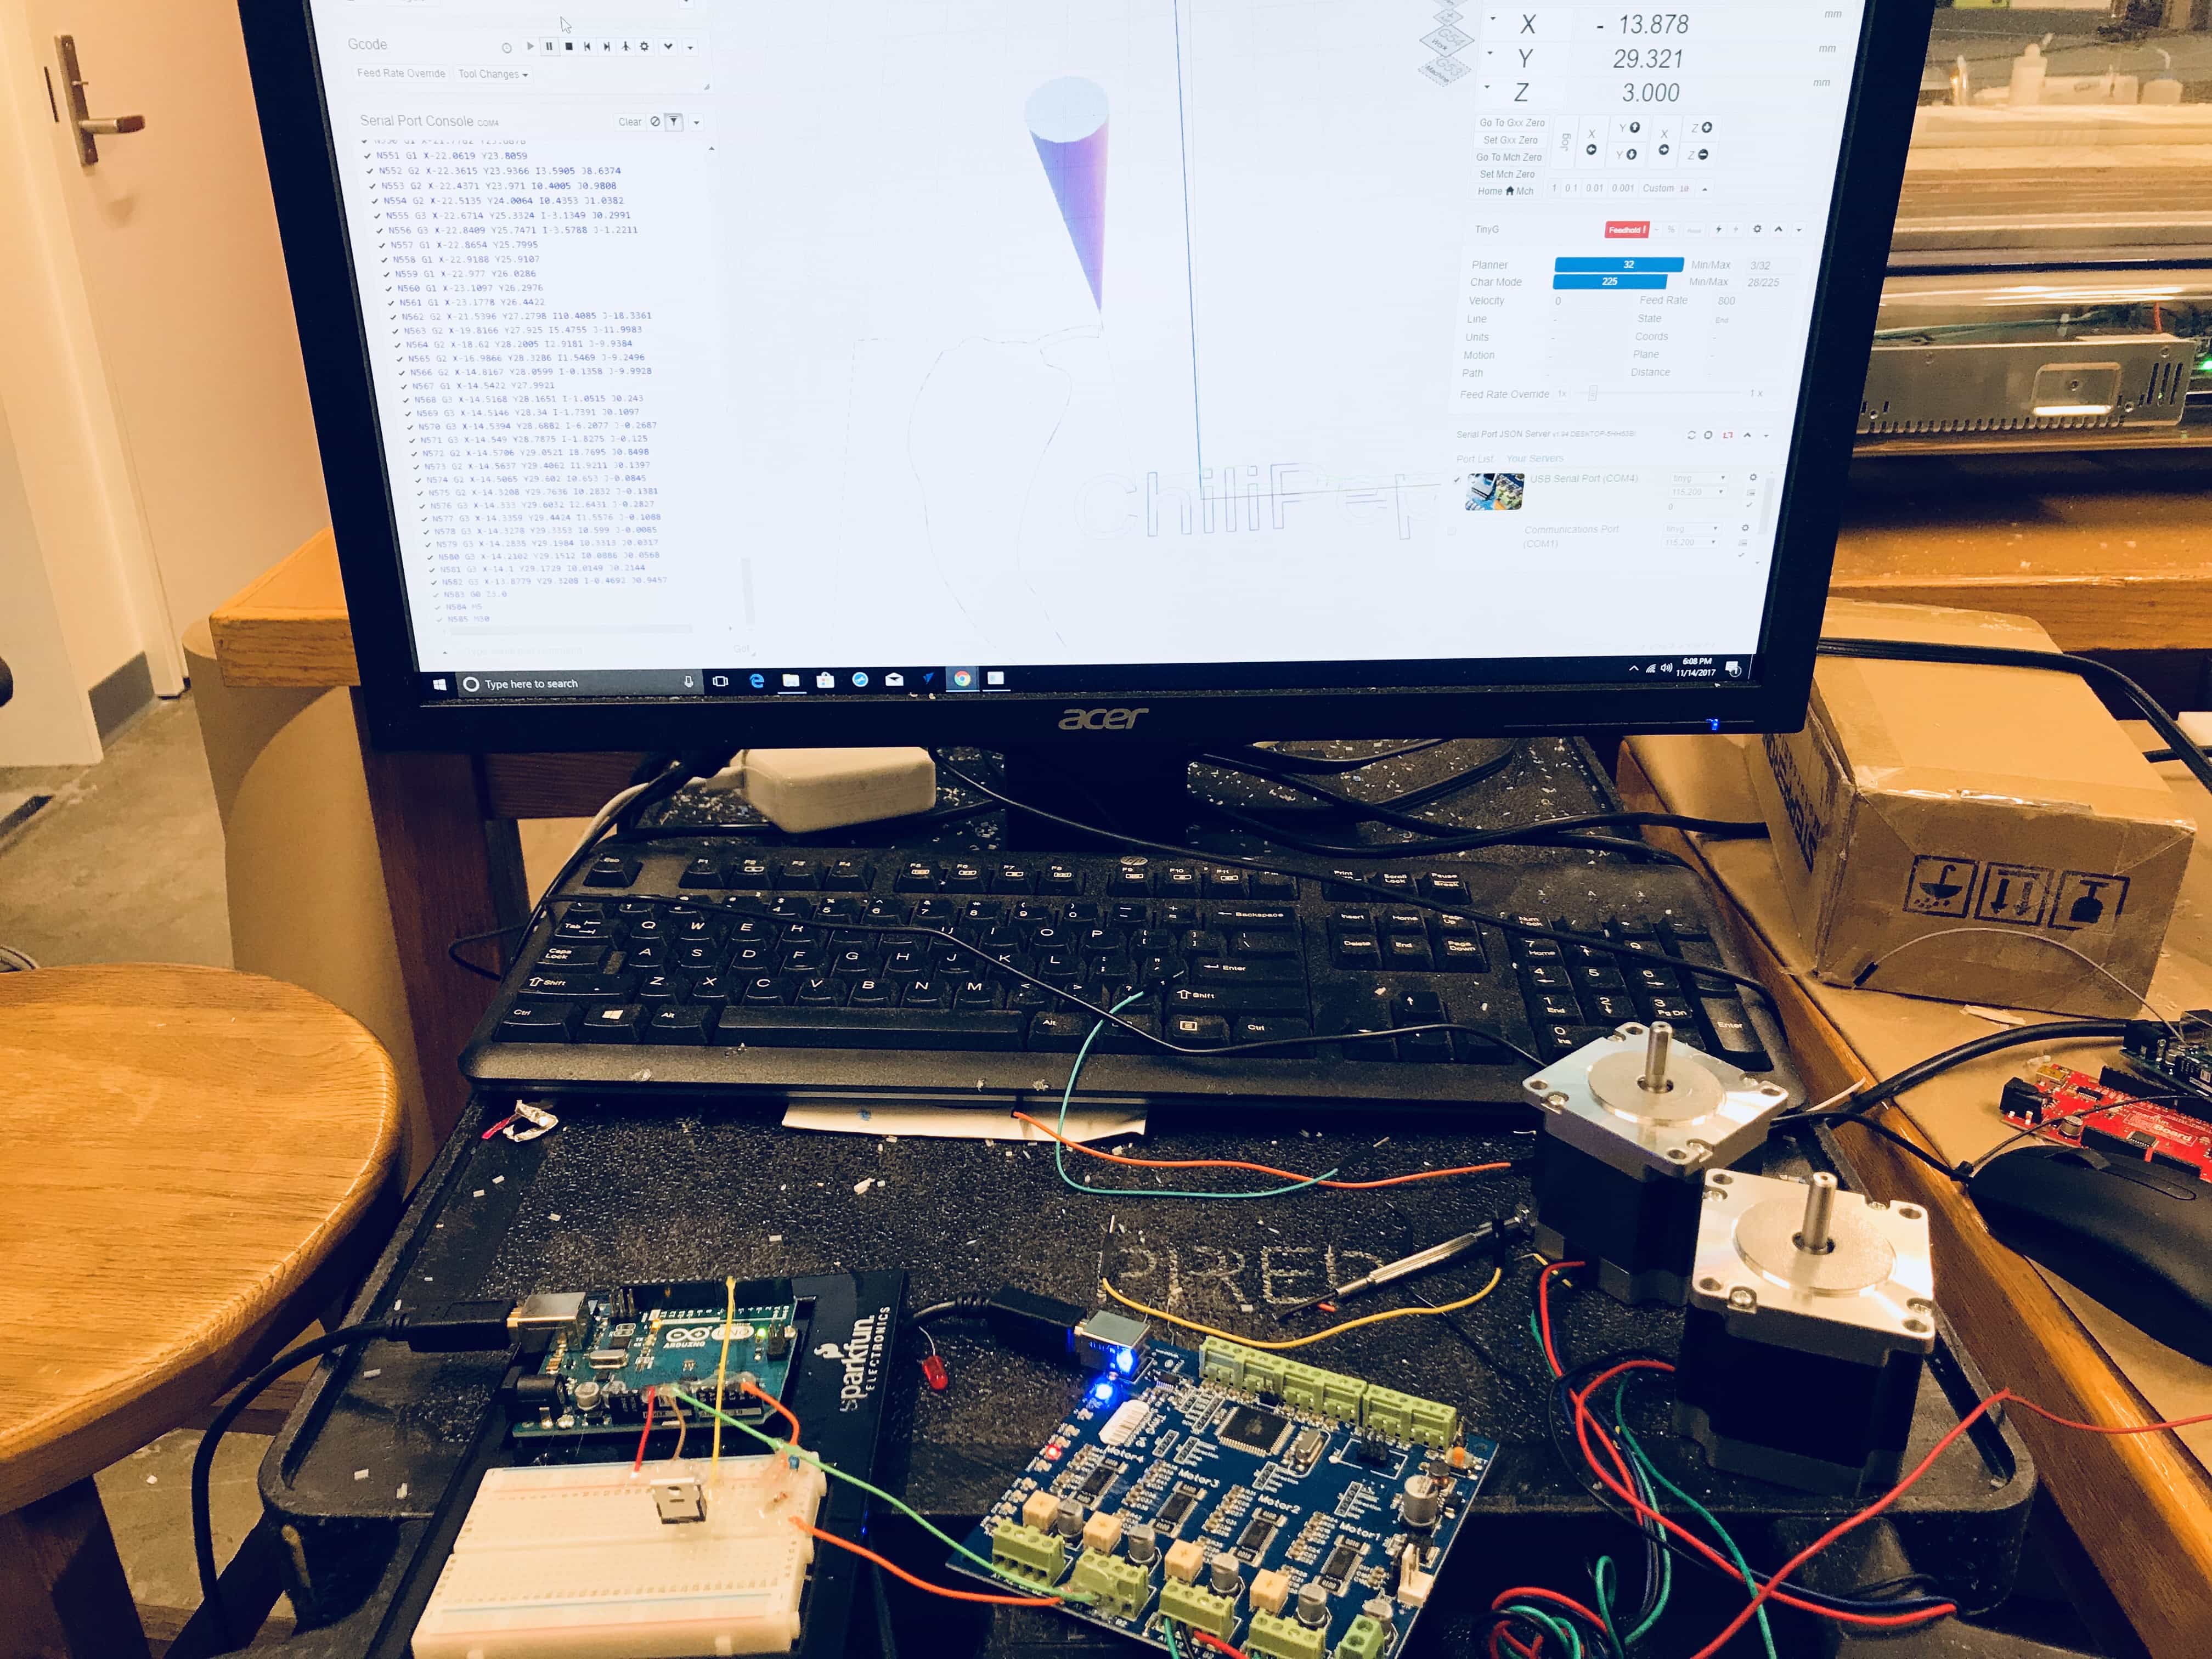
Z Axis from ChiliPepper to TinyG
At first, the Z axis output also changes together with X and Y axis. Later we found out if we put them into "only turn on while moving", they won't affect each other.
Reduce current, Smooth voltage
We used a large resister (not a beautiful solution) to reduce the current coming out from the 24V Z axis output. We smooth the signal with a capacitor and in the code.
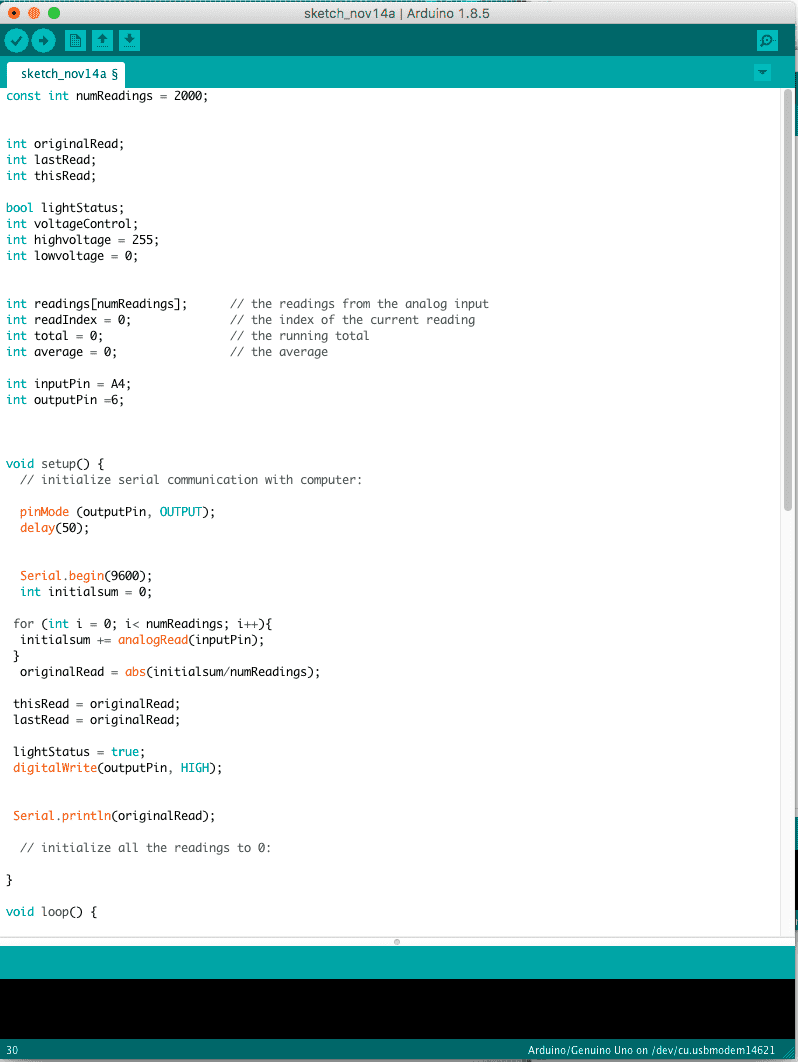
Code
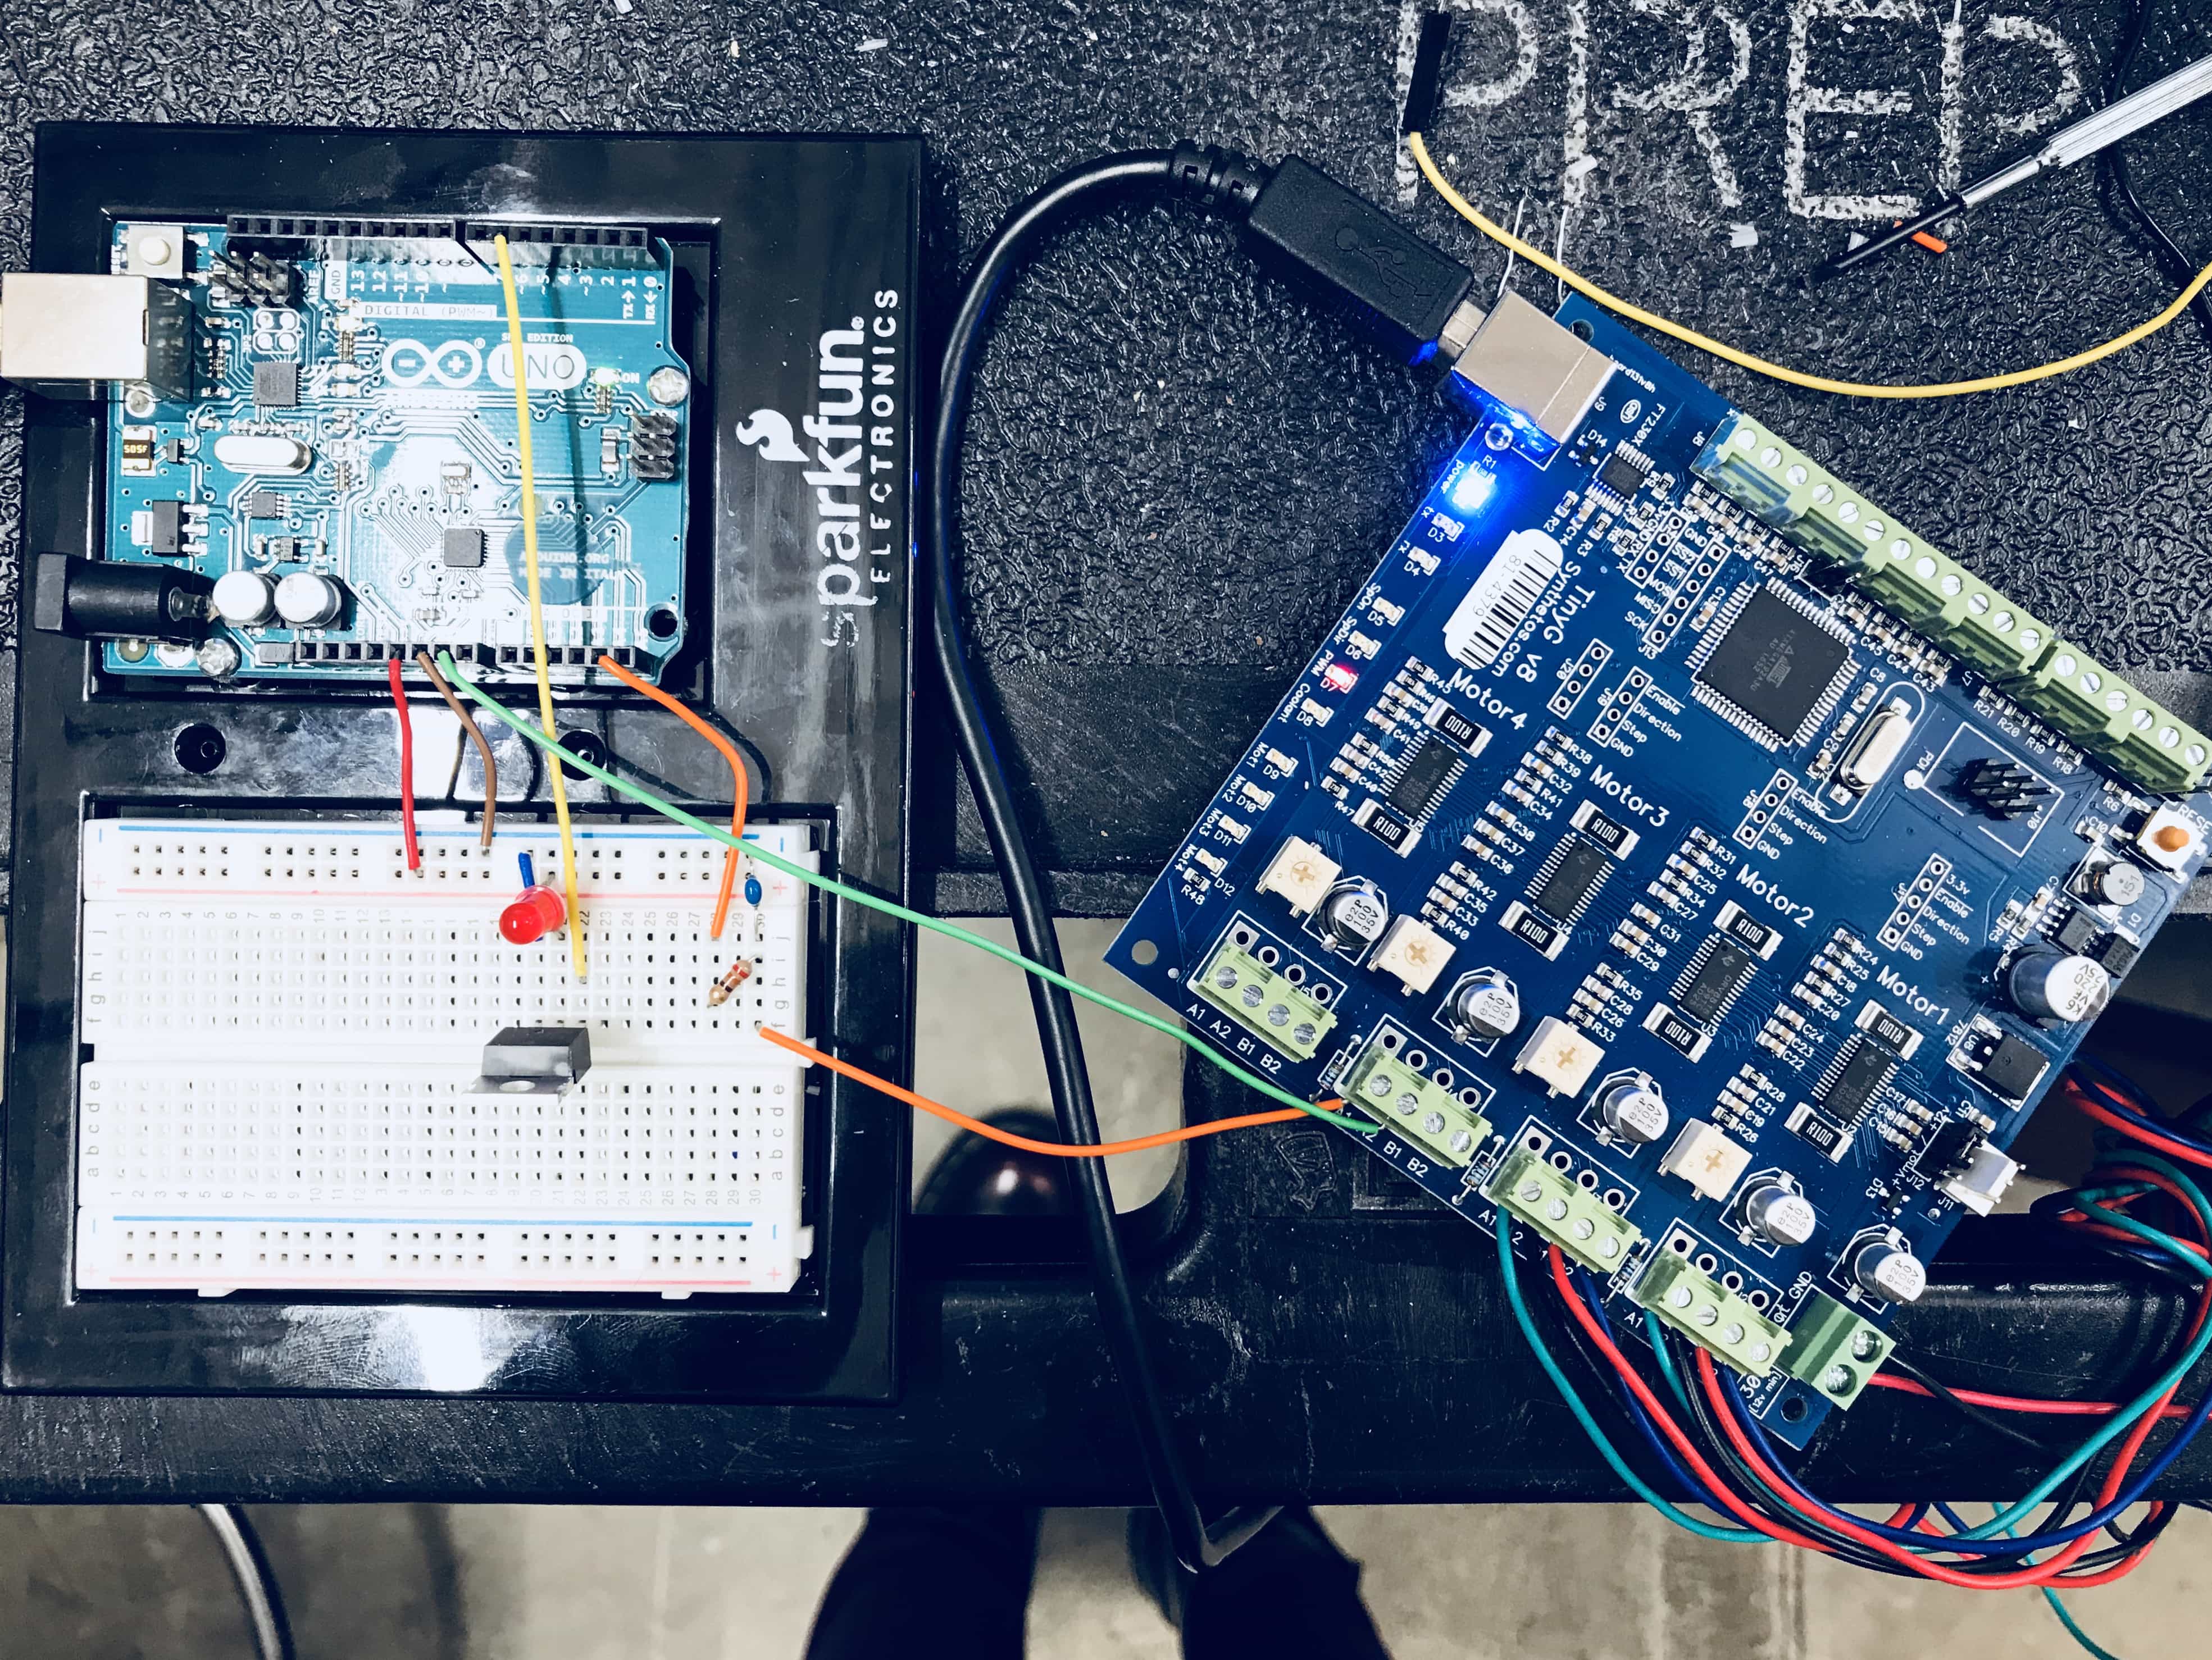
The final board with TinyG
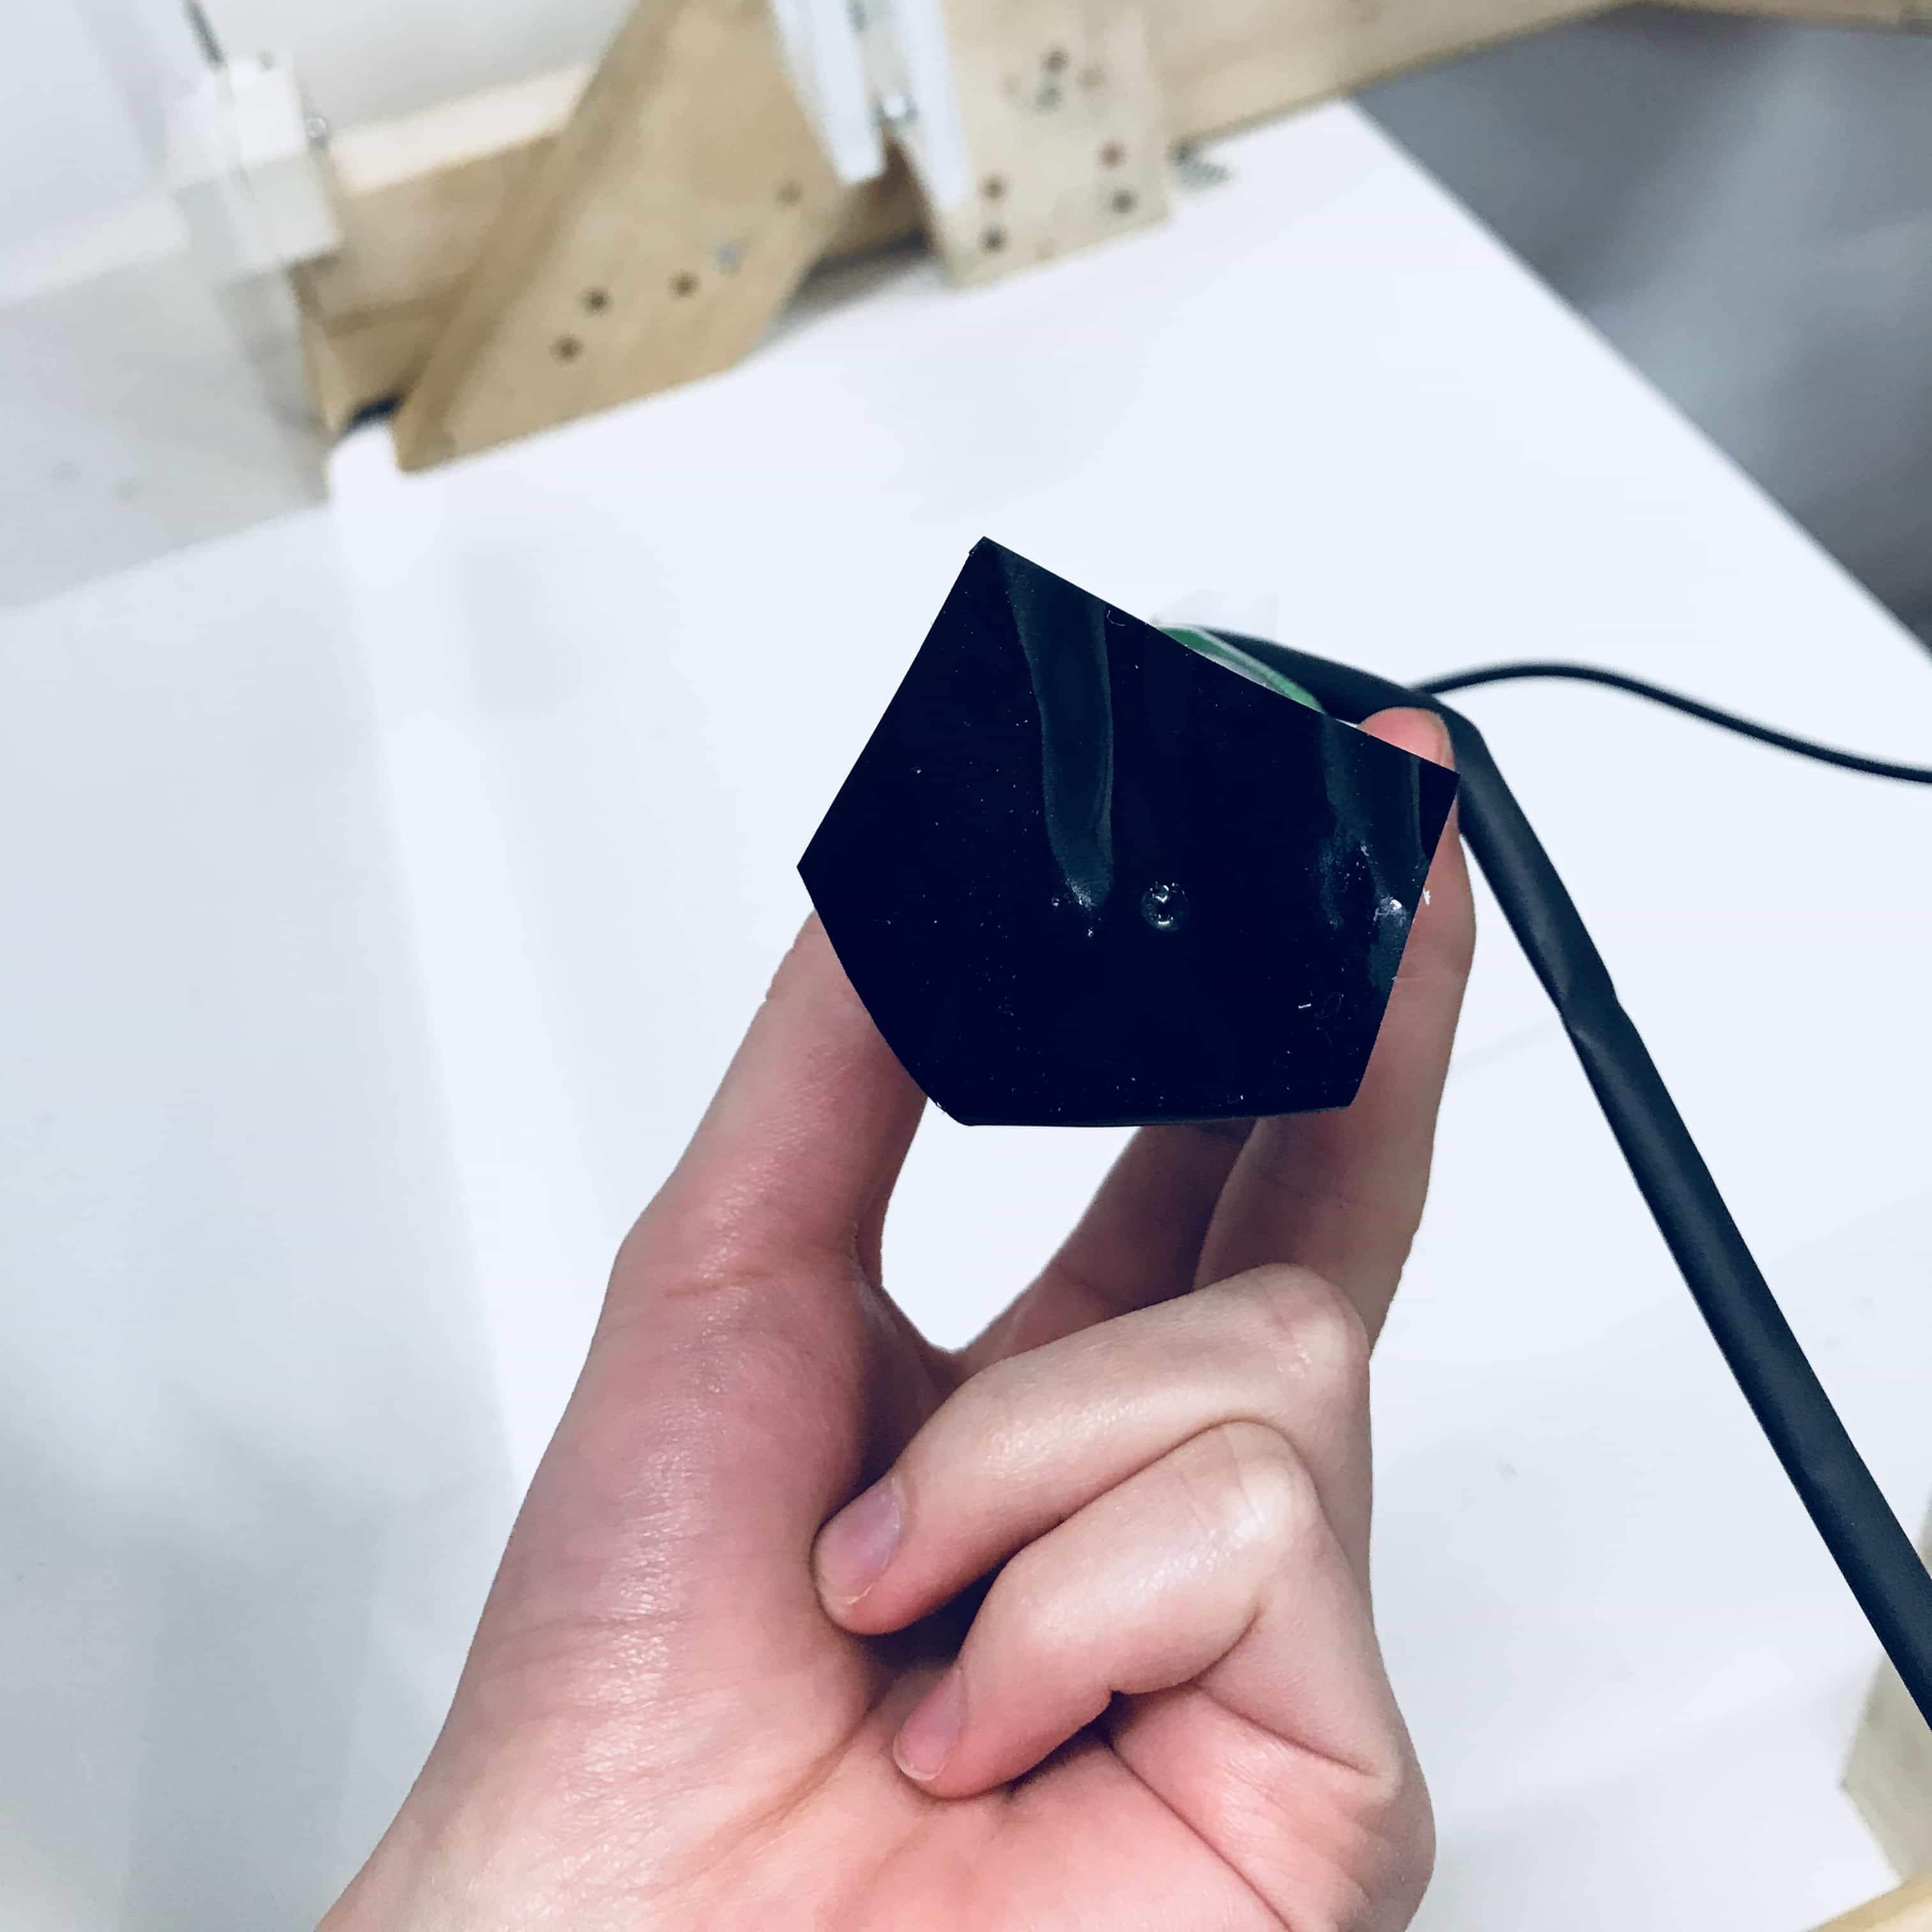
Pinhole
Joe stopped by and reccommended we add a pinhole filter to the end of the flashlight to get finer resolution. This worked great.
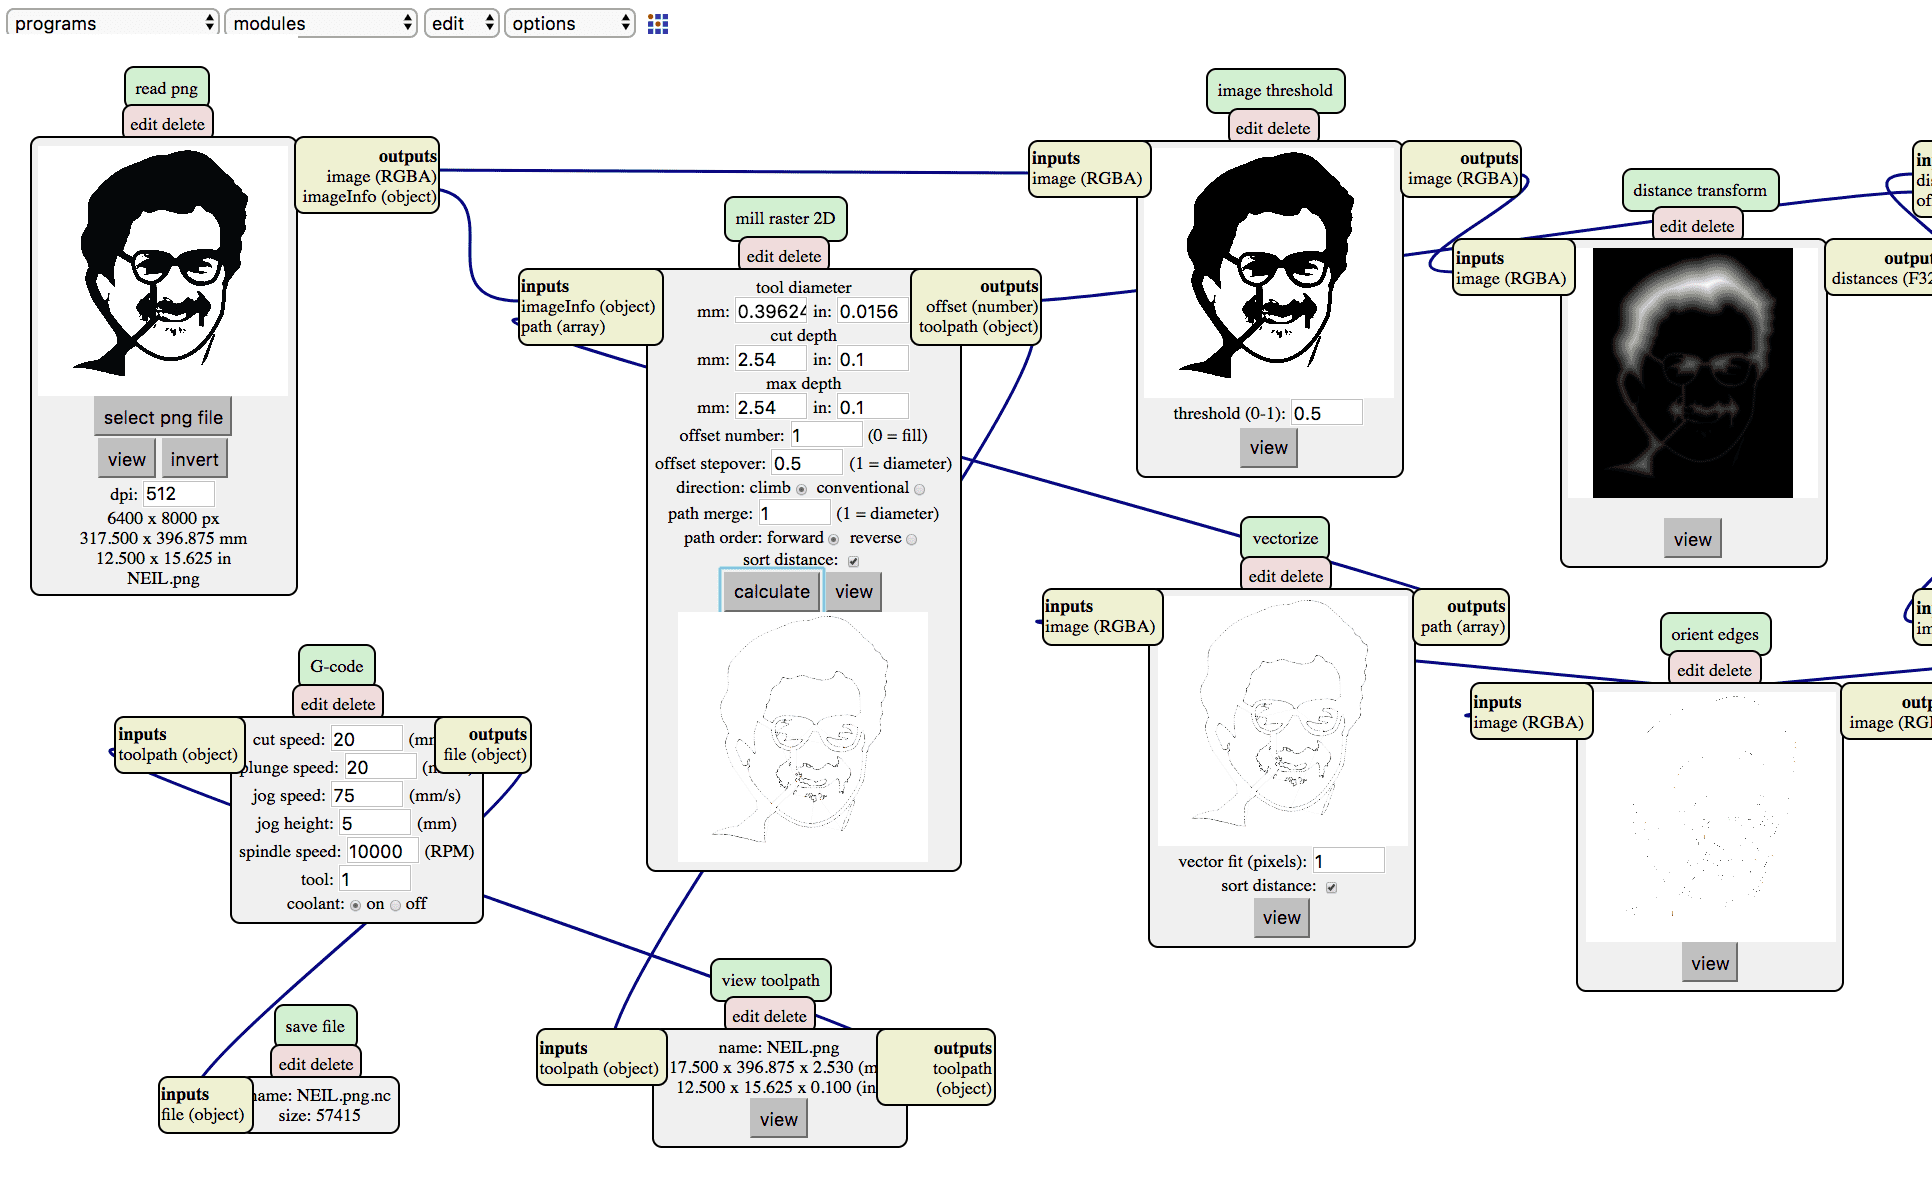
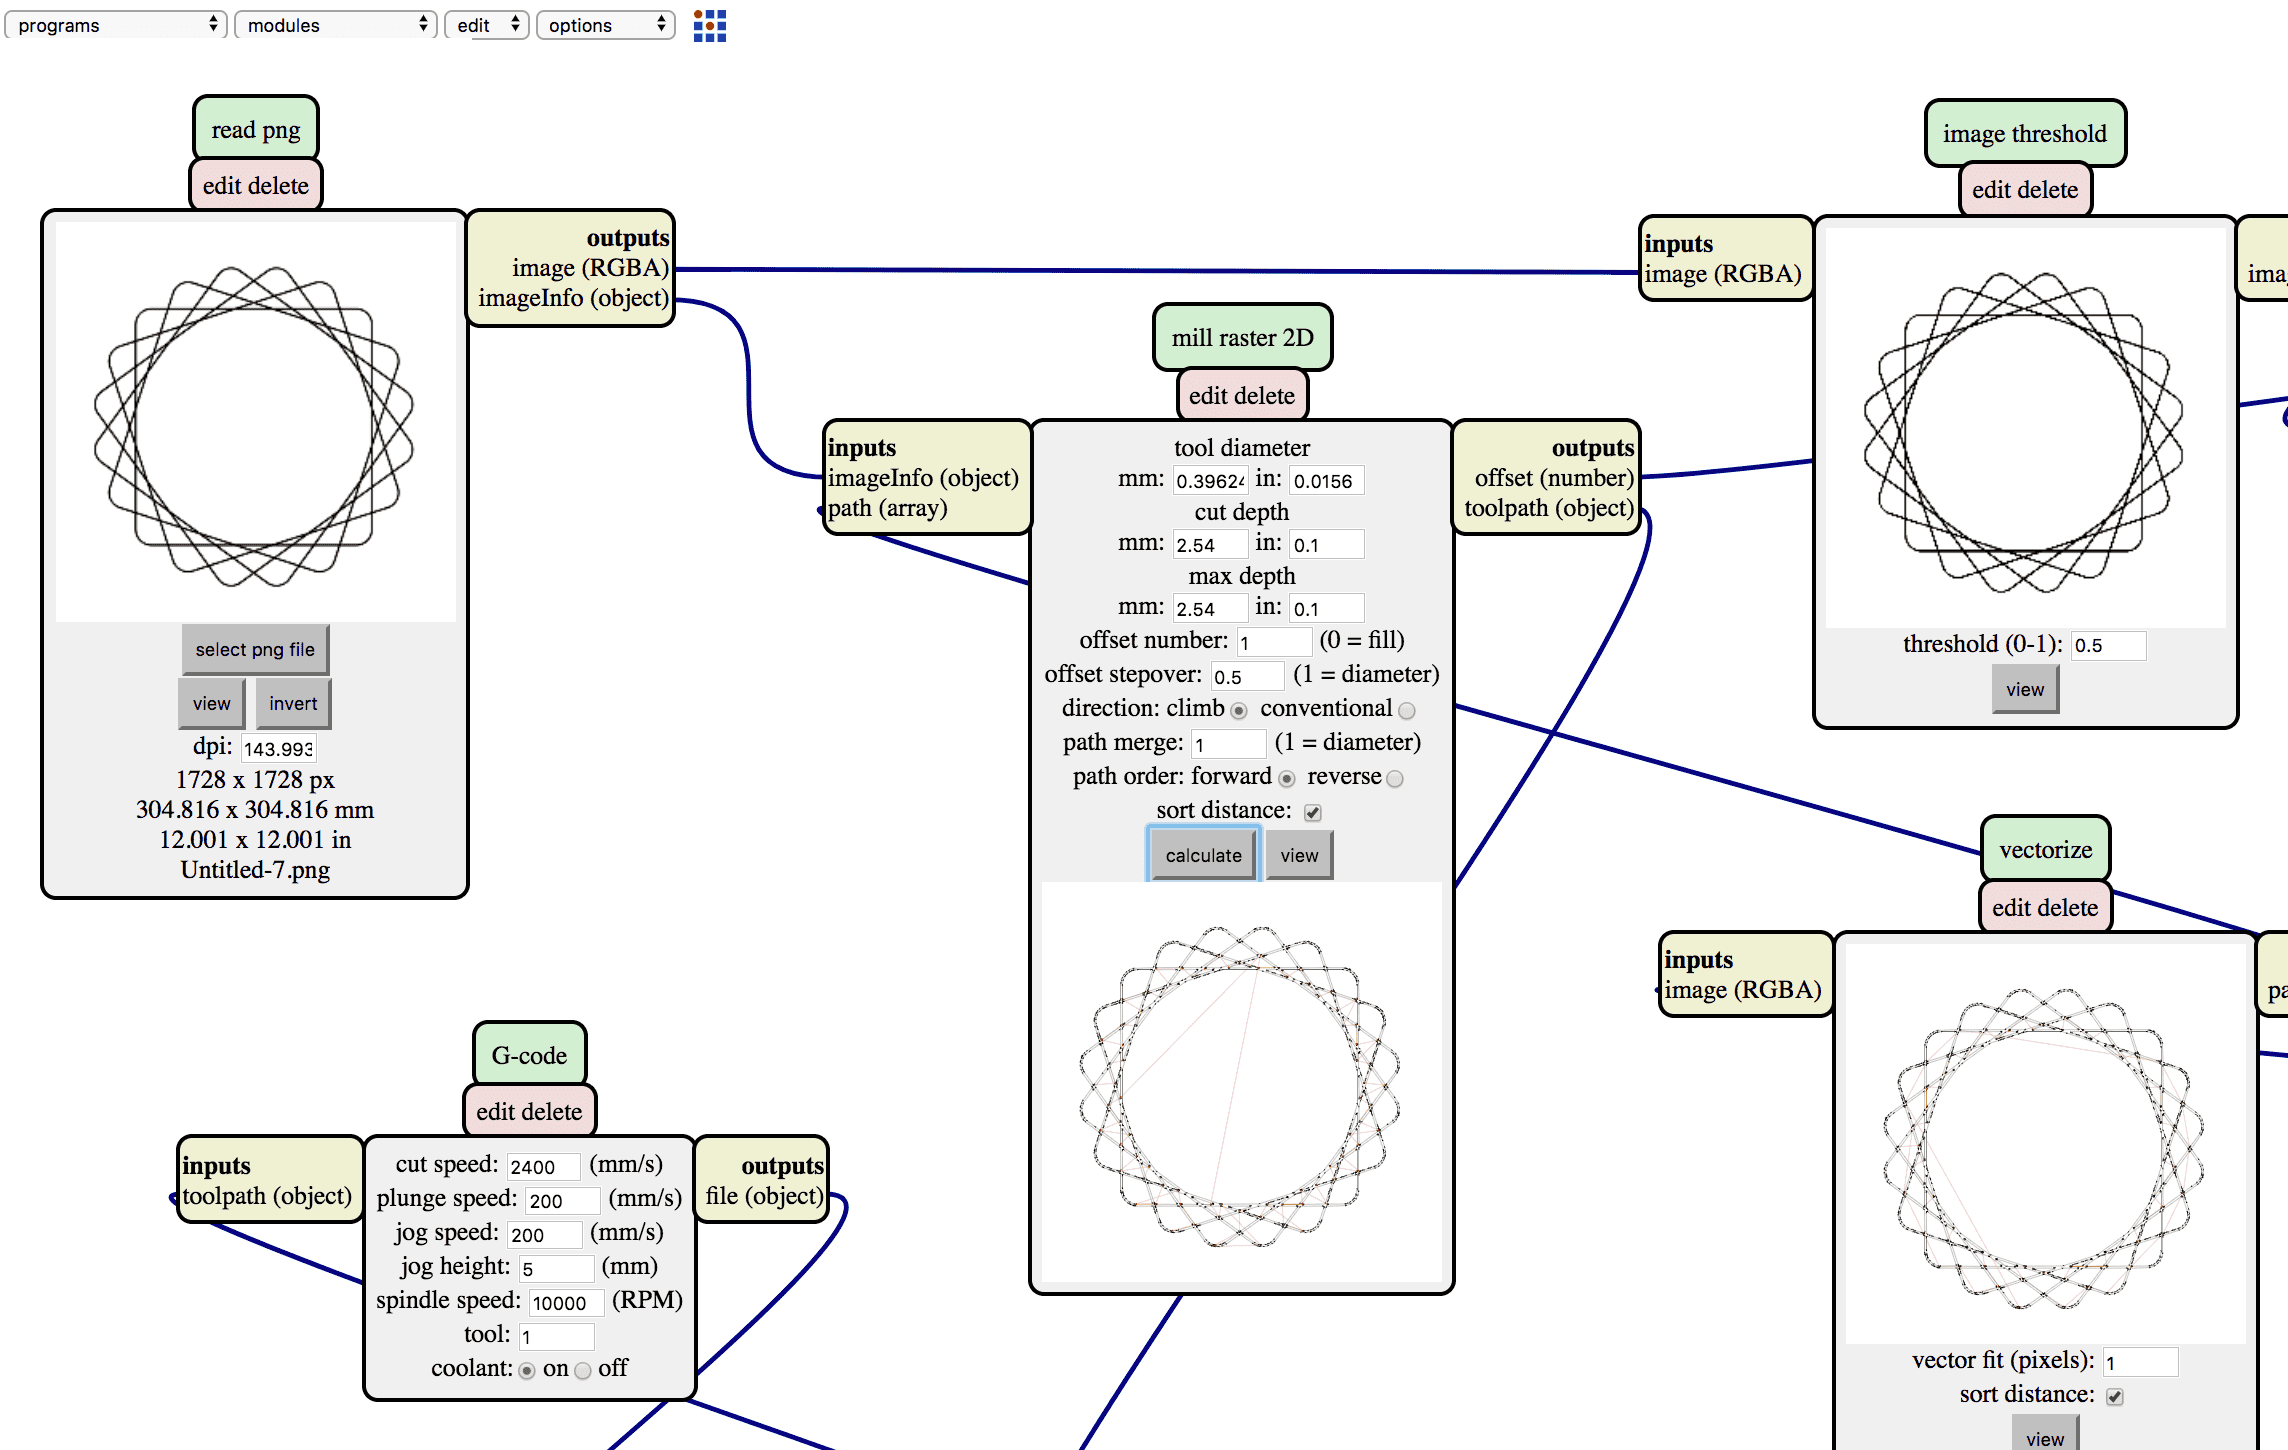
Design Toolpath
After assembled it all together, I designed several toolpaths to test this art piece out. I used Neil's mods to export the G code and uploaded them to Chilipepper.
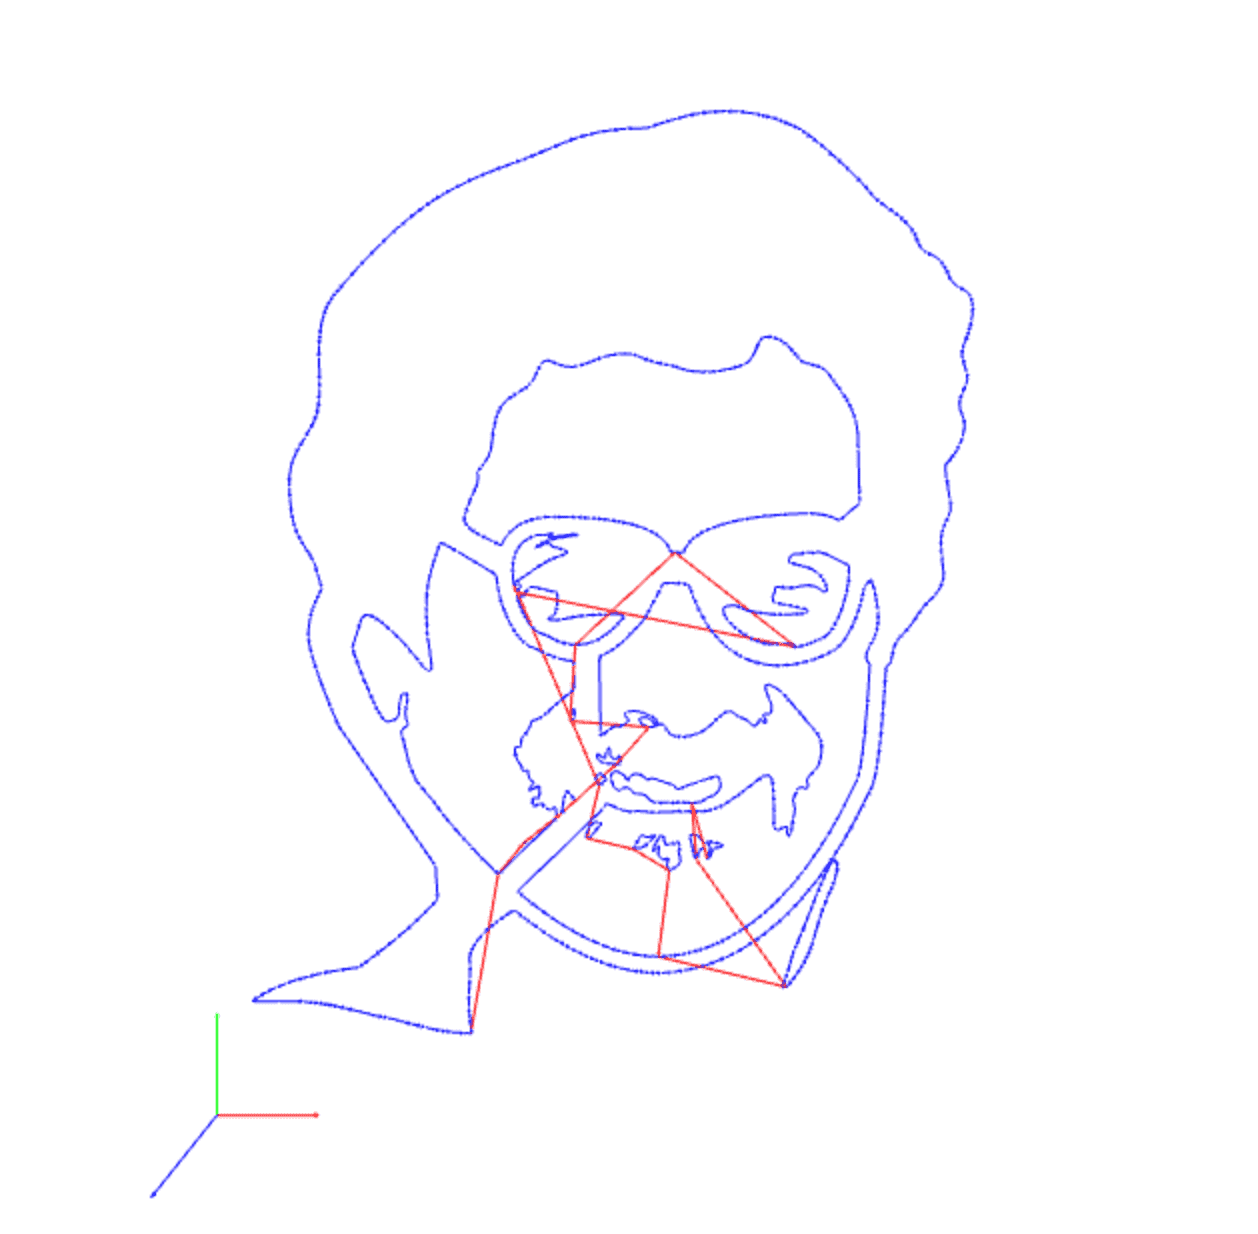
Lightening Neil
To tribute my gratitude to Neil's wonderful class, I made my first try with Neil's face.
Light Art
Paint Neil

Paint Doge
Paint Art
Light Corbu!
I cannot wait to paint a portrait for my beloved puppy Corbu! He seems very confused though, I'll take it as a like.
Doge
This painting shows that our Z jogging light control works perfectly!
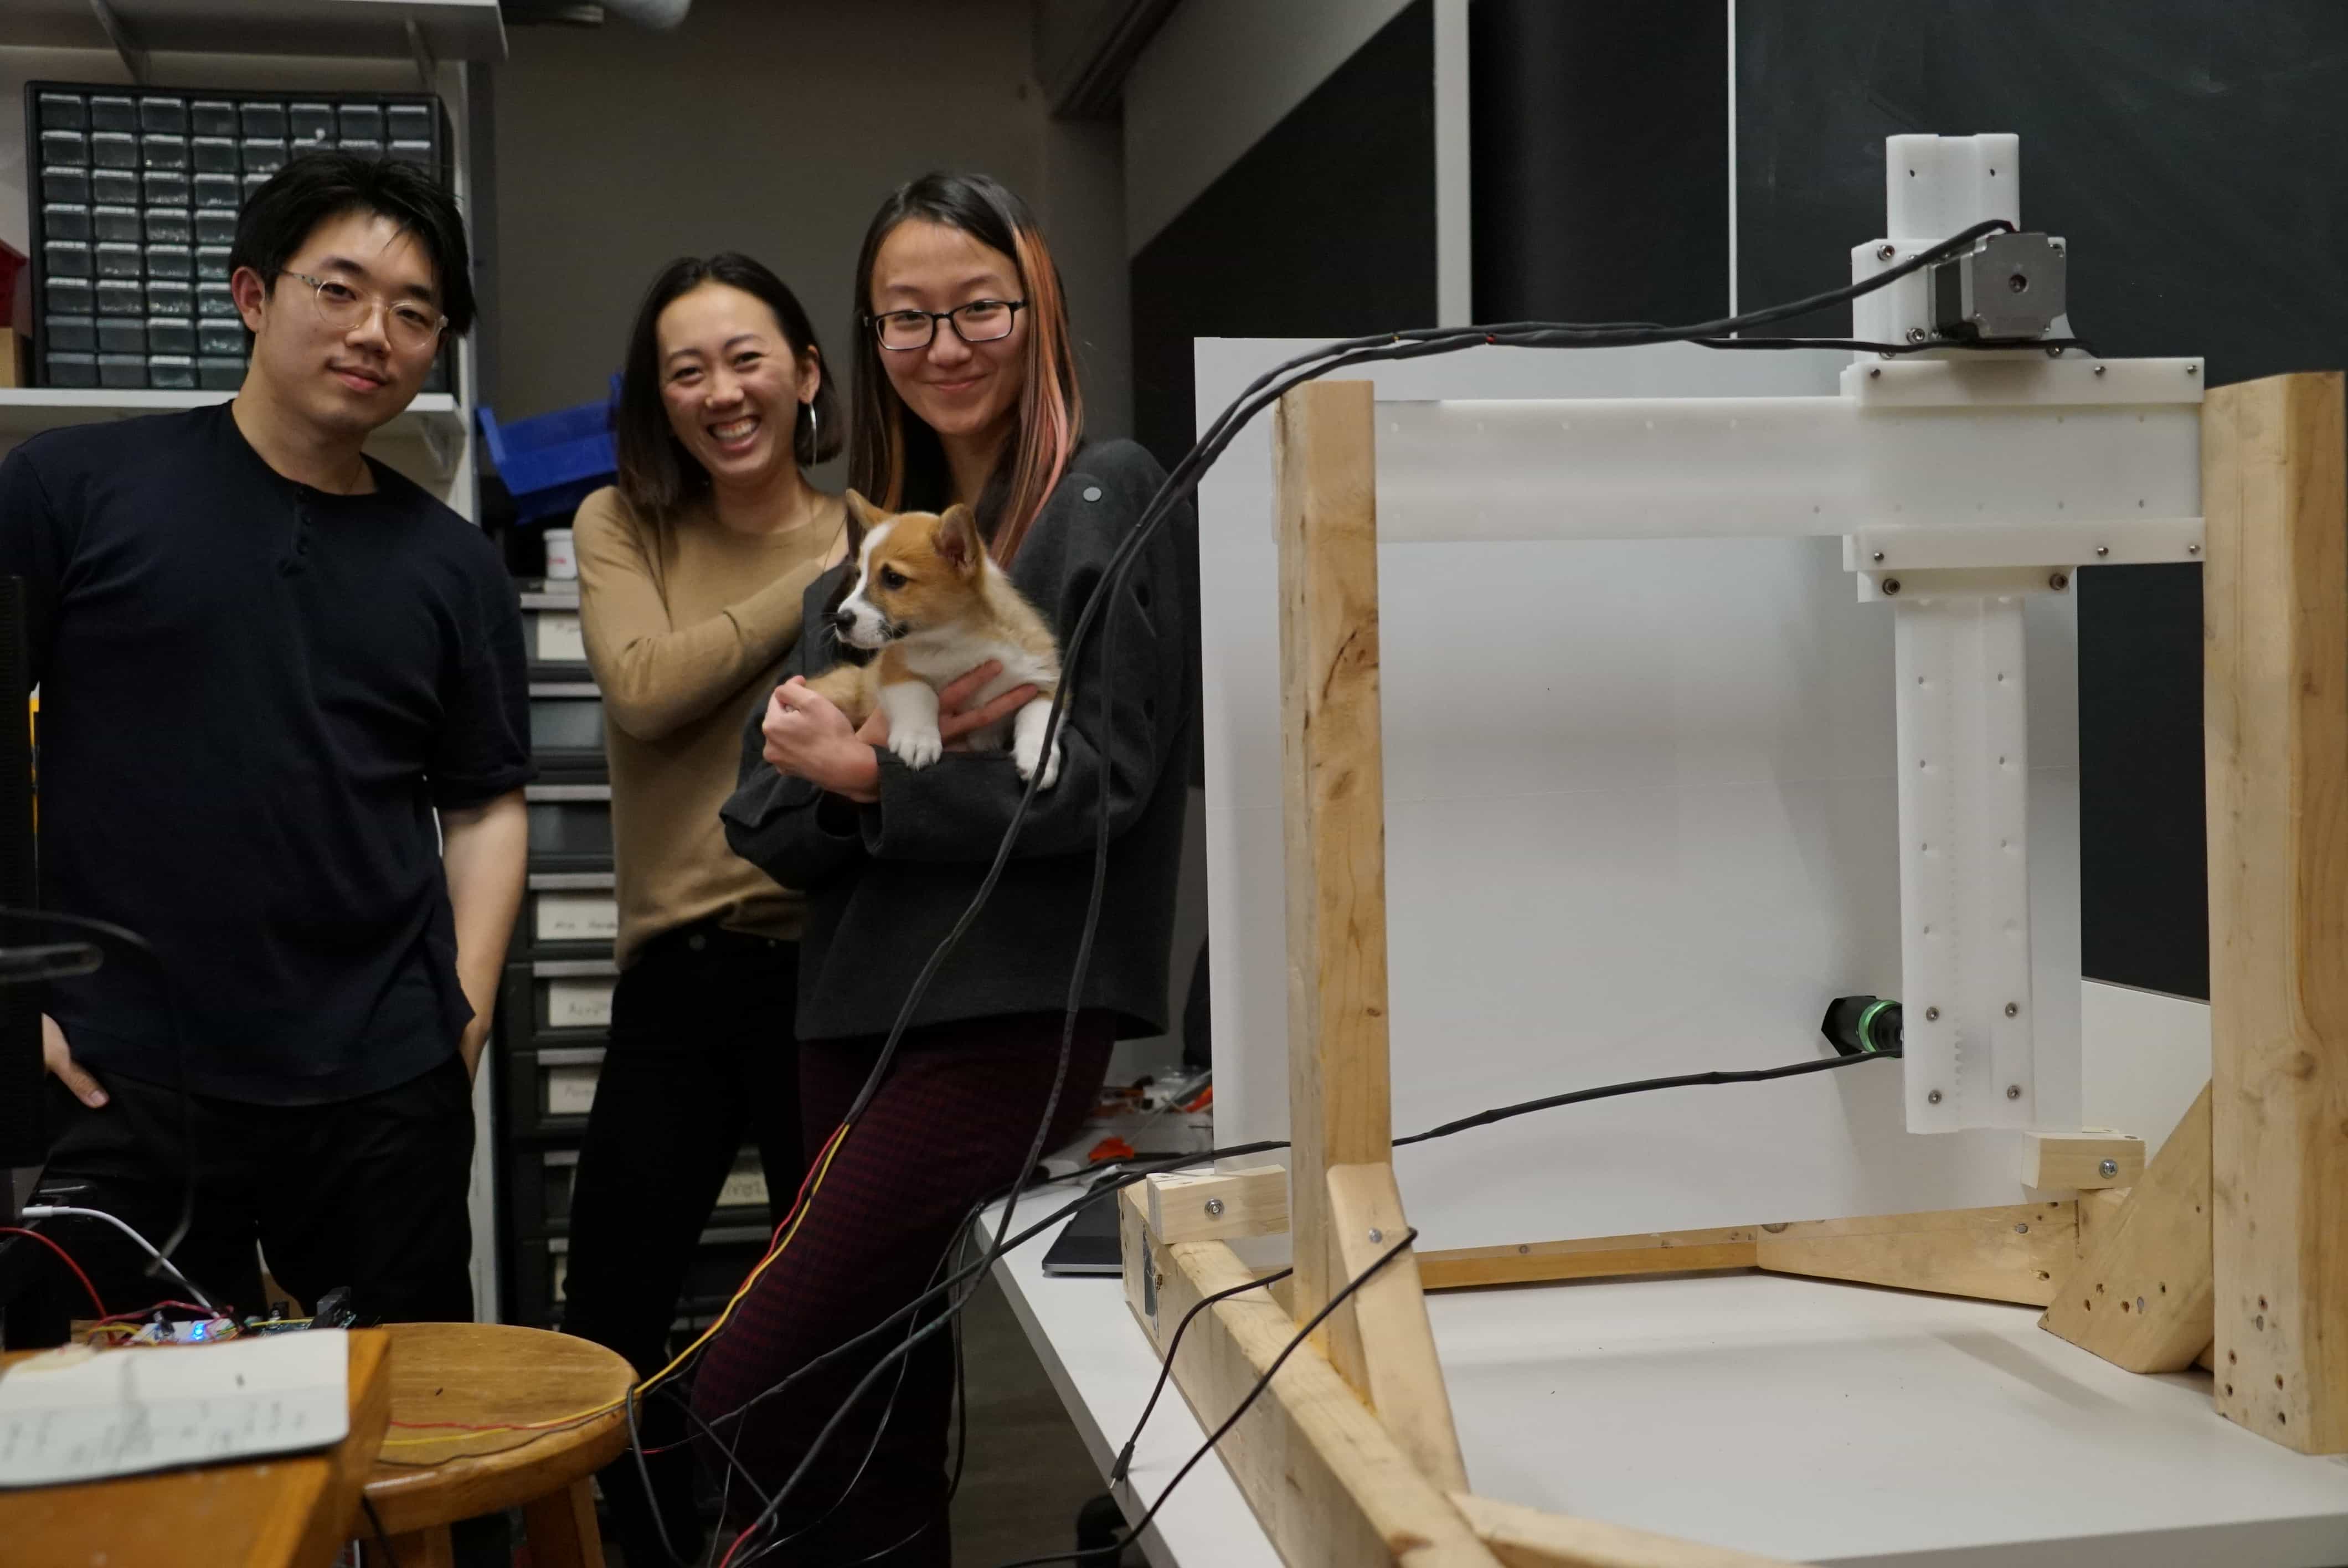
Give full credit to Corbu for building this machine together!
He needs some sleep!