Assignment: Design and fabricate a 3D mold and produce a fiber composite part in it, with resin infusion and compaction.
Having fallen behind on last week’s assignment, and now turning my attention primarily to my final project, this week is going to be simple and project-oriented. So I’m going to make a ramp/obstacle for my robots to climb over. Currently I’m testing the robot’s ability to overcome obstacles by taping together cardboard and sticking it to my desk.

I made this nice little diagram of the parts that go into composite making (in this case, for a closed mold that I can compress with clamps). On top of the bottom layer of the mold, we use multiple layers of plastic cling wrap as a release so the composite won’t stick to the mold. (It’s multiple layers in case some of the epoxy oozes through at least one layer.) Then comes the composite itself. In this case, it’s wet layup, so each fiber piece is coated in wet epoxy and stacked up. Then comes a bleeder layer to let up excess epoxy. Here, that’s plastic wrap with holes punched in it. Then a breather layer to soak up that extra epoxy (polyester quilt batting), and finally another layer of plastic wrap for mold release. Then the top of the mold goes on and you clamp it while it cures.
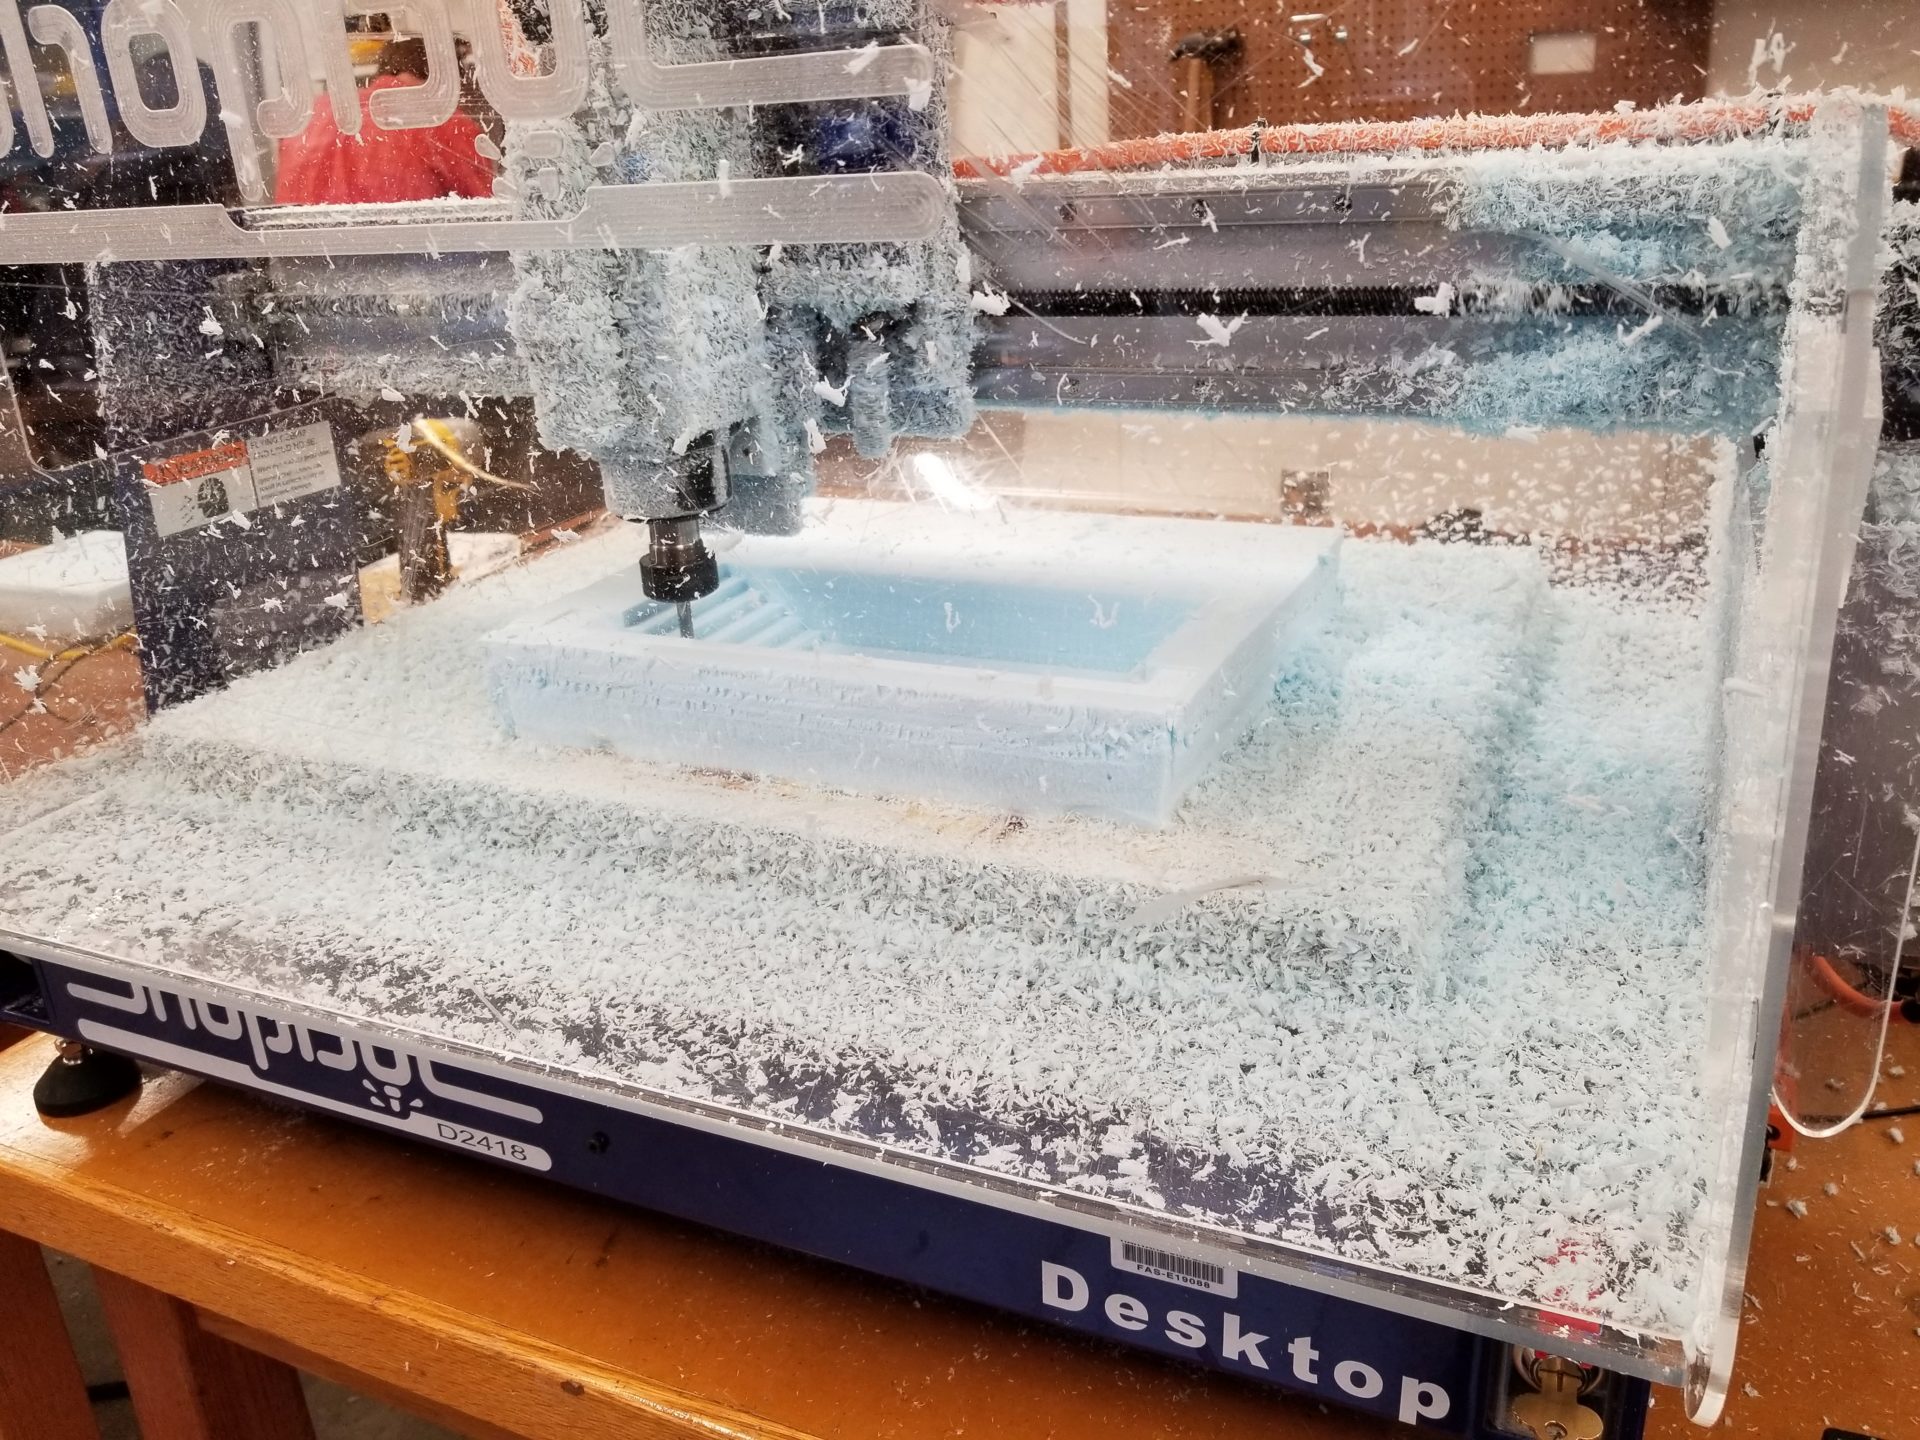
First up: mill the mold out of foam insulation. I was limited in how tall I could make the ramp by the thickness of the insulation (2”) and the endmill length (about 1.5”). Bonus: I actually remembered how to use VCarve and the ShopBot! I made a very simple CAD model of the ramp in OnShape. I subtracted it from a block to create the top mold and added it to a block to make the bottom mold.
It’s snowing! The milling made so much insulation dust. It looked pretty cool, but it was a pain to clean up. I’m sure that also helped my never-ending cough.
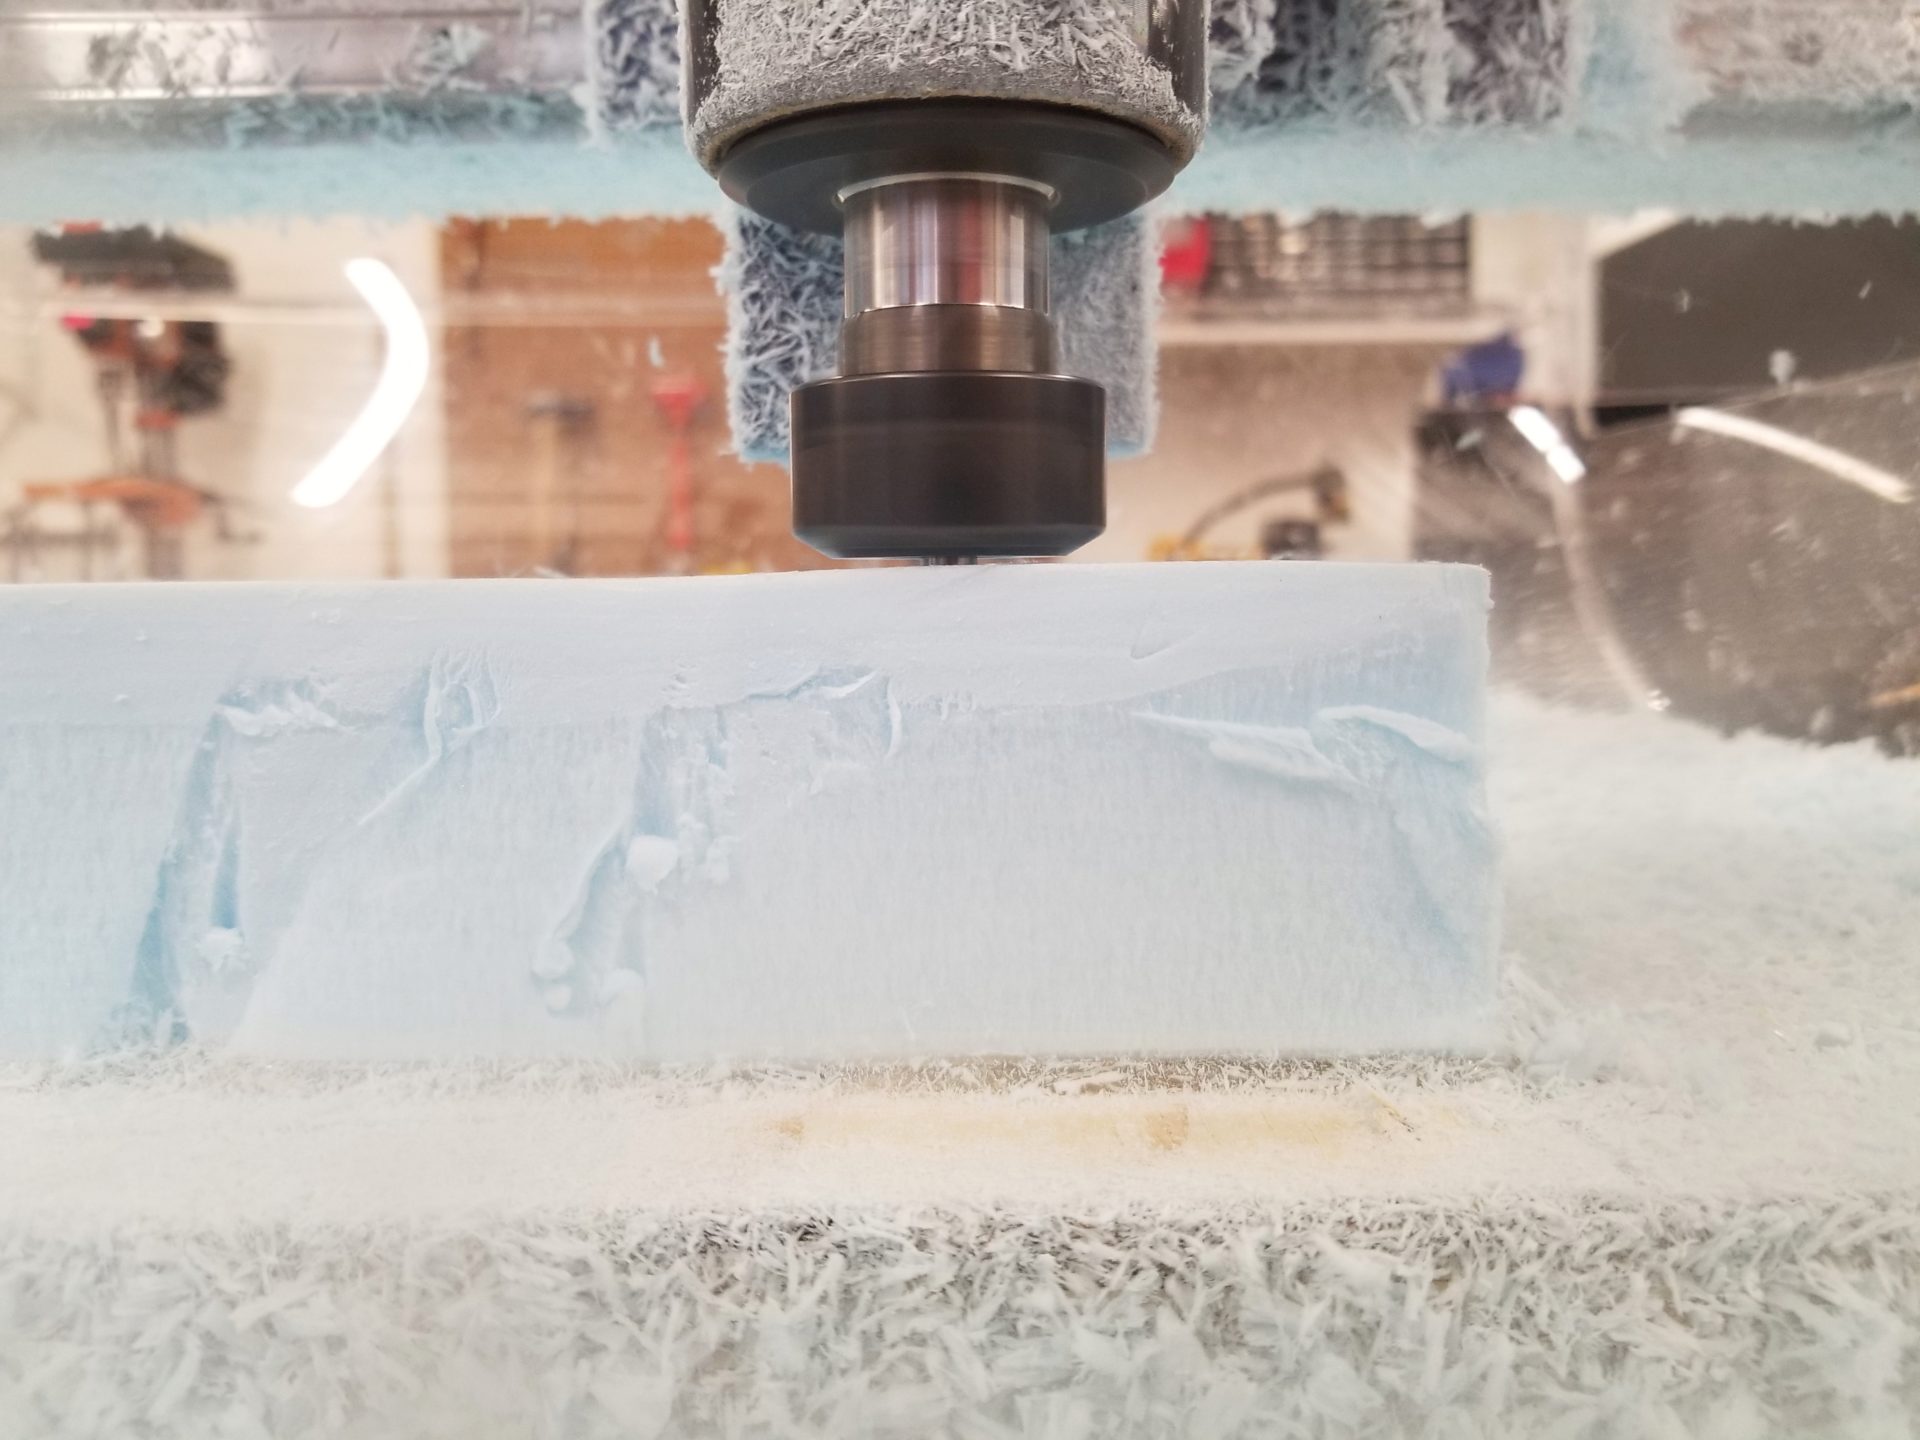
It’s a good thing I didn’t make the ramp any taller than I did, because it was an incredibly tight fit between the surface of the foam and the collet. Though it turns out the foam doesn’t damage the endmill, as I discovered when I tried to do an aircut and accidentally lowered it from my zero by 2” instead of raising it. (This is why we can’t have nice things.)
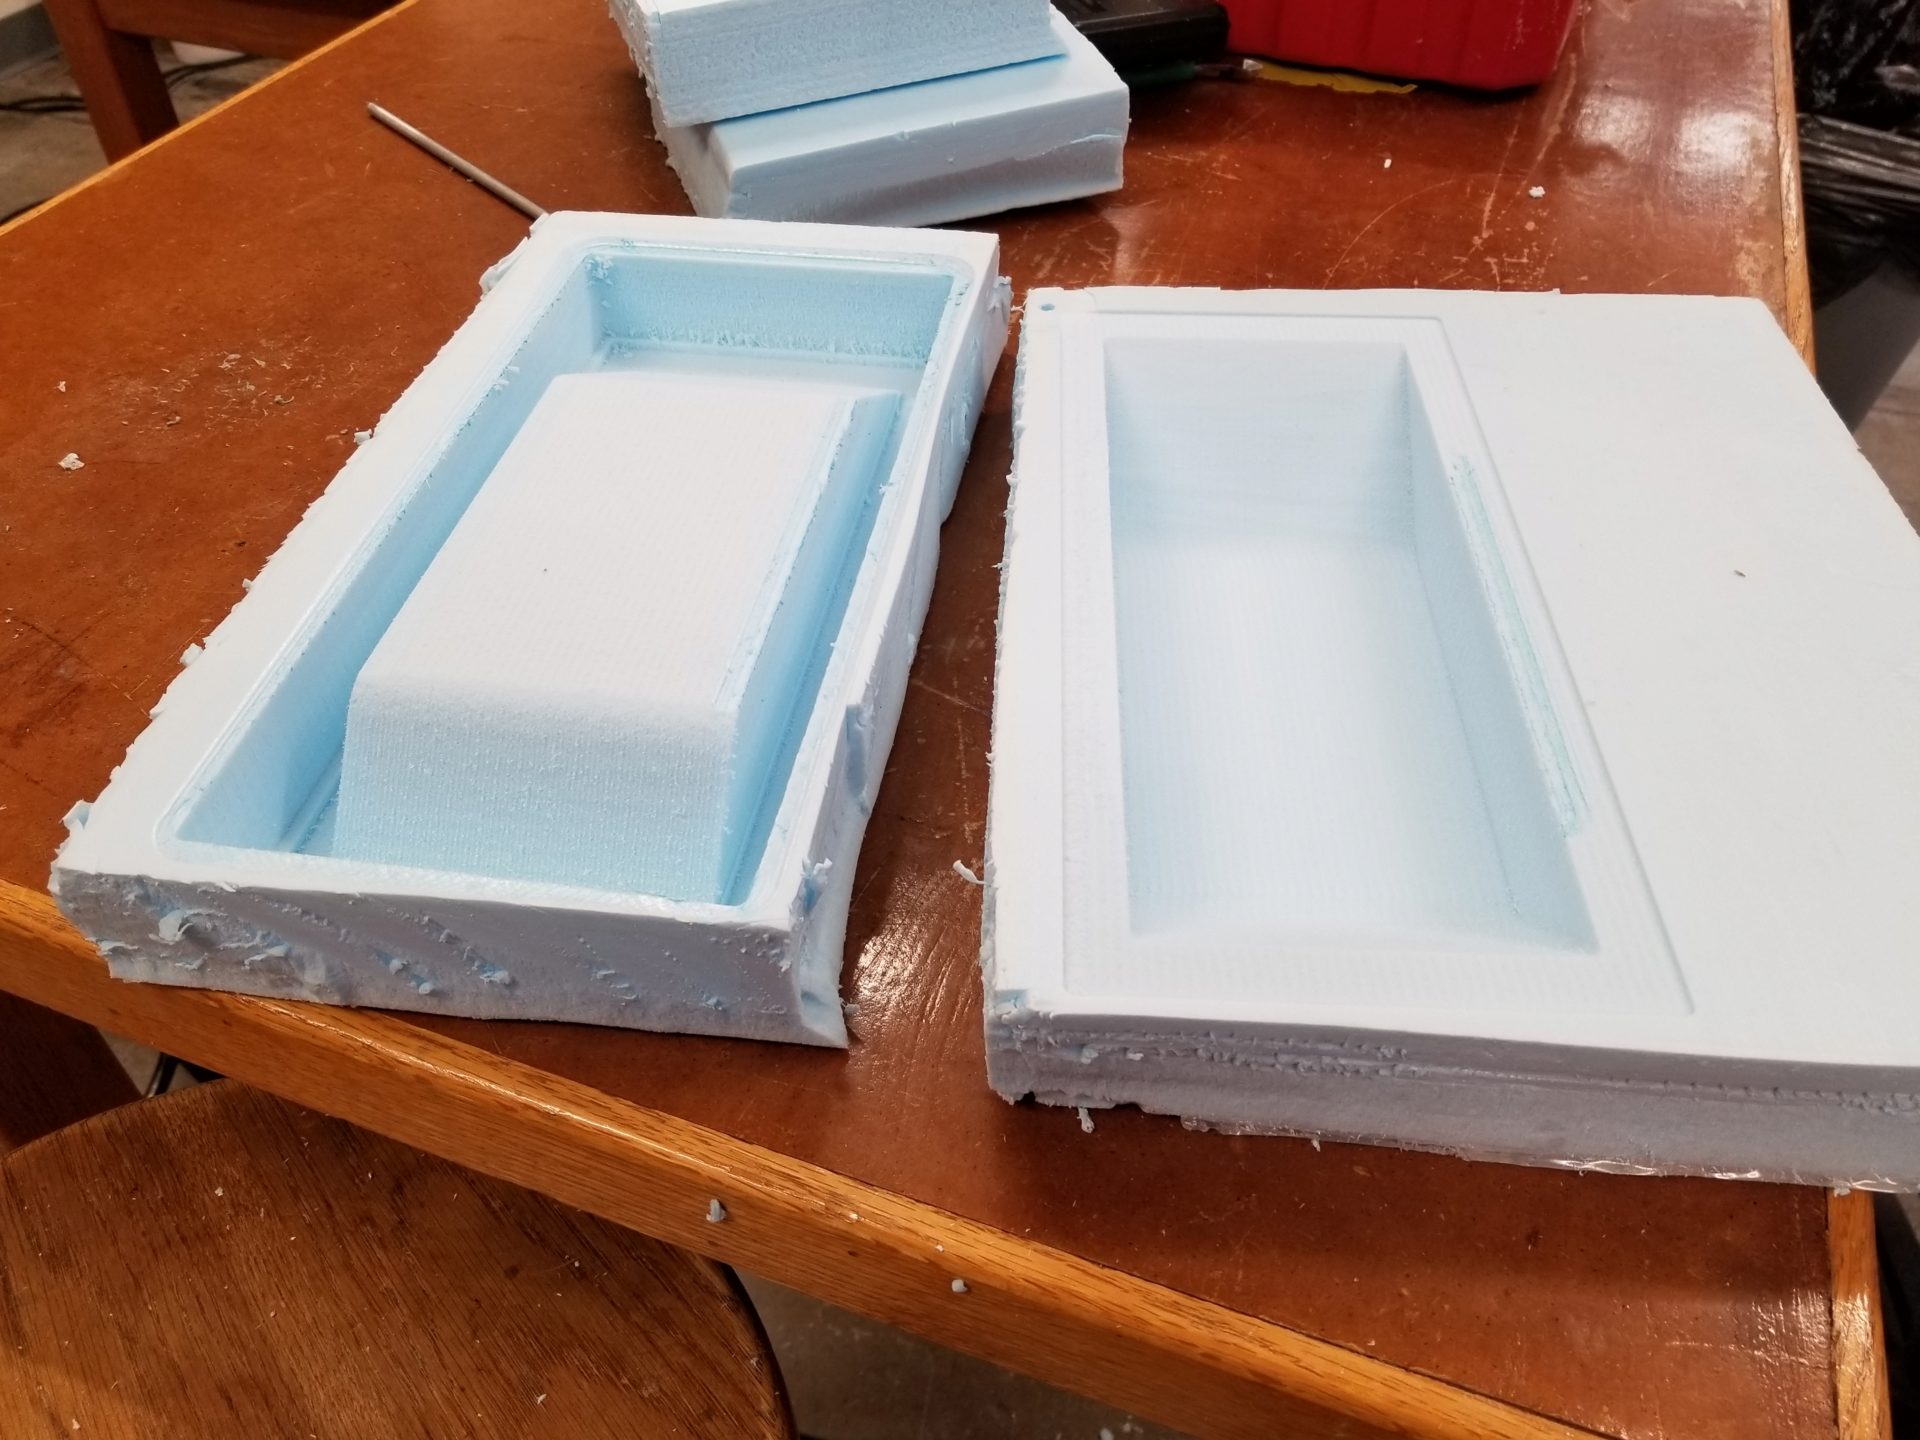
The molds came out really nice. I made sure the finish cut followed the slope of my ramp for a smooth finish, but I’m pretty sure it won’t matter because the composite process isn’t nearly the level of precision we’ve had in some things. When I tried to fit my mold pieces together, the convex piece was just a little too wide to fit it. I sanded down the sides until it was a slightly loose fit, so that there would be room for cling wrap as my mold release.

For the fiber in my composite, I used what’s essentially fancy burlap, optimized to have the right fiber density and thicknes to work well with the resin. I didn’t have to do anything fancy to cut these pieces because I only have curvature in one direction. I cut strips of the fiber to the width of my ramp, then cut them to slightly longer than the length of the ramp surface. (I figured it was better to err long than short; I can always trim it afterwards.)
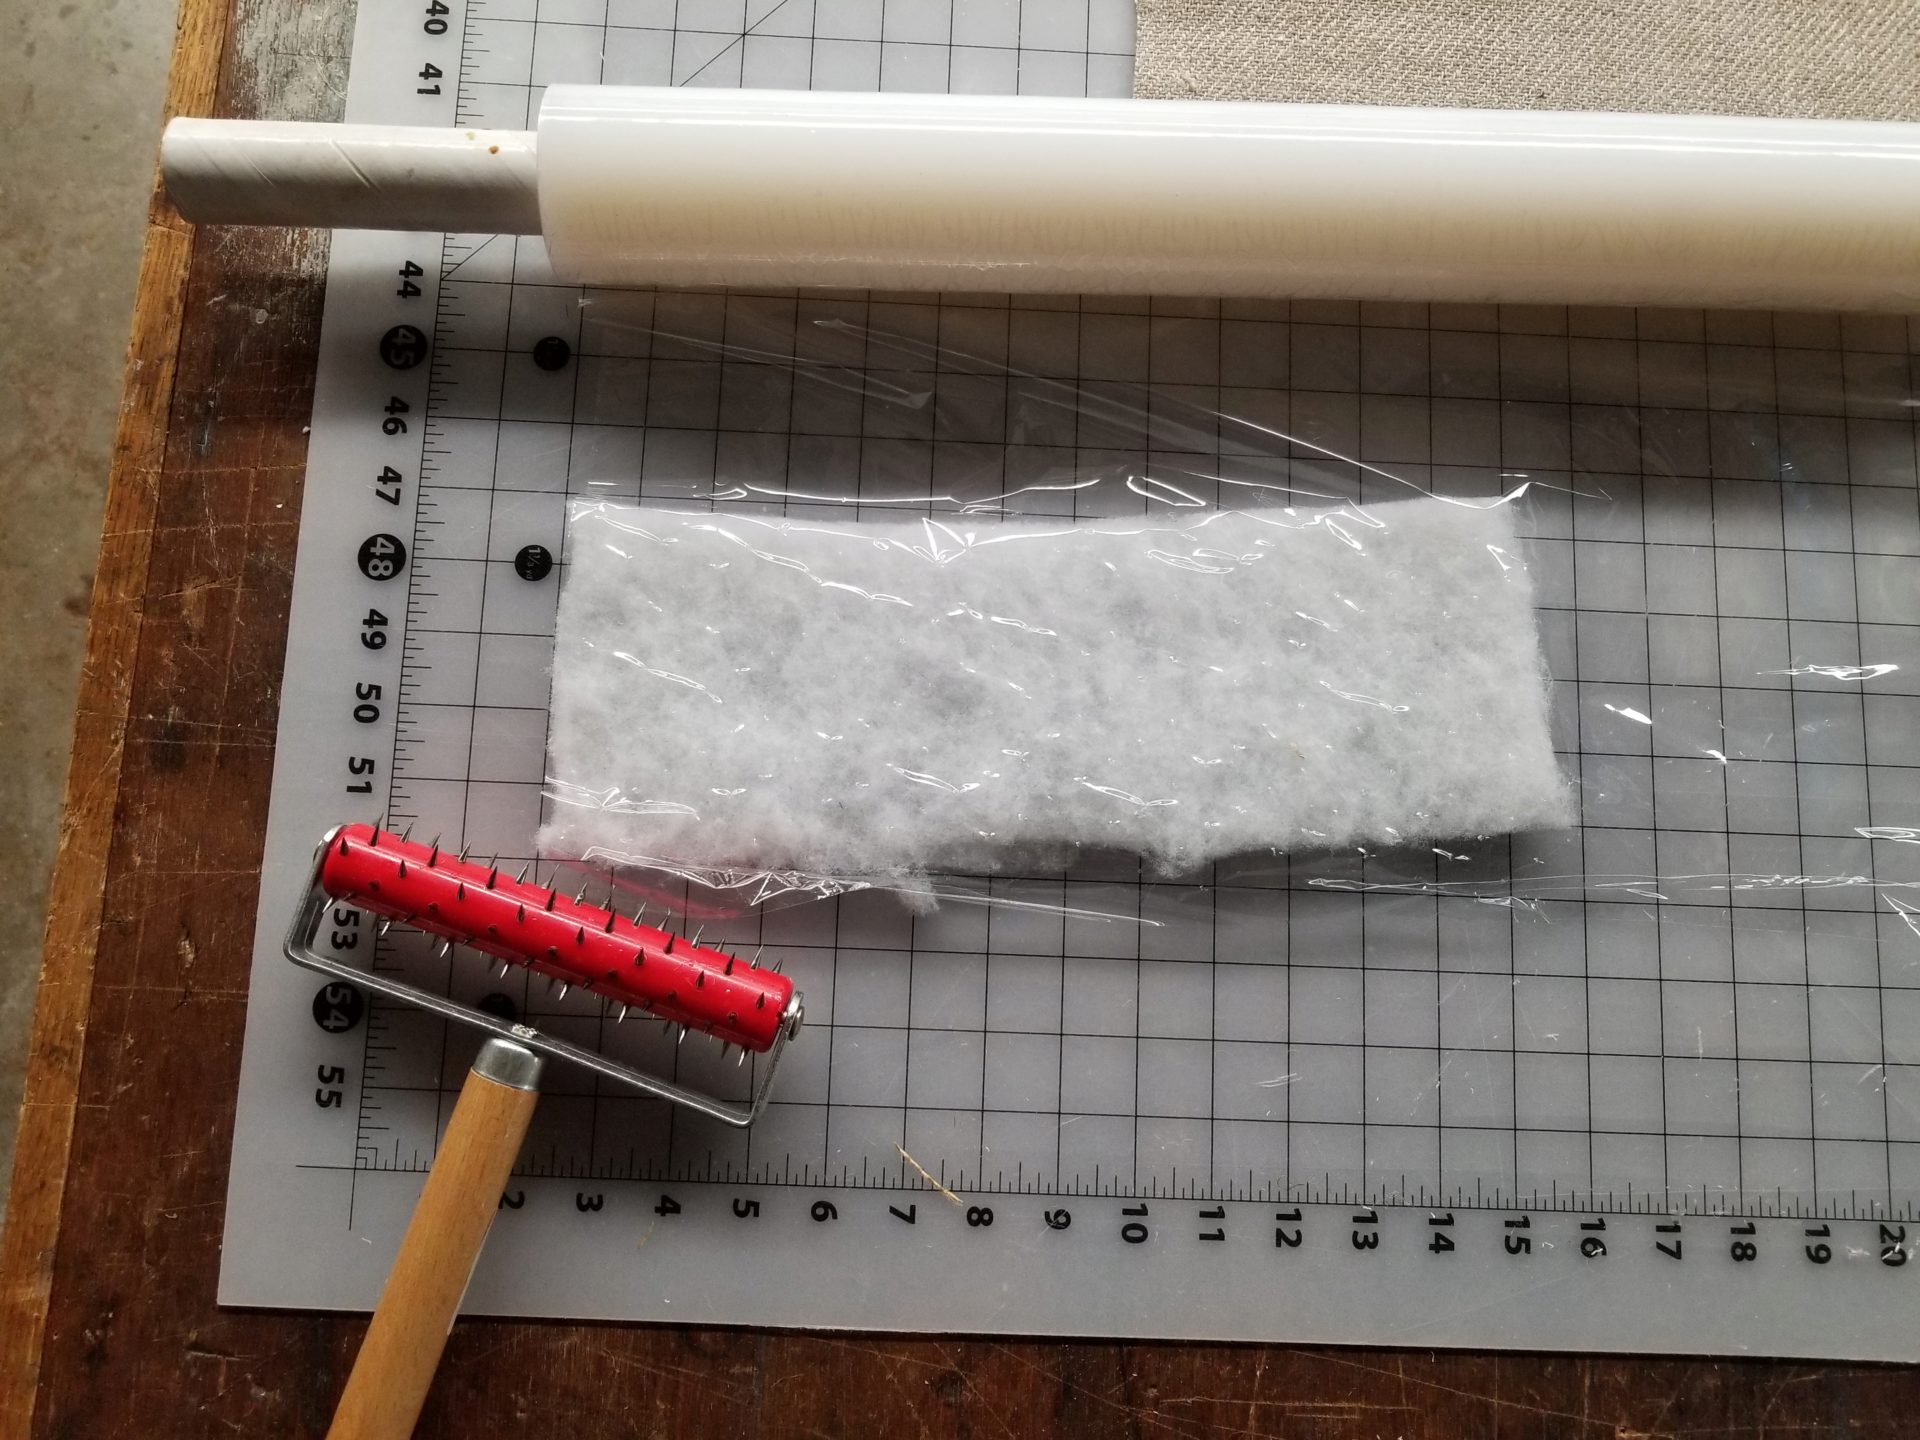
Making the bleeder layer was weirdly satisfying. I laid my plastic wrap on the quilt batting and ran over it with this… thing. It looks like a torture device. I don’t know what its original intended purpose is, but it’s great at posking holes in plastic.
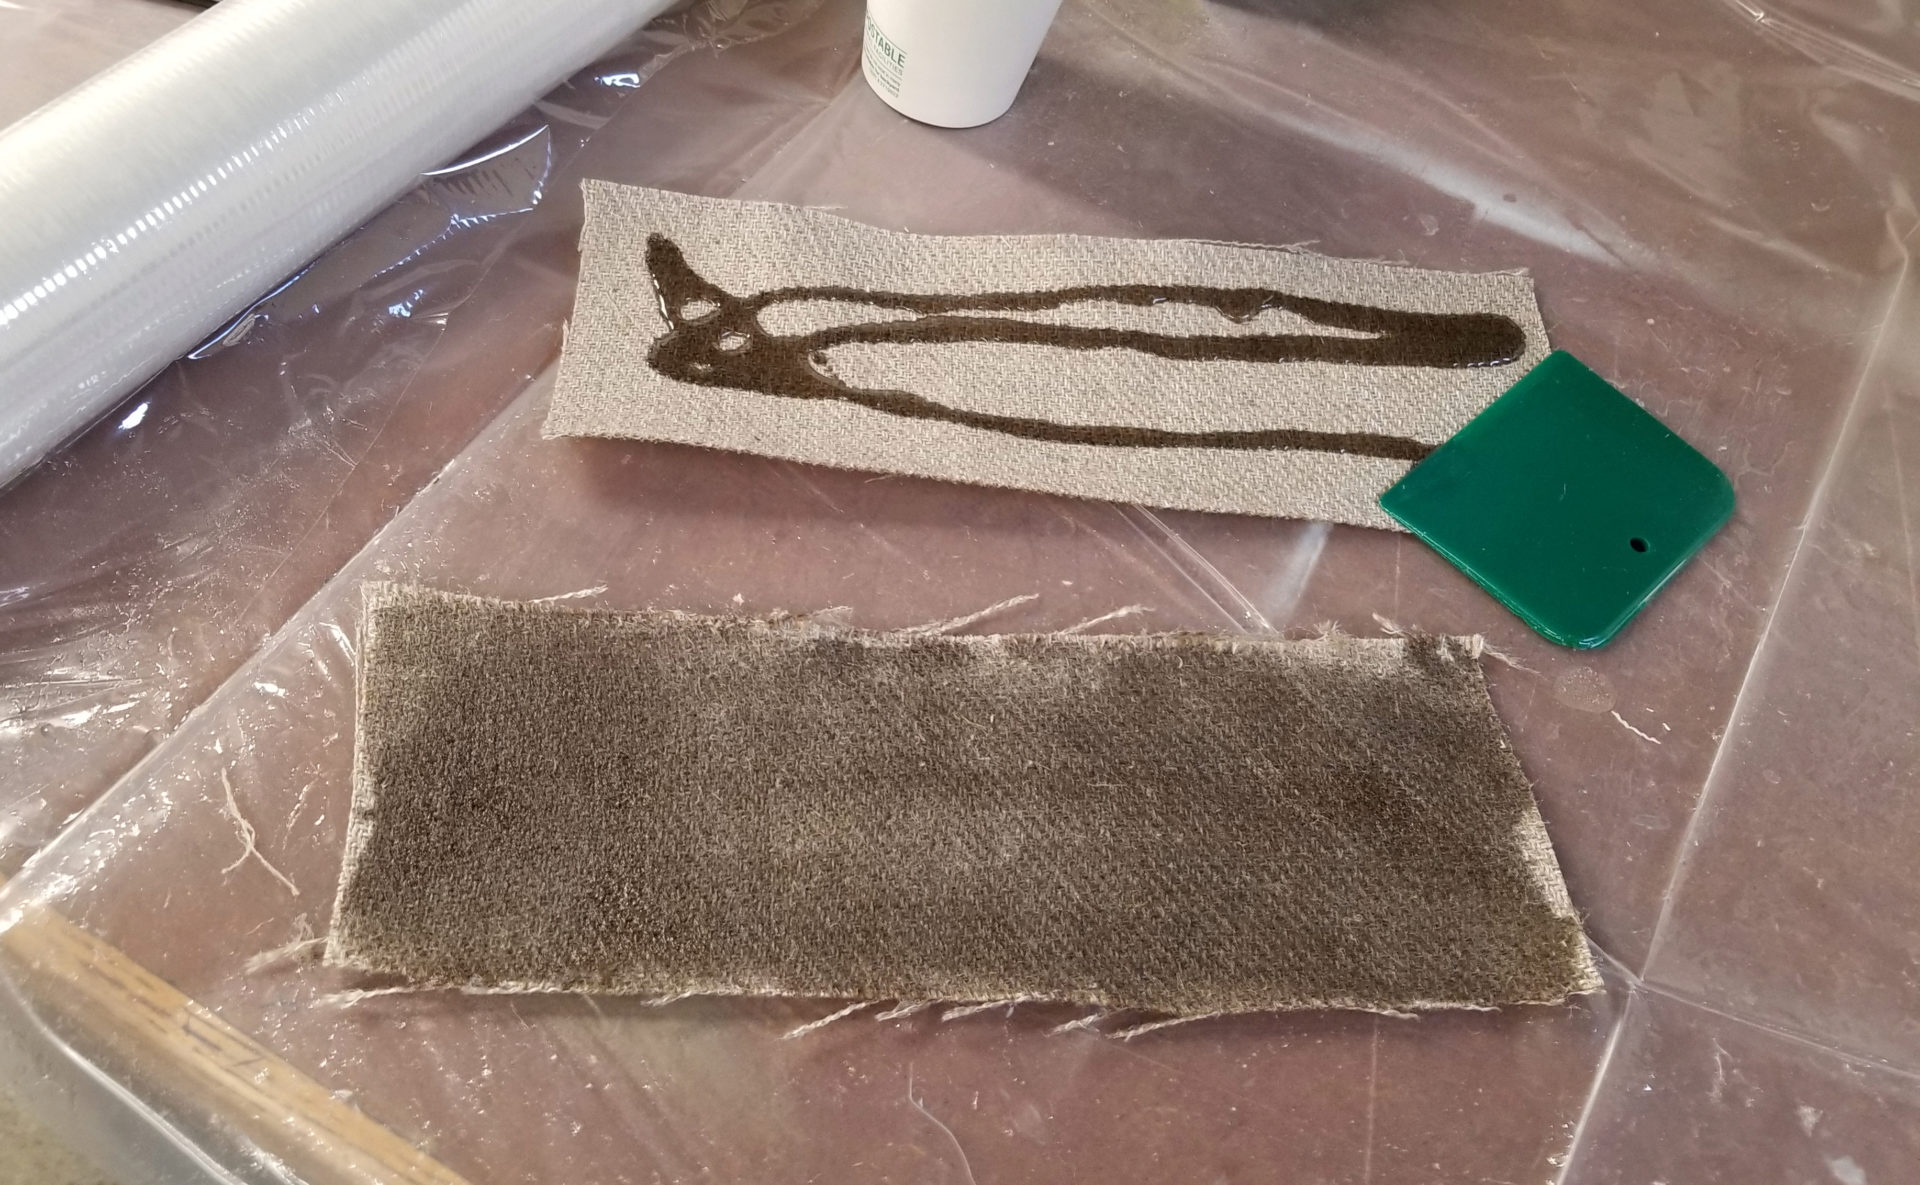
I mixed together my epoxy, then poured and squeegeed it over each of my fiber pieces.
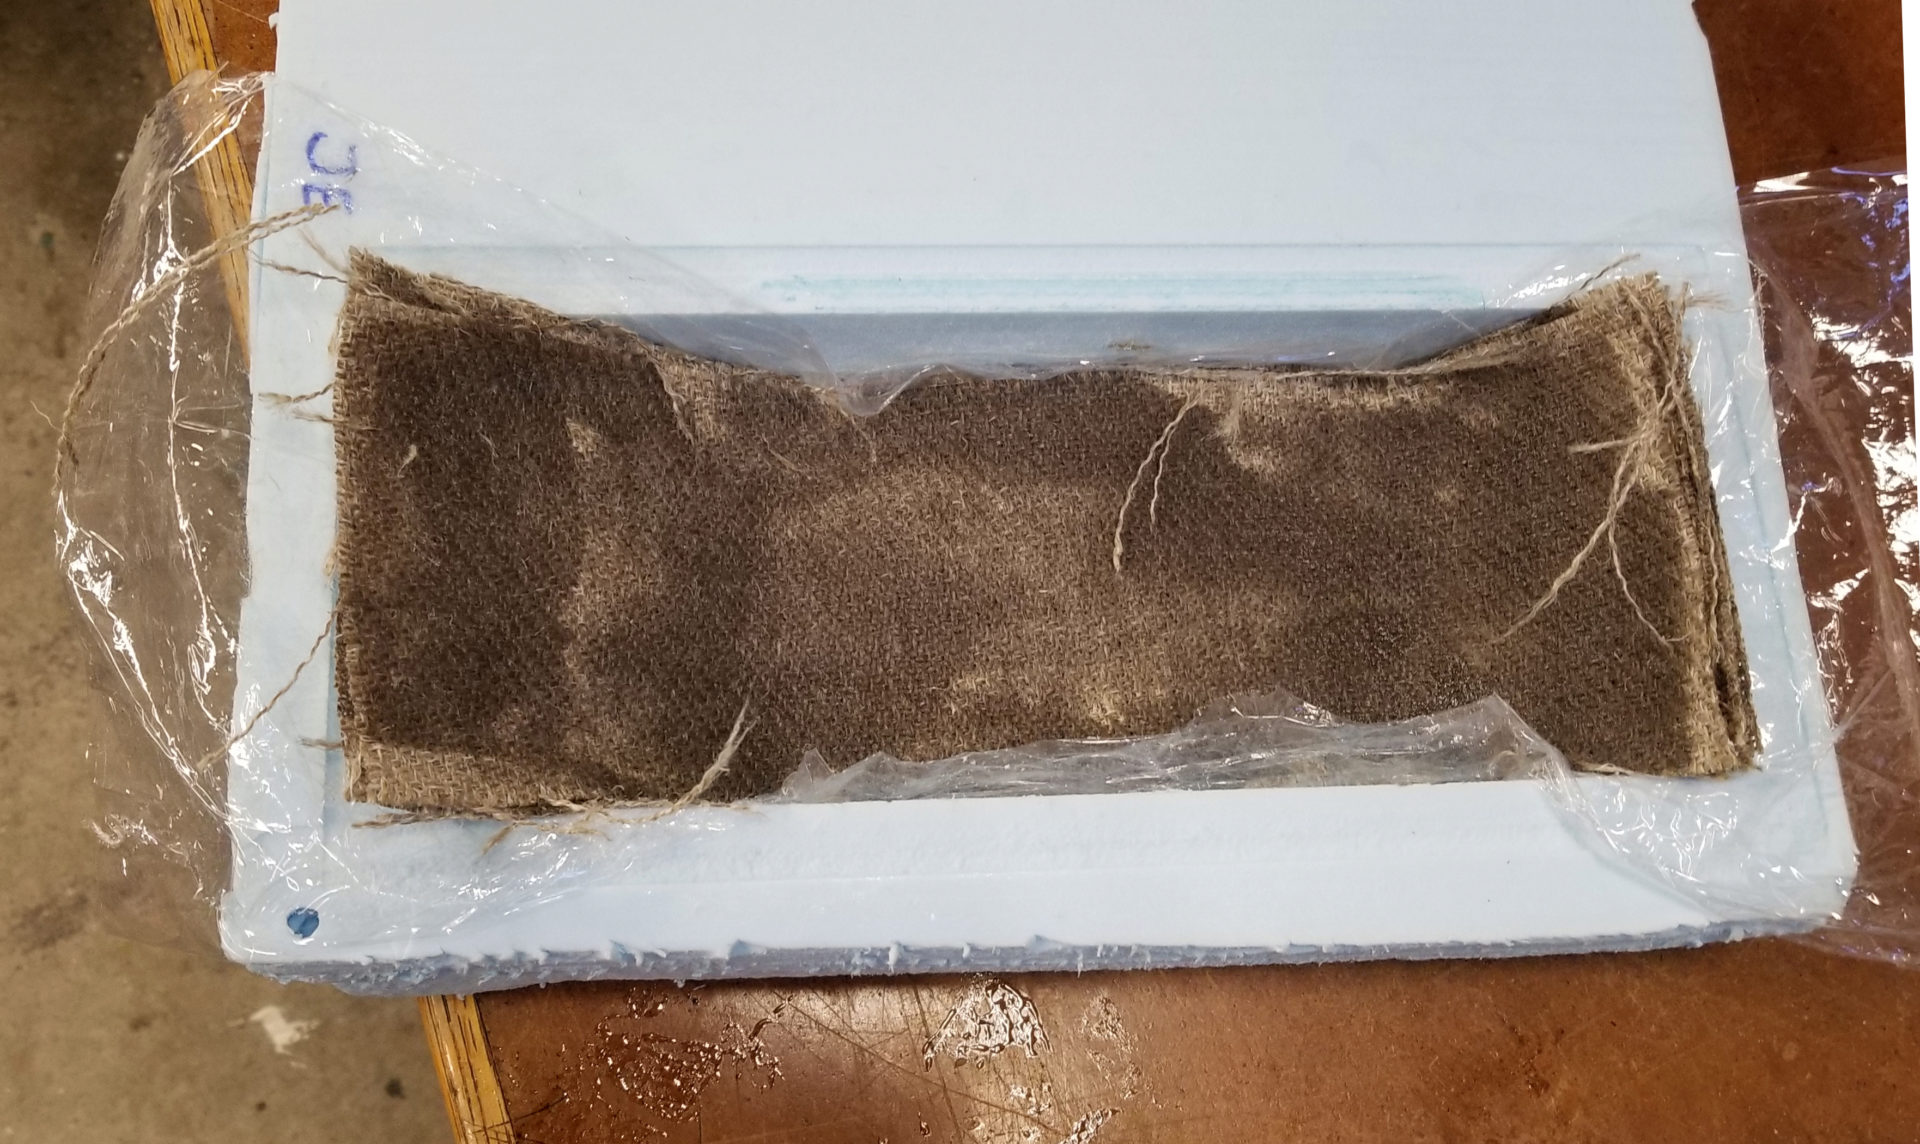
I put my plastic wrap in the bottom of my mold and stacked up my wet fibers on top.
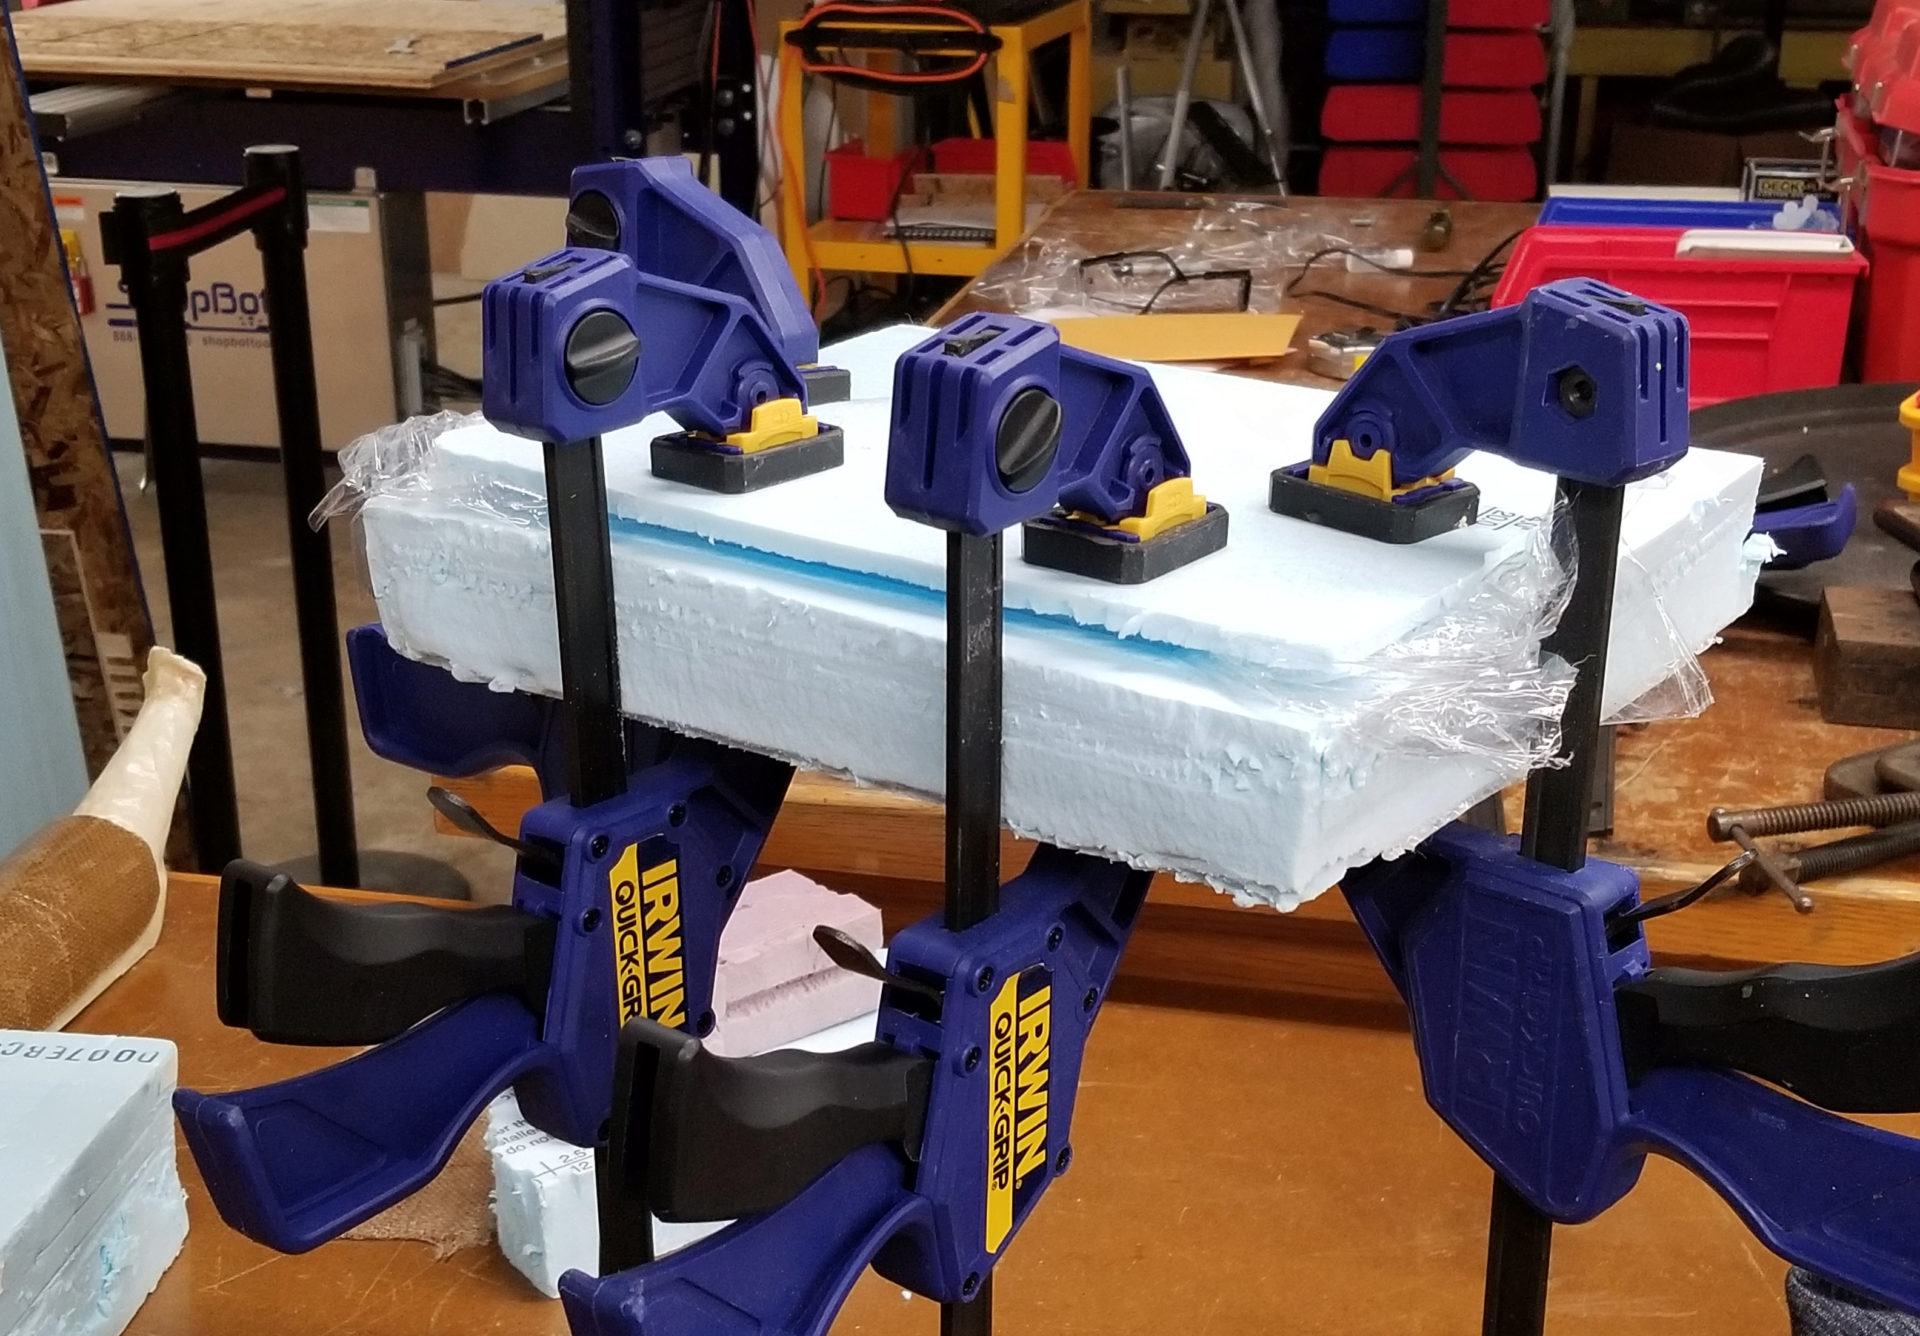
Then I clamped it with as many clamps as I could fit on. The clamps started pressing into the foam as I tightened them and sort of bowed the foam, so I wonder if I should have added a board on either side of the foam before clamping to better distribute the force of the clamps and more evenly compress it.
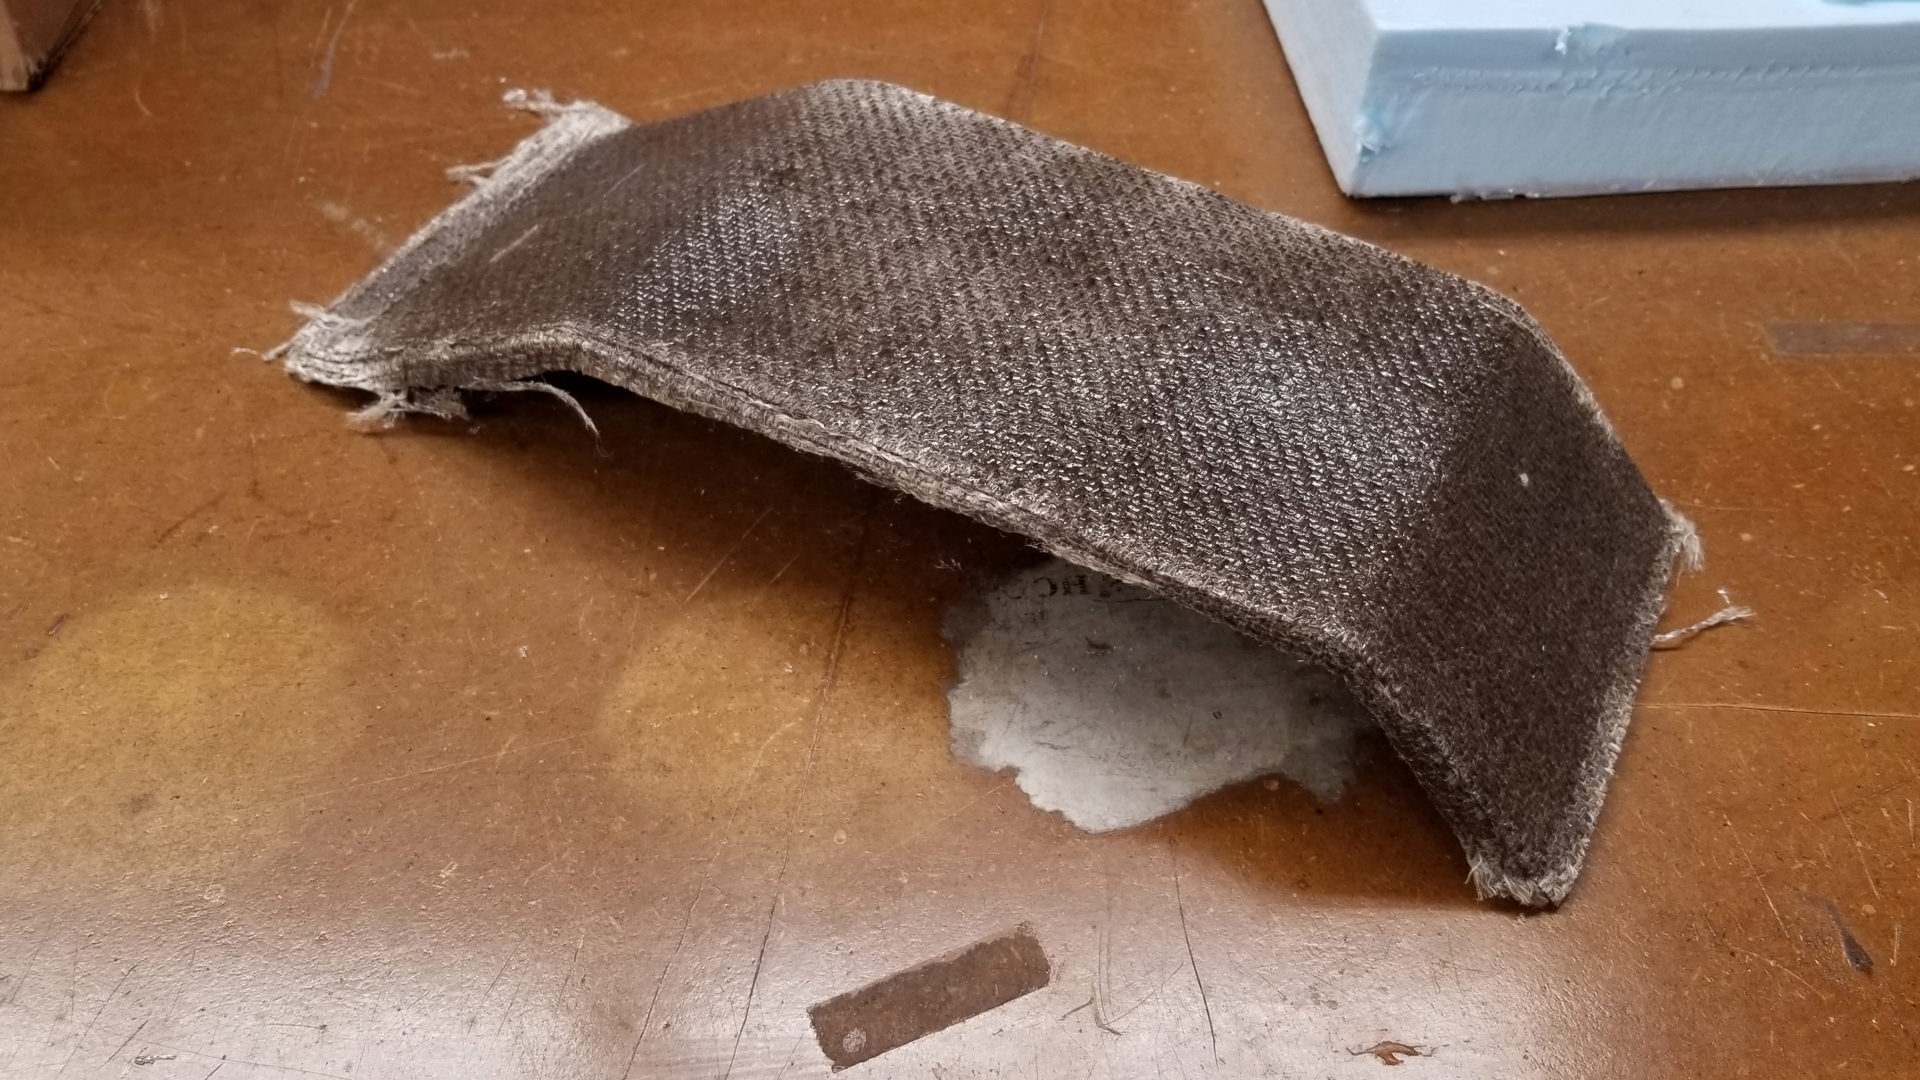
I let my composite cure overnight and de-molded it in the morning. The plastic wrap came off easily from the mold and I’m left with a very sturdy ramp.
There are spots on the edge that don’t have epoxy in them. After Neil telling us that it’s best to have a high fiber to resin ratio, I guess I skimped on the epoxy. The surface is also uneven; it’s definitely thinner (more compressed) where I had the clamps – more evidence that I should have added a layer to even out the clamping force.
I tested out my ramp with the latest version of my robot (v.1.3), and it can climb it. Going up the gentle (30 deg) slope:
And going up the steep (45 deg) slope:
But it doesn’t always make it up the steep slope. Good thing the slope on the back of the robot is only 35 deg. (Also, in these ramp climbing tests the motors here are only running at 25%.)