Drawing and Milling
This week we designed our own electronics; I created many different designs, but only 2 prints were successful! This is a catalog of all of my mistakes and mostly a catalog for troubleshooting the Mill
1. I tinkered with TinkerCad first to test the waters because I have never designed or programmed my own circuit board. This program is really basic and I should have skipped fiddling with it too much. It doesn’t provide any usable output. I moved into Kicad, which was more difficult as a beginner user interface than Eagle, so I switched to Eagle.
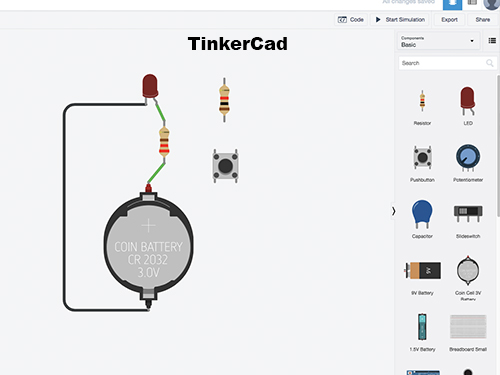
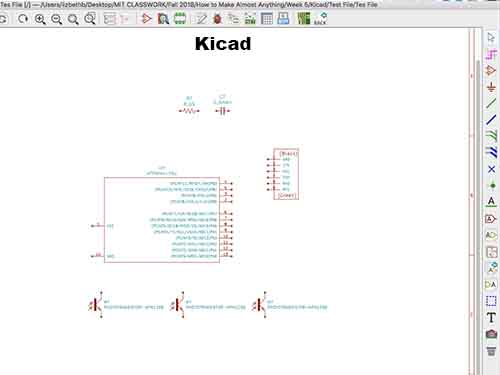
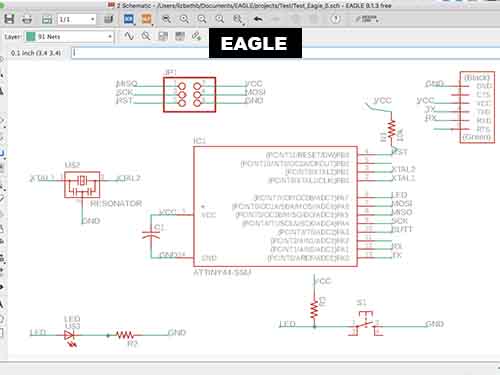
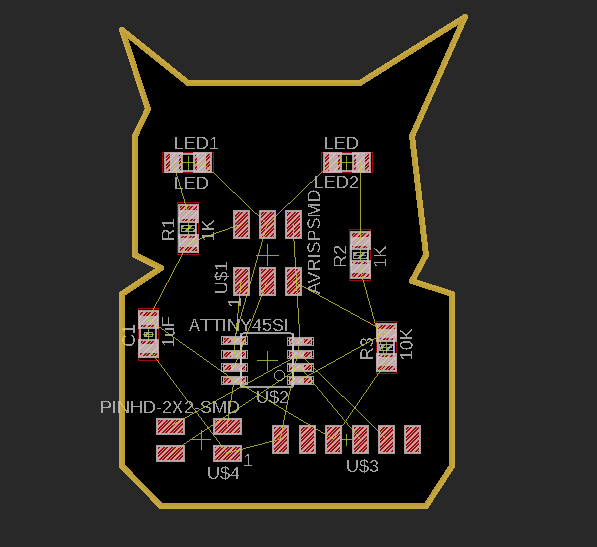
3. In Eagle, I began by drawing the schematic. Our TA, Tomás, gave us great advice about linking the wires to the pins; Here are some helpful commands: In the text box, write out - net - to protrude wires from the pins. Type in - Label - to label the wires.
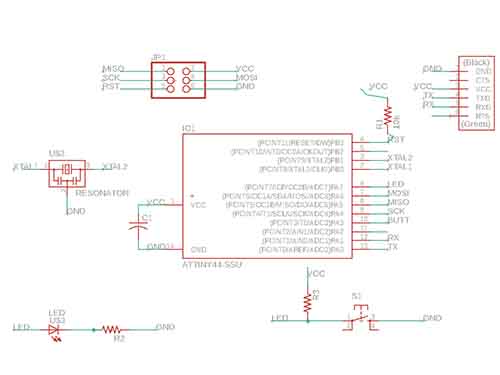
4. After drawing everything, I moved into organizing the board. In the list to the left, click on the BRD file to be taken to the board. I moved around all of the components and rotated them until there were very few crossing wires. To move components, right click or type - Move -, if it doesn’t work at first, type - Display All - then try to move again. I had things different layers, so couldn’t move unless everything was displayed up front. Before beginning to route, Type - DRC - and change all items in - Clearance - to 18ml (This will give your lines enough breathing room) and change the width of the lines to 18ml as well. Hit apply
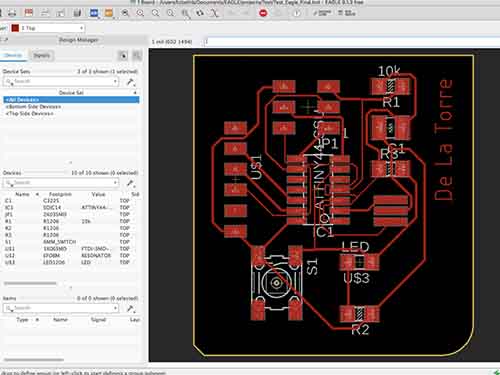
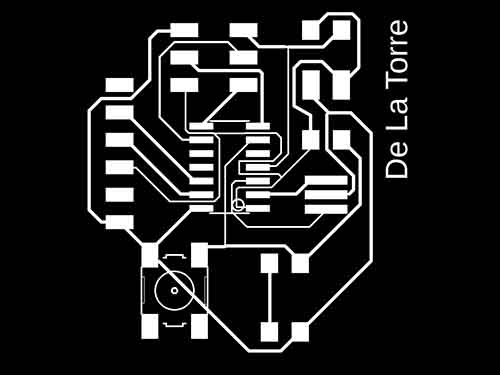
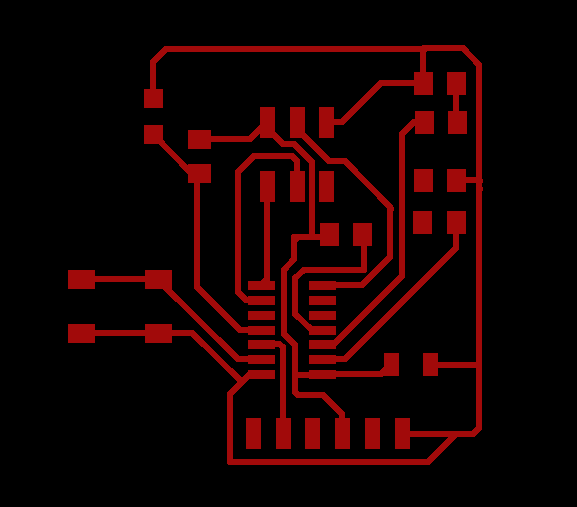
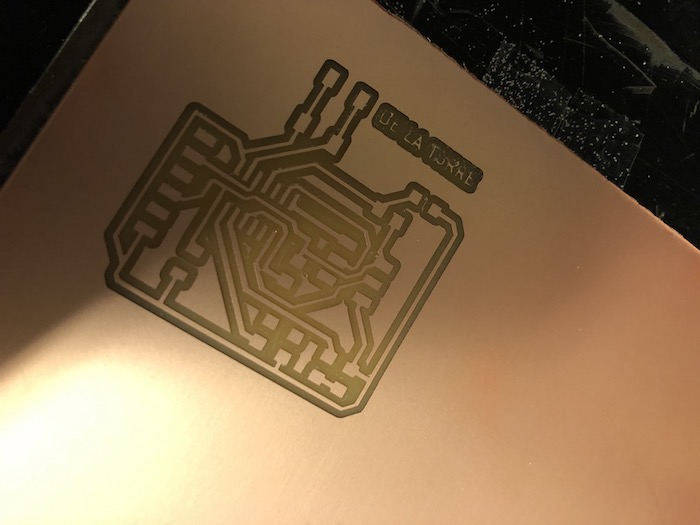
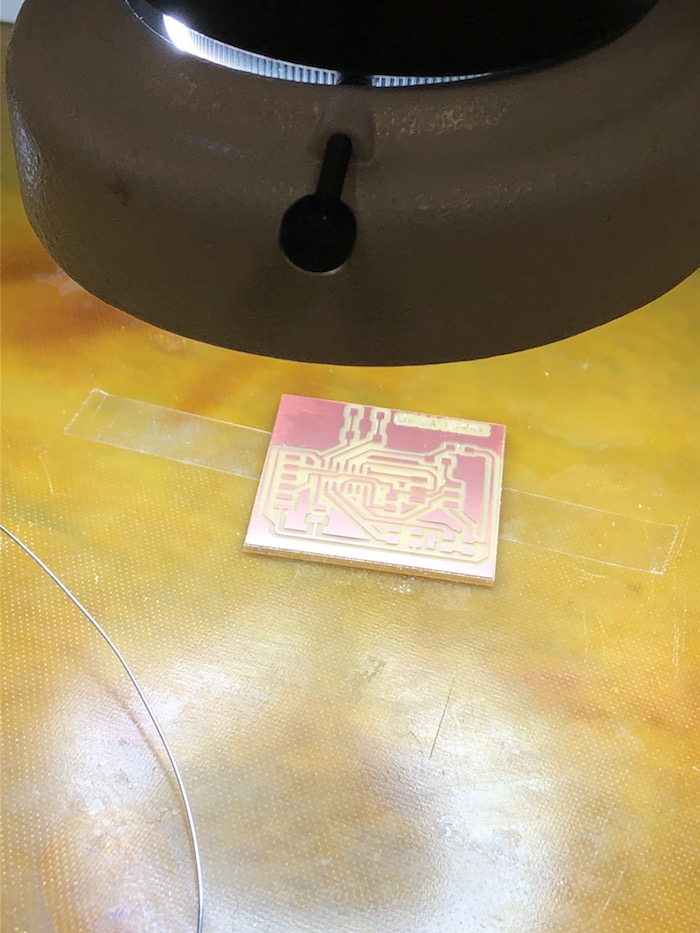
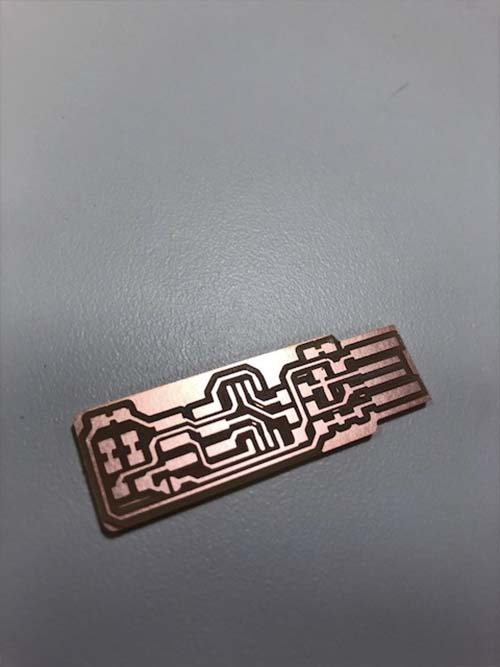
5. For my first Design, I tried Autoroute, which is a button in the tool bar that will route your wires for you! Great right? This was my first board, and so I made the mistake of not giving enough clearance. (The 18ml discussed above) when I printed this board, I had routes going around small pads; seen below and the mill did not recognize the tiny lines. Give Clearance and large width on the routes! Also, Autoroute doesn’t try to find your best path, it places routes behind the board; I ended up routing things myself after this
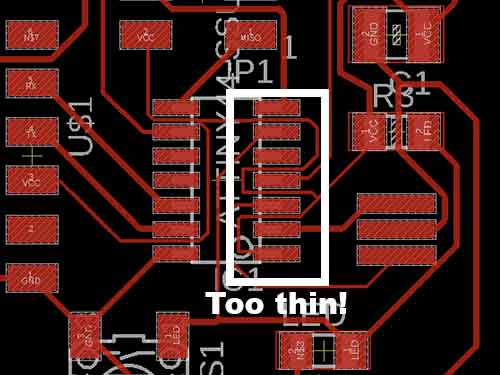
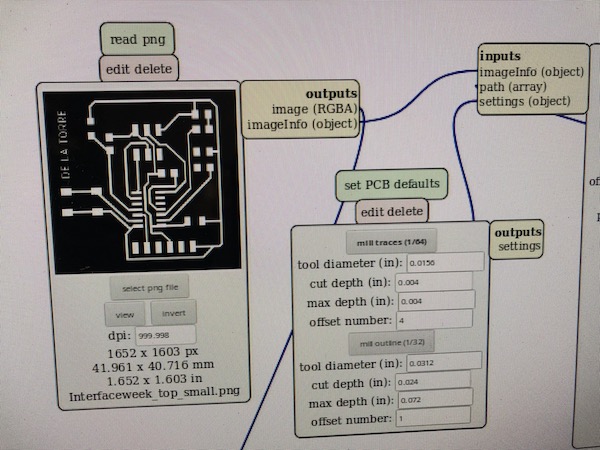
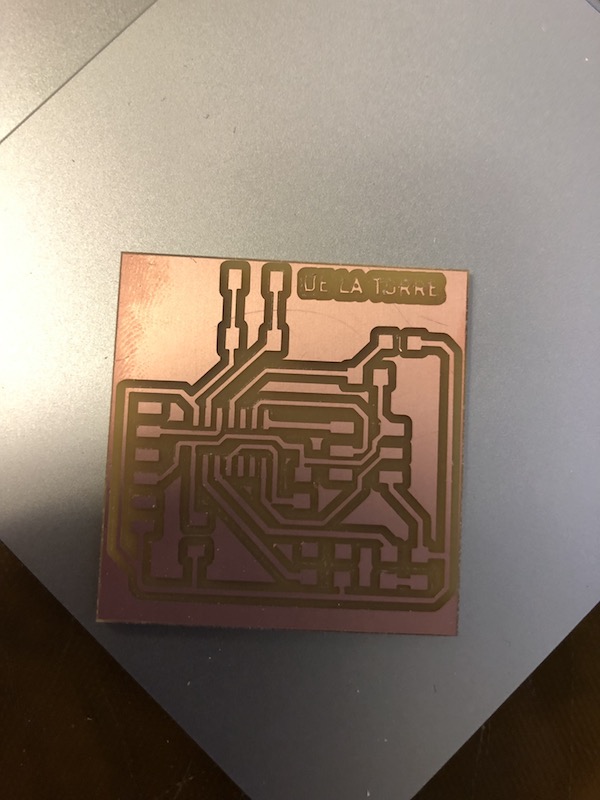
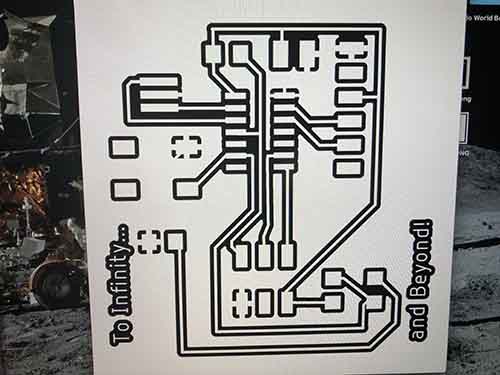
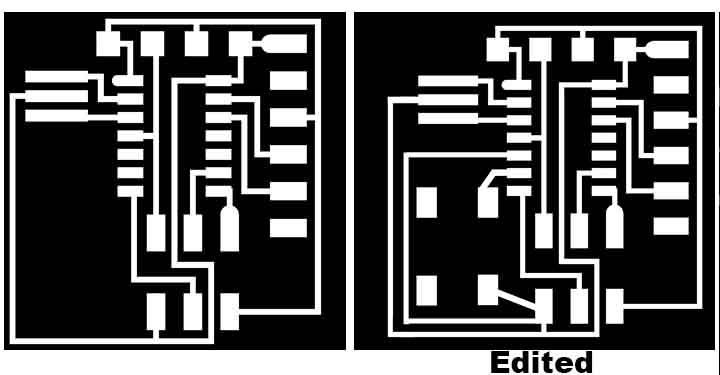
6. After my failure of attempting to fix the drawing (2 days) I redrew my design and reprinted with better results. I also edited the .PNG that Neil provided us with to fix the button and LED; I didn’t redraw this version in Eagle, but edited the PNG itself in Photoshop with good results.
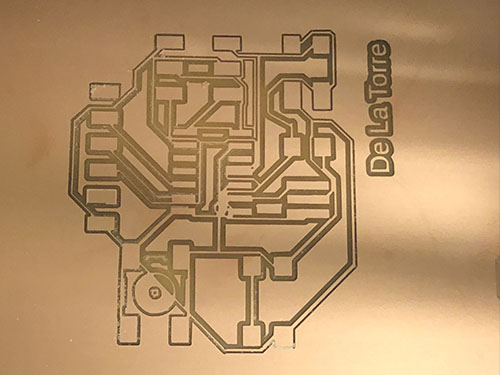
 The Mill | What to Do When...
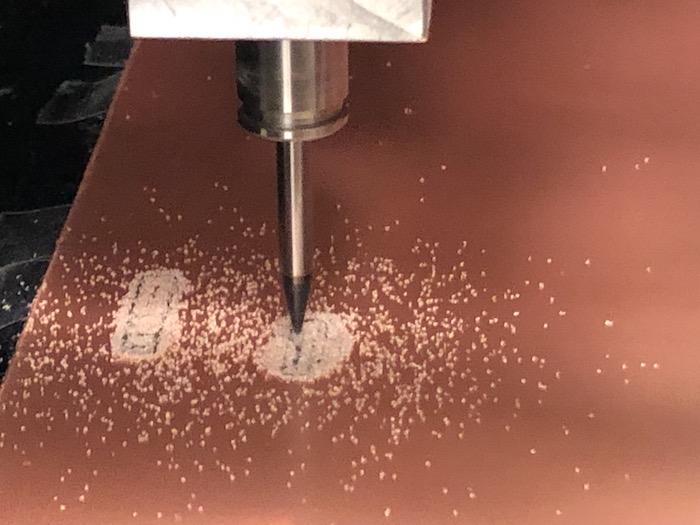
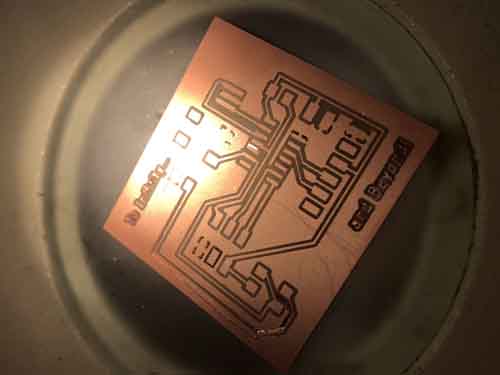
The Mill will not cut out some of my traces: A couple of things could be the issue here. Firstly, make sure your board and surface layer are completely flat. A jagged surface layer could be the problem. Next, make sure the Z-Axis on the mill is not all the way down because the machine won’t be able to drill down farther than it’s limit. I prefer to keep the head of the mill higher, by pressing the up button on the machine, and then just lowering the bit manually until it touches the board. Another problem could be the eagle file. My lines were too close together and the mill wouldn’t recognize them.
The Mill cuts in some places but only lightly cuts in others: Replace the PCB and/or surface layer, it is not flat.
The Cancel button doesn’t work: Yes it does, it just takes a very long time to take! Try not to hit the power button on the machine to turn it off, because it messes up the communication between the computer and the Machine.
To reset everything: Close Firefox, turn off the machine, on the desk top hit the “Stop Server” icon and then hit the “Start Server” Icon again, then open up Firefox and press the Power button to turn the machine on again.
When I hit the origin button, the mill won’t move: Make sure the previous job is cancelled, and that you have calculated the PNG. If all else fails, reset everything


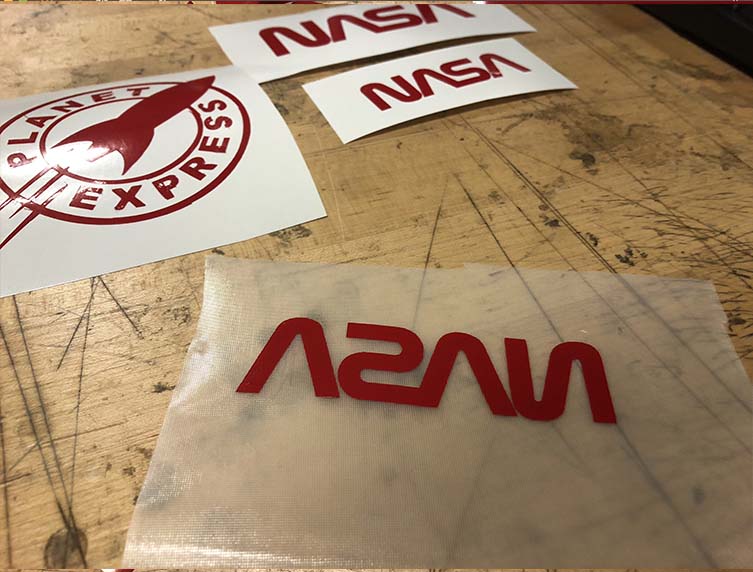
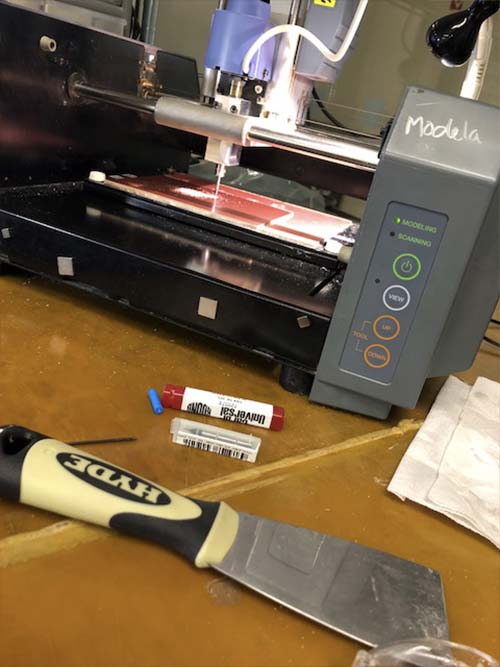
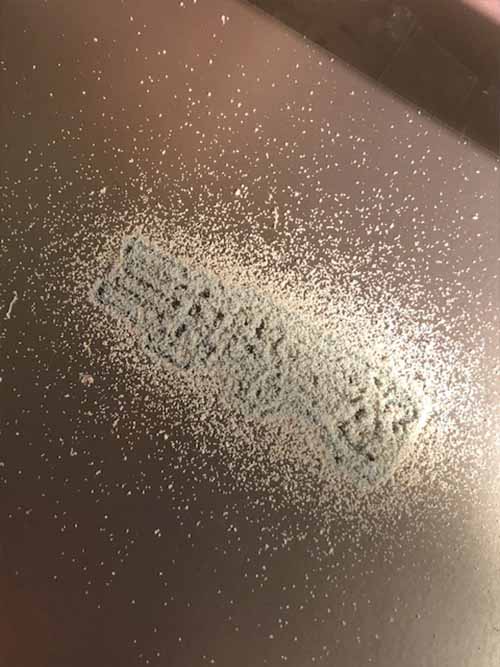
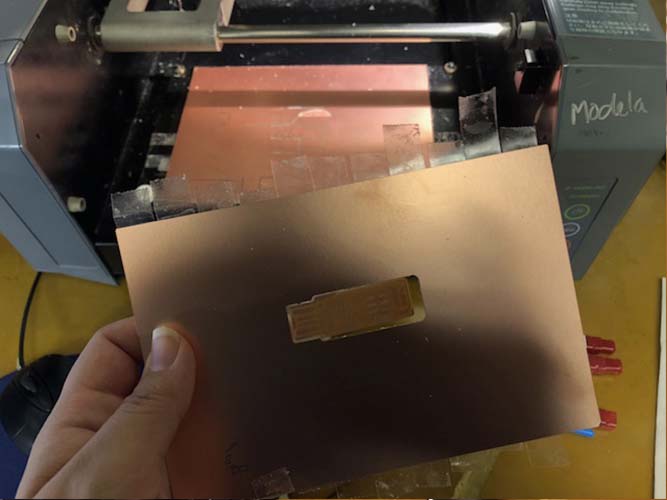
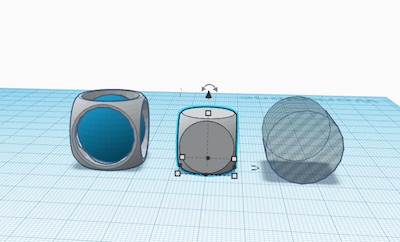
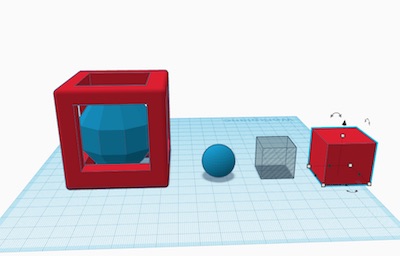
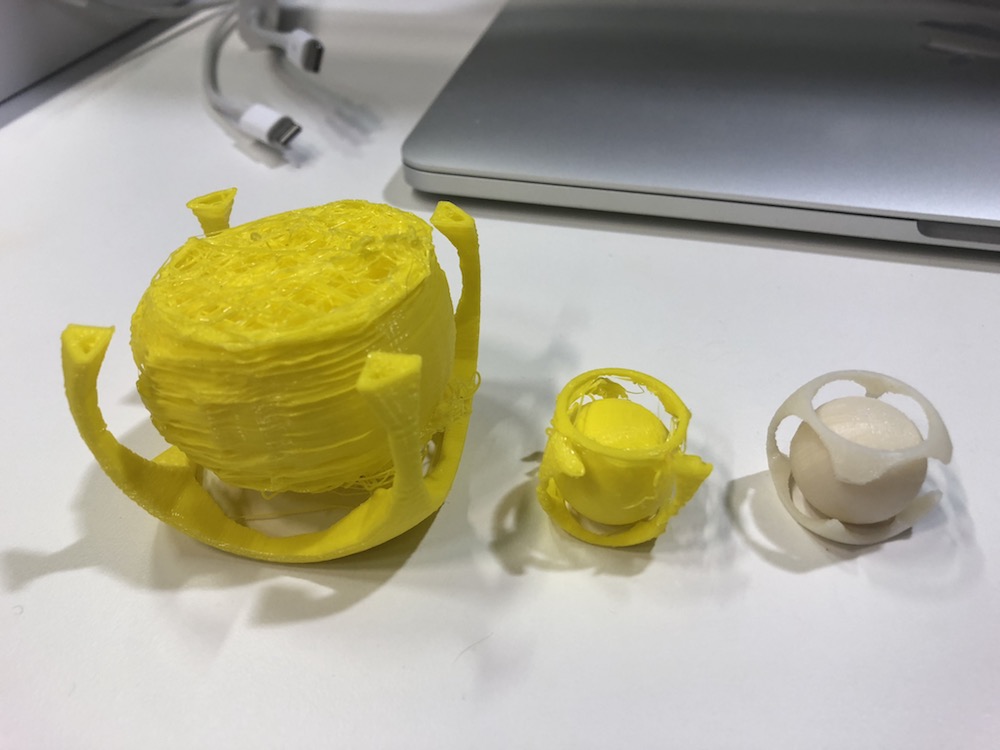
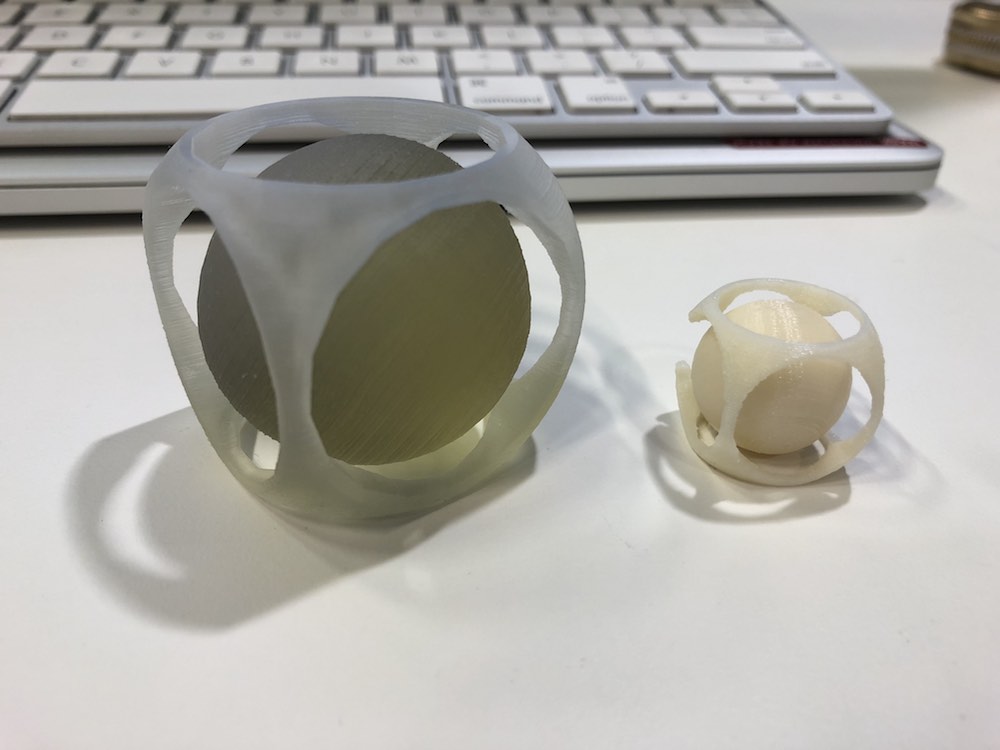


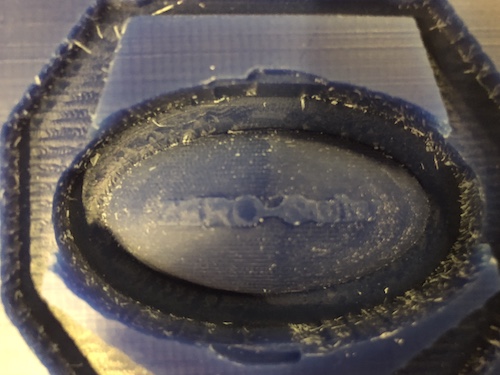 For the Mold, Sarah gave a great tutorial! Tina, Oceane and I mixed a sample of Omoo 25 and it turned out well. I cast both my molds with this. (Ignore the wrong safety sheet)
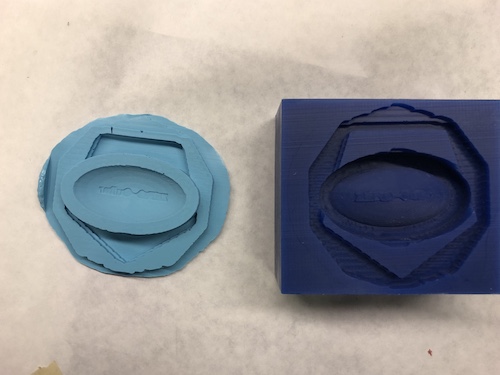
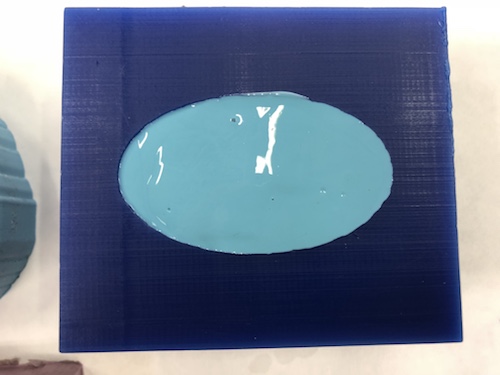
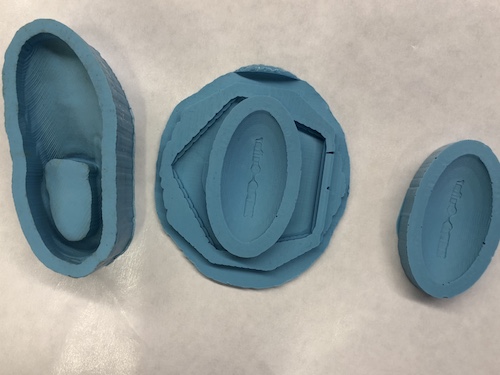
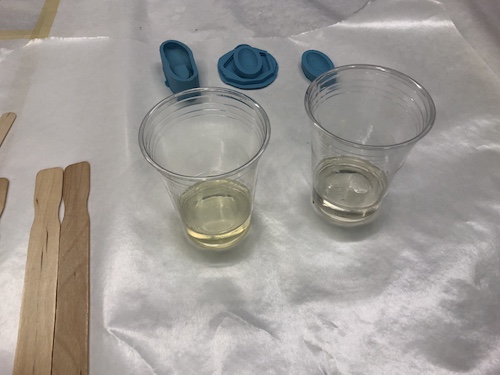
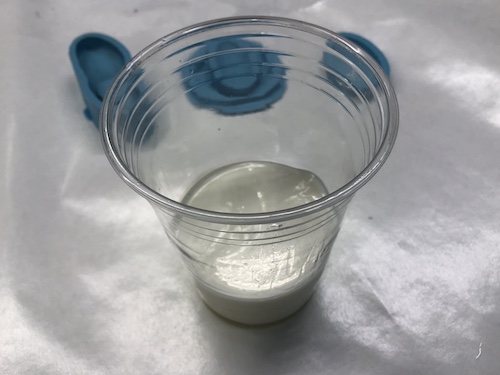
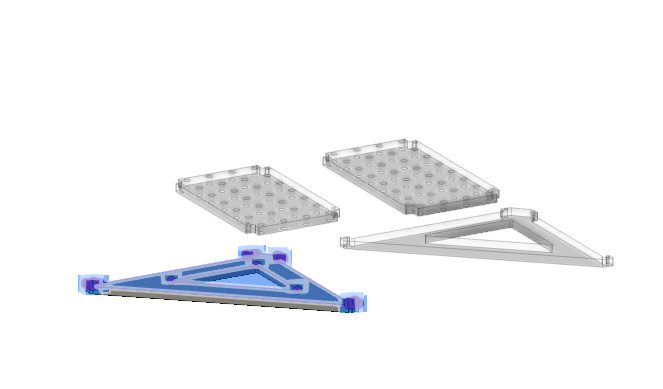
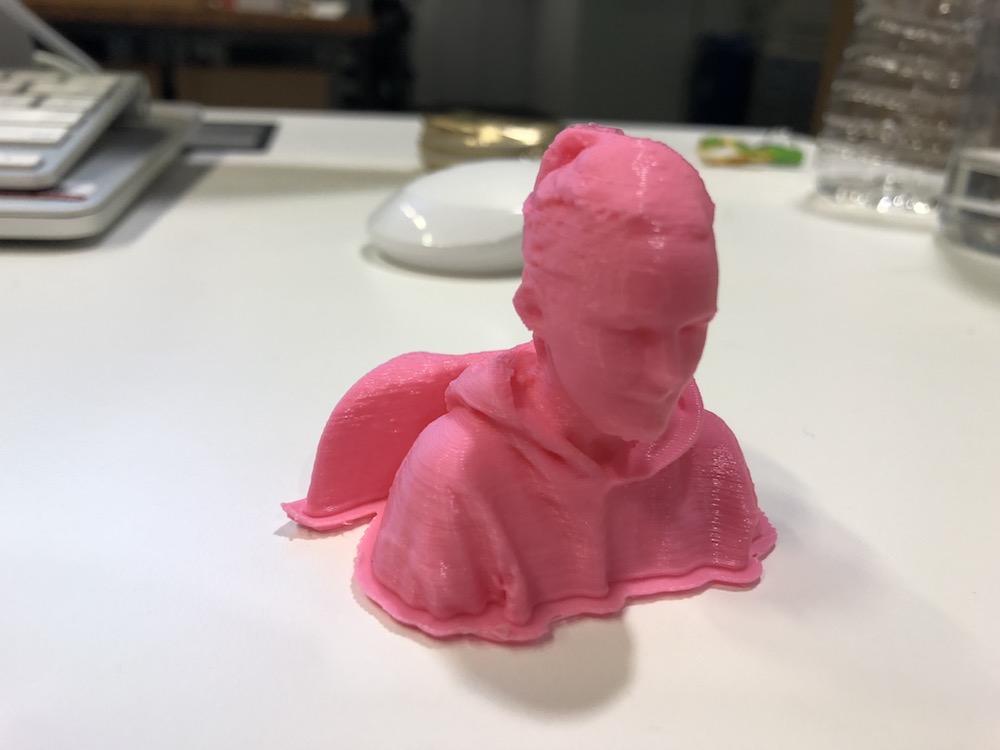
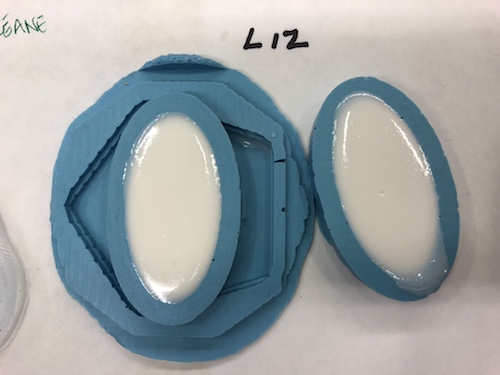 I wasn't happy with the outcome because the text didnt show clearly, so I 3D printed the file to compare
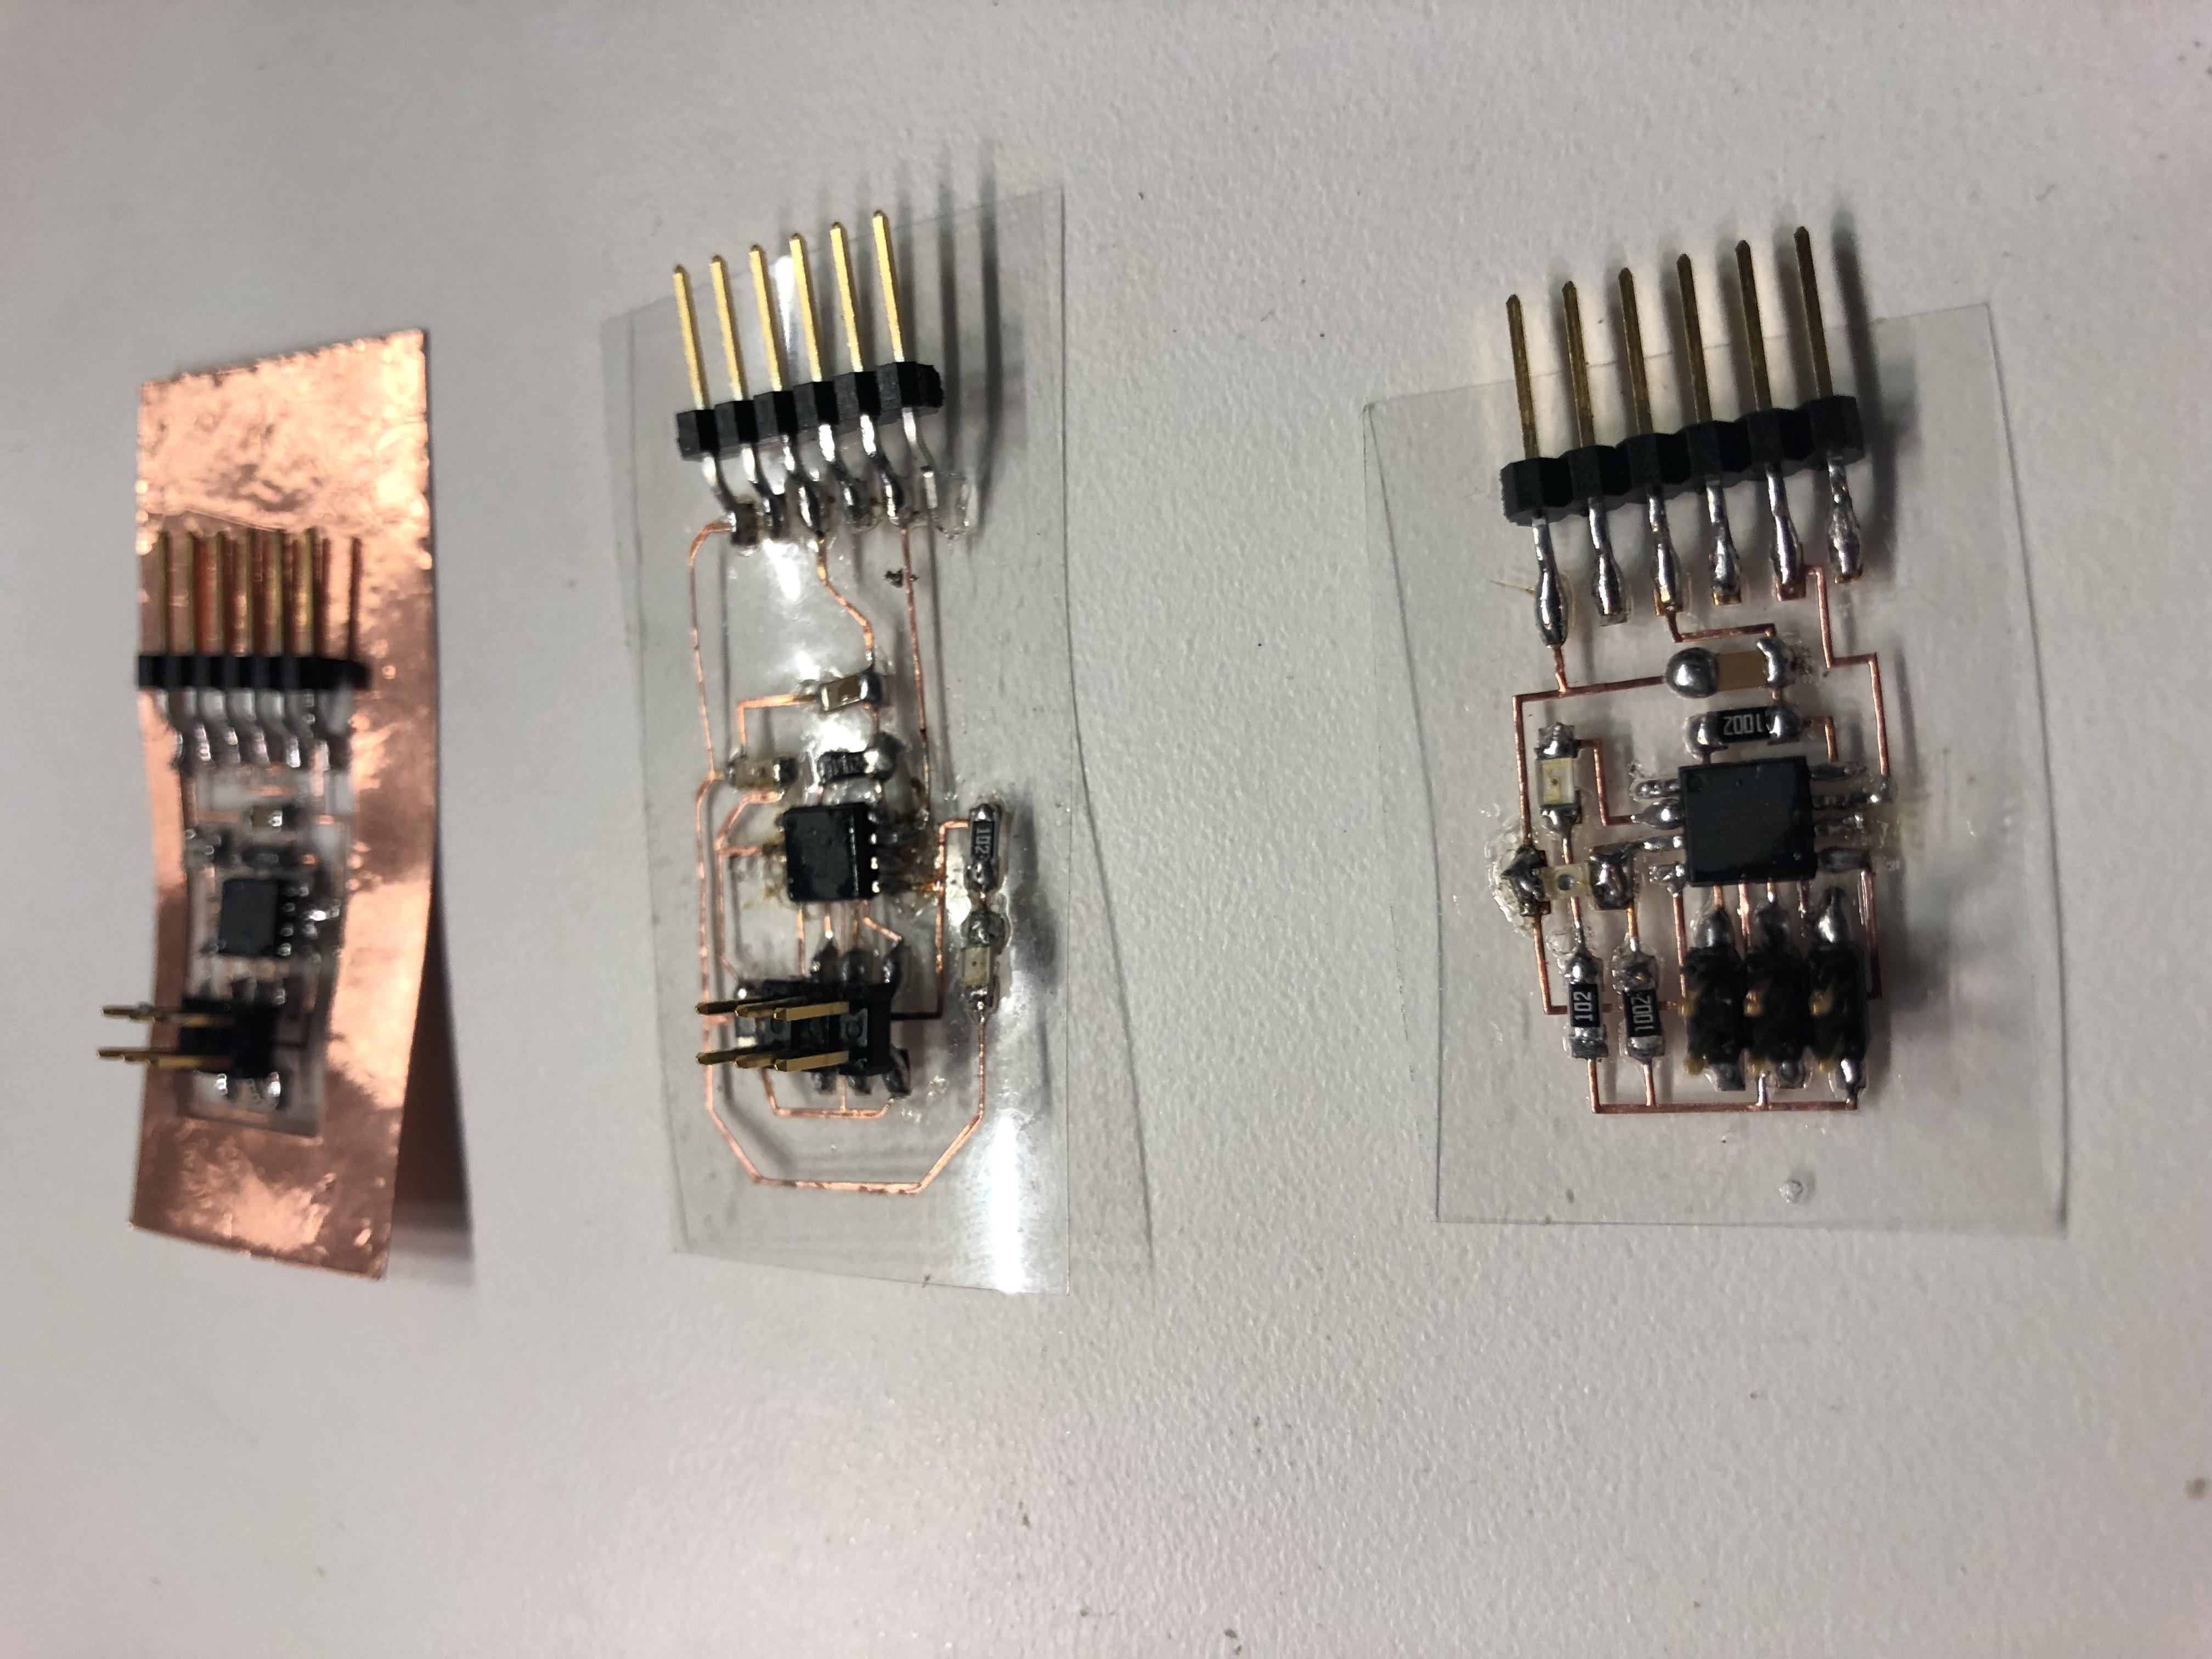
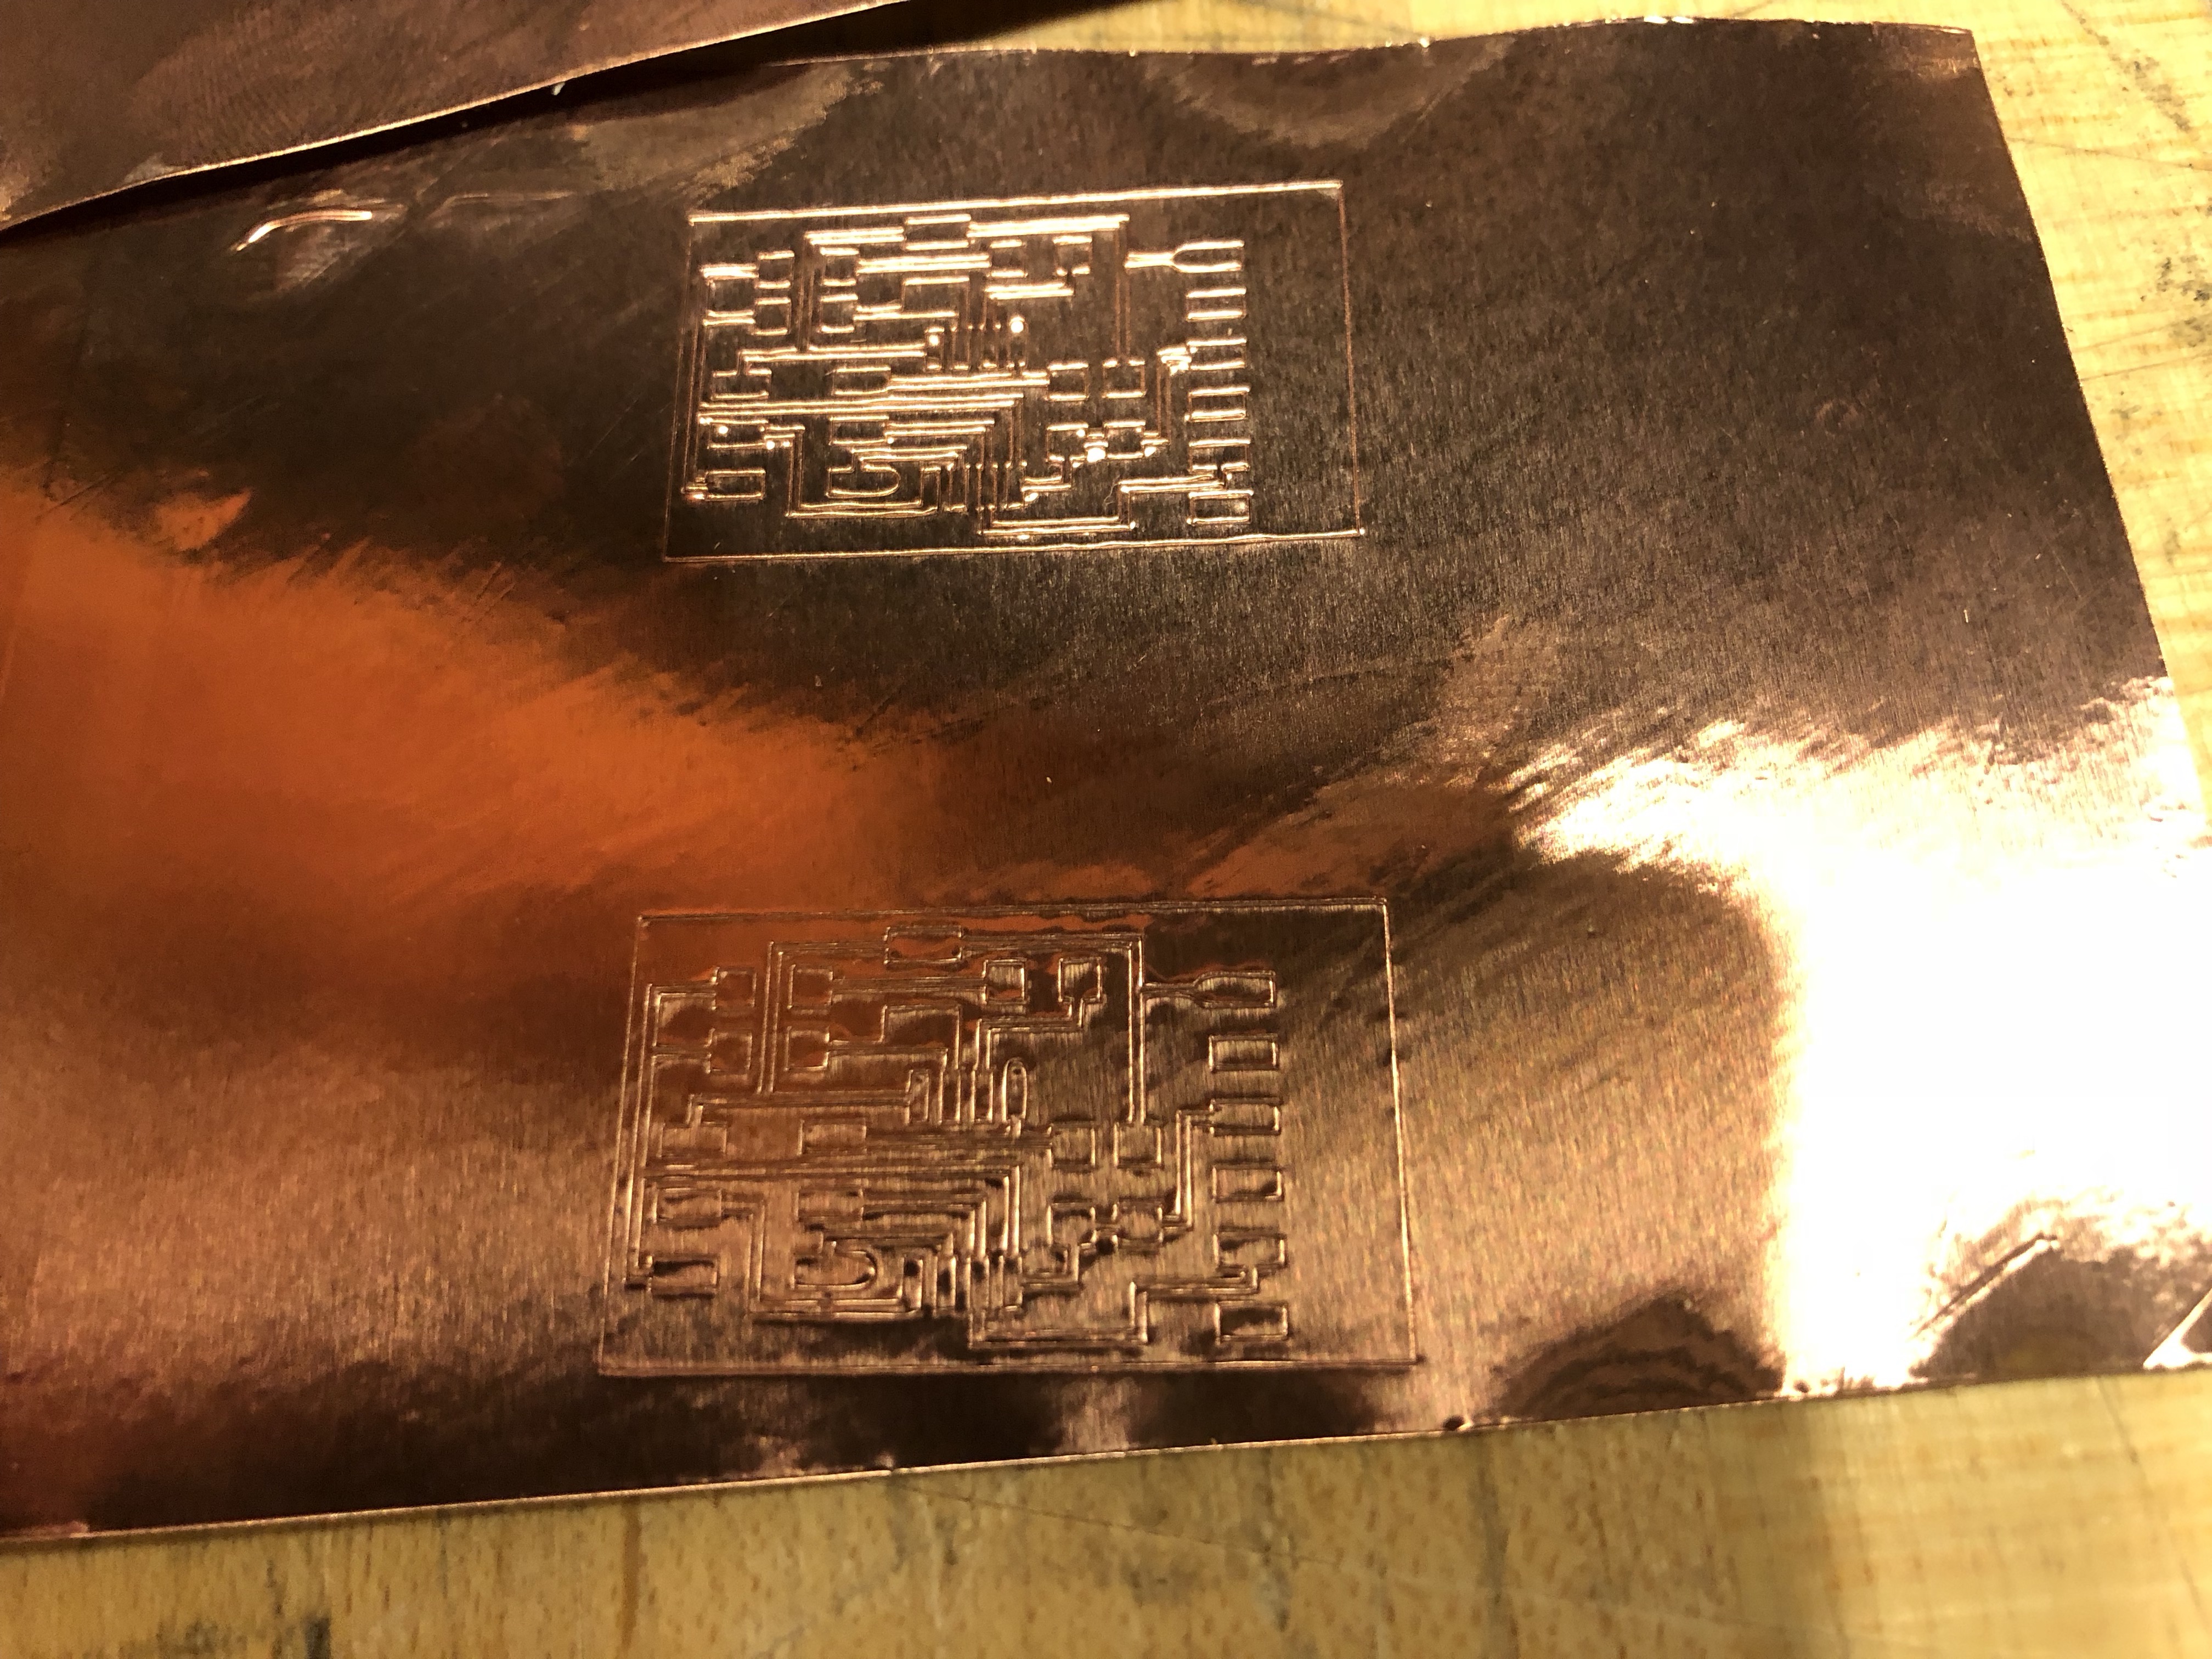
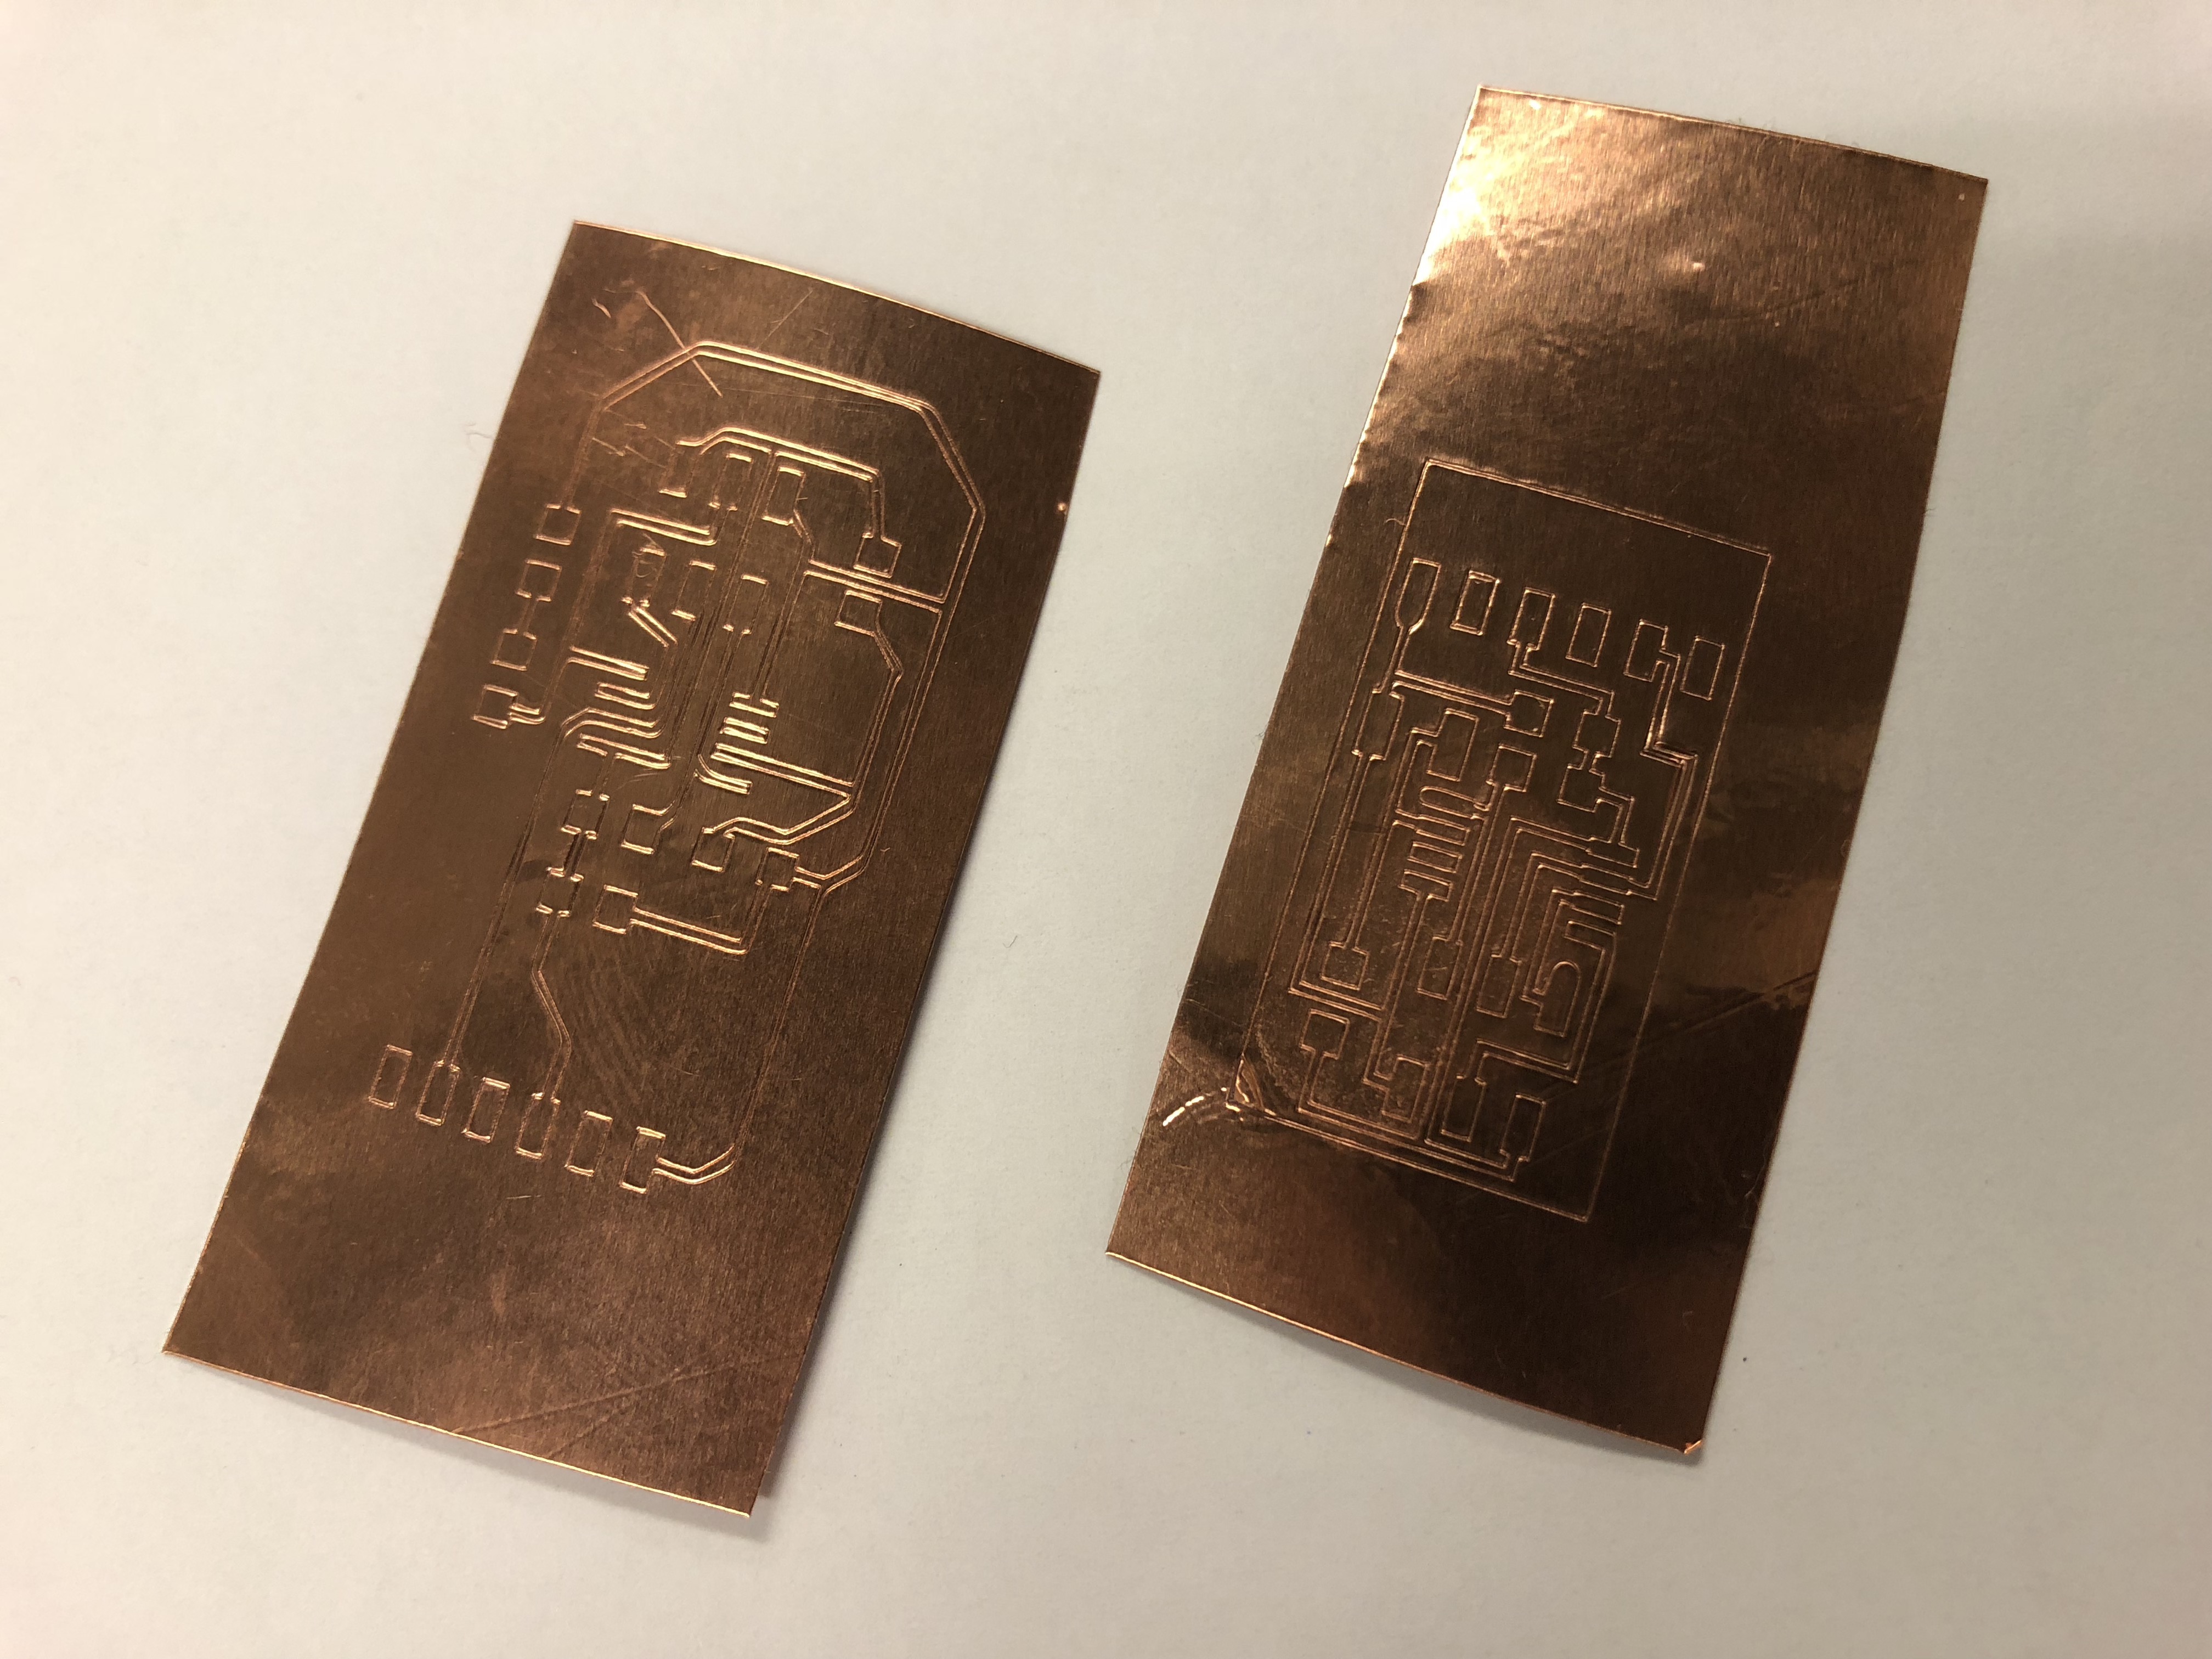
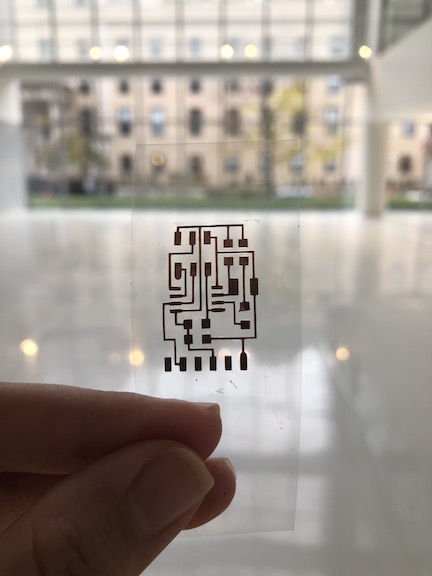
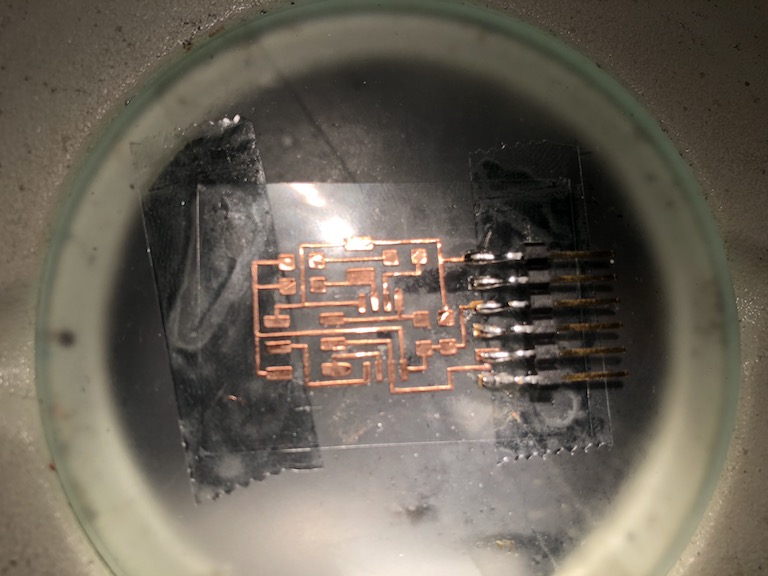
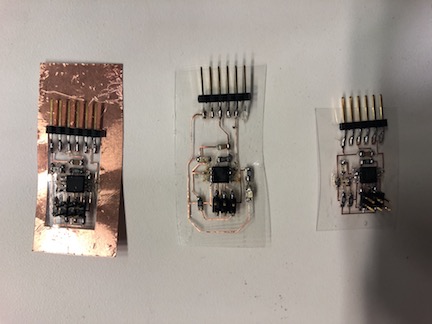
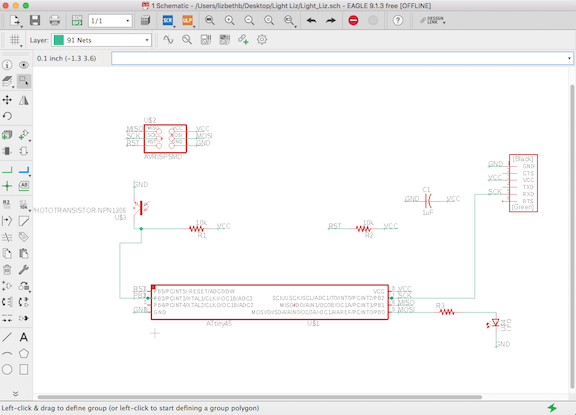
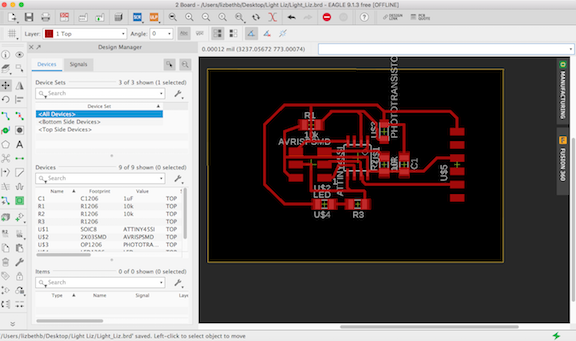
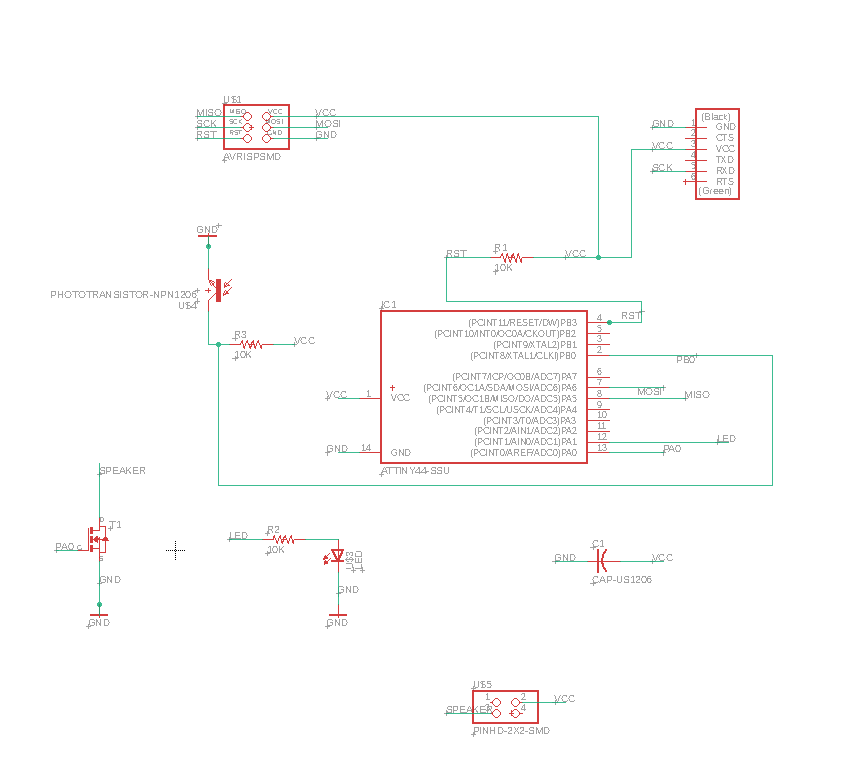
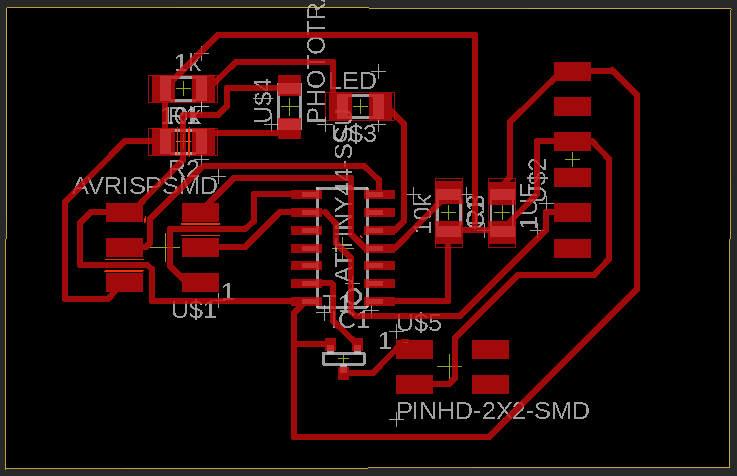 I printed my boards on the vinyl cutter by laying copper on acetate and using the following settings:
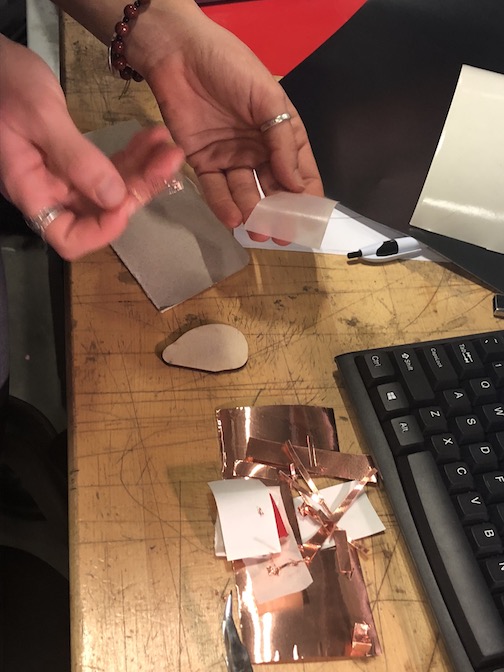
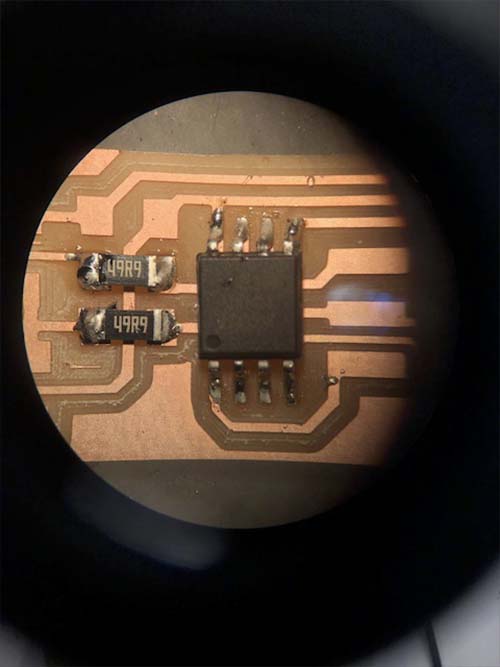
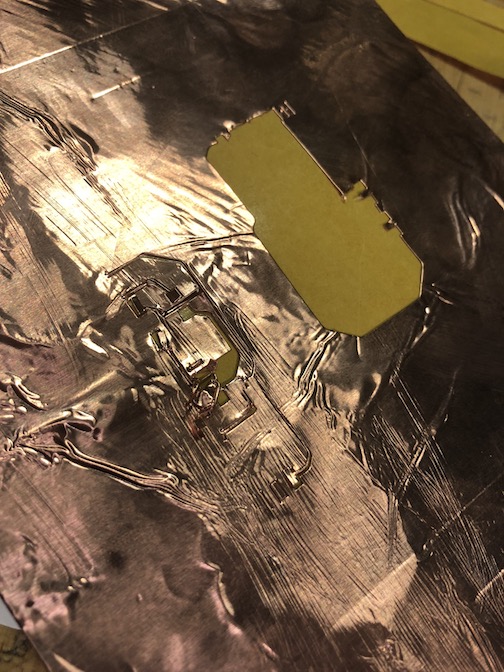 Oceane gave soe great advice on soldering on the acetate to avoid melting the plastic. This involves tinning all of the pads lightly before adding the chips. By doing this, when adding a chip, heating the foot will melt just the solder.
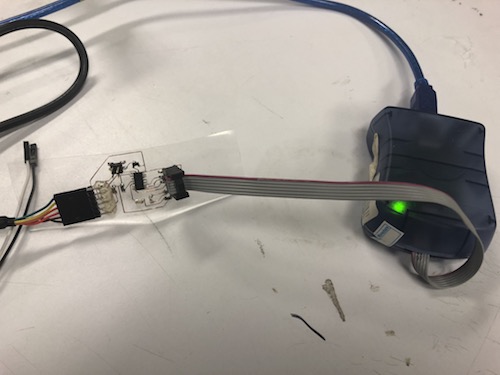
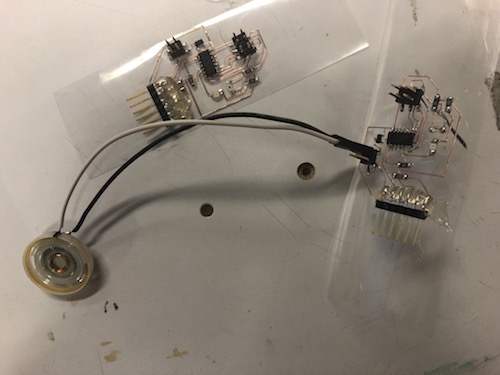
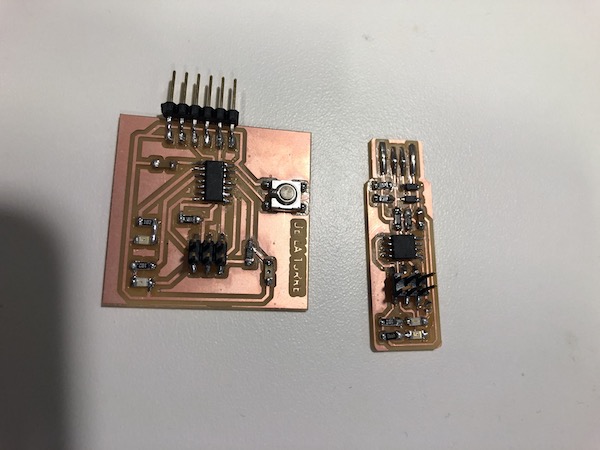
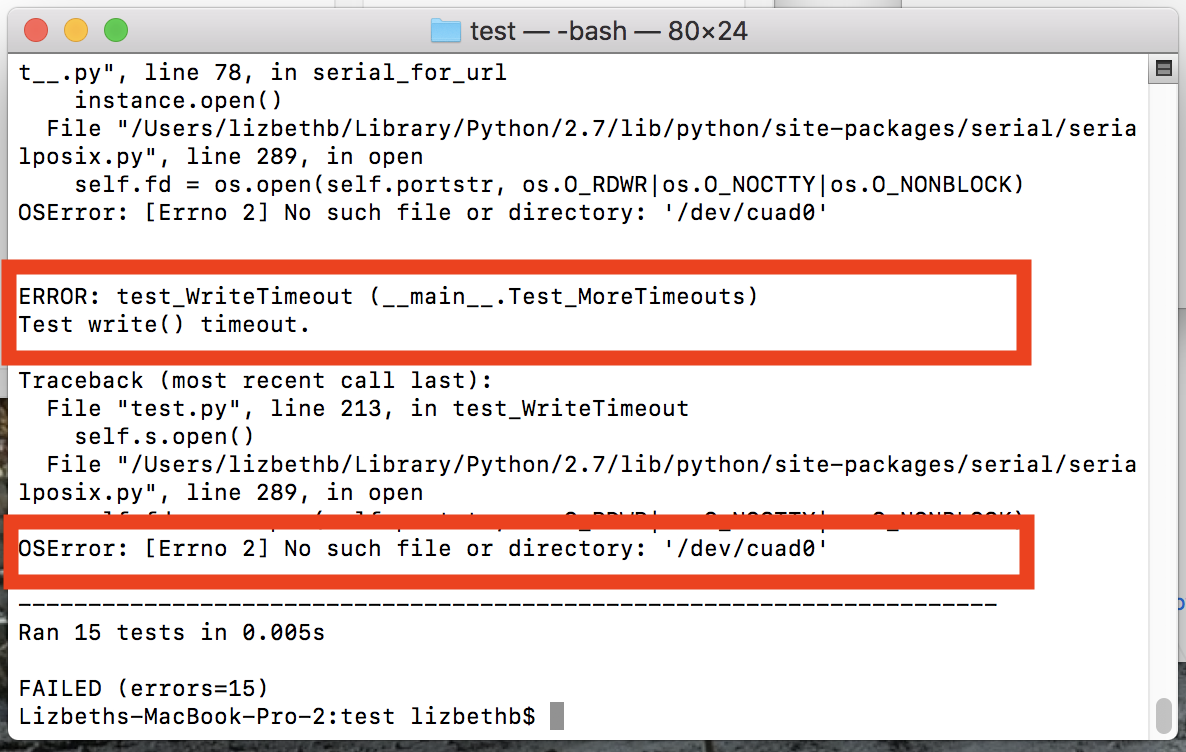
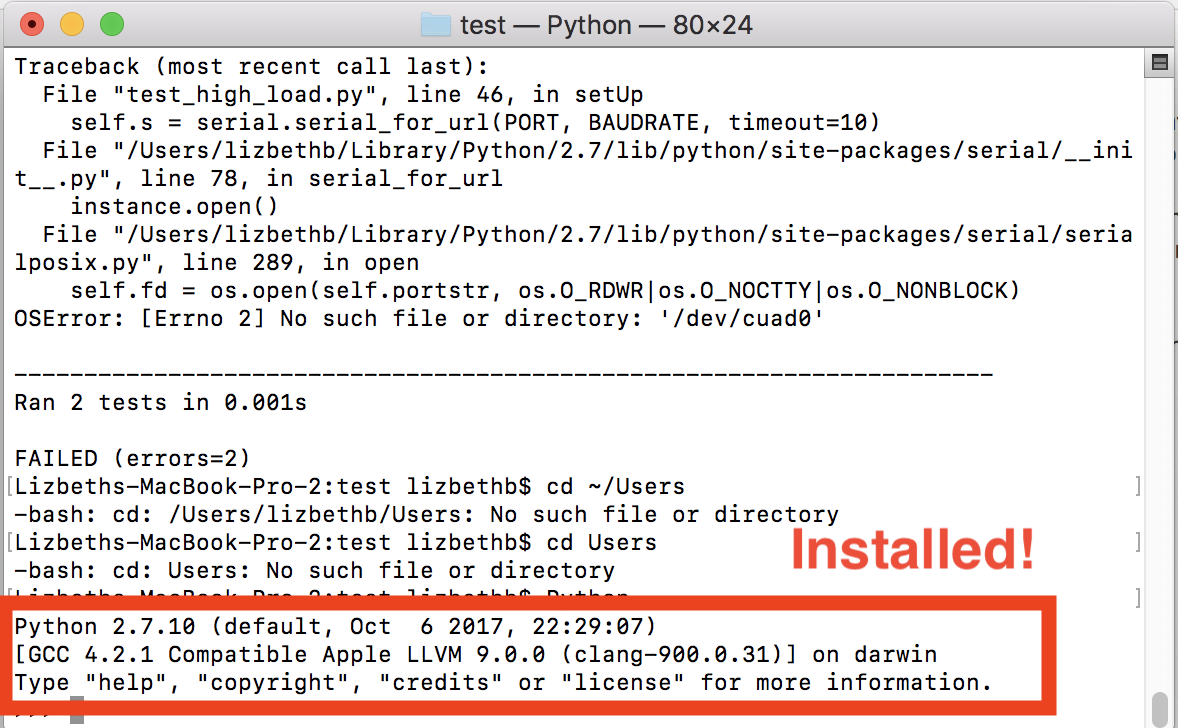
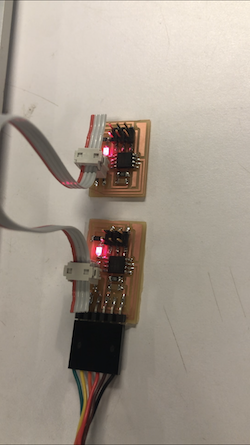
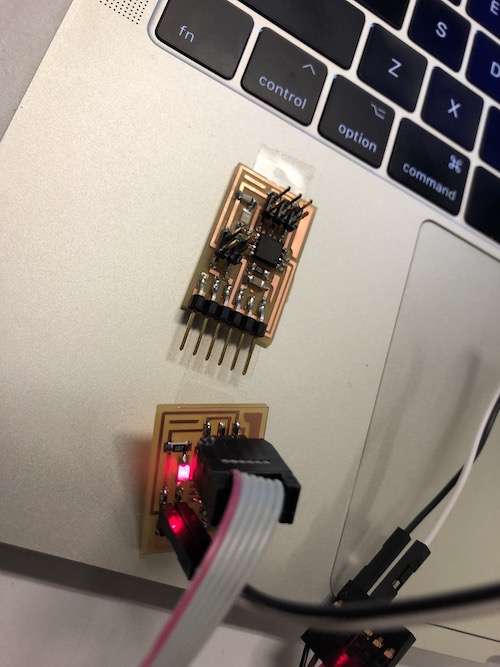
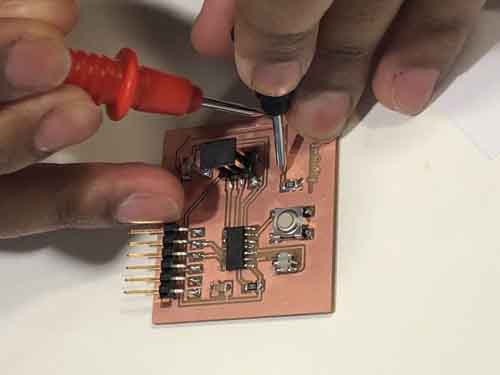
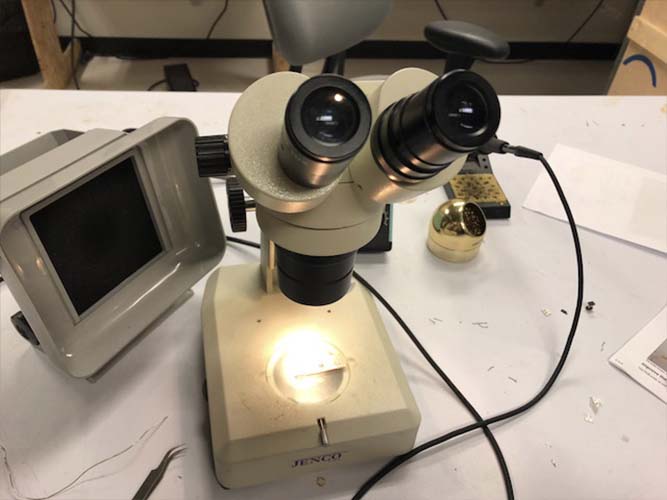
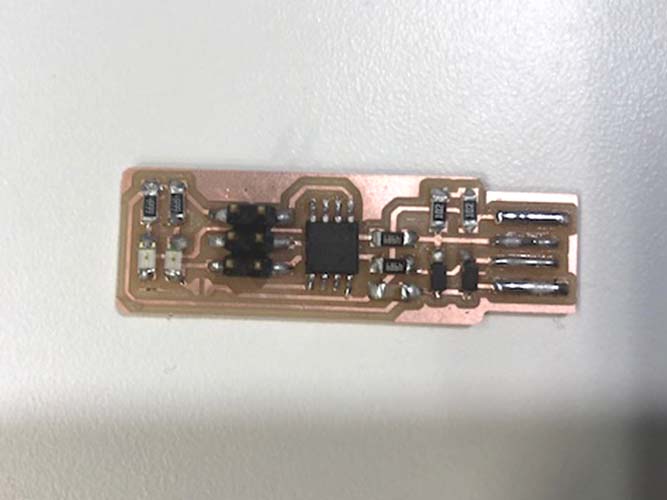
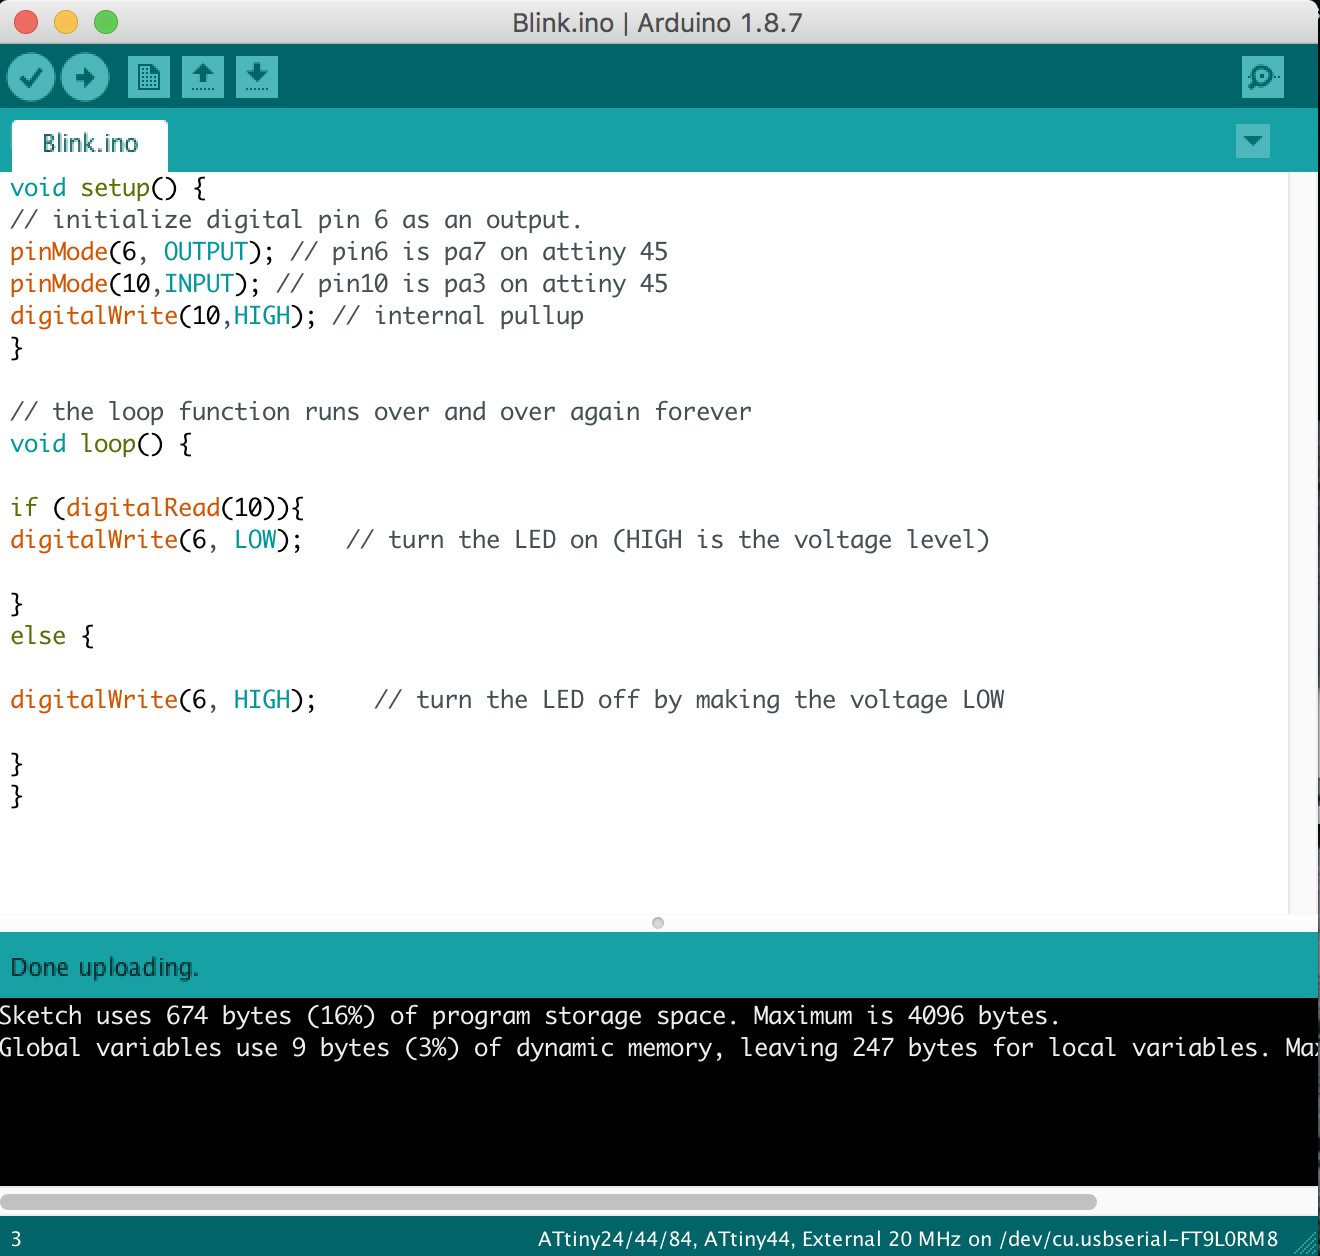
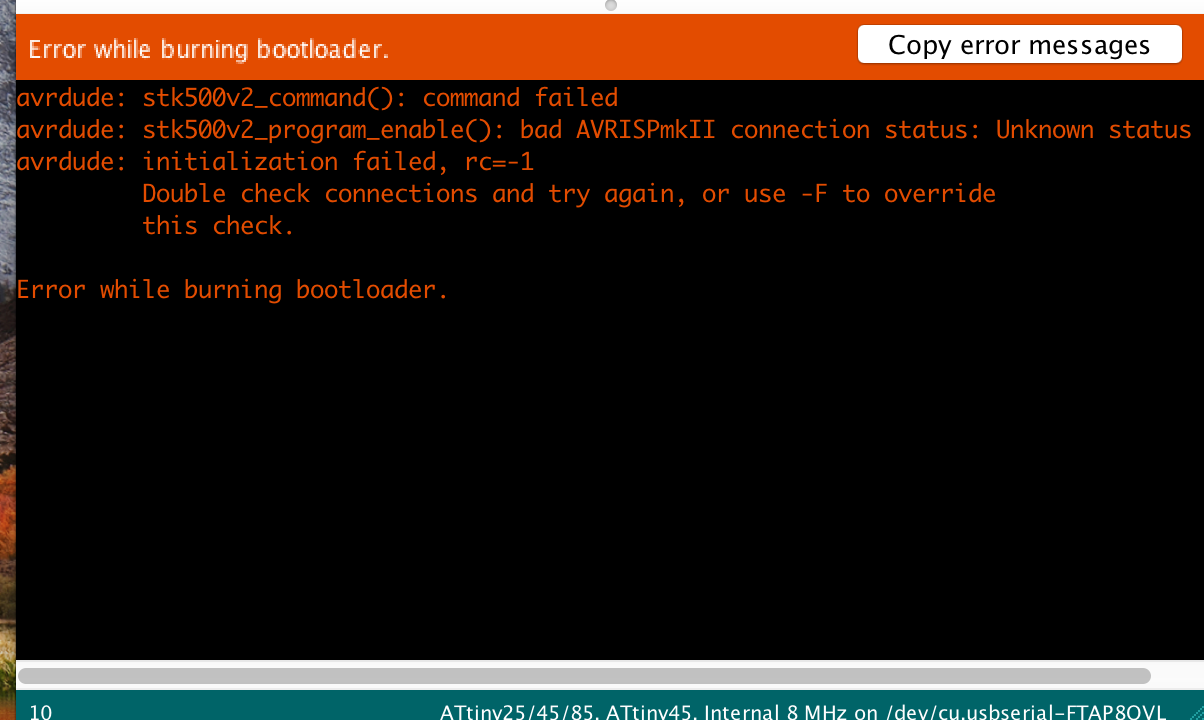
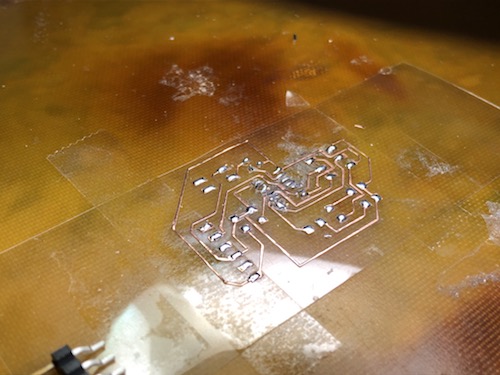 Soldering went well, but the FTDI headers are really weak so I ended up hot gluing them to the board, unfortunately I didn’t have time to epoxy the board. I did two boards in case one of them didn’t work. I hooked the first one up and the computer didn’t recognize the board. I had better luck with the second board and got the green light, however when I tried to burn the boot loader with the Arduino IDE, I got an error message; I also got this message in a previous week. All of my connections looked solid and I wasn’t sure what the problem was. (I’m thinking I didn’t use the correct pins)
