14 Week
Wildcard Week - Bio Printing
This week I joined Filippos bioprinting team since I was curious about the technique and possibilities of the medium. We worked on optimizing the printer settings and solution ratios for Filippos Savage BioNoodle Printer 2000 (name pending).
TESTING
The material we printed with is a solution of e.coli bacteria, which has been modified to express fluorescence under UV light. This was mixed with a thermosensitive gel ( Pluronic), on a 1:20 ratio. Filippos is still experimenting.
Since there is no temperature control, a 40% concentration of pluronic was determined to be the ideal ratio for it to gel at the right consistency for printing. At 4 degrees pluronic gel exists in liquid phase, and it will gel at room temp, so this will be a time sensitive process. It's important to keep this in mind when mixing the solution with the pluronic, since it WILL produce air bubbles. The best thing to do is to place the needle in the 4 degree fridge once again for a few minutes until it returns to the liquid phase, then with minimal movement try to extrude the needle and removing as much air from the needle as possible.
Once the bubbles have disappeared, the syringe must be left to rest at room temperature for a few minutes until it returns to gel phase. while this is happening, don't touch. Don't move. Don't BREATHE. Avoid air bubbles at all cost. Or else, catastrophe, I guess.
Initially, we tested out the fluoresence of the biomaterial/bacteria solution by drawing by hand and becoming acquainted with the idiosyncracies of the material. We found that this works better with organic shapes as we learned (the hard way).
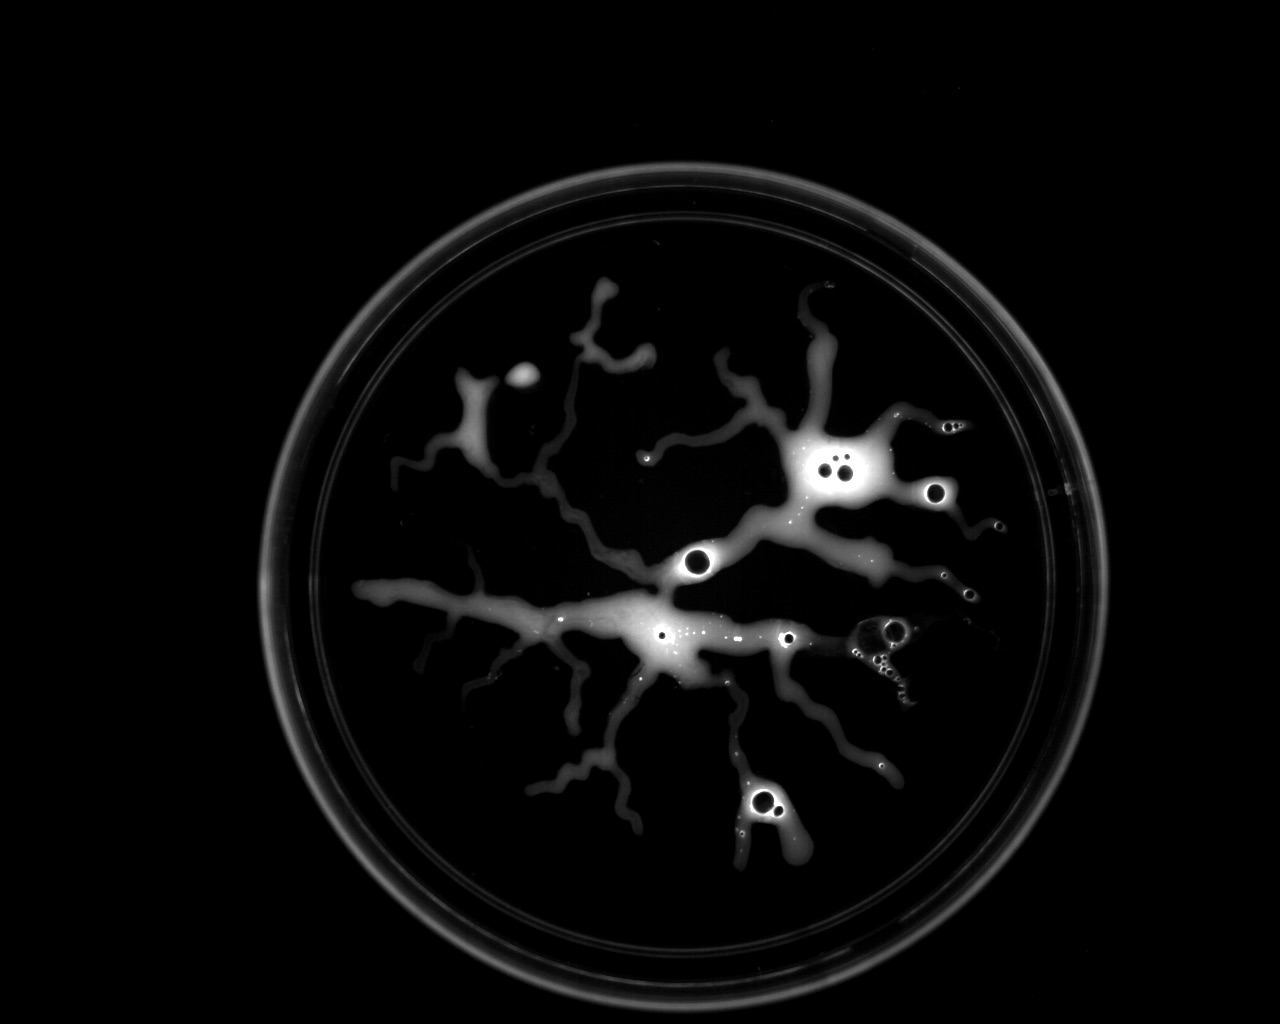
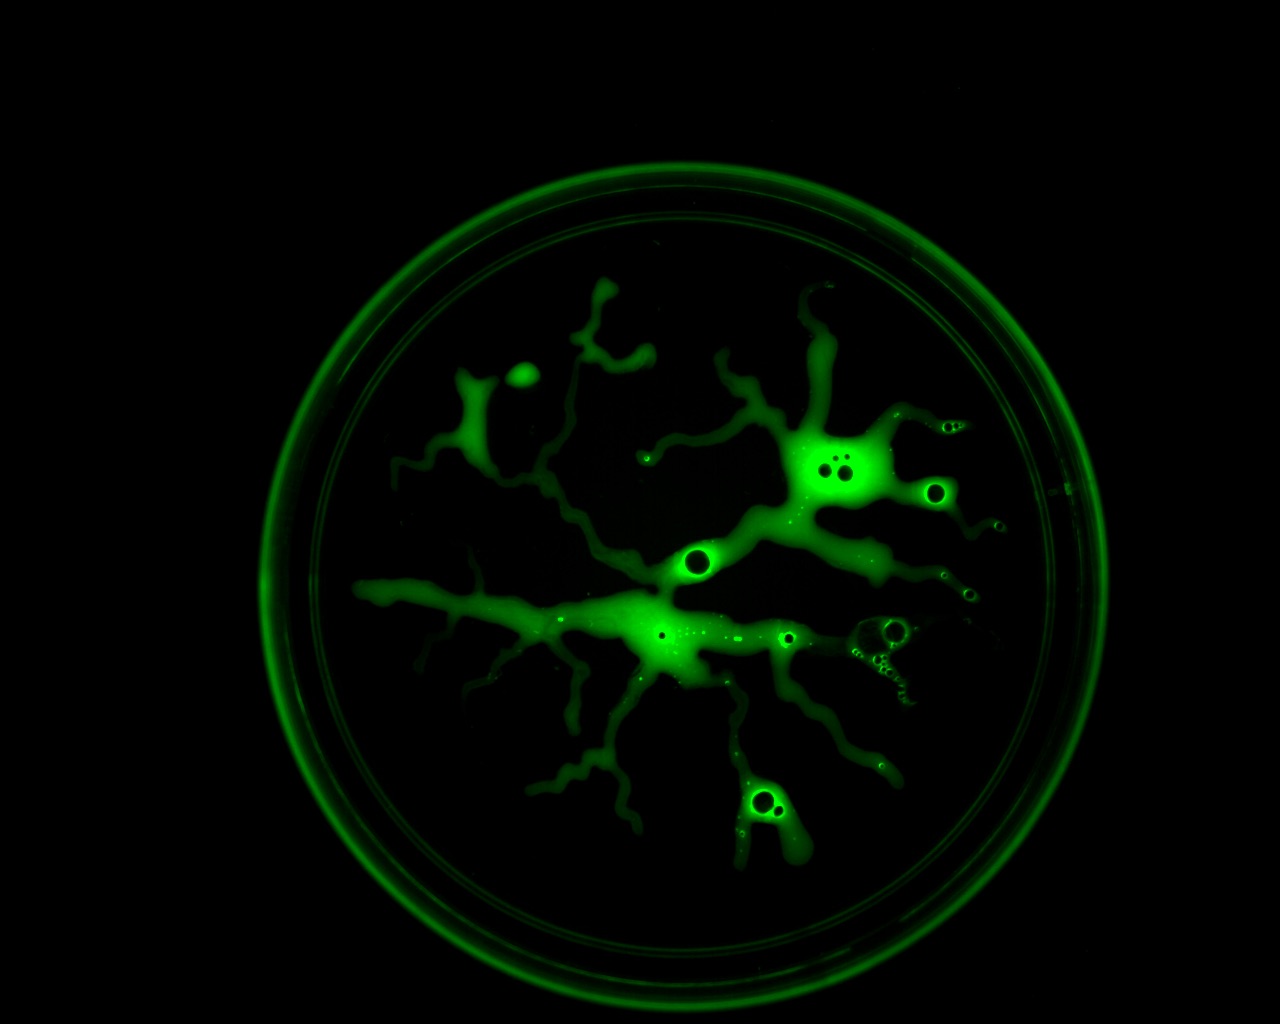
Here is an example of the images produced by the gel imager of the bacteria fluorescing. On the left is the greyscale and on the right is the green filter.


For my model I wanted to make a topographic model of a mountain, or a map. Needless to say, after trying to simplify the shape, the conclusion is that unless the printing surface is big enough and there is a generoud amount of material in the extrusion needle, more architectural or rigd forms might failm. More organic patterns seem to work best. On the left is my model STL. and on the right is the G-CODE produced by the simplify 3d software. This seems to relate to the thickness of your layer settings / amount of slices it generates for you. It's like icing a bacterial cake but much more precisely, but it's still, you know, icing-like.
So the procedure for printing is similar to printing with the small shop bot, but the risk of a missing limb or two seems to be lower. I think. Don't quote me tho.
DESIGN RULES
The parameters we were given was the size of a petri dish. 90x90x50 mil., with any traces being larger than .2 mils (the width of the extrusion needle).
PRINTING
Once you're in the software and the parameters have been entered.
1. The extrusion needle must be inserted into the holder.
2. Test the motors. Using the controls in the software, adjust the plunger to the extrusion needle so it fits snugly. It may swoop some goop into the printing surface so clean that up.
3. Home all the axes will zero your (X,Y) axes.
4. Z axis zero must be done manually, by bringing the plate back under the extrusion needle, and then lowering down onto the surface first in increments of 10 mil, then 1mil, and finally .1 mil until the needle is *almost* but not quite touching the surface. Filippos identified this to be at 80.3 mils in the software.
5. One thing to note is that if your infil density is higher you may have to play around with the thickness of your layers if it includes any kind of topographic detail. The needle may move some of the material around. as it prints if there is too much going on.
Behold my beautiful pluronic, slighly deformed mountain: