08 Week
Molding and Casting was super fun this week. We had a limited size and amount of machining wax for this assignment so there were size restrictions. I realized I've been wasting time trying to come up with a way to combine the work for this class and other classes and it was taking valuable time from making and experimenting. I decided to be practical and approach the assignments as just an introduction to processes and materials.
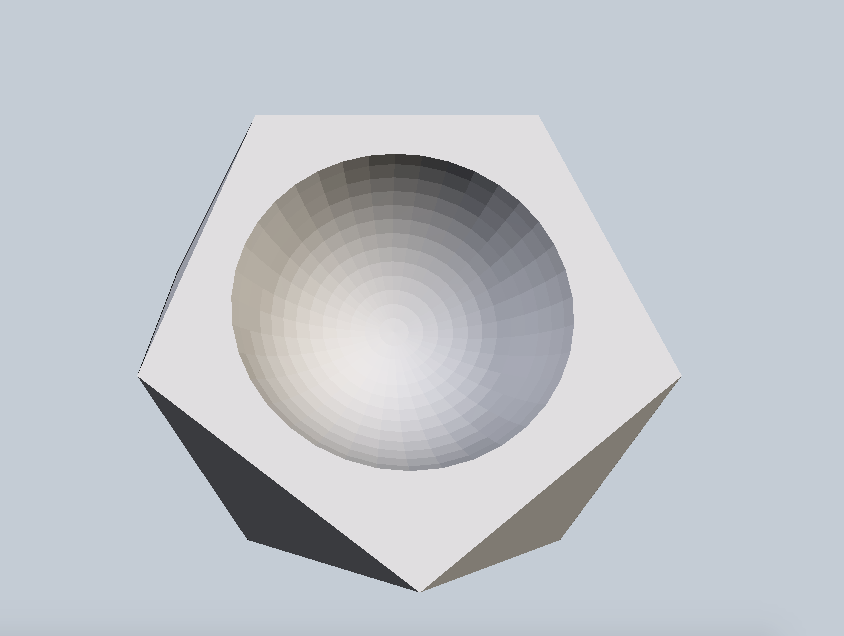
I decided to make a simple incense burner for this week's assignment. Click here for the .STL file.

The machining process was relatively simple, as long as the correct instructions are followed. I recommend looking carefully at the sheets in the shop to see if the settings match.
Working with a pretty simple form the paths were relatively easy, no issues from the machine this time although the mold came dangerously close to milling the edge of my model. One thing I forgot to do was to add some space at the top for the actual mold base and to give it some stability. That was easily remedied with some tape and cardboard around the edges to ensure nothing spilled when pouring the oomoo. The removal process was easy as well, and the mold did a really nice job of transferring surface details too.
This is the cast in dry stone. I proceeded to drill a hole in the bottom with a small drill bit, however I noticed the bottom edge of the circle is quite brittle.
I also wanted to try metal casting, and Sarah was kind enough to take time from her day to help us cast. With a low-temperature alloy we were actually able to cast on our oomoo molds, all we did was layer it with a coat of talc.
Overall this was really fun, and I would recommend getting the machining done early. Have a design ready to go so that you have time to experiment with casting different materials and techniques. Below is the finished product.