Week 1: Computer Controlled Cutting
Introduction
This week, I learned how to use the Laser Cutter to do Cardboard Cutting and also how to use the Vinyl Cutting.
- Software used: Adobe Illustrator
Vinyl Cutter
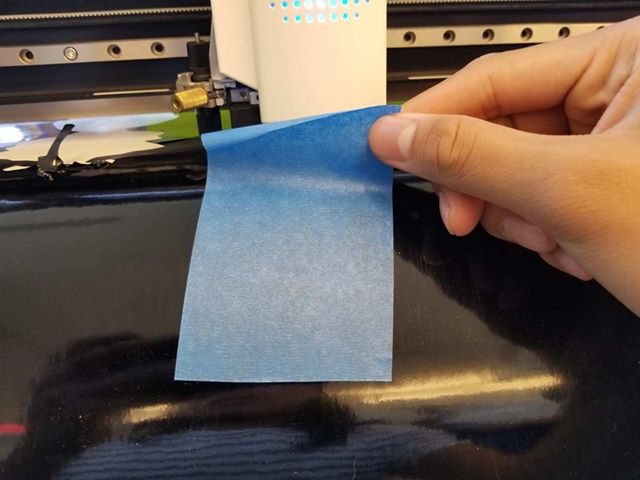
I first worked on the Vinyl Cutter. I think the Cypress Engineering Design Studio houses a Roland RX24 cutter, in which we had access to black Vinyl.
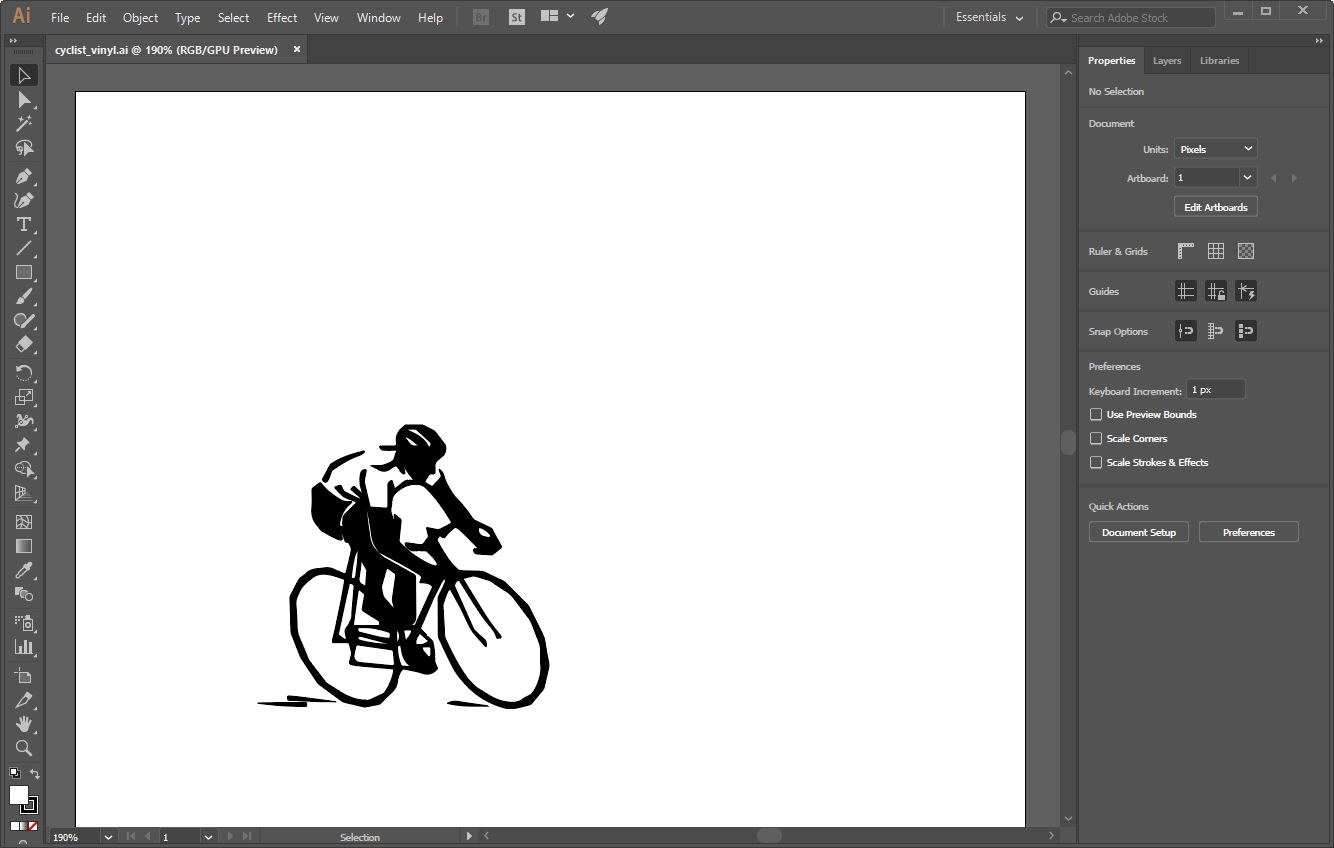
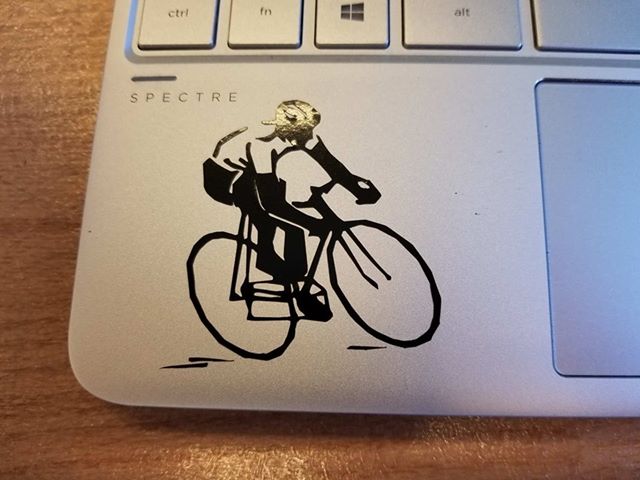
My first design was to use a black and white graphic art of a cyclist, which I found and further edited on Illustrator:
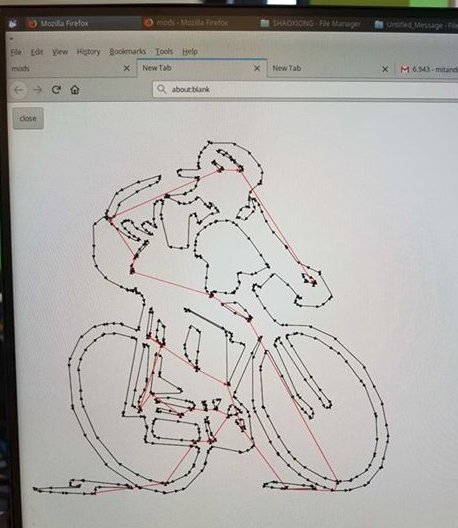
I then sent the file to the computer connected to the Vinyl cutter, and made sure that the cutting would be as designed based on the following visualization below (where the red lines meant the movement of the cutting pointer, and the black lines represented where incision would occur):
To set up the Vinyl cutter, the instructions are 1) turn on the machine, 2) set the origin of the cutting pointer to be at the bottom left of the image, and then 3) send the file to be cut.

Cardboard Cutting
Next, I worked through designing a cardboard cutout. I was unsure what software I would use, so I decided on Illustrator since I was comfortable with it. For the next few weeks, I plan on learning more of SolidWorks or Fusion.
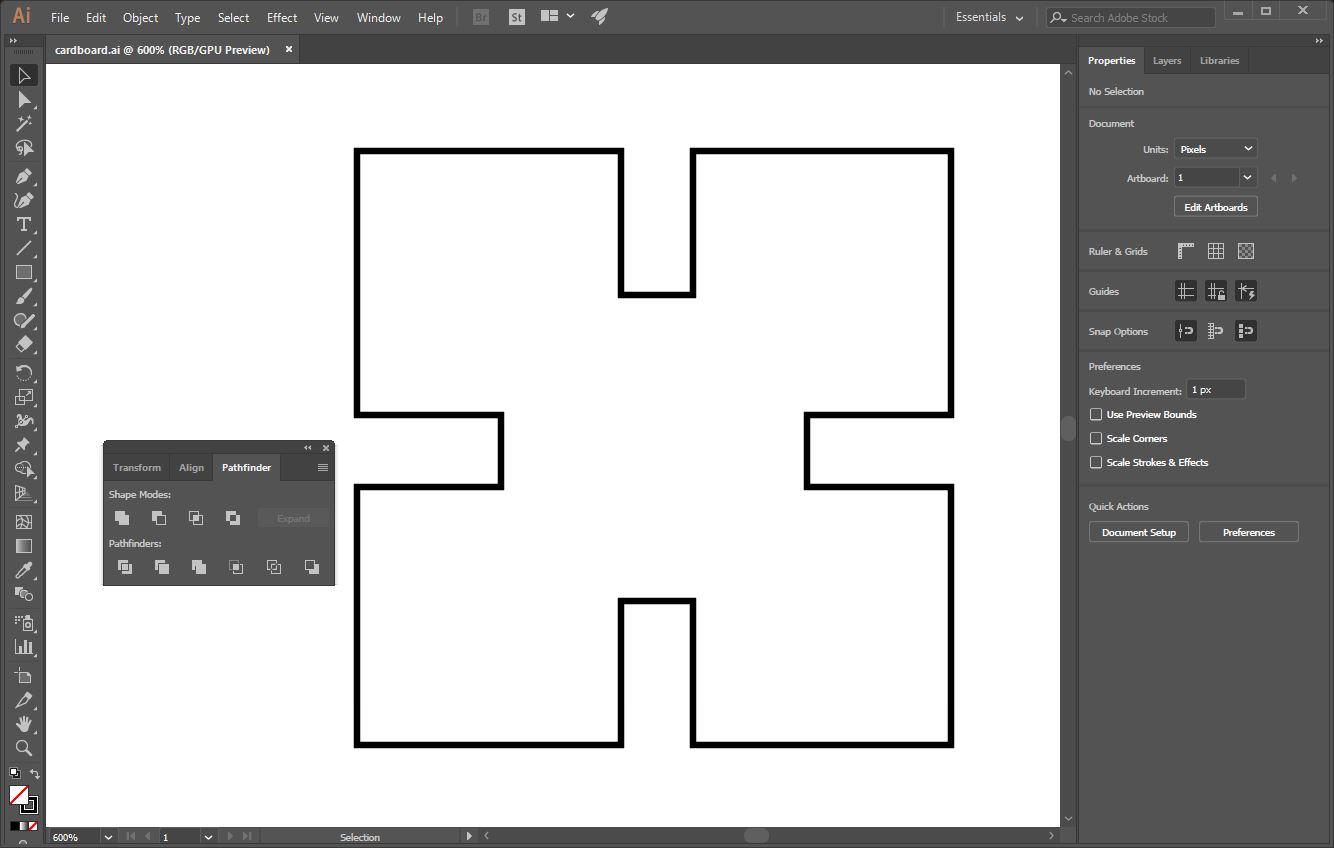
Above is my design in illustrator, a simple square piece that can be duplicated to make interesting designs. After designing in Illustrator, I exported the file as a .dxf which can then be imported into CorelDraw. It is important to represent cuttings as hairline lines in CorelDraw that are colored red, while black and blue represent rasterings / lighter cuts.
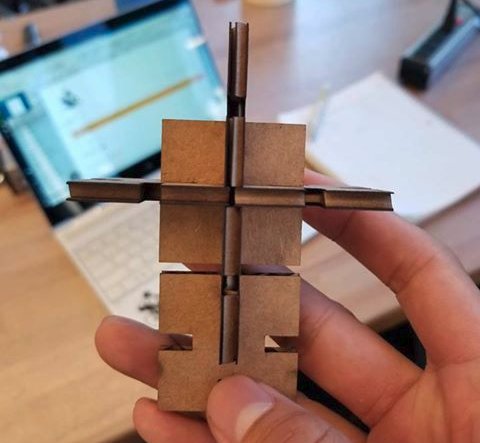
Some lessons I learned are a) make sure that the intrusion section of the intersection is less than half of the length to the center. Otherwise the pieces will not fit together well.
Assignments
- cut something on the vinylcutter
- design, lasercut, document a parametric press-fit construction kit