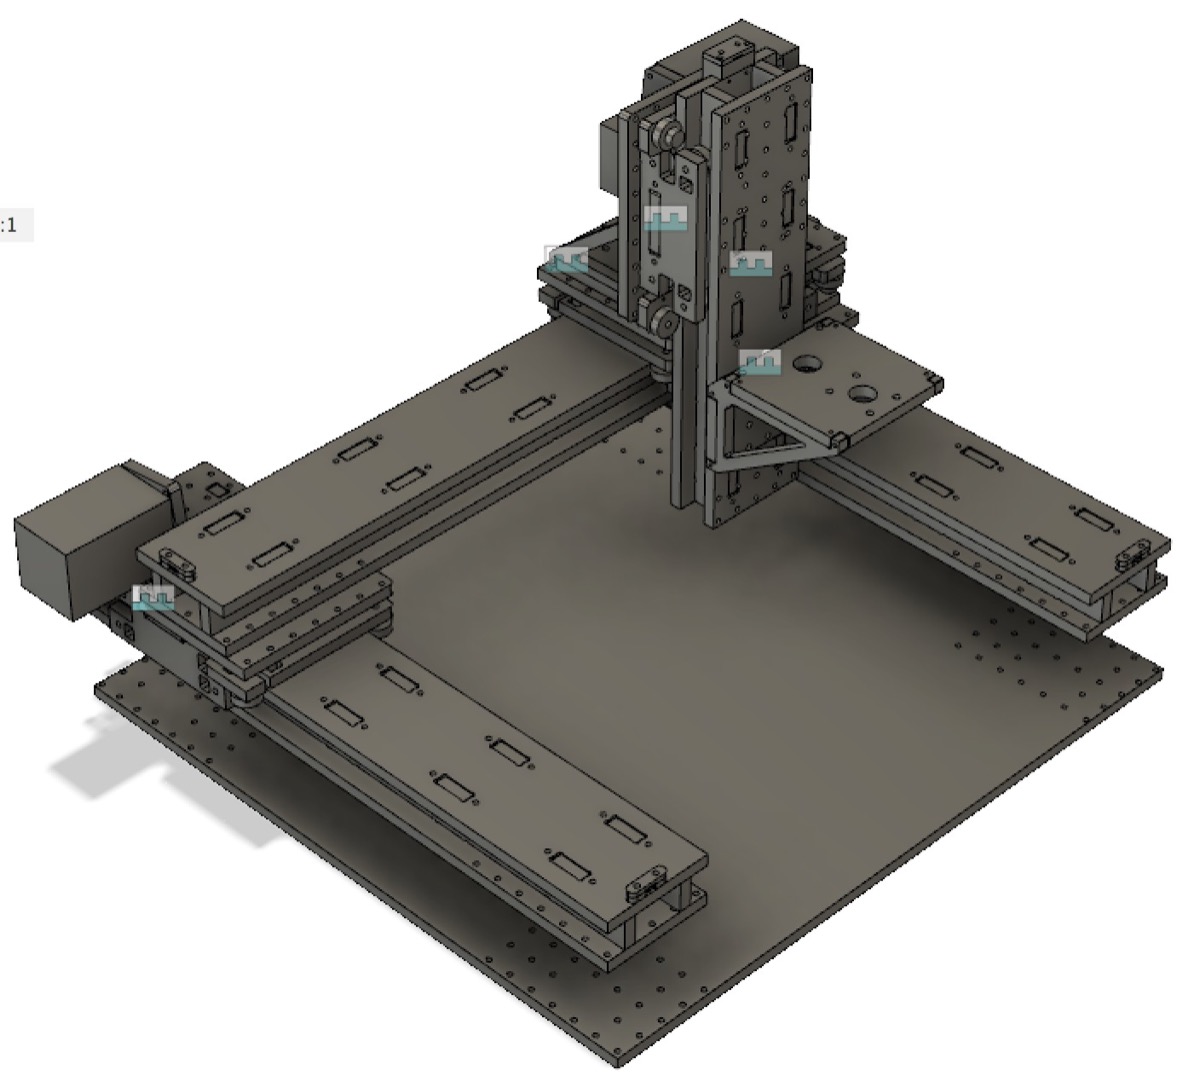
 Final design of the milling machine
This week, we have a group assignment, in which we need to actuate and automate our machine. We (the EECS group) decided to build a PCB milling machine. Our main tracking page for this project is located here.
I was on a CAD team, in which I participated in all parts of the design: the layout, milling the material, and constructing. However, my primary contributions included the intermediate steps of the design:
After struggling with the design considerations, we have winded up with the stage-on-stage type of machine.
Final design of the milling machine
The earlier versions of the machine were twice higher, but we were afraid that the machine would be wobbly, so winded up with a smaller, but, hopefully, a stiffer version of the machine.
Before milling the pieces, the task was to arrange them flat on the 2'x4' HDP boards with the 2'' spacing. I struggled with trying to do that with the suggested by Neil NESTER add-in for Fusion 360. It refused to work properly, so I had to do the flattening procedure manually with the "Align" tool. This tool also functioned poorly, as the internal component dependencies prevented the pieces to have the same Z after the alignment. I had to manually move them all, such that they all intersected with the boards' planes. The resulting arrangements looked as follows:
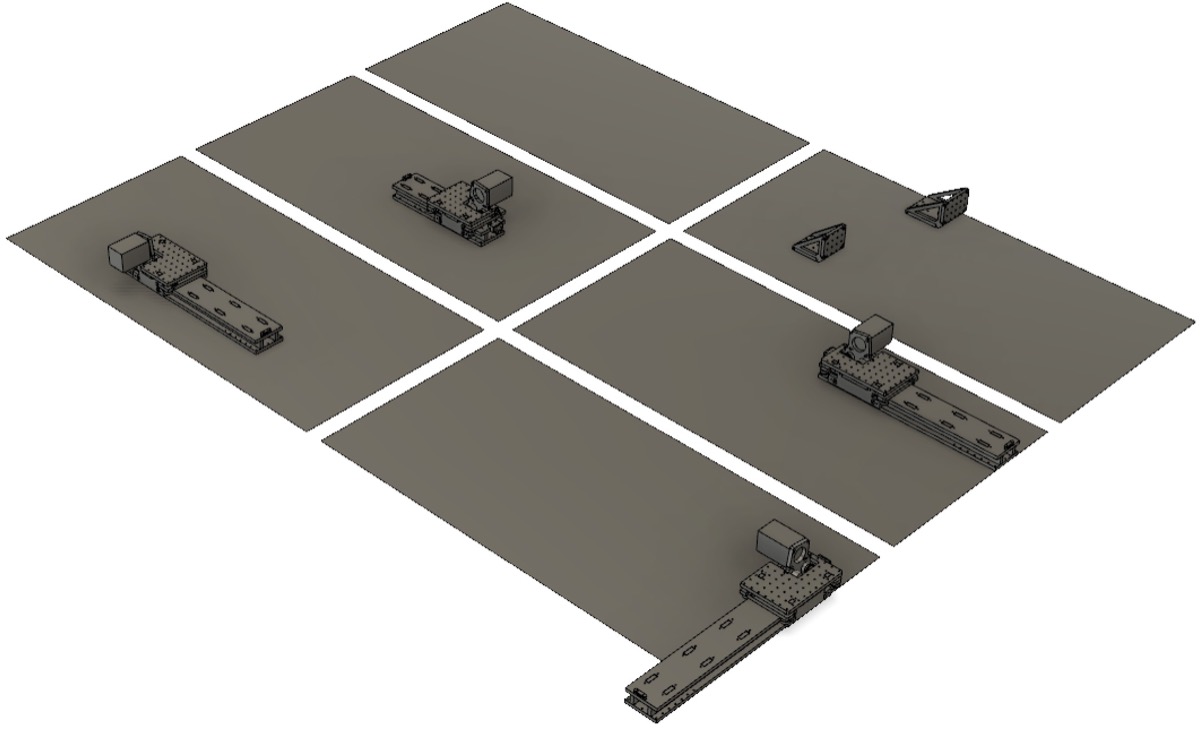 Rearranging the components
 Making the components flat
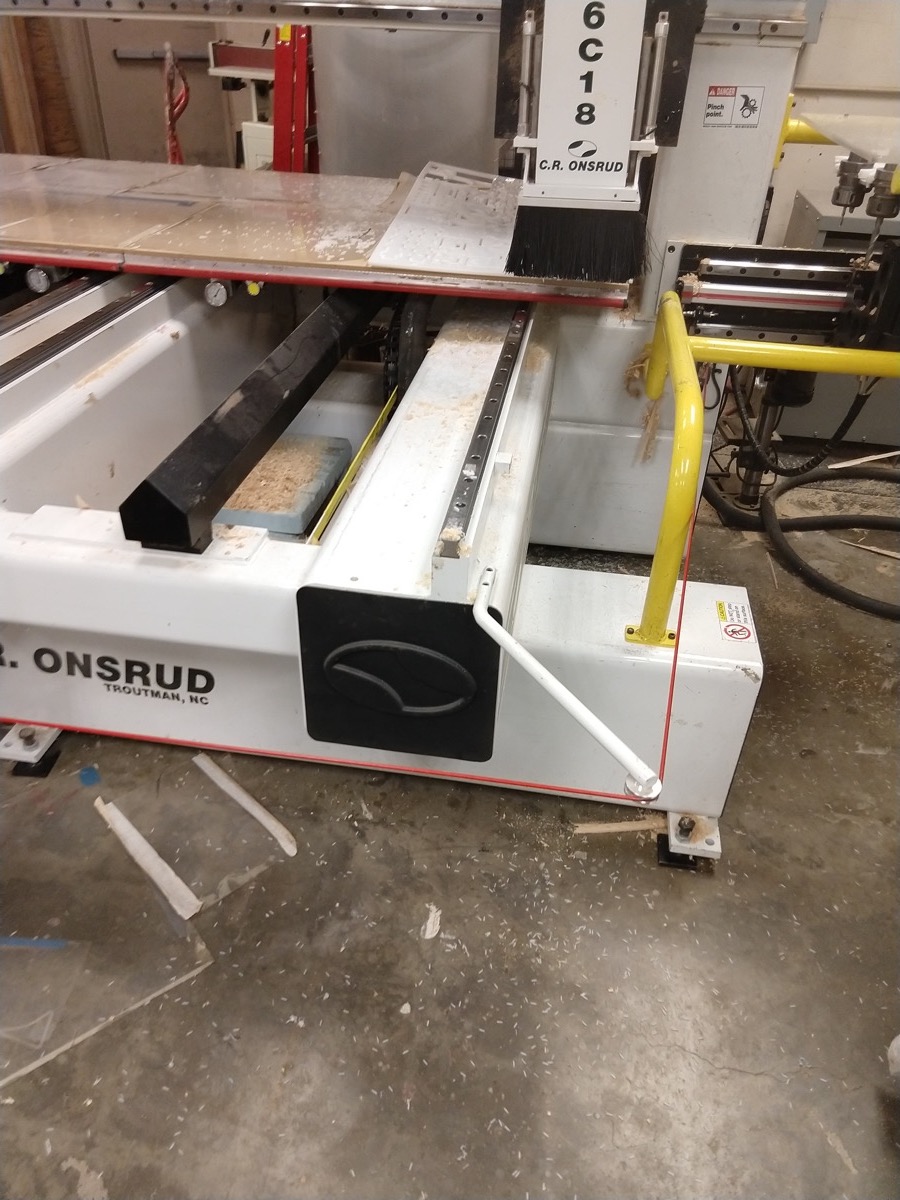
Now, to mill the board, we prepared the 2D file with Rhino, and then with the help of Zach created the toolpaths for the milling machine.
Milling machine (endmill switching process)
The milling process interrupted a few times due to the build up of residues, which kept on broking the mills.
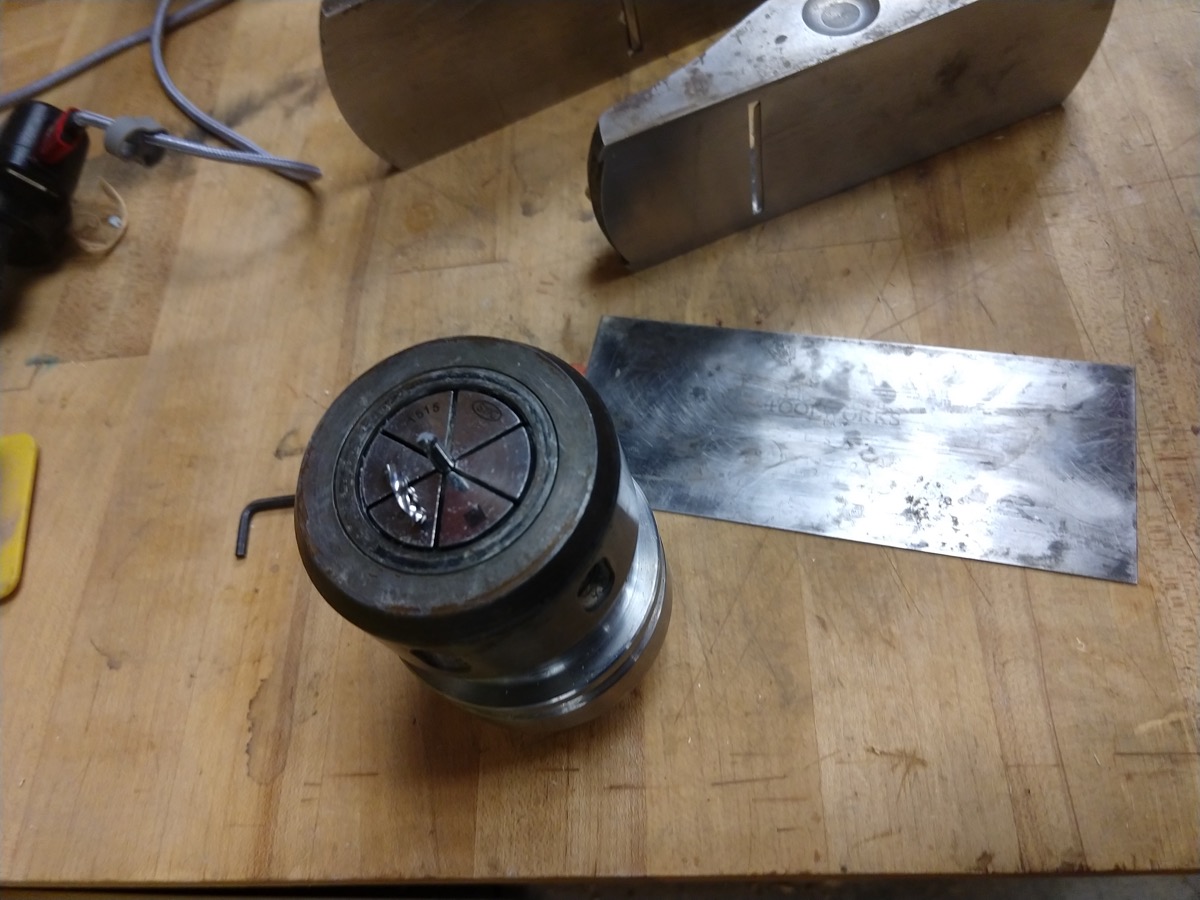 Broken mills
Also, one time, after a big chunk of material was milled away, the board has disattached, which was probably due to an insufficient force (the board has a vacuum fixture to the milling machine).
 Vacuum failure
We eventually managed to find a good set of parameters, with cleaning the residues between the passes and, with 2 fixtures per detail, and with the "onion skin" residues for the milled pieces
The milling was done, and we started disattaching all the pieces (which is a tedious, but for some reason, very pleasing experience)
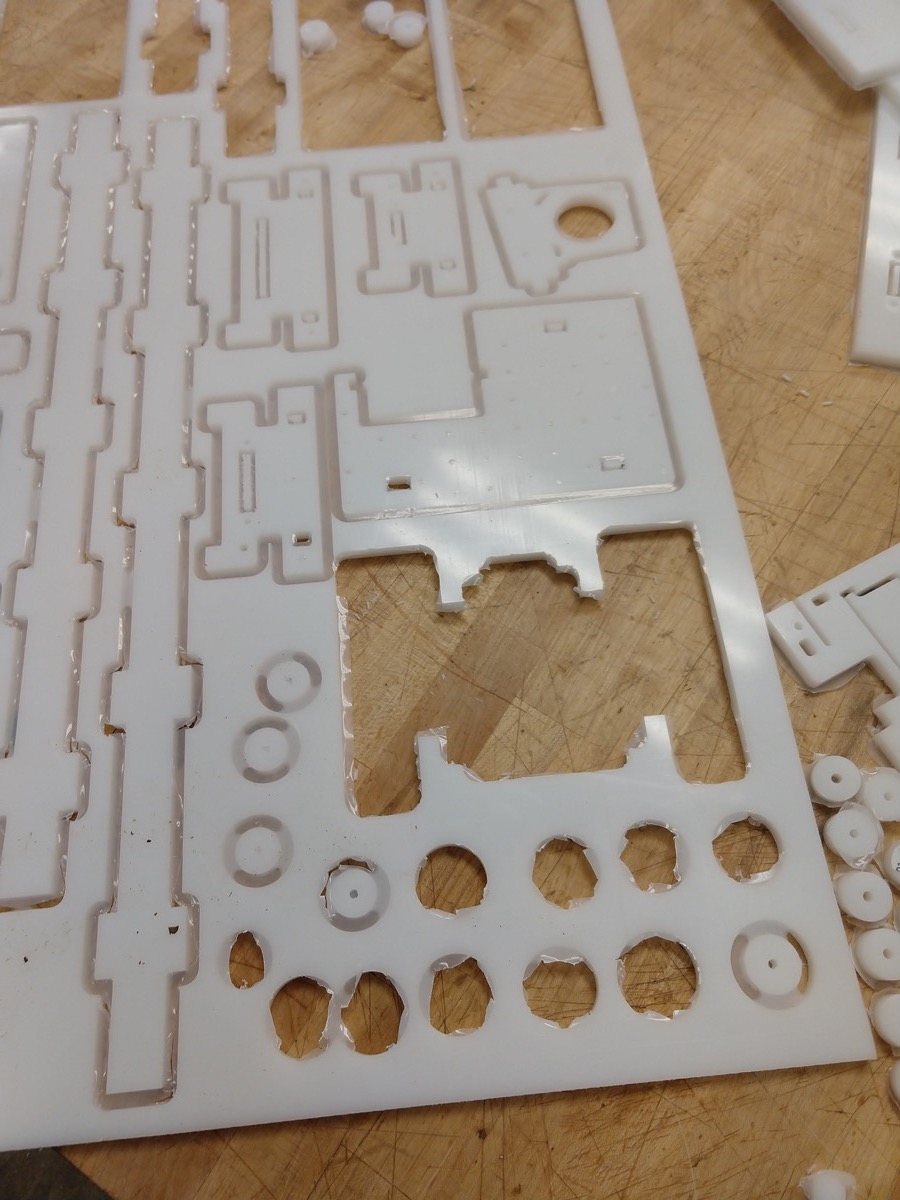 Milled board
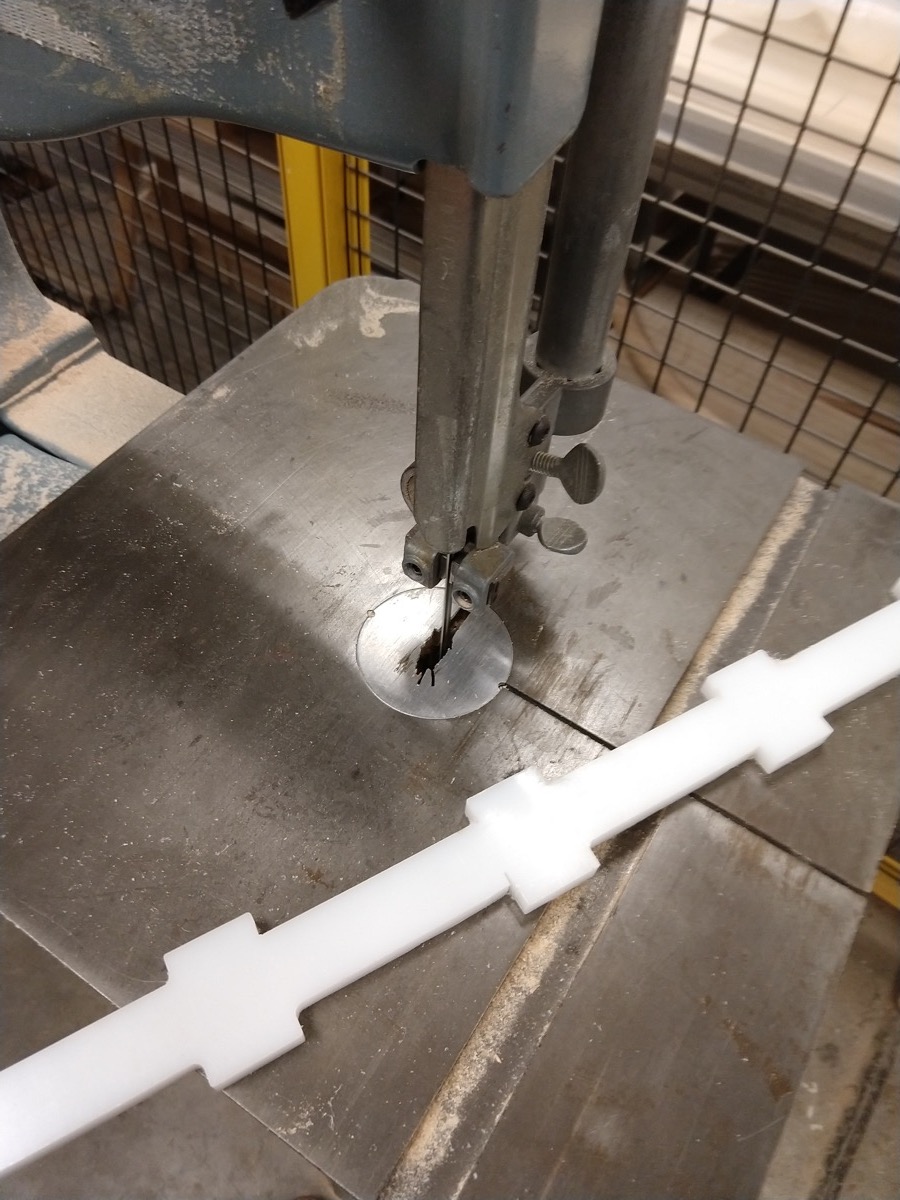
The pieces needed to be sanded and have a nice smooth surface. This also took some time to accomplish:
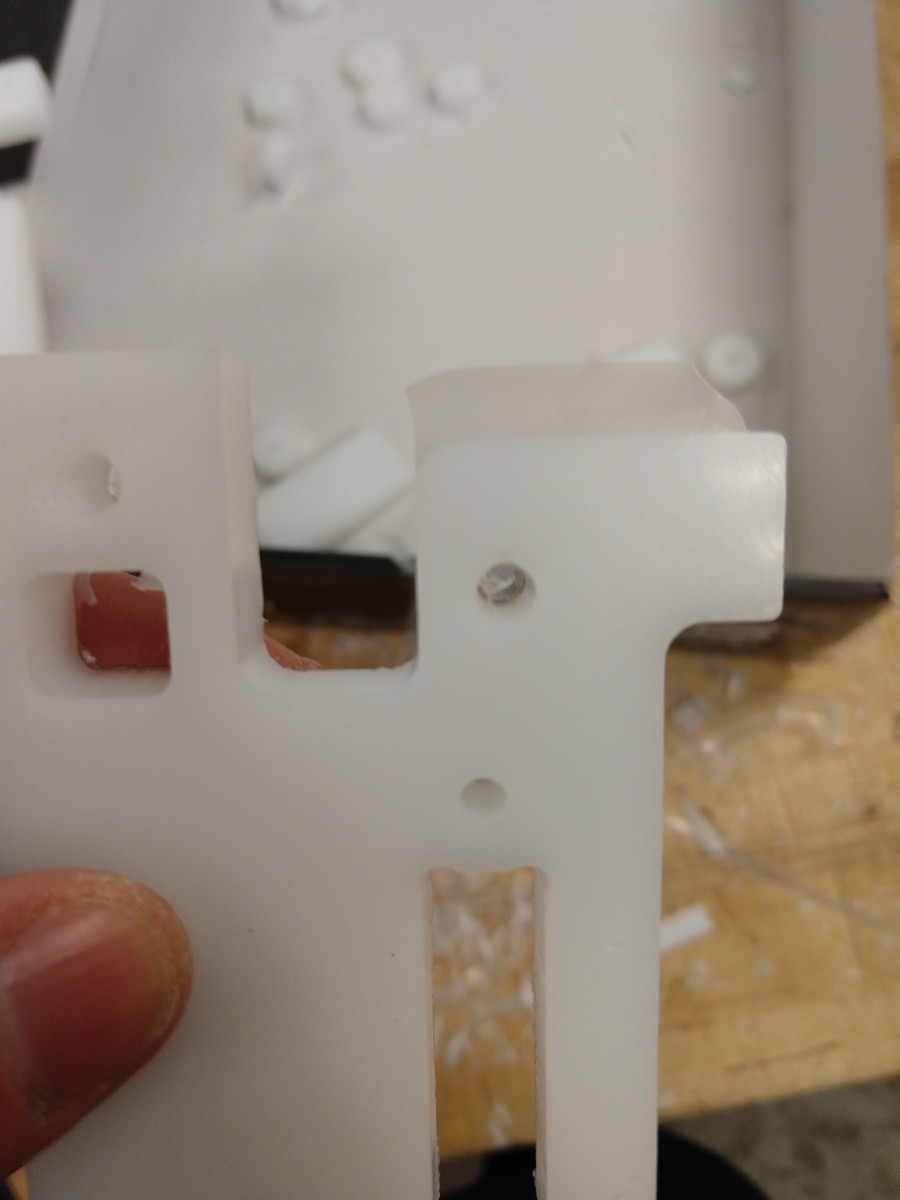 Removing plastic residues
 Post-processing
Finally all the pieces were ready, and we proceeded with the assembly process, and uniting with the software/firmware part of the team.
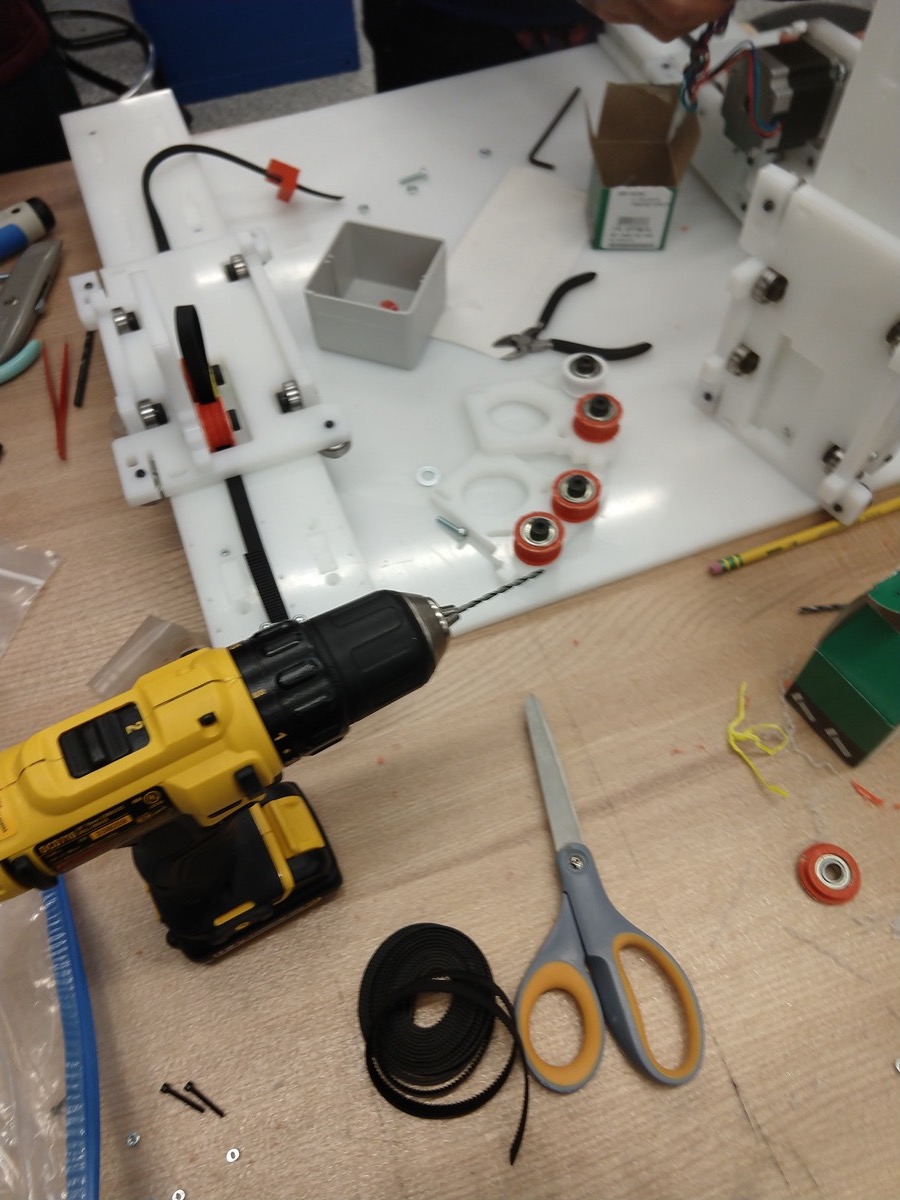 Assembling the components
The group's summary of this work is located here.