 Initial draft of the potentiometer knob
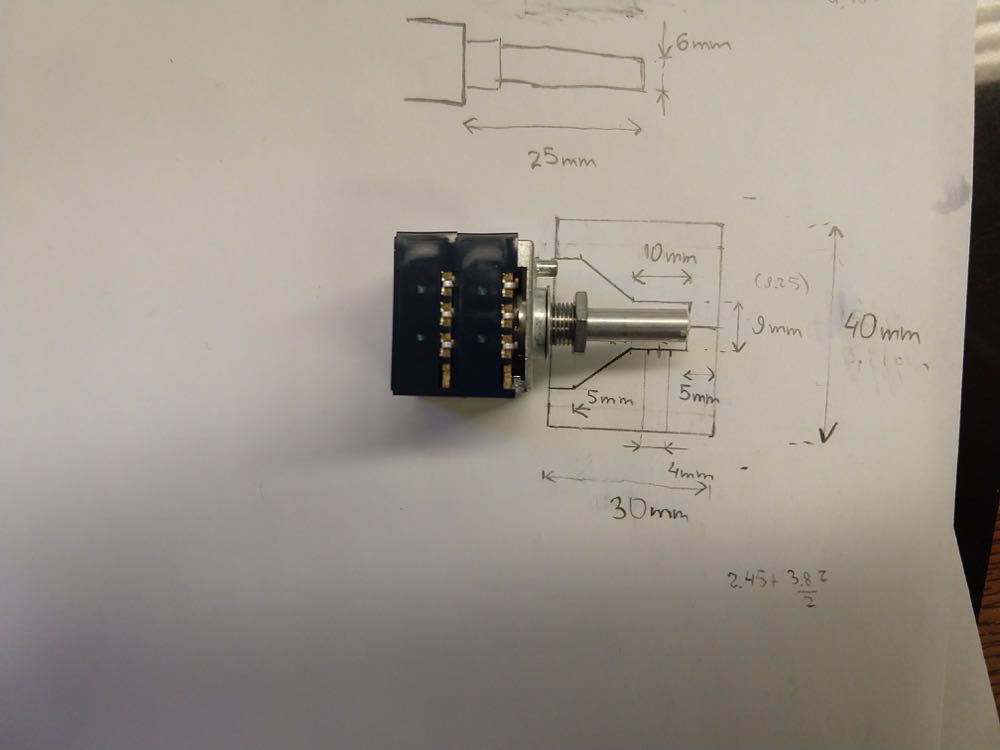
The task for this week is do design a 3D mold, mill it and cast it. I viewed it a great opportunity to create a part for my final project. For my tube amplifier, I decided to make a volume control knob out of Hydrostone. I have already purchased the Alps potentiometer, so I briefly sketched all the key dimensions.
Initial draft of the potentiometer knob
This week's assignment has clearly gotten to the limits of my spatial imagination, so I needed a great 3D tool, in which I would also need to be experienced in. I chose a completely new to me Fusion 360 and decided to take a systematic approach for learning it. After spending 2 days on Paul McWhorter's tutorials "Learn Fusion 360 or Die Trying" (which I highly recommend for newbies in Fusion), I felt like I was ready to go.
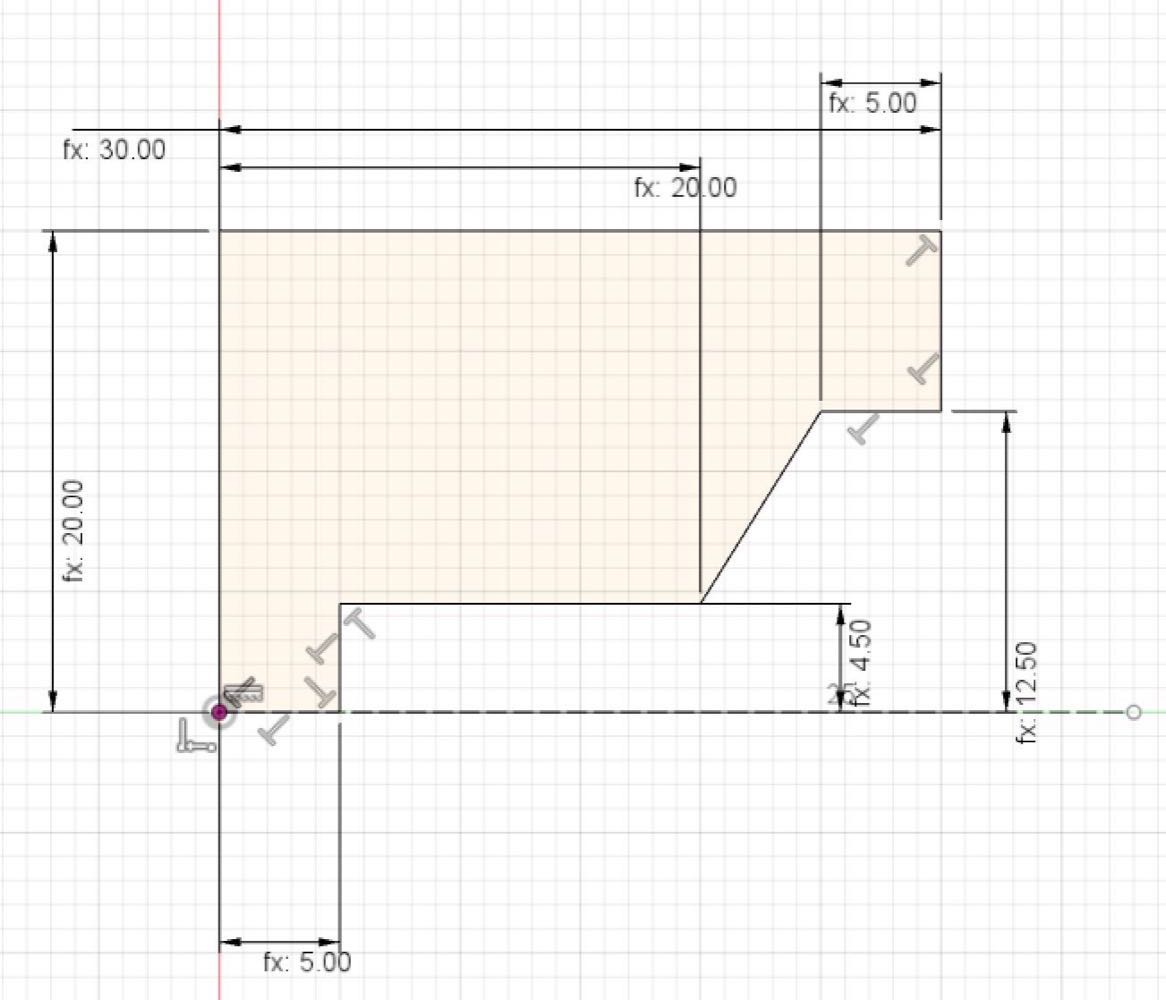
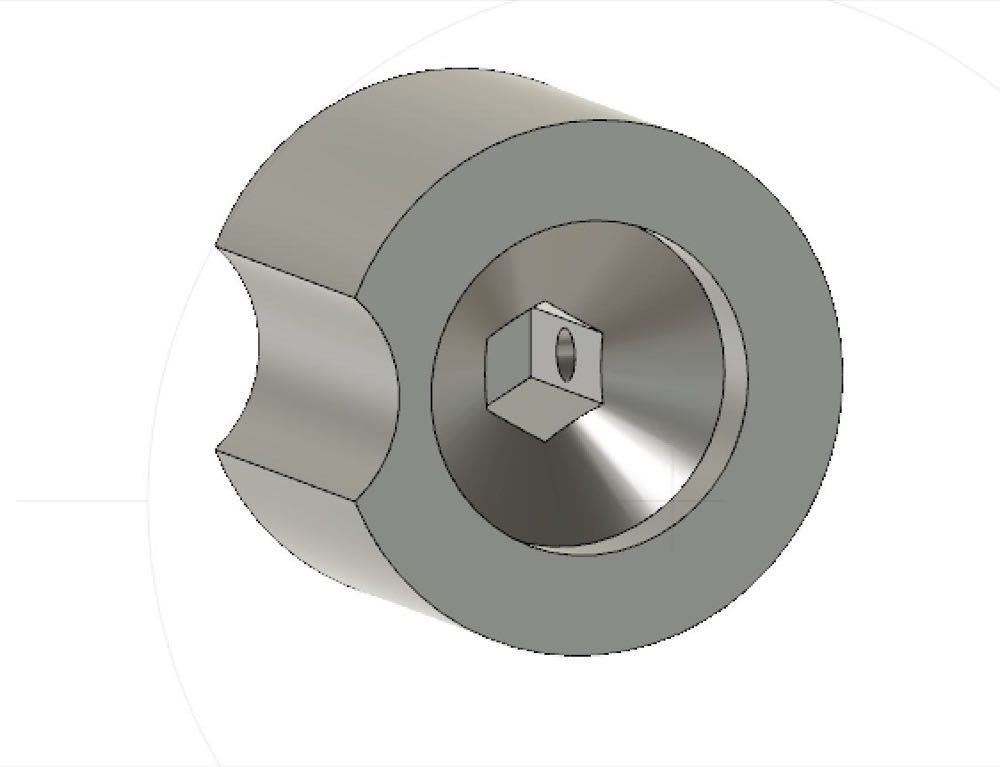
After making a 2D radial profile of the knob, I revolved it around the shaft axis. I also added a hole for the side screw that would tighten the knob to the potentiometer's shaft.
 Initial draft for the potentiometer knob
 Fusion 360 Sketch of the knob
For this design, I have used as much of Fusion's 360 power of constraints and parametric design as I could. This was a great help, since later in my design, I needed to change some of my dimensions. Once the knob design was finished, I have measured the dimensions of my brick of wax to mill (38.7x77.1x177.8mm) and used it to invert parts for my future silicon mold (OOMOO in our case). Now, the task could have been made from a single part mold, however I needed to have a sidescrew, so I decided to design a mold out of three parts. By the way, I would like to thank my instructor, Zach, for his tips and for his previous project, which was a great starting point ( Zach's mold project).
I then proceeded with the second inversion in order to design the milling plan for my wax brick.
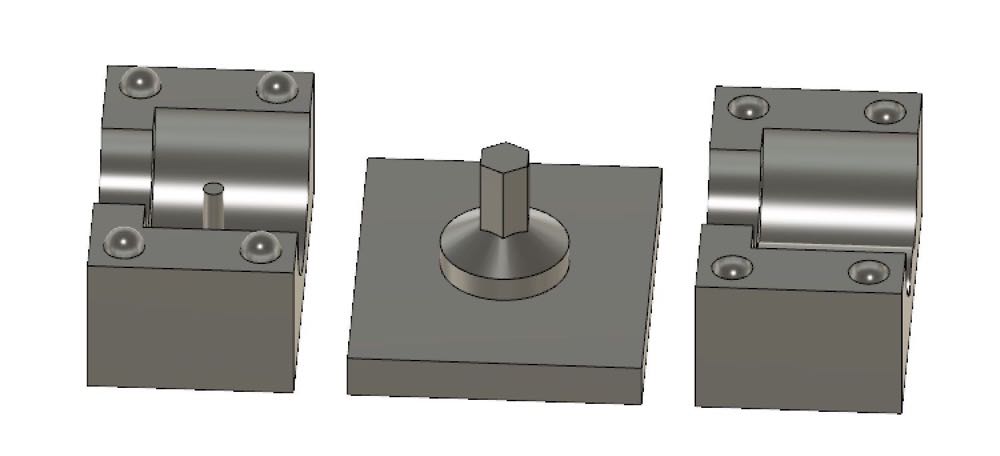 Invertion: modelling OOMOO mold
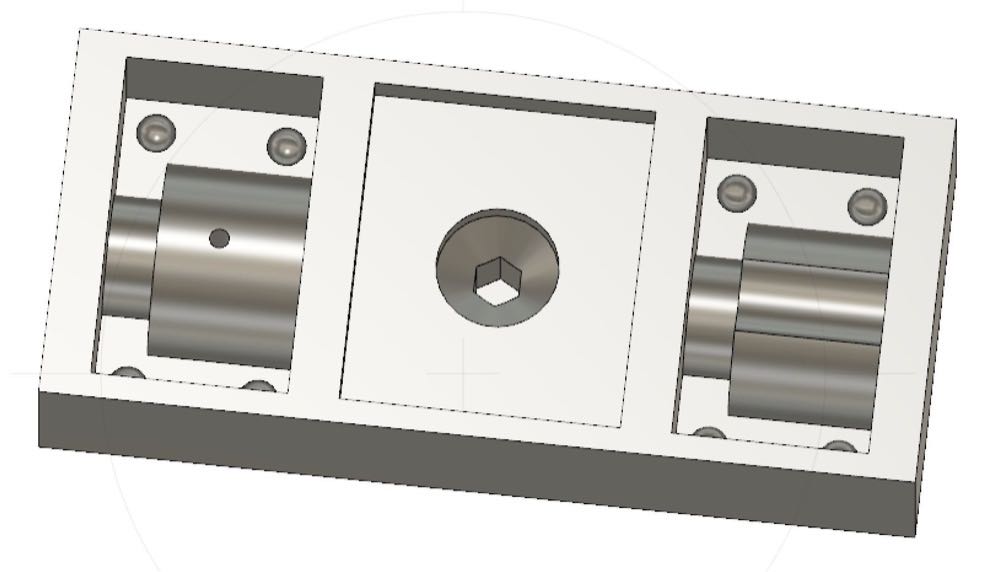 2nd invertion: modelling wax mold
Once the file was ready, I have approached the Shark milling tool and loaded a 1/8 ball tip end mill. However, before the milling, I need to create toolpaths. The parameters that I used in Vectric Cut3D tool were as follows:
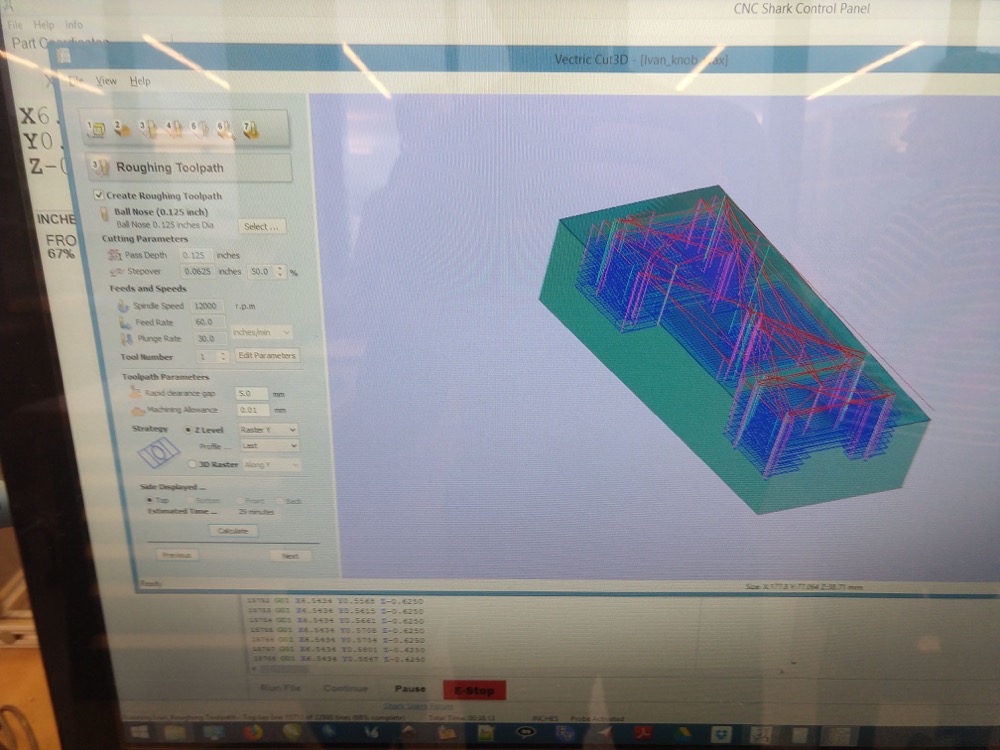 Roughing toolpath
 Finishing toolpath
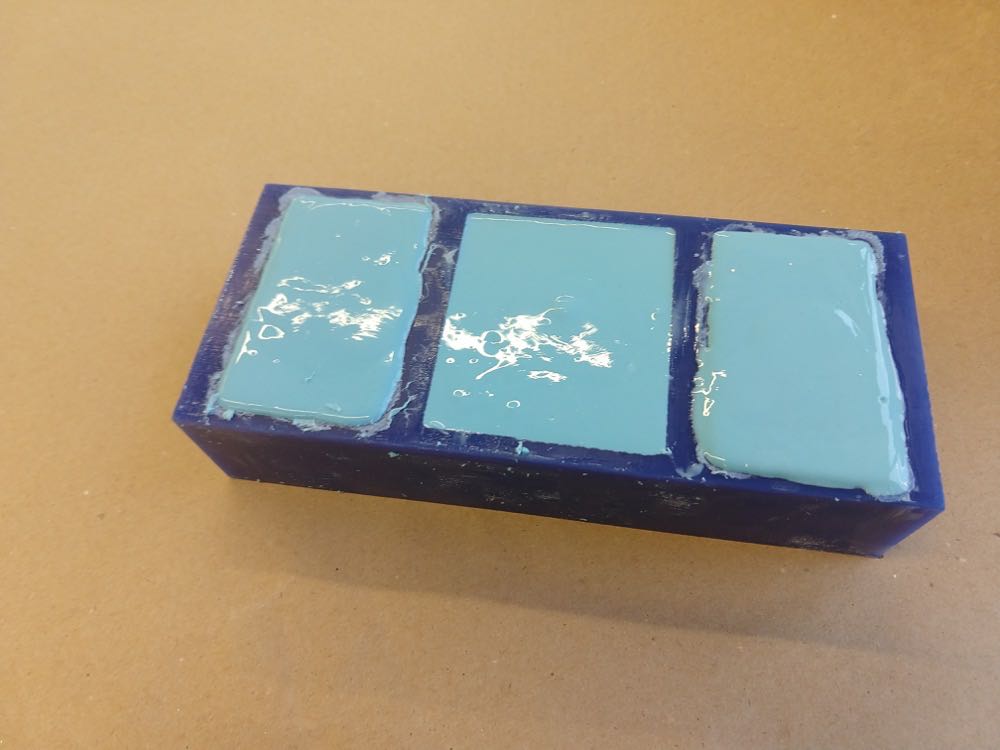
I then proceeded with milling, which took around an hour for the roughing toolpath and around 2 hours for the finishing. Finally, the milled wax piece was ready.
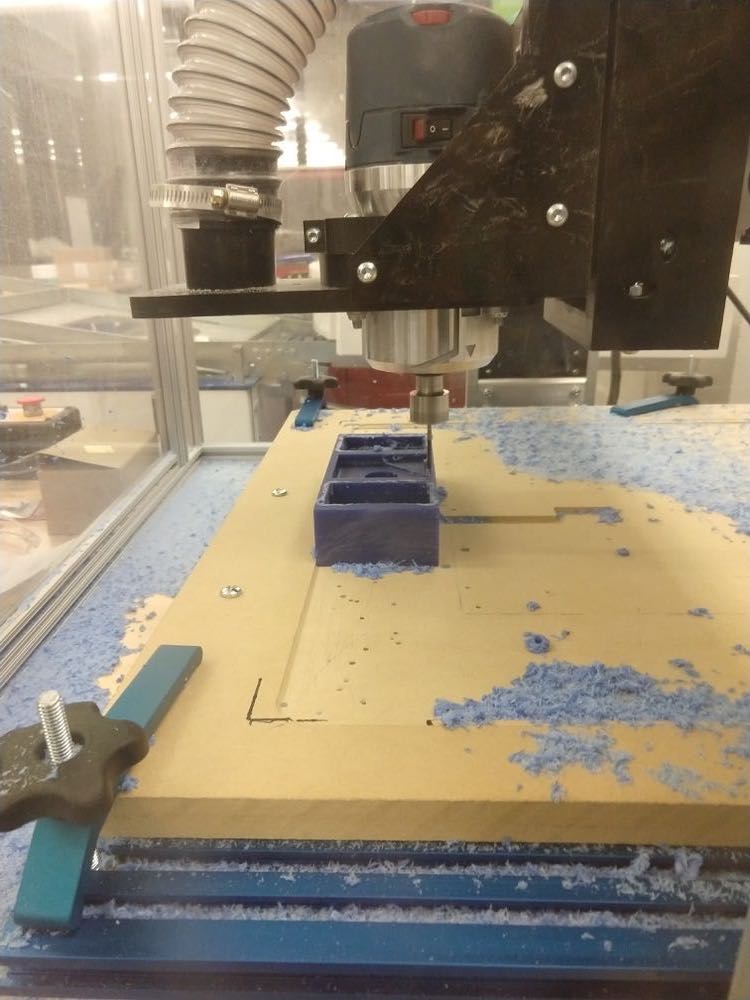 Milling the wax
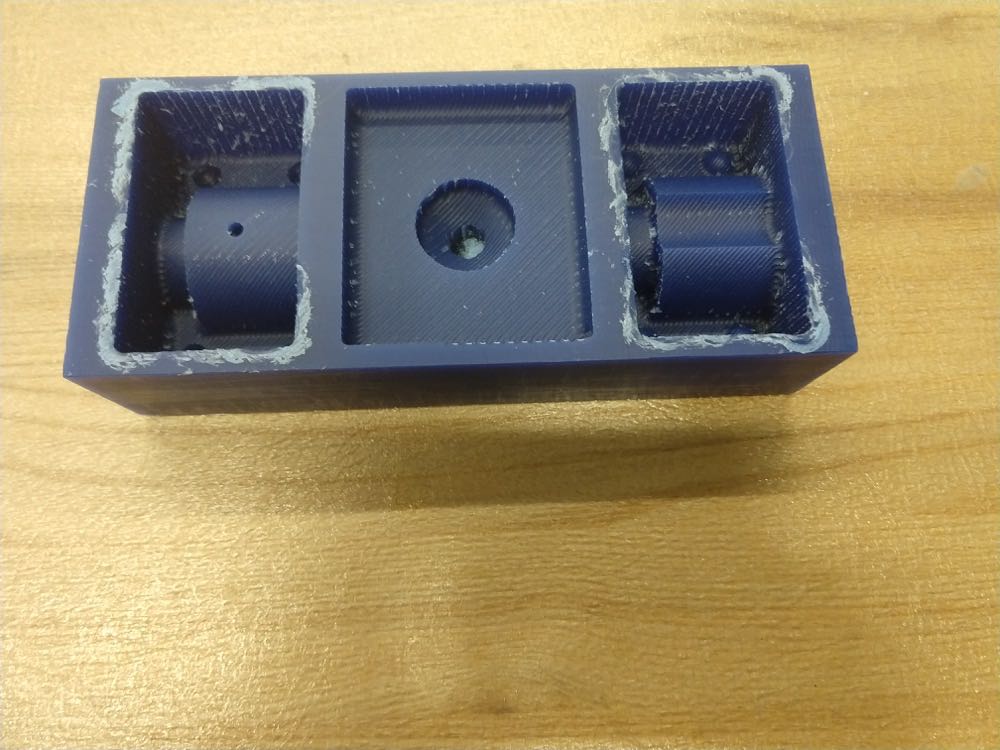 Milled piece of wax
One may find a few tracks on it, which was a consequence of a too large fine stepover (30%).
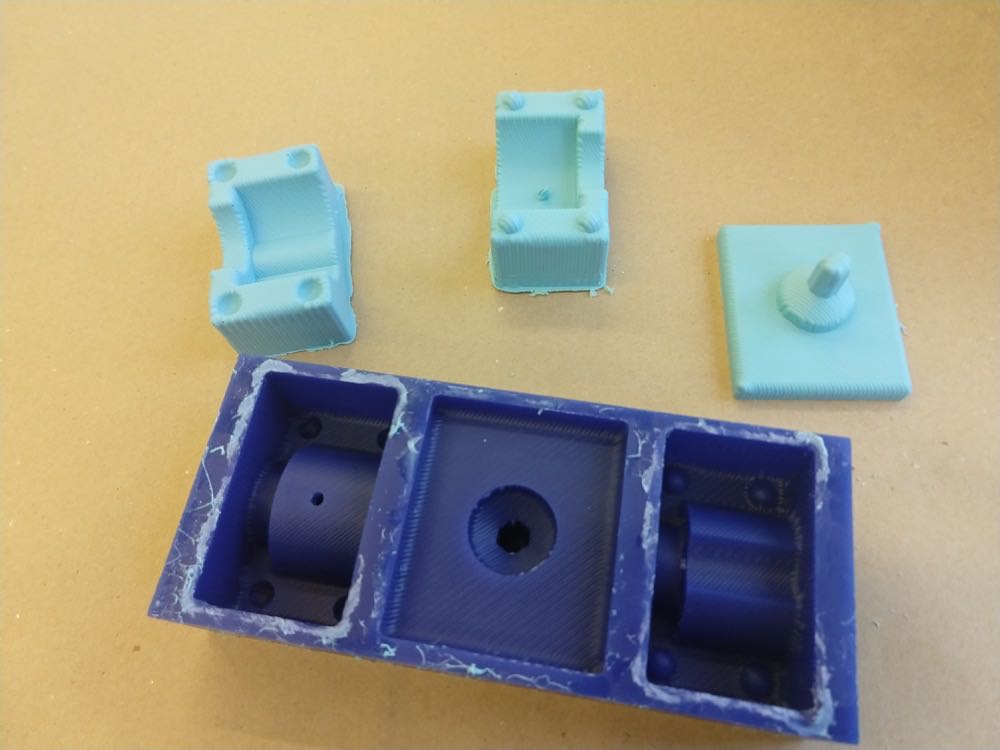
After a bit of a postprocesing work, I quickly prepared a 1:1.3 (A:B) mass ratio of OOMOO material and poured it in. In 2 hours, OOMOO became solid, so I carefully extracted it from the wax.
 OOMOO is filled
 2 hours laters: OOMOO is cured
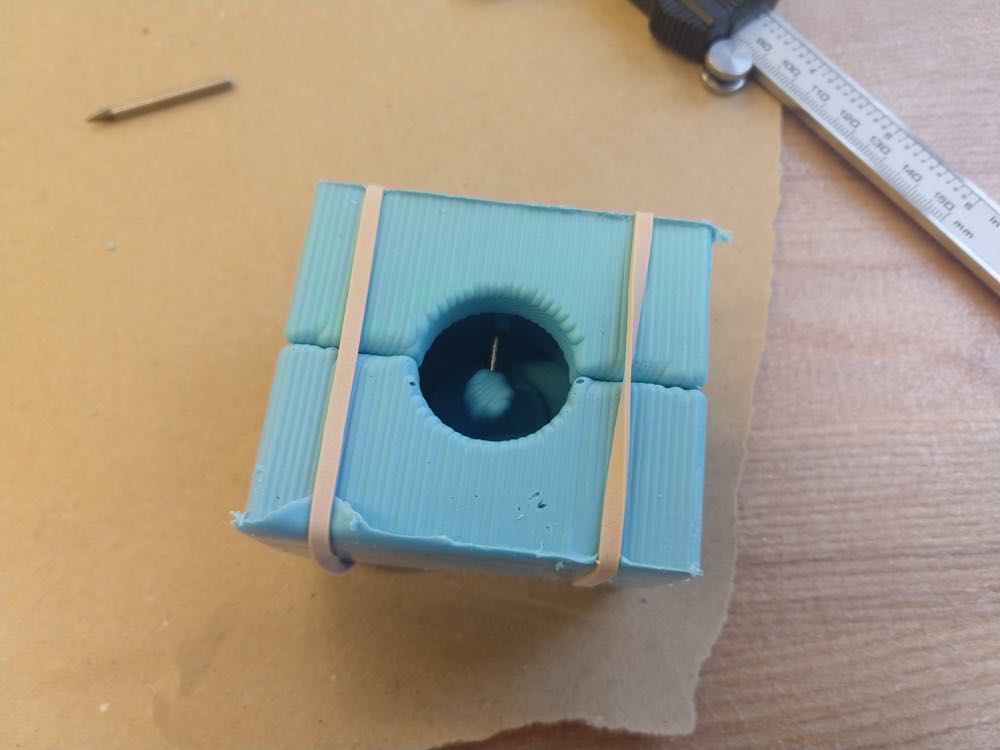
One can find that the side edge screw didn't come out nicely, so I used Zach's suggestion and sticked an old broken mill into one of the OOMOO pieces instead.
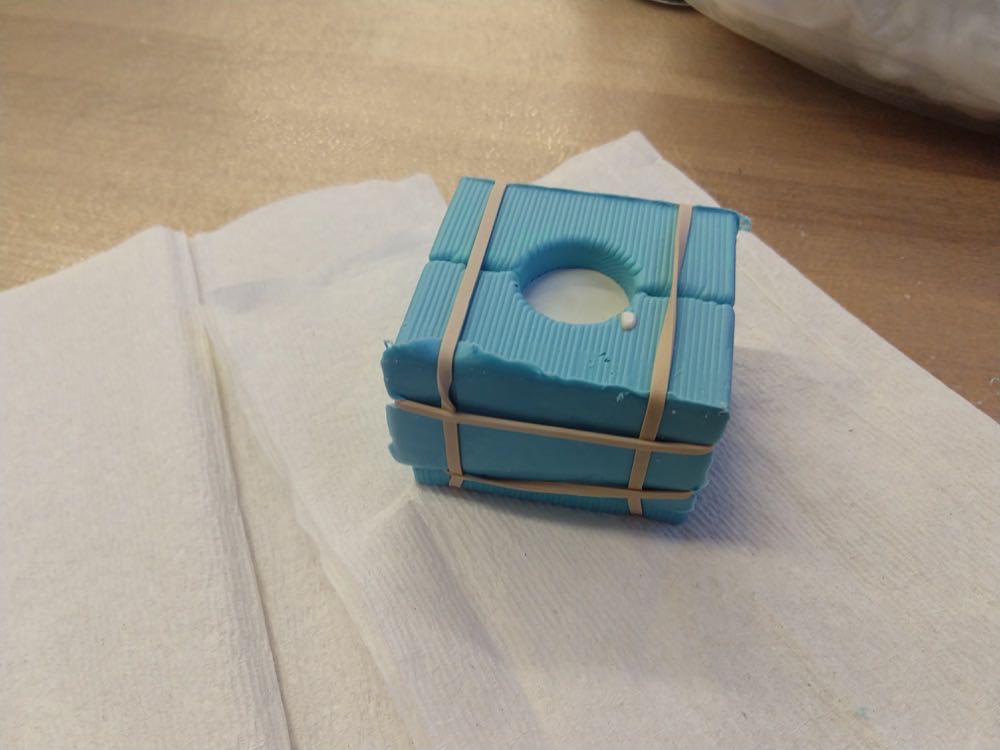
I then connected all the pieces together with a rubber band and prepared a 22:100 (water:plaster) of a Hydrostone material. I carefully mixed it together and poured it in:
 Getting the form for hydrostone
 Hydrostone is curing
After around 2 hours, I came back and my knob was ready. It took me quite a bit of time to sandpaper the piece. I then prepared a hexagonal tube piece and glued it to the knob. After adding a potentiometer, the end result looked as follows:
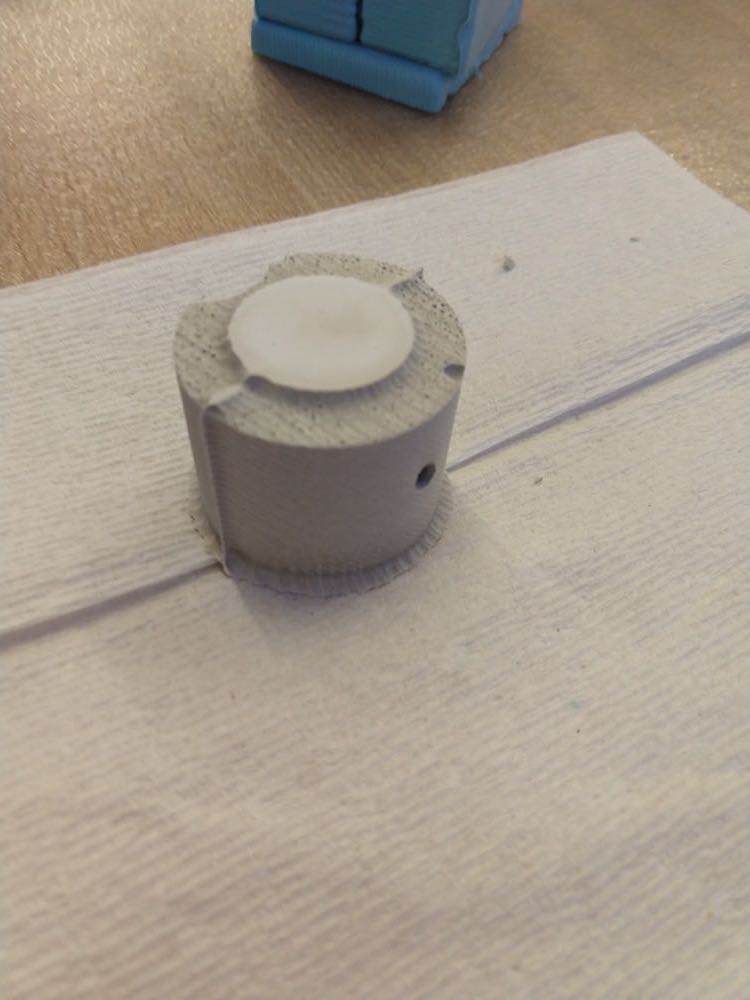 Unfinished knob
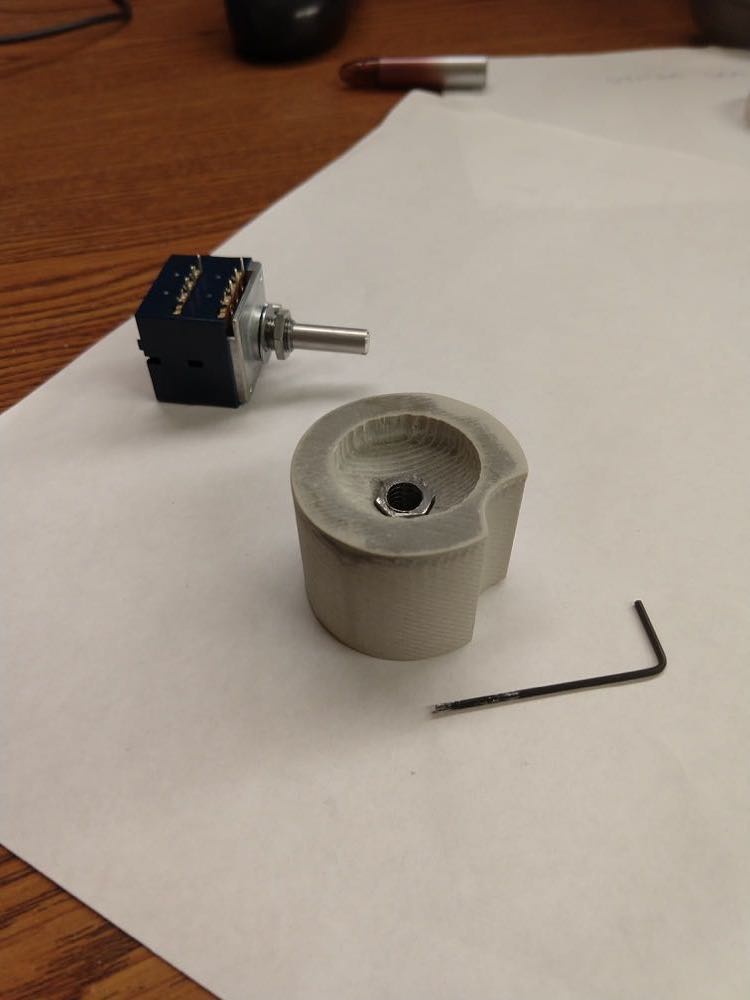 Backside of the knob with the installed shaft holder
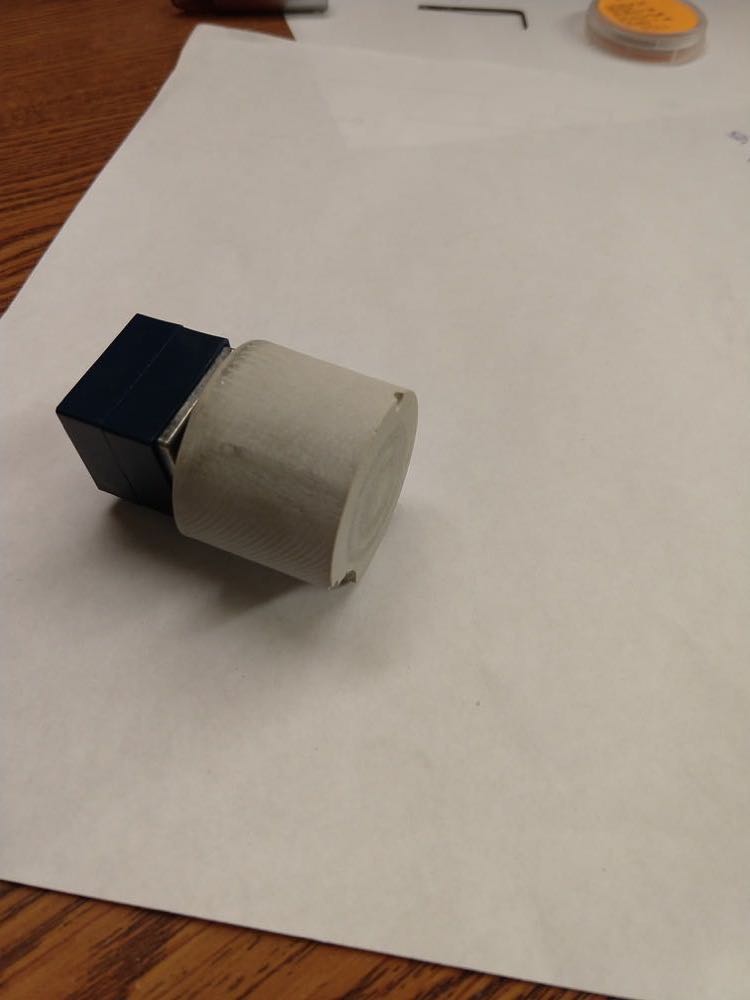 Final knob piece