molding and casting
or the ugliest legos you've ever seen
The assignment for this week was to make a mold and cast something in it. We made positive molds out of a machinable wax (this was so that we could additional learn about 3-axis milling), cast negative molds with oomoo, which is a silicone type material, and then cast the actual object with any variety of material that the shops had.
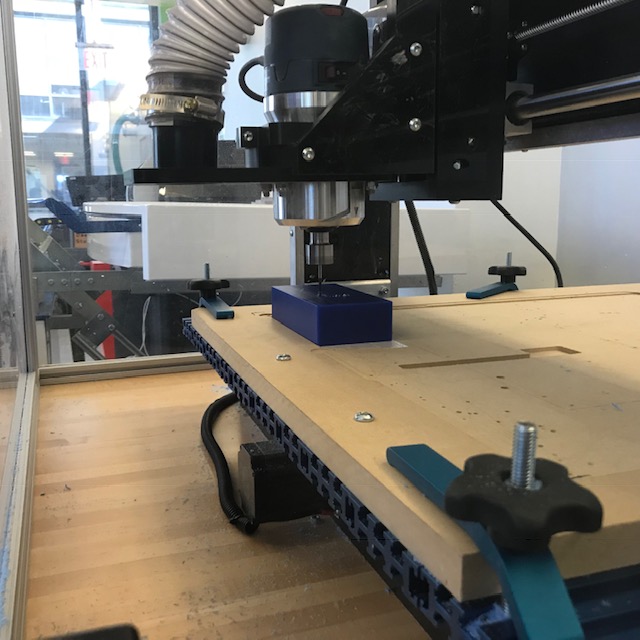
The machinable wax blocks we got were about 3"x6"x1.5" in dimensions, which is fairly small if you're making a two-sided mold. The milling machines the EECS shop section had on hand were a Shark and the Roland & Othermill from the electronics weeks. I used the Shark, because it's a new machine and CAM path planner for me. I used a 1/8th inch ball end mill to mill the wax. I think ideally, you would use a larger, flat-end mill for your roughing cuts and then switch to a ball-end for your finishing cuts, but it's unclear to me whether that's possible to do with the Shark.
The first design I made (which in total was like 5" long, 2" wide, and maybe 0.25" deep) would have taken, conservatively, 3.5+ hours to mill, and it turns out I don't have that kind of patience for a design I feel no attachement to. So, I made a mold for a small lego-type brick.
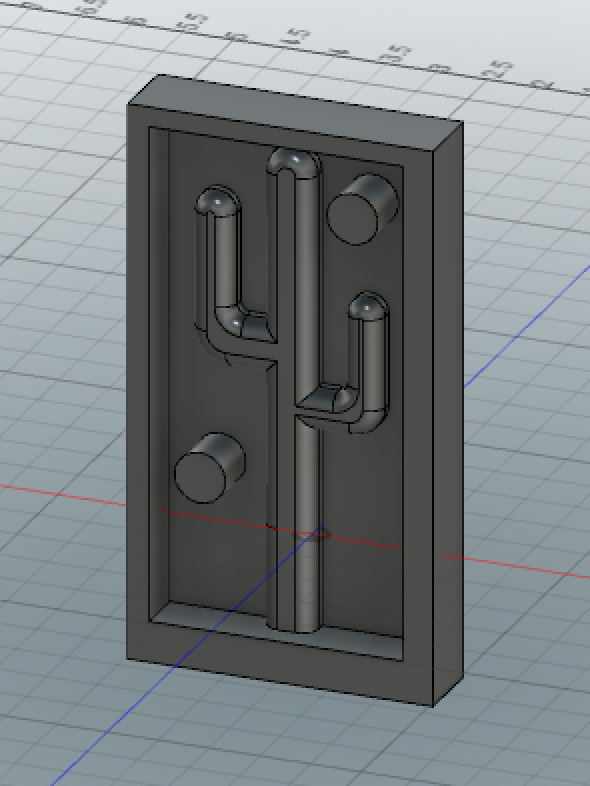
Half of a cactus that I didn't cut because it would take a long time.

A mold of a coin for my living group that I decided was a dumb idea and therefore abandoned
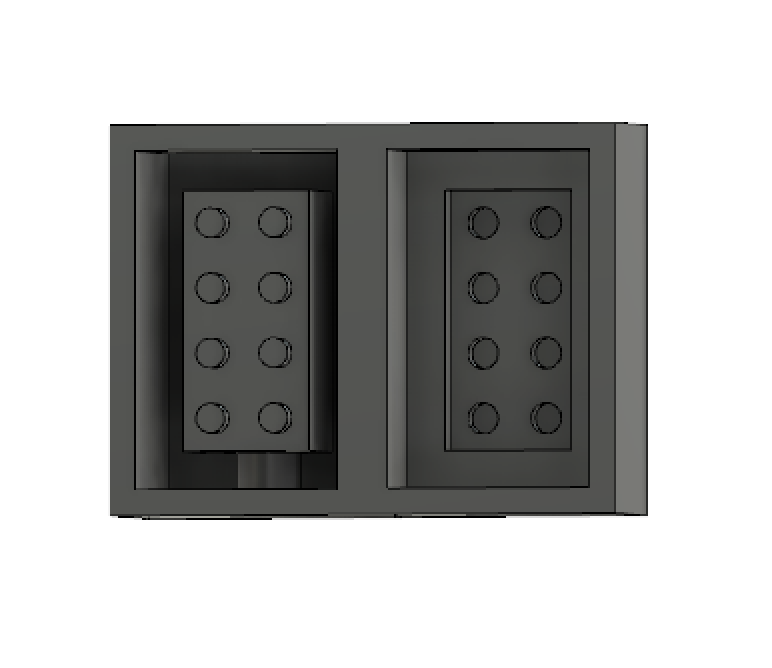
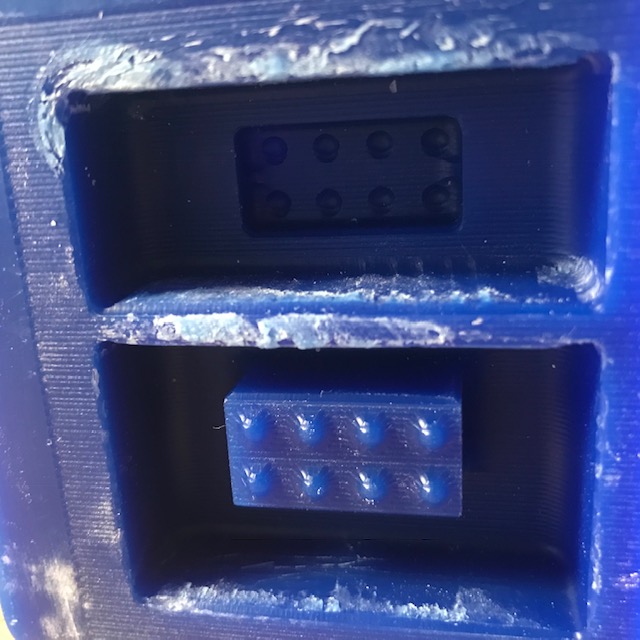
And this is lego mold!
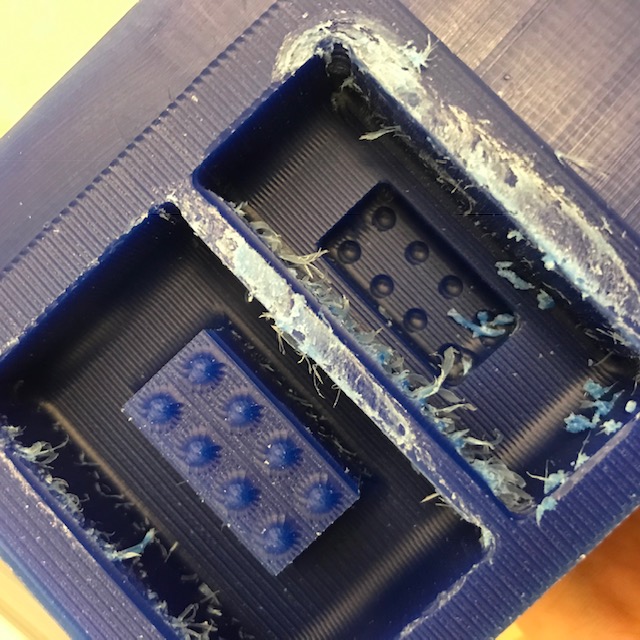
One of the nice (?) things about this mold is that one of the halves registers inside of the other, so the mold doesn't need extra nubs to line up the two halves with.
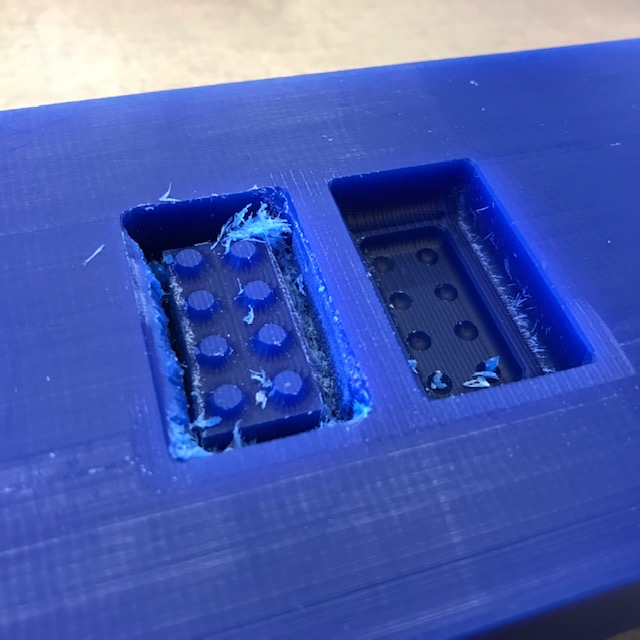
Unfortunately, it looks like the wax started melting a bit during the cutting process and one of the edges of the mold got weird.

I still cast the oomoo negatives, and they turned out more or less ok. I worked too much air into the mixture, so I got little bubbles in the design, and then there was also some other imperfections from the wax mold being off.
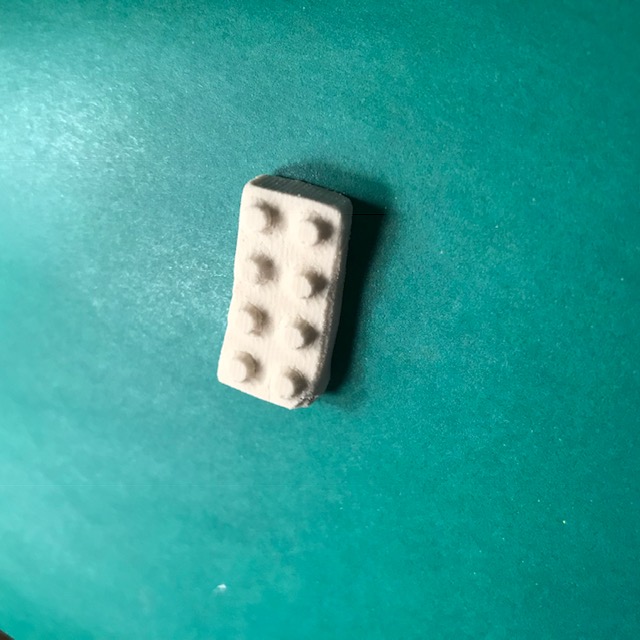

I cast the bricks with plaster of paris, because that was a very simple process to do. The top halves of the bricks I cast turned out better than the bottom halves, I think mostly because I kept trying to remove the bricks before the plaster was fully set because I was excited. And this damaged the bricks.
If I were to re-do this, I would change the CAD model so that space between the brick and the wall could be larger, which would hopefully prevent the melting from happening again. Additionally, I think I'd change my nub shapes from cylinders to spheres. Because I used a ball-end mill, the cylinders slope into the base of the brick and the cylinder holes too have a rounded shape.
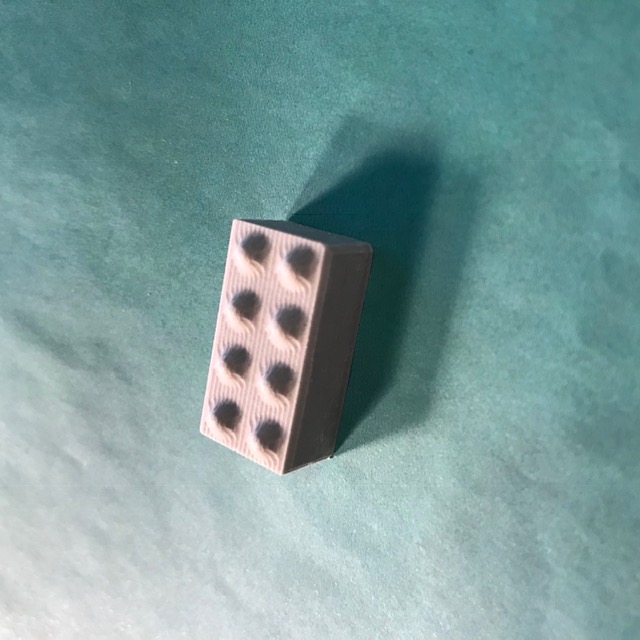
So, I did decide to re-do this! I made those exact changes! And I made the piece slightly larger and about twice as thick. I also made the side with holes slightly deeper, so that it would register more stably in the other piece.
Also, I cast these with hydrostone instead. I cast the old mold with hydrostone, too, and I think I like it better than plaster of paris. Which may be because I'm not using plaster well? But anyways, the hydrostone is a lot stronger and doesn't shed powder everywhere.
Top view
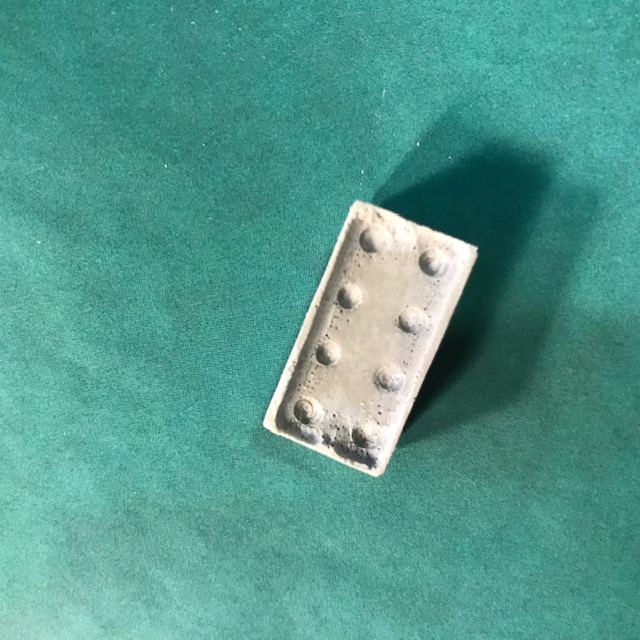
Bottom view (note: because I used a ball end mill and don't know how to account for this, the edge of this mold is filleted, which causes the mold to have those lips along the edge. Functionally, they don't really matter, though.)

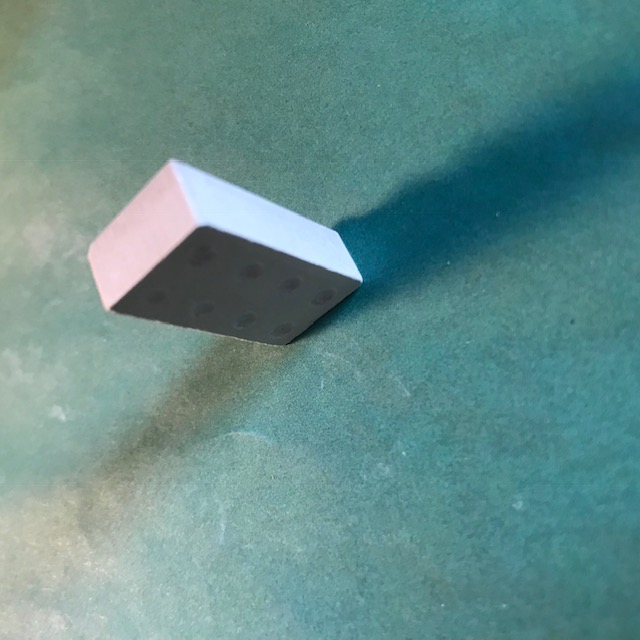
This is just a moody picture, haha
This is the mold immediately out of the Shark. The edges still got feathery, but that was relatively easy to clean up, and doesn't need to be particularly precise anyhow.
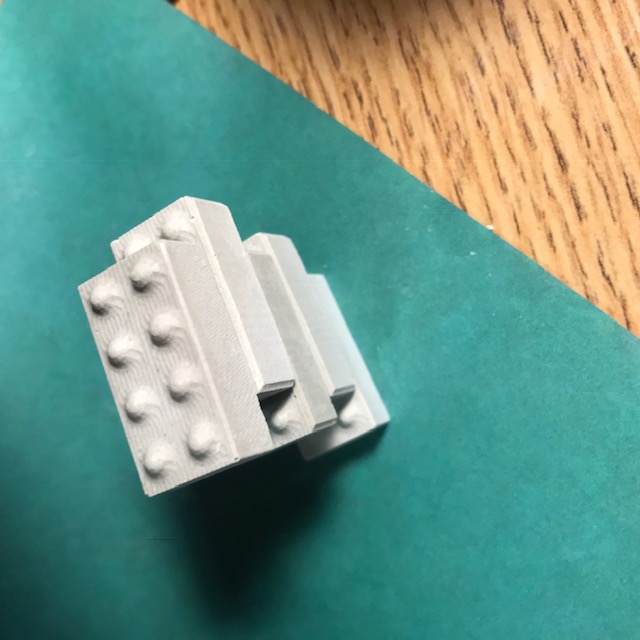
I stacked some of them together. wow. architecture.
Here are some more brick photos, cast with hydrostone.
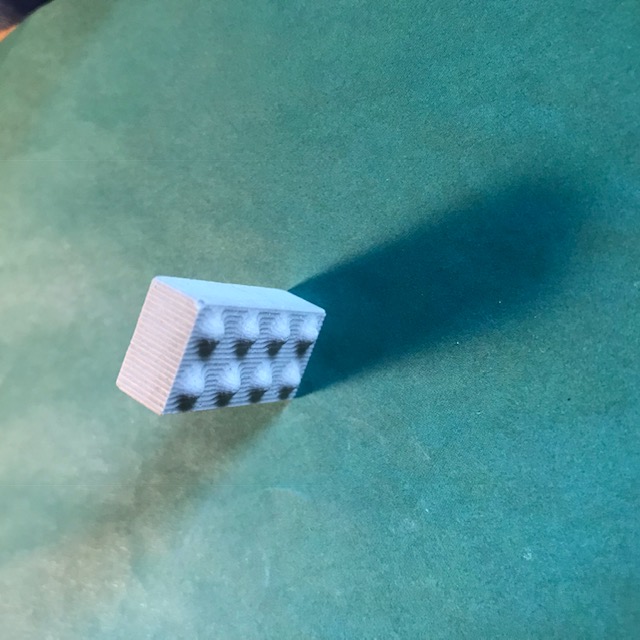
And from the front.
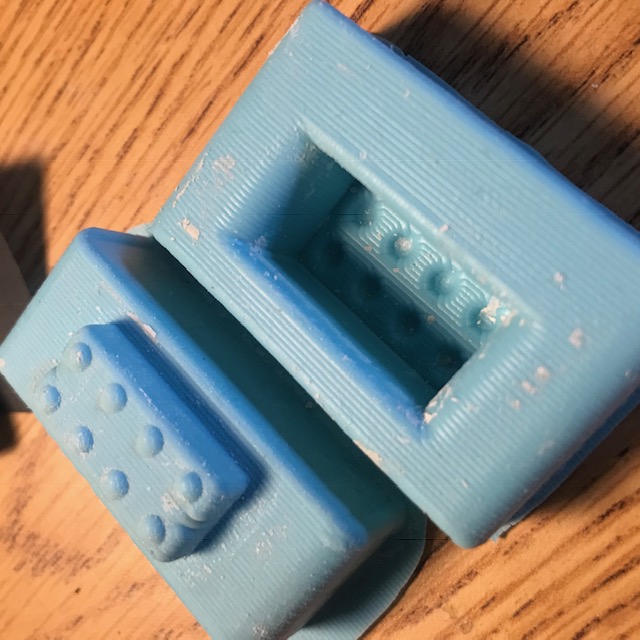
This is the new oomoo mold, with some hydrostone gunk on it.
This is the wax mold cleaned up.