wildcard week
or inflatables
This week, everyone broke off into smaller groups and did different things. I did inflatables.
The inflatables were sewn with ripstop nylon. They're not air tight, so you need a fan running to keep them inflated. A potentially helpful tool you can use for this is creating the 3D shape you want in a CAD program (e.g. Rhino) and then using a surface unroll tool (e.g. UnrollSrf in Rhino) to flatten the shape into something you can cut out and then stitch.
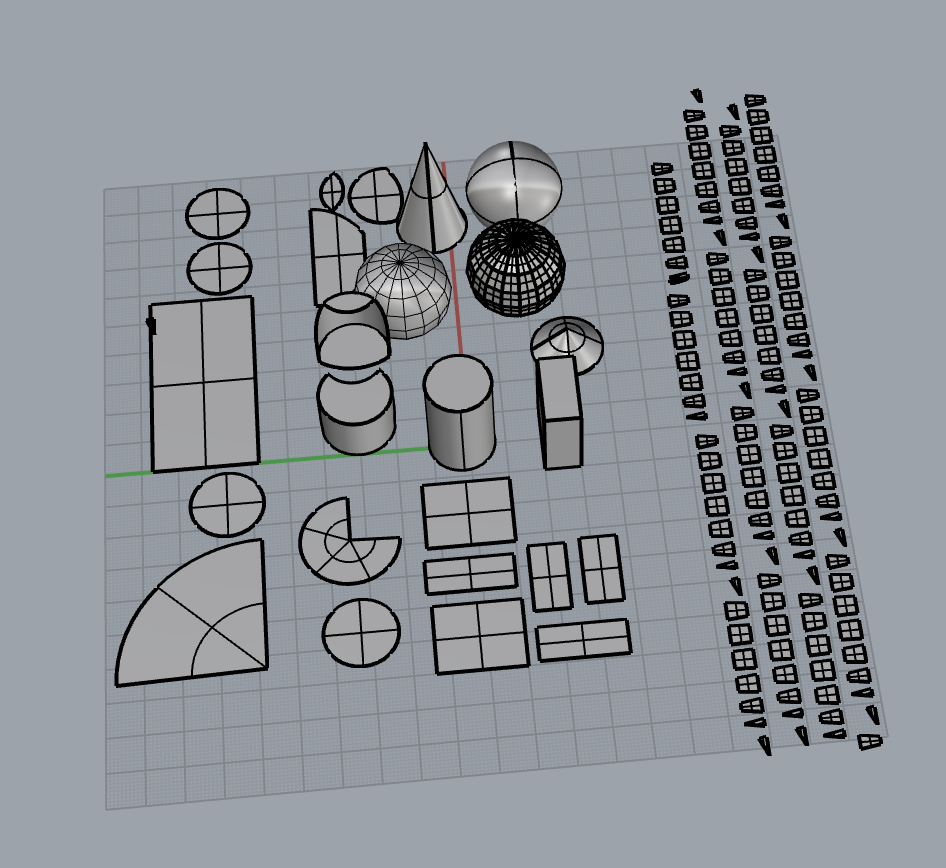
This is a screen shot of some shapes that have been unrolled in Rhino. UnrollSrf handles things with one direction of curve really well (e.g. cones, cylinders) and things with more than one direction of curve (e.g. a sphere) not at all. In the case that you have curvature in multiple directions, you can use Smash, which will try to unroll the object anyways, and you can reduce the tolerances for UnrollSrf. Failing both of those, which happened with the sphere in the above image, you can convert the object to a rough mesh, and then back to an object again, and then unroll it (this creates a sphere-like polygonal thing that you can unroll).
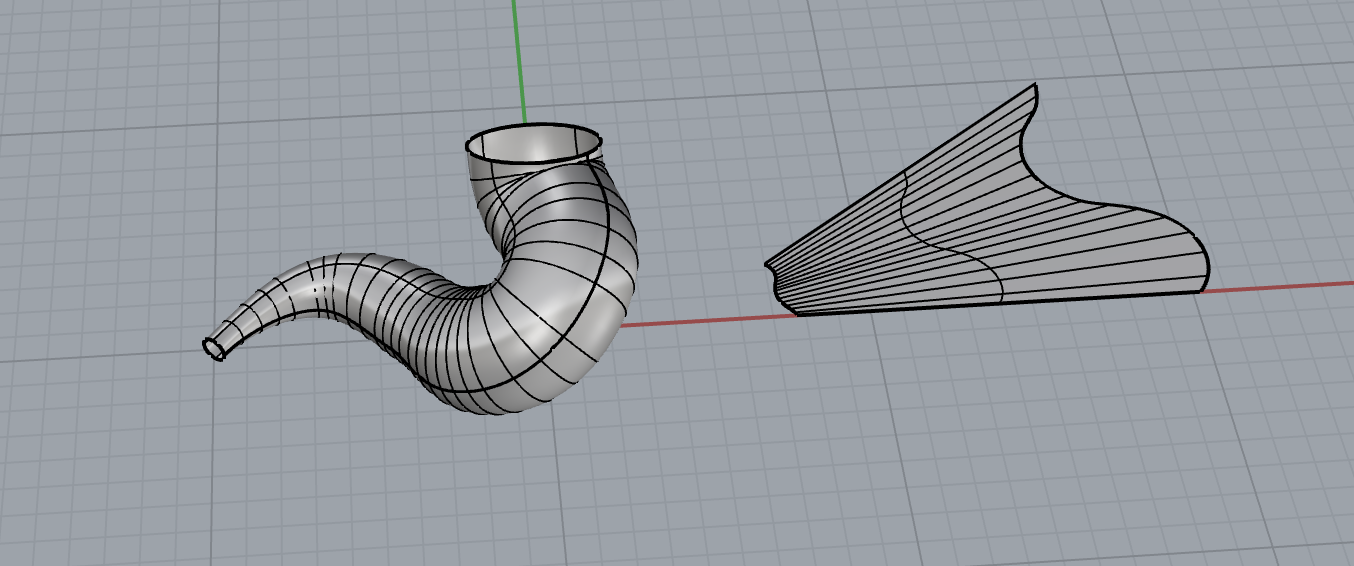
Here's a rhino model of a shape that I was interested in re-creating. I decided, based off of the unroll results, that I would stick with just making simpler cones, and then deforming them later.
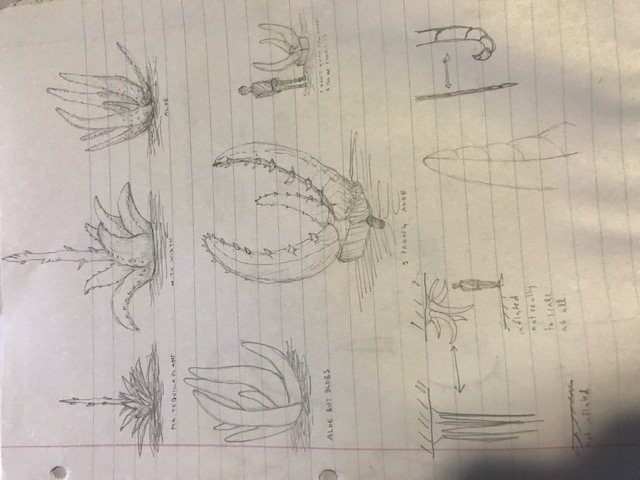
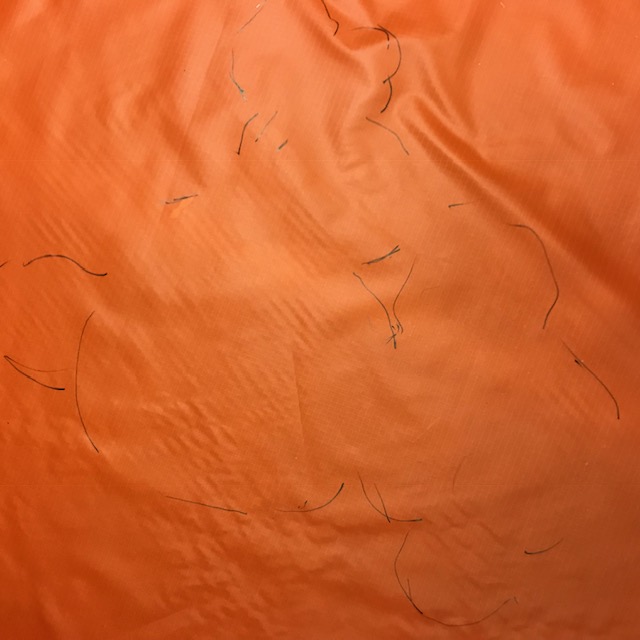
I wanted to make a plant-like thing, because that would play directly into my final project. I made some of the above sketches to that end.
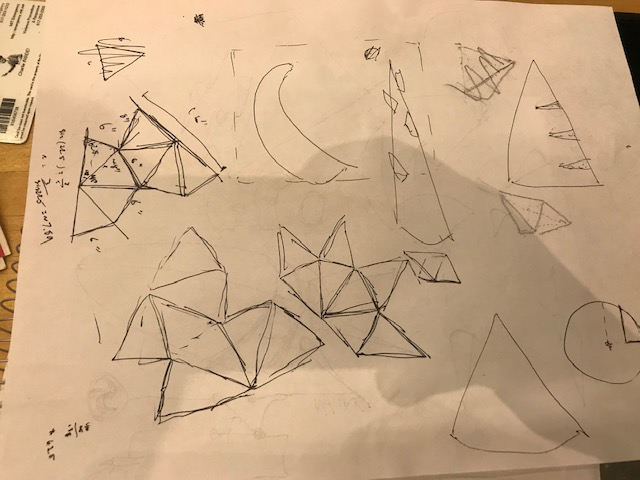
First though, Agnes showed us how to use a sewing machine and how to make some simple geometries. The picture above are some drawings I made to think about unroll a, um, double tetrahedron?
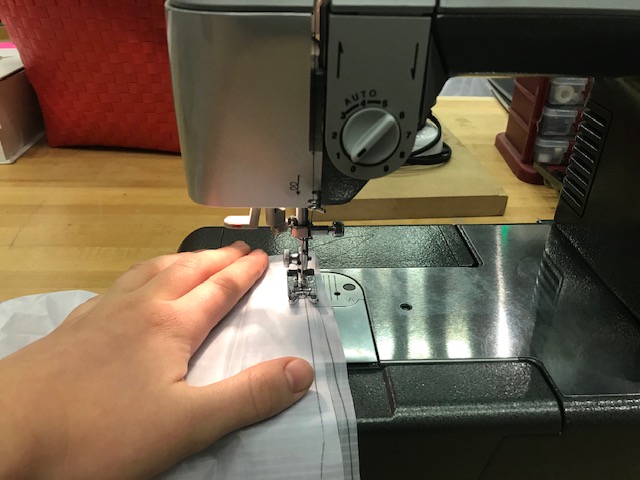
It's me sewing! and the completed and kinda ugly but still lovable double tetrahedron. After that, I made a test cone (trivially based on the shorter rhino unroll one) and used that to get a sense of how to deform cones in terms of adding seams to a shape. That testing made me realize I'd have a happier time making more tube/cone like structures as opposed to flatter succulent leave-type structures, so I just went with that.
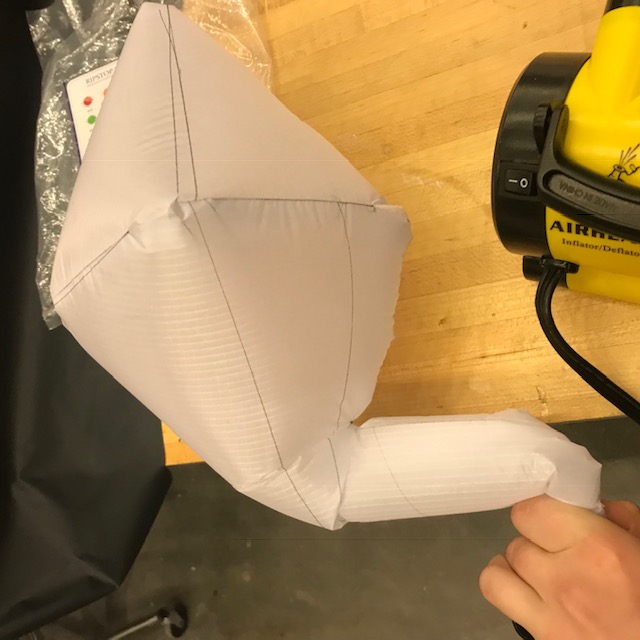
I wanted the thing to be all one color, and we didn't have enough of anything but orange for that to happen, so my inflatable is orange, which I generally find to be an unpleasant color, tbh, but I'm learning to like it.
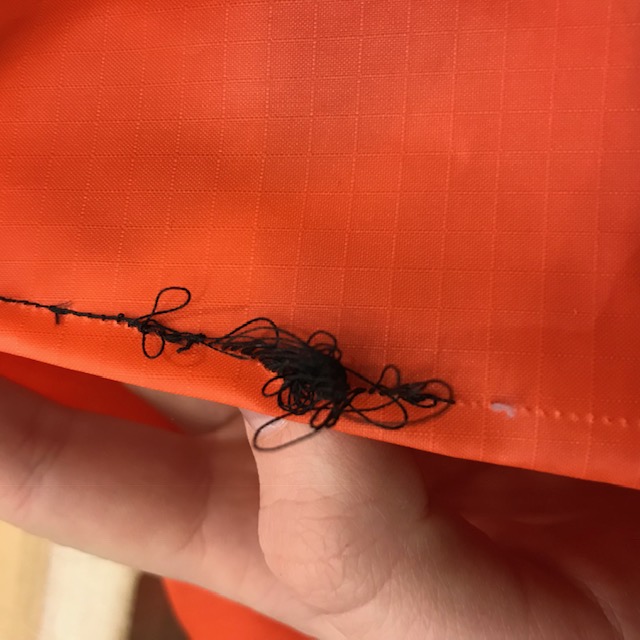
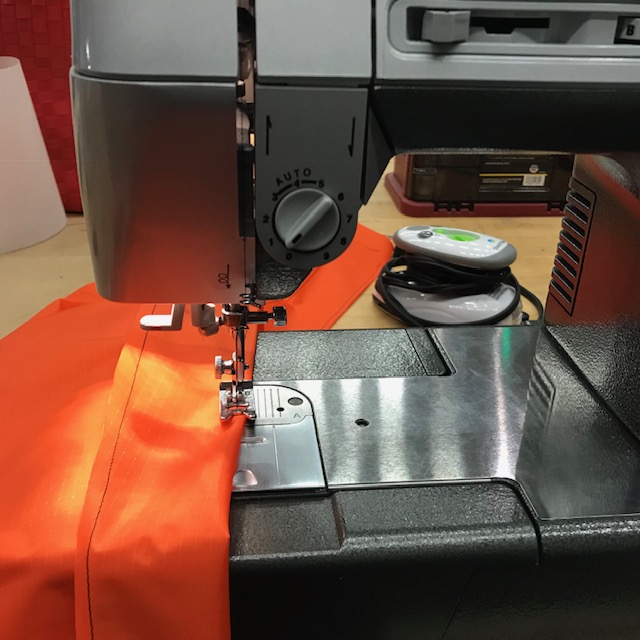
Sewing mostly went smoothly, but sometimes things happened that were less than desirable. E.g. the above picture. I'm not totally sure what happened, but it seemed to be an issue with the bobbin thread, which got kind of knotted on its spool at one (several) point(s). This stopped happening after I ran out of bobbin and had to respool it.
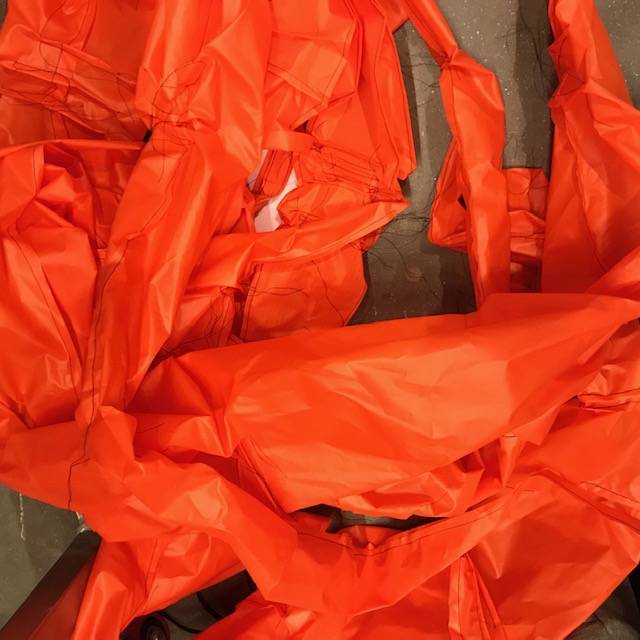
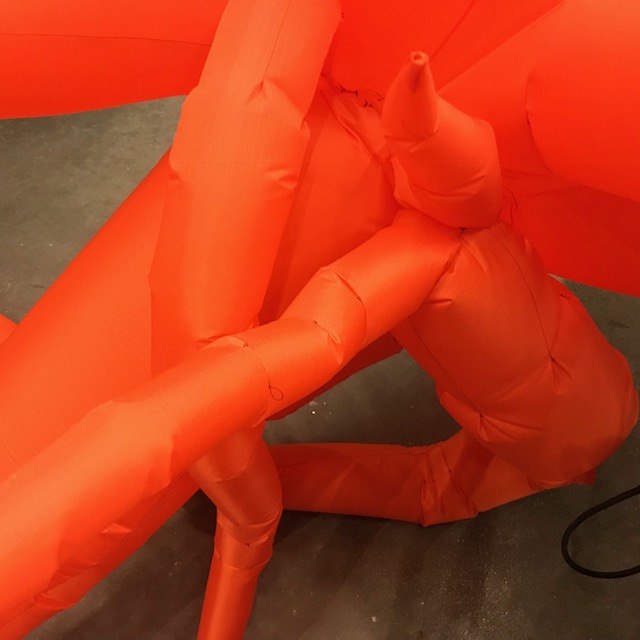
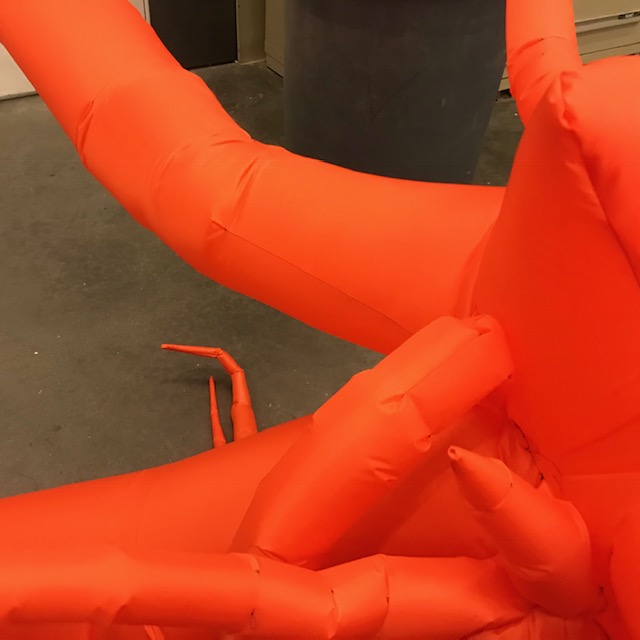
Above are some work-in-progress photos. When sewing things in general, you sew them inside out, so the seams get hidden. So the above are all inside out. With the ripstop nylon, there's a front side and a back side (one is more matte and the other is more glossy) and apparently the matte goes on the outside traditionally because it looks better. So I tried to do that, but at some point I got confused and made one root thing the wrong side out. oops. It's not that noticeable.
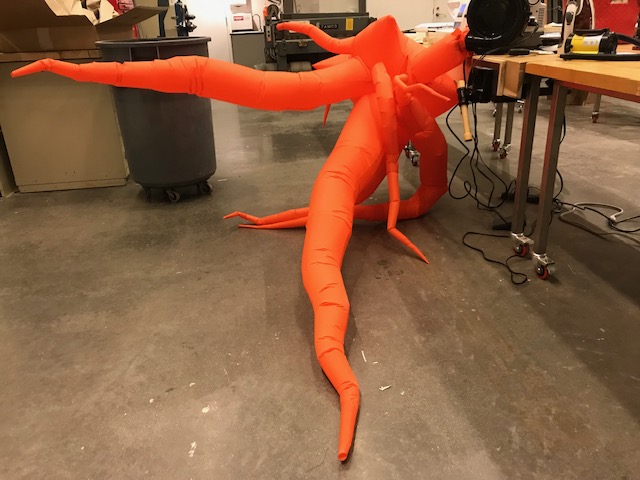
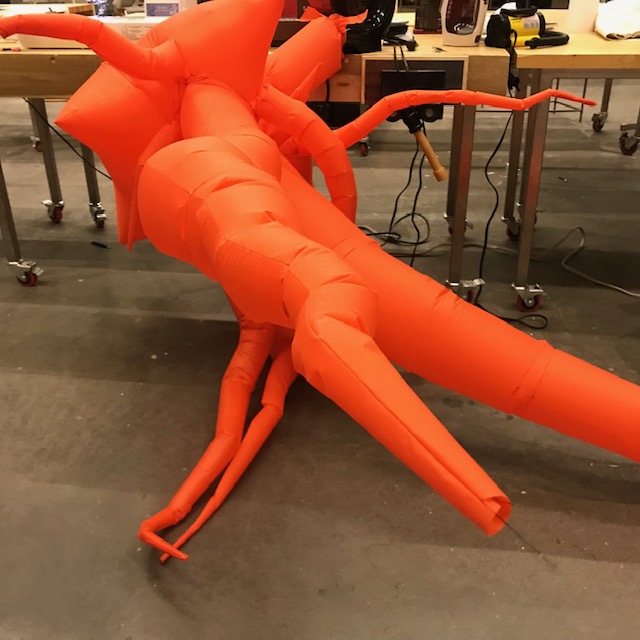
And that's the completed structure! Ryan said that it looked like carrots, which I think is pretty good, so the inflatable/my new best friend is carrots.
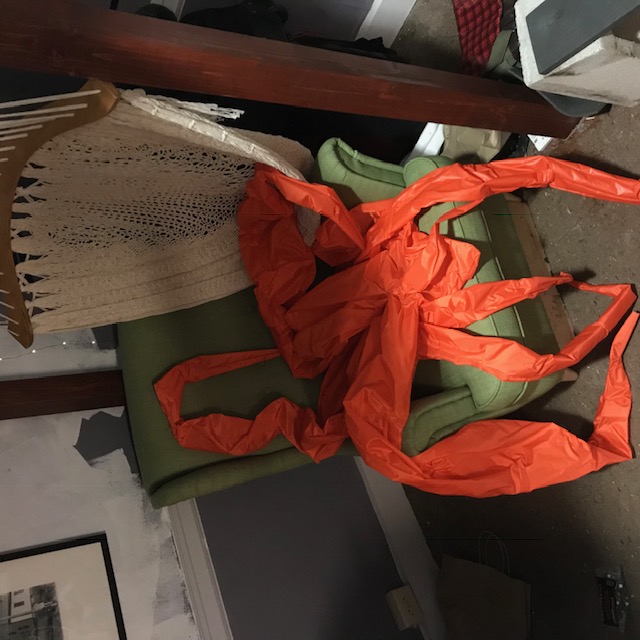
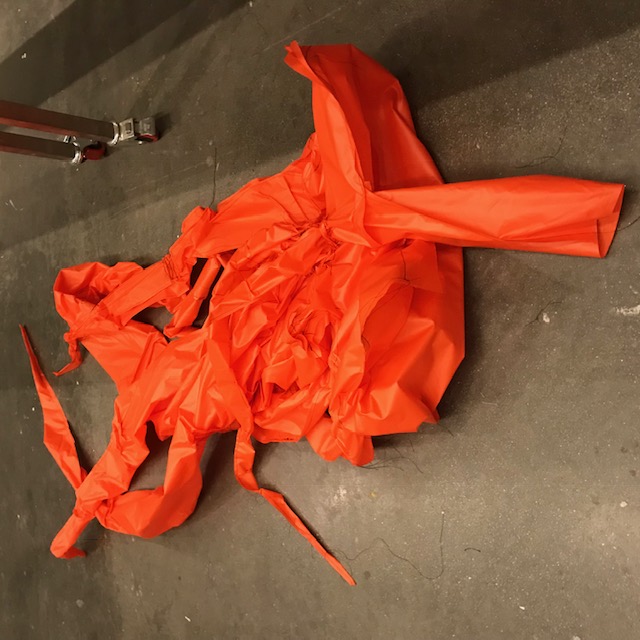
Sad un-inflated carrot living in my room
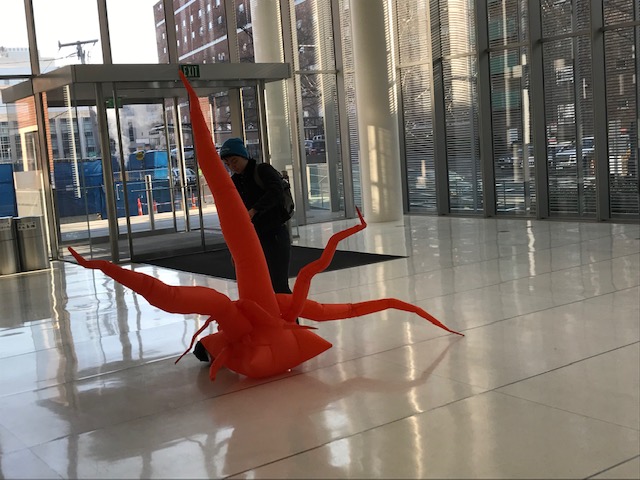
in the media lab and inflated. thanks Agnes for the photos.
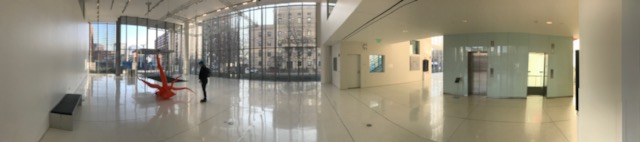
ooh panorama
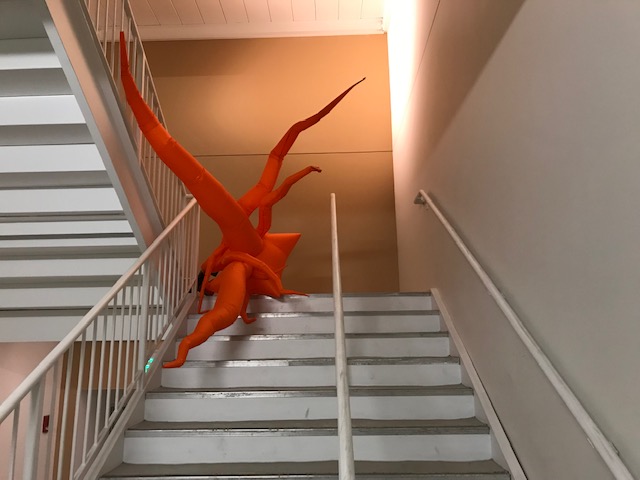
aren't stairwells fun? I tried to dangle it off the edge but I didn't have enough cord length to do that.
In other news, I also tried heat sealing the ripstop with a soldering iron, which is apparently not the right way of heat sealing nylon.
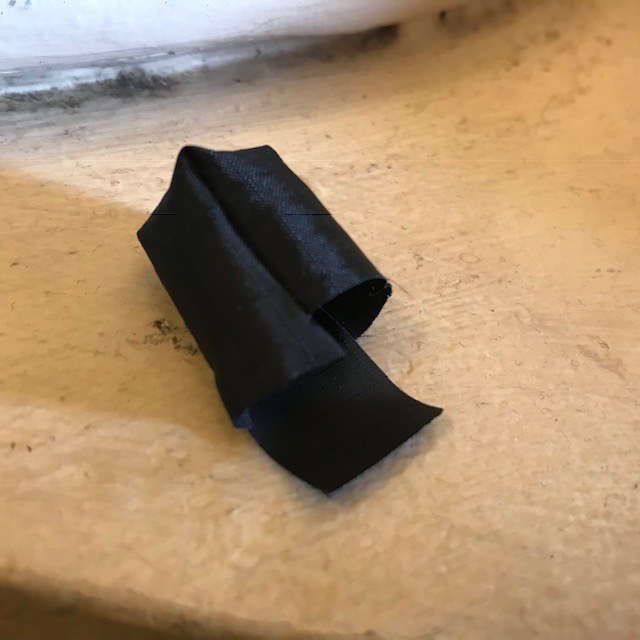
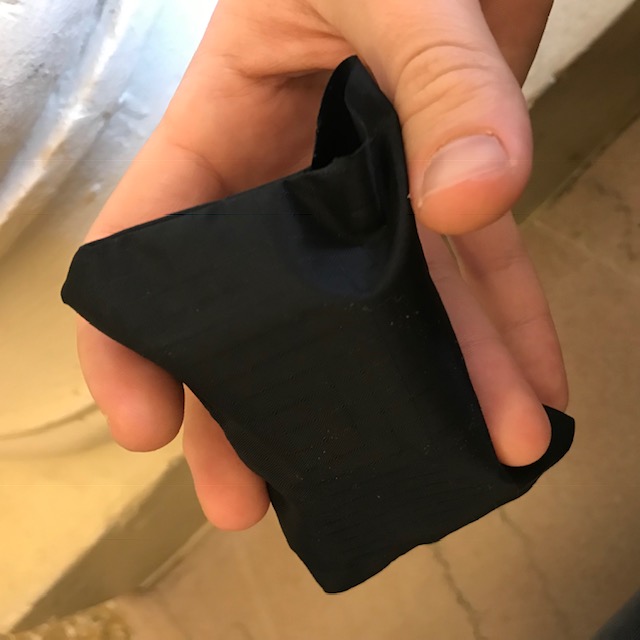
I made these two tiny things out of scrap, and I guess it sort of works? I also tried it with the white fabric, which is a crappier fabric, and it worked a bit better. But, I can't find that piece anymore :( For the black fabric, I had the iron at like 650F, and for the white fabric at 300F.