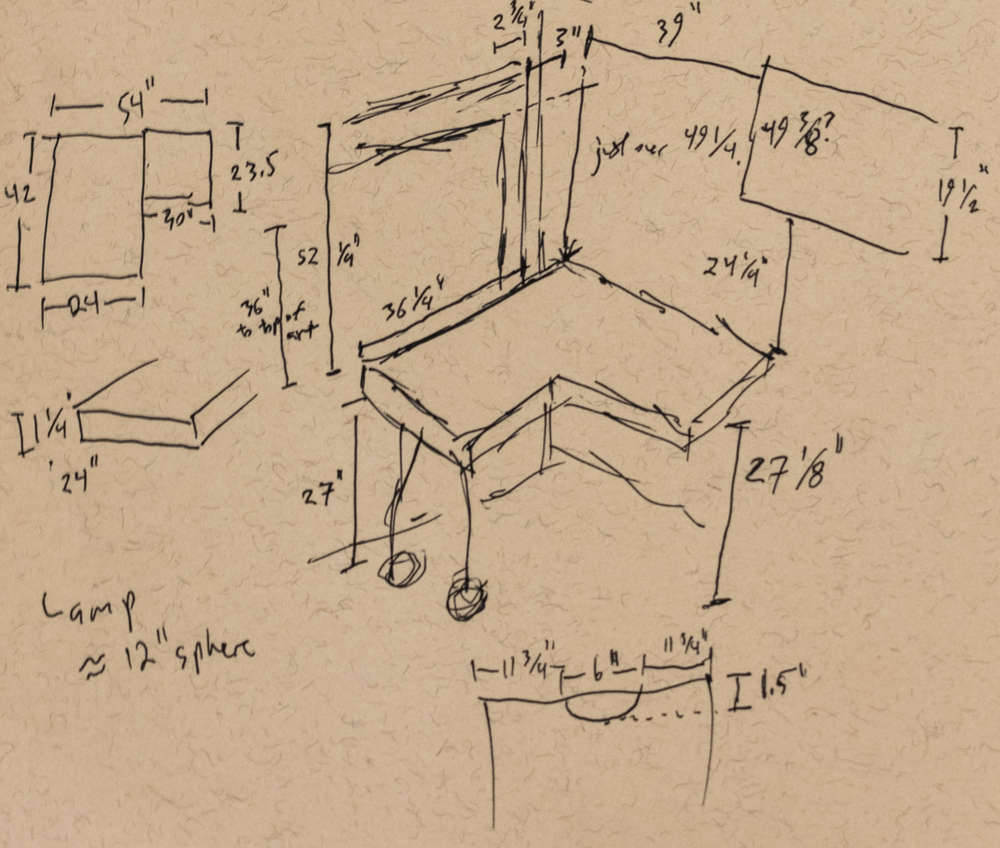
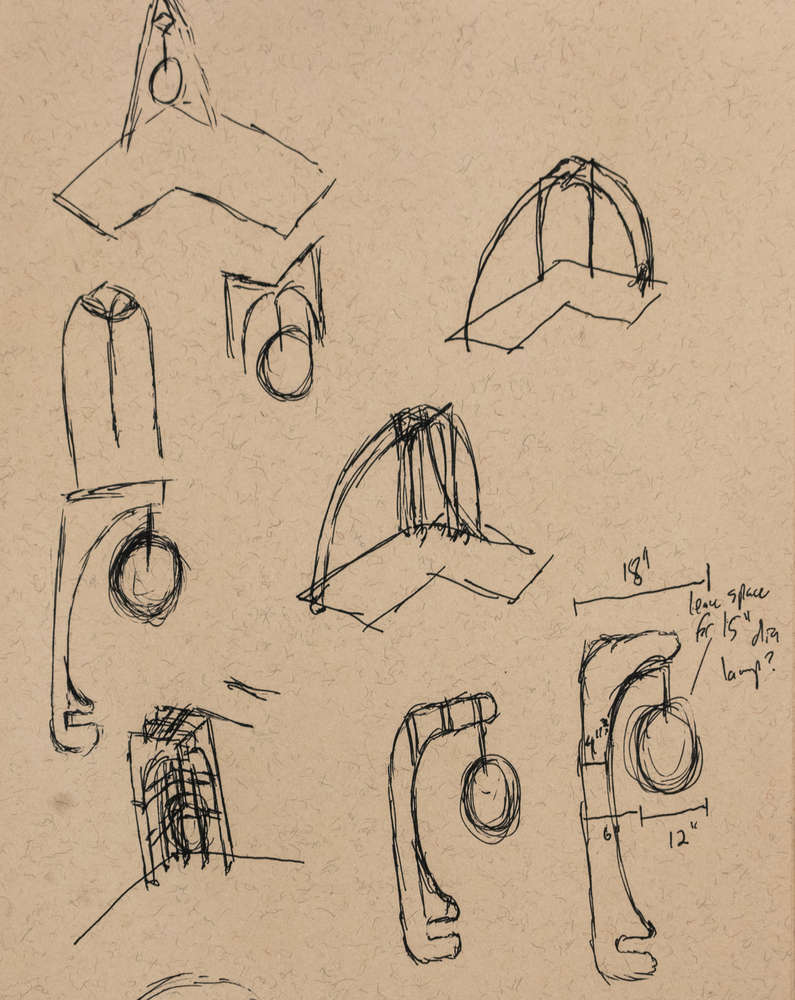
Sketching the initial profiles
Assignment: Make something big.
Goal: Create a stand for my lamp for my office, constructed from a 4'x4' sheet of OSB.
OnShape
Adobe Illustrator
VCarve Pro
Shaper Origin Tips and Tricks
Heavy Duty Double-Sided Tape
Dog Bones and The "Inside Corner" Problem
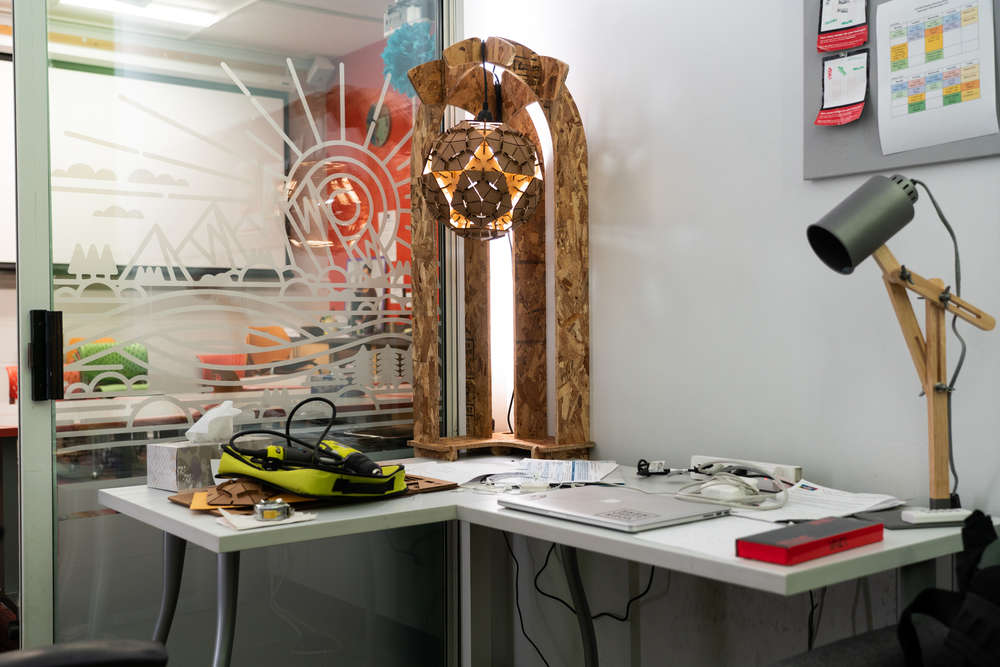
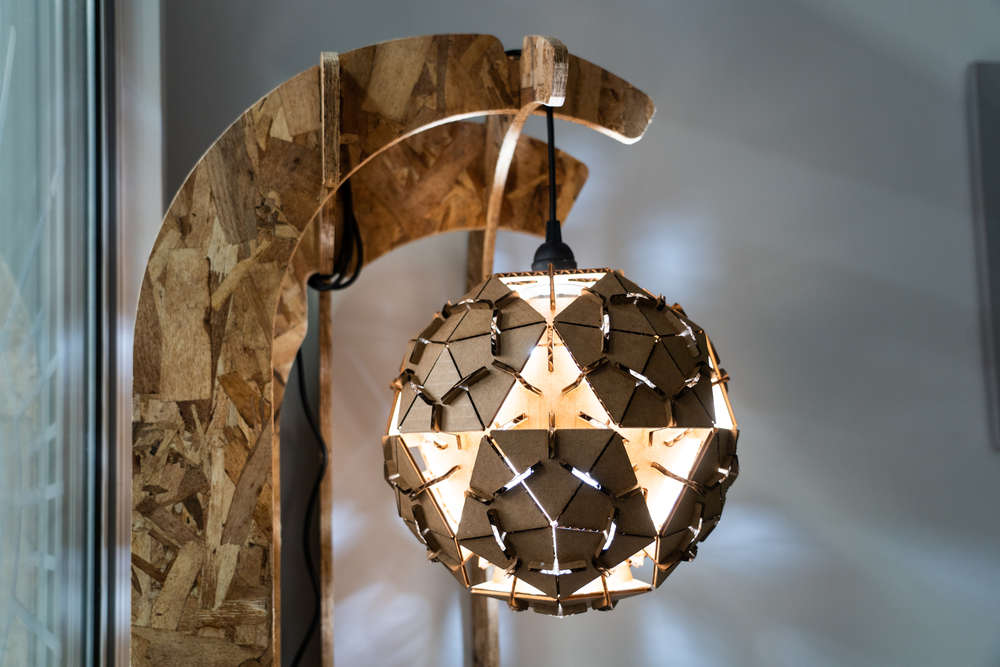
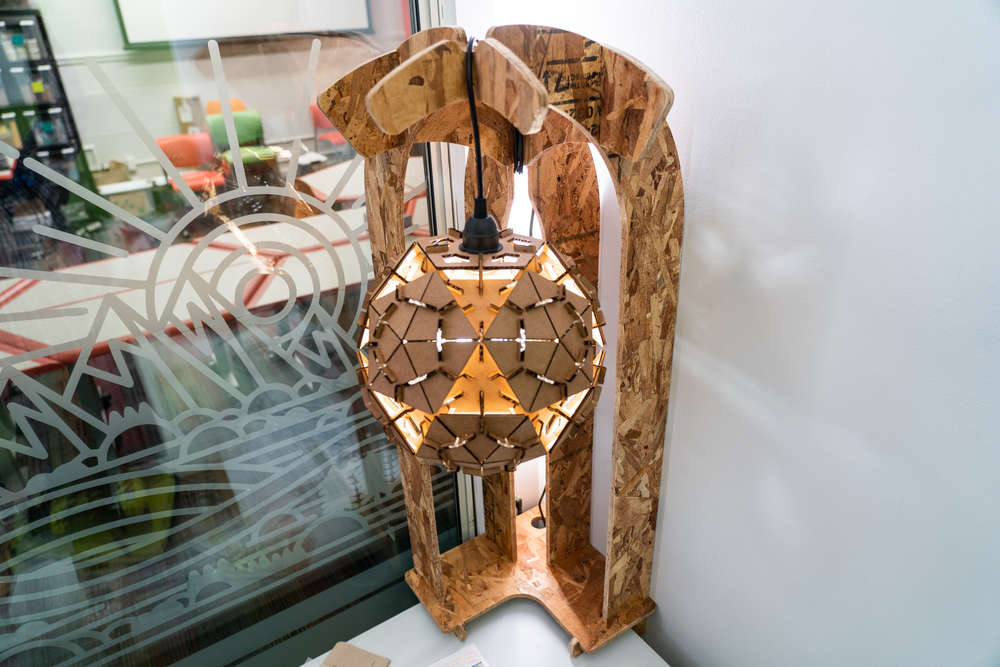
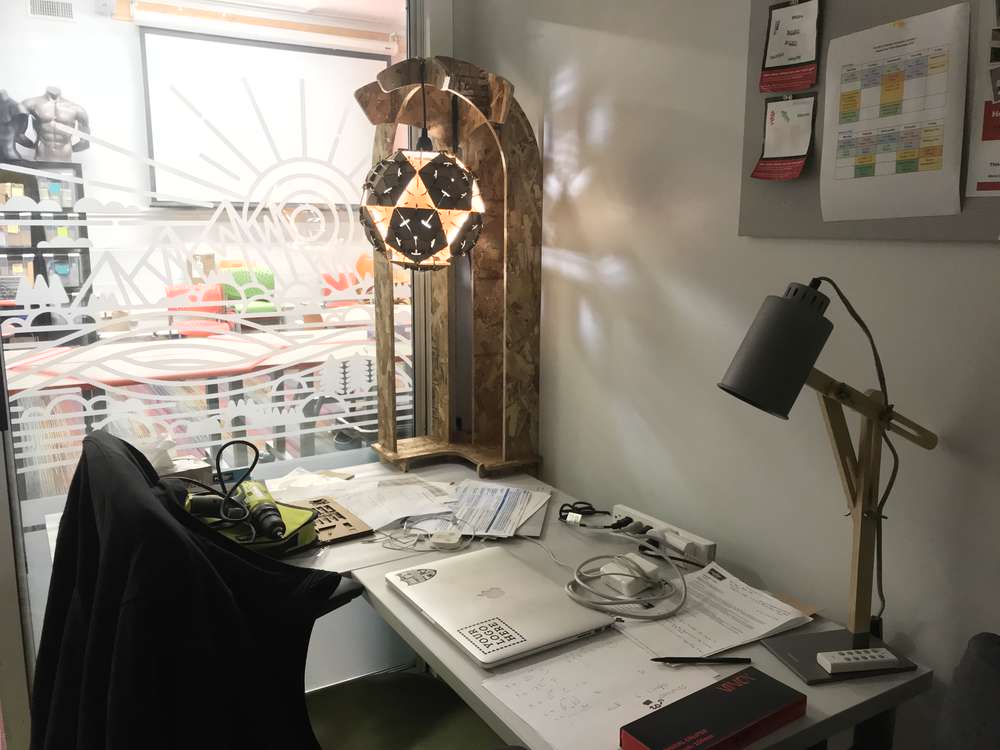
In week II of this course I created a laser-cut pendant lamp which has since been sitting on my desk at work. One of my colleagues suggested I hang it from the ceiling, though I wanted to find some sort of hanging solution in which it would be relatively easy to swap out my lamp for an updated version down the line. I figured this would be an ideal opportunity for making something (relatively) big.
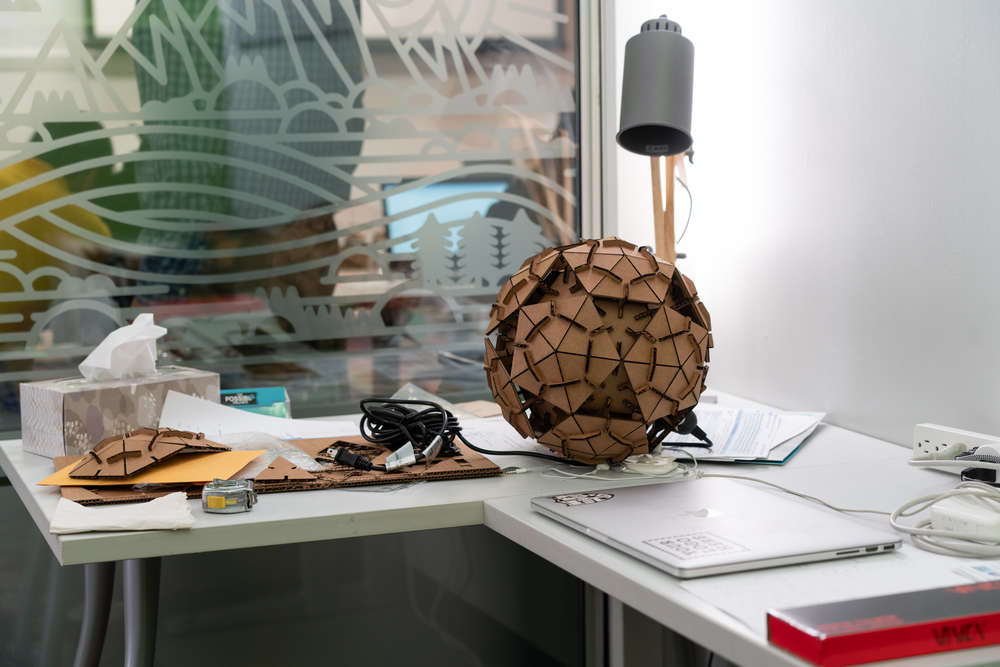
I had initially thought of creating a floor stand for the lamp, though when I found out the Harvard Shop was only capable of cutting 4'x4' plywood sheets, I decided to create a table-top stand instead.
I wanted to keep the footprint to a minimum (my desk is already pretty small and I didn't want to take up additional space), so I decided to design a stand which would press-fit itself to the corner edge of my desk.
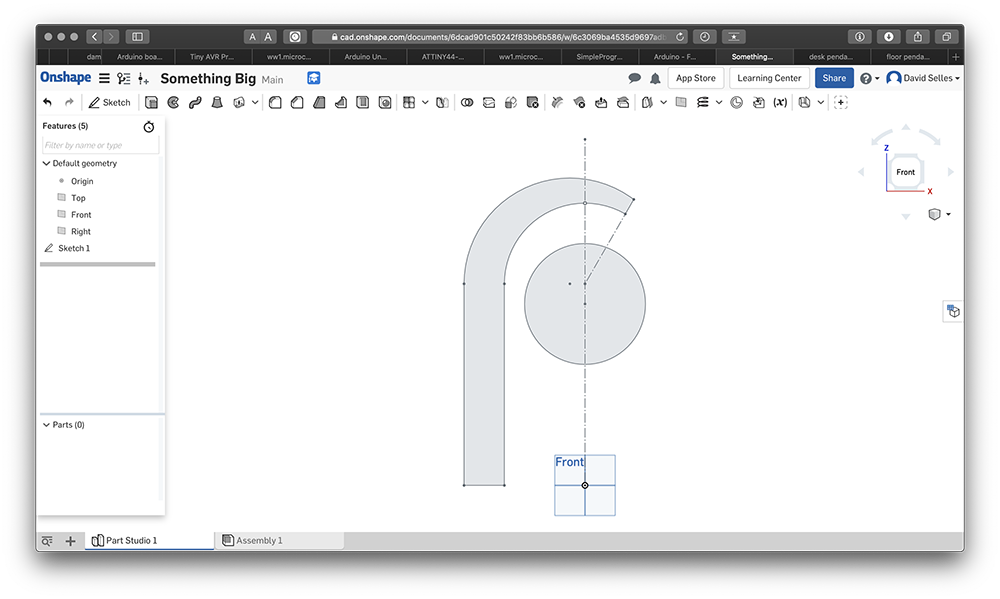
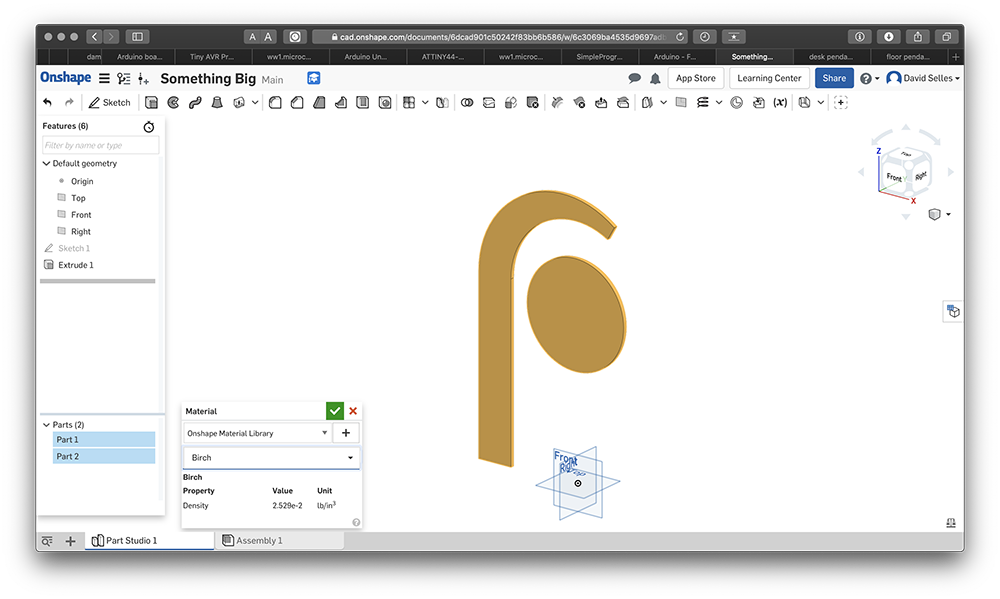
I used OnShape to design the stand. OnShape has pretty much become my go-to CAD platform of choice. It's clean, I like that it works in the browser, and it just feels less cumbersome to me.
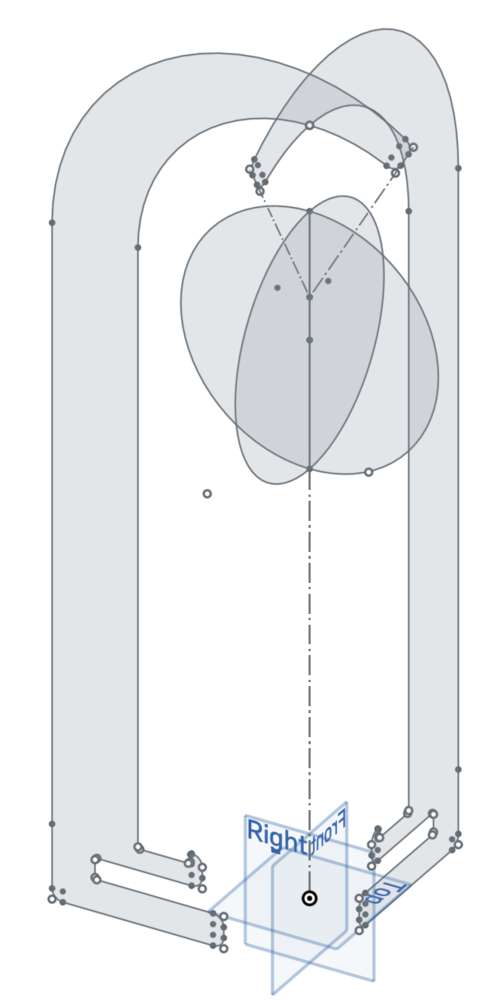
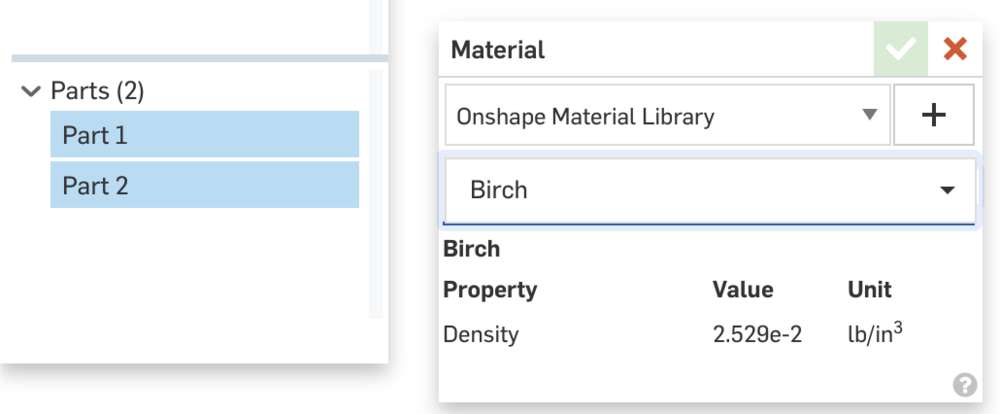
Before getting too far into my cantilevered design, I wanted a gut-check to see where the center of mass would be. OnShape can calculate a center of mass provided parts are assigned material properties. OSB wasn't an option, so I chose birch as a stand-in.
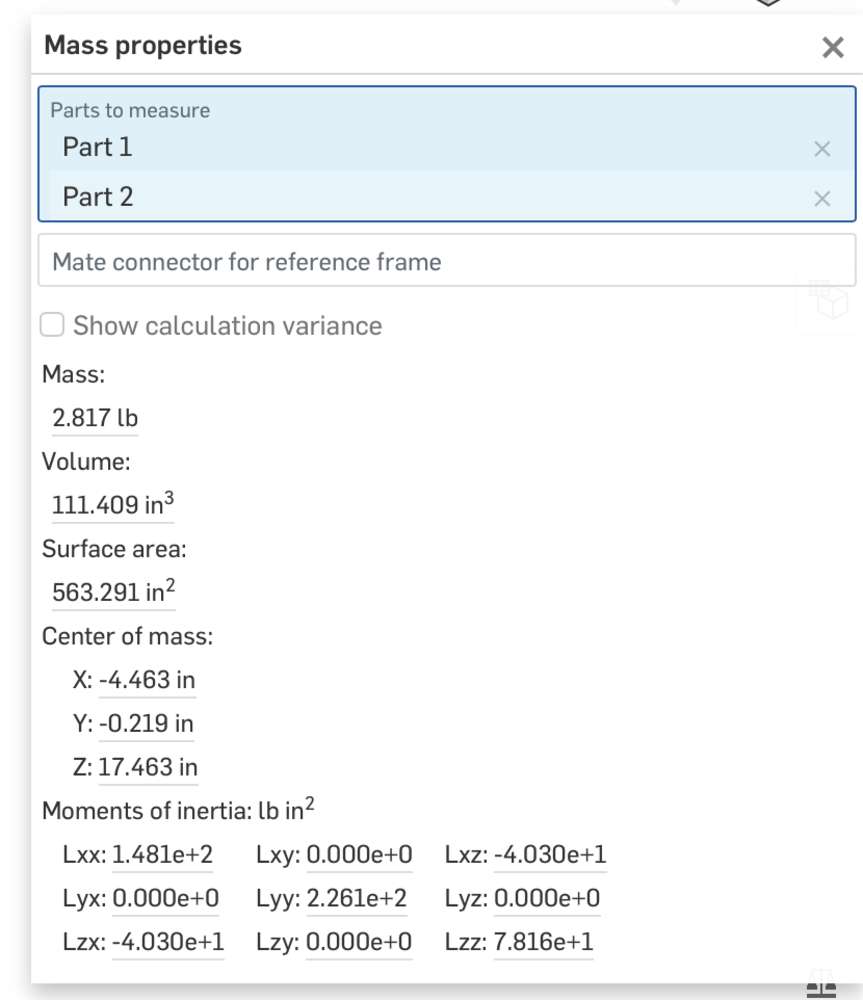
The center of mass estimate looked reasonable to me, so I continued on with my design. I knew this wouldn't be the design's exact center of mass, but I knew that the cardboard lamp was likely less dense than the OSB I'd be using for the stand, and that with the added structural components the center of gravity would be shifted further toward the stable, back edge. The center of mass is marked in orange in the image below.
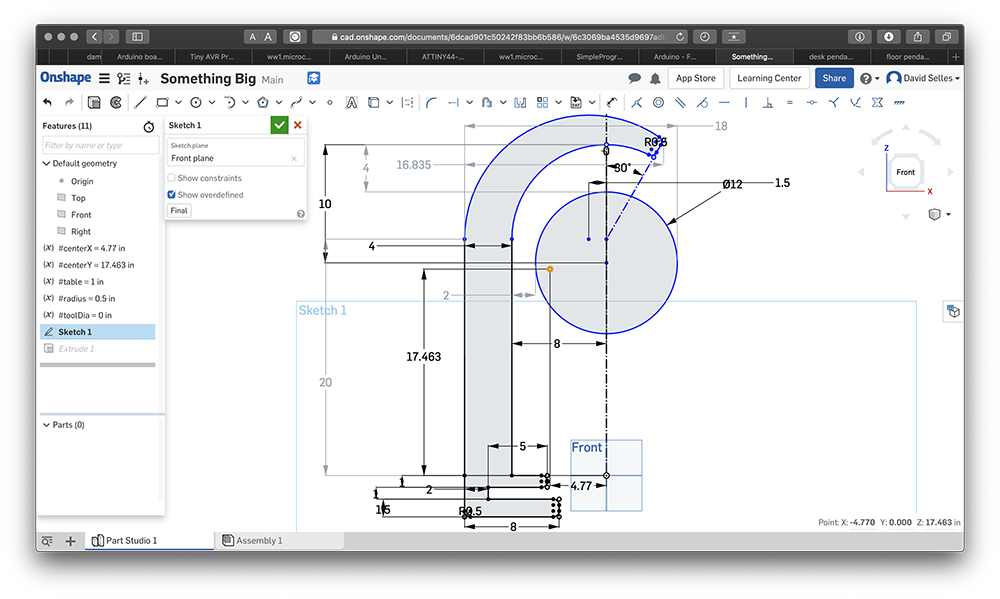
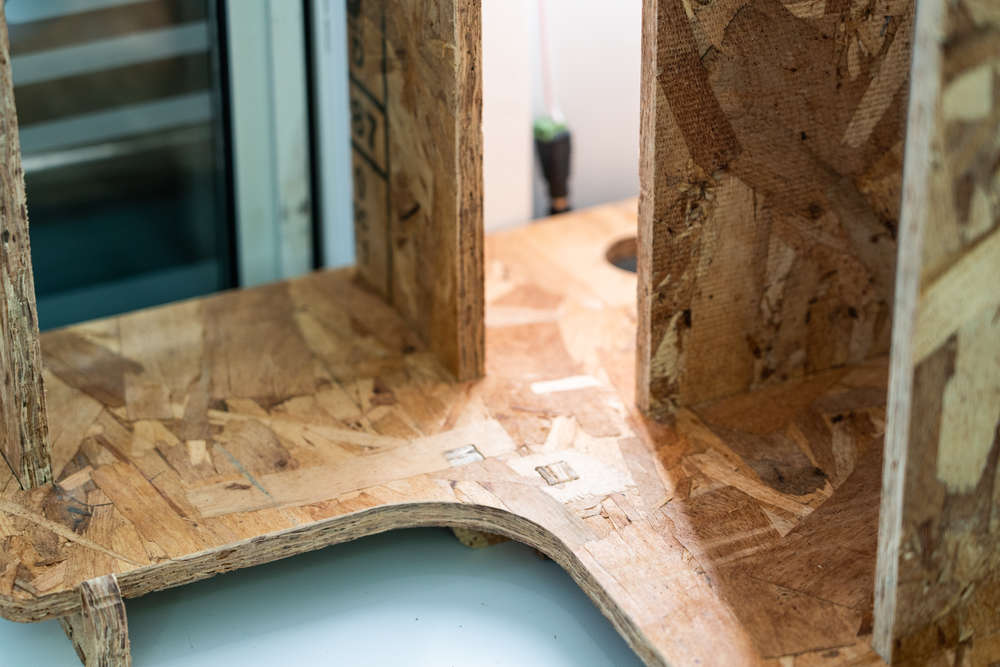
I made the design as parametric as possible, with variables defining the thickness of the material, the thickness of the table, the radius of my fillets, and the bit size of the end mill. I added dog bones around each interior corner to account for the diameter of the end mill so that my parts would press-fit flush into each other.
See the images in the gallery below for additional screenshots. Hover over each image for a brief description.
Sketching the initial profiles
Generating a smooth, 3D curved envelope for additional profiles
Creating the additional profiles
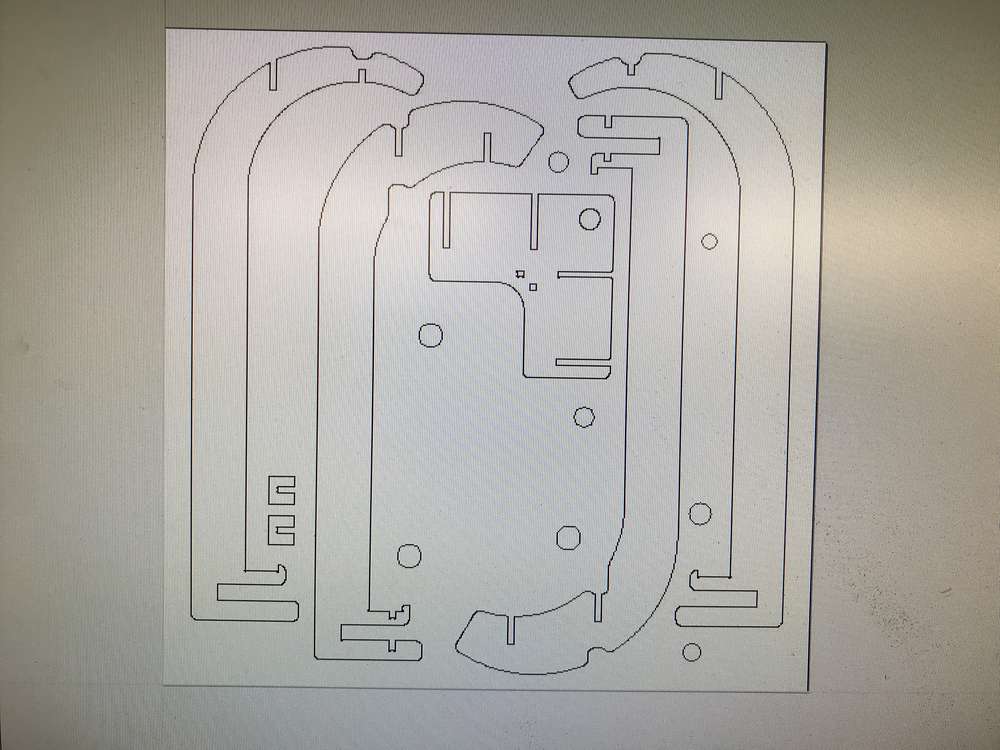
The completed design
With the design completed, I exported the face of each panel as a DXF file, combined them together in Adobe Illustrator, and saved them out as DXF and SVG cut sheets.
I was super excited by the prospect of milling my parts using the Harvard Shop's Shaper Origin. I figured the lamp stand was a good candidate for this tool: large but not too large, detailed but not too complicated, requiring precision with a bit of wiggle room, and utilizing a 2D cut sheet.

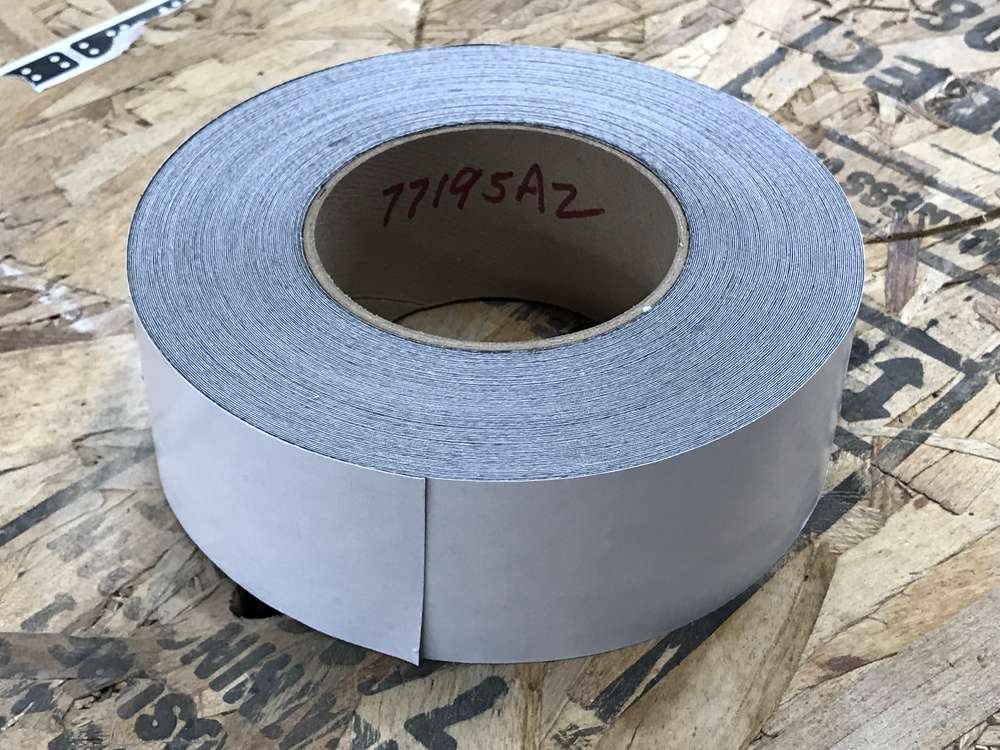
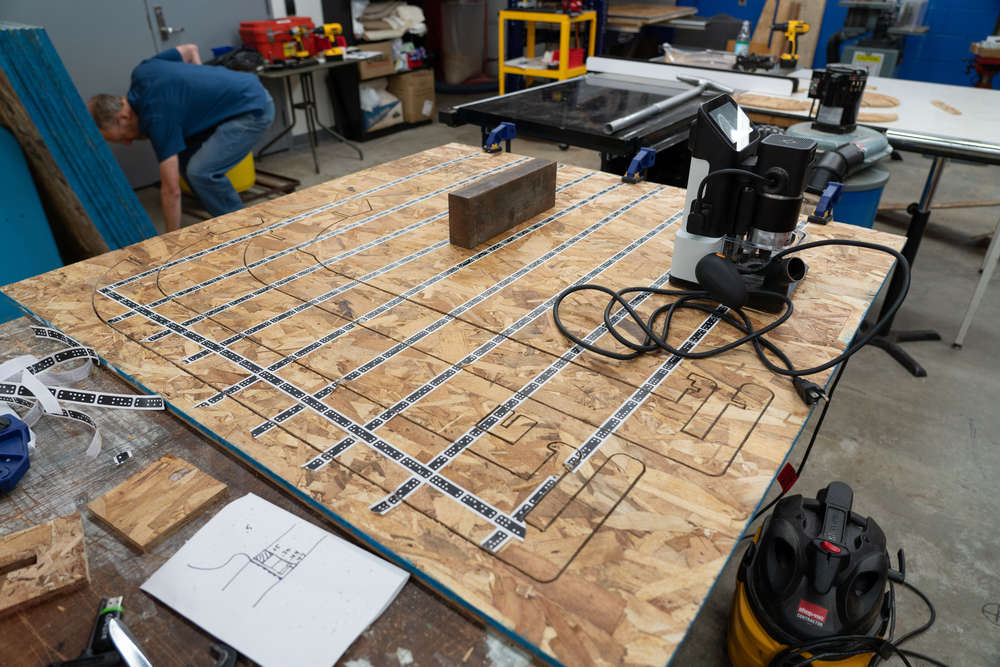
I received some wonderful assistance from Rob Hart and Nathan Melenbrink when getting started. The Shaper Origin uses strips of special registration tape (which look kind of like dominos) to orient itself to the material being cut. The tape didn't stick too well to our OSB, so we applied some double-sided tape first to help it adhere. We also used some heavy-duty double-sided tape to stick the OSB to a sacrificial layer of cardboard underneath, so as to not hurt the table when cutting through the plywood.
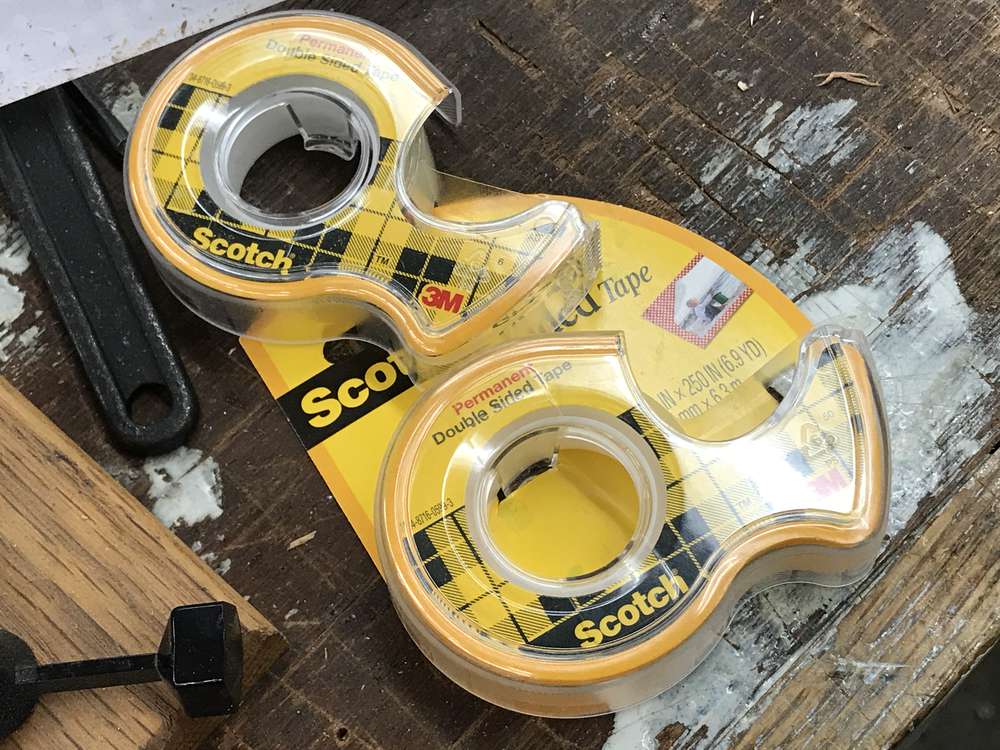
Double-sided tape for registration tape

Registration tape
Heavy-duty double-sided tape
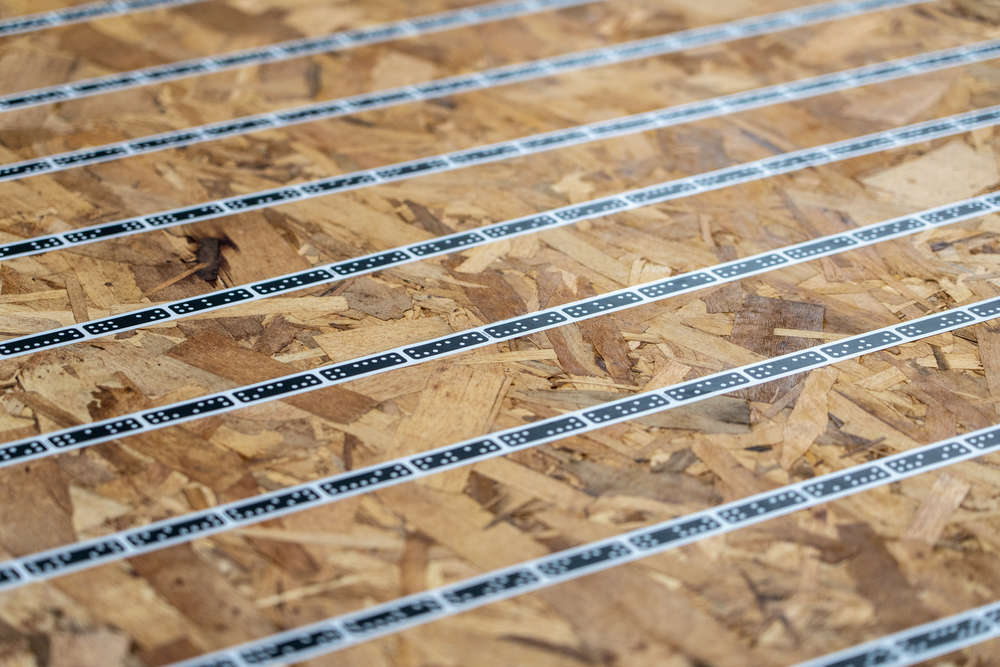
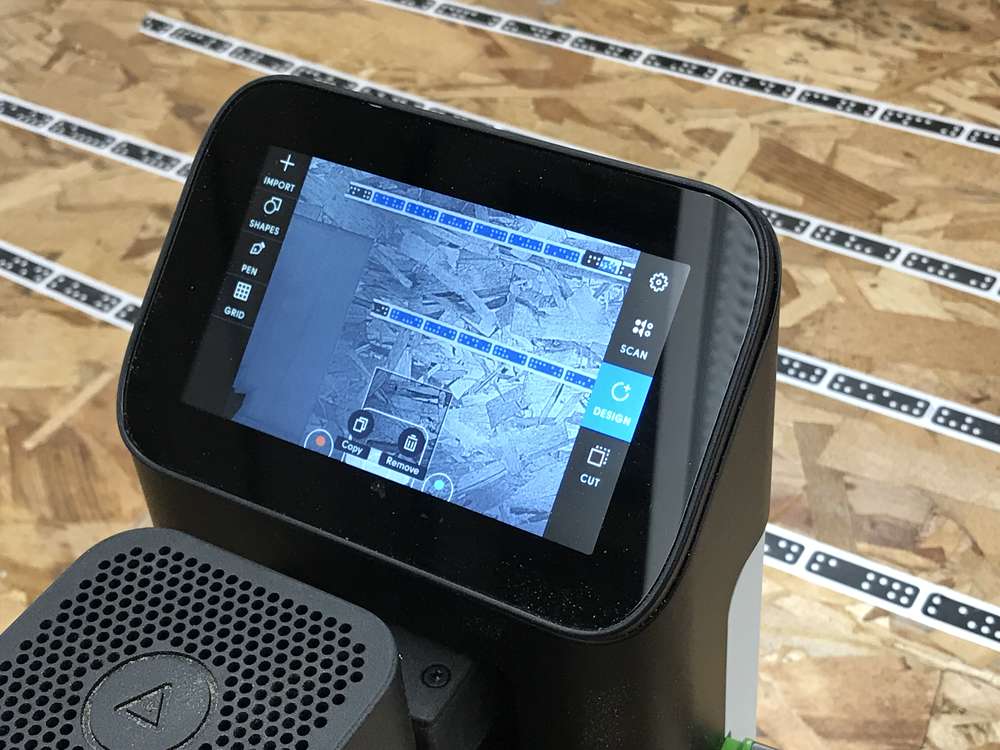
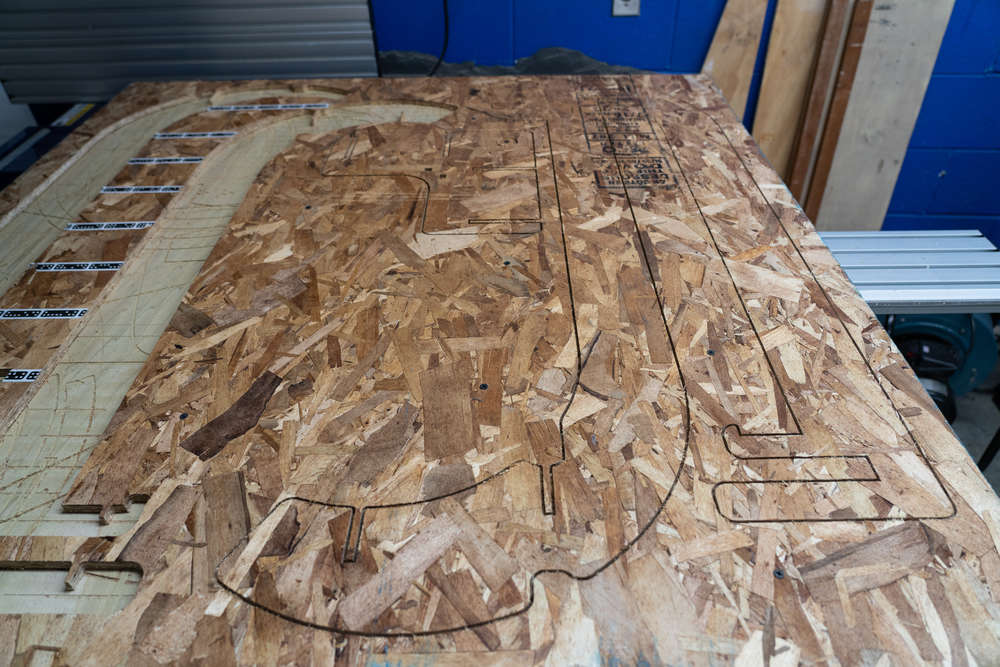
The Shaper had an easy time scanning the surface of my plywood with the registration tape applied. I knew my cut sheet would take up almost the full area of the OSB, so I wanted to cover the entire surface.
Before I continue, I should mention that the Shaper Origin requires a different sort of mindset from a traditional CNC mill. In terms of maintaining an even surface, what matters is the local area under the Shaper, so it's alright if the surface of the material is slightly warped here or there (whereas this could break an end mill on a conventional CNC mill). Similarly, it's possible to move the material and even put it away for a few days, since the Shaper cares about the registration tape, not the cutting bed.
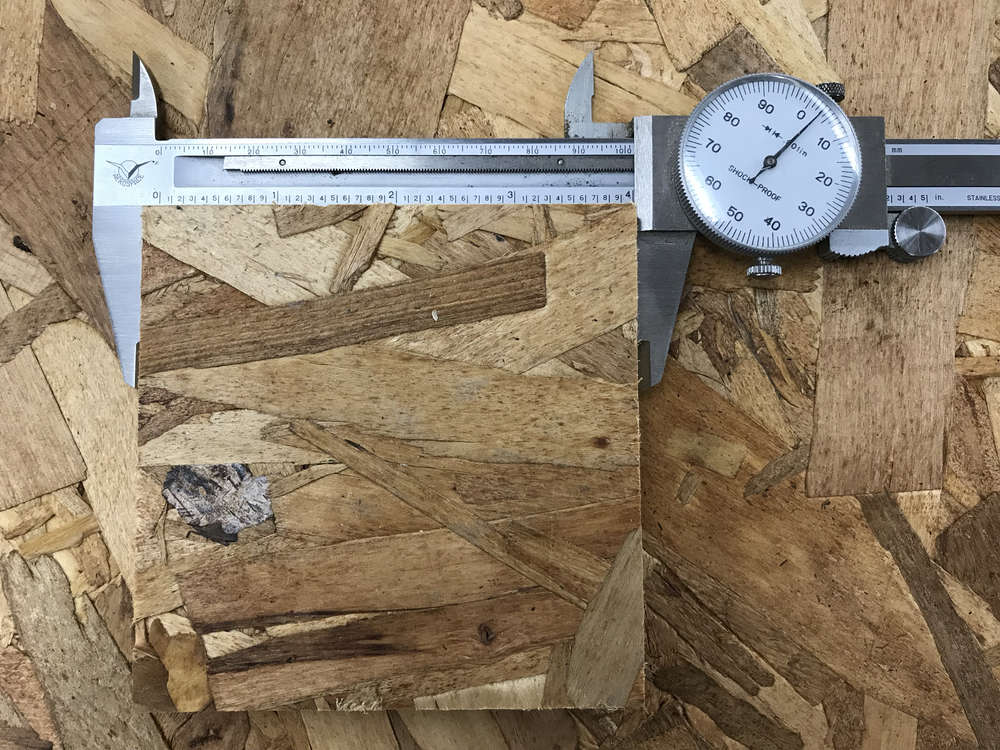
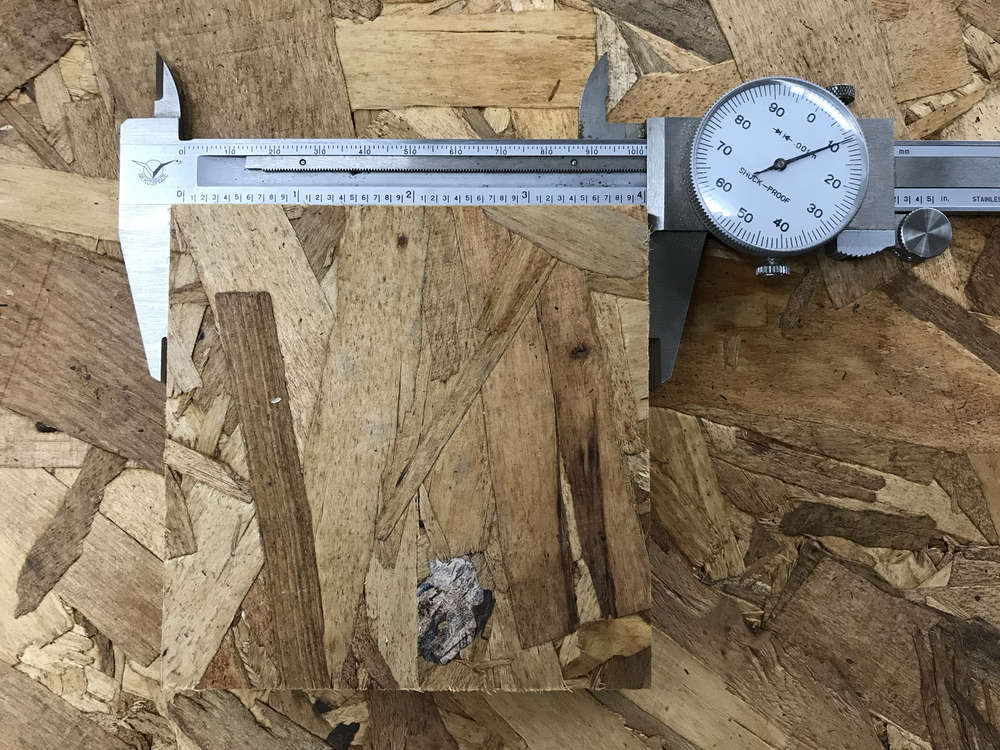
A test cut with the Shaper proved to be surprisingly accurate - a 4"x4" square was only a few mills too large, which would be fine in the context of my particular project (by comparison, the thickness of the OSB varied by several hundredths of an inch across its surface).
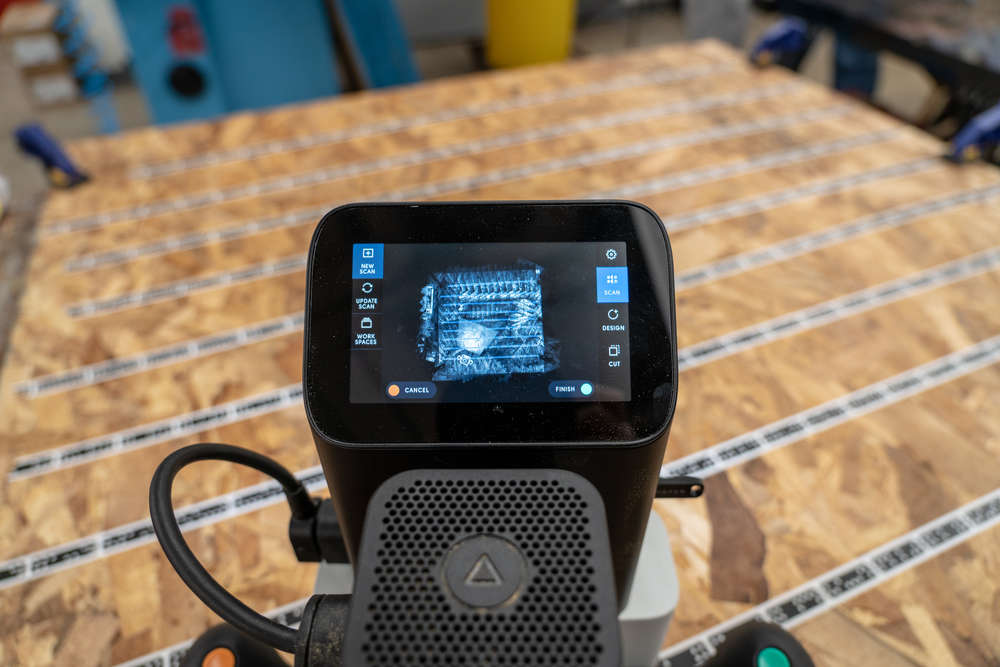
Carrying on, you can see from the image above that I scanned the entire surface of the OSB, and the Shaper seemed to register itself nicely.
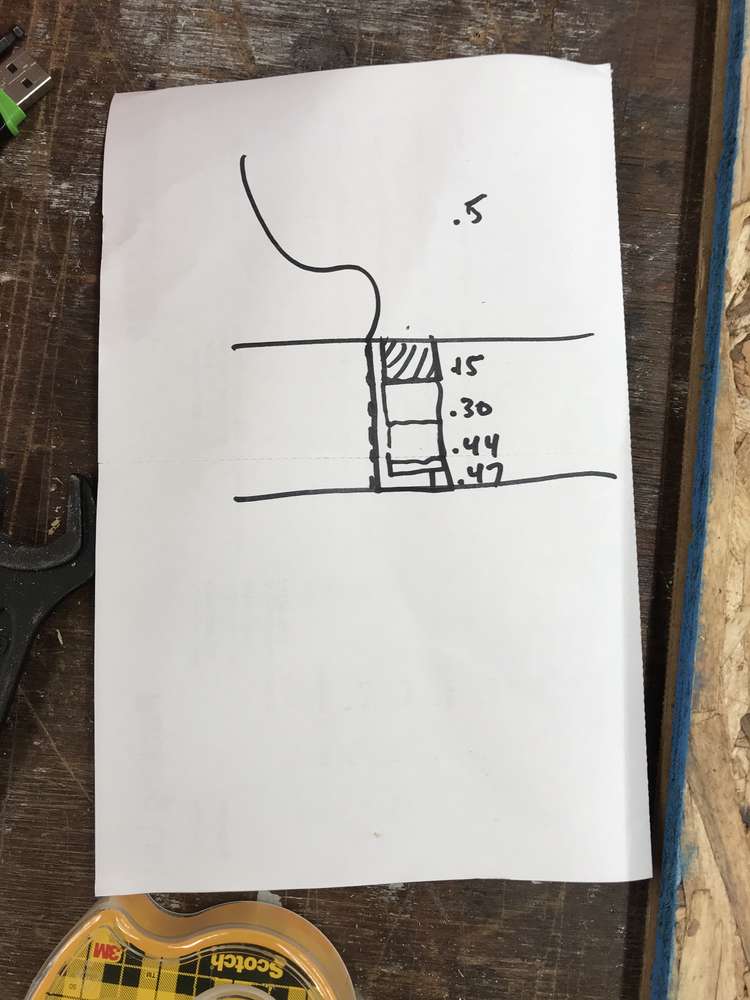
The thickness of the material required several passes. Rob suggested I set an offset for the first several passes, then remove the offset for a final pass to cut through the bottom of the material and to trim the sides nicely. This technique worked well, though that last pass can't cut as deep as the previous passes, since it's milling along the edge as well. You can feel the difference when operating the Shaper.

Cutting at first was a lot of fun. It feels like operating a video game, trying to follow the path as closely as possible. After a while, however, things got complicated. As I was cutting my parts I was also cutting through the registration tape, and it got to the point where it had trouble figuring out where it was in relation to the rest of the board. I updated the scan with a new strip of tape which helped some, but in the end it took me two hours to cut two of my five parts. It was getting late and I needed to call it a night, and decided to use the ShopBot to mill the rest.
Hover over the images in the gallery below for a brief description of each step of the process.
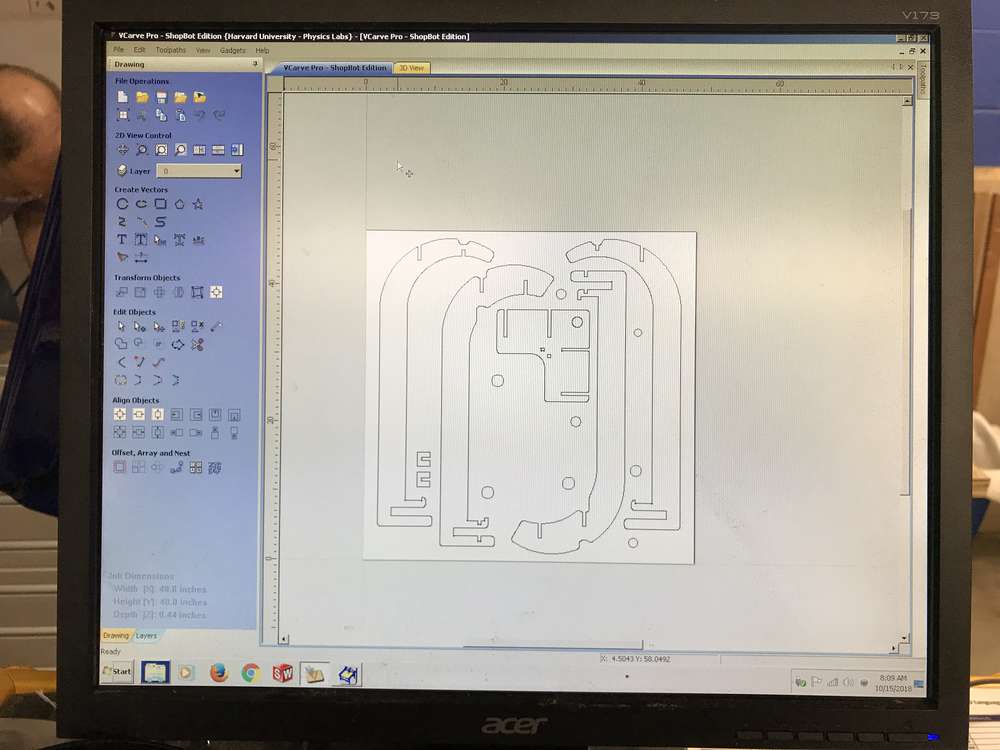
Preparing tool paths for the ShopBot using VCarve Pro
I added drill holes to my cut sheet in order to screw the plywood to the sacrificial layer on the ShopBot
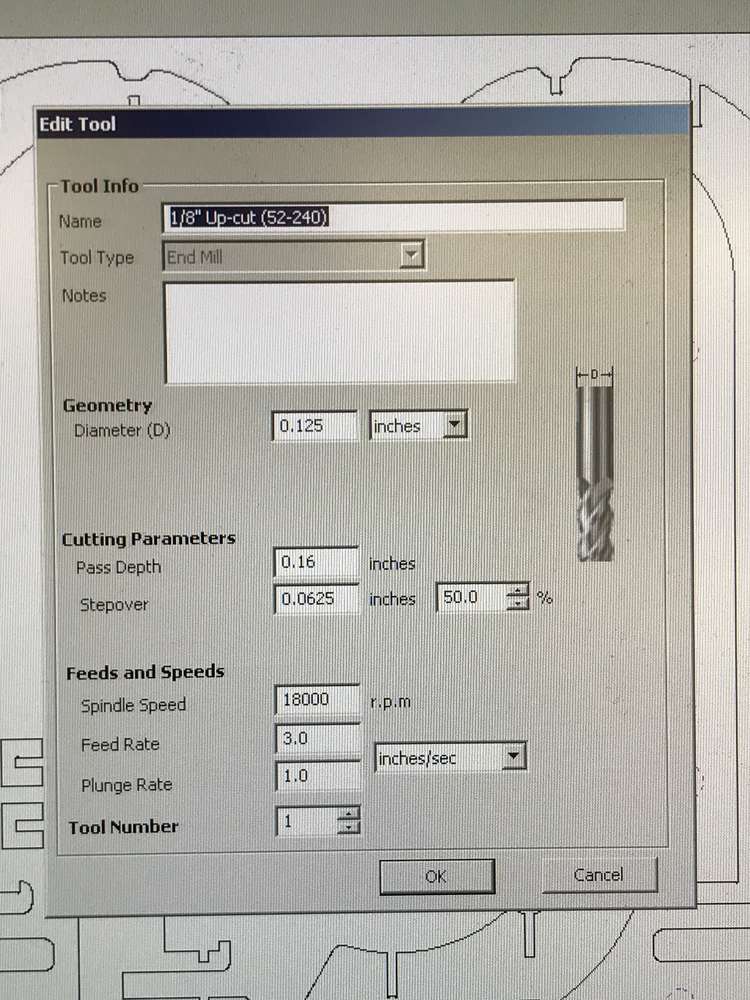
Setting the feeds and speeds
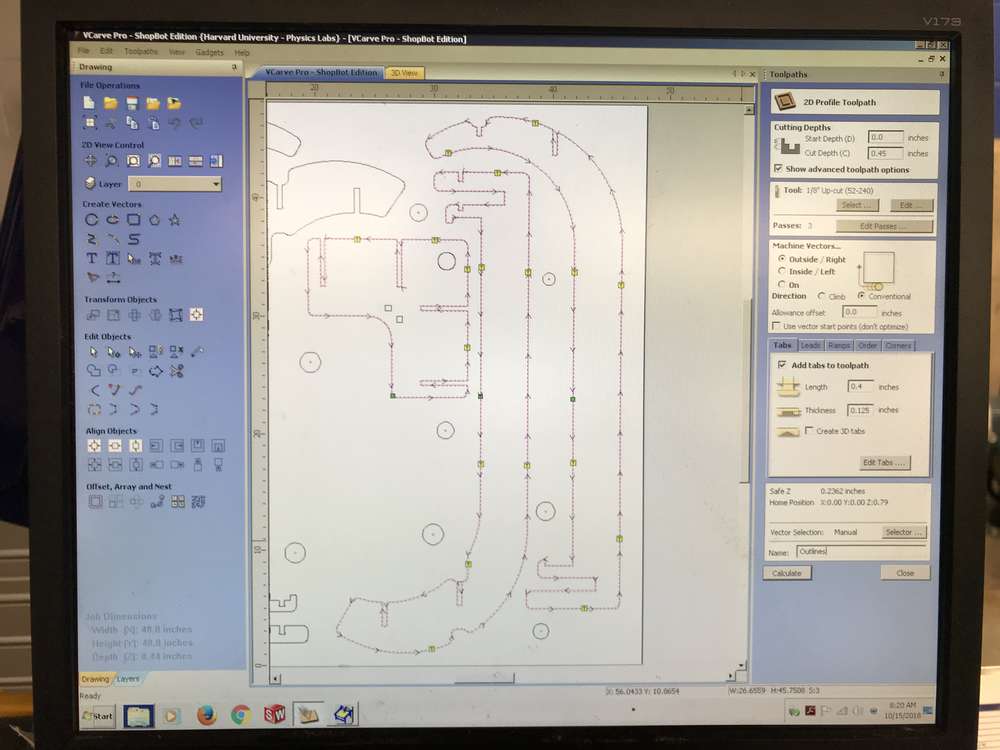
Generating the tool paths
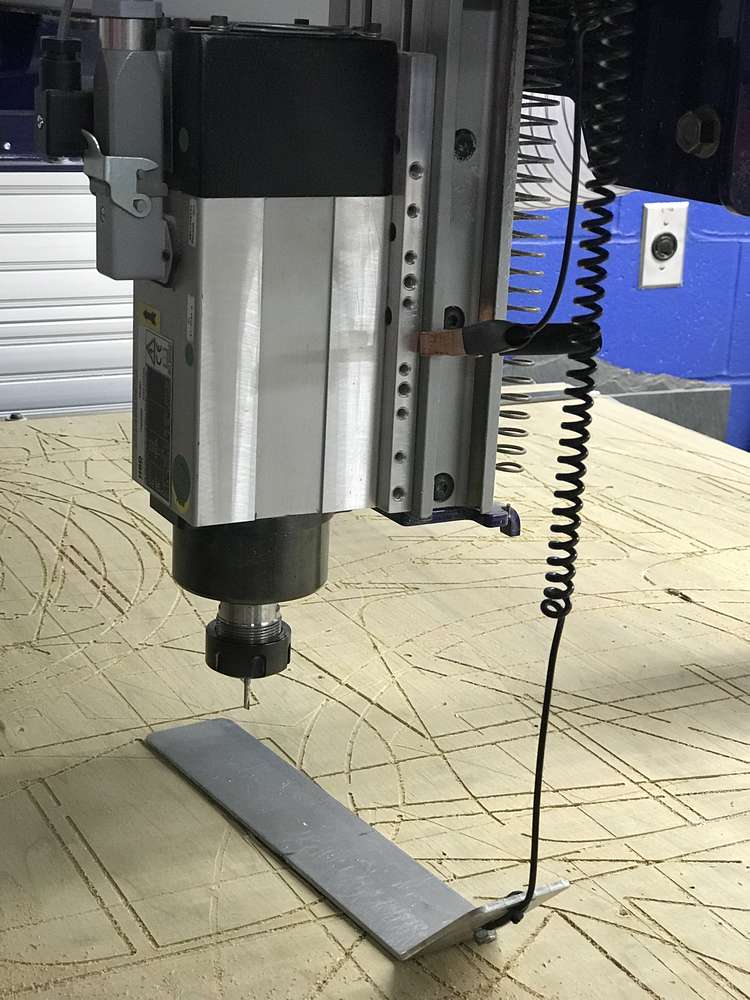
Homing the ShopBot to the bed of the machine (vs. the top of the OSB, since the OSB had variable thickness)
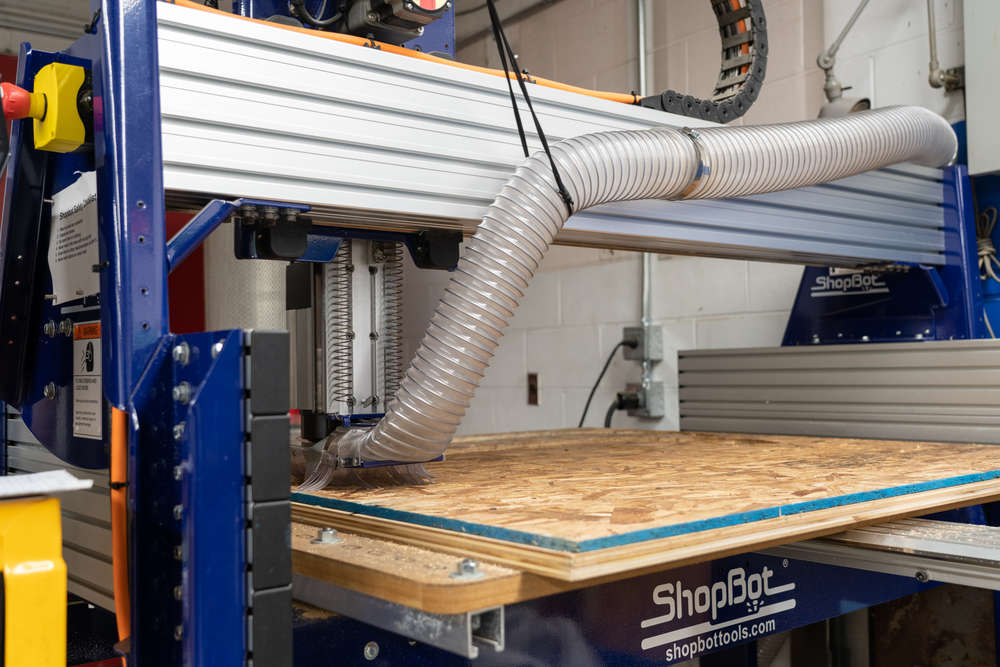
Cutting in action
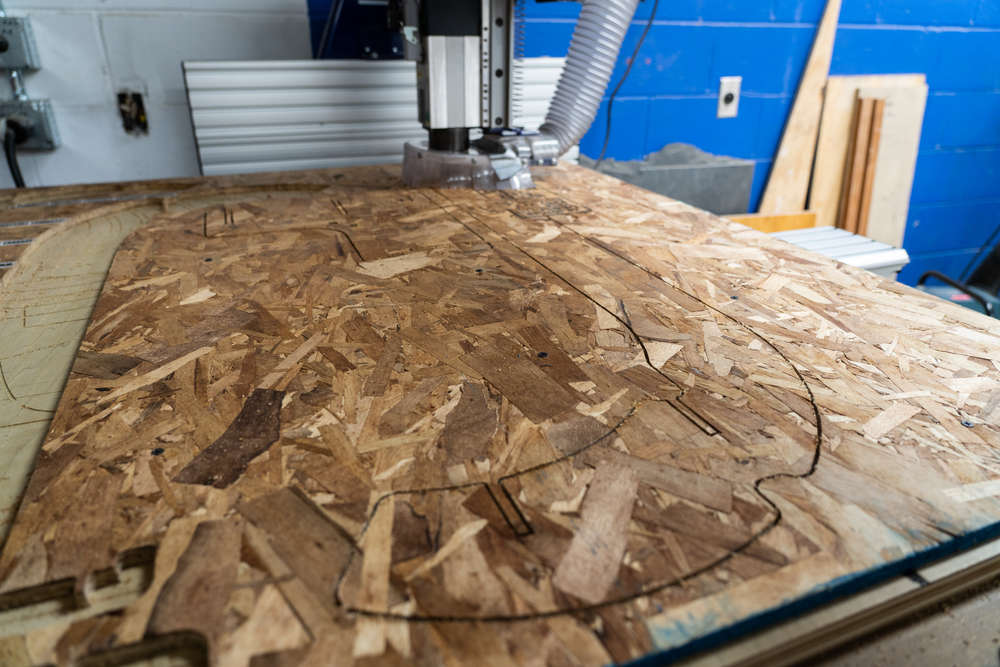
More cutting in action
The parts are cut!
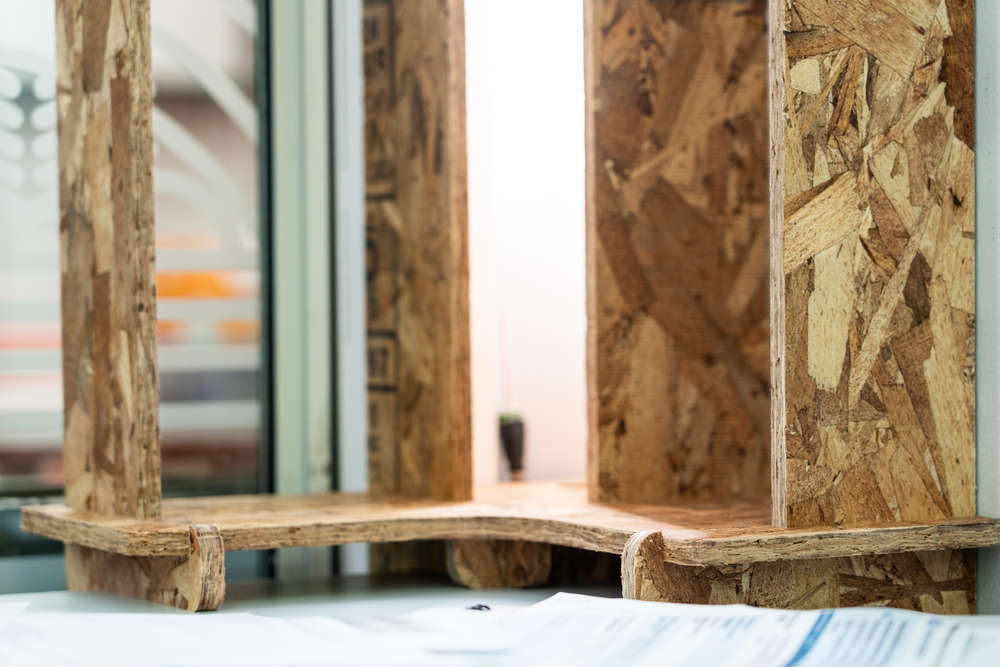
With the parts cut, it was finally time to assemble and mount to my desk.

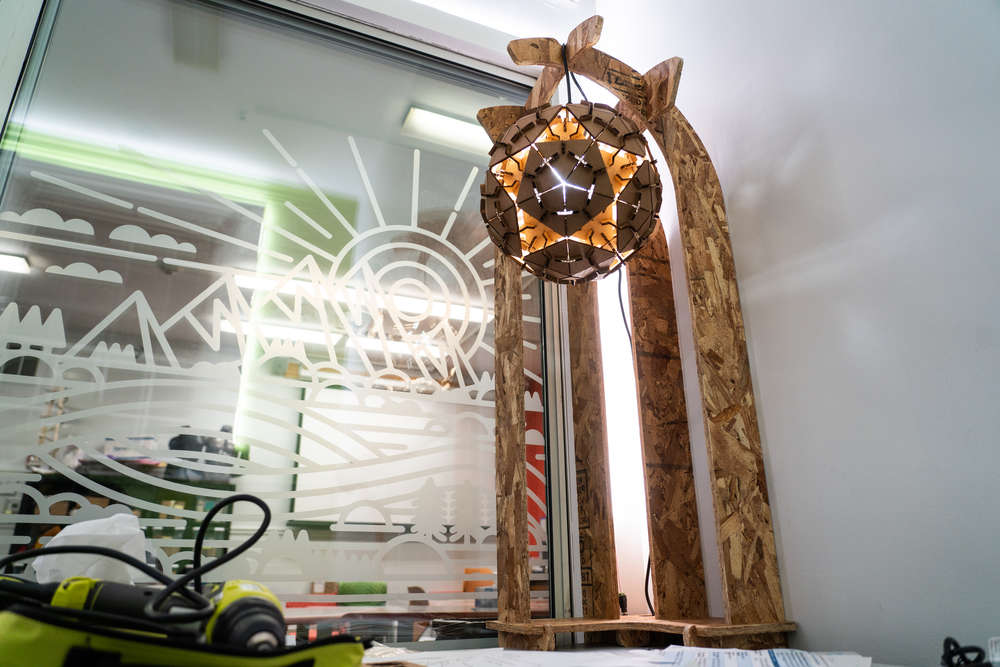
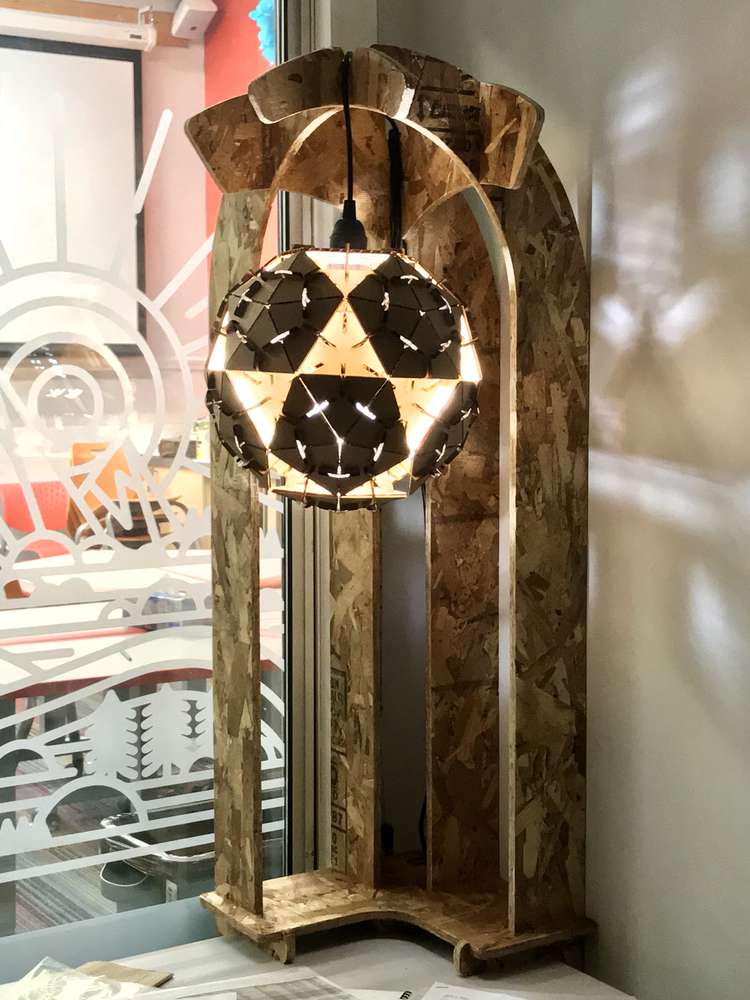
The parts assembled together nicely. I was concerned that with only the one horizontal brace toward the bottom the stand would be wobbly, but it practice it feels hefty and sturdy. It is somewhat top-heavy and when resting on the ground it does have a slight inclination to topple forward, though when press-fit to the side of my desk it works like a charm.
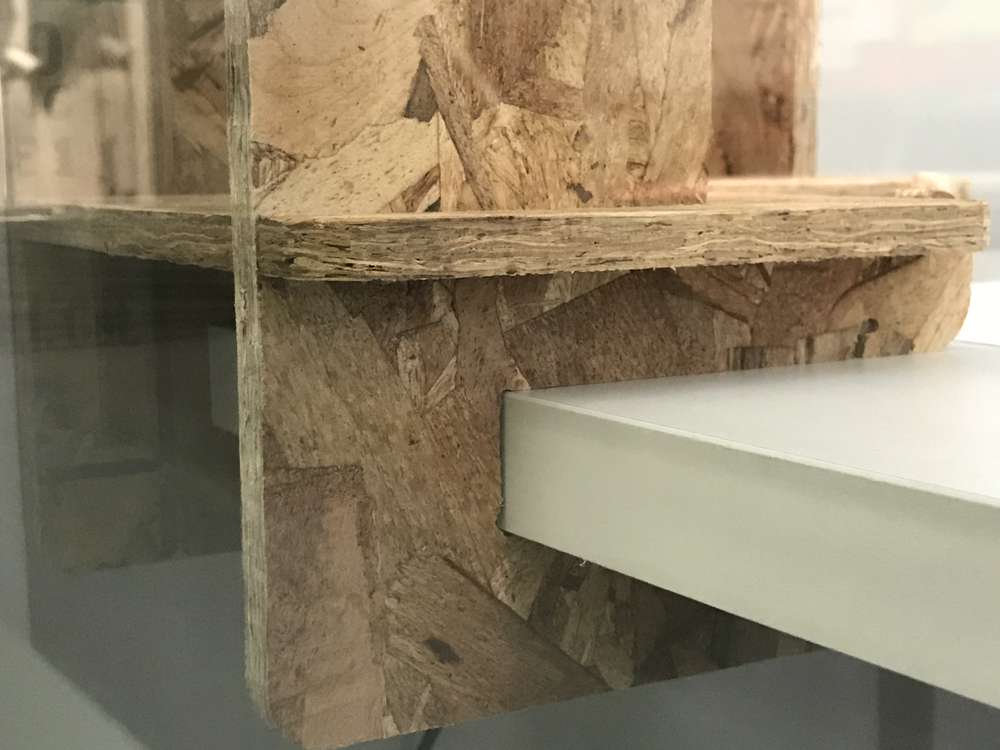
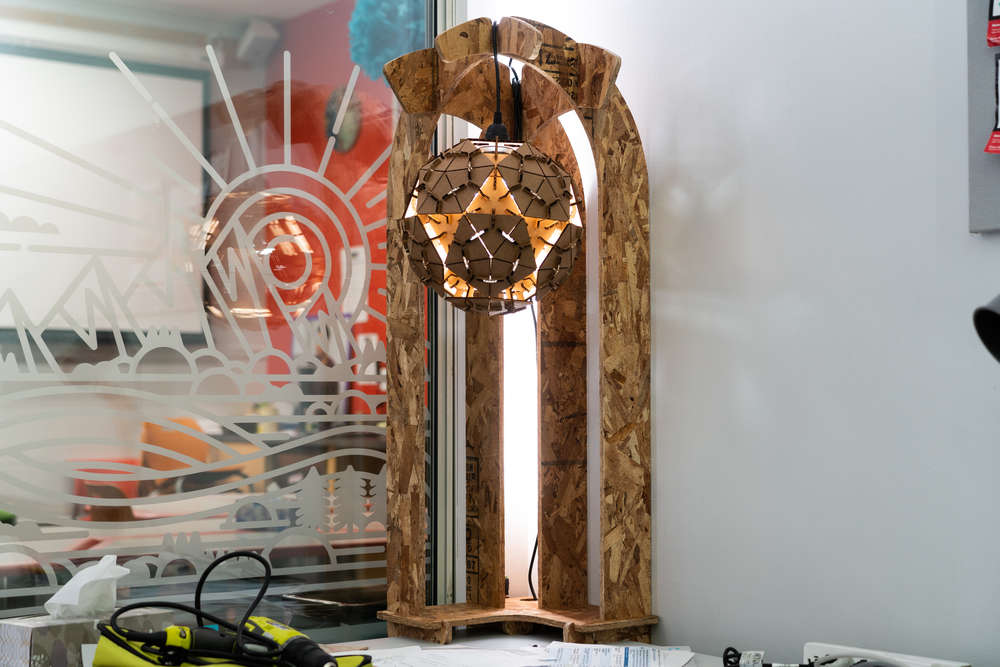
The press-fit on the side of the desk worked (almost) like a charm. However - I forgot to account for the table leg under the corner of my desk, which interfered with the stand as I designed it. Rather than adjusting my design and re-cutting the stand, I decided to get out my drill and move the table leg out of the way. My desk is a little less stable now, though still plenty sturdy for my purposes.
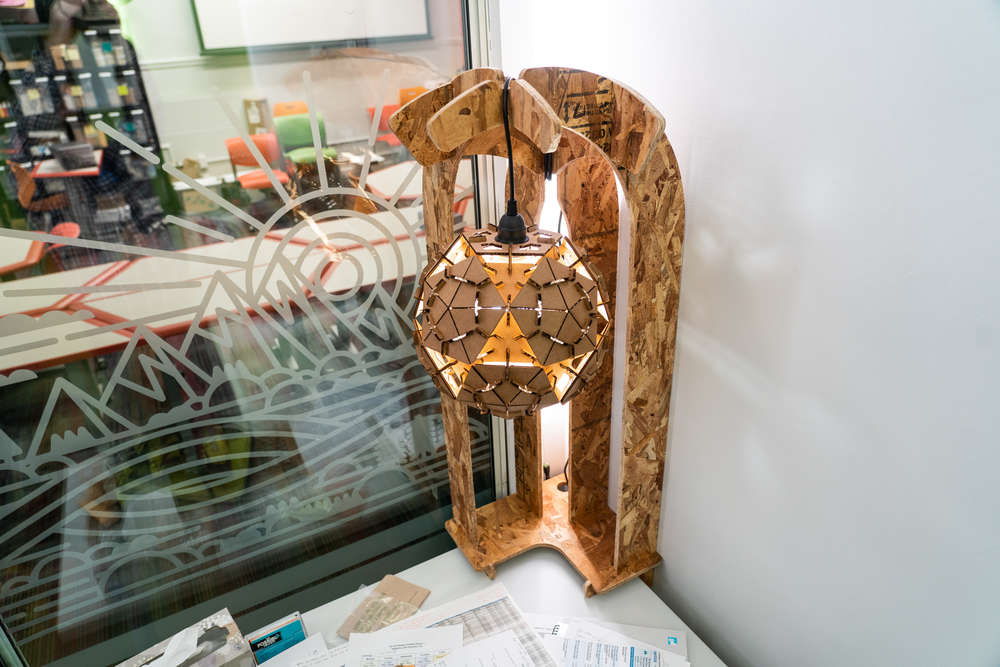
Take a look at some of the final shots below.