Week VIII: Molding and Casting
Assignment: Design a 3D mold around the stock and tooling that you'll be using, mill it, and use it to cast parts.
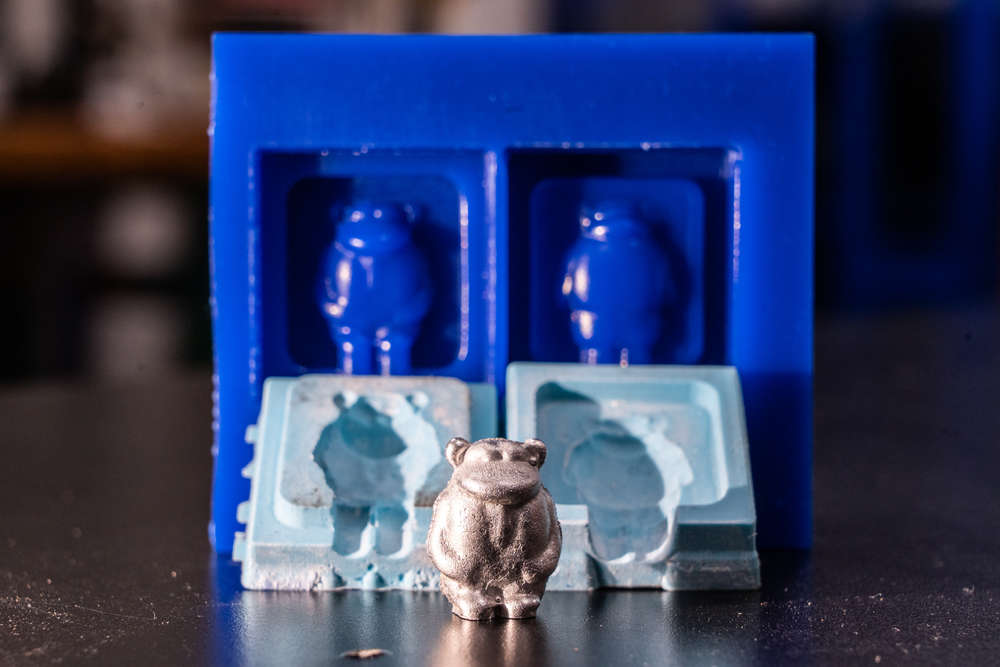
Goal: Create a cartoon bear out of metal.
Shopbot Desktop
Oomoo 25
Machinable Wax
Roto281F
Simplifying Models in Meshmixer
Fusion 360 Intersect Mesh Body
Anubhav Jain's Molding and Casting Project
Claus Nicolaisen's Molding and Casting Project with Fusion 360
or monkey?
Many moons ago, I worked at a start-up design firm/commercial makerspace called danger!awesome. Jacob Sonk, a colleague of mine at the time (and now a machine team lead at Shapeways) lead a class on 3D modeling and 3D printing characters using Sculptirs, employing flocking material to make them cute and fuzzy. I made a little bear keychain which I gave to my boyfriend at the time. I remember wishing I knew how to make it out of metal, and I figured now was a prime opportunity to try my hand at doing so.
During our material introduction and experimentation time in the lab, I got to see Roto281F in action, a bismuth-tin alloy material which is relatively safe and melts at a relatively low temperature (~300 degrees, low enough to melt on a stove or in an oven, though Neil recommends 400 degrees so it doesn't immediately freeze when taking out of the oven). It seemed like the perfect candidate for my project.
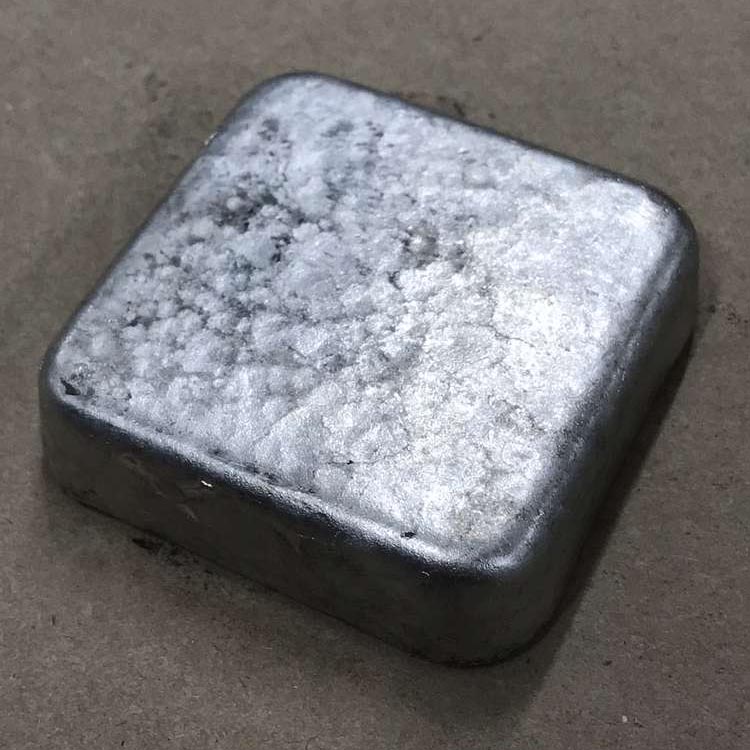 Raw Roto281F
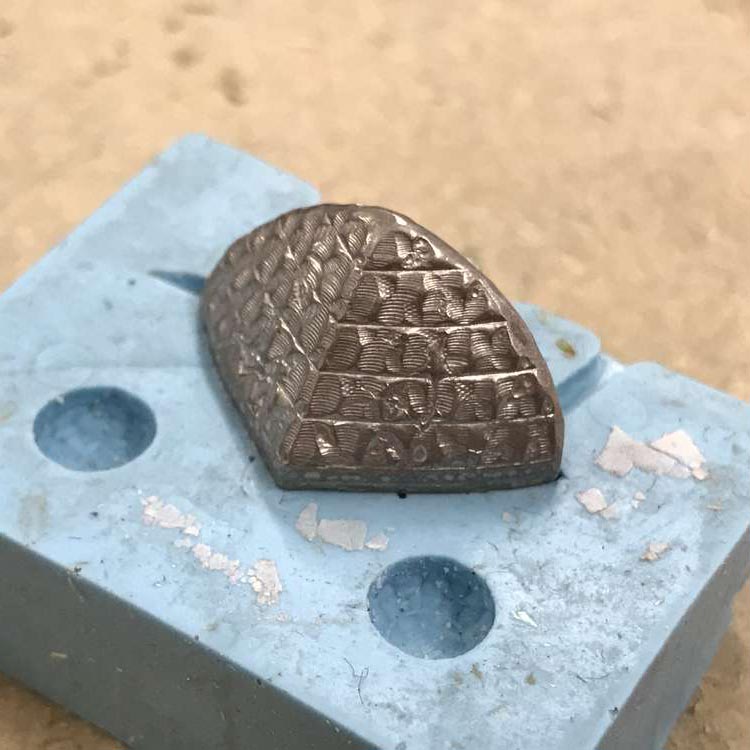 Example cast in silicone
The gist of the molding process is as follows:
Figuring out the positive-negative-positive design of the wax mold mold was non-trivial. Sketching helped. I knew registration between the front and back would be a challenge, so I wanted to make one side fit inside the other to keep them as aligned as possible.

I decided to use Autodesk Fusion 360 to model my wax mold due to its integrated CAM tools. I was able to import my bear OBJ file without much issue, and was able to use Fusion's integrated mesh tools to split it into two parts. Note that these mesh tools aren't enabled by default and need to be manually activated in Fusion's preferences.

The images below show my process. I build the mold around each side of the bear, checking to make sure the design would be inset deep enough for the silicone to cast around it. I used a Fusion plugin called Intersect Mesh Body to extrude the bottoms of the feet for a nice wide fill hole, which I could then saw and sand smooth on the parts cast. I rounded the corners so that there wouldn't be any issues with the diameter of the end mills.
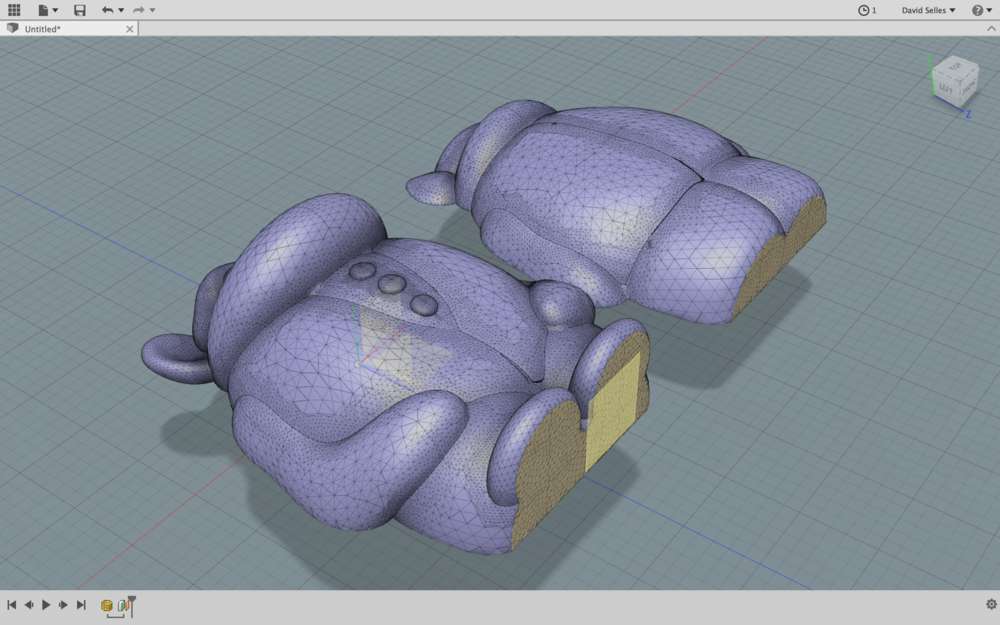
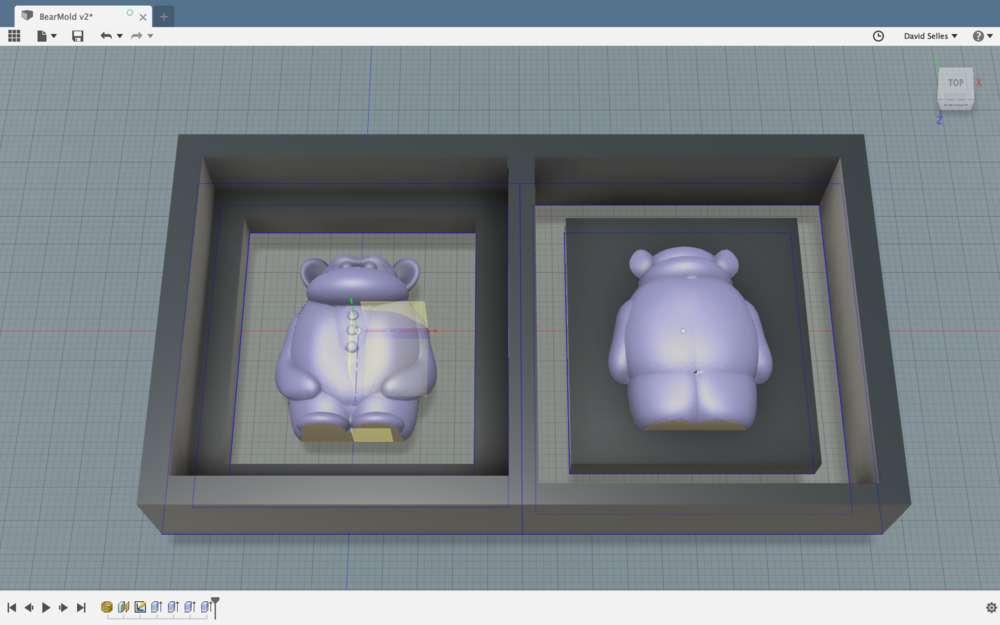
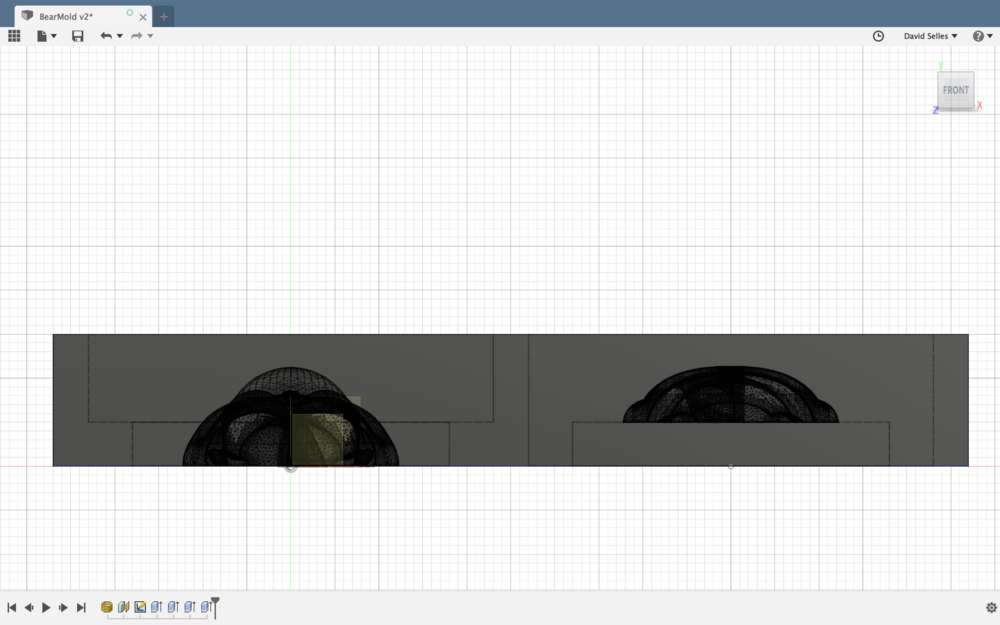
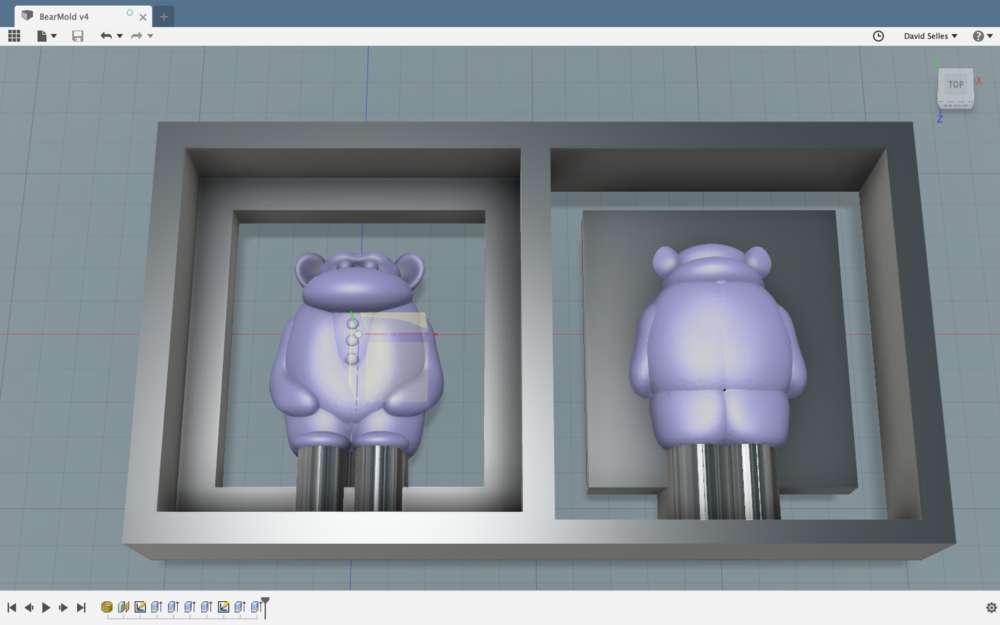
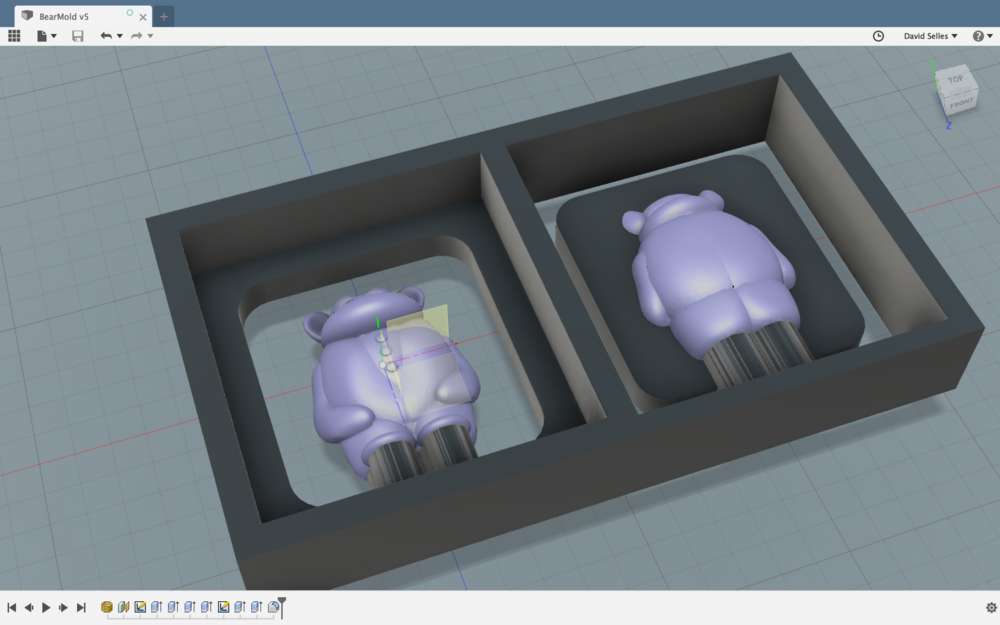
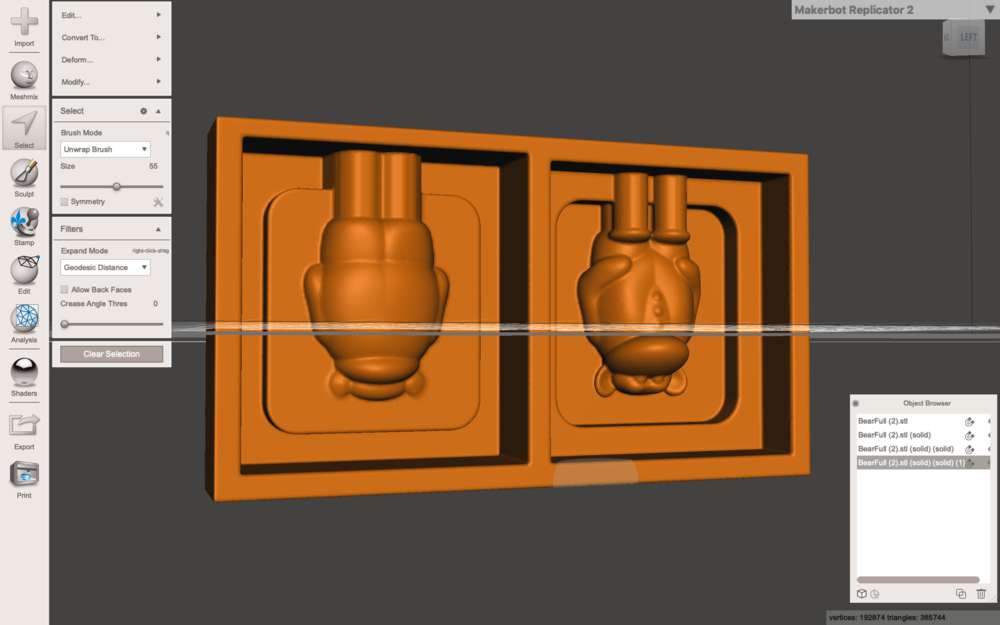
That last image is from Meshmixer. Turns out Autodesk Fusion 360, at the time of this writing, is unable to mill mesh data, which is truly unfortunate. Thankfully, VCarve Pro can, though it can only handle one mesh object at a time. So I combined all of my pieces together in mesh mixer and reduced the poly count for a smaller file. I also needed to add a backing to my design file for the depth to be recognized by VCarve Pro. Below is the design file I would use to machine the wax.
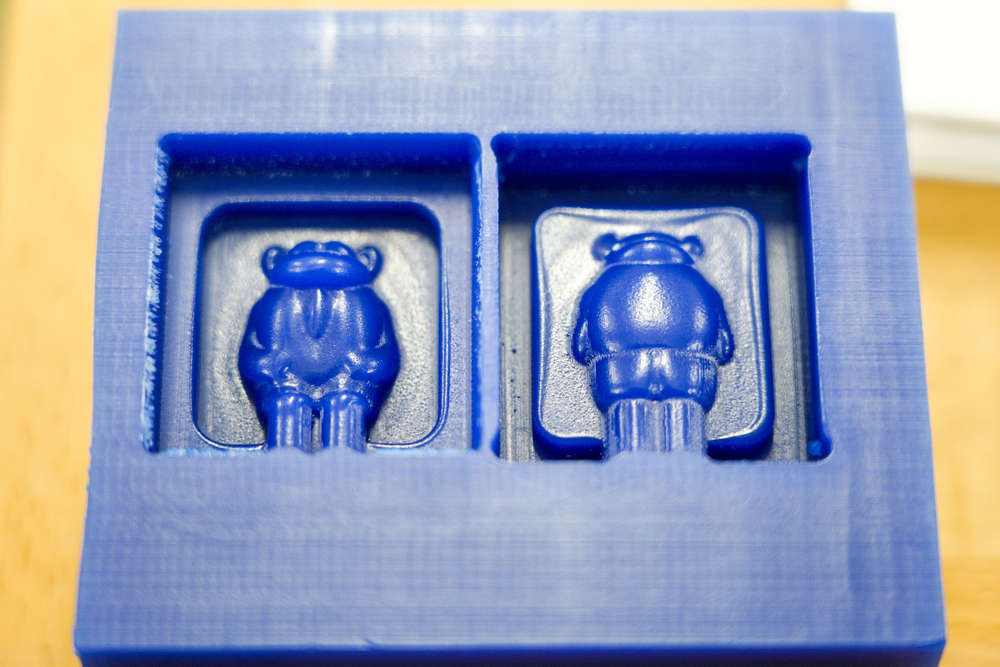
This part of the process was relatively straight forward. I used the Harvard Lab's desktop Shopbot to mill my wax. I milled in three passes - a rough cut using 1/8" bit, a horizontal finishing pass using a 1/16" bit, and a second, vertical finishing pass using a 1/32" end mill.
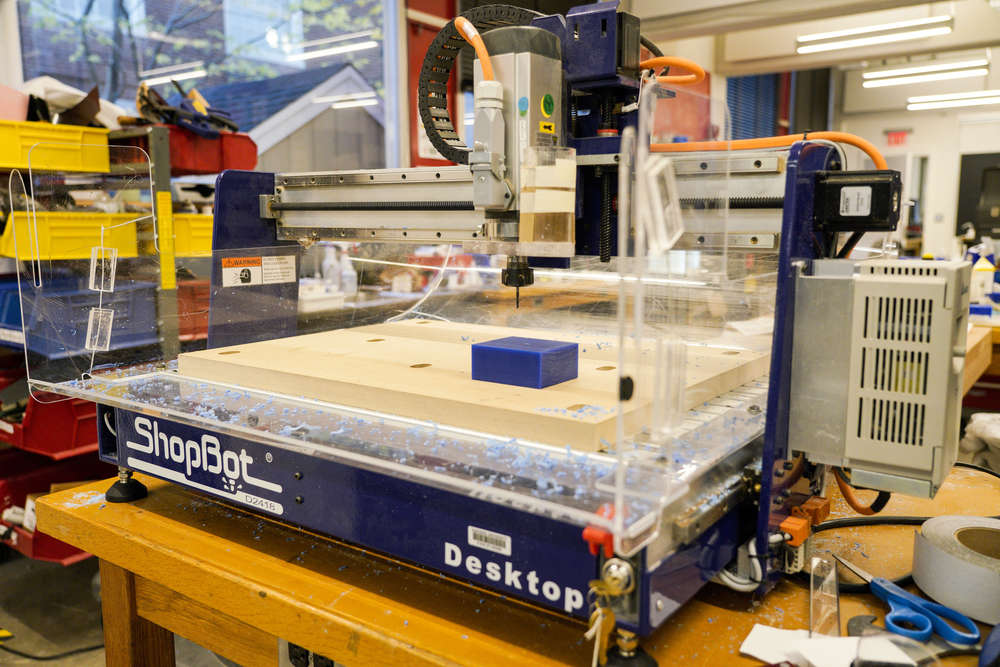
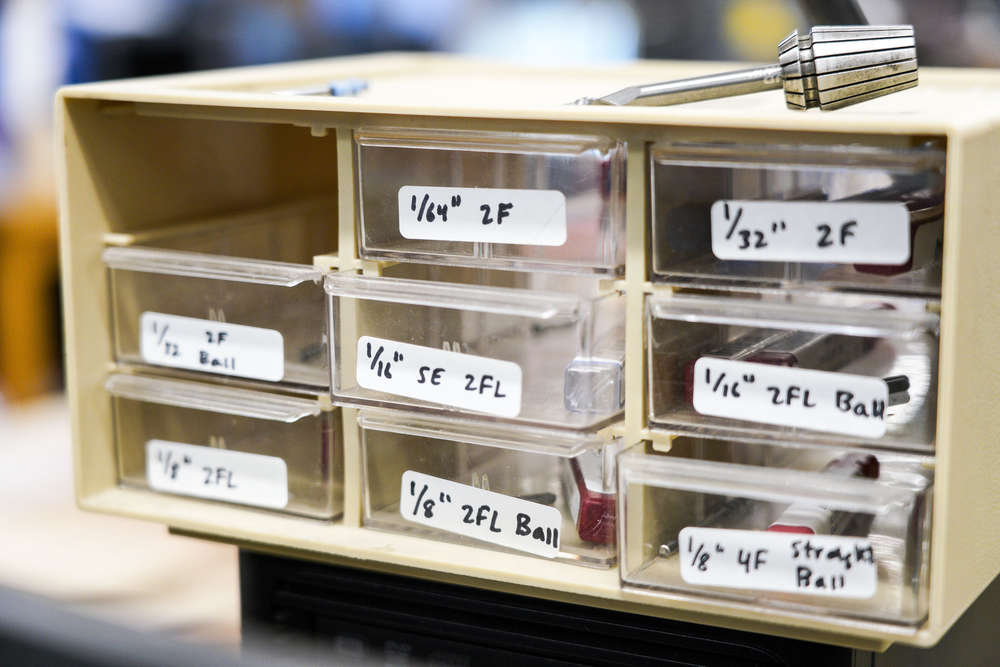


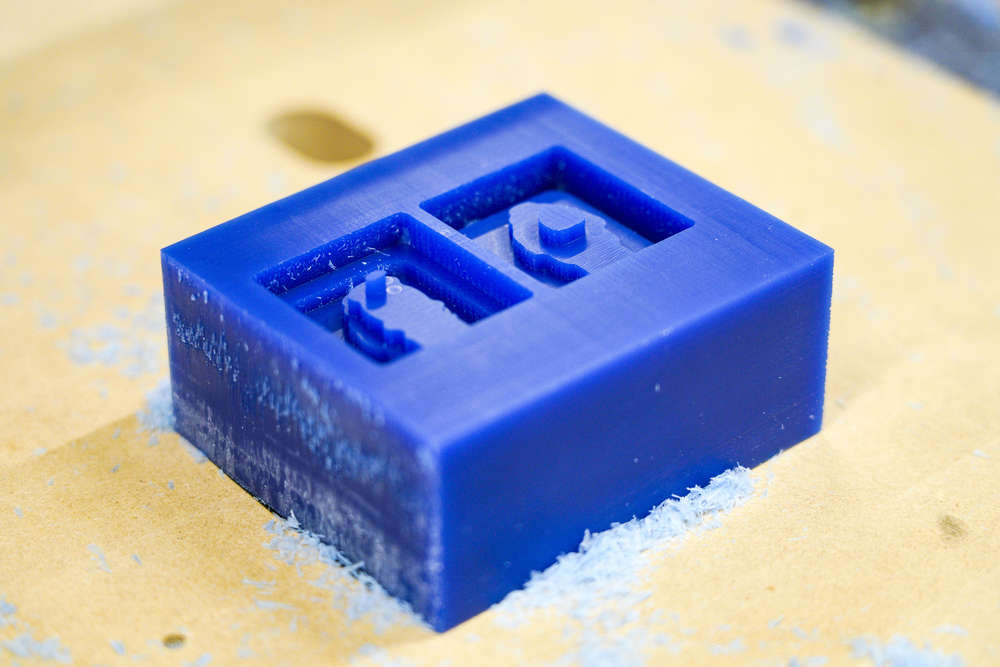 Rough cut
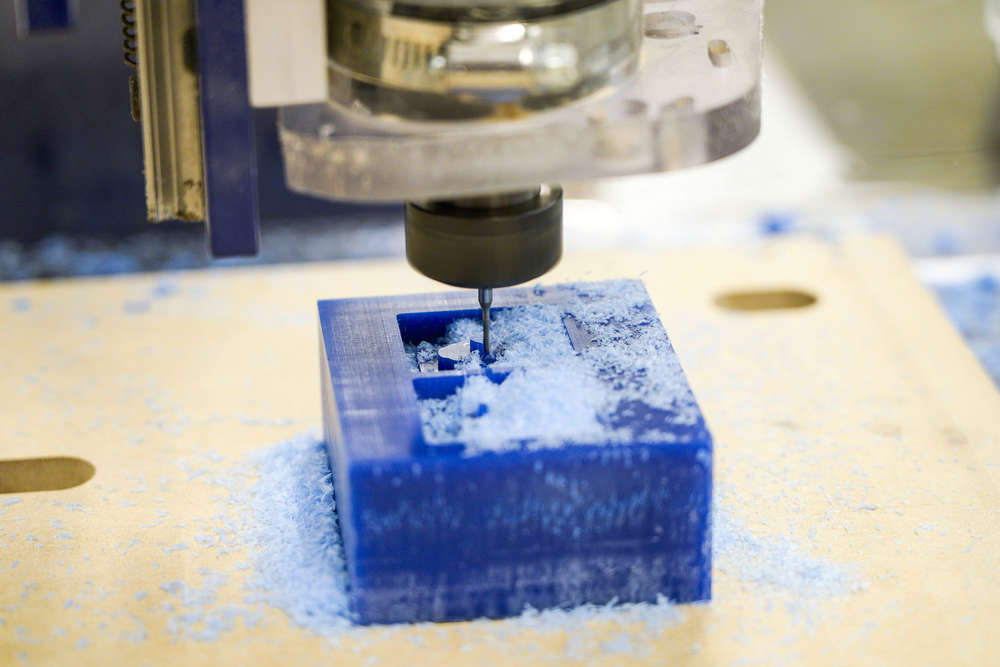 Milling the 1/16" fine cut
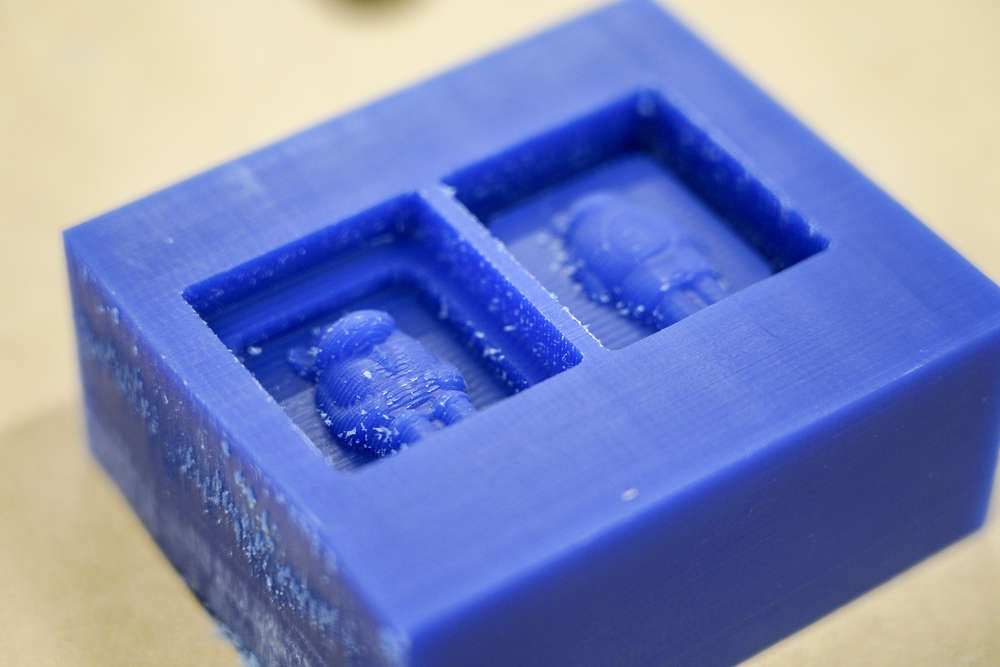 1/16" fine cut milled
I found that the 1/32" bit ended up digging into the sides of my wax. I hadn't accounted for the bit itself to be wider at the top than the point of action at the bottom. It didn't seem to hurt the machine at all so I let it continue. Next time I'll add an offset on my 1/32" milling pass to avoid this intersection.
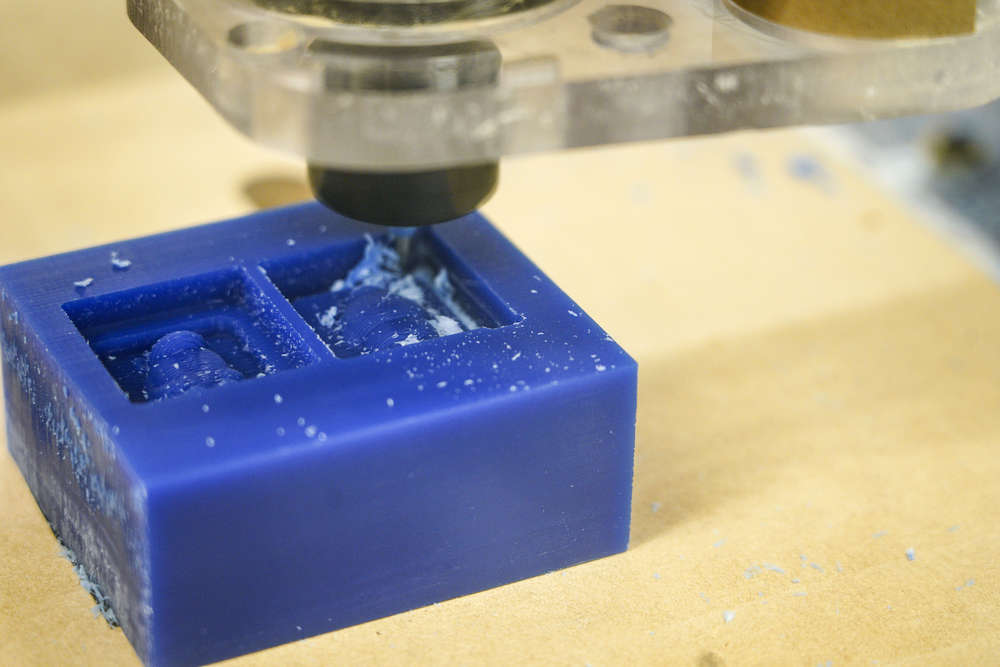
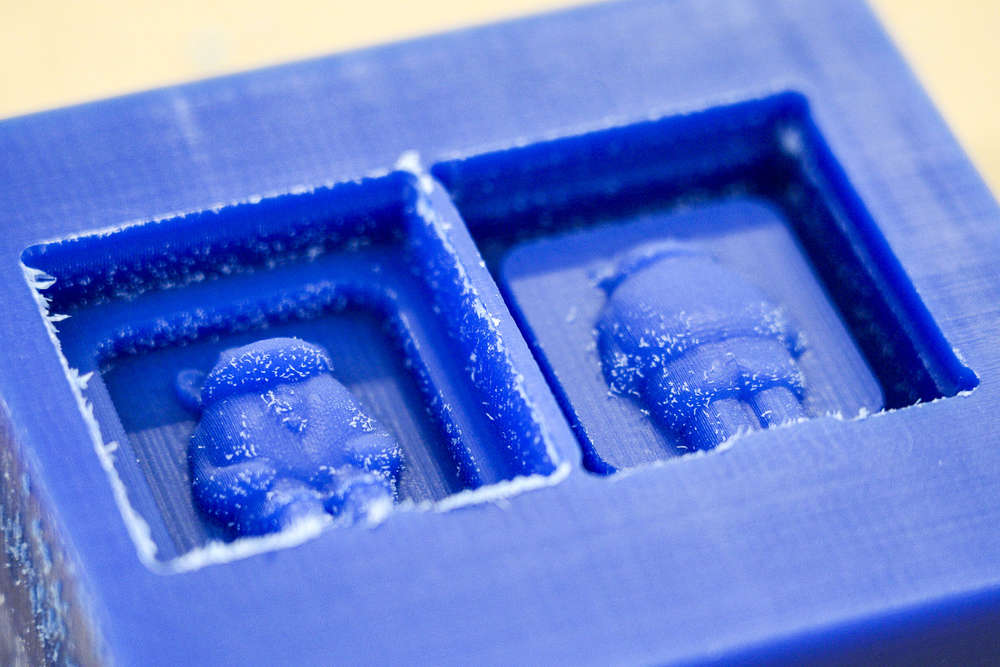
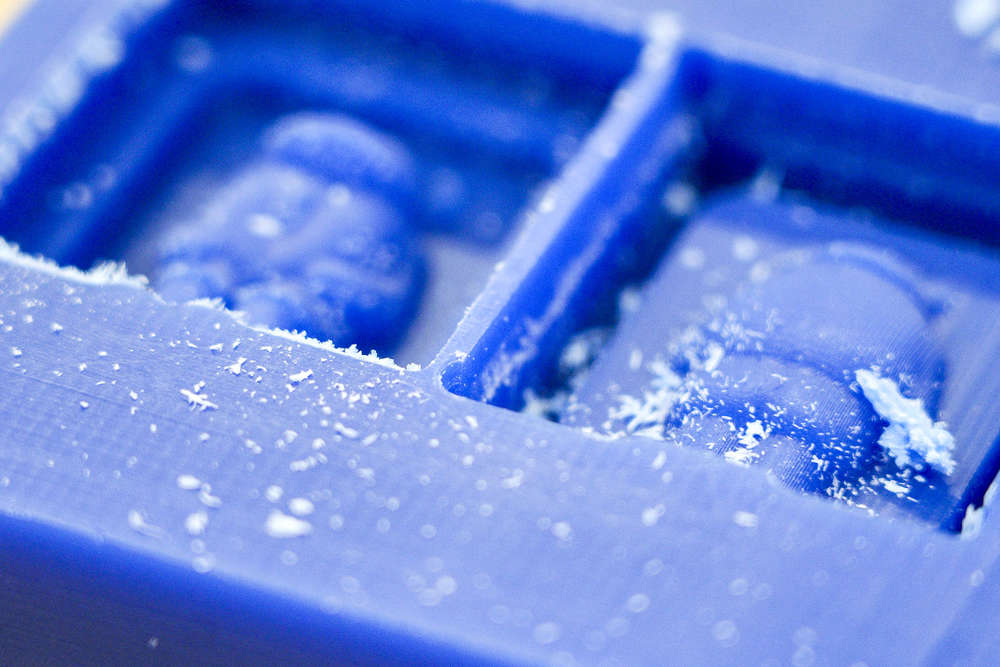
I wanted to get it even cleaner by doing a second 1/32" pass in the horizontal direction, but I aborted this pass because it looked like the end mill would dig so far into the median that it would merge the two parts together. Instead, I decided to smooth it out a bit with the heat gun, but the poor little guy melted so much he lost his buttons.
The Oomoo silicone was easy to use, just equal parts volume of the blue part and green part. It looked pretty.
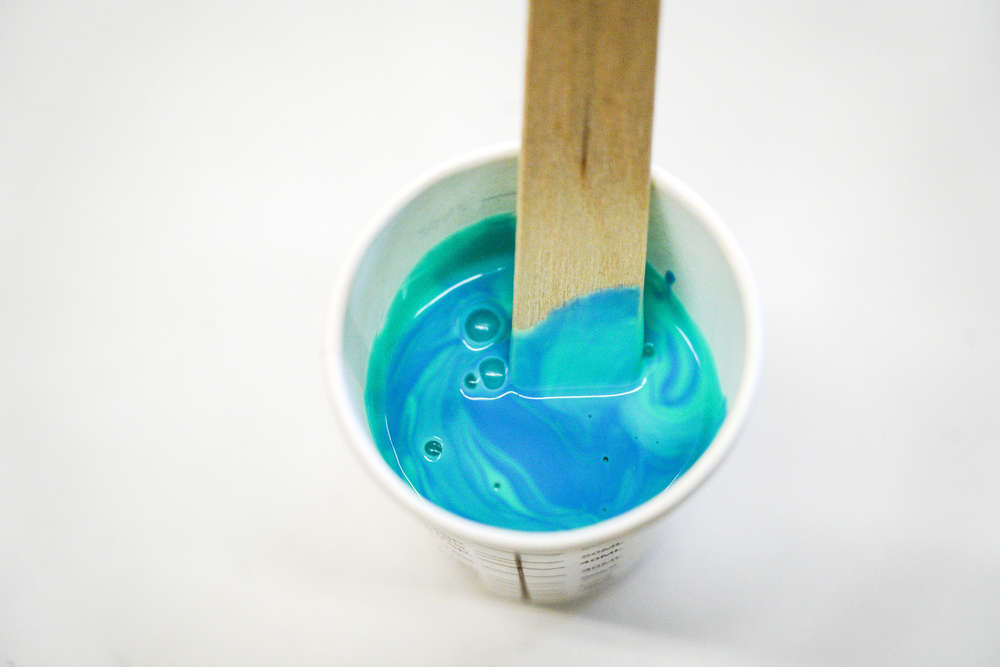
As an aside, the workspace itself was looking well-loved by this point in the week.
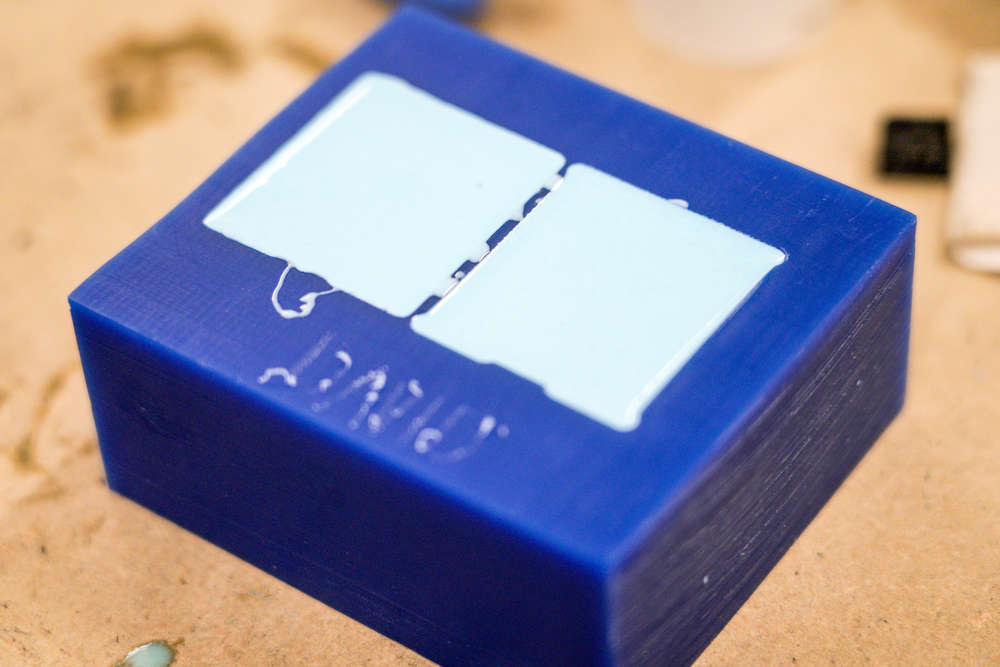

After letting it set overnight, the mold seemed to come out well, and the two halves fit together nicely.


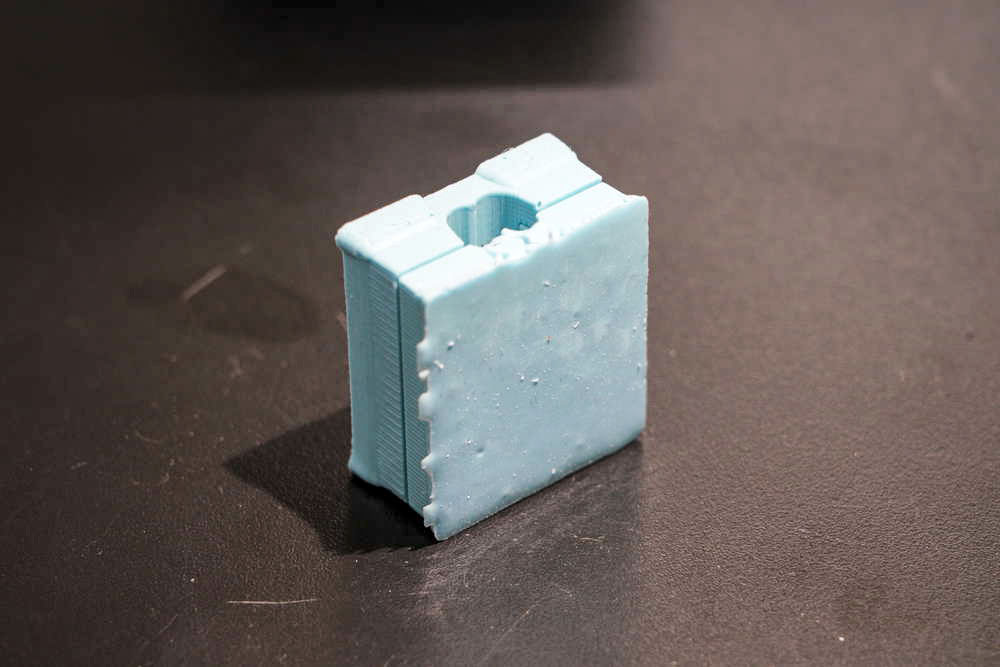
Before pouring the metal into my silicone mold, I dusted the mold with some talcum powder. I heard from various sources that this yields a better result than pouring it in directly.
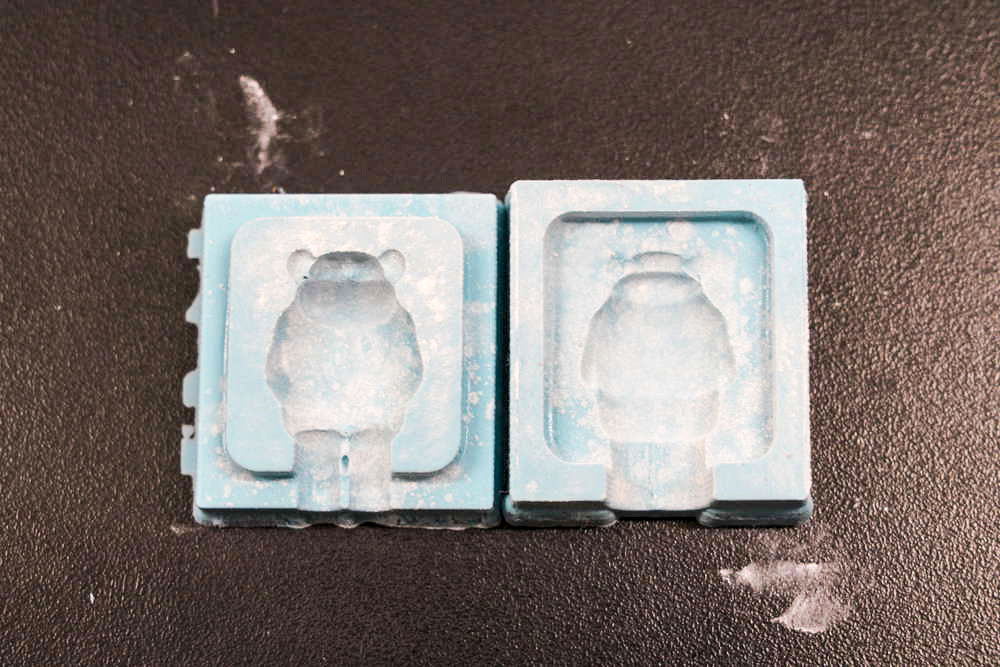
I gently clamped the two sides together to keep them from separating, heated up the Roto281F in the Harvard Lab's convection toaster oven, and gently poured the metal into the mold. The metal cup holding the molten metal was very hot, and required some hefty heat protection.

It only took five minutes for the metal to set and to cool enough to be handled directly. I made two casts of my monkey bear dude. The second came out better than the first, without any overflow between the two sides of the mold. However, I needed to saw off some extra metal below the dude's shoes, and sanded the bottom smooth. I think they came out quite well.


