
Week 2: PCBs
The Task
Make an in-circuit programmer by milling a printed circuit board (PCB) and see if it can be programmed.
Milling
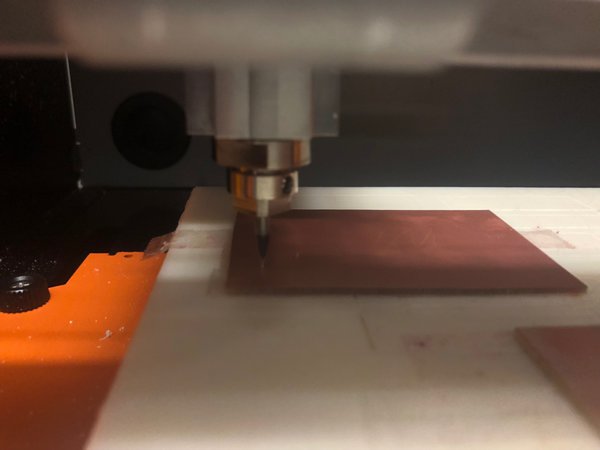
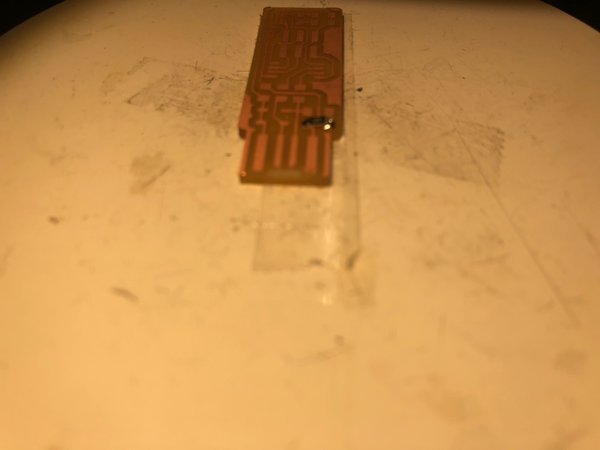
I took a blank board and used a Roland SRM-20 milling machine to cut a circuit board. First, this involved cutting the trace with a 1/64 in. end mill. It took me about an hour to figure out how to properly set the distance from the end mill to the board. My first board didn’t cut deeply enough - the result was a board that looked nice because the cut was shiny, but there definitely wasn’t enough milling being done. My second attempt cut too deeply - powder spewed everywhere and there was a lot of grinding.
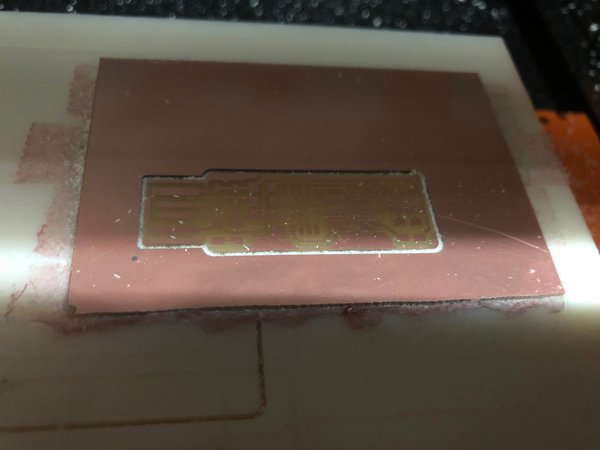
Finally, after setting the distance properly, making sure that the mill touched the board, I began a successful cut.
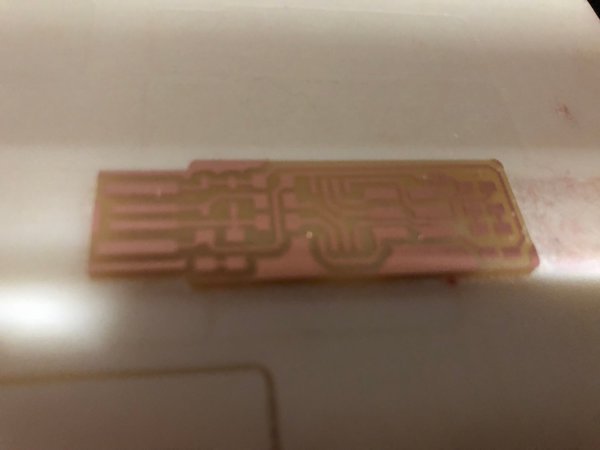
After this finished, I switched the end mill to the 1/32 in. end mill and cut the outline. The final result was a nice cut with lots of powder!
Soldering
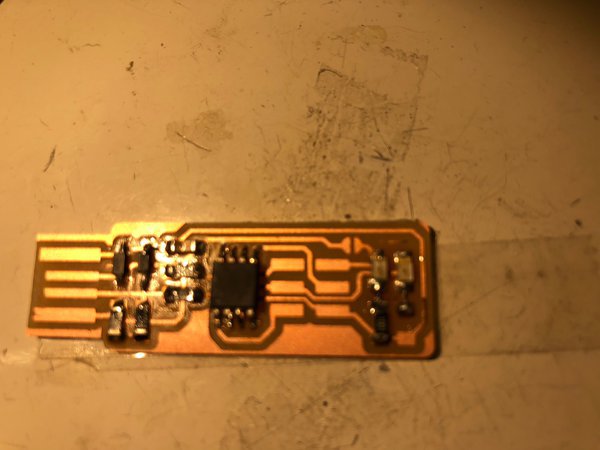
Going into this class, I knew that tasks like soldering would take me longer than most people, and I think this was probably the case. I followed Brian’s instructions pretty strictly.
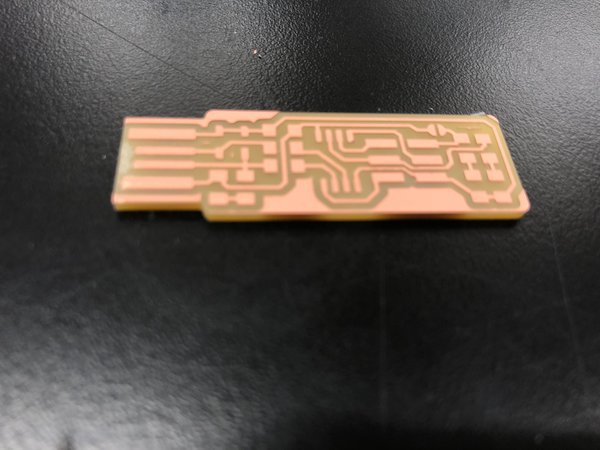
The first thing I did was use an X-acto knife to grind away the excess copper at the edge of the board, as per Brian’s instructions.
In the beginning, most likely due to a cup of coffee that I had, my hands were quite jittery when placing components down. After some practice, I got my first component down.
After a few hours, I was able to get all the components onto the board.
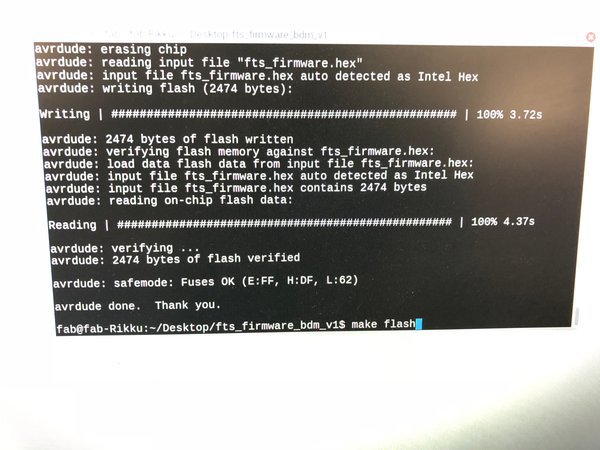
I was happy to find that the red LED lit up when I plugged the board into the Science Center 102 computer. Running make flash and make fuses worked, installing the program from the programmer.
Unfortunately, however, the board wasn’t showing up in the list of USB devices on either the SC102 computer or my own laptop. This is indicated by a device “Multiple Vendors USBTiny” showing up in this list. So I went back to the drawing board (i.e., soldering station). I realized that some of the pins on some connectors weren’t soldered very well, so I redid them. Voila! It worked.
I then blew the reset fuse by running rstdisbl and disconnecting the bridge on the solder jumper.
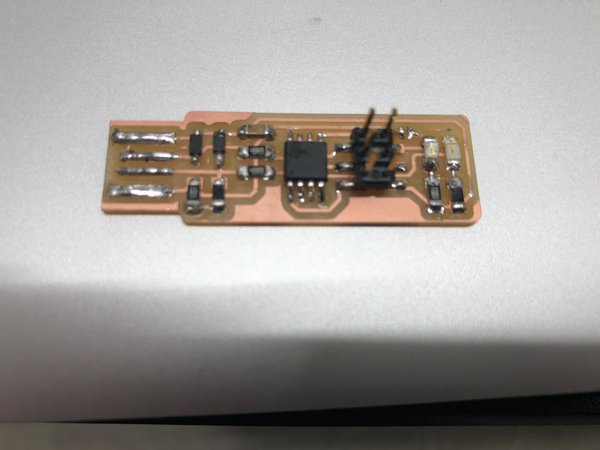
Done!
Takeaways
Milling
I think milling will be pretty straightforward from now on if I need to make new boards - the tricks are sort of a learn-once thing, in my opinion.
Soldering
Soldering was definitely the hardest part of this week. Some takeaways:
- Always touch the solder to the soldering iron when touching the board and not in the air, or else the solder just forms into a ball that turns into a huge glob of solder when melted.
- Solder pins generously, or else connections will be weak and might not work.
- Soldering braid is sort of effective as a tool for removing solder but it’s easier to just not mess up in the first place. Also, it’s hard to remove solder cleanly from copper.
Generally
Definitely need to brush up on my physics. Haven’t taken electromagnetism since junior year of high school and could definitely get to a point where I understand the physics of this stuff better.