
Week 3: 3D Printing
The Task
- Scan and optionally print a 3D object.
- Make something with a 3D printer that can’t be made using subtractive manufacturing.
Scanning
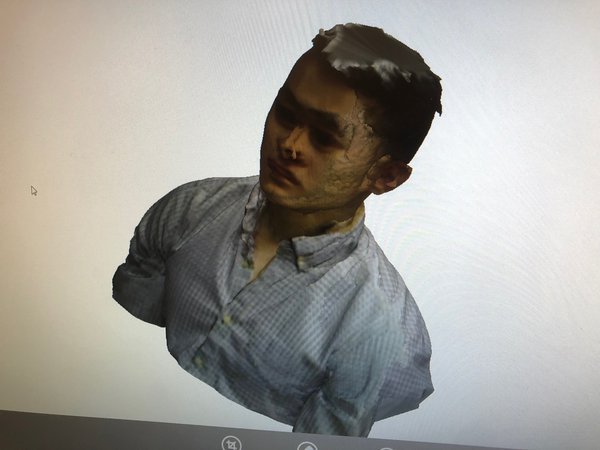
I decided to start my 3D printing adventure with scanning because I’d immediately be able to test out the printer after finishing a scan, instead of waiting until after I’d designed something. Like most everyone else, I decided to do a headshot. With the help of a cool freshman that I met in SC102, I used the “Sense” 3D scanner and the Sense program to scan everything from my shoulders up.
3D scanning was a lot harder than I expected it to be. It took well over 10 attempts to get a reasonable scan of my upper body. I think that the problem was mainly my inability to keep my head very still. I kept getting a very scary looking double face. Eventually, I got a scan that I thought was acceptable - the only glaring error was a terrible hairdo.
I then used the 3DWox program to create a G-code file and then used the Sindoh printer with black filament to do a print. Here’s what things looked like on the 3d printer itself.
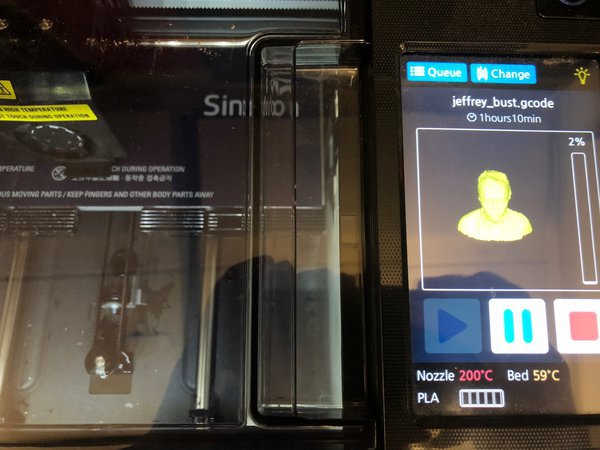
After just over an hour, the print completed.
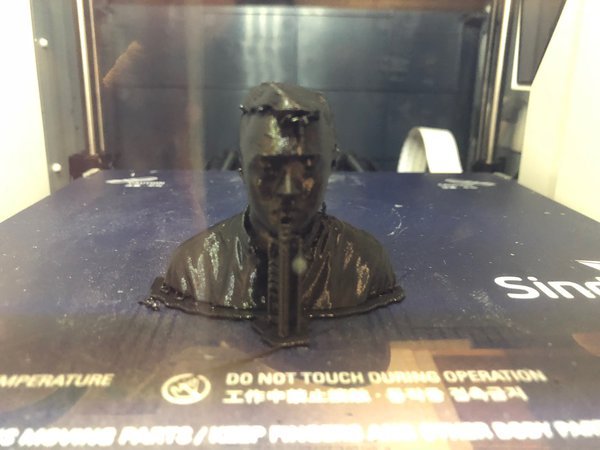
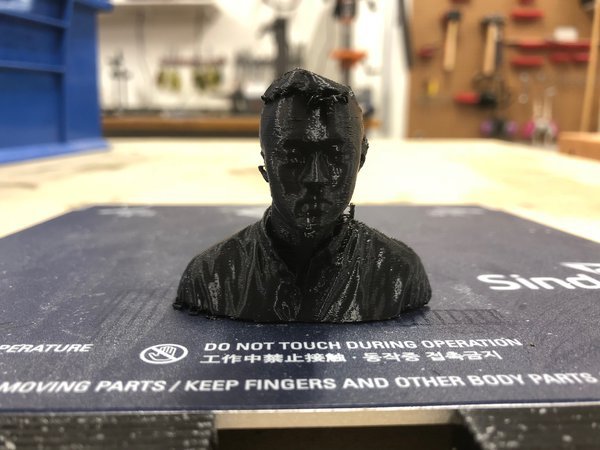
If I have time later, I think I’ll definitely try to get a better scan. Landon Ferda had a really successful scan when he fixed the scanner at an angle such that the scanner was higher than his head. However, my scan is good enough that friends tell me that it (sort of) looks like me, which I think is a success.
Additive Manufacturing
For my additive object, I really wanted to make something that was practical. This was really hard to think of because a lot of the canonical examples of things that can only be made using additive manufacturing are sort of impractical, in my opinion. For instance, I saw lots of people making things like spheres trapped inside containers. I think that this is really cool in principle but not really useful. I wanted to create something that takes advantage of the benefits of additive manufacturing but that is super useful, thereby displaying the usefulness of 3d printing for practical purposes.
I decided to make a measuring tool for poker chips. If you go to a casino and exchange cash for poker chips, they give the chips to you in a rack like this:
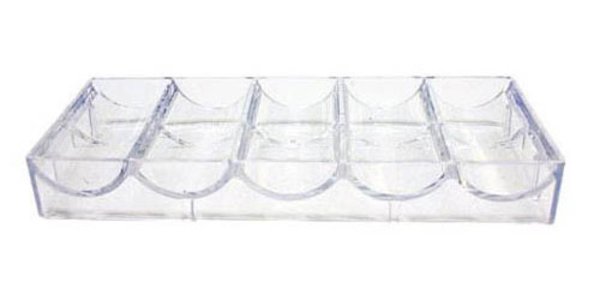
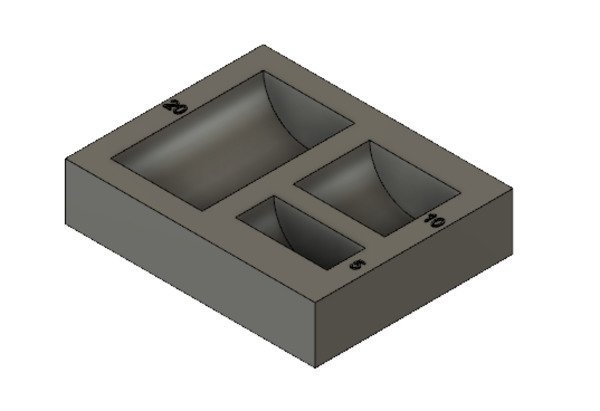
Each rack holds exactly 20 chips. This allows cashiers and people to count 20 chips really easily, and casino goers can feel confident about what they’re receiving. However, it is extremely common to have less than 20 of a particular type of chip, and in these cases, all parties need to manually count chips, resulting in a lot of potential error. My measuring device measures 20, 10, and 5 chips. It would make life a lot easier for casinos.
While the rack could technically be designed subtractively, there are many advantages of making it additively, which is why I decided to go through with making it.
- Fine detail - Each measuring trough must have smooth, precise edges for the chips to fit in.
- No waste - This measuring tool is mostly empty space - making it subtractively would be a massive waste of material. Further, small bumps indicating numbers (5, 10, 20) protrude - cutting away a ton of material just to account for this protrusion doesn’t seem ideal.
Designing this poker measuring tool was a huge lesson in patience. I really struggled with Fusion 360 this week - it crashed repeatedly and also did things that I didn’t expect it to do.
First, I sketched semicircles that I could protrude. I did some research about standard poker chip diameter (39mm) and thickness (3.3mm). I also used a caliper to measure the thickness of some of the chips that I have in my room.
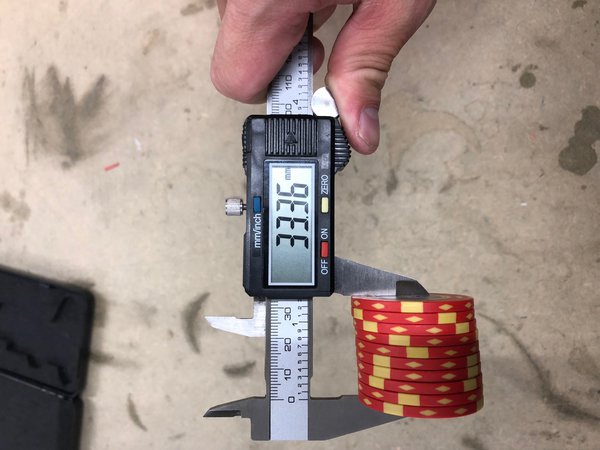
From this measurement, I guessed that 3.34mm would be a good thickness to use in my sketch.
The sketch looked like this:
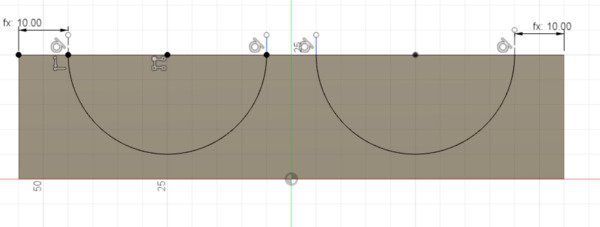
Then, I created extrusions and number labels for each trough. The number labels were especially difficult to create because there is no easy way to center text in Fusion 360. I had to rely on quite shady construction lines that weren’t perfect.
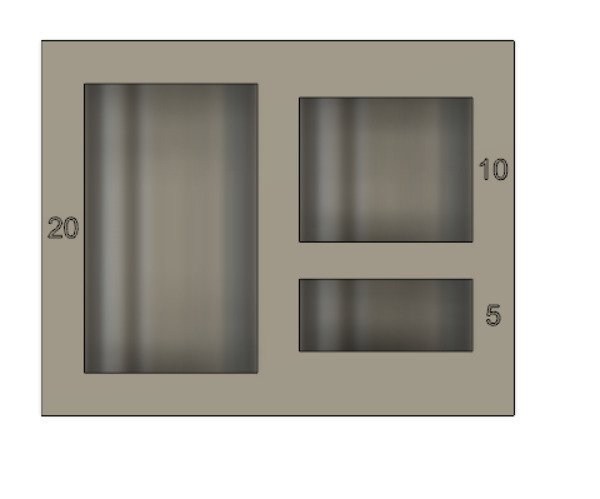
The final result in all its glory:
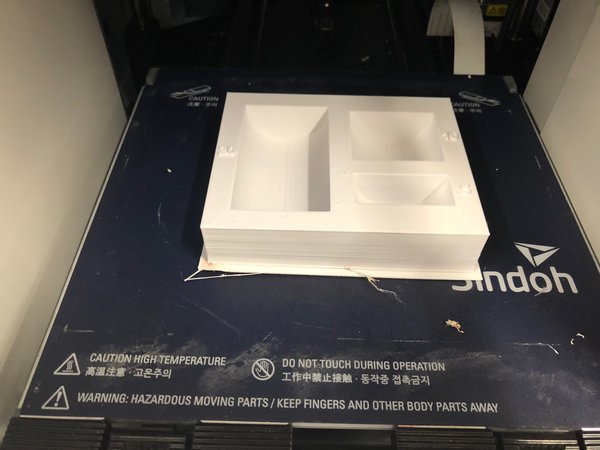
The printing process:


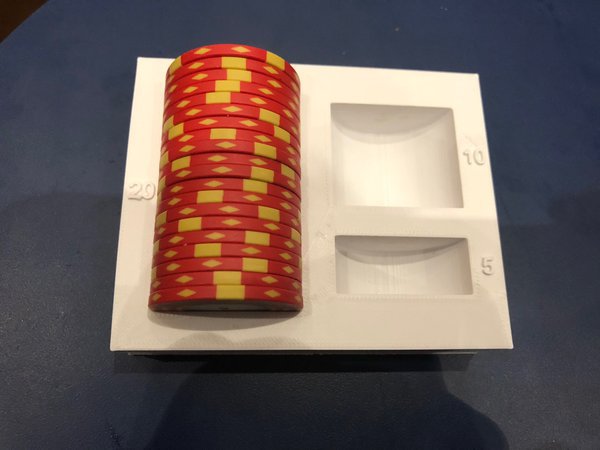
It turns out that I made my dimensions too correct. The chips fit in exactly with a very snug fit.
I’m currently in the process of experimenting with diameter and thickness sizes to get a good fit. So far, I’m on version 3. I’ll keep everyone posted and also put the files here when that time comes.
12/7/2018 Update:
It appears that a chip diameter of 40mm and a chip thickness of 3.36mm are optimal.
My design file is here
Takeaways
Scanning
Stay still and try, try, try again!
Additive Manufacturing
It’s crazy to think that some of the cool things that people can make now simply weren’t possible without the technology of 3D printing. Truly insane times we live in.
Generally
3D printing is a really cool technology! Also, designing precision measuring tools is super hard because of the imprecisions of the manufacturing process and the nature of how materials stack on top of each other, etc..