
Week 5: Making Big Things
The Task
Make something big.
My Idea
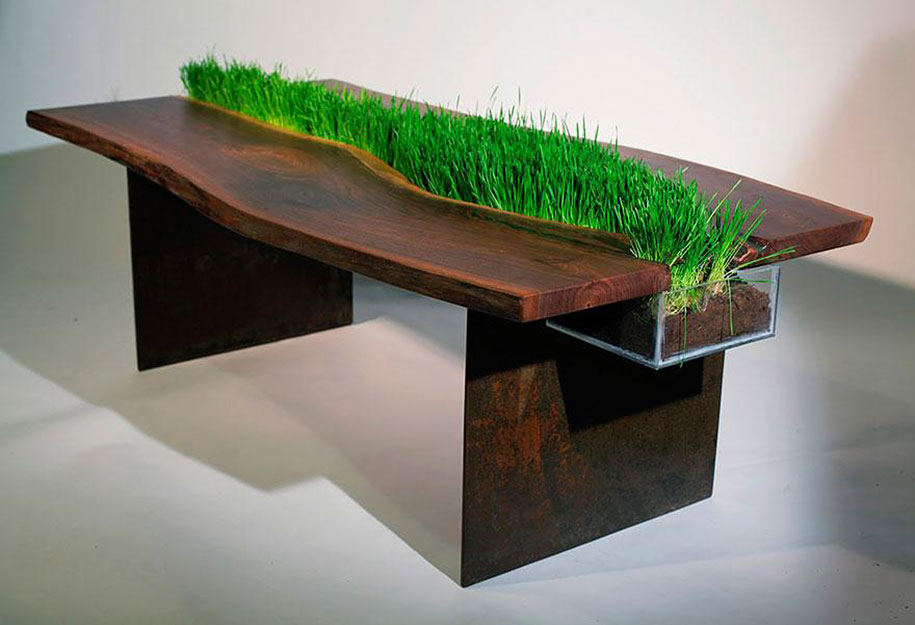
Last year, my friend and I pitched our money together to buy a beer pong table. But when he the semester ended, he decided for some reason that the best thing to do with the table is throw it in the garbage.
My friends and I haven’t gotten around to making naother one, so this week, my goal is to make a beer pong table for use in my room.
Design Decisions
Most commercially available beer pong tables are quite light and portable. I also wanted to make a light and portable table. I knew that this was going to be difficult given the material we were given, which is just 4ft x 4ft oriented strand board. Without any materials to make hinges, I knew that I would need to make things parametrically. This way, there would be fewer parts (meaning less weight) and decent portability because of the ability to deconstruct parts easily.
Parameters
According to the internet, the official beer pong table size is 96” x 24” x 29”.
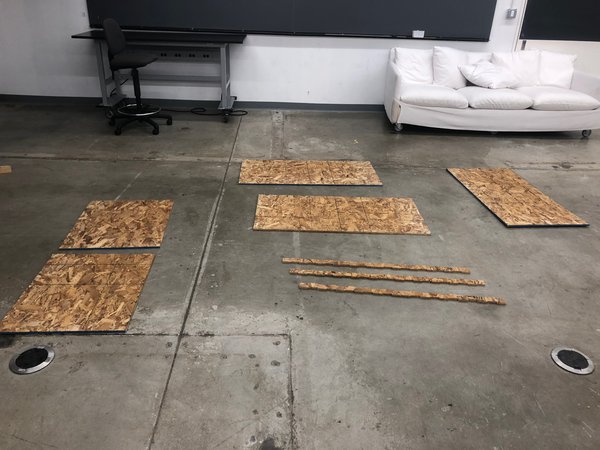
Components
The table top is 96” x 24”, and because the OSB board we are given are 48” x 48”, one board is perfect for two halves of the table.
The next decision was how to make the table legs. Originally, I thought that having 4 table legs, one at each corner of the table, would be the way to go because that’s what I imagine when I think about a prototypical table. However, because the OSB boards we are given are only 7/16” thick, this would mean that the table legs would be pretty unstable. Instead of having four legs, I decided that a design like the following would be better:
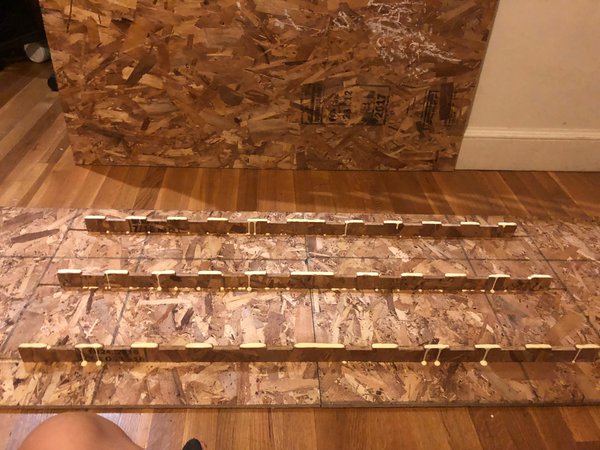
Another issue is structural support for the middle of the table. Because we did not have access to 8 foot long pieces of wood, the table must be in two halves that get connected. However, because of how thin the wood is, it would bow at the middle without any additional support. With Rob Hart’s advice, I decided to connect the two halves of the table using three support beams. Further, to add additional strength, there is a support block that is also attached to the beams.
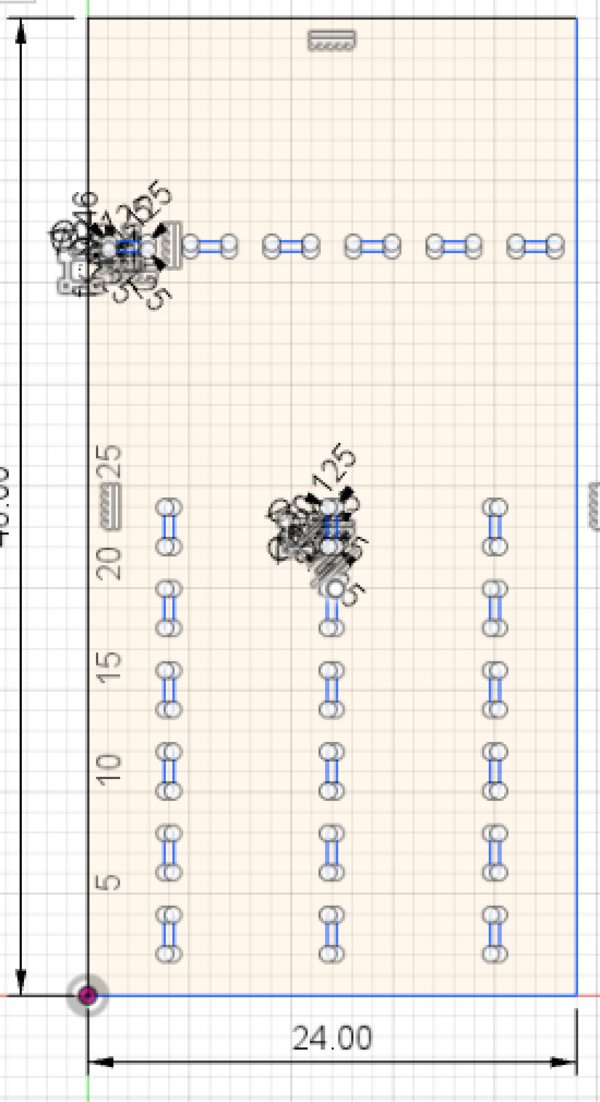
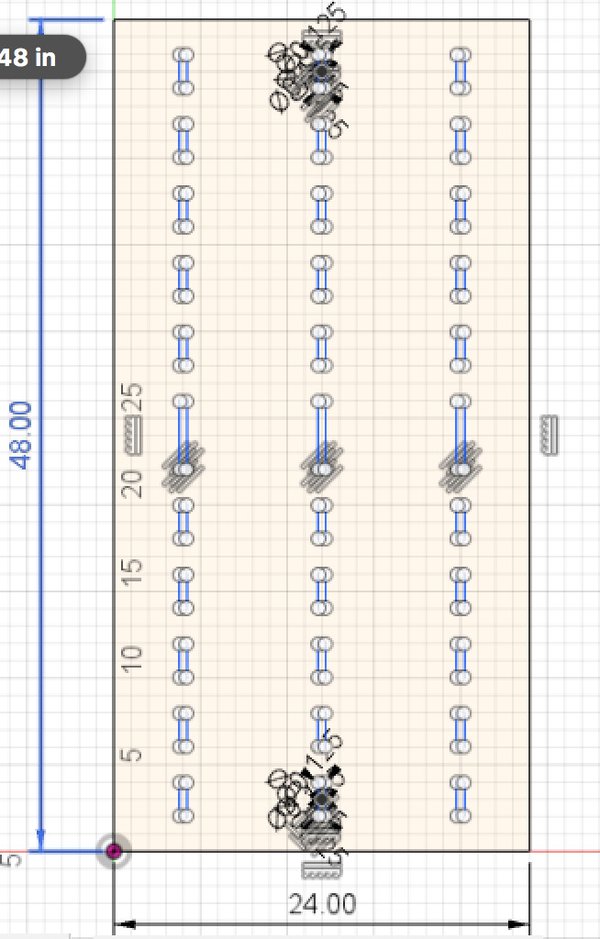
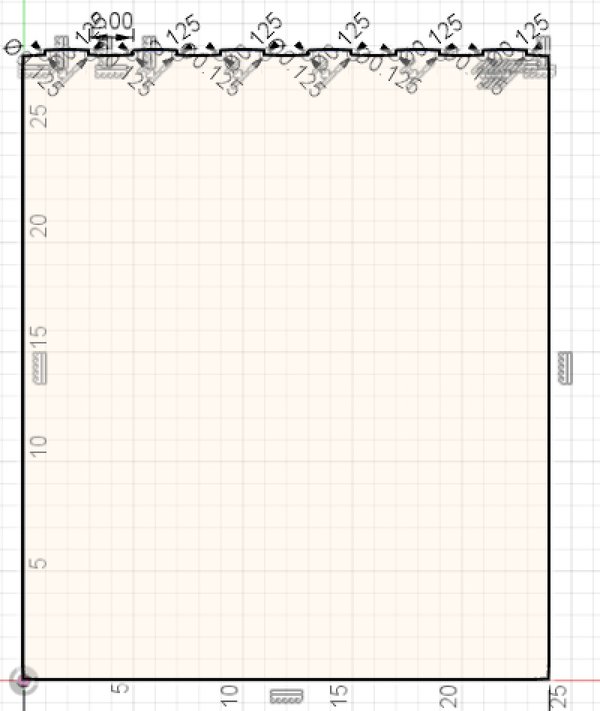
My designs for the pieces:

Machining using ShopBot
Machining on the ShopBot was very time consuming. The design files seen above are the result of at least 5 versions. At first, I forgot to put dog bones for each of my slots - these are little circles with the diameter of the end mill that you are using that ensure that slots are big enough, since end mills cut in circles.
Another huge challenge was figuring out how to design cut files, since the Shopbot apparently does a poor job of cutting complete 4 x 4 pieces. I had to customize cuts using the VCarve Pro software so that there would not be cuts close to the edges of the machine. Then, Rob helped me use the electric saw to cut pieces into halves.
Putting Things Together
Because of imprecisions related to the electric saw cut, the beams did not join the two halves of the table together correctly because there was too much distance between the first joints. The table also did not align properly. The solution was to shave off 1/4” off of the total table length and and 1/8” off of the total width. This was done using the electric saw, again with Rob’s help.
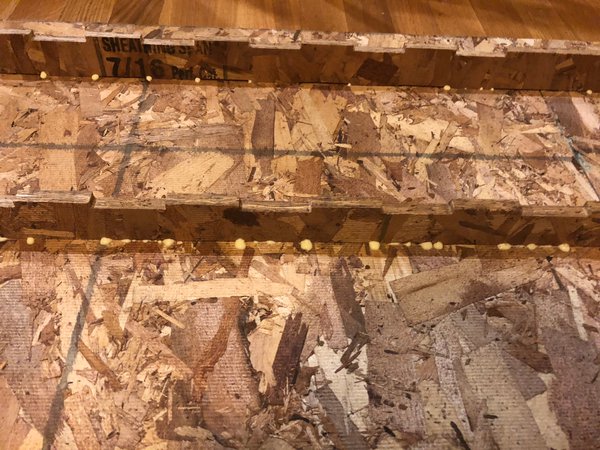
At first, I tried to put the table together without using wood glue. However, I quickly realized that the two tables halves would never hold by the beams.

So I brought all of the table parts back to my dorm room to use wood glue. Rob’s advice was to put enough wood glue such that there is a little glue that flows out of the joints. I glued things together.
After waiting a night, the table top was good - it doesn’t seem to break easily. However, I soon realized that the table legs were too thin to hold up. I remember that my friend said that he had to build a table for the fraternity that he’s in and that they had some extra wood. Surely enough, I was able to get about 15 square feet of plywood from him for twenty bucks.
I took this wood to the Shopbot and made two table legs using the electric saw. I took the legs back to my room and both screwed and glued them to the table.
The final result is below, along with my roommate who helped me with the screwing:
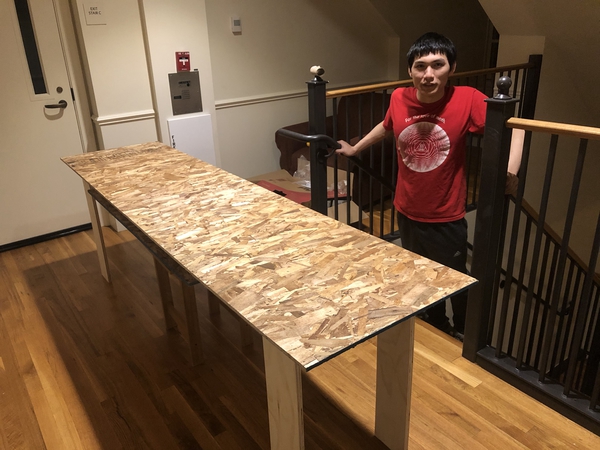
Note that this is the table after having attached the legs too closely to the center of the table - this made the ends of the table dangerously floppy, so I decided to move the legs closer to the edges, especially since the center is well-supported already by the support piece.
Great success! Many a game of beer pong have been played on the table. If I were to make a table again, I would make sure to think really carefully about leg design because stability is really important - while the table is stable, I wouldn’t be surprised if it broke by the end of the semester.