Week 8
This week’s assignment was molding and casting. I lost progress to some rather thoughtless measuring mistakes that I ought to have been able to avoid, but I still got something working.
Here’s the initial concept:
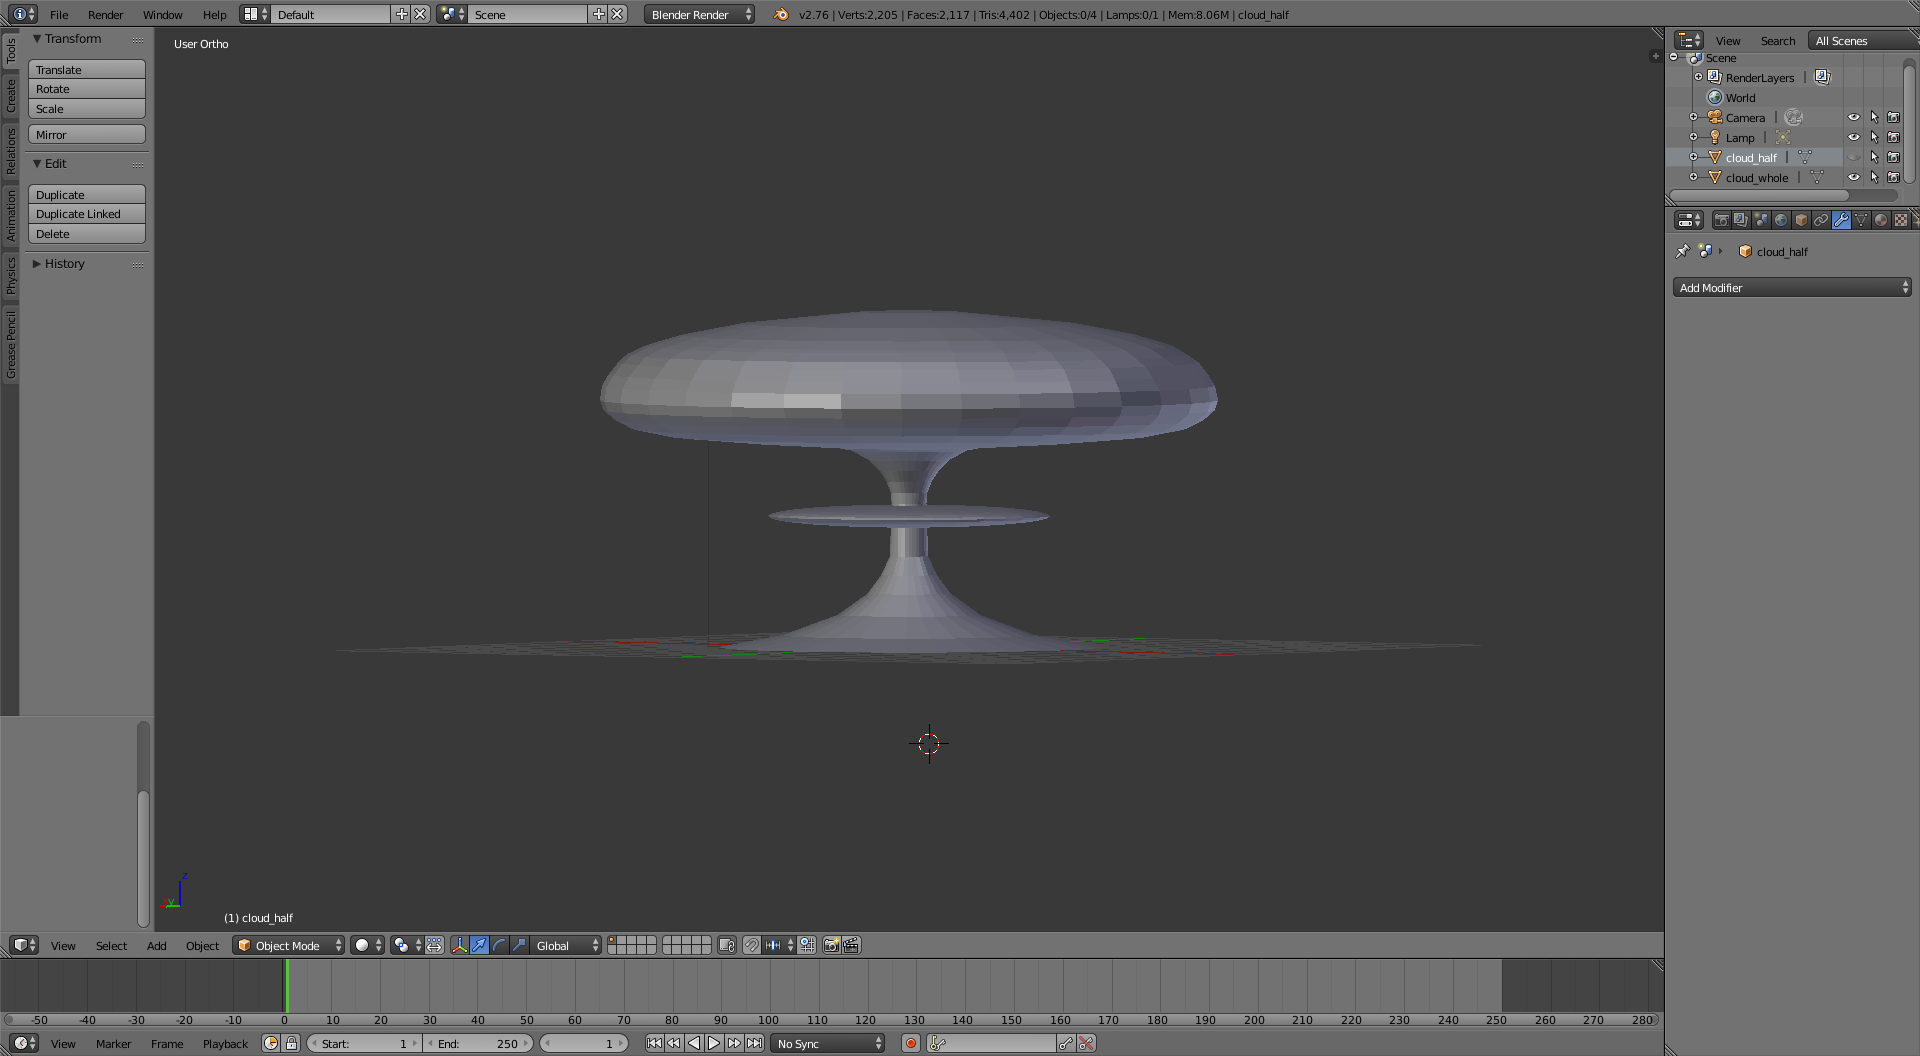
I was thinking about what to make shortly after October 23rd, which is when the world is consumed by nuclear fire in the universe of the Fallout videogame series. I felt like indulging this nerdy impulse by making a mushroom cloud desk tchotchke in a kind of retro-futuristic style, and this is where I landed.
I sliced this model in half, then added some extra cylinders for the filling and airing pipes, which are reflected in the final files that went to the carver (attached when I get my flash drive back from the lab)
This model had a number of problems, but the biggest was that the center was much too thin. Since I used vanilla Blender instead of a parametric modeling program, I wasn’t able to easily update this dimension. I find Blender really easy as a way to make something 3D, but really limiting when I need to fix something with it. I wound up creating another cylinder and placing it over the problematic center strut to widen it, compromising the aesthetics a bit, but not in a major way.
The second is that the model is quite deep at larger scales, and quite tight at smaller scales, so drill bits have a hard time getting to the smaller parts.
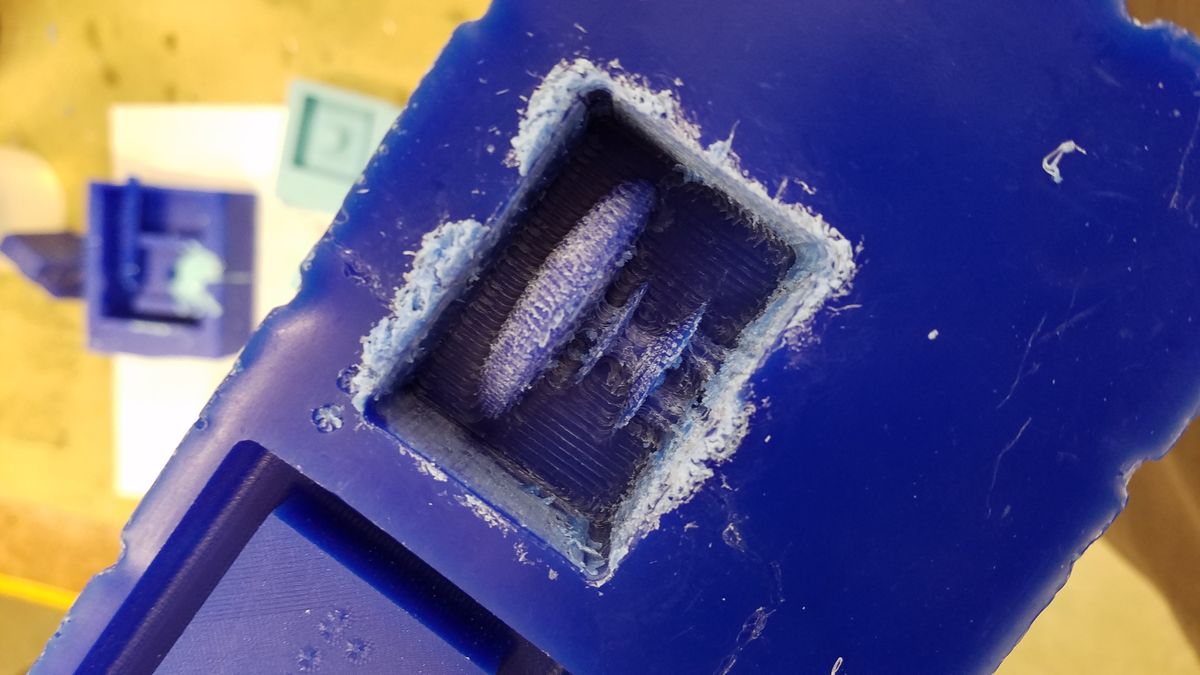
I realized all of this while milling my wax, and fully realized that my drill bit wouldn’t reach to the depth that it needed to only after beginning the cut, so I wound up with a block of wax that I couldn’t use. I stopped the process before the bit holder part of the Shopbot started knocking into the wax, and added it to the pile of old molds to get re-melted.
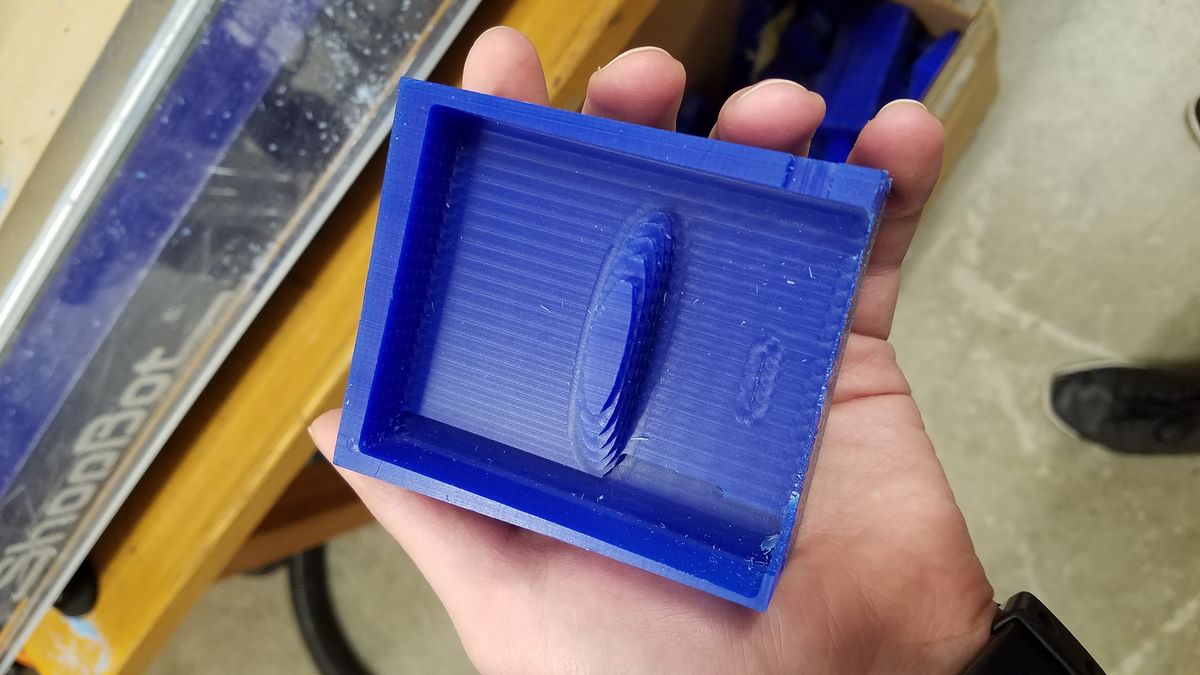
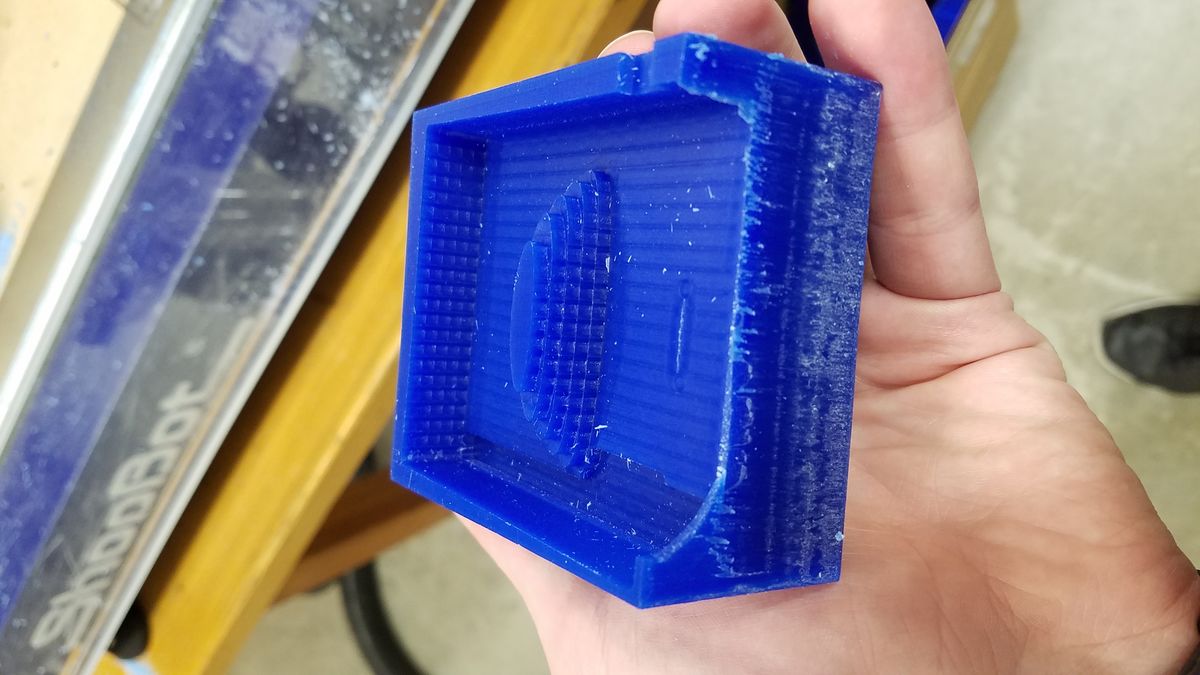
I used a chunk of re-formed wax that I found for a second attempt, after scaling down and beefing up the center a bit. However, you can see that the cut isn’t nearly as clean, the wax came off in much larger chunks, resulting in a less precise model. This wasn’t a problem for my decorative model, but for a functional piece, I would have had to some test cuts to figure out how to set the bit speed to mitigate this behavior.
Using the Oomoo, I was able to get a silicone mold that came out pretty well, considering the roughness of its source.
When mixing the mold, I had success mixing pretty aggressively, then waiting for the bubbles to rise. I found watching the bubbles slowly rise and pop quite soothing, in a strange way. I’ll let you enjoy that as well:
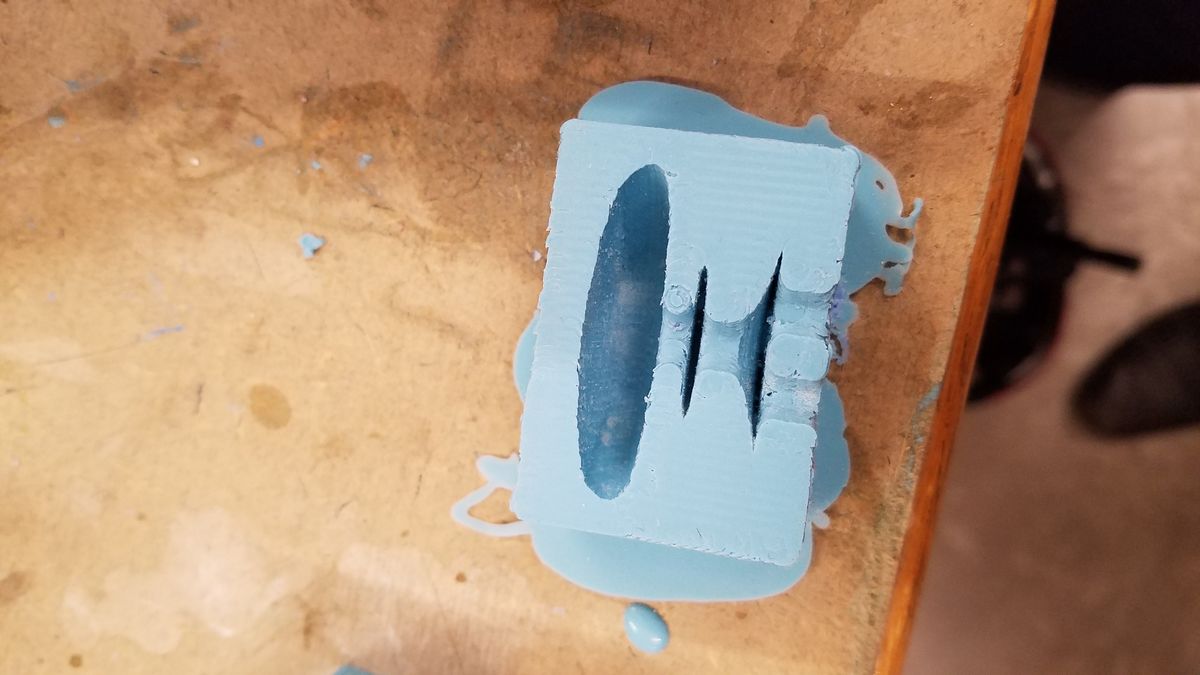
When I cast the mold, Rob mentioned that I might get some bubbling, since the air hole at the top wouldn’t do much to help the narrow middle of the mold. That turned out to be the case, despite my best squeezing and agitation of the mold around the material. I did get one big bubble out, but it seems there was another one stuck in there that I missed, since my model came out in two parts:
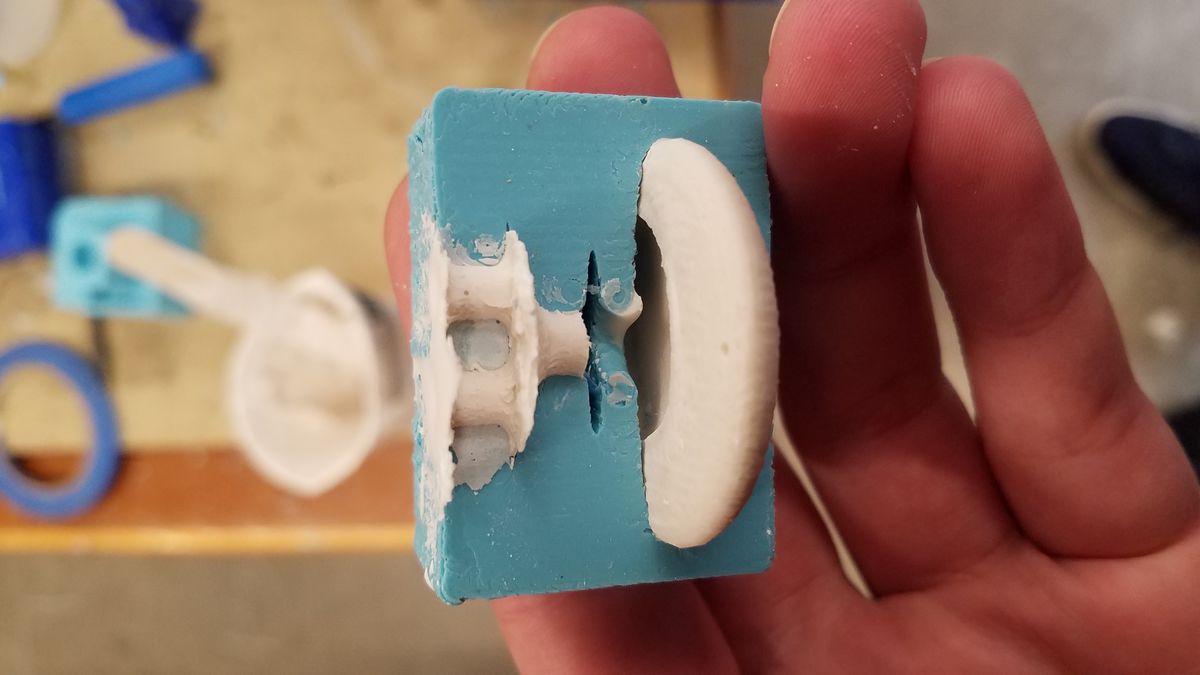
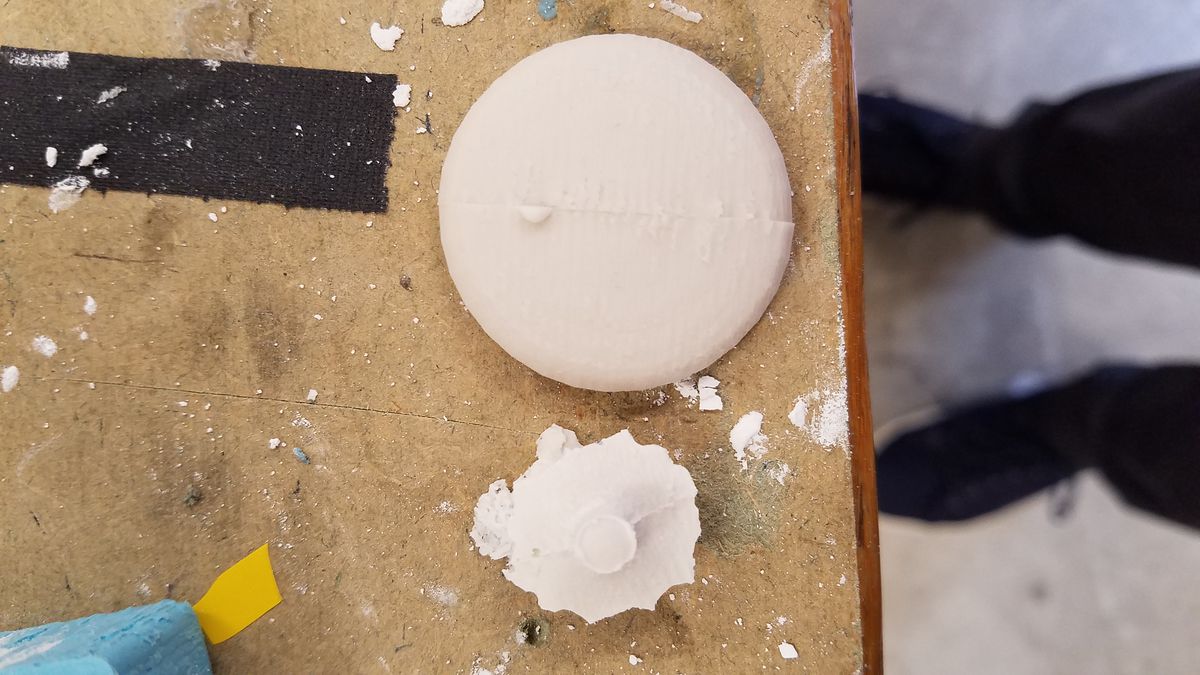
The registration was good, considering I didn’t have any inserts or anything to hold it in place, but that doesn’t make up for the lack of a middle.
I want to give the hydrostone another try, to see if I can actually get the air out, but Rob said that some of the tin-bismuth metal might work better for the mold.