Week 14
For this wildcard week I opted for the inflatables section, since I don’t have sewing experience and I think making big things is cool.
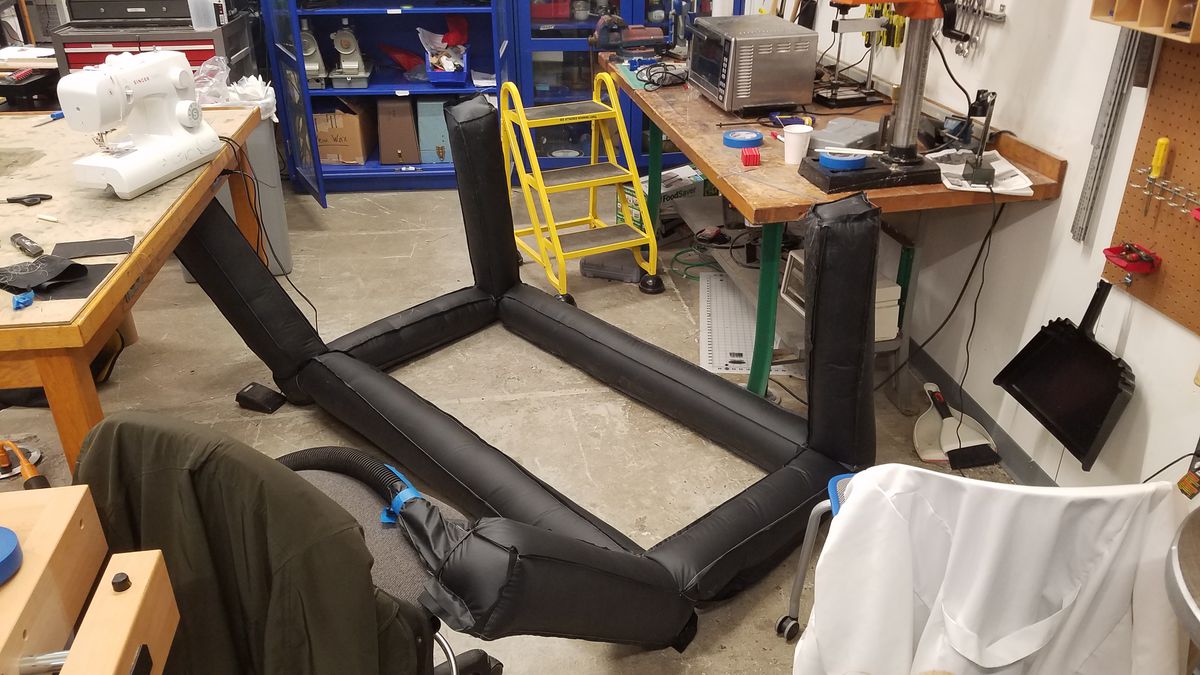
My plan for this week was to make an inflatable pillow fort frame, so a low hanging frame that you can toss a blanket on. That was mostly because I also thought a sun shade might be nice to have in summer, but I didn’t snag quite enough fabric for something tall enough for that.
I parametrized the plan outside of a CAD application, because one of my goals was to make reproducing the structure really easy, even without any technical expertise. To that end, I used Google Sheets for the parametrization, and planned out the frame to only use 6 inch wide strips of fabric. That increased the amount of sewing to do, but meant that I didn’t have to spend time in CAD optimizing the cuts.
The spreadsheet that I used is here, and changing the fabric and structure info updates the other numerical totals, so that you can make different sized structures out of different sizes of fabric. Most fabric seems to be 60 inches wide and sold by the yard, so I feel comfortable assuming that 10 strips of fabric is pretty standard.
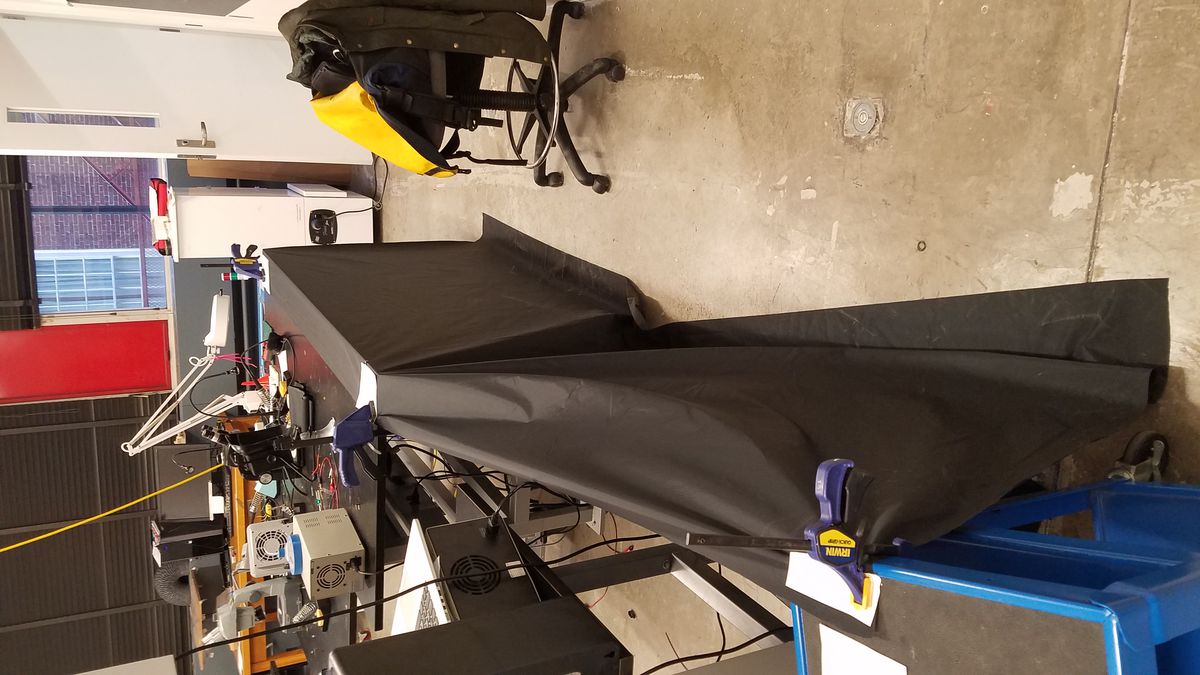
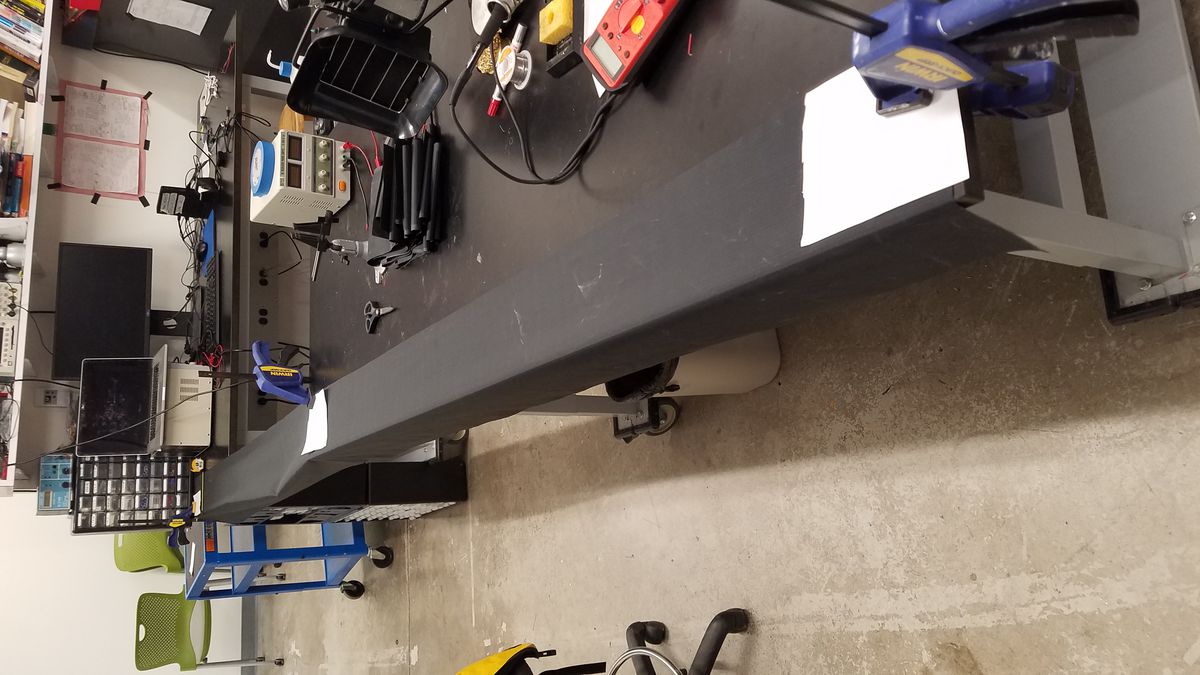
To cut the fabric, I measured out my strips and cut them along the edge of a few tables in the lab, to keep things as neat as possible:
Assembly took quite some time, but all of the sewing involved gave me plenty of time to get familiar with the sewing machine. I only had to take out a couple of stitches after realizing that I had put a panel in the wrong orientation.
In the end, I was able to inflate the structure while it was still inside out, but realized that I had made a mistake. My design included what’s basically a torus in the center, and it’s physically impossible to invert that through just one hole, so in order to get it right side out, I’ll have to take out some seams and re-stitch them after inversion.