Computer-controlled Cutting
02Electronics Production
033D Scanning and Printing
04Electronics Design
05Computer-Controlled Machining
06Embedded Programming
07Molding and Casting
08Input Devices
09Output Devices
10Networking and Communications
11Mechanical Machine Design
12Interface and Application Programming
13Wildcat Week
Elina Oikonomaki
How to Make (Almost) Anything
Final Project Proposal
Final Project Proposal - Idea
For my final project I want to make a device that tracks the changes you make in a drawing and accordingly transforms the physical object that corresponds to your drawing, to match them visually. In many cases, even if you have the same drawing, every time you look at it, you might end up seeing different shapes in it and redraw it. It is related to the famous Rorschach Tests.(https://en.wikipedia.org/wiki/Rorschach_test)

Given a certain pattern:
Every time you draw something on it

You control the transparency of the physical model.
How to do this?
Thermochromic pigments
How to control temperature?
Updates - Final Project recitation
For this week's recitation we had to meet with one of our TAs and talk about our final project. I met with Diego and he gave me some great ideas on how to actually implement my original concept on controlling the transparency of a material by drawing. I will make my own polar graph drawing machine but instead of ink, or pen I will be using HEAT to draw!!
I will have a surface painted with thermochromic pigment and heat will activate the color change which will create the drawing patterns.
Final Project
A Drawing device with heat
Final Design
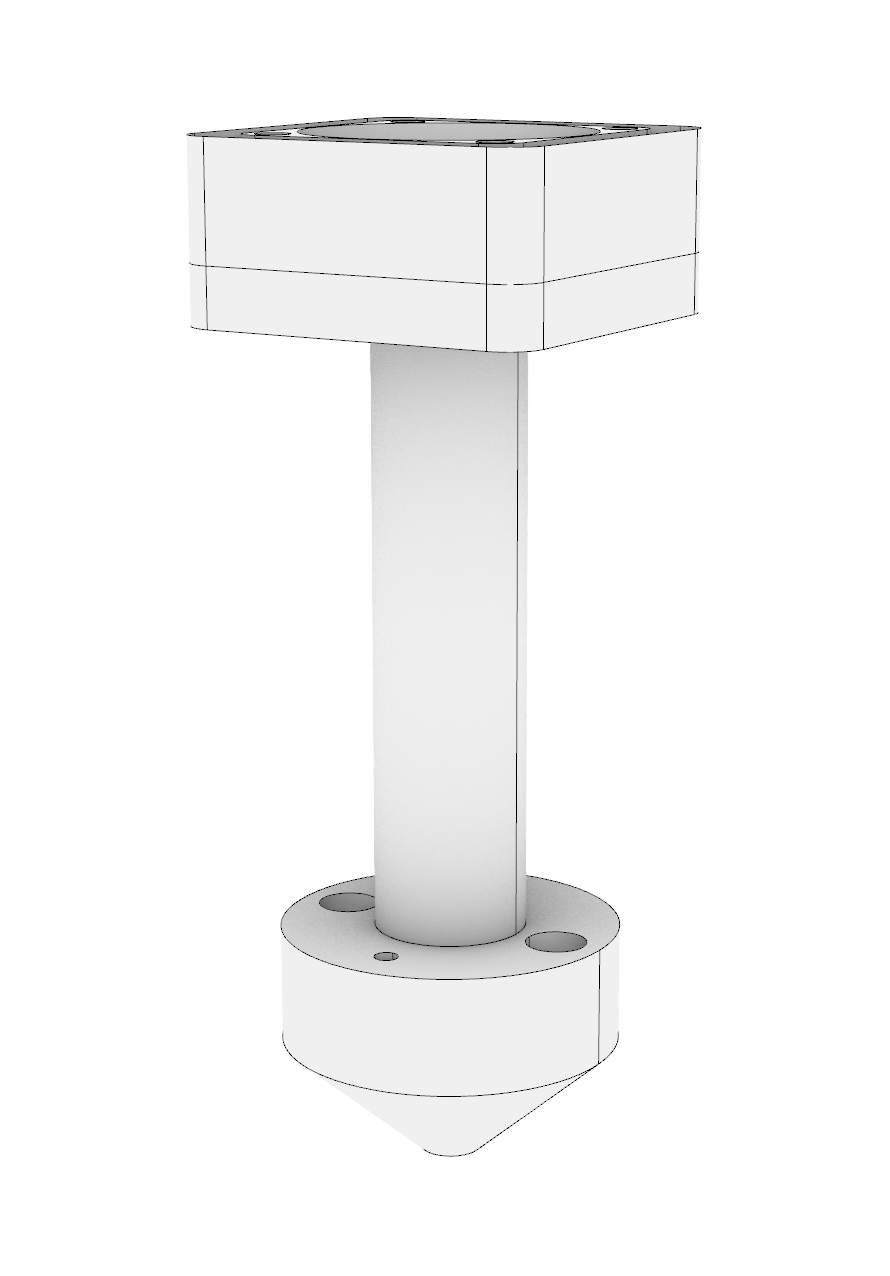
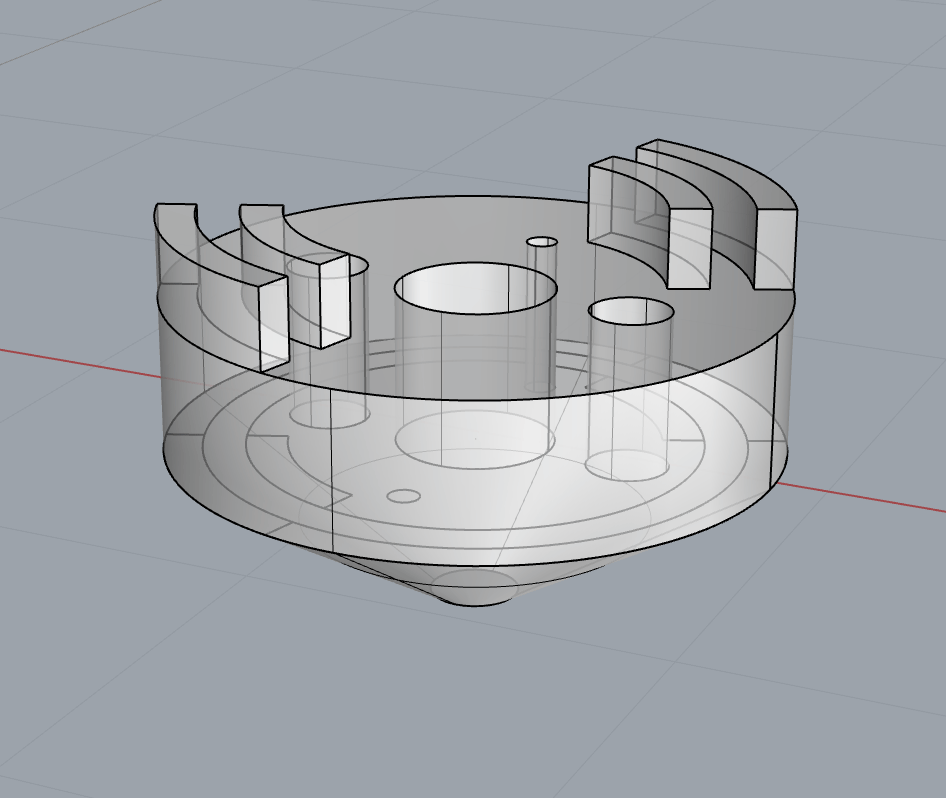
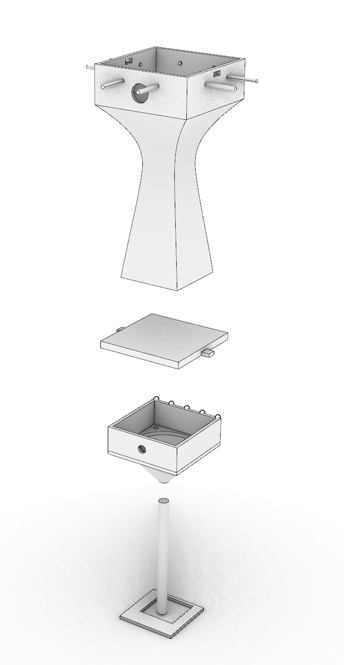
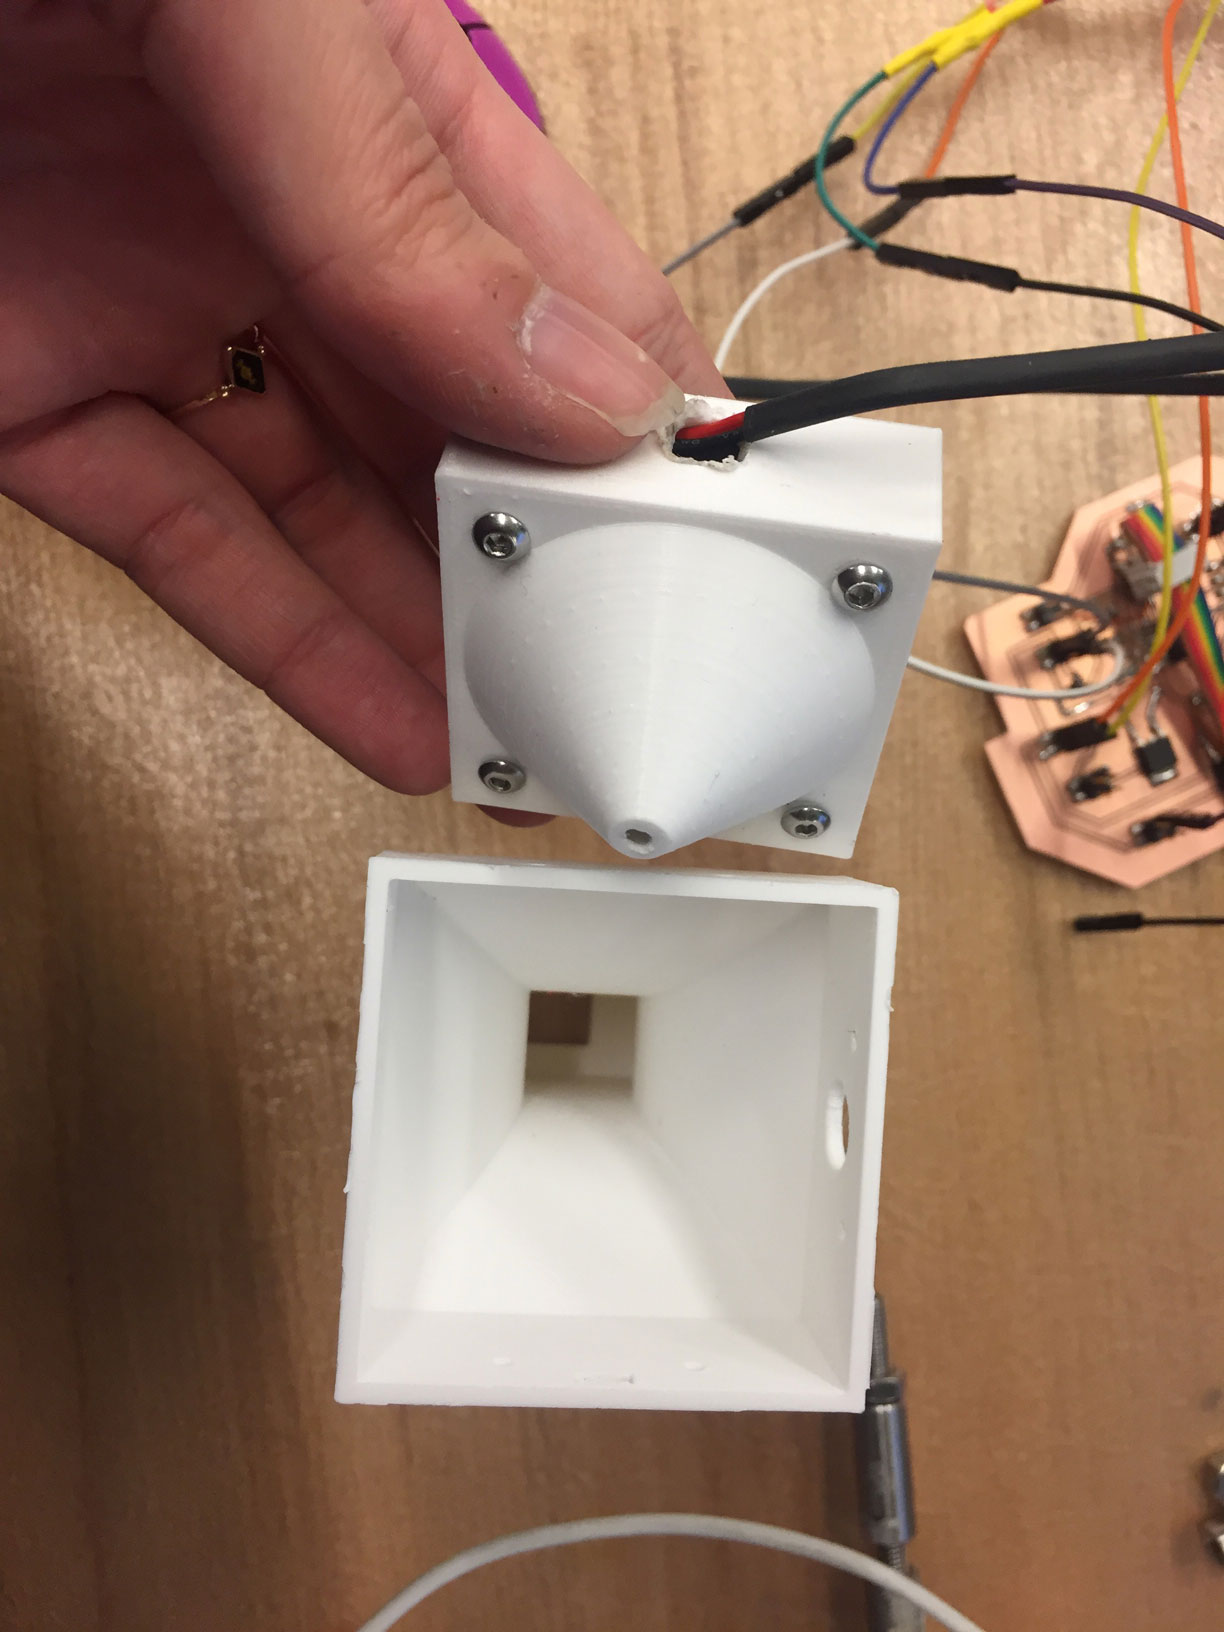
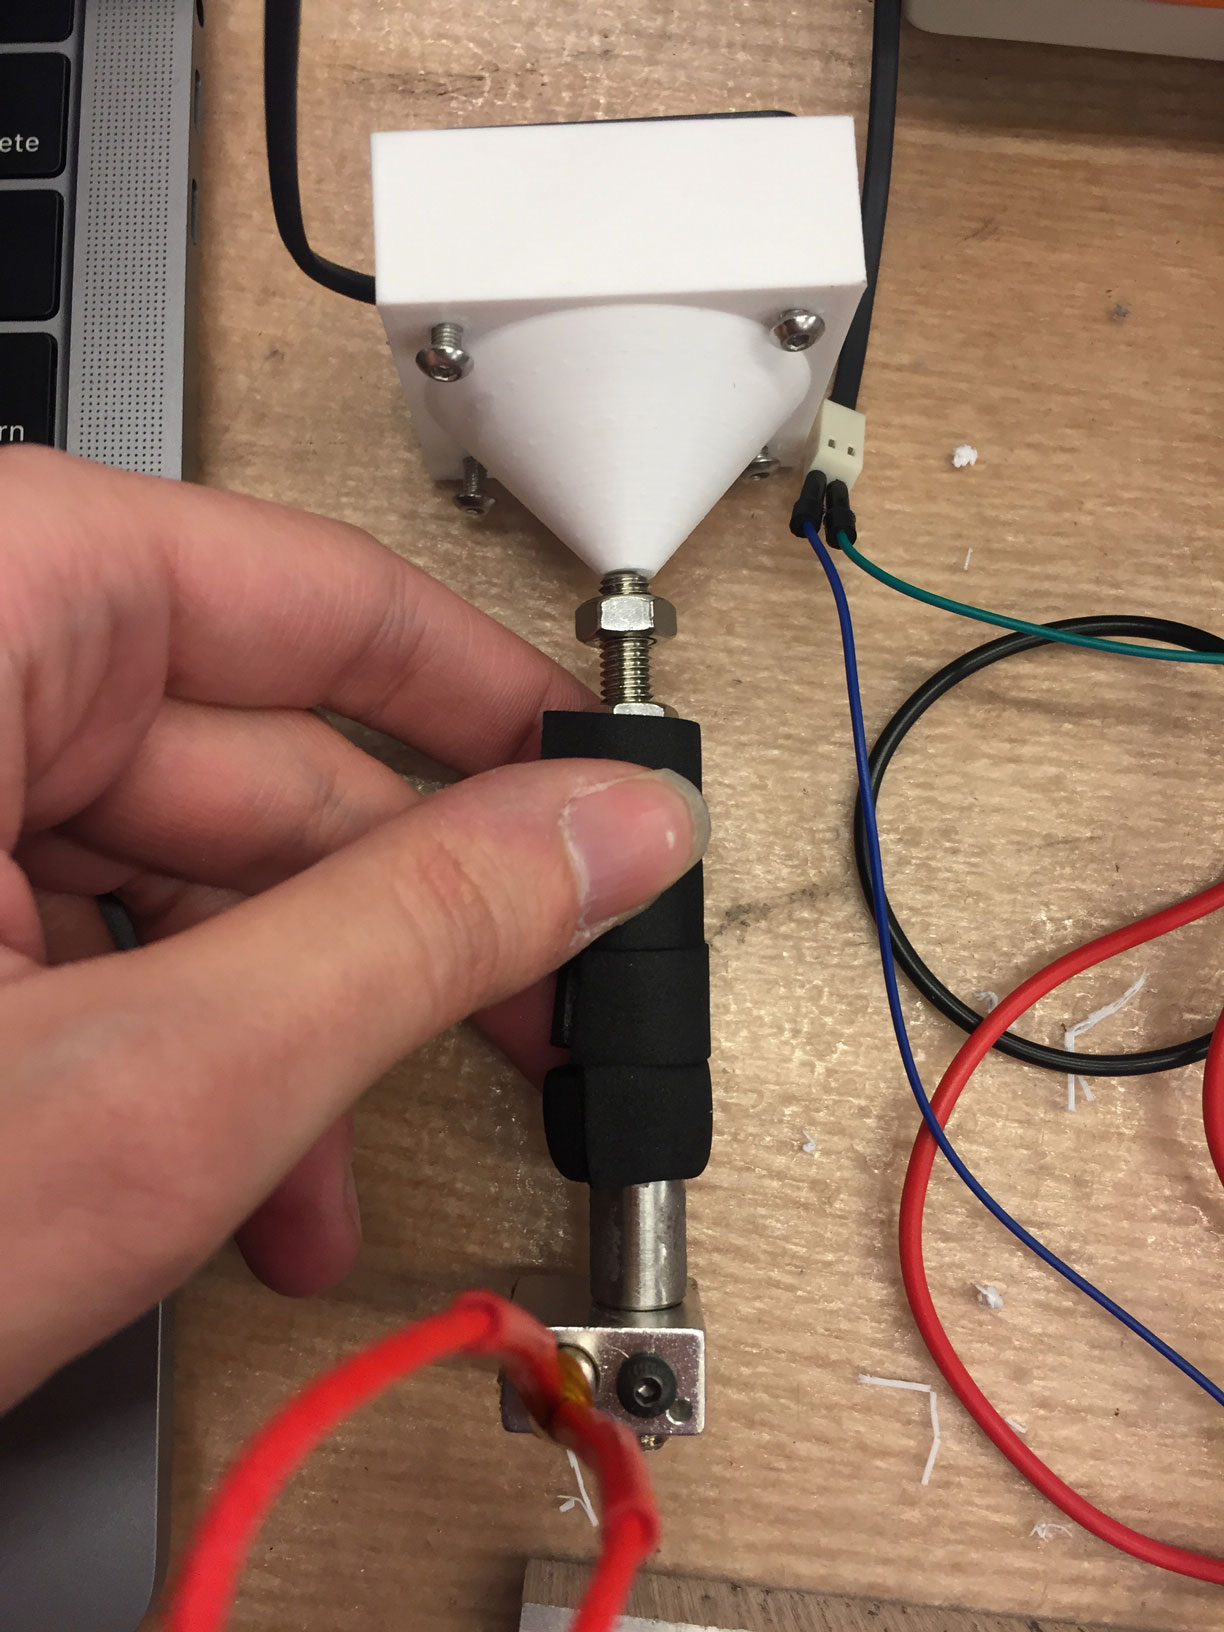
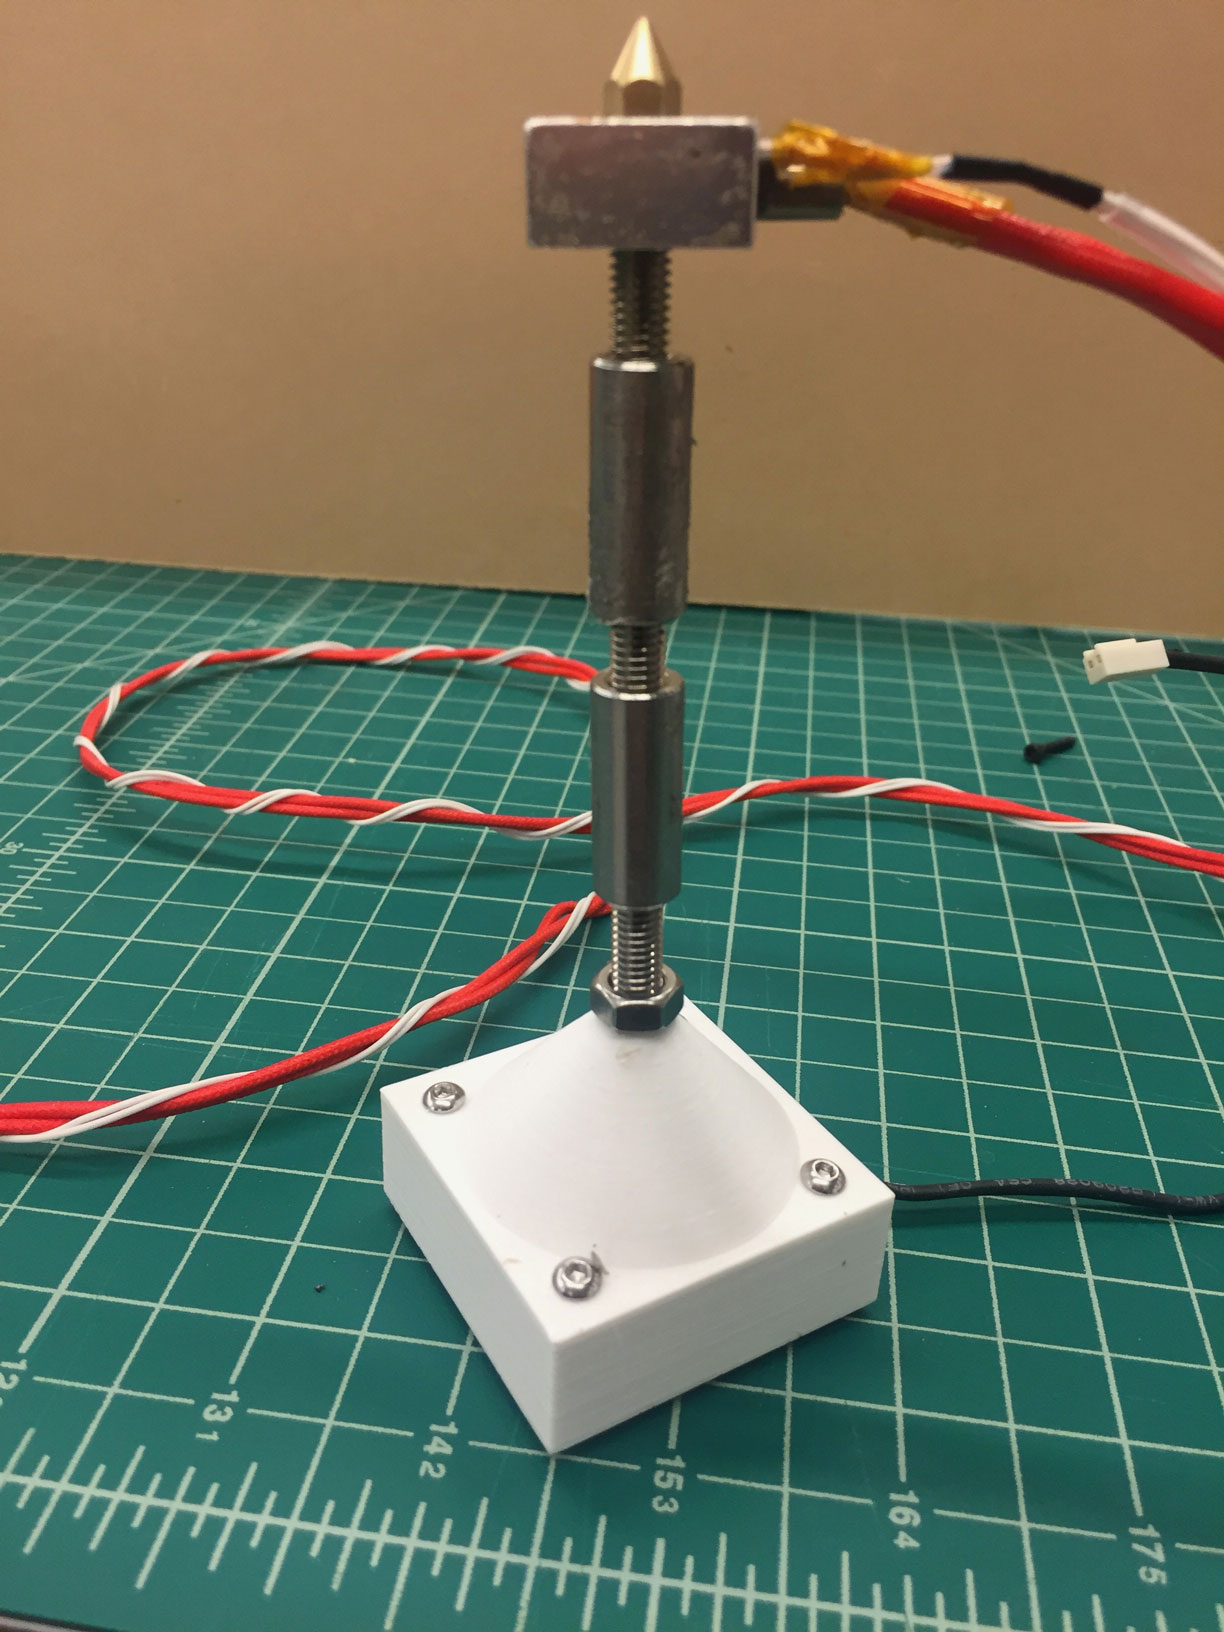
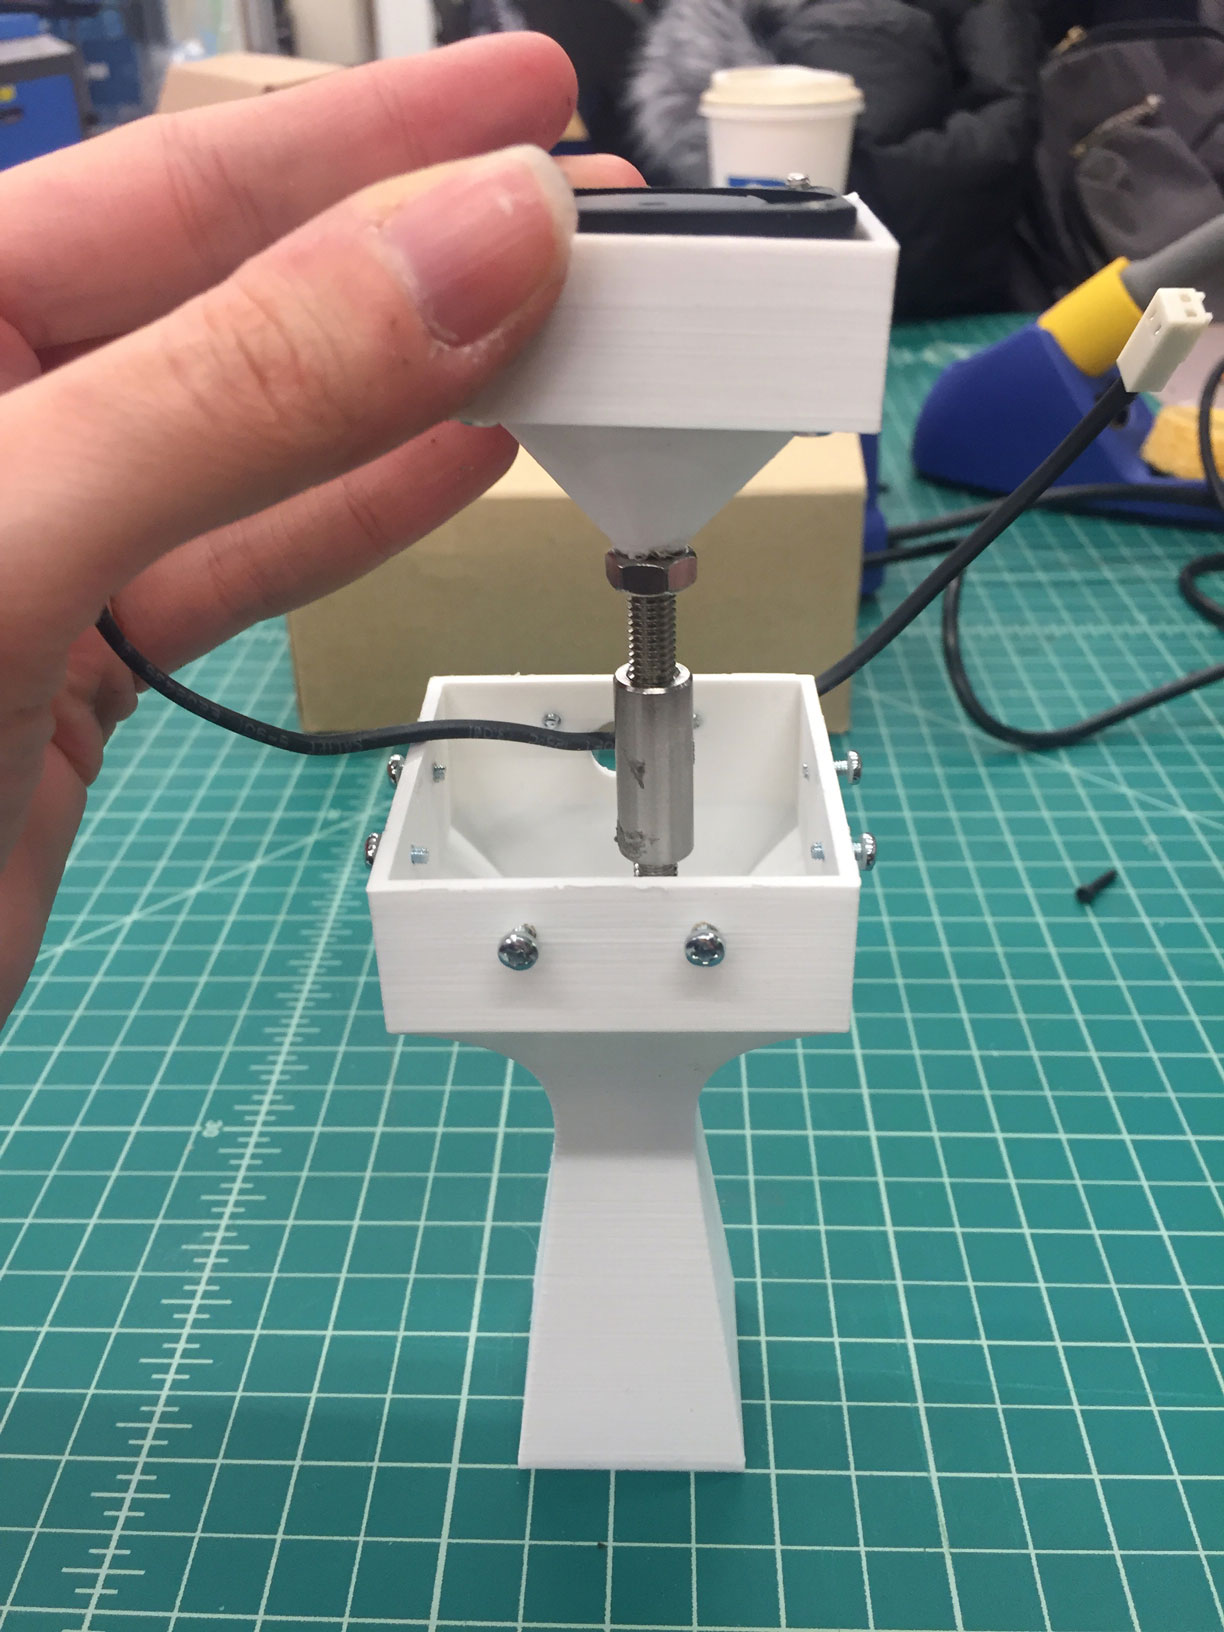
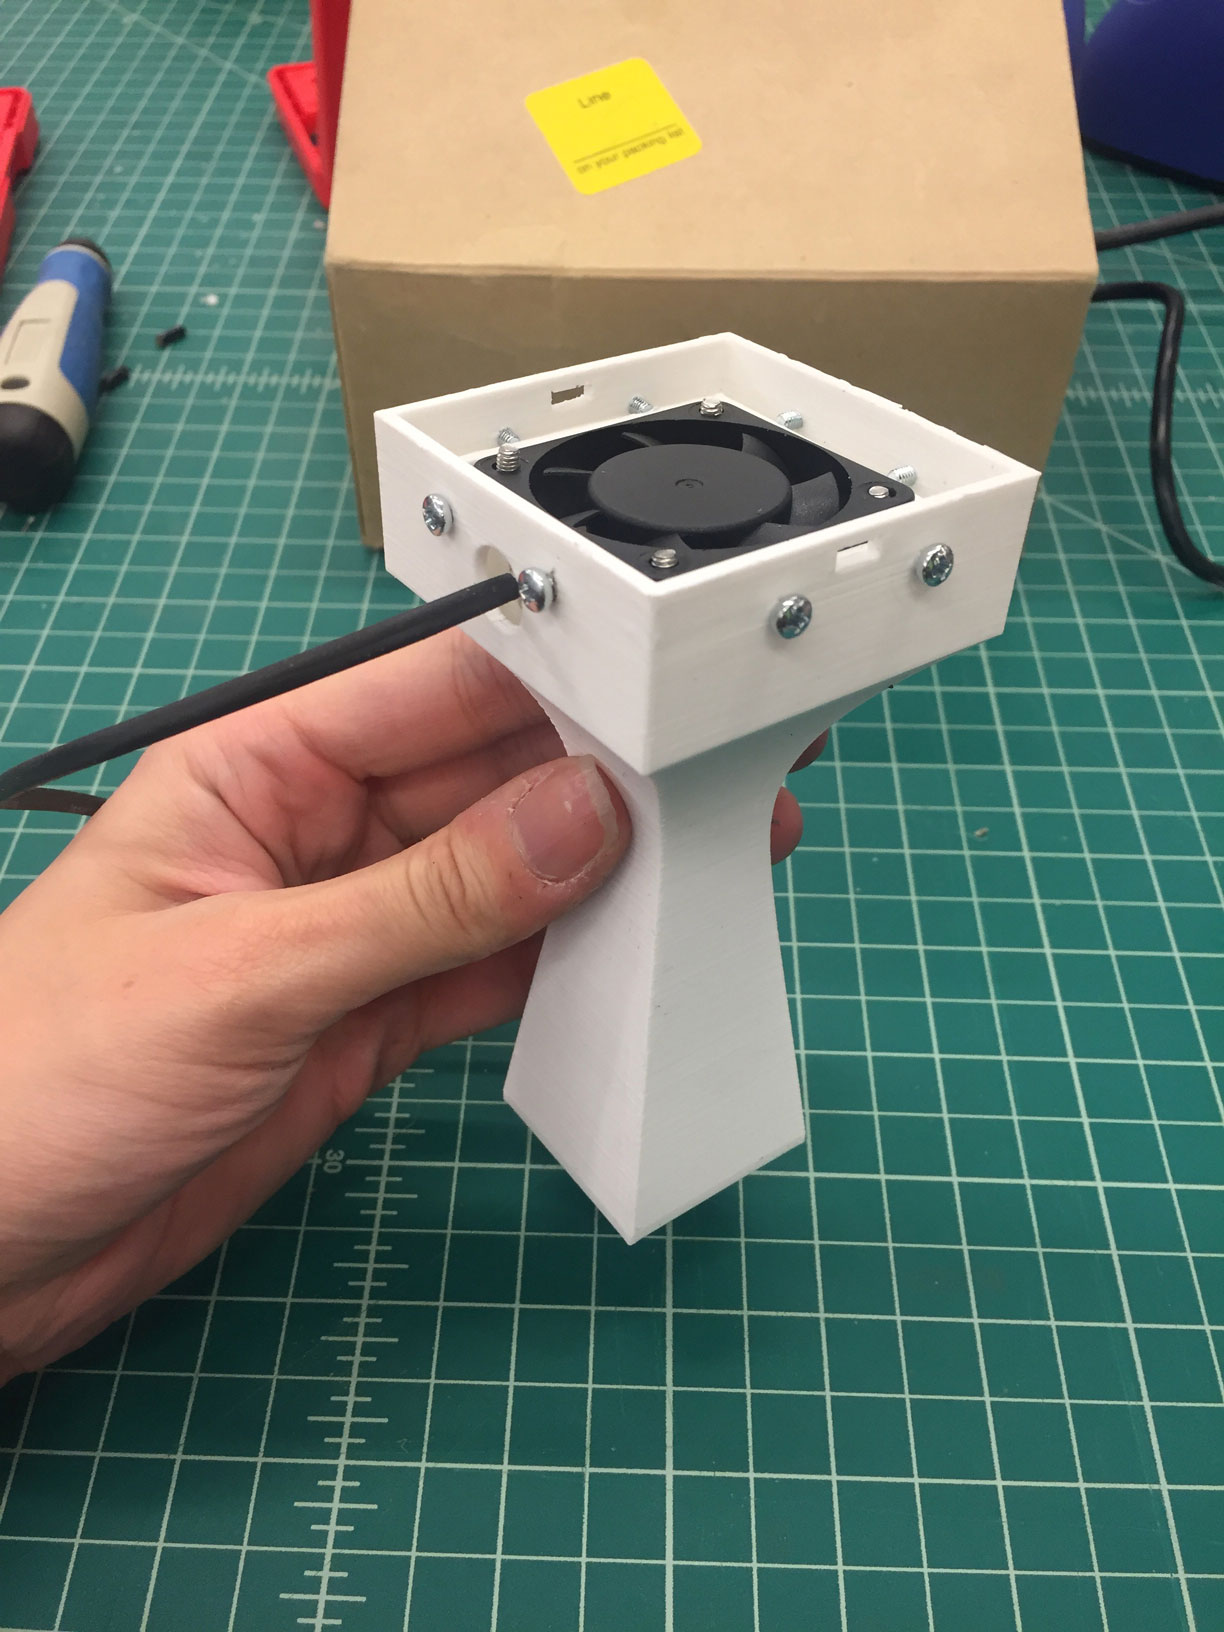
The plan was to make a heating pen that would produce hot air to draw. For the design I made different iterations as I was trying to figure out how the air would best be transfered and how it will be heated. I was not sure what kind of pipe to use that would be sufficient and would have tolerance with heat. I decided to use aluminum parts. For the heating part I looked on the 3d printer as an example. After I figured out how to connect the parts , I designed two structures, one to transfer the air and the exterior case that would be convenient for holding with your hand.
- Some References -
How to build a heaterSome basic knowledge
How to build a heaterA previous project that was very helpful
Stefano Paradiso- Parts -
- Inital design -

- Inital design of fan case -
- Inital design of the pen's hot end -
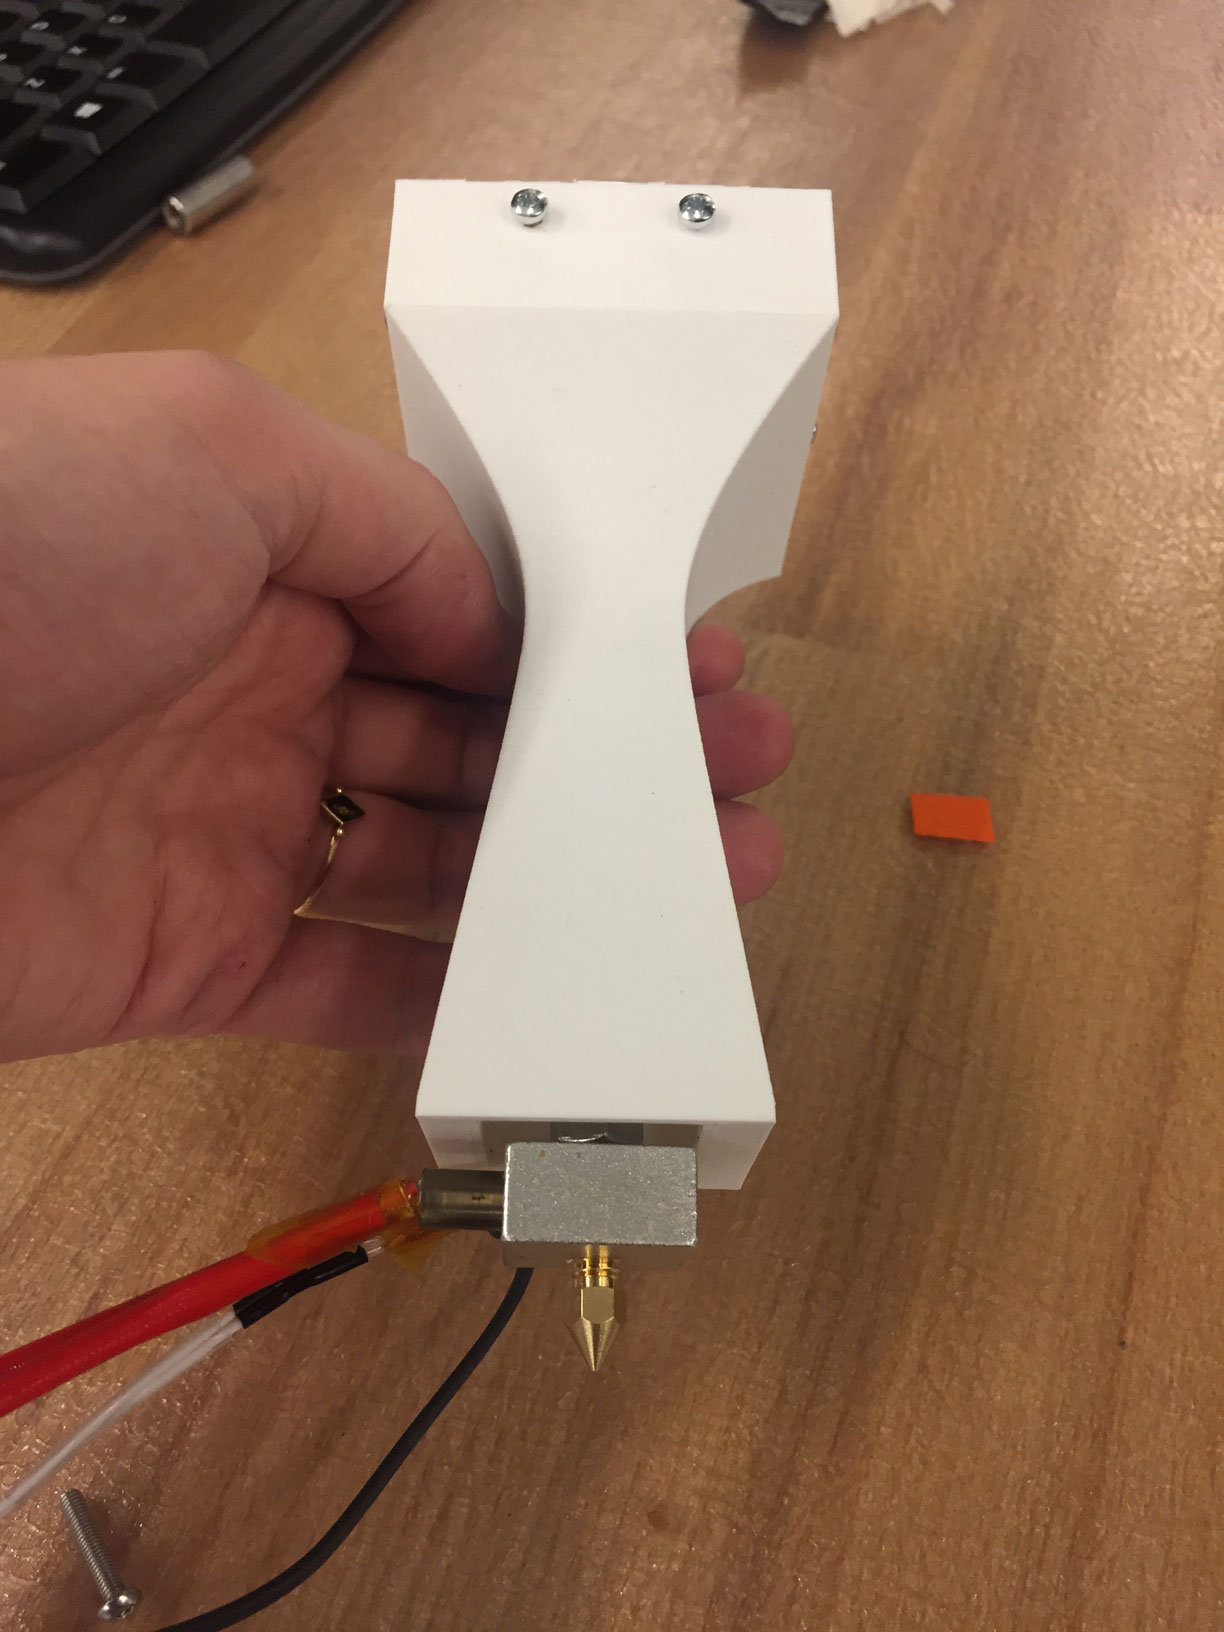
- Because the fan was not producing enough air, and I didn't have time to re-order parts I had to modify my design to use an nozzle for drawing! -
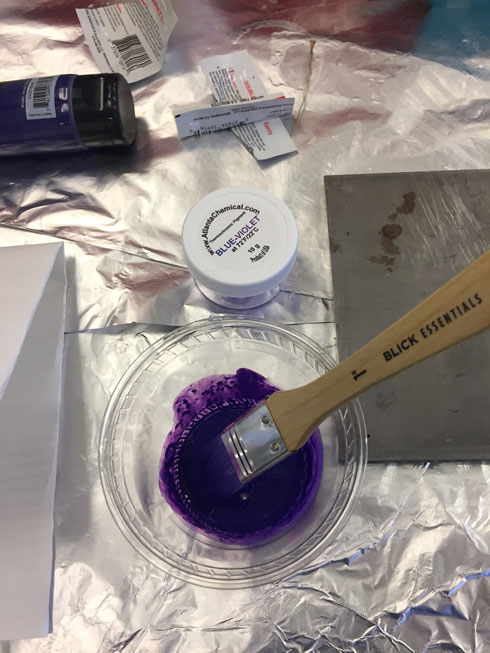
- Making samples to test the mixure and temperature of the thermochromic pigment -
- First test -
- 3d printing the final case -
- Parts and cost -
Electronics
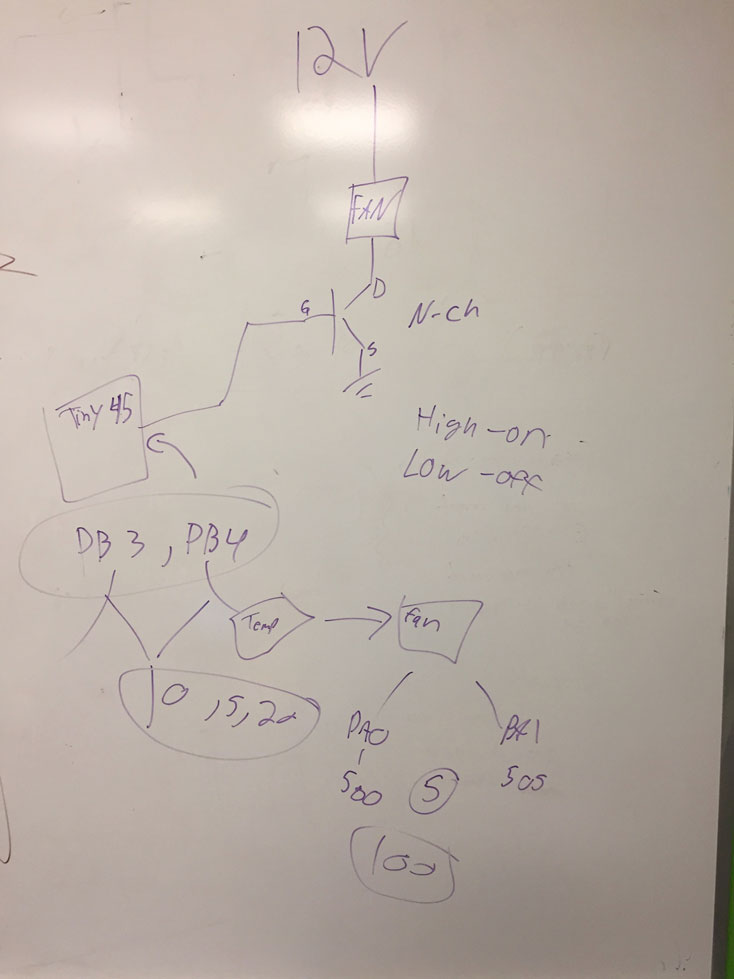
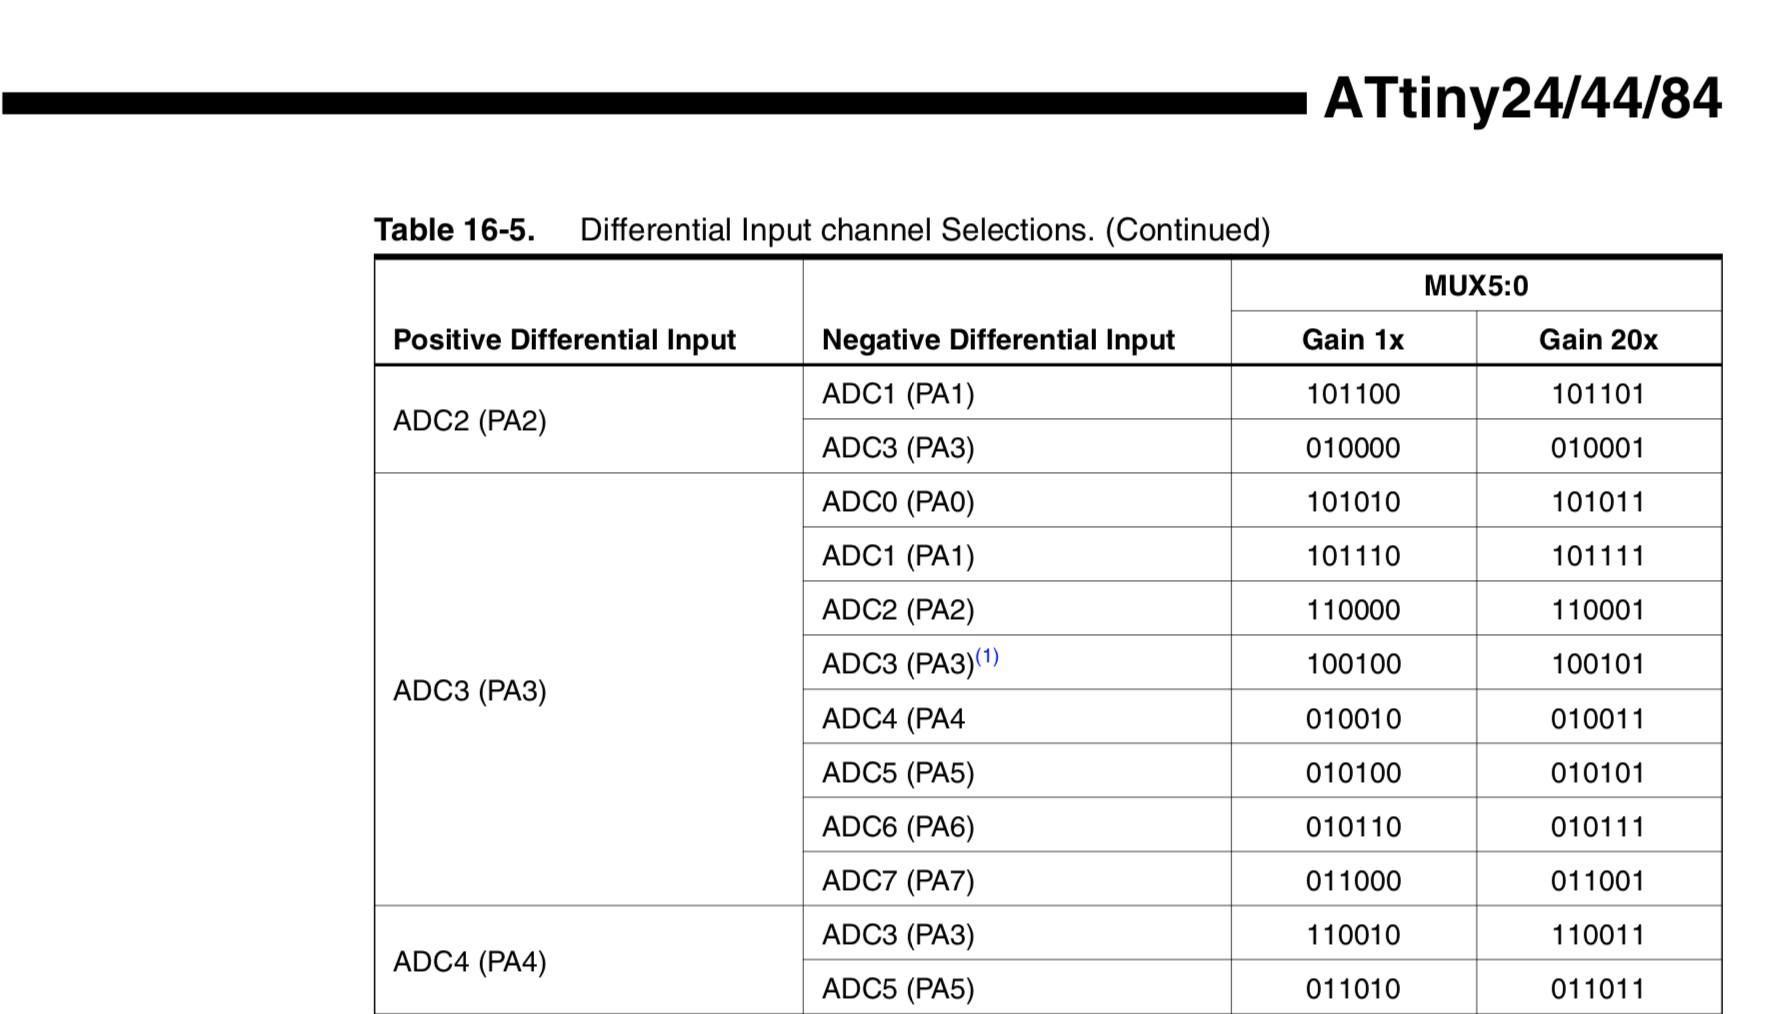
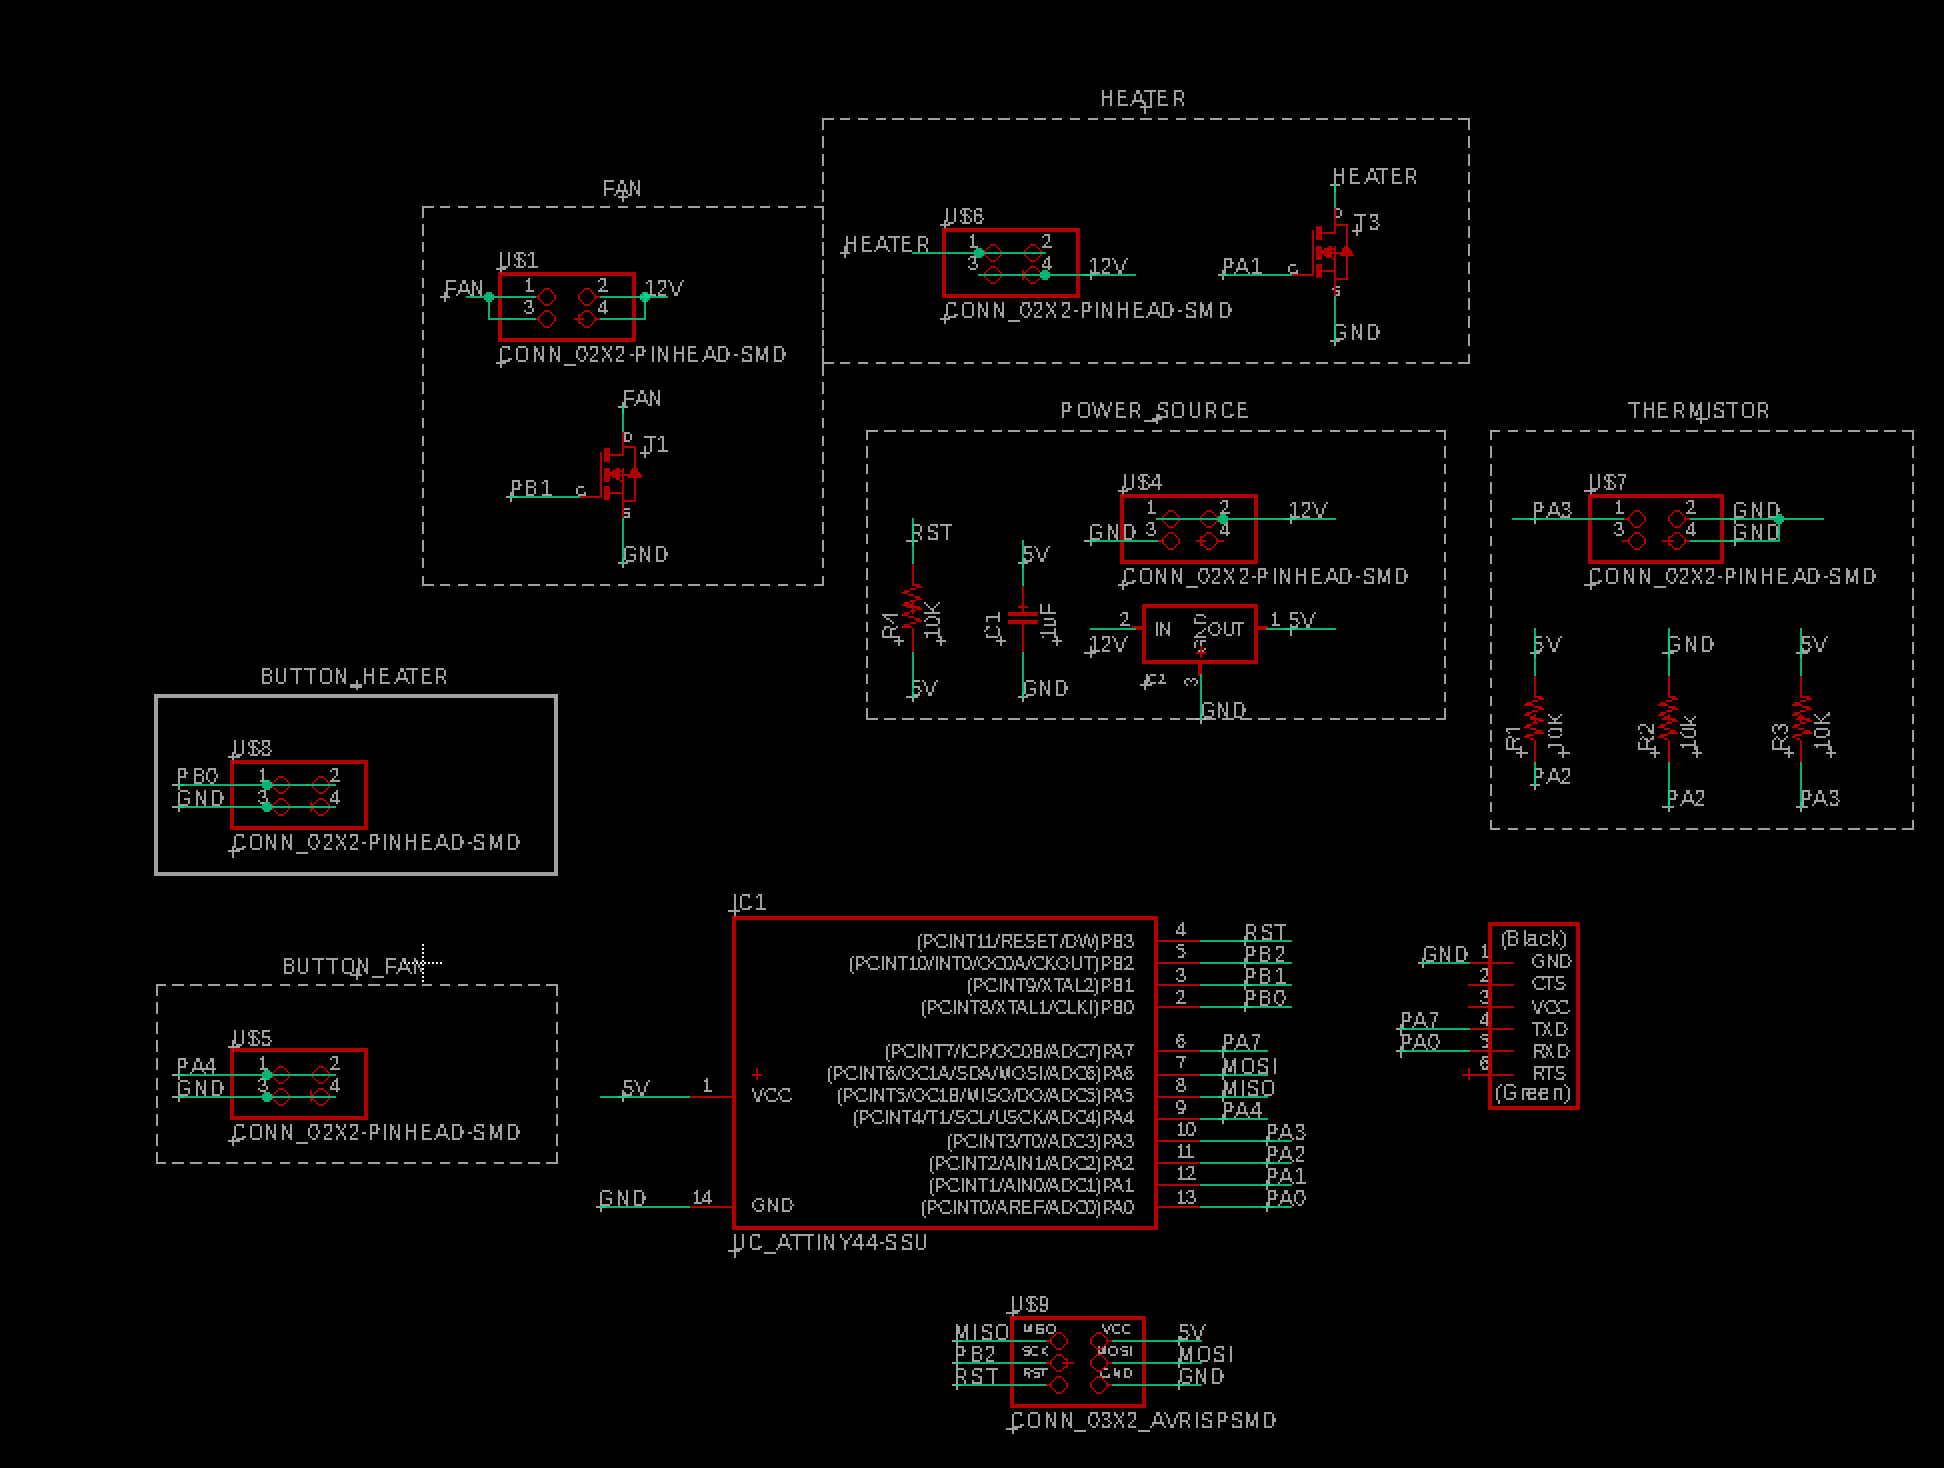
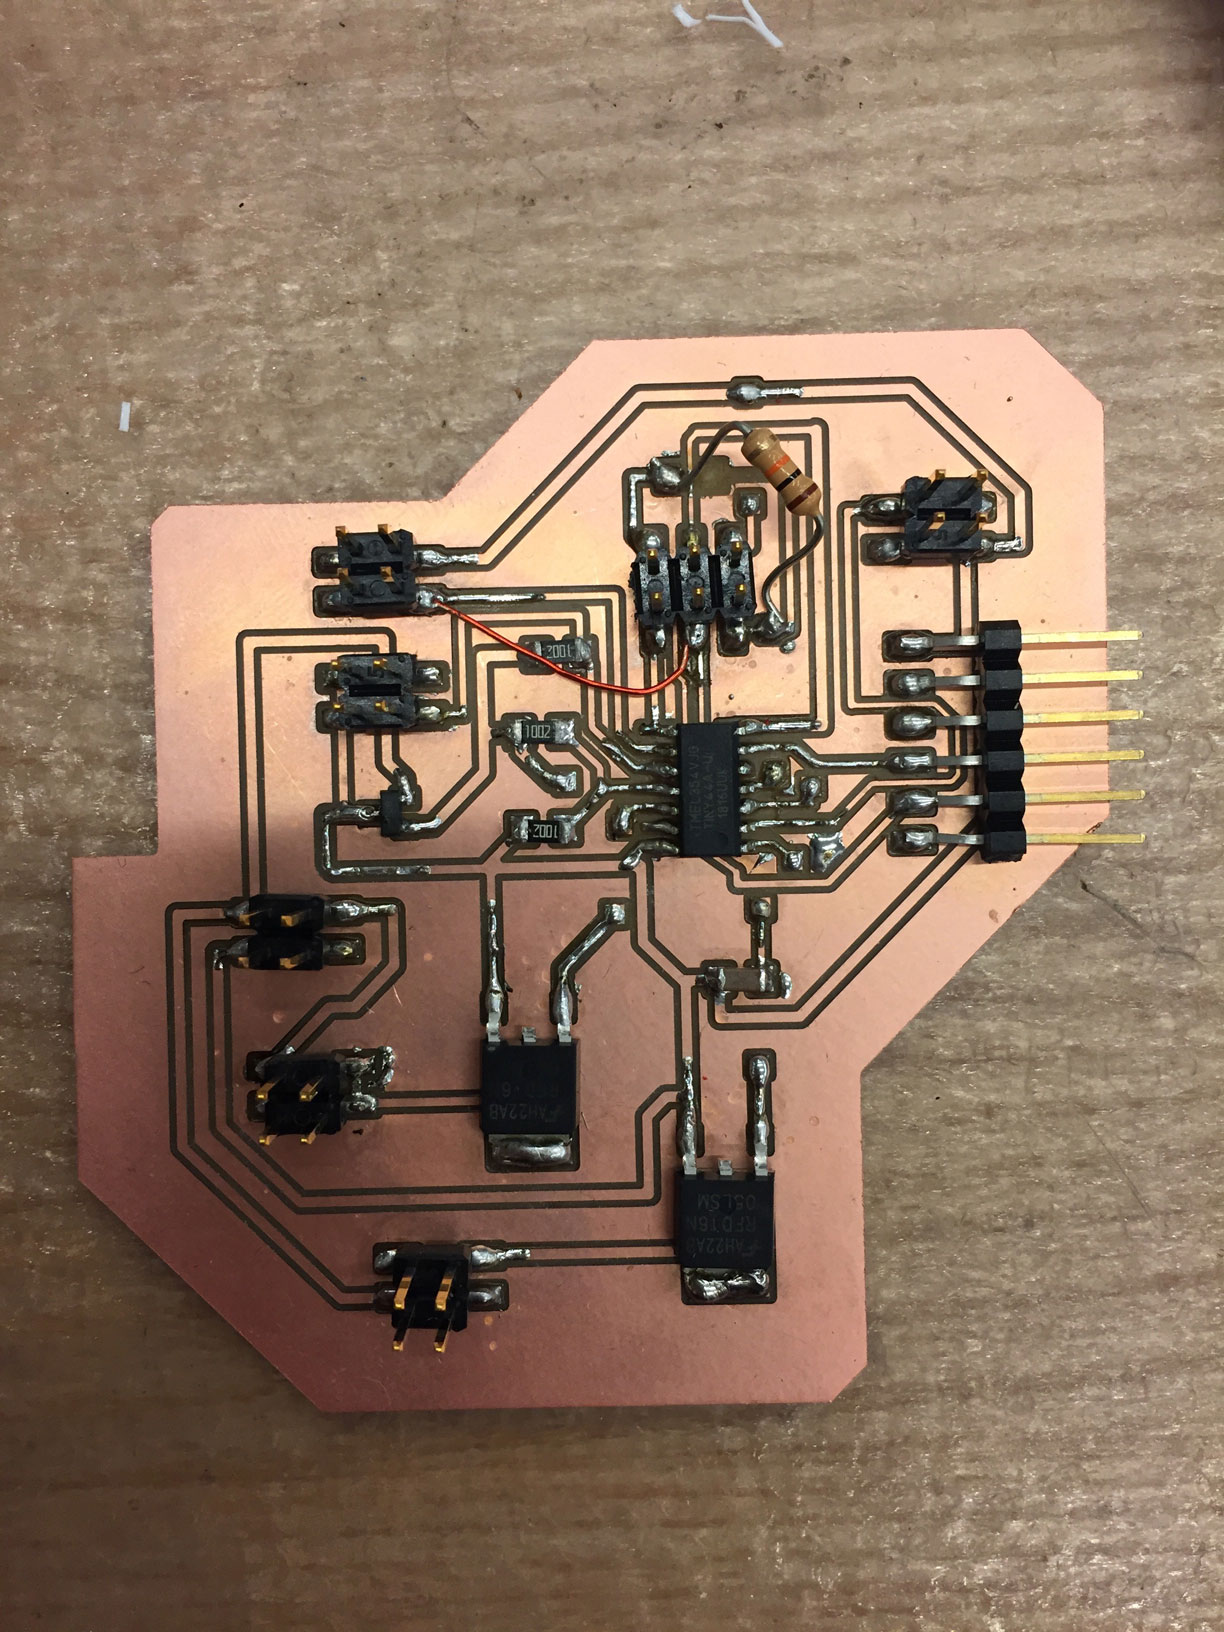
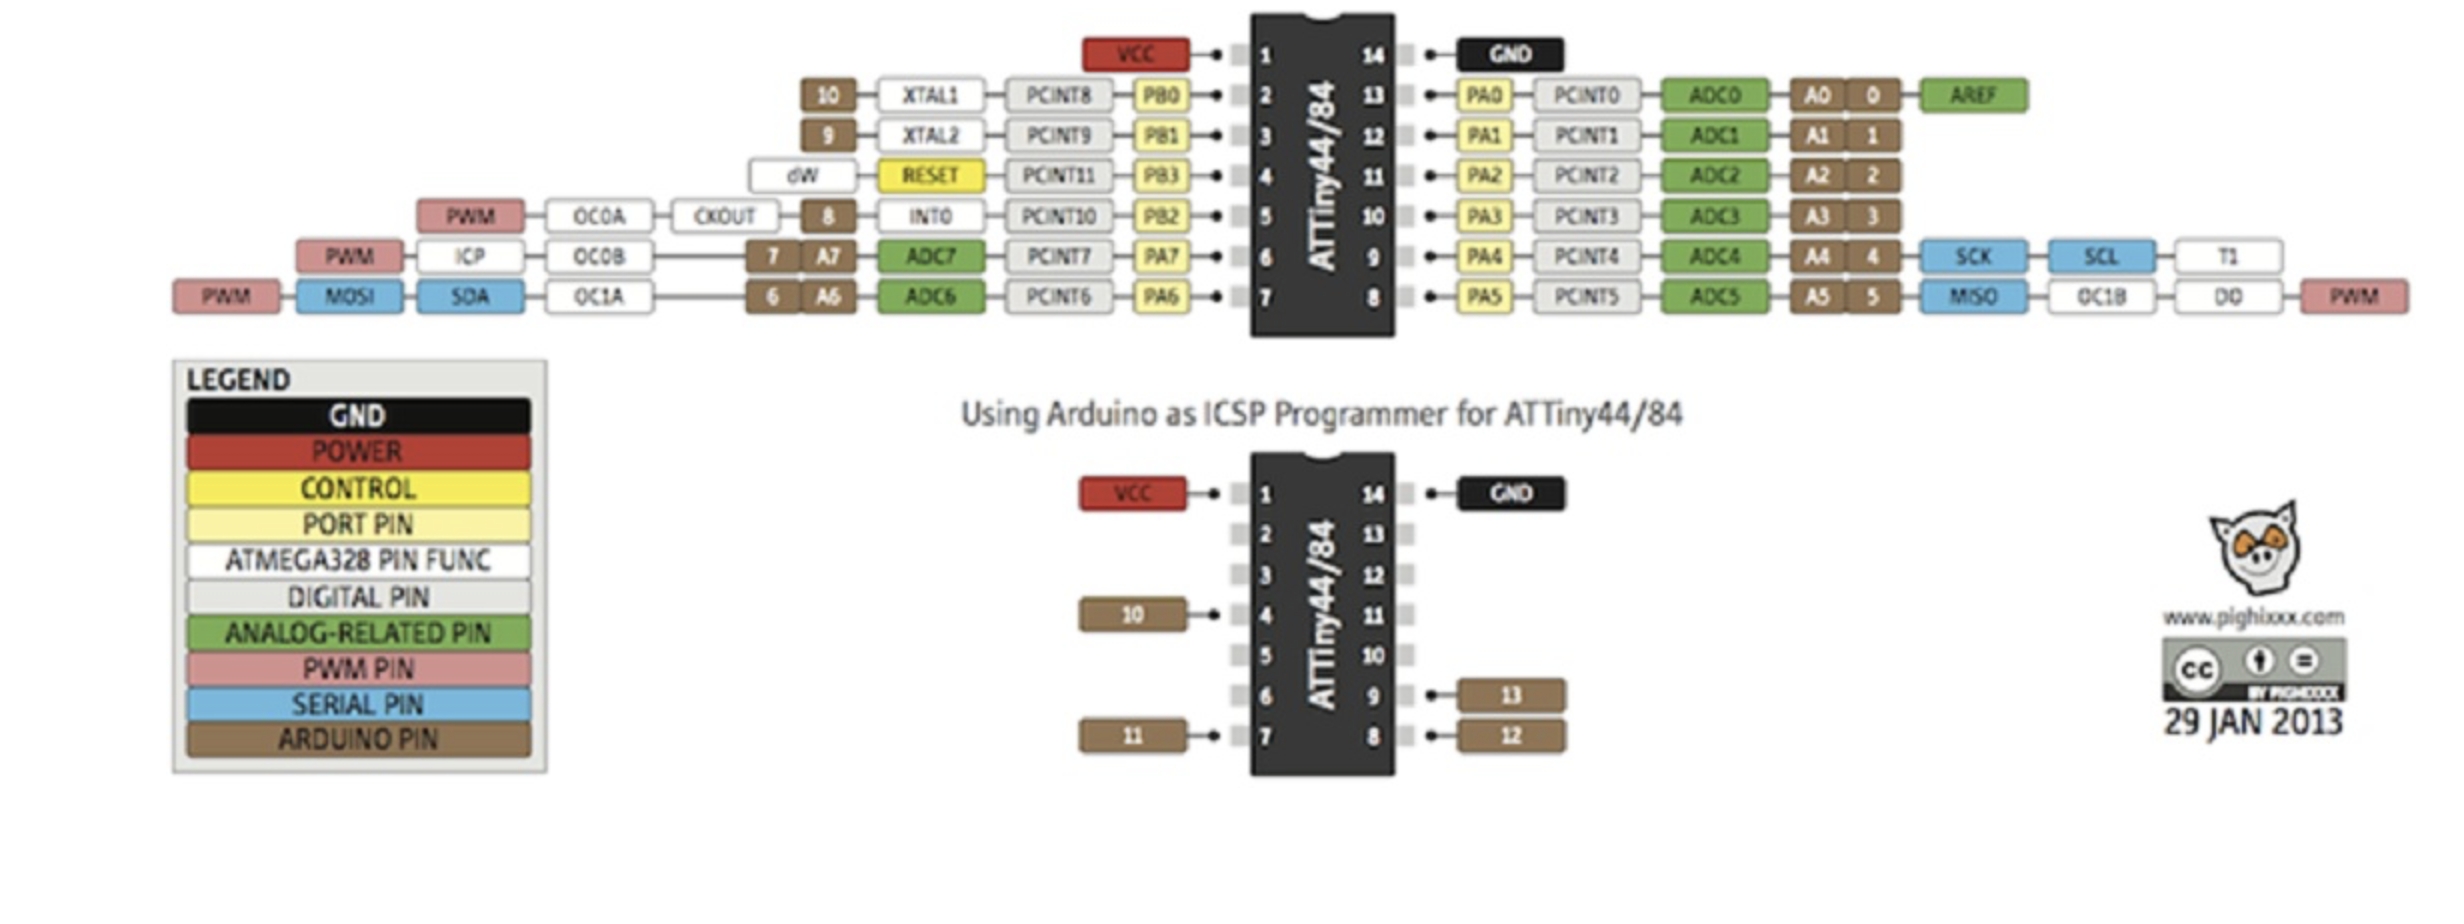
For my final project I need to control a heater, a fan to produce air and a thermistor to read the temperature so that I will be able to make adjustments on the temperature needed for the thermochromic pigment. I followed Neil's examples of a thermistor from the input week and the mosfet example from the output week. I needed 12V for the fan and the cartridge heater that is usually used in the 3d printers. I used an Attiny 44 as microcontroller because it has more pins. In the thermistor example Neil is using Attiny 45 with two specific pins for measuring the temperature. I had to go over the data sheet to choose corresponding pins for connecting my thermistor.
- First diagram of my board to control a fan, a heater, and the thermistor -
- Datasheet to decide which pins I can pair for the thermistor -
- The schematic -
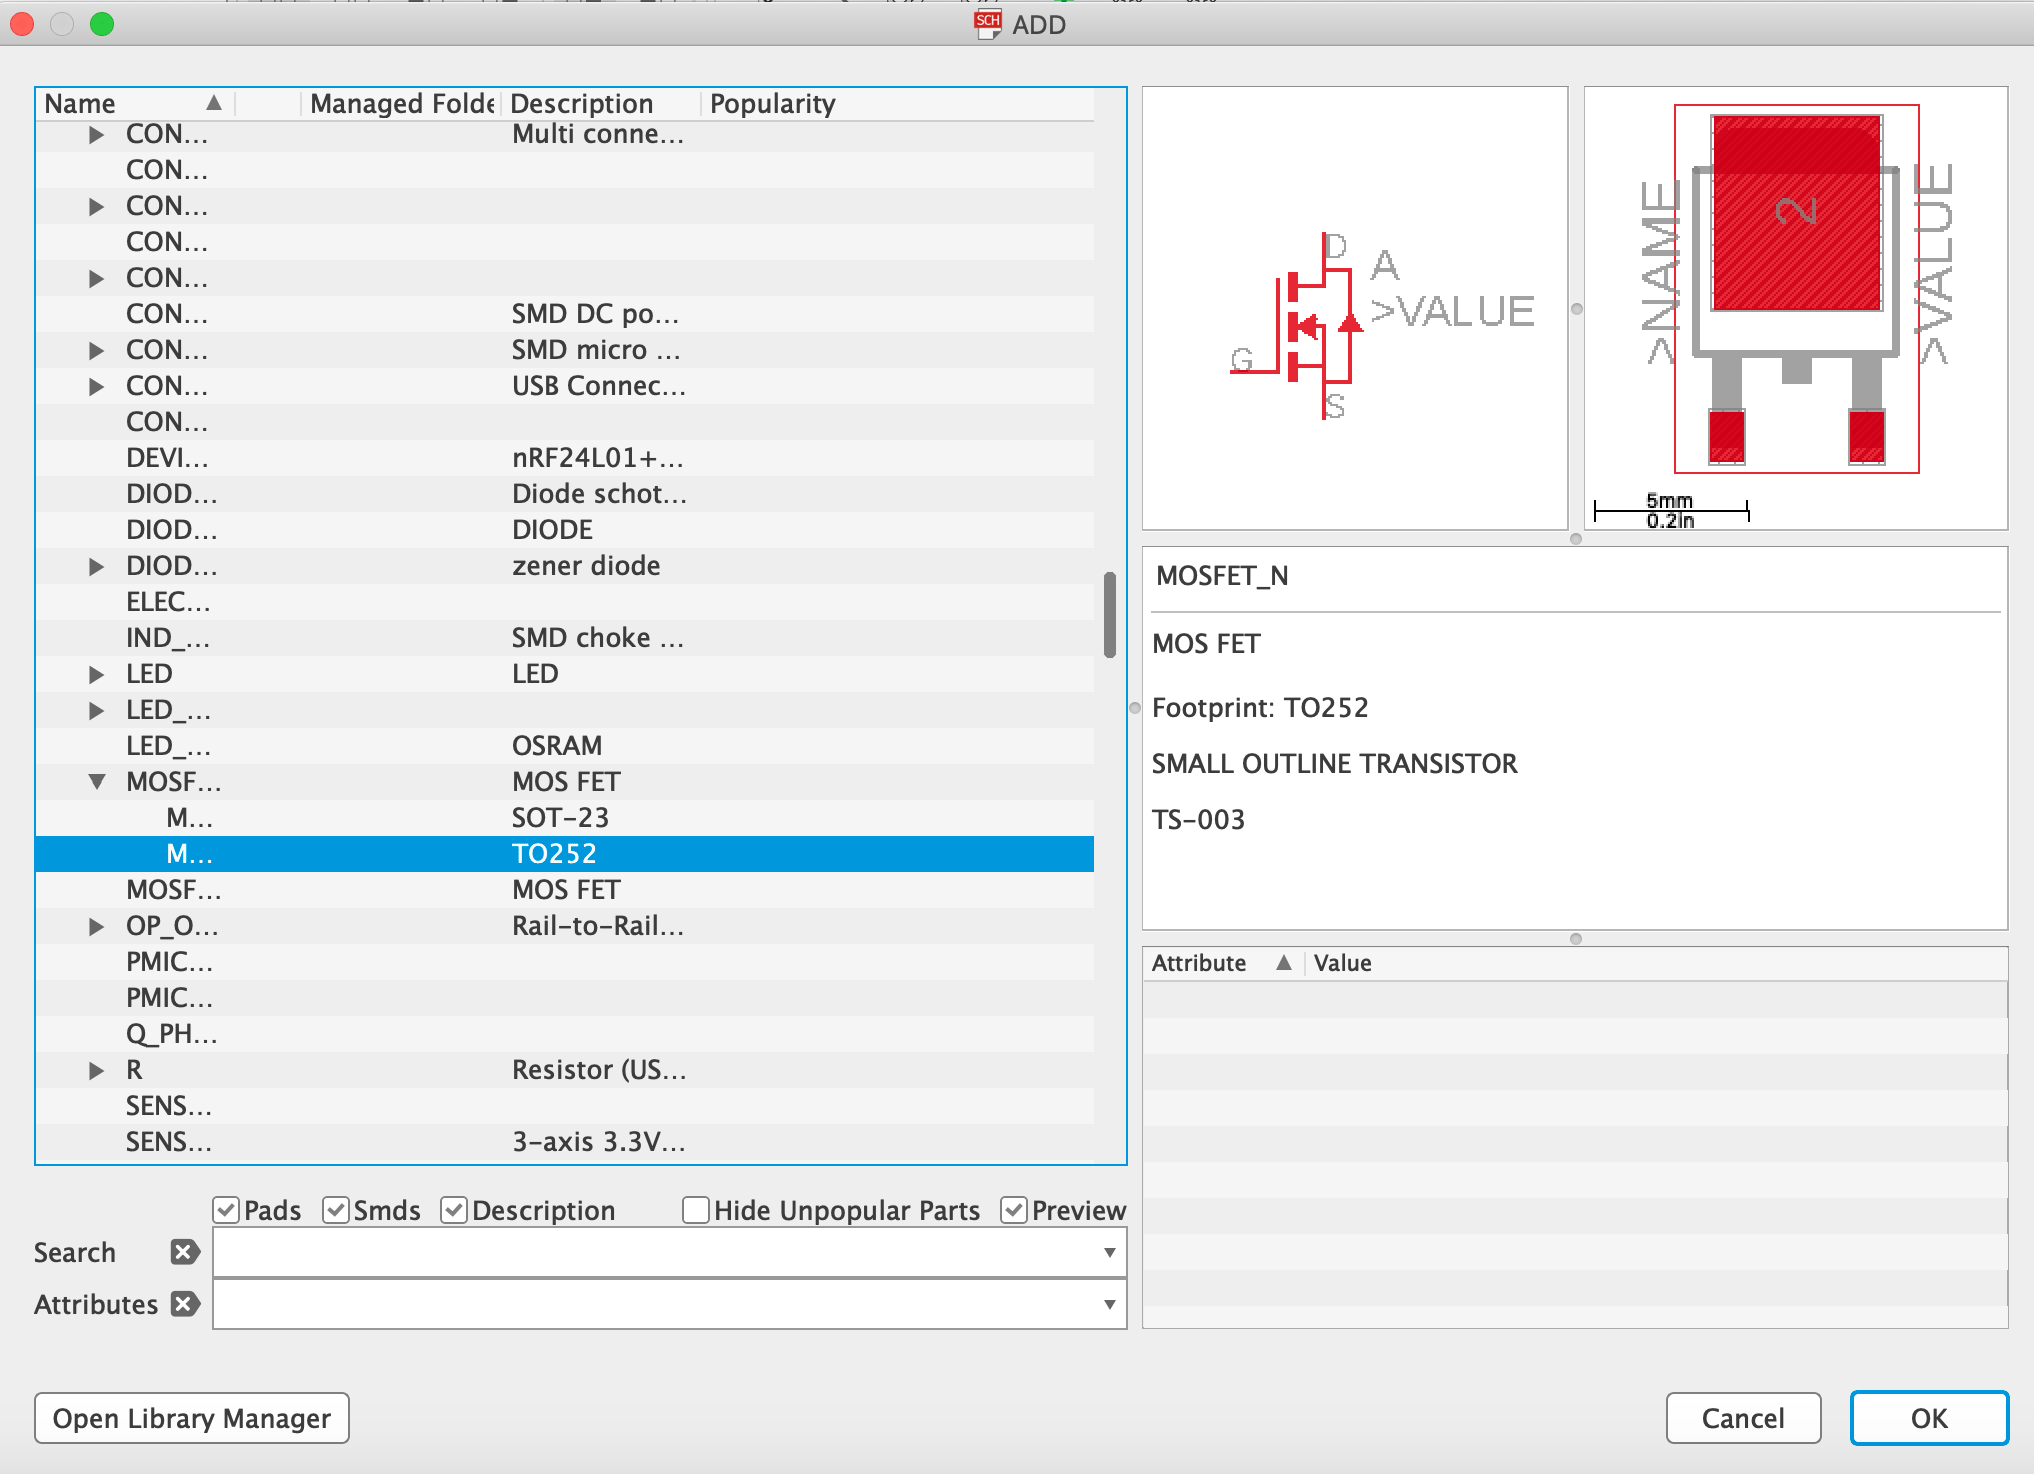
- I changed to a larger N-channel mosfet because my first board was overheated -
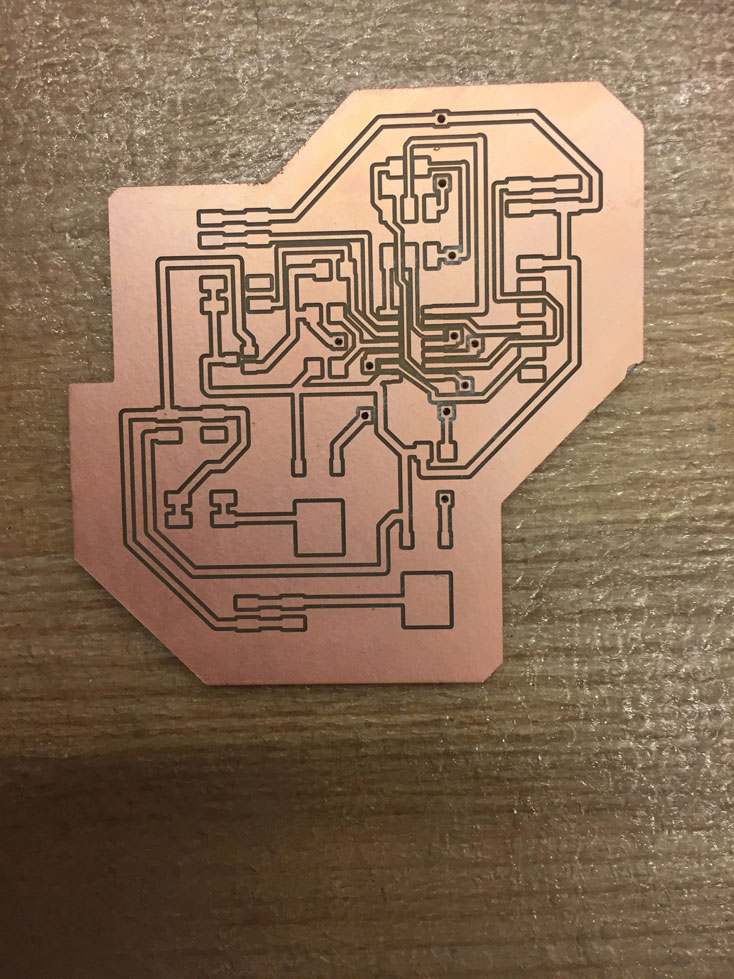
- The board with different thicknesses because of the 12V that I need for my fan and heater. In the first attempt I made my board was overheated, also one of the traces was ripped off. -
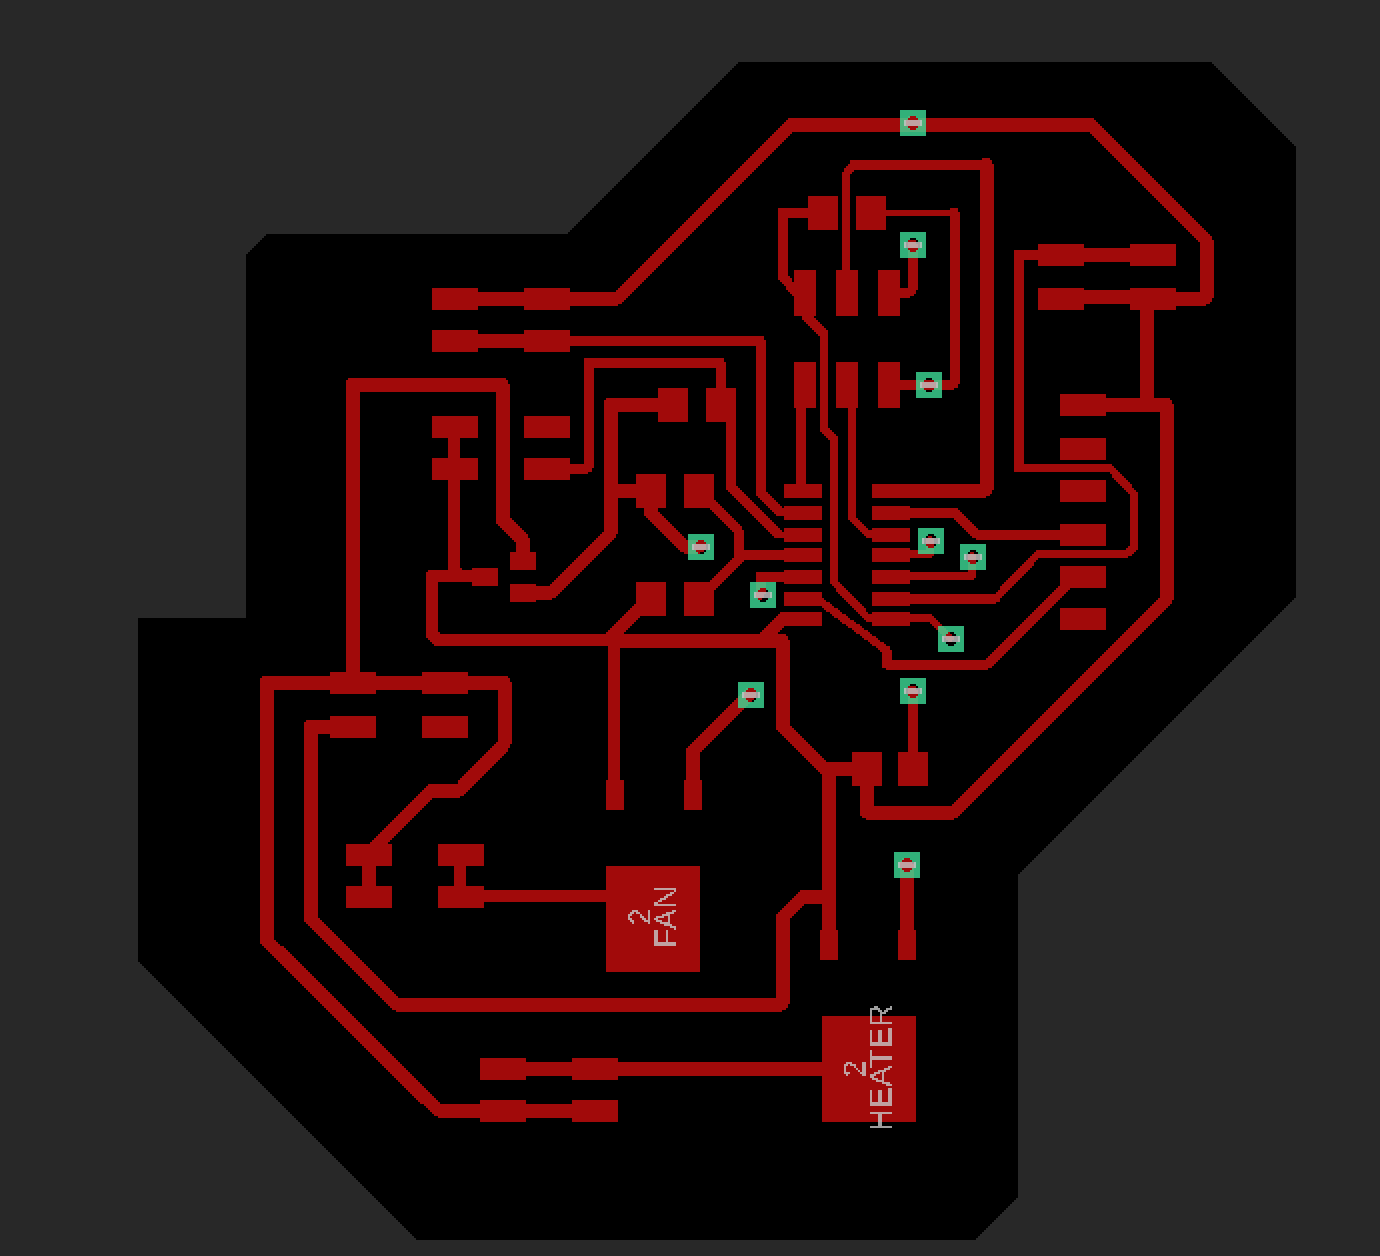
- I made a two-layer board! -
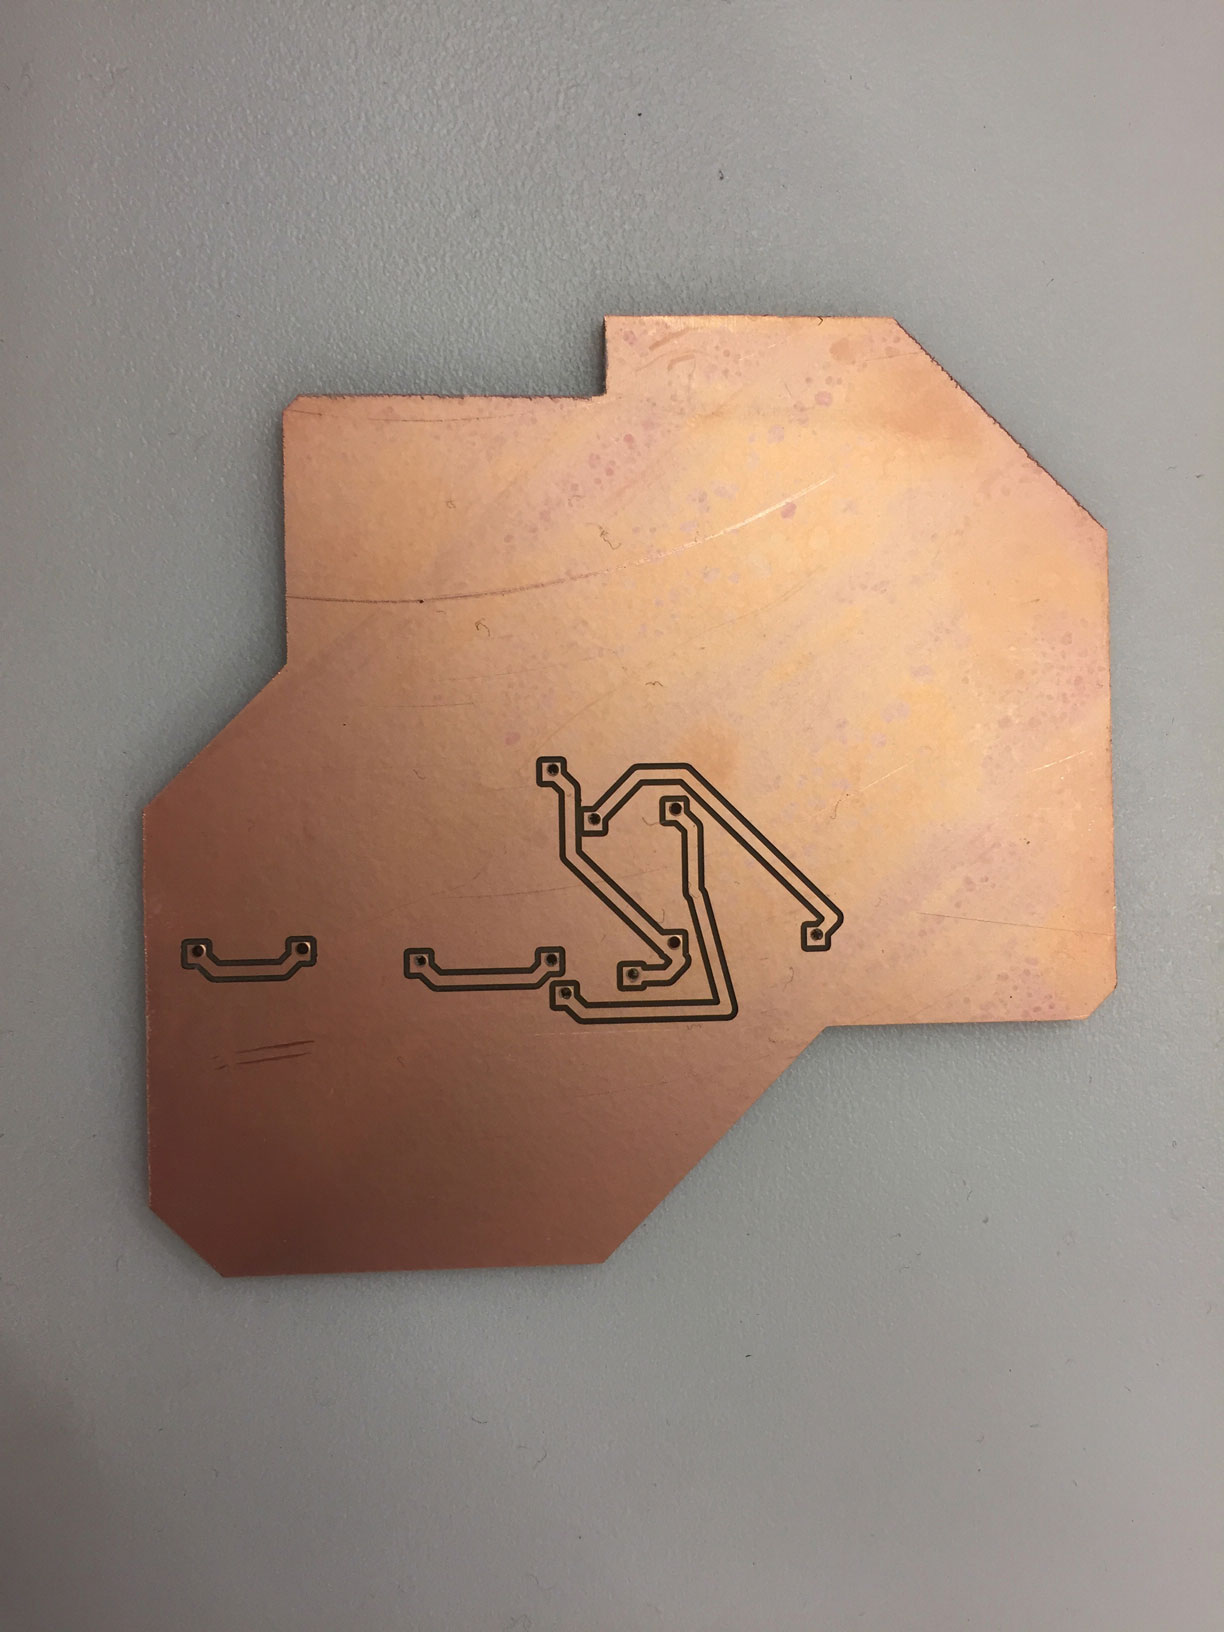
- Backside -
- I learned how to add rivets to make sure that the two layers of the board are connected-
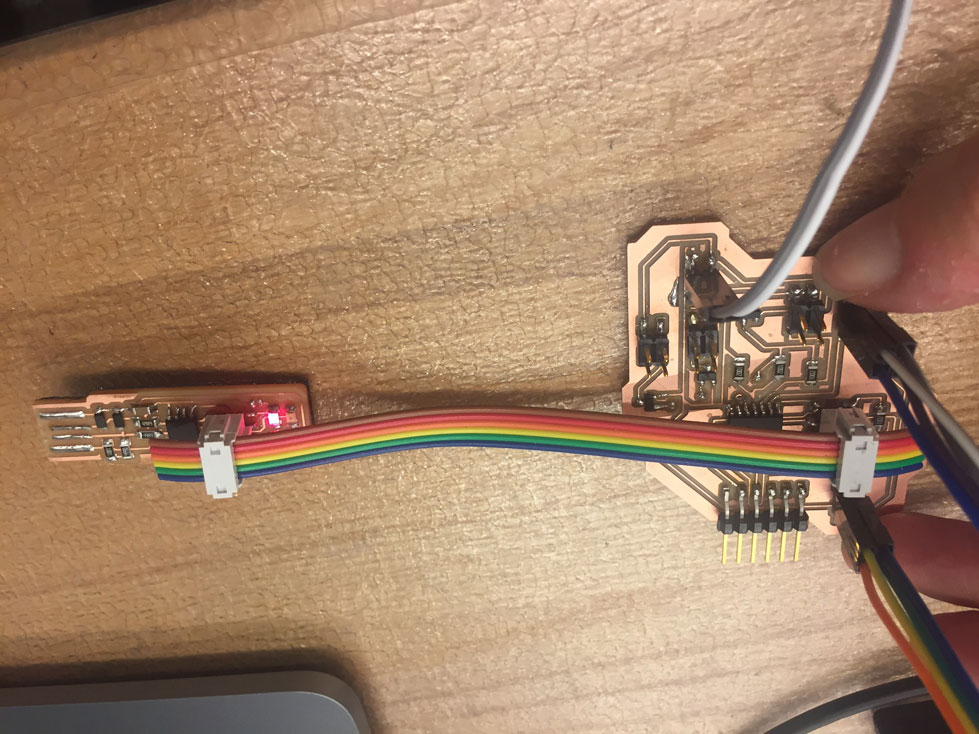
- Board -
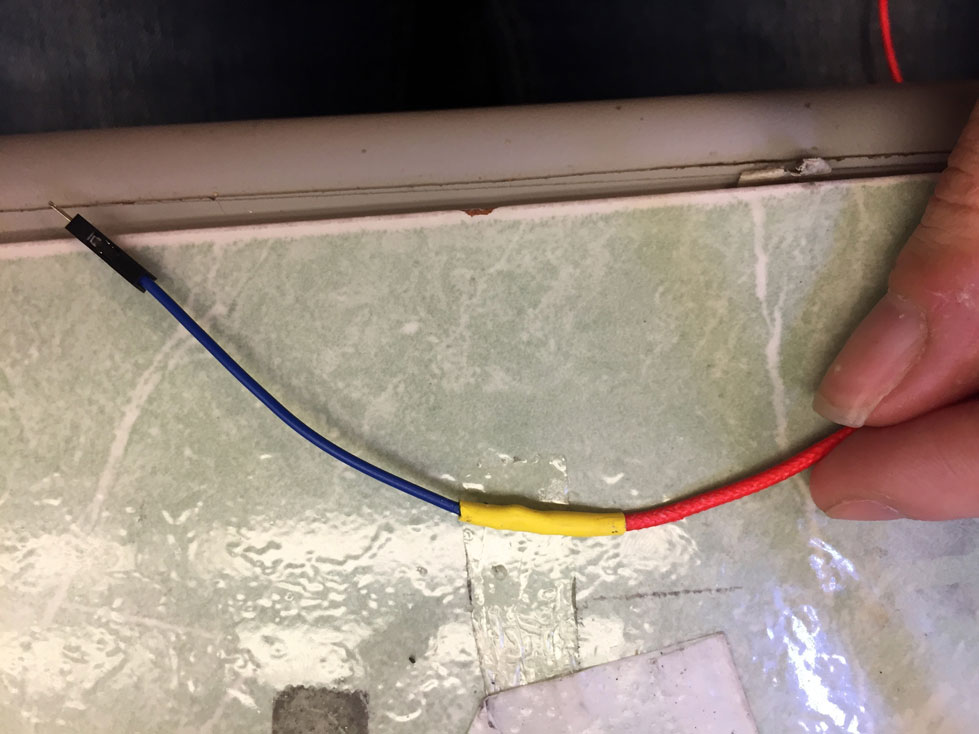
- Wiring process-
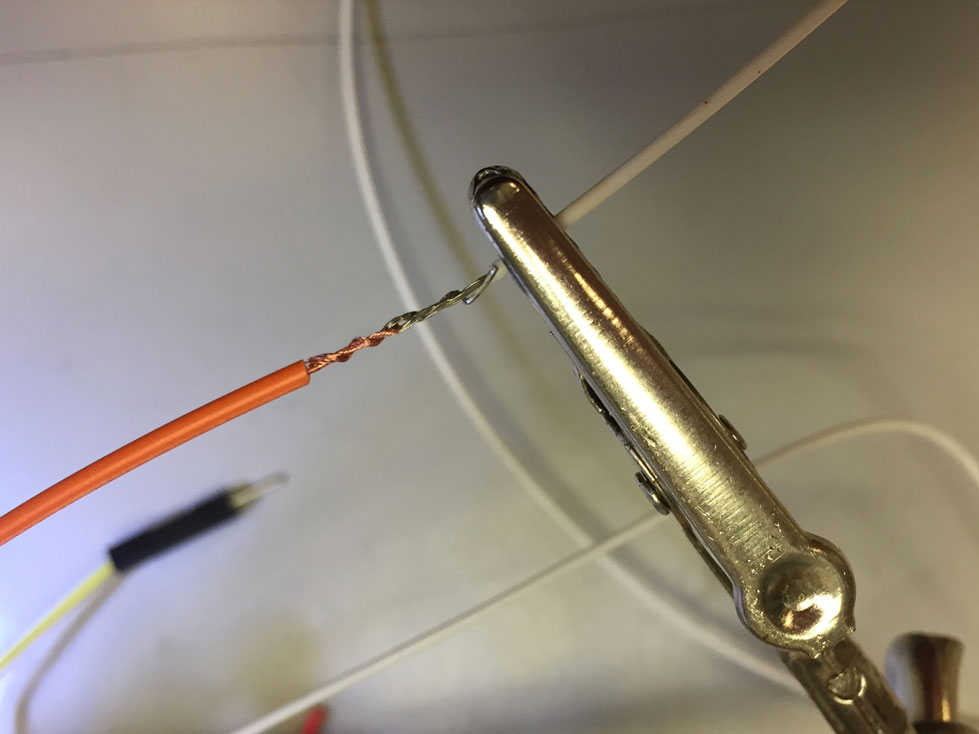
- Wiring process-
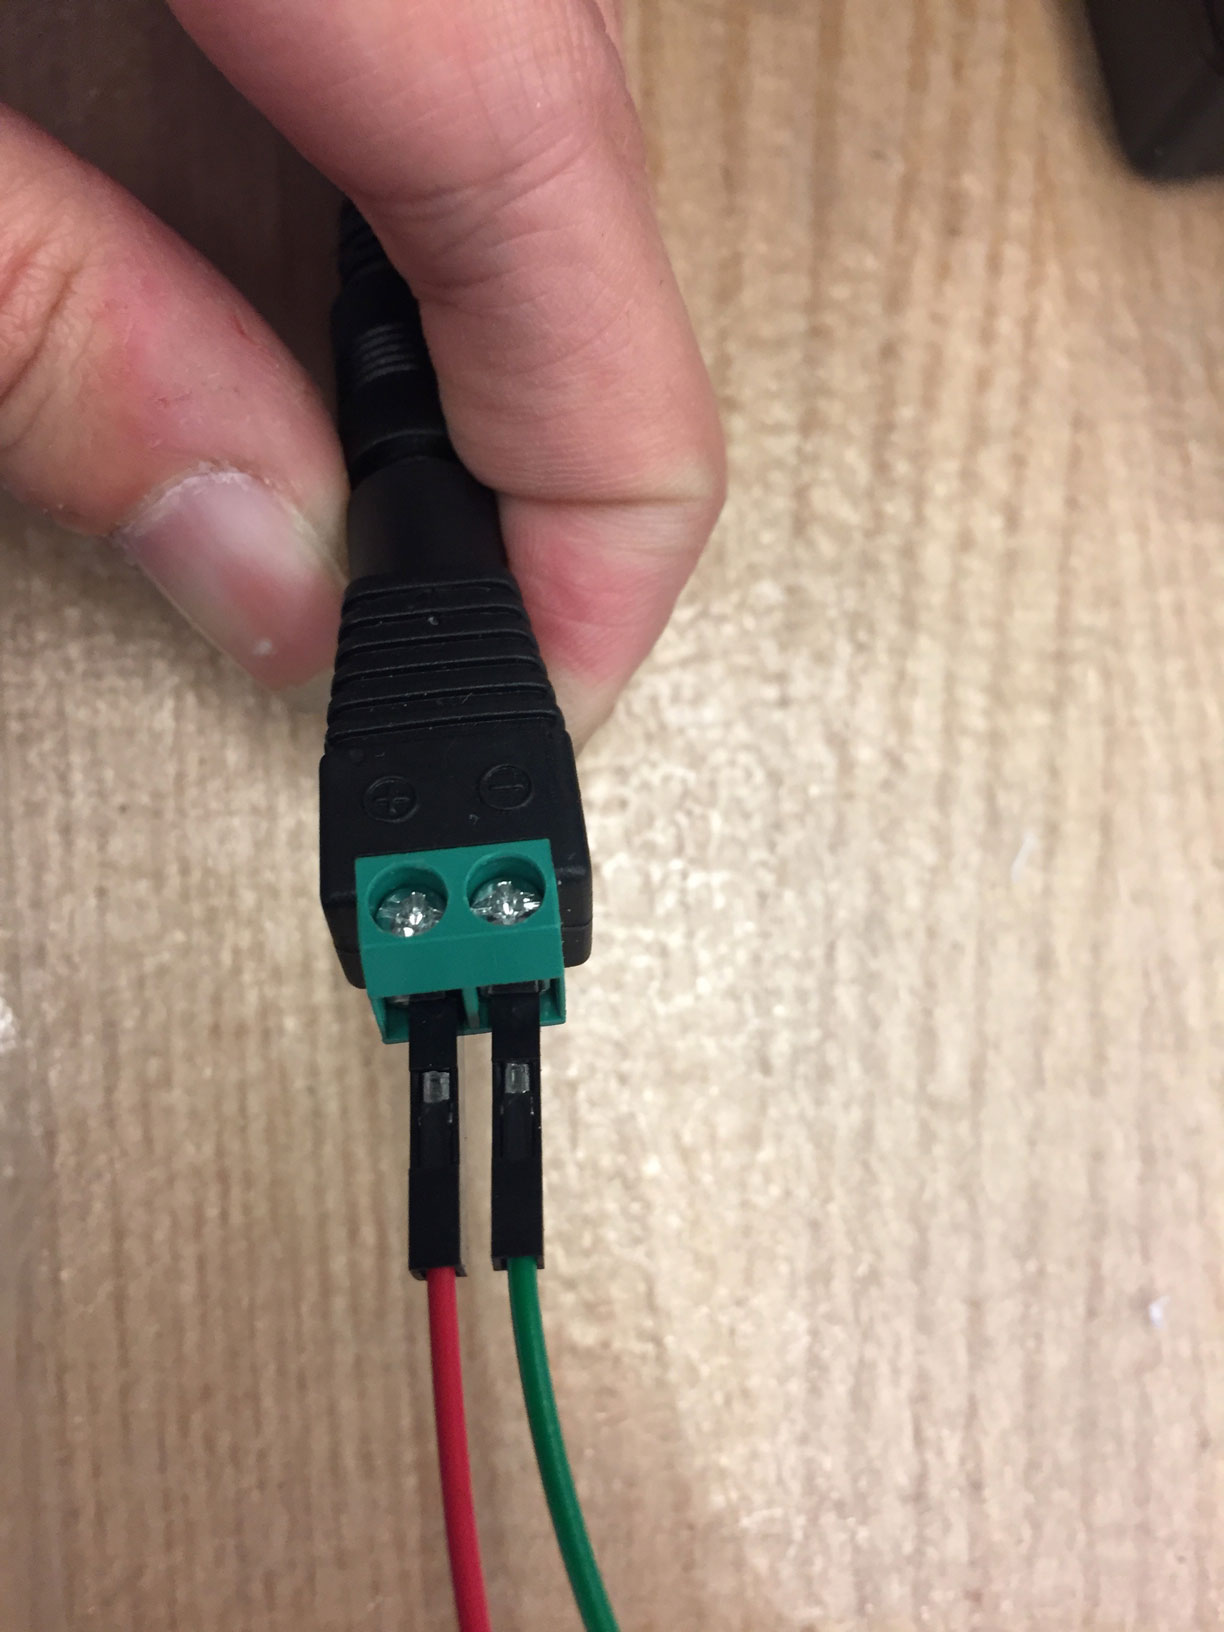
- Power source-
Programming
For programming I used Arduino IDE that I was already familiar with from the previous weeks. I have a button for turning the device on/off. I also needed to control the fan and to assign a certain range of temperature. The code : When I press the button the heater turns on and the fan stops. I created a loop that checks the temperature obtained from the thermistor and sets the temperature to a certain temperature range as the thermocrhomic pigment does not requires high temperatures.
- Programming using usbtiny -
- Arduino - Attiny 44 pins -
- First test / Turning heater on / off with the button -
- First test /Reading the temperature -
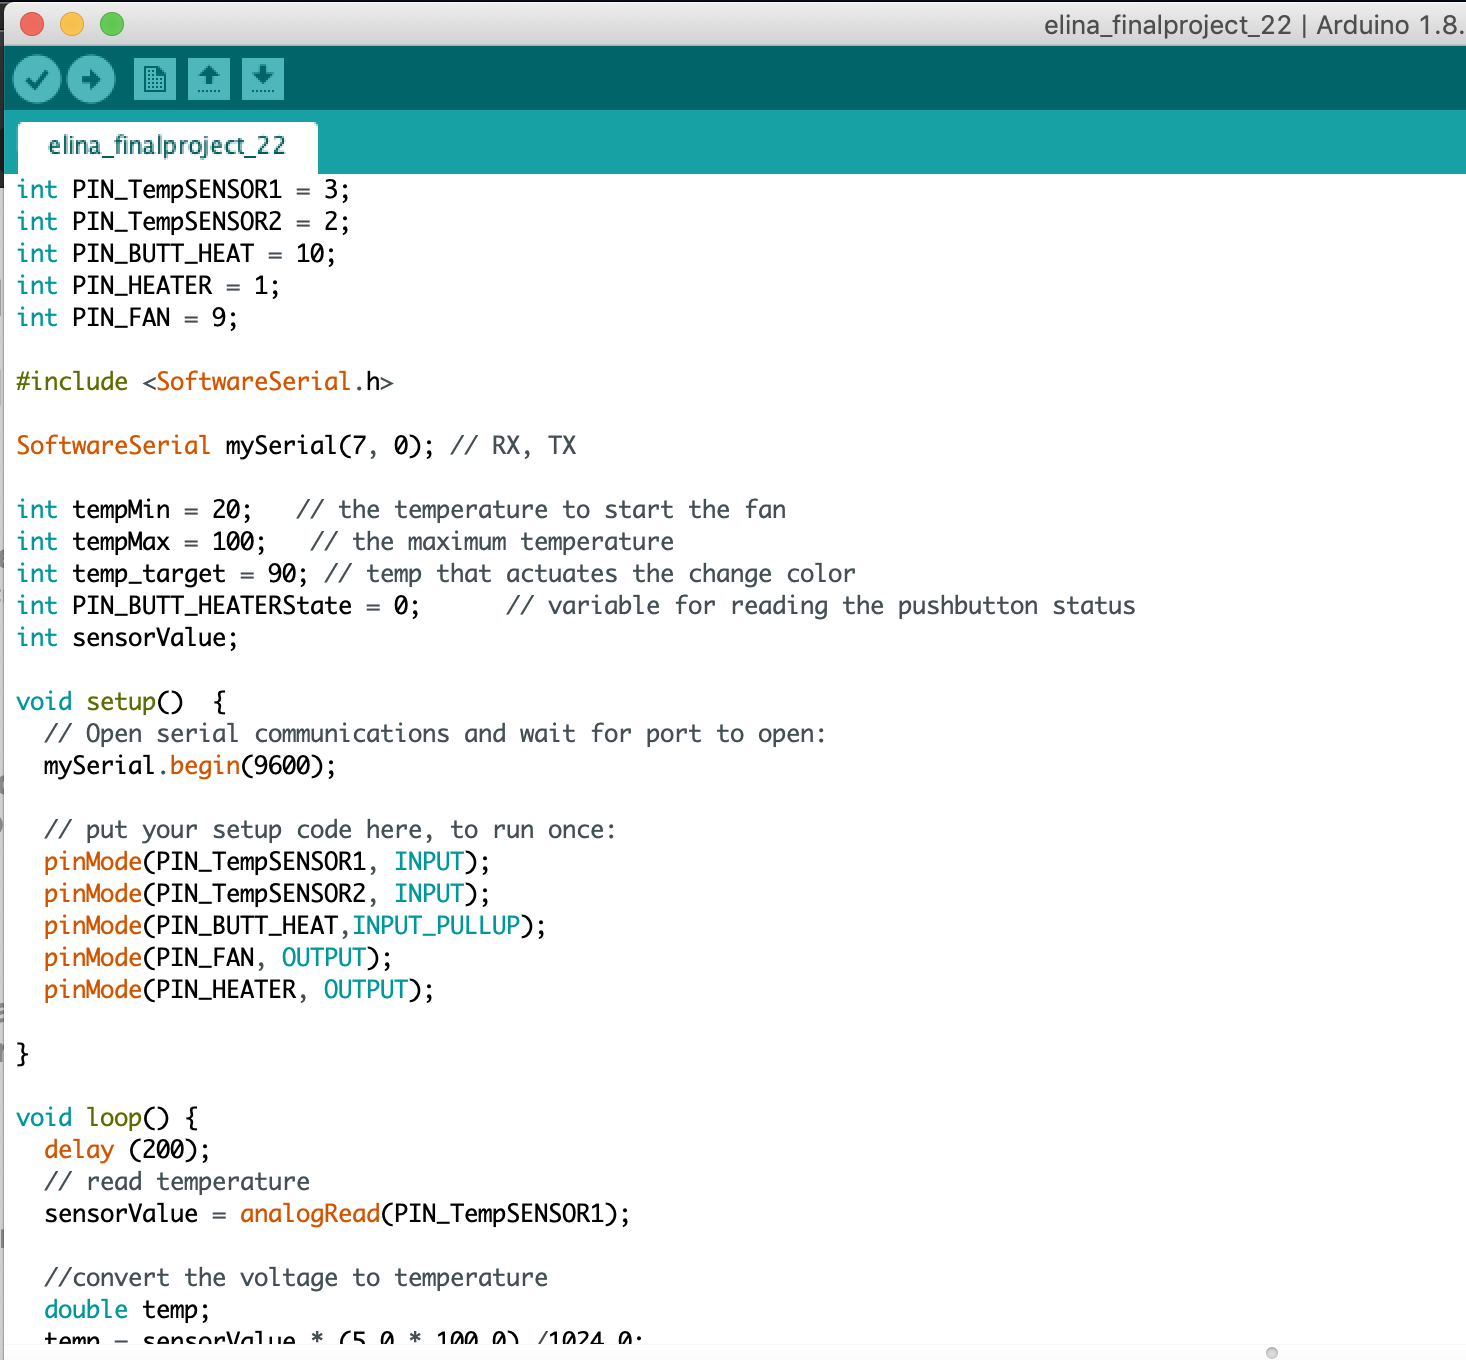
- Final code : -

Assembly
- I used M3 screws to connect the fan with the interior case -
- -
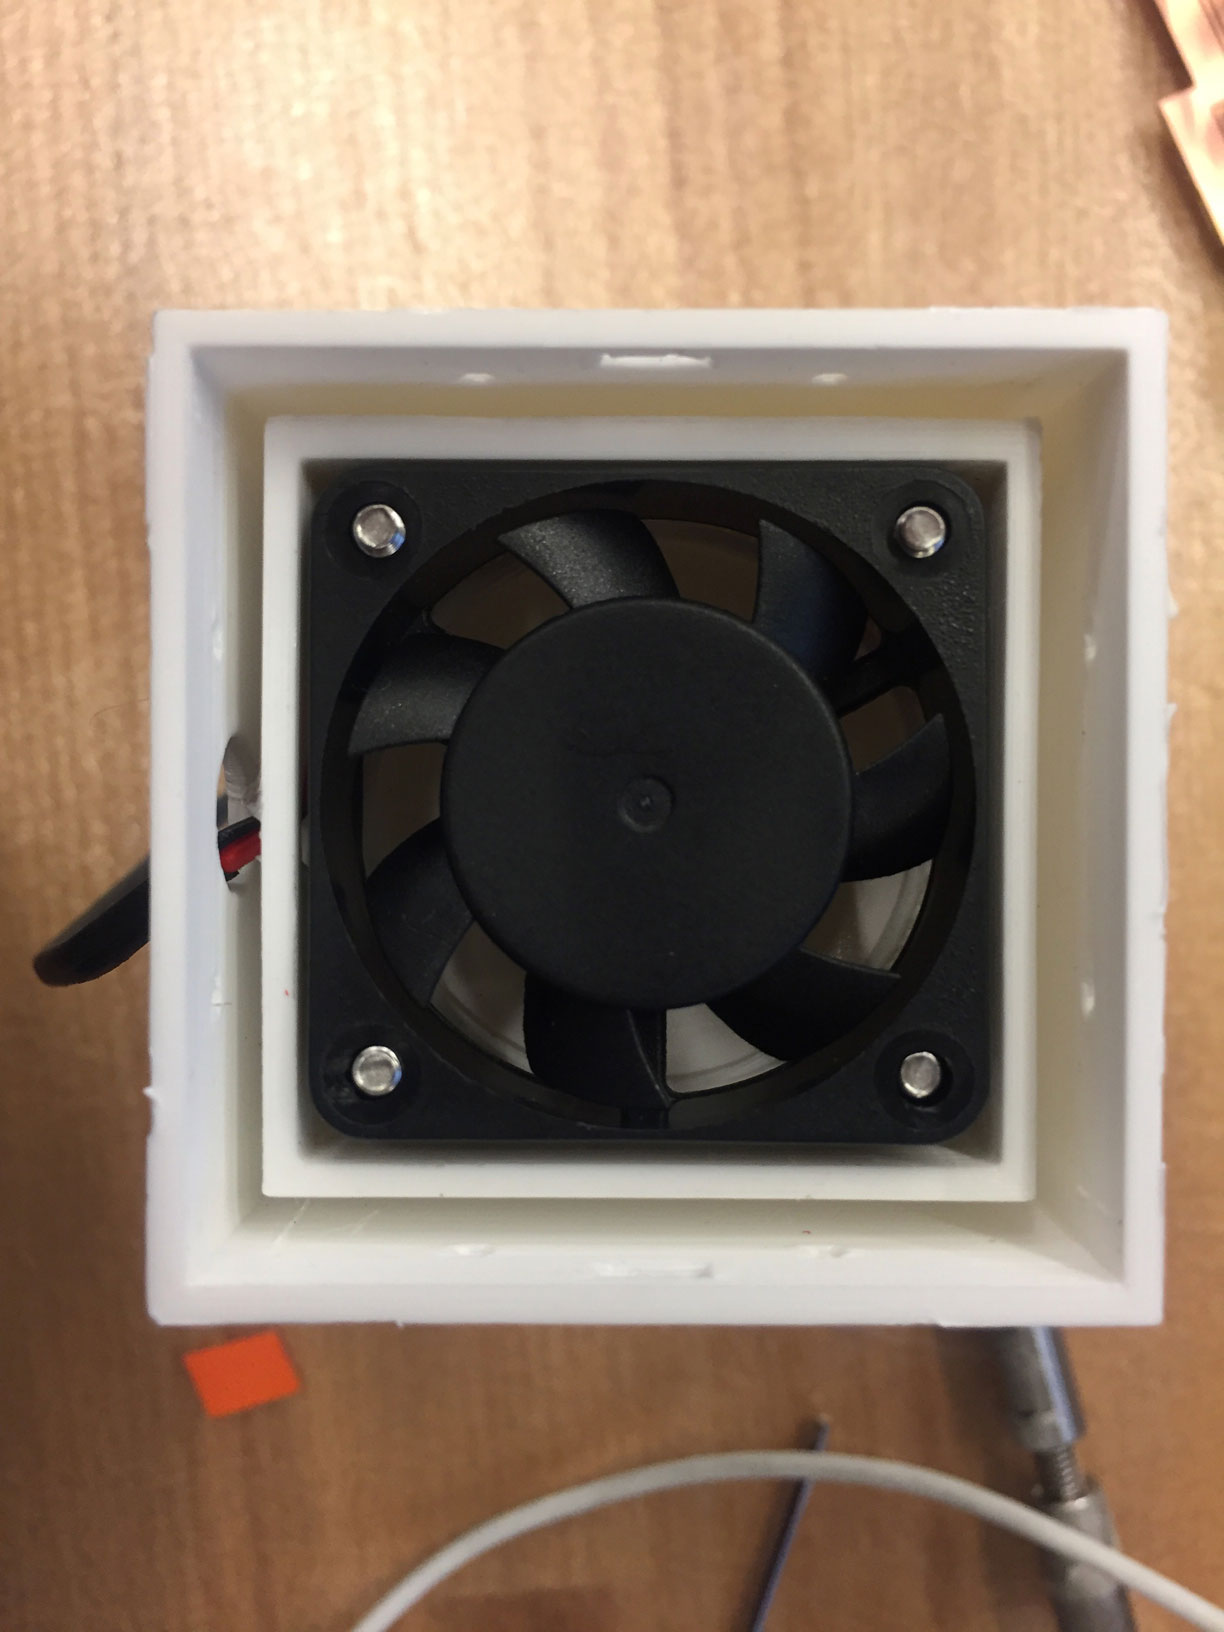
- I used the iron to secure the connection of the pipe with the fan case. -
- -
- -
- -
- Final assembly -
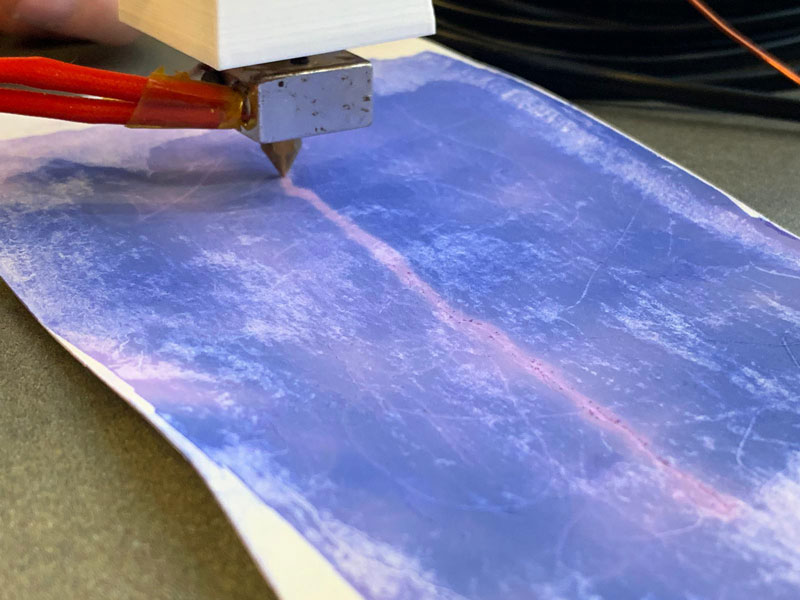
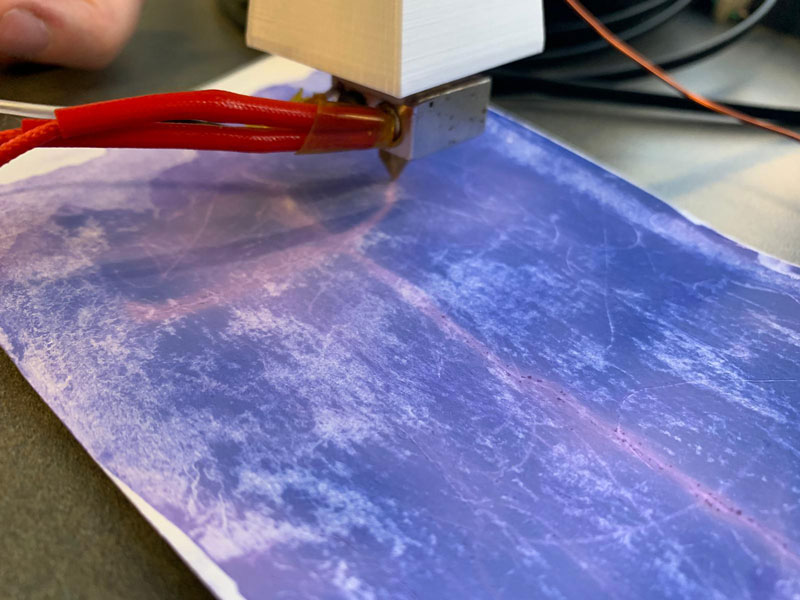
Testing
- It works! -
- -
Evaluation
I have to change the fan and use a pellet with a brushless DC motor to actually achieve what I wanted. I also wanted to mill my own aluminum nozzle as seen in my inital design but I couldn't because the archshop was superbusy at the time of finals. So I am planning to do that. The good thing is that it partially works and after I change the air device and finalize my model I can then attach it to a polargraph or core xy and make my own drawing machine. Also because I am using thermochromic material, I can test it to different materials as well, for example I was thinking of combining it with the knitting project I did during the wildcard week.