Work Progress
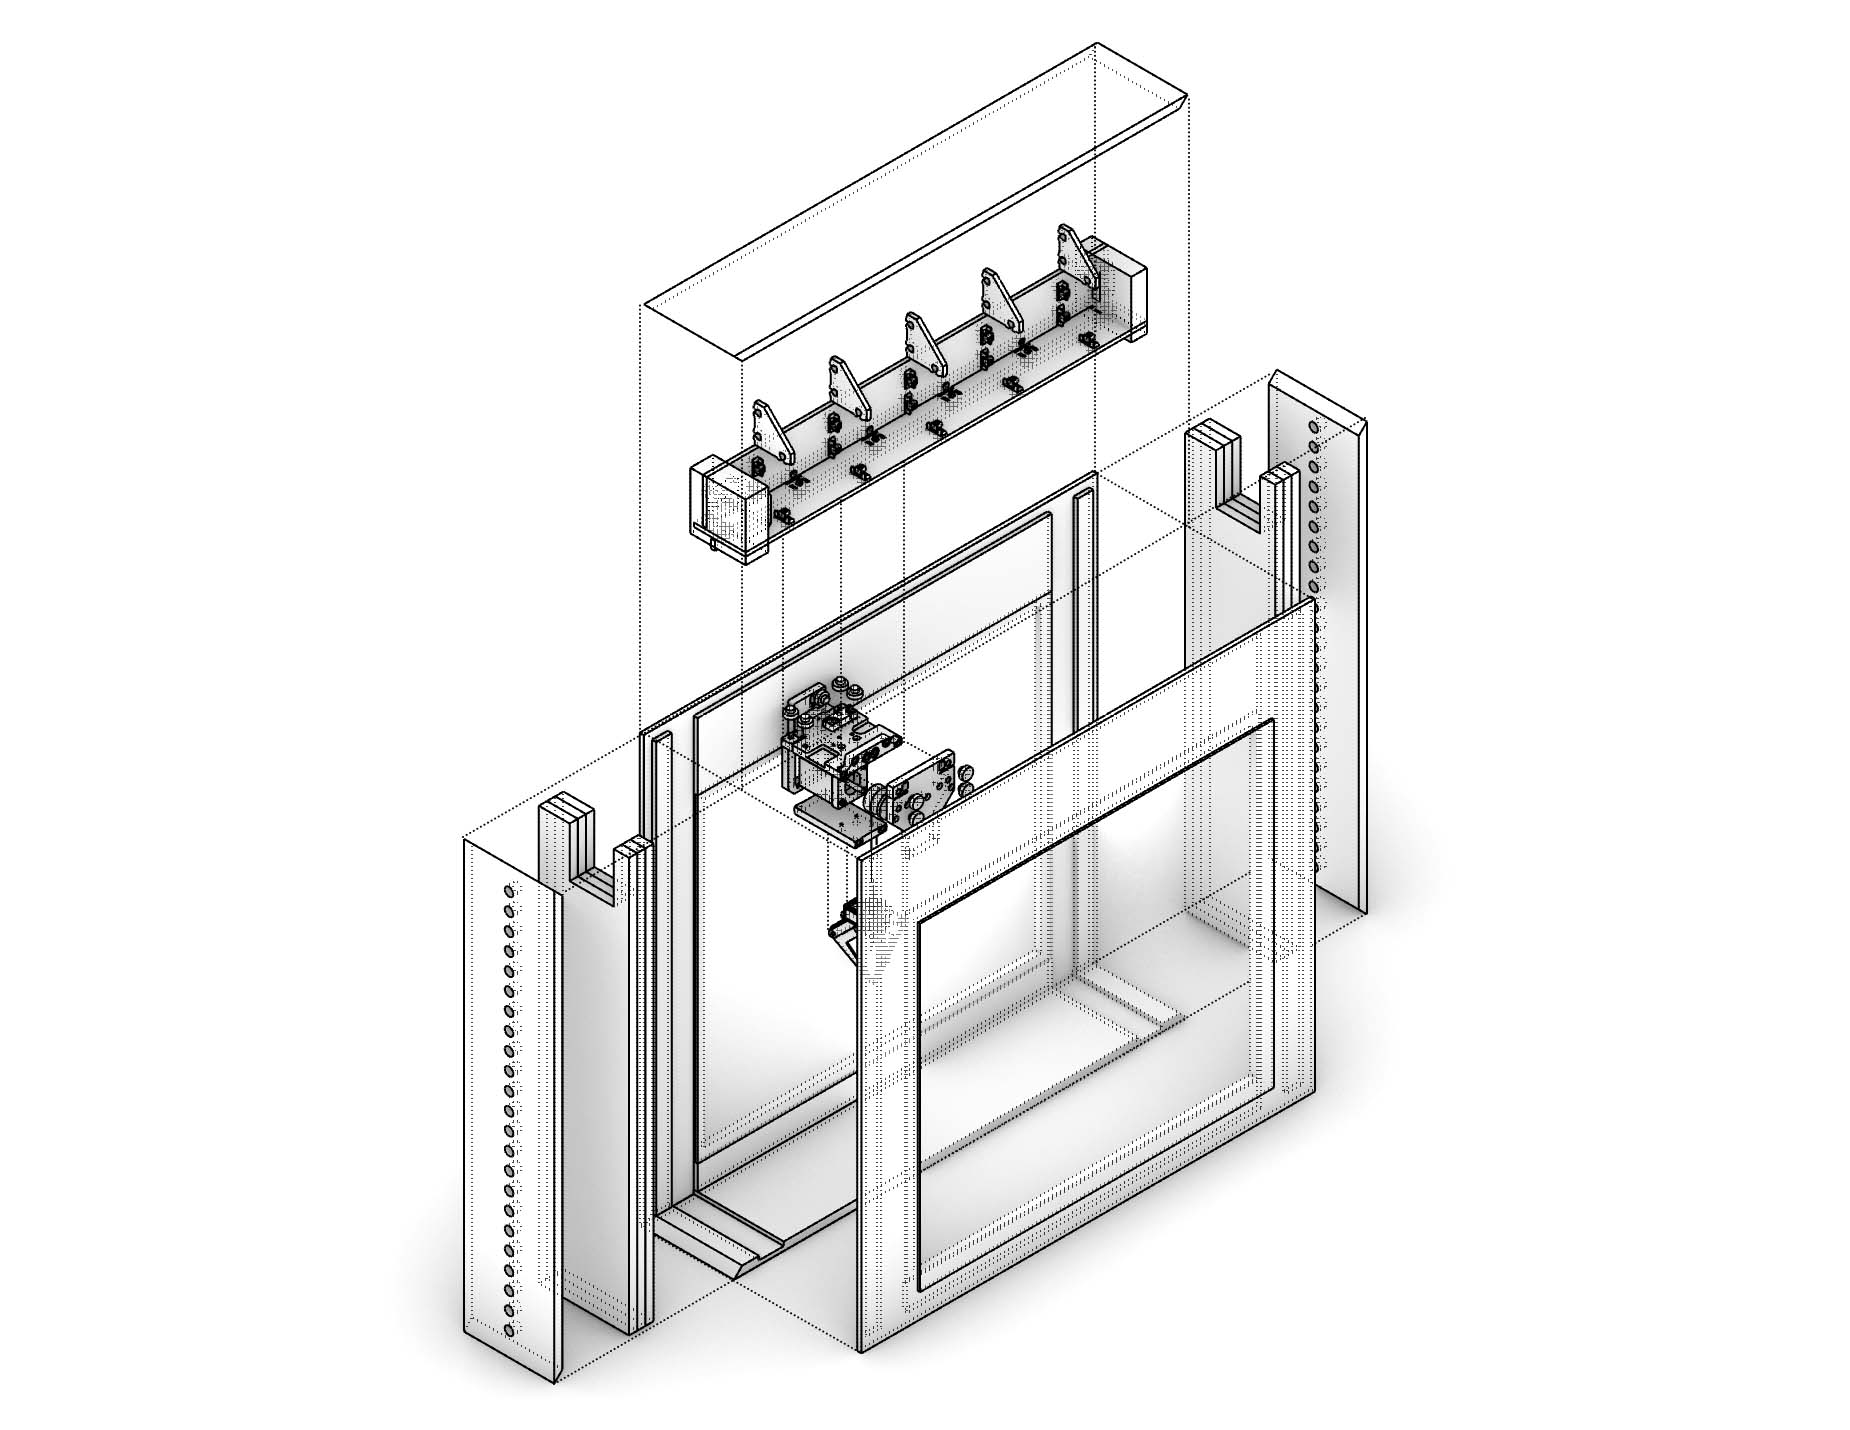
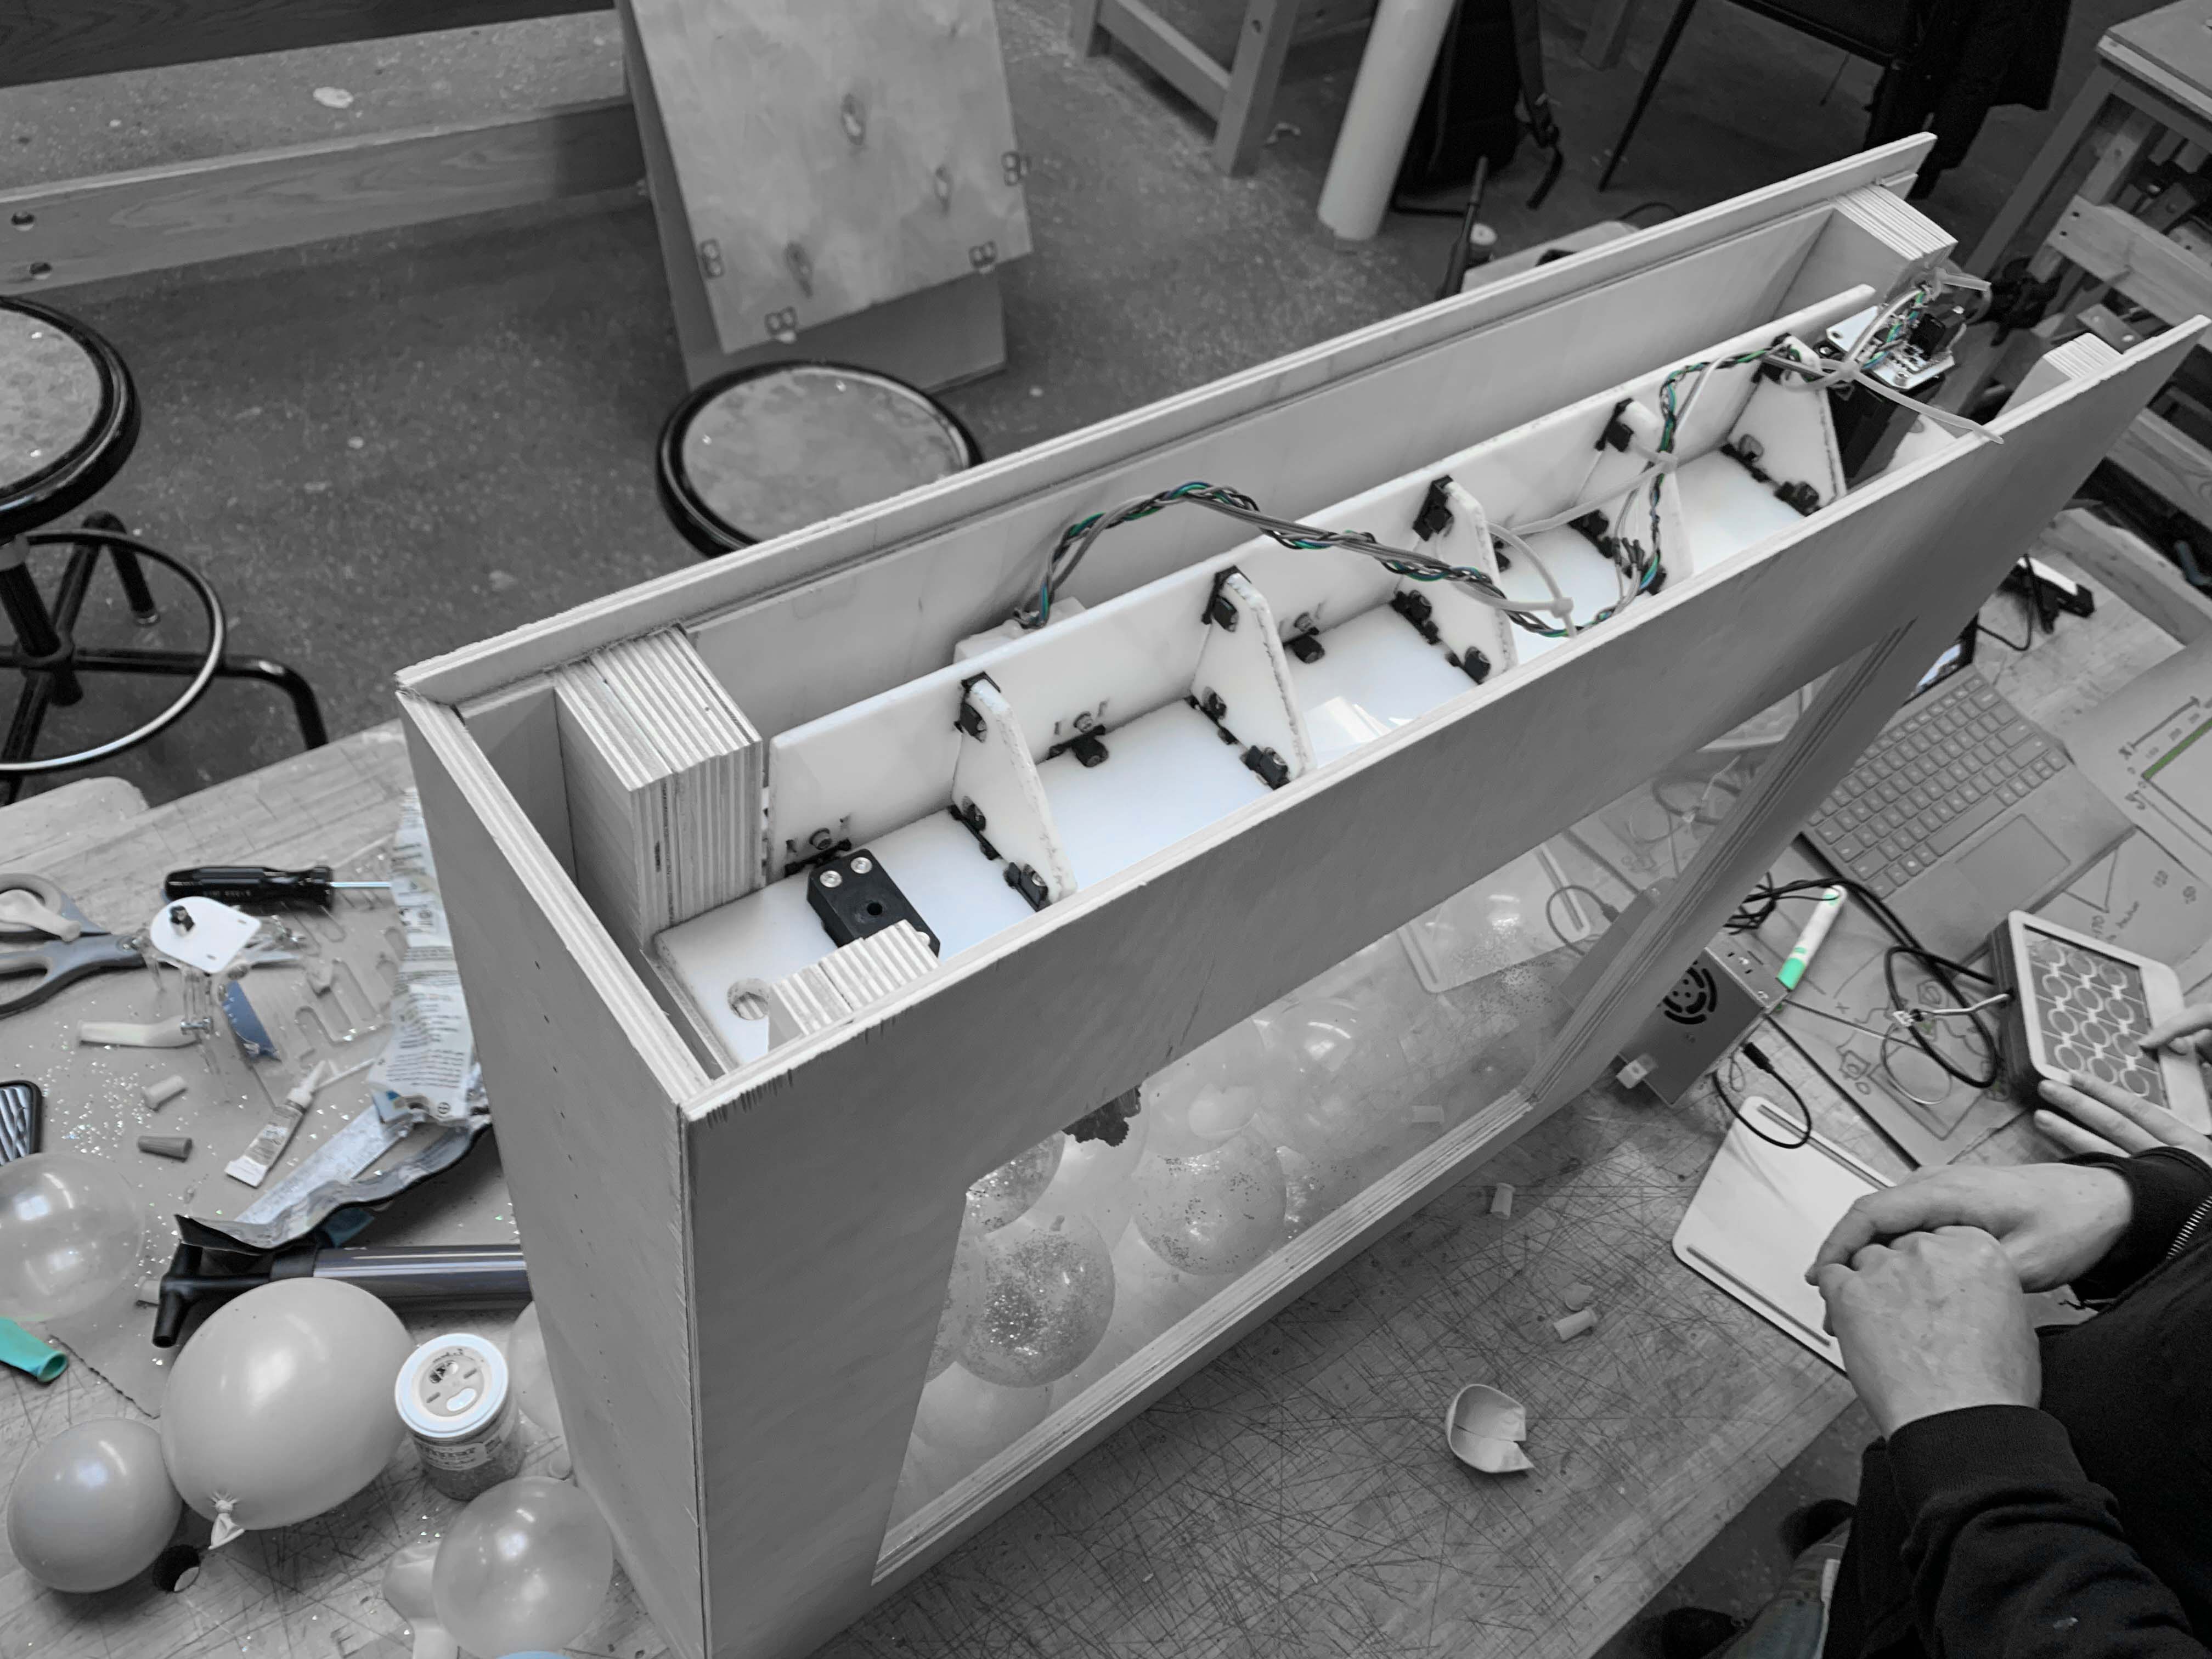
This week our architecture group made a claw machine that moves along the X-axis and Z-axis. To make sure our machine works,
we want to avoid being ambitious, and keep our idea simple but interesting.
We finally decided to make a claw machine that always trying to grab but pops balloon. (The only problem we realized after the completion was that we expected the claw machine to repeatedly stab the balloons, grabbing nothing, but none of the balloons have popped yet, either because the balloons were too strong or because we were not using sharp enough needles.)
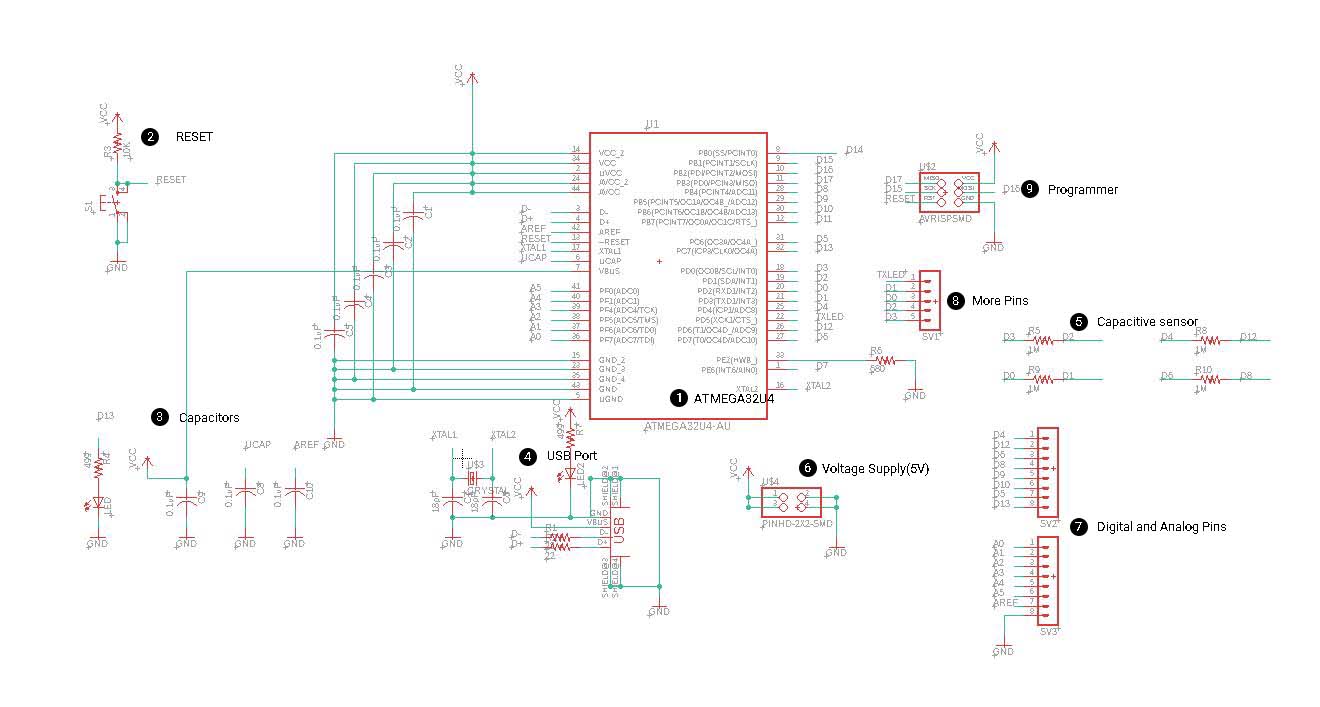
After the full team meeting on Thursday morning, I joined the electronics group and start working on the input devices part of the electronics from Friday. What we need for the input part is a capacitive touchpad sensor. Elina, who did capacitive sensor in her input week, told me that capacitive sensor is a special case among all input devices in the previous week. If we want to program it with arduino IDE, then, we must use Atmega instead of Attiny as the microcontroller for larger storage. This is a lesson I learned, before choosing microcontroller, you must know how much storage it can handle. I have never done something with Atmega before, but we found a precedent from the page of a previous FabAcademy students. We somehow followed what Trinidad did for her project; we use Atmega32u4 as a microcontroller. Find the datasheet here.
Schematic Explanation
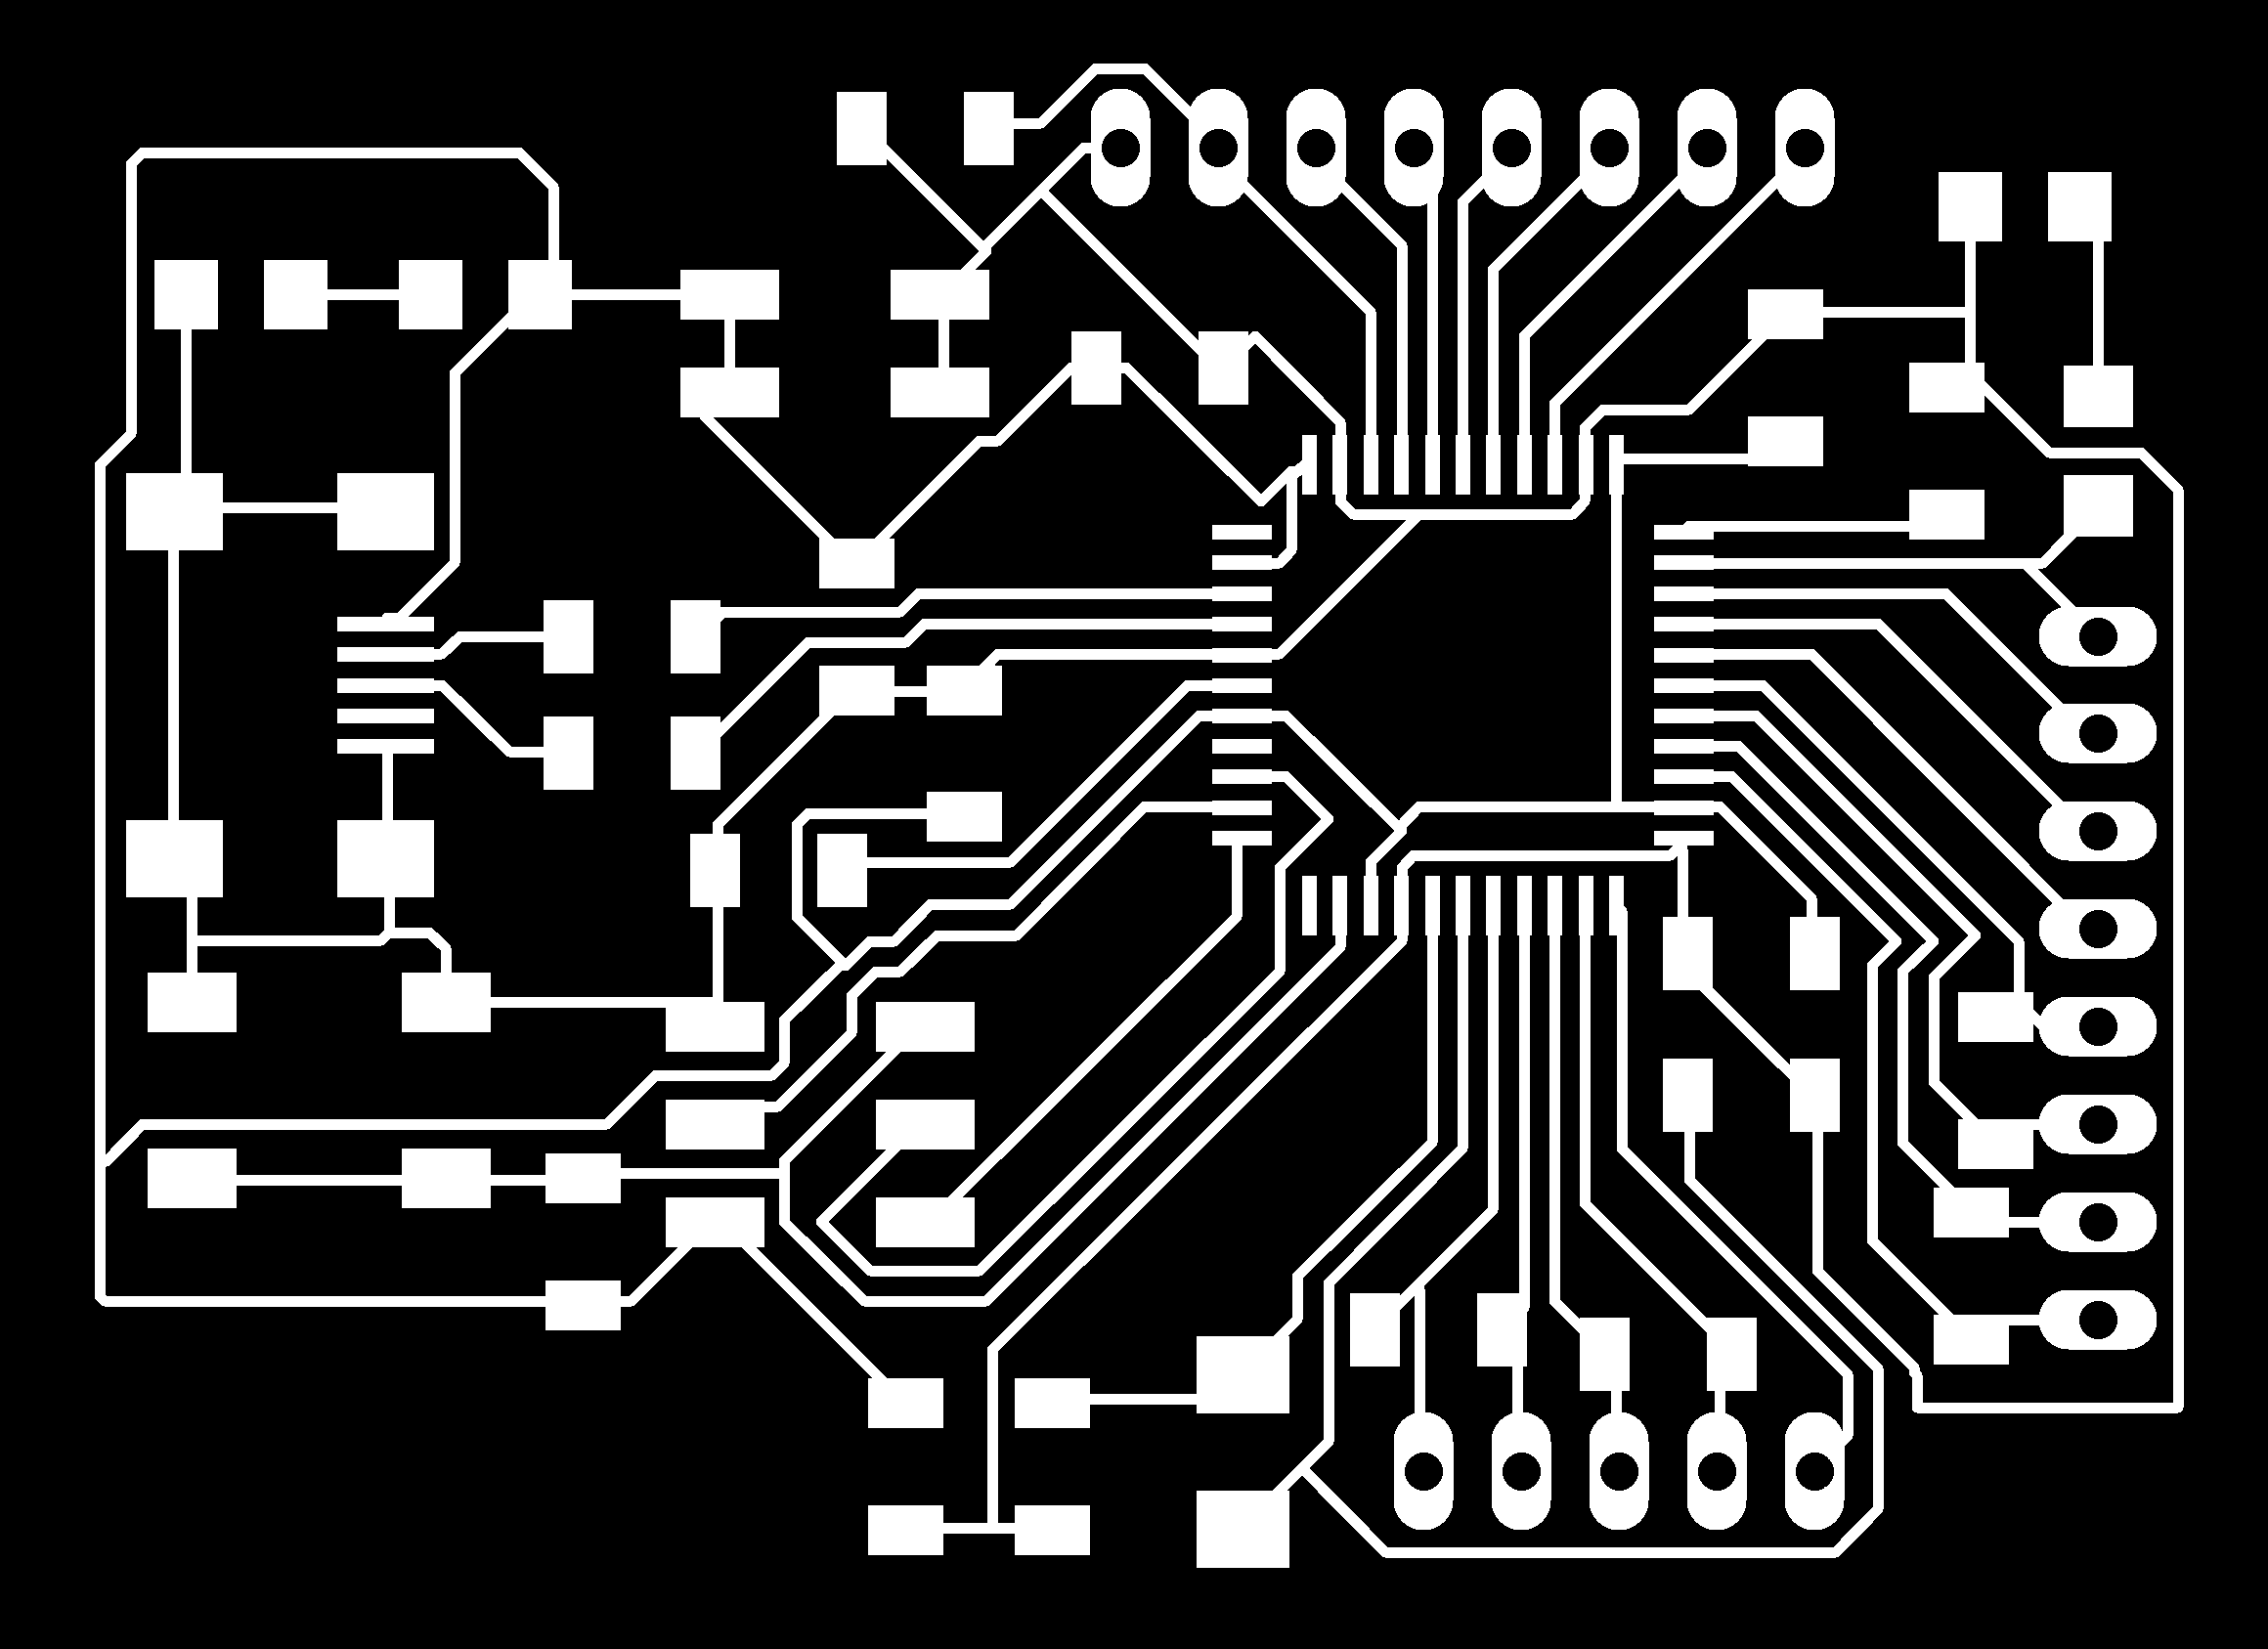
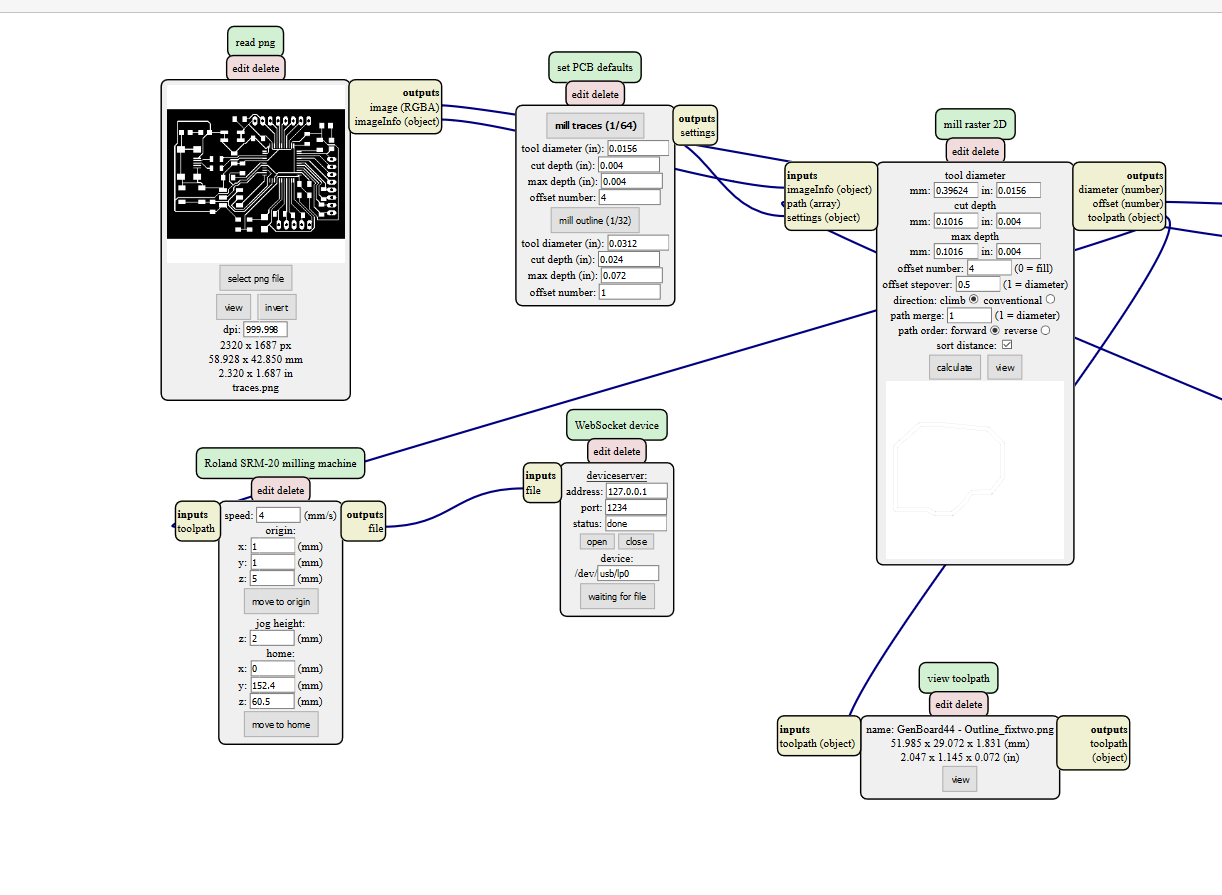
Board
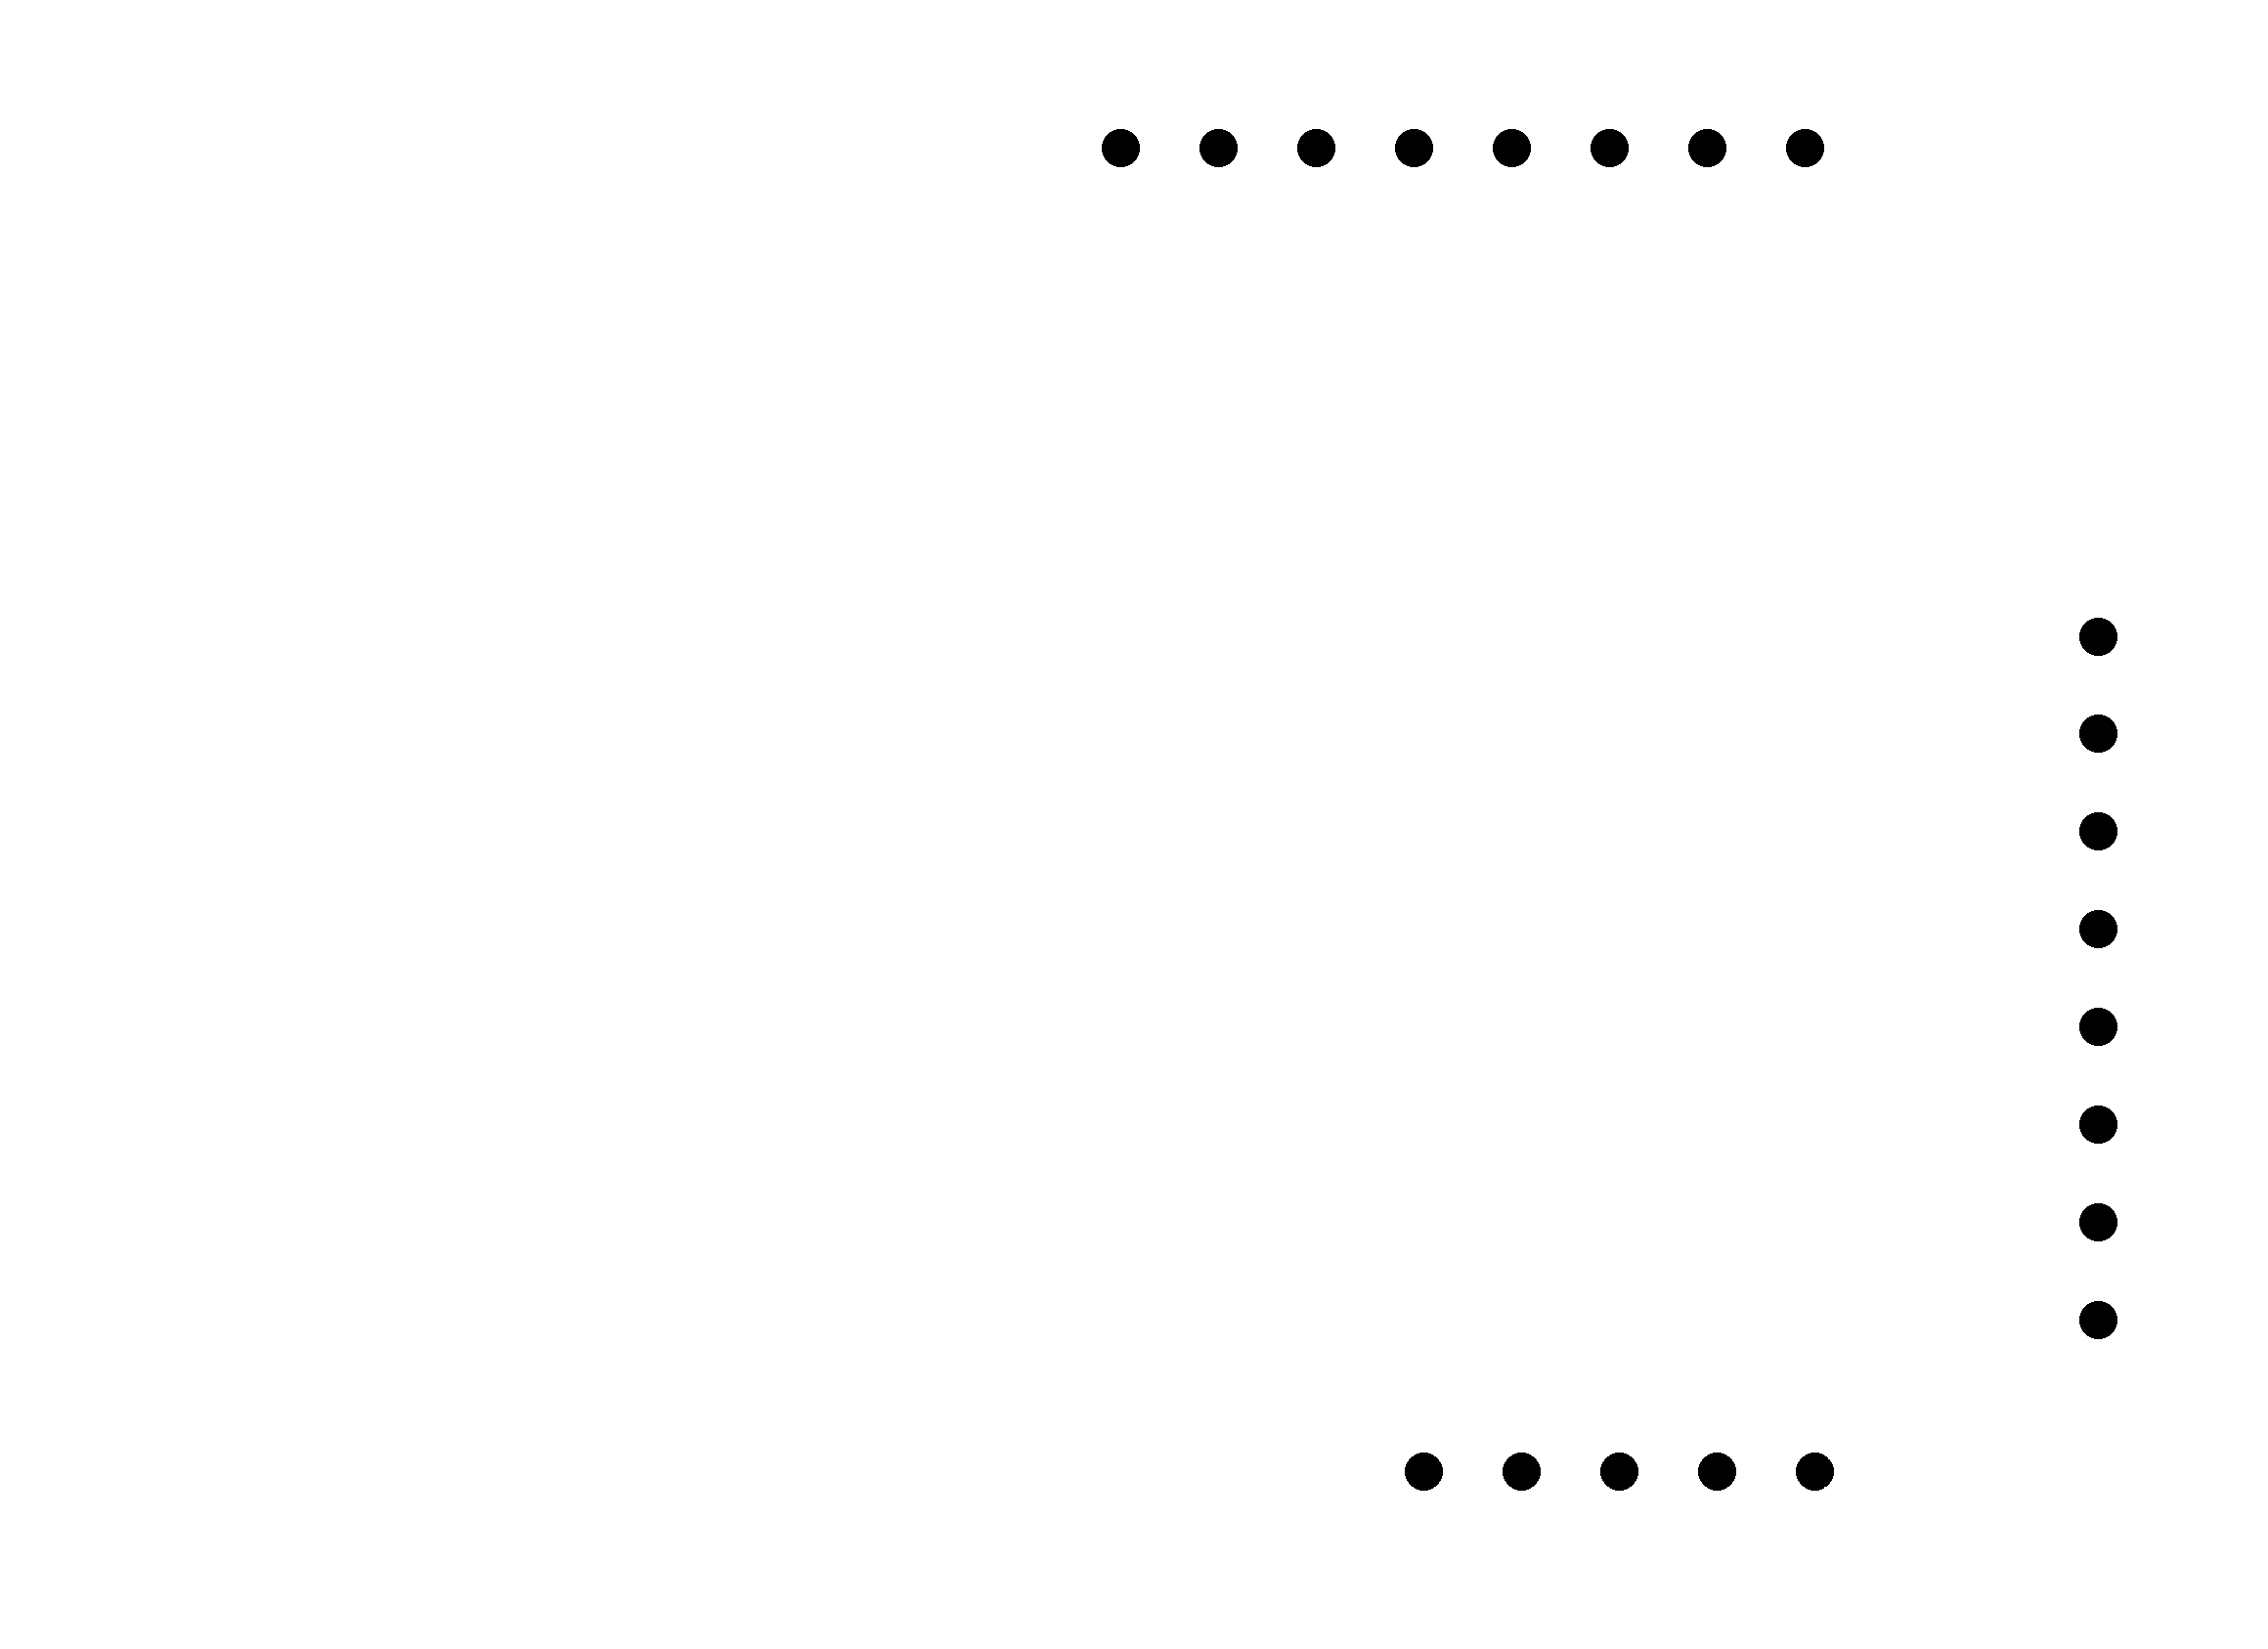
Holes
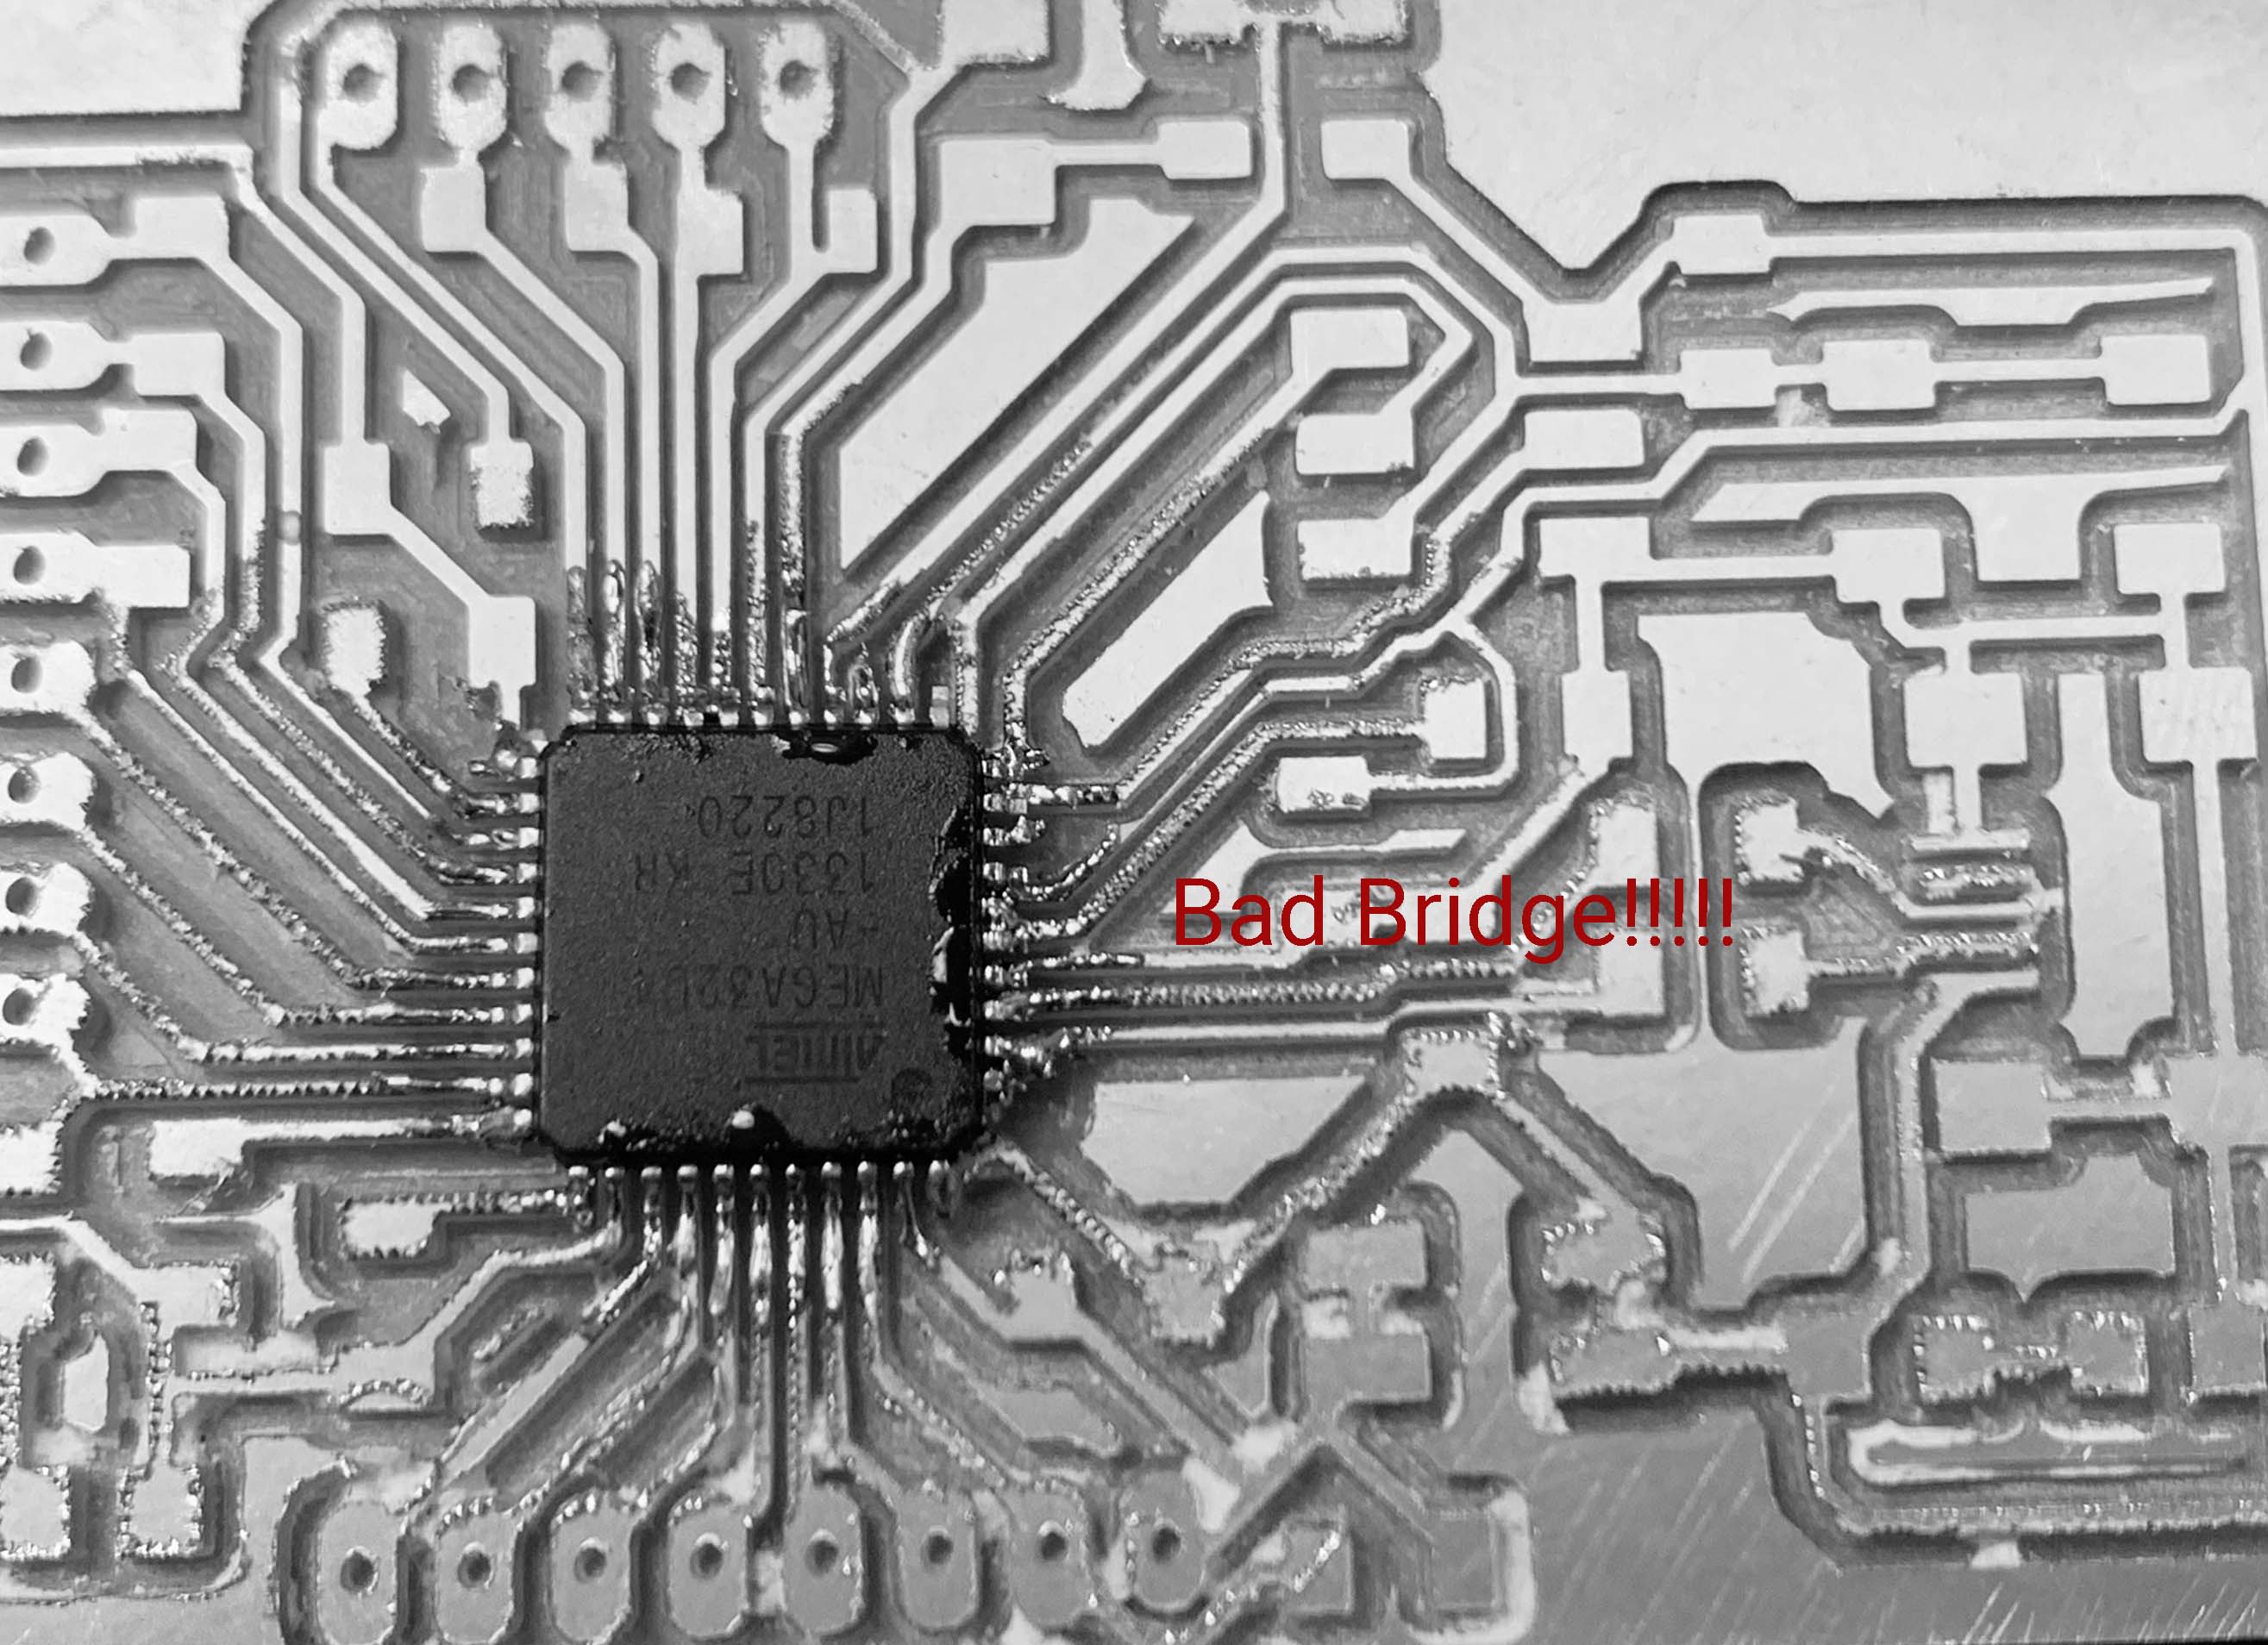
Because there are too many pins on Atmeag32u4 and it is surprisingly tiny, the copper trace connected to each pin is very thin. Due to the size of 1/64 end mill, we cannot widen the trace, which leads to the fact that each fine line is easy to be damaged. The first milled board failed for this reason(a small piece of copper fly away), so we mill the second board. (Atmega board also took a long time to mill)
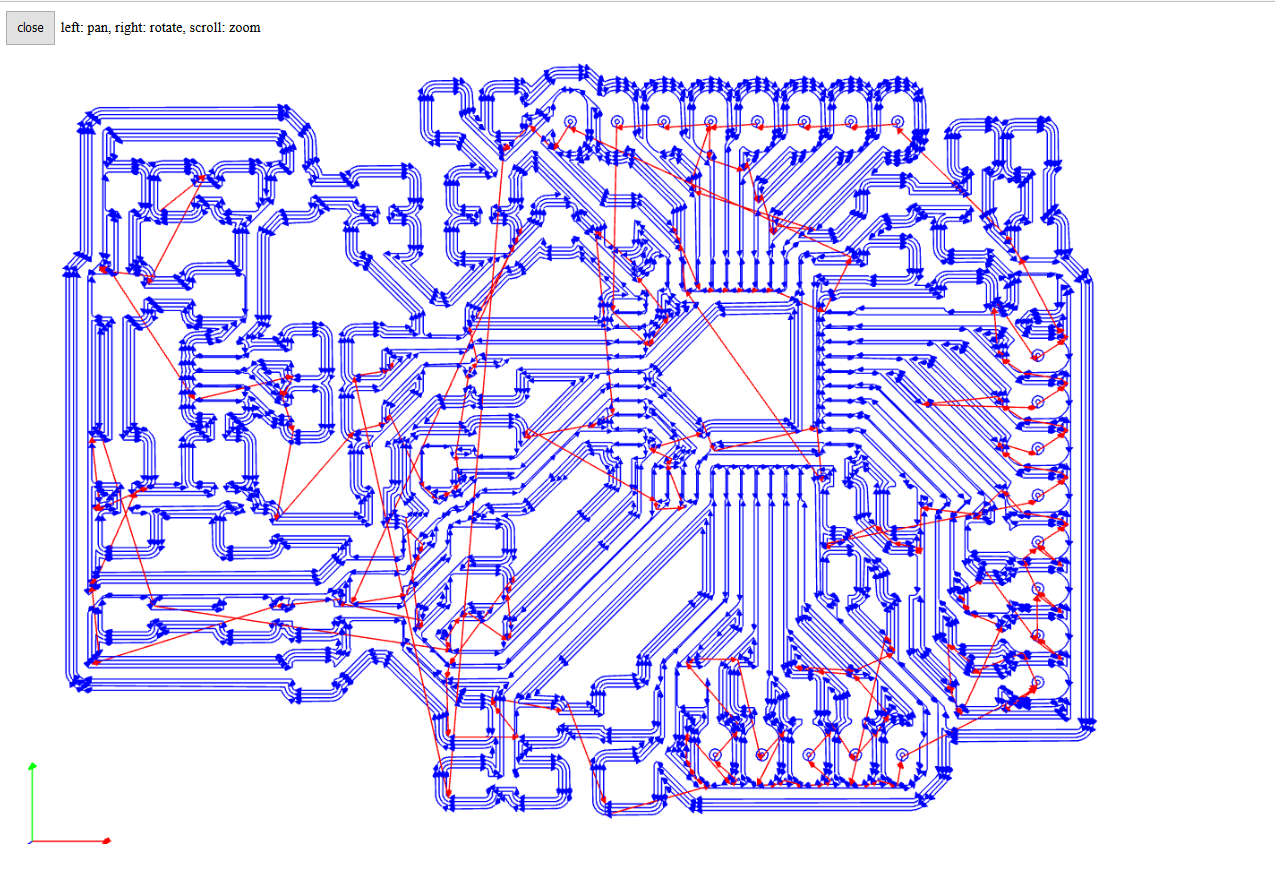
Note: While making an Atmega board, especially for atmega32u4 and atmega16u4, you should be very careful about routing wires in eagle board because there might be some blinded spots that you didn’t notice and the 1/64’’tool cannot go through. This will waste your time degugging shorts.
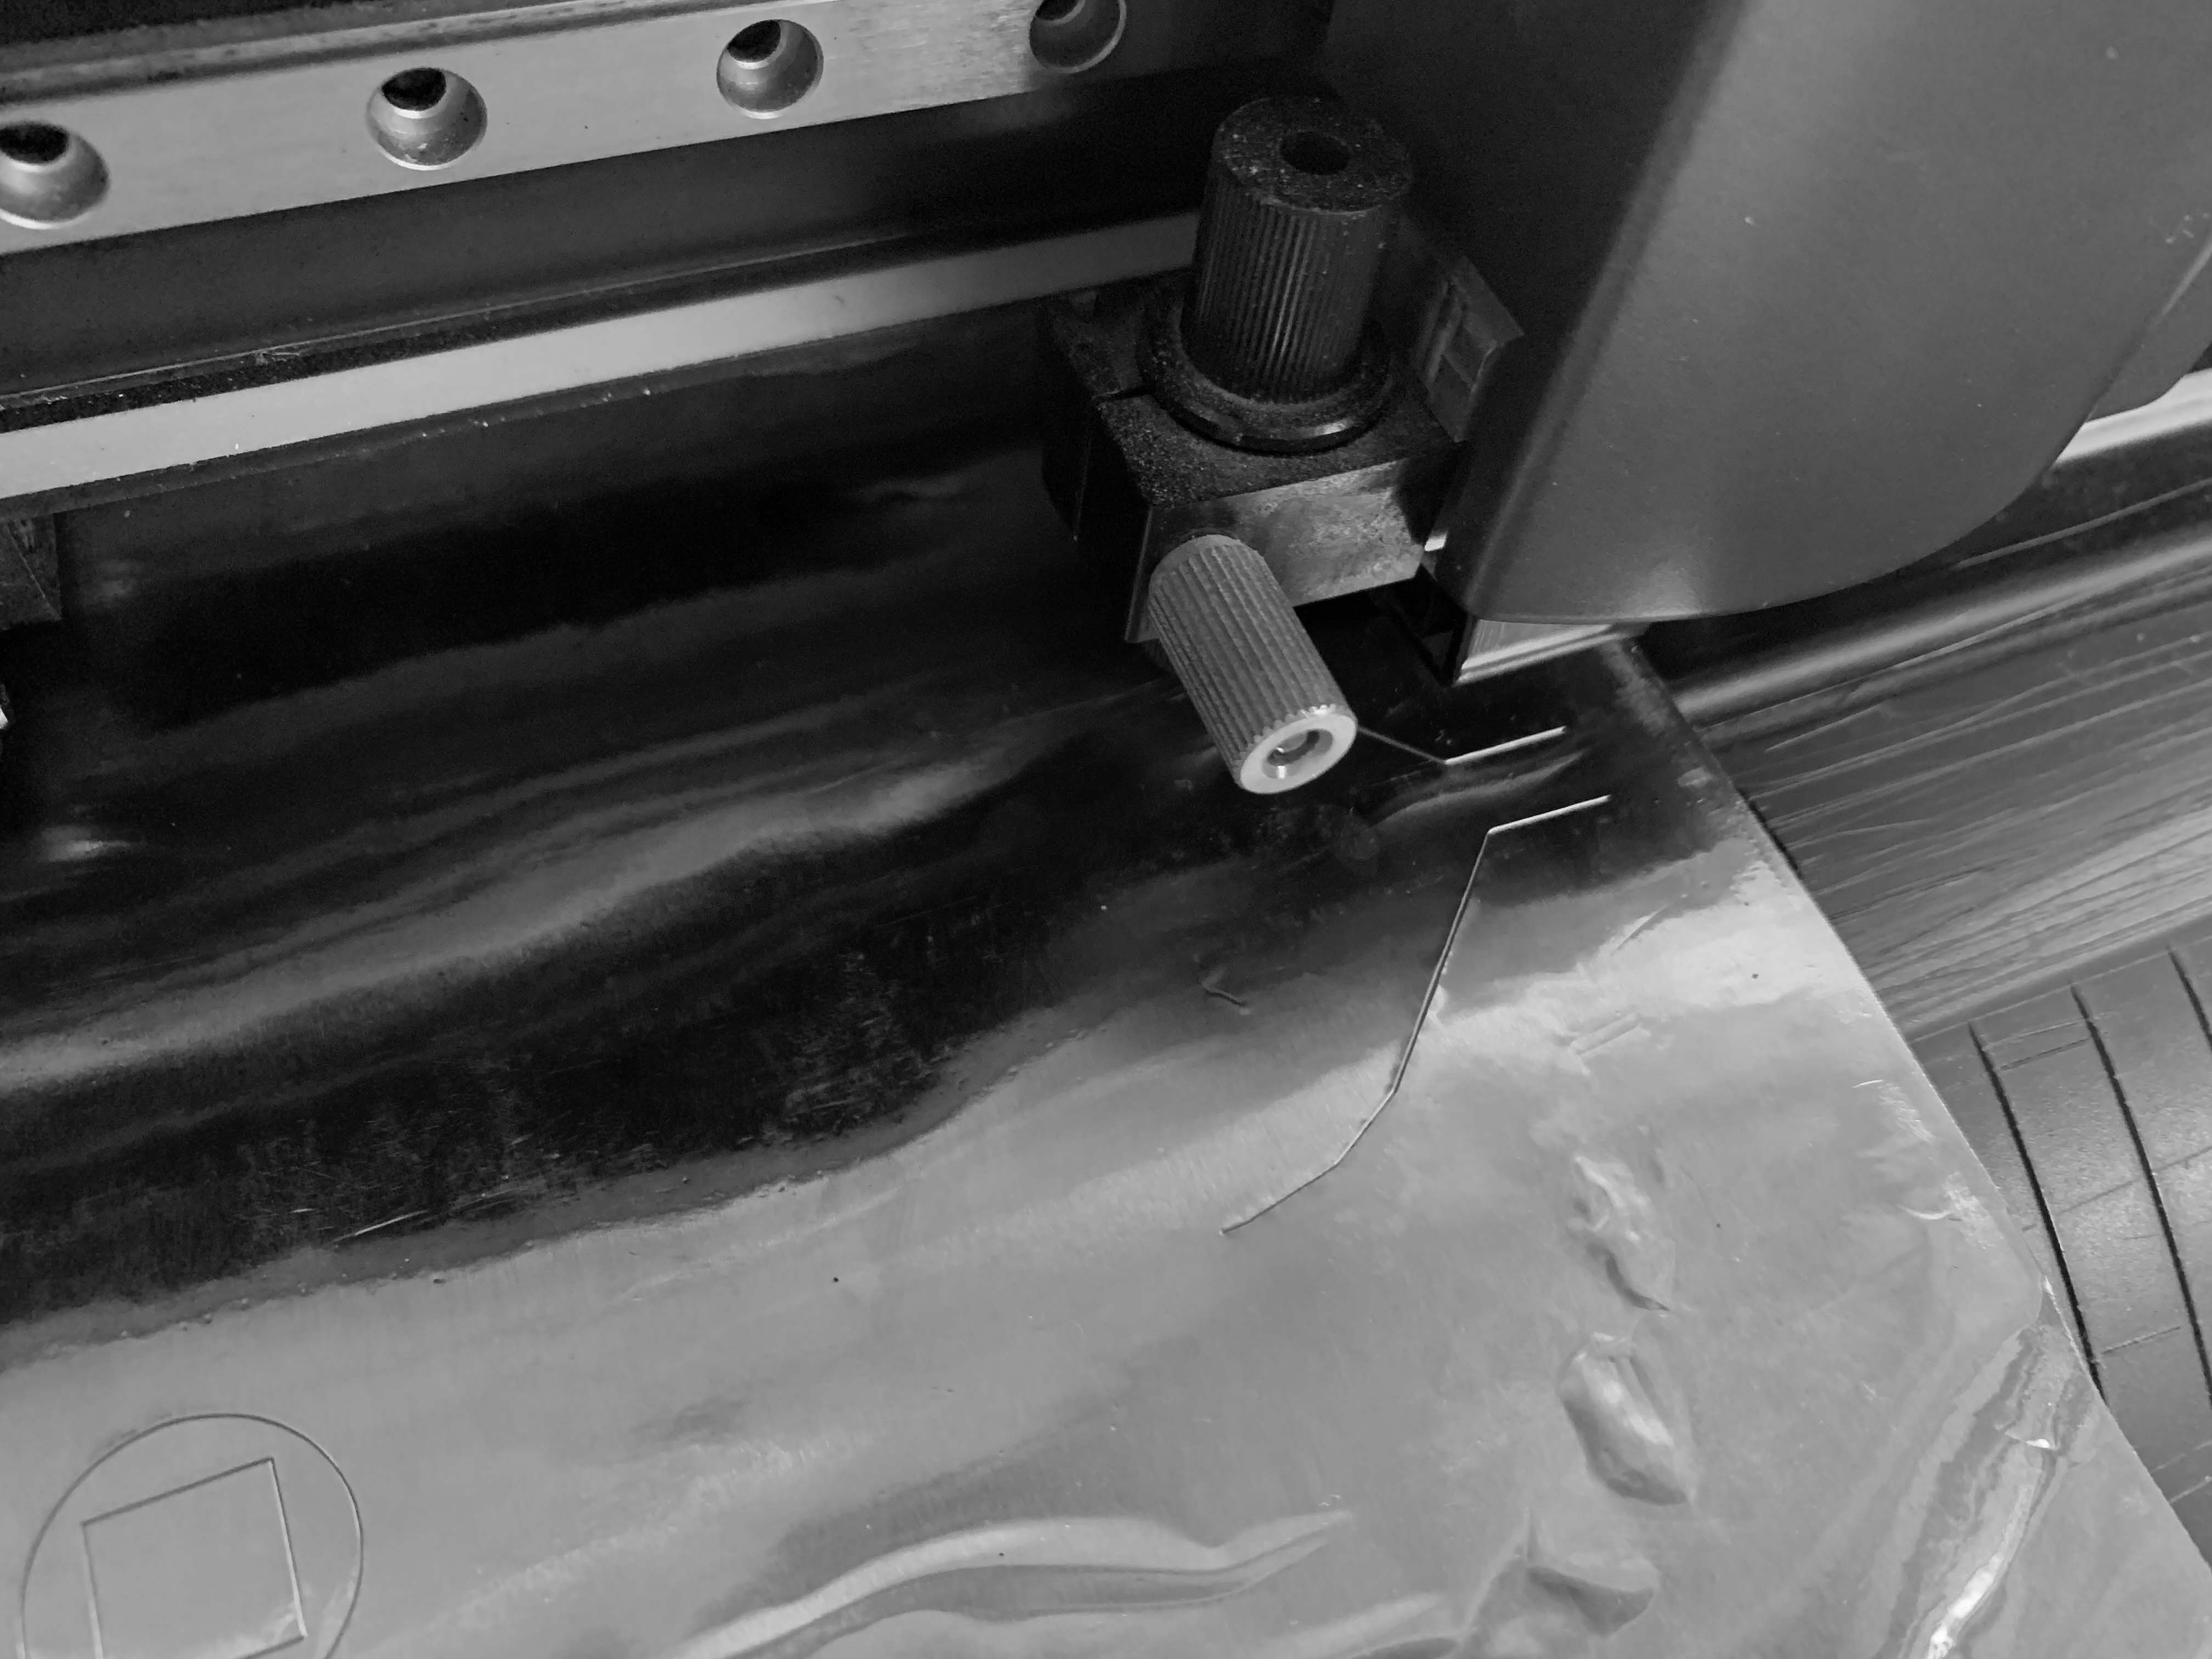
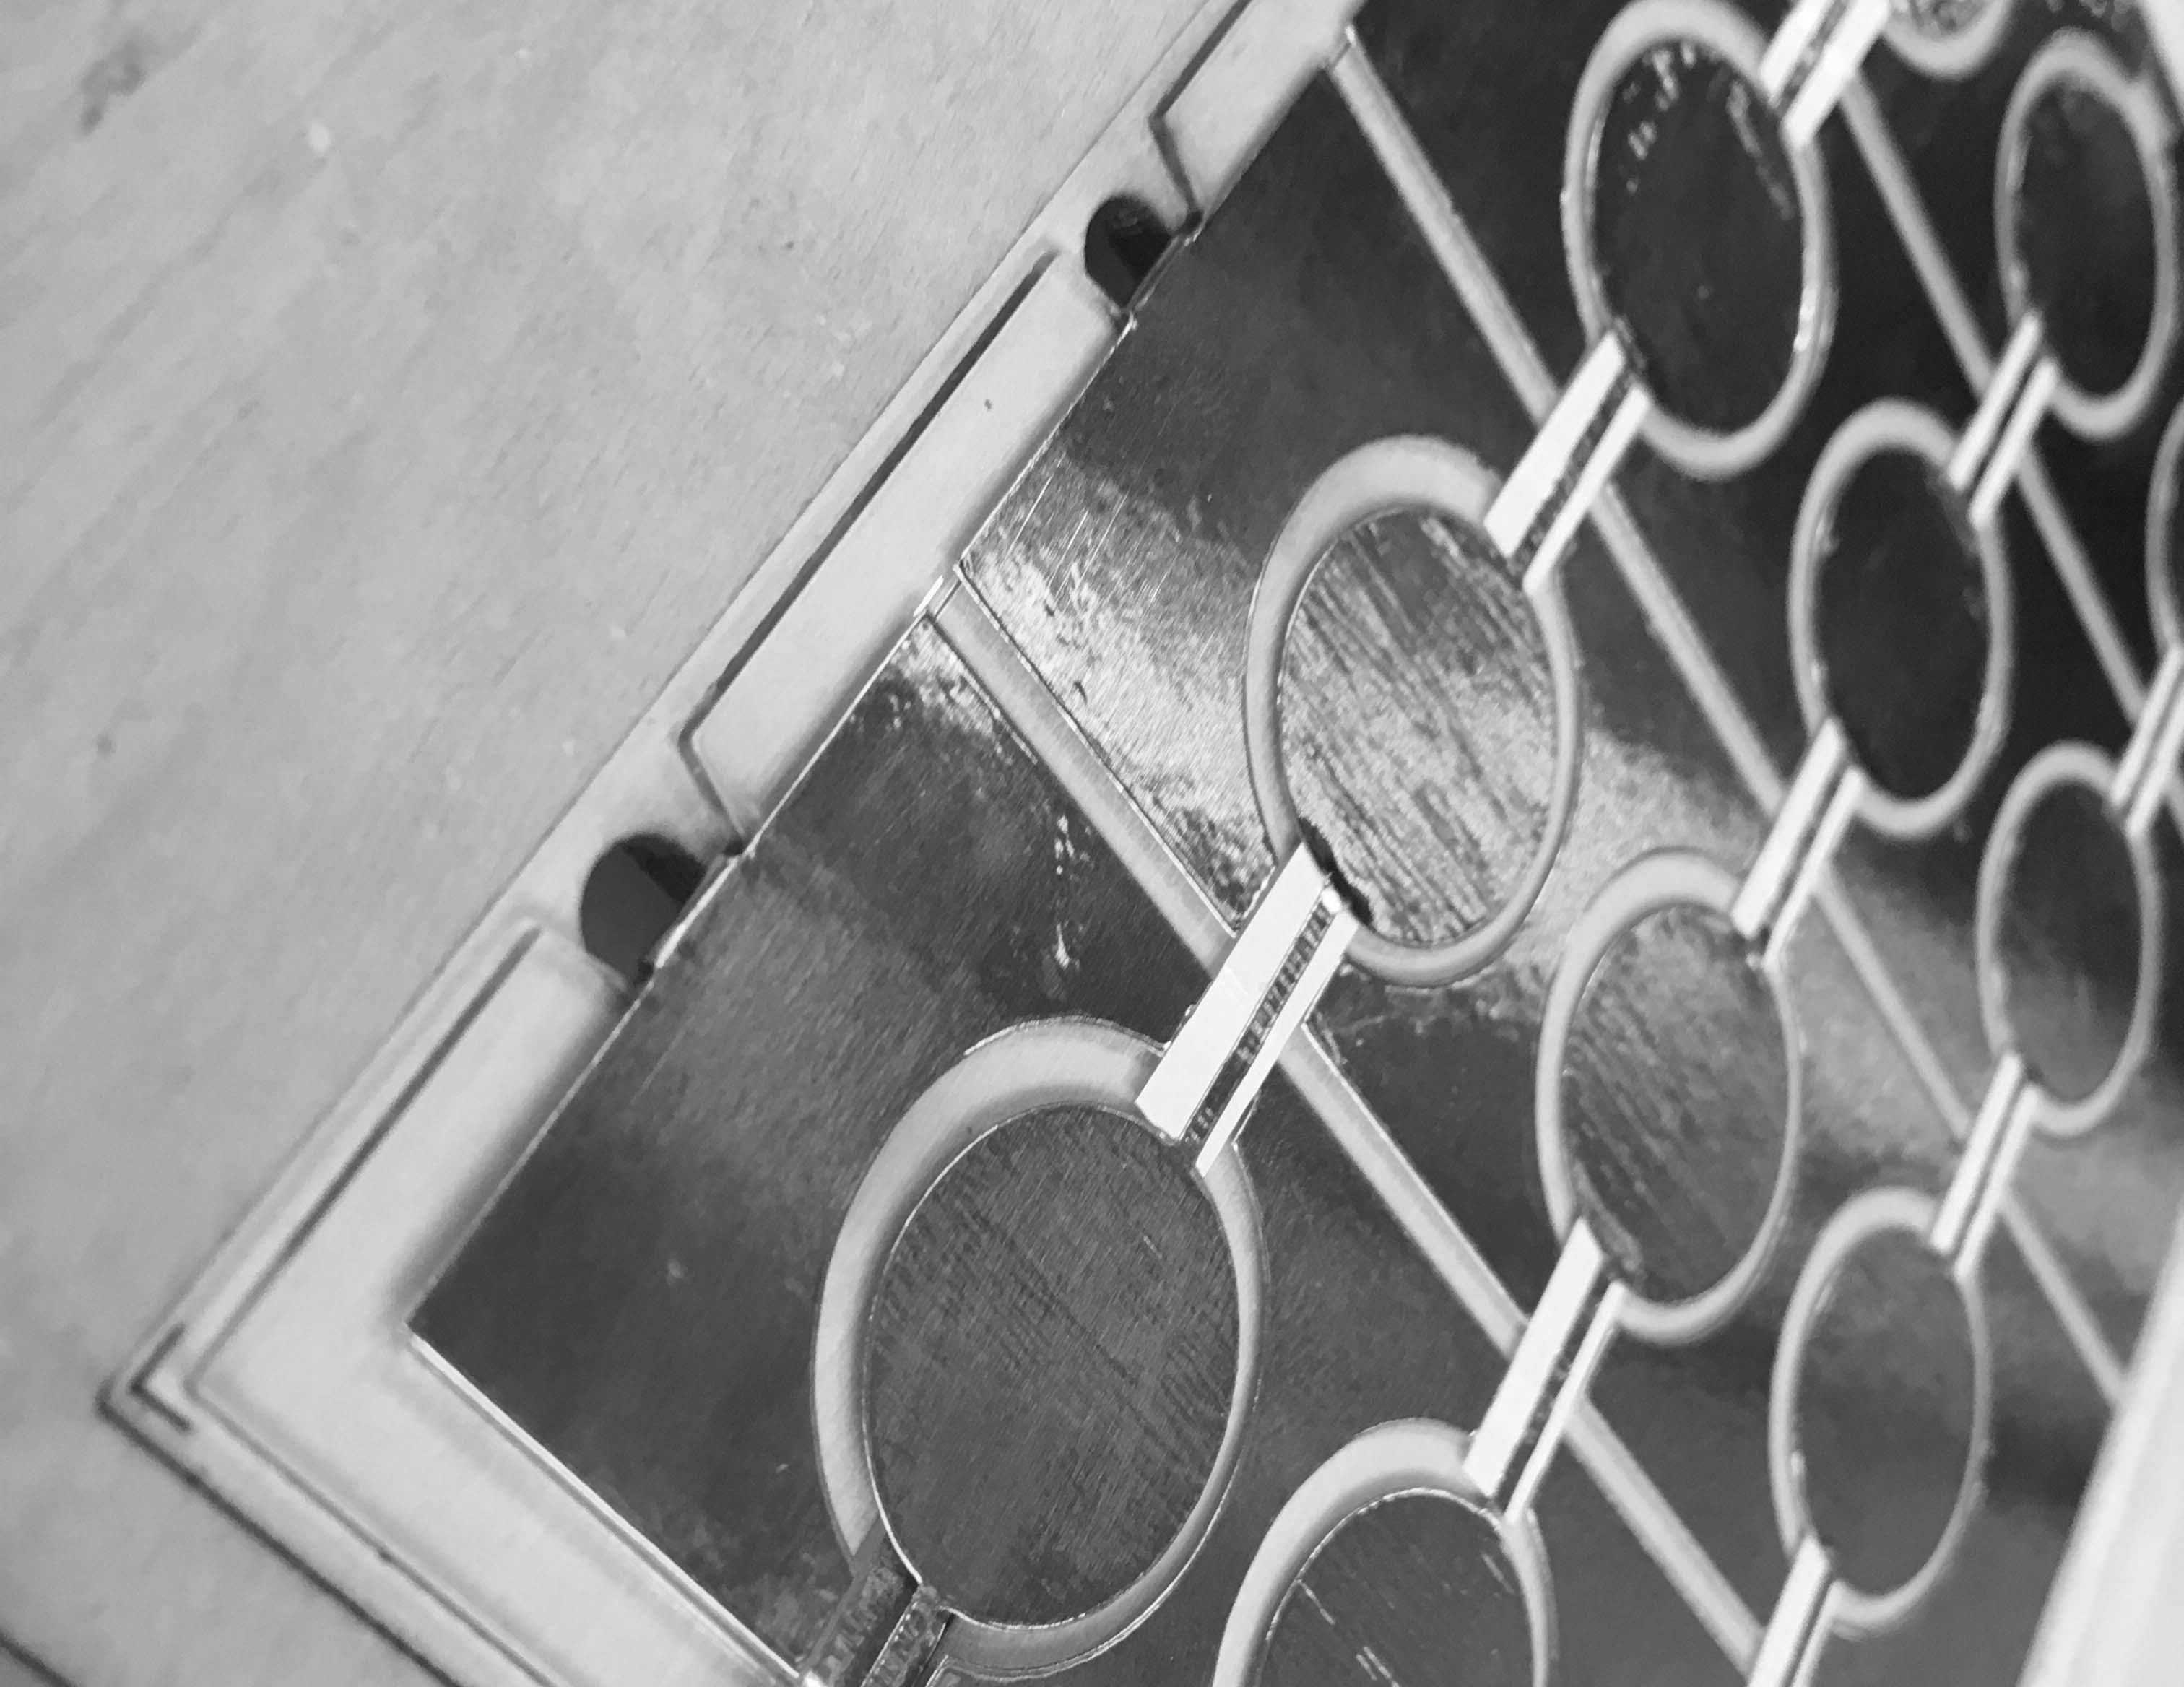
We made the touchpad with vinylcutter and copper paper. For our machine with only x-axis moving, we only need the horizontal line of the pad.

It has been a long time since I used the machine; after making some mistakes about dimension and origin, we finally cut the traces out. It is very important that the touchpad copper should not have many unflat folding traces, so a solid base for the touchpad is necessary.
Finding components is another pain. Here is a list of components we need for this board.
Soldering an atmega32u4 is very hard too. It is very easy to make mistake with the solder bridges between two pins without a microscope. Everything goes wrong and crazy for this week.
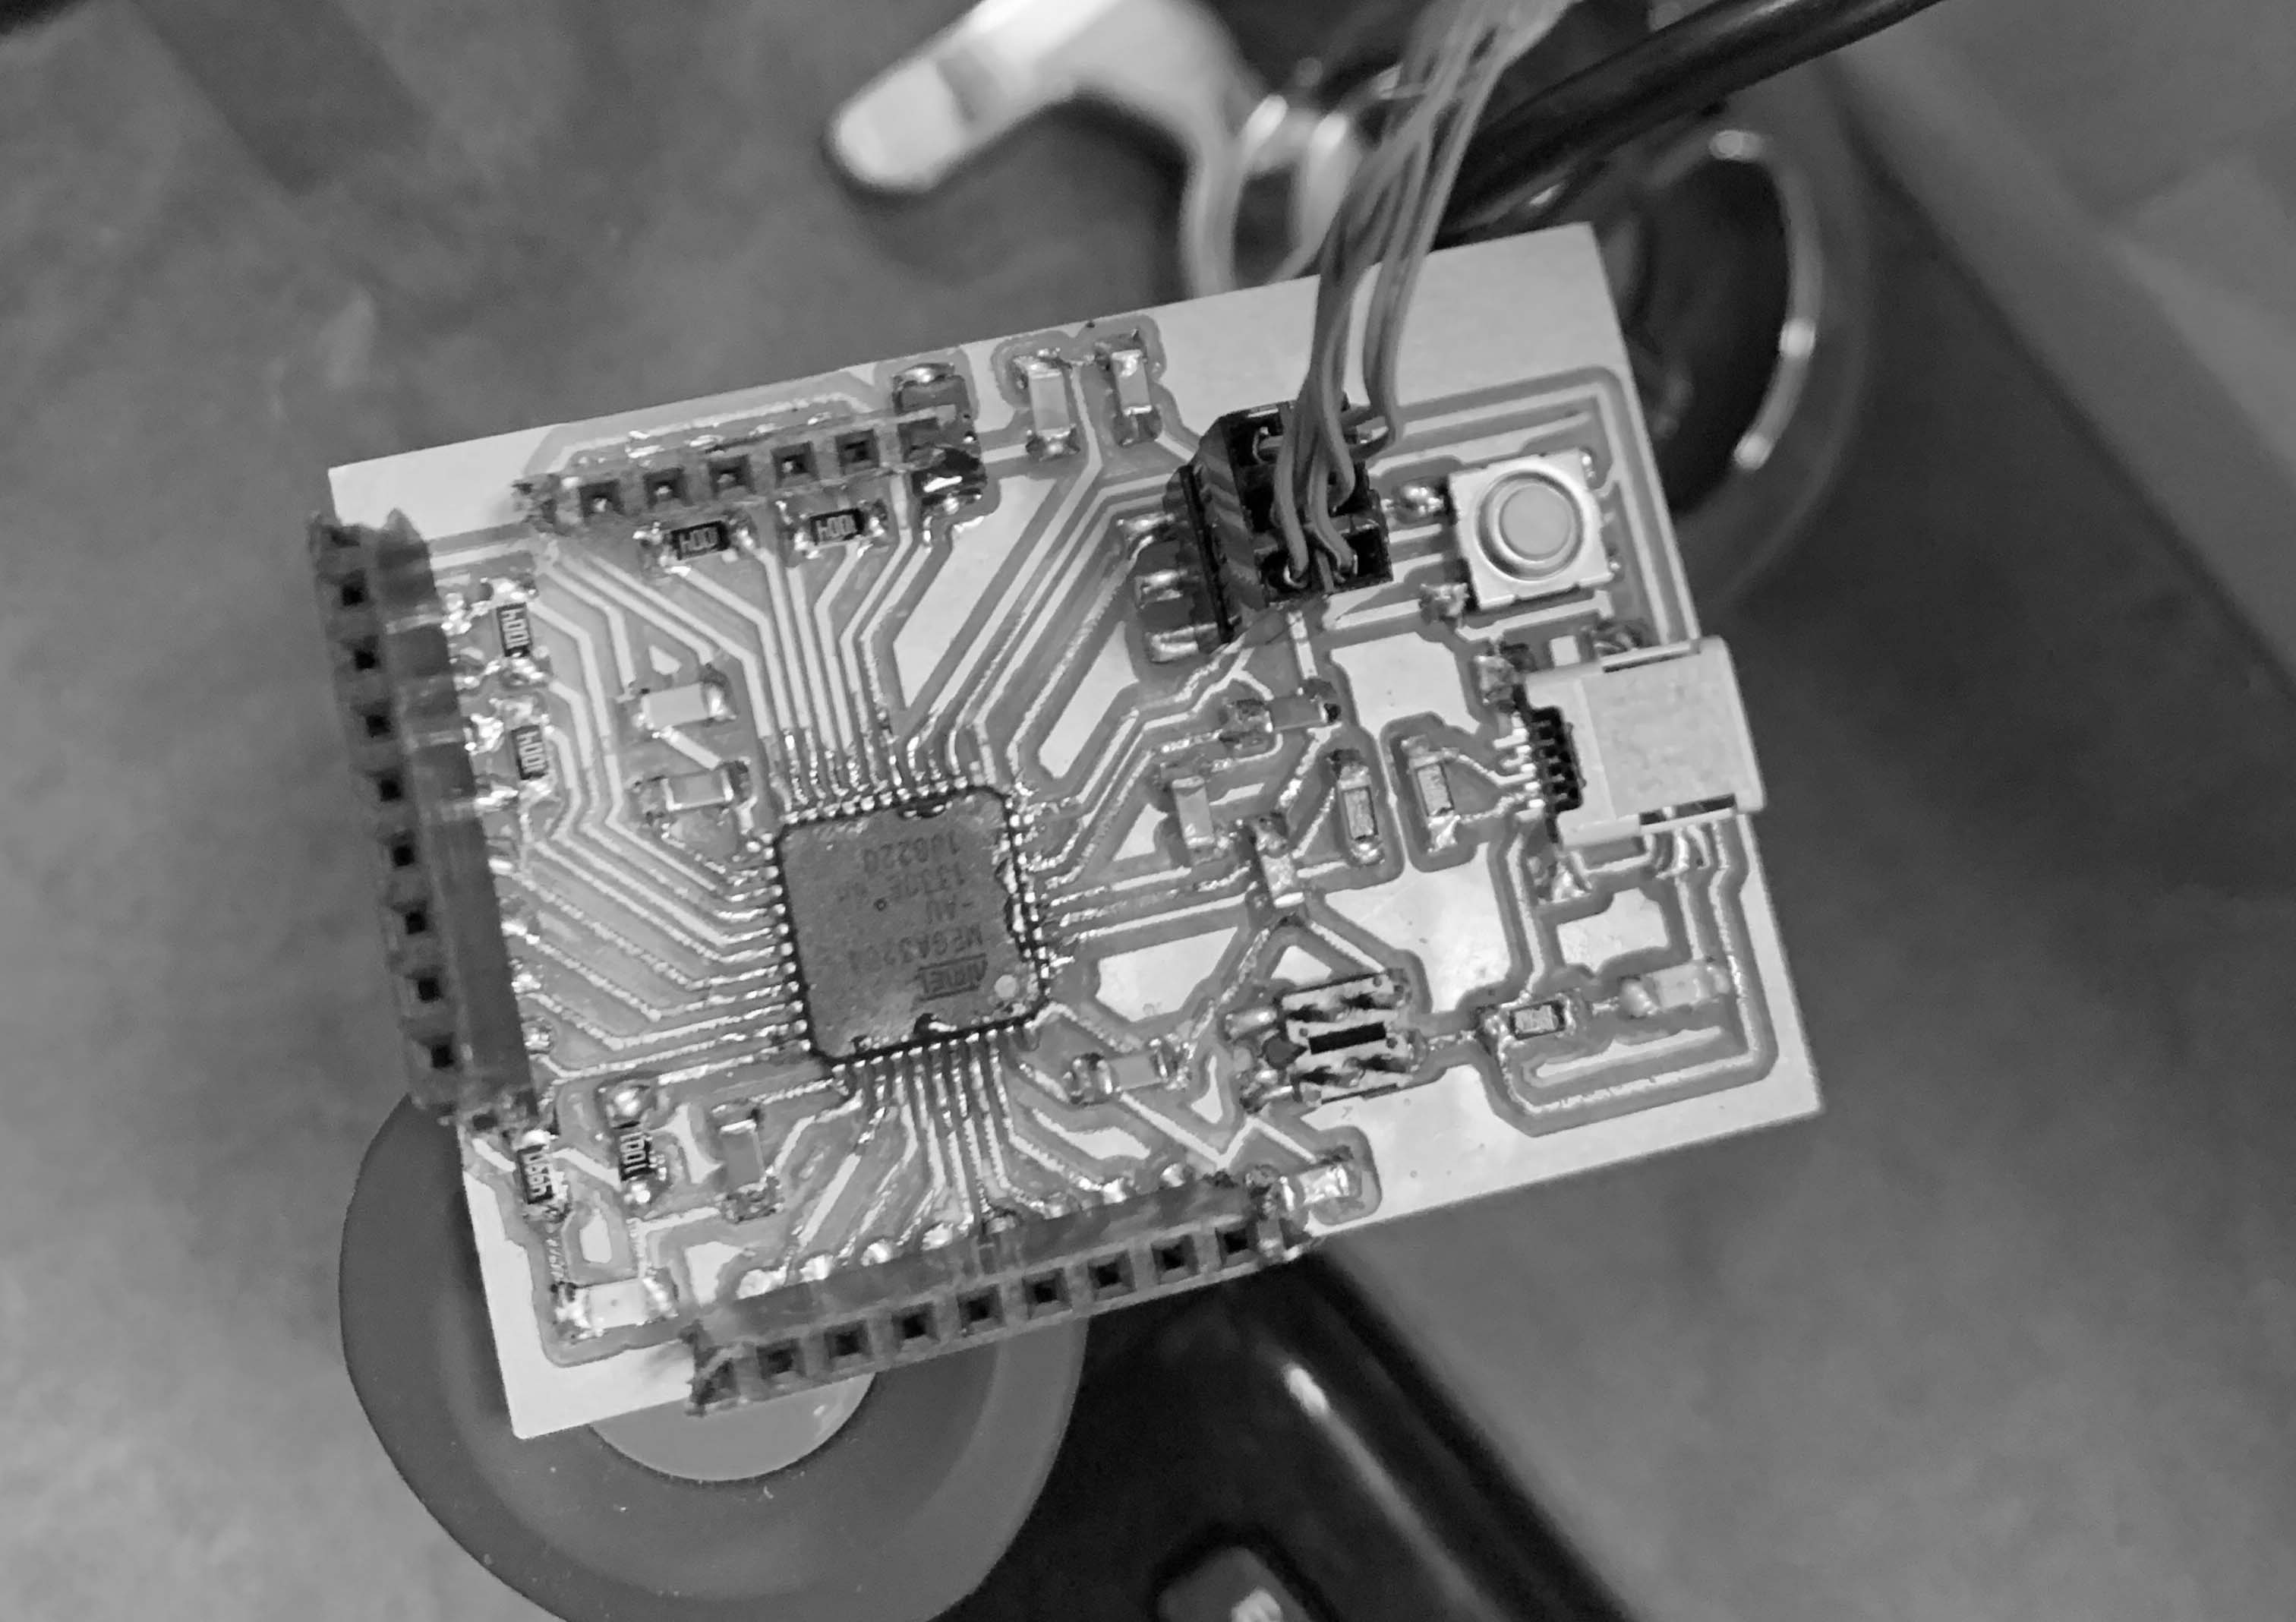
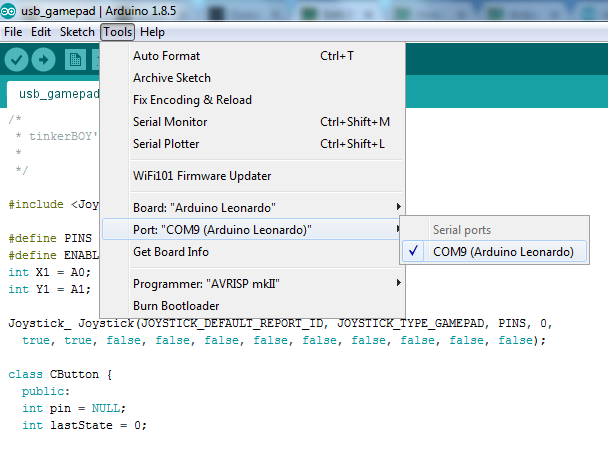
Because I don’t have the USB connector with me, I left the board in the lab and we were unfortunately not able to program our board next day. I think this is probably because of the wrong crystal value or my soldering problem. Our other group members helped us on this touchpad and the new board was successfully programed with Arduino Leonardo.
Assembly:
Our design group fabricates nice looking wood frames for the claw machine. On Tuesday morning at 11:30a.m, our whole team met at the SMArchS office and started the quick assembly. The final assembly was completed with the power supply wrapped in the wood case at noon on Wednesday.
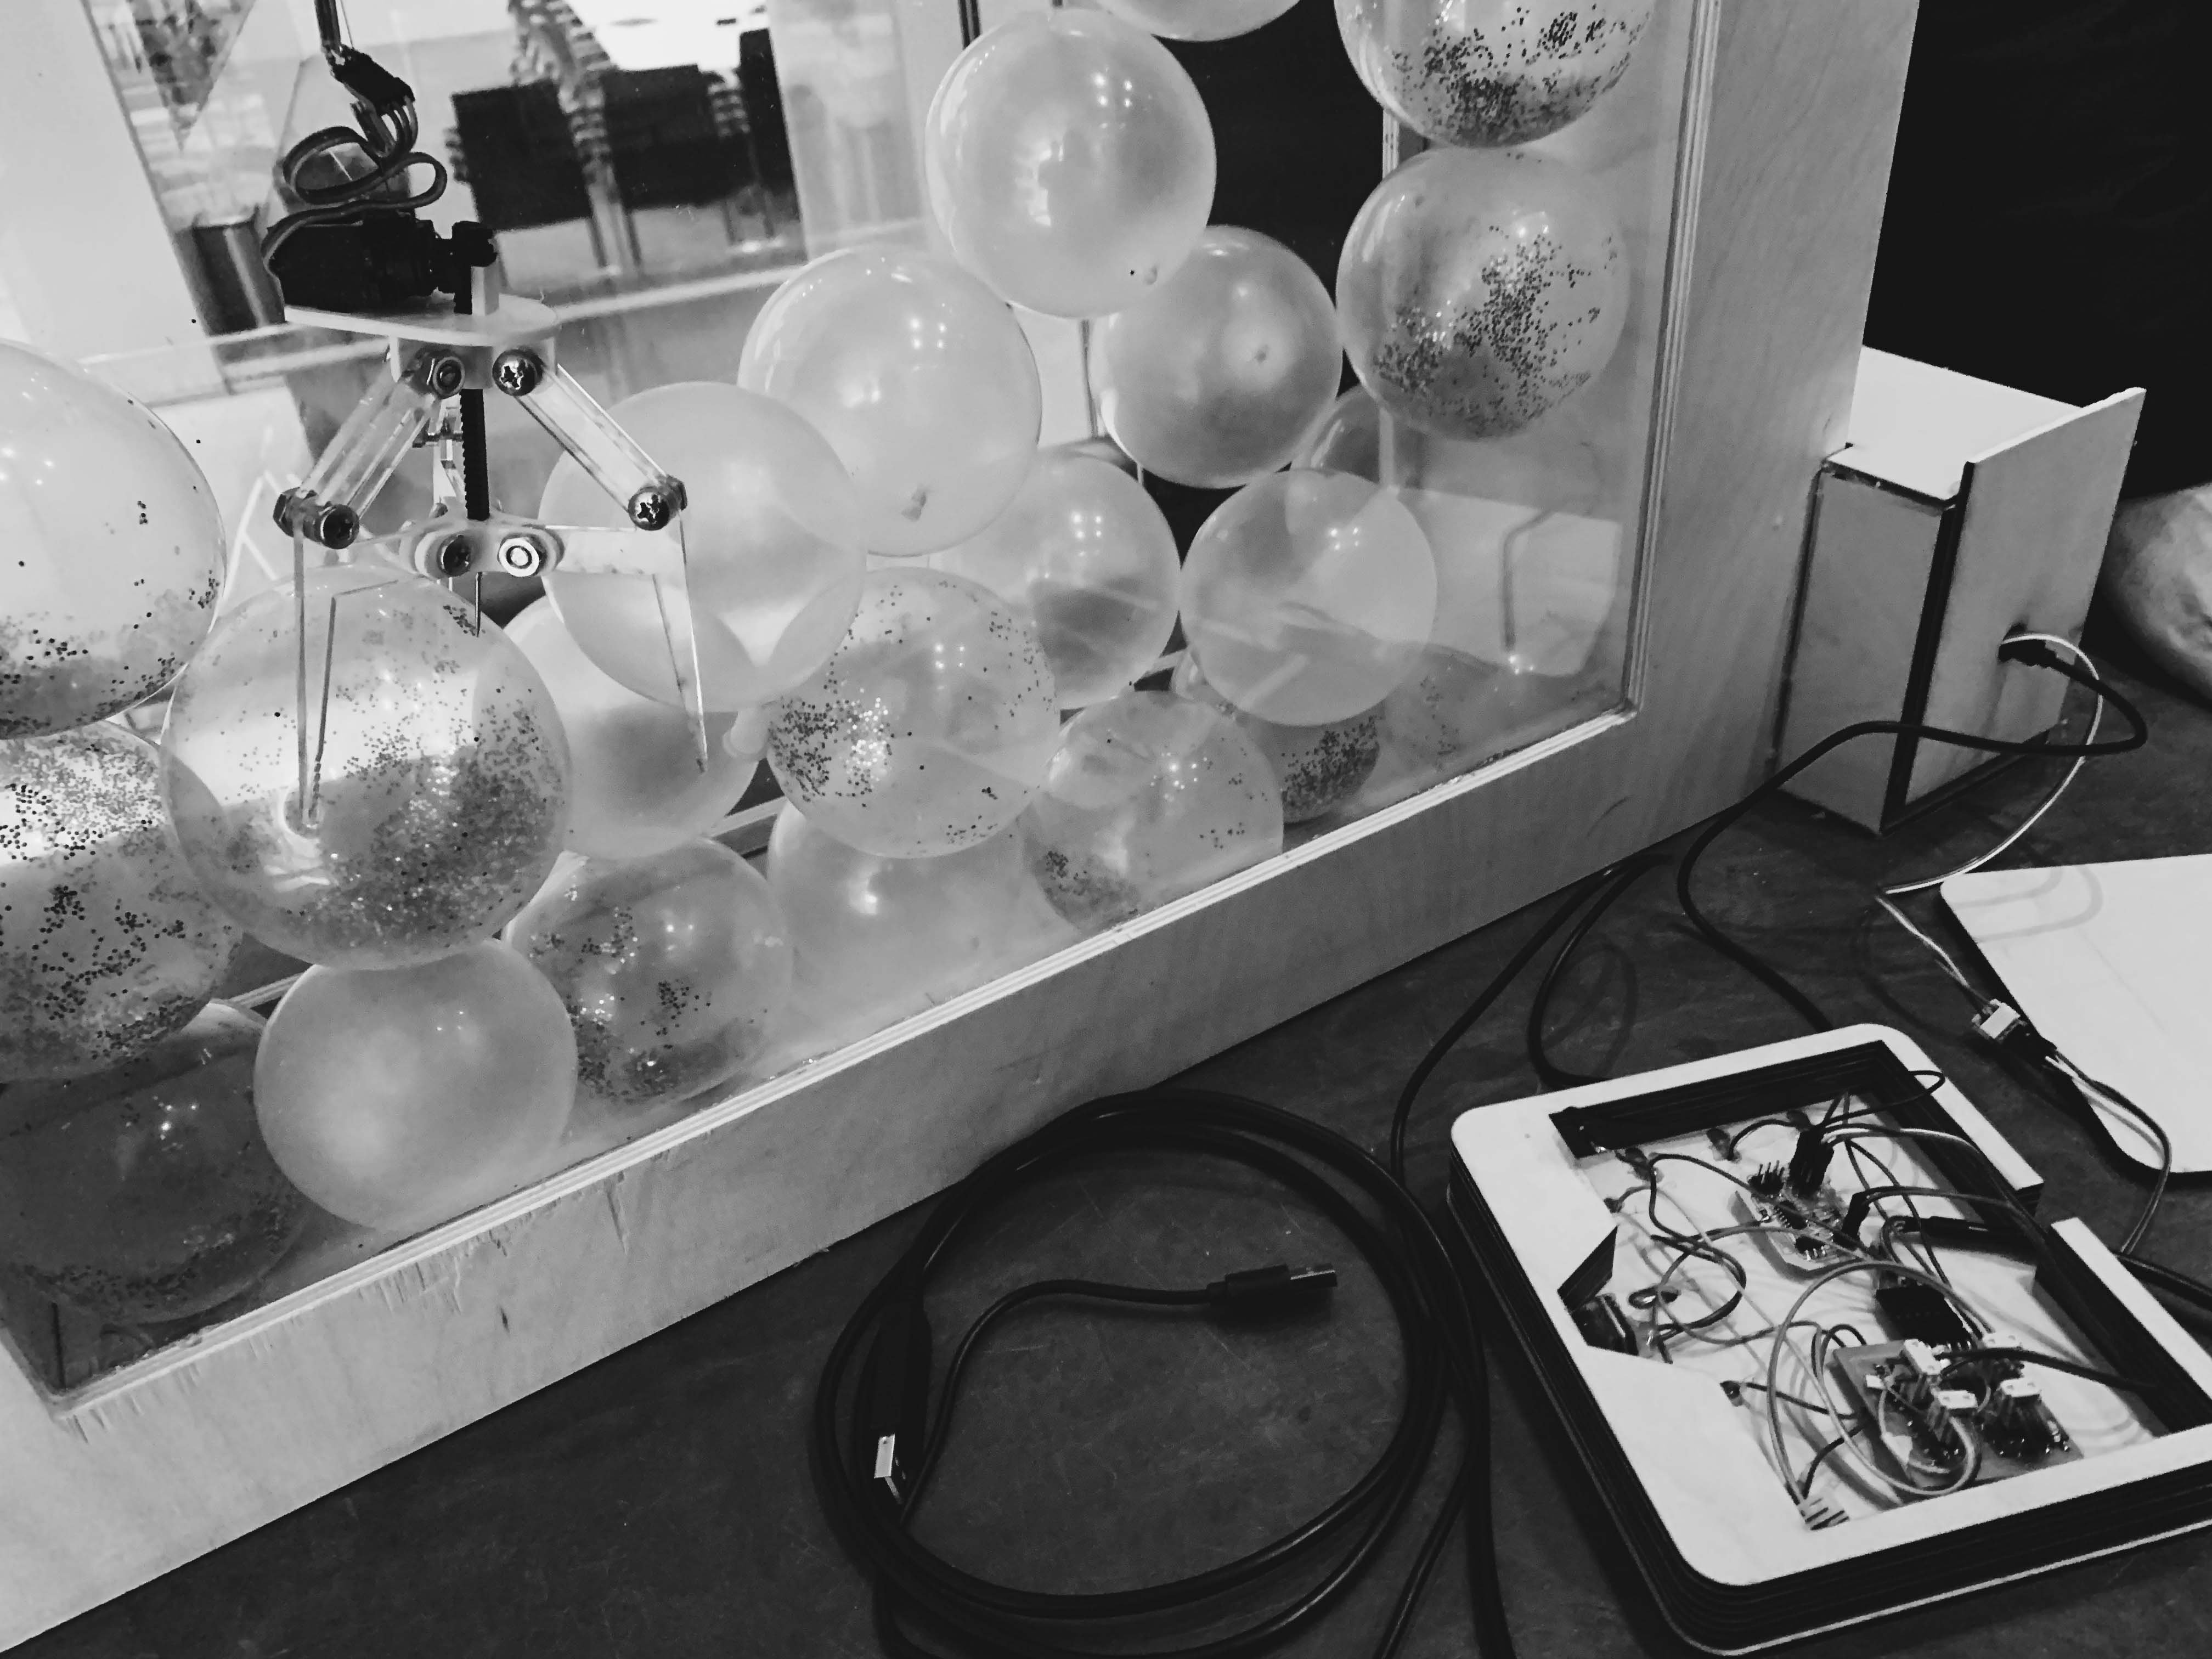
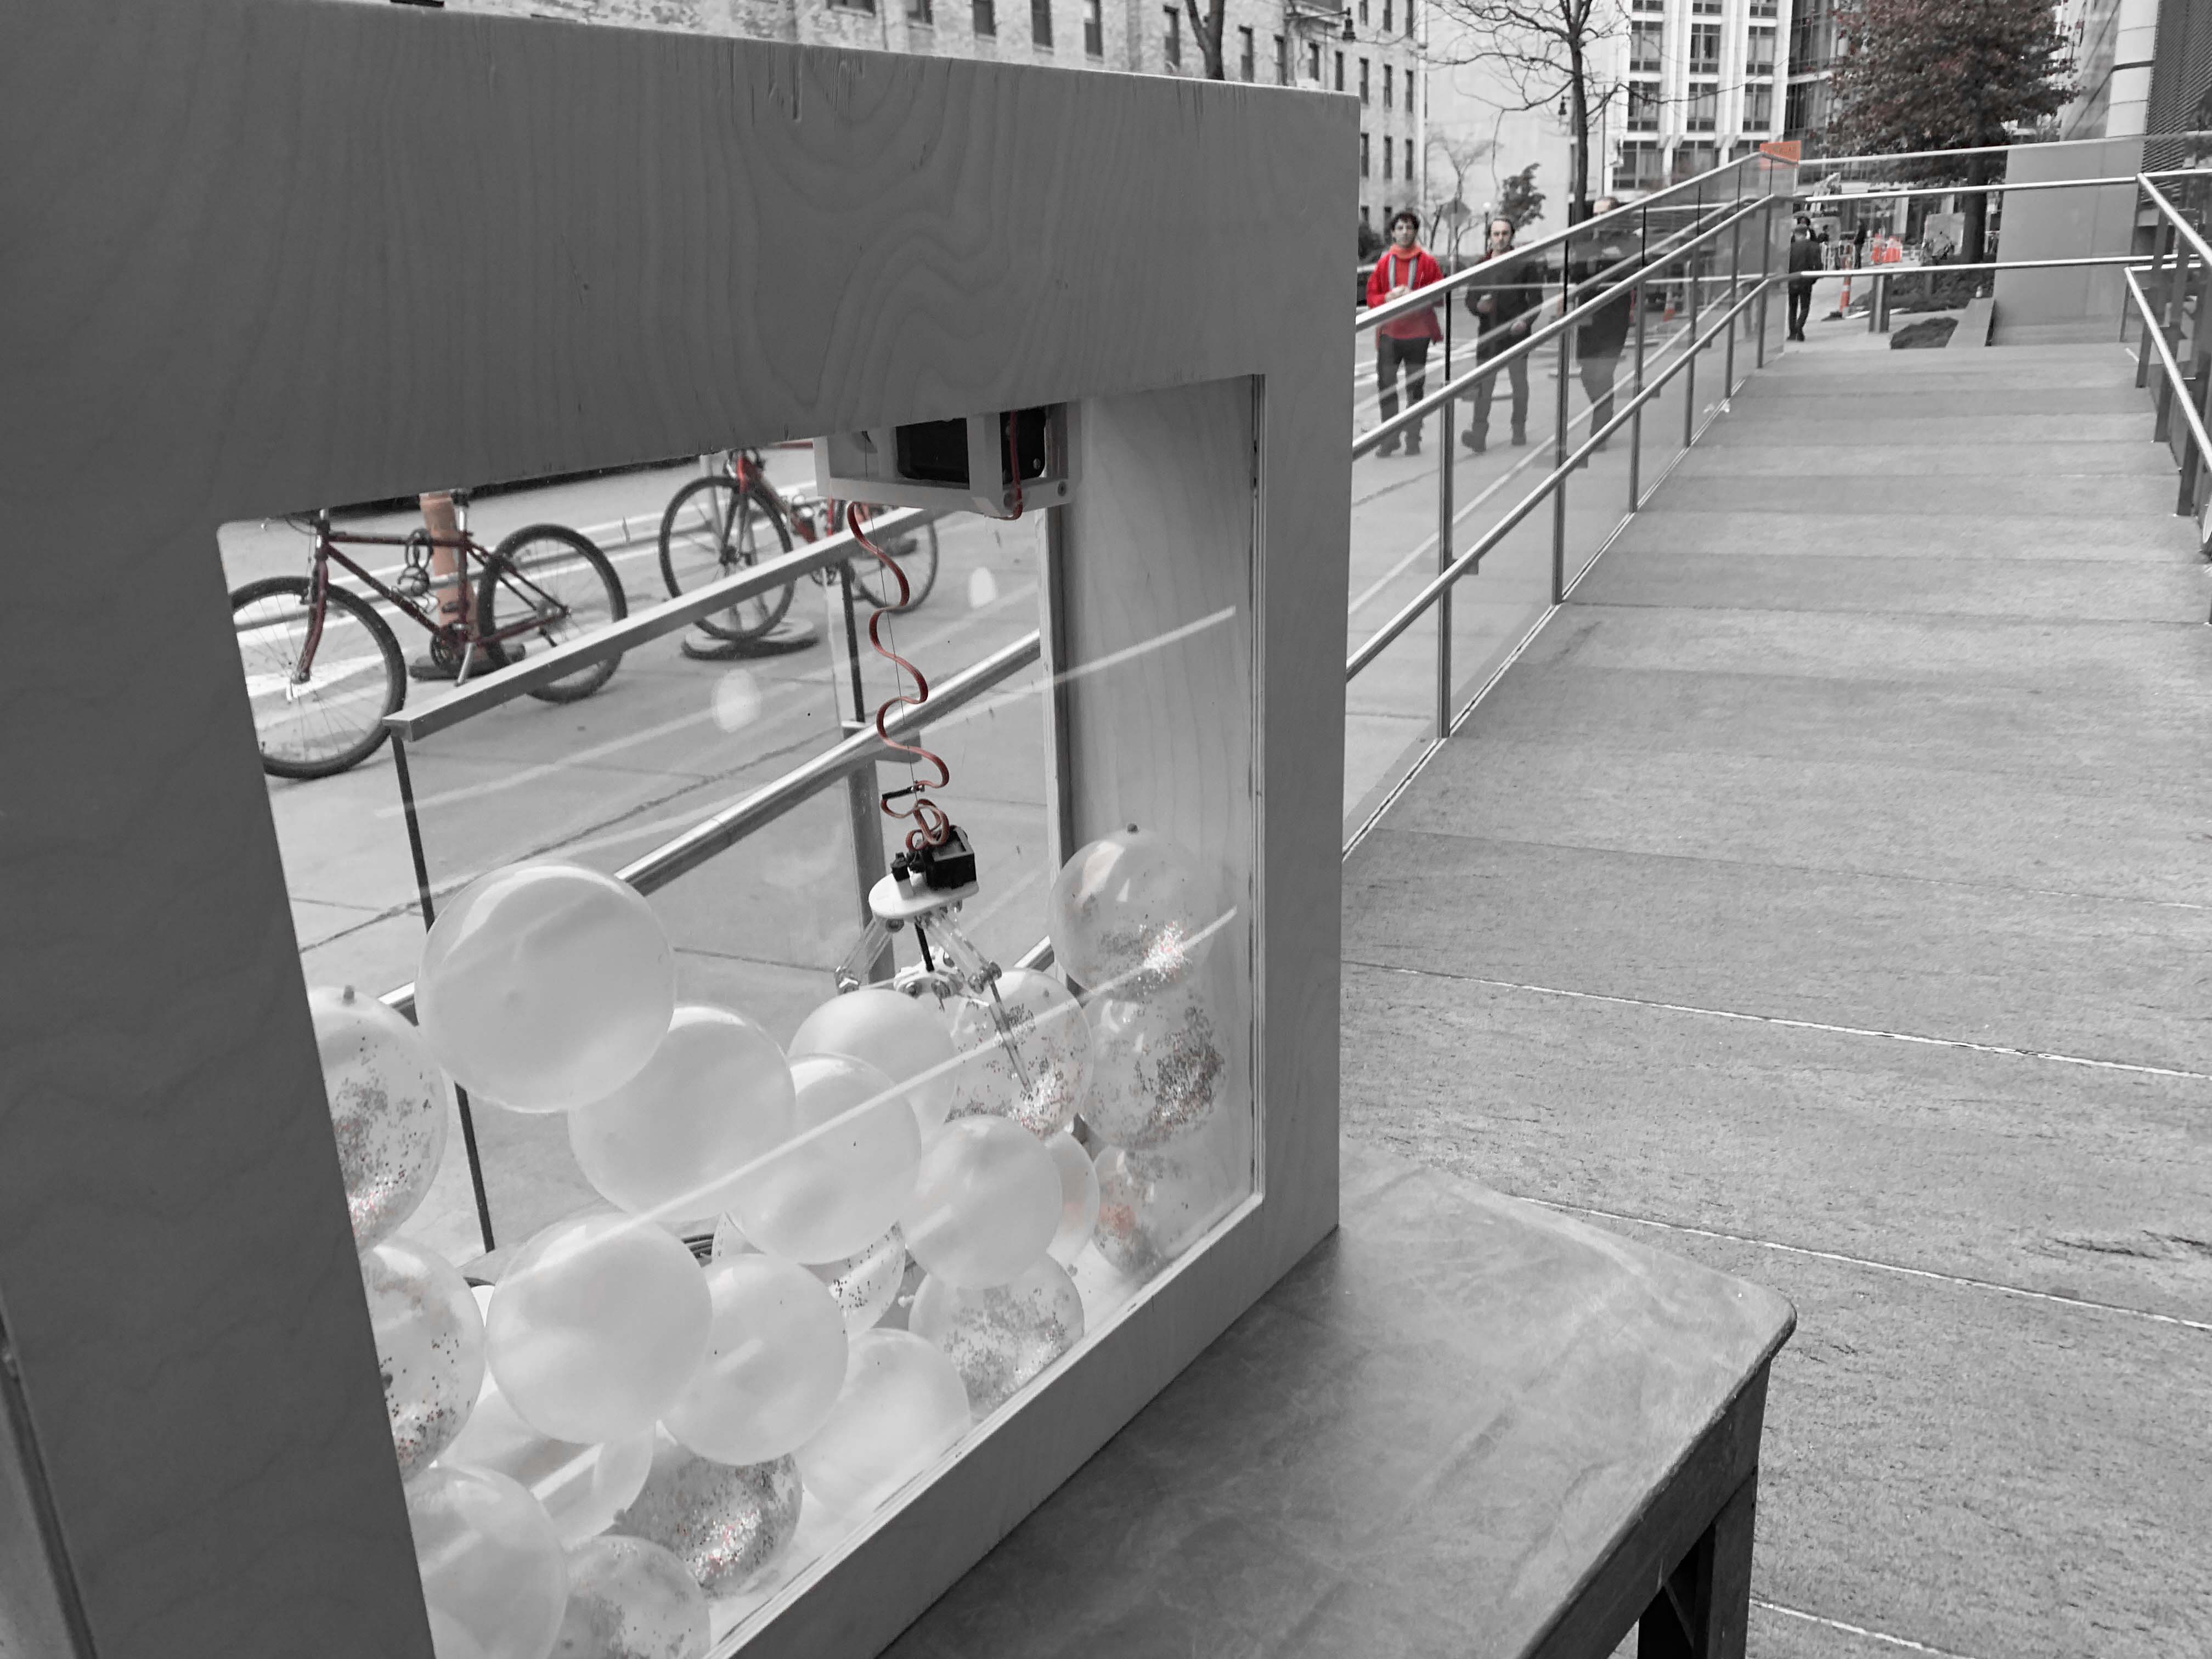
Chris and I took our machine to the classroom.
Stressful and fun week!