Work Progress
This week, I tested design rules for the 3d printer in the arch shop with Anna and Morgan.
We initially downloaded Neil's testing file, unsupported, support, thickness, anisotropy, dimension, etc, but it took 12 hours to print
all the STL files together, so we found another testing file online that could test stringing, sharp corners, bridging, diameter. The total
printing time is only two hours.
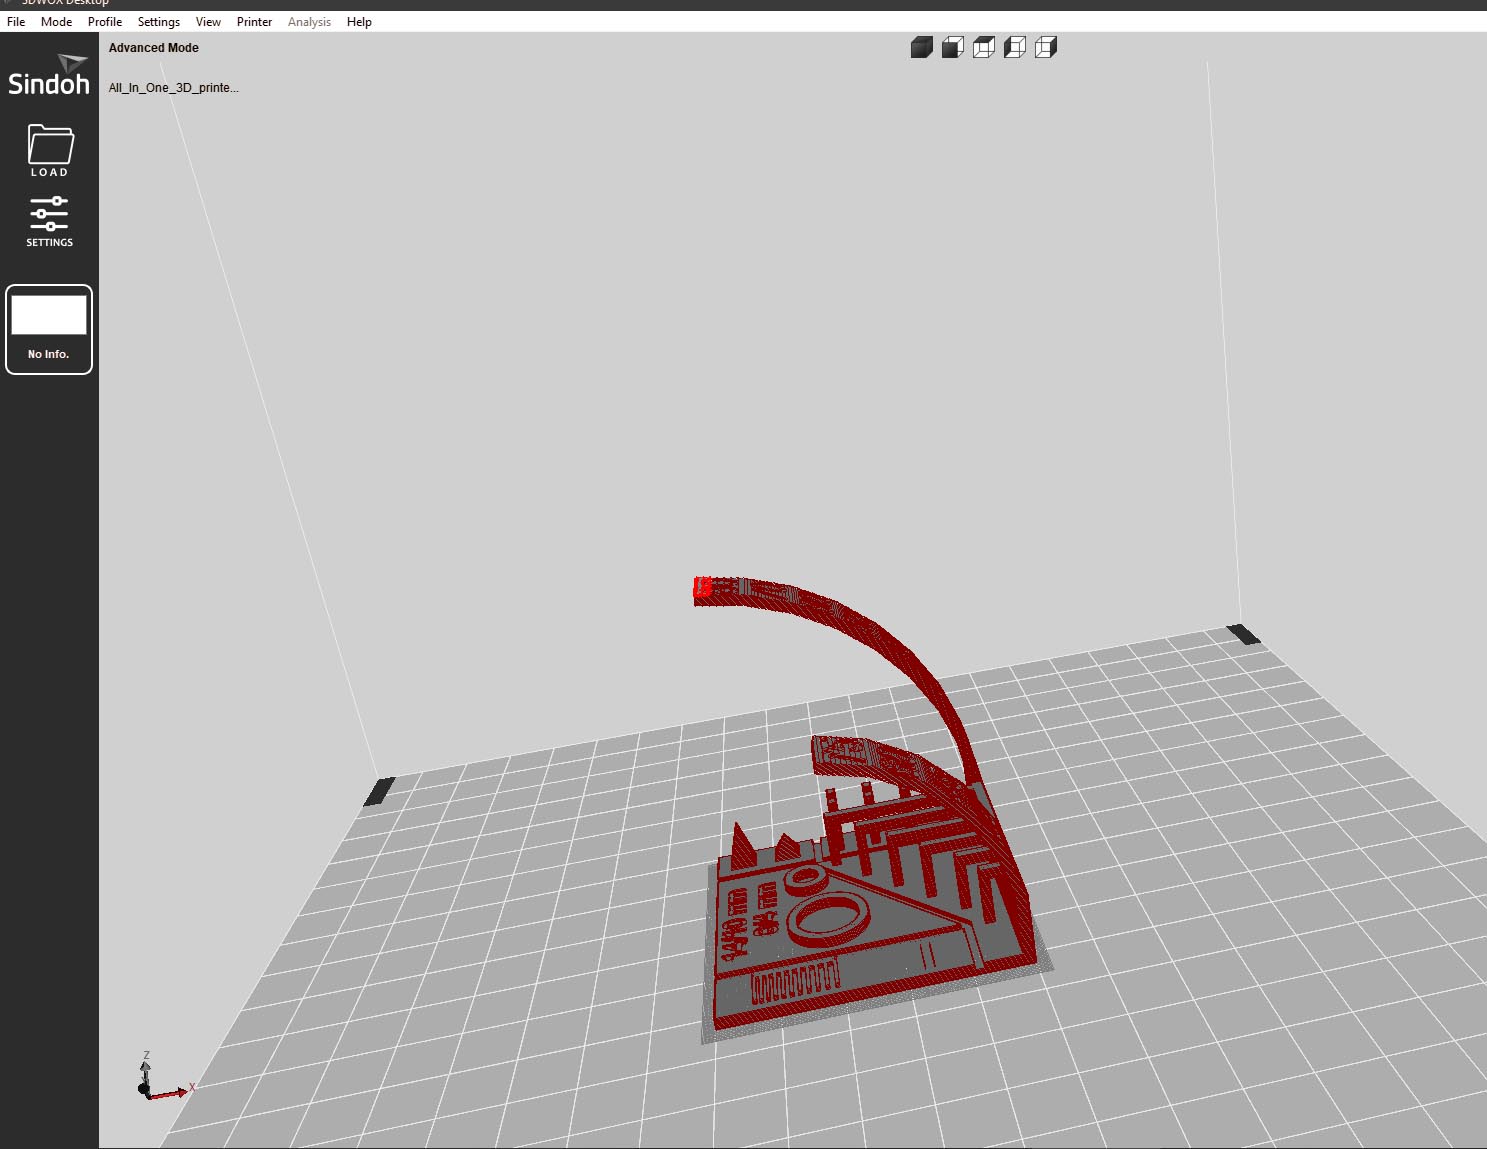
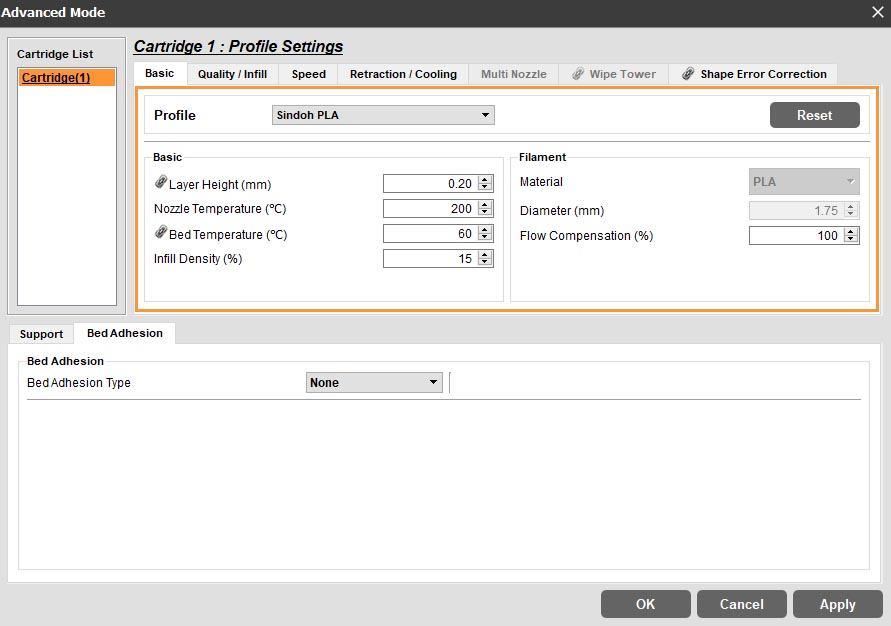
The Settings we used for the testing file were no bed adhesion, 20% fill, and default Settings for everything.
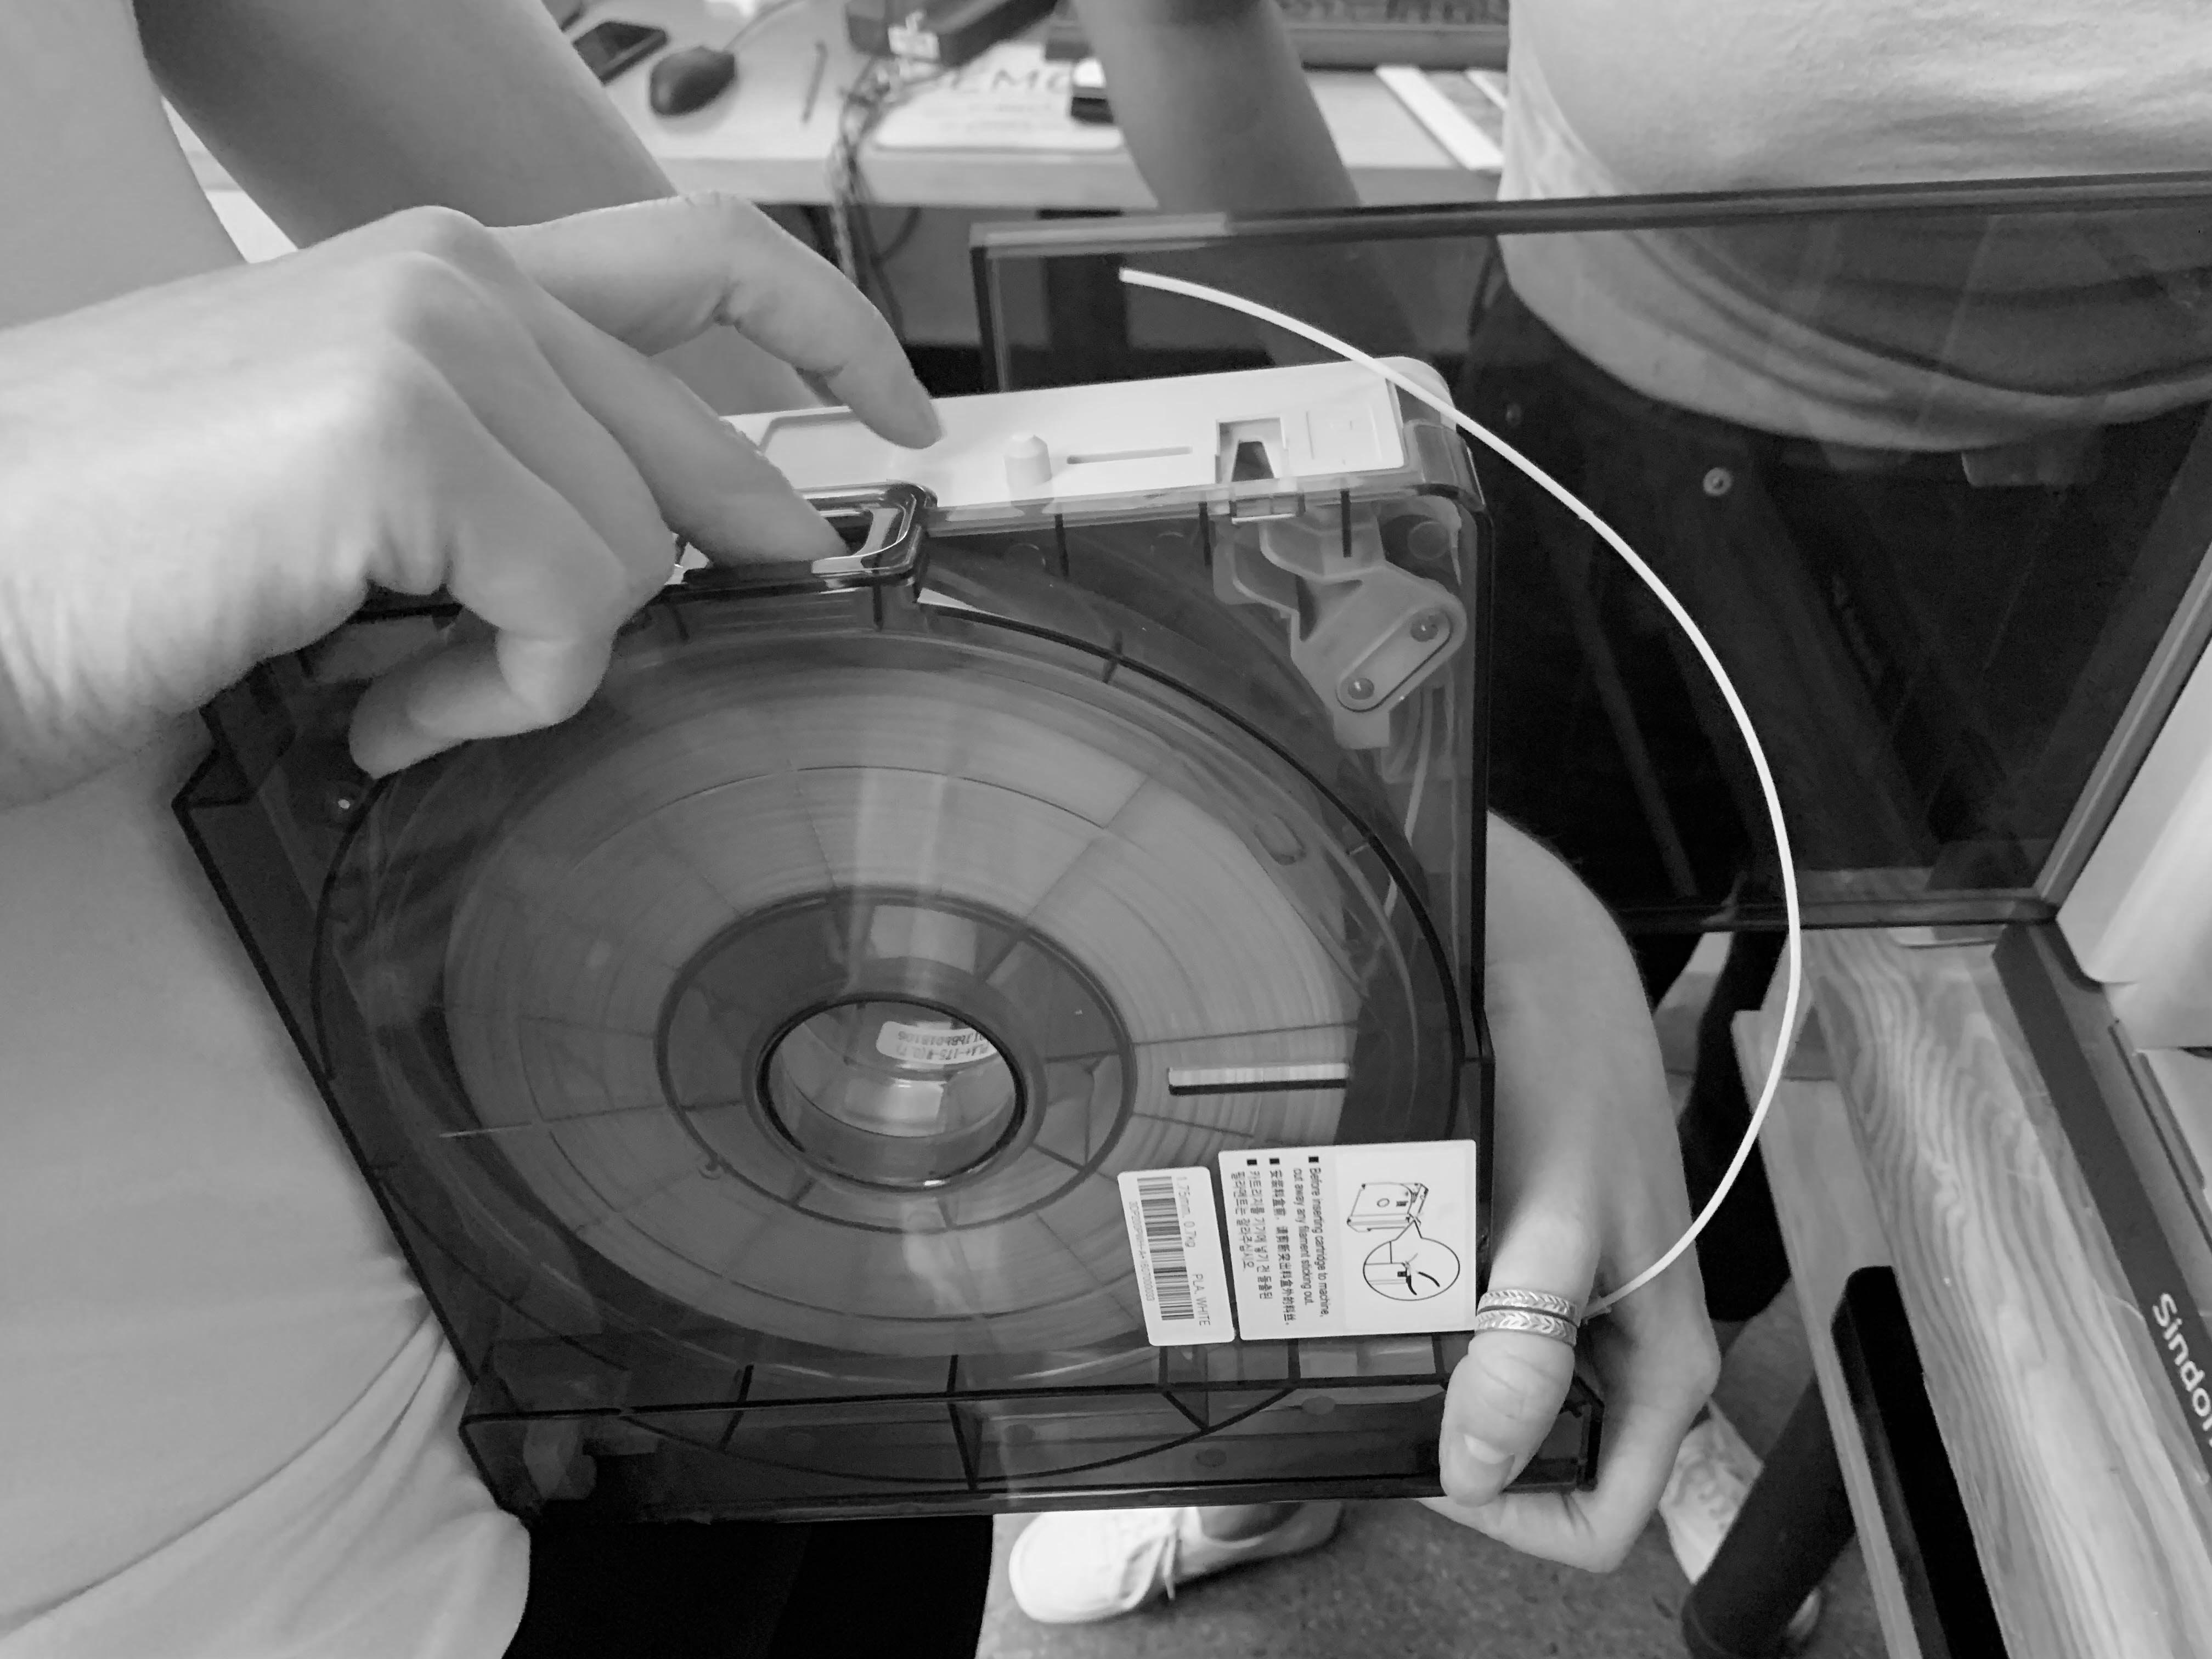
But because of the printer problem, we kept getting error notifications. We cut and reinstalled the filament several times, but still
got the same message. So, we chose to use another machine in building 5 and the printing went very well.
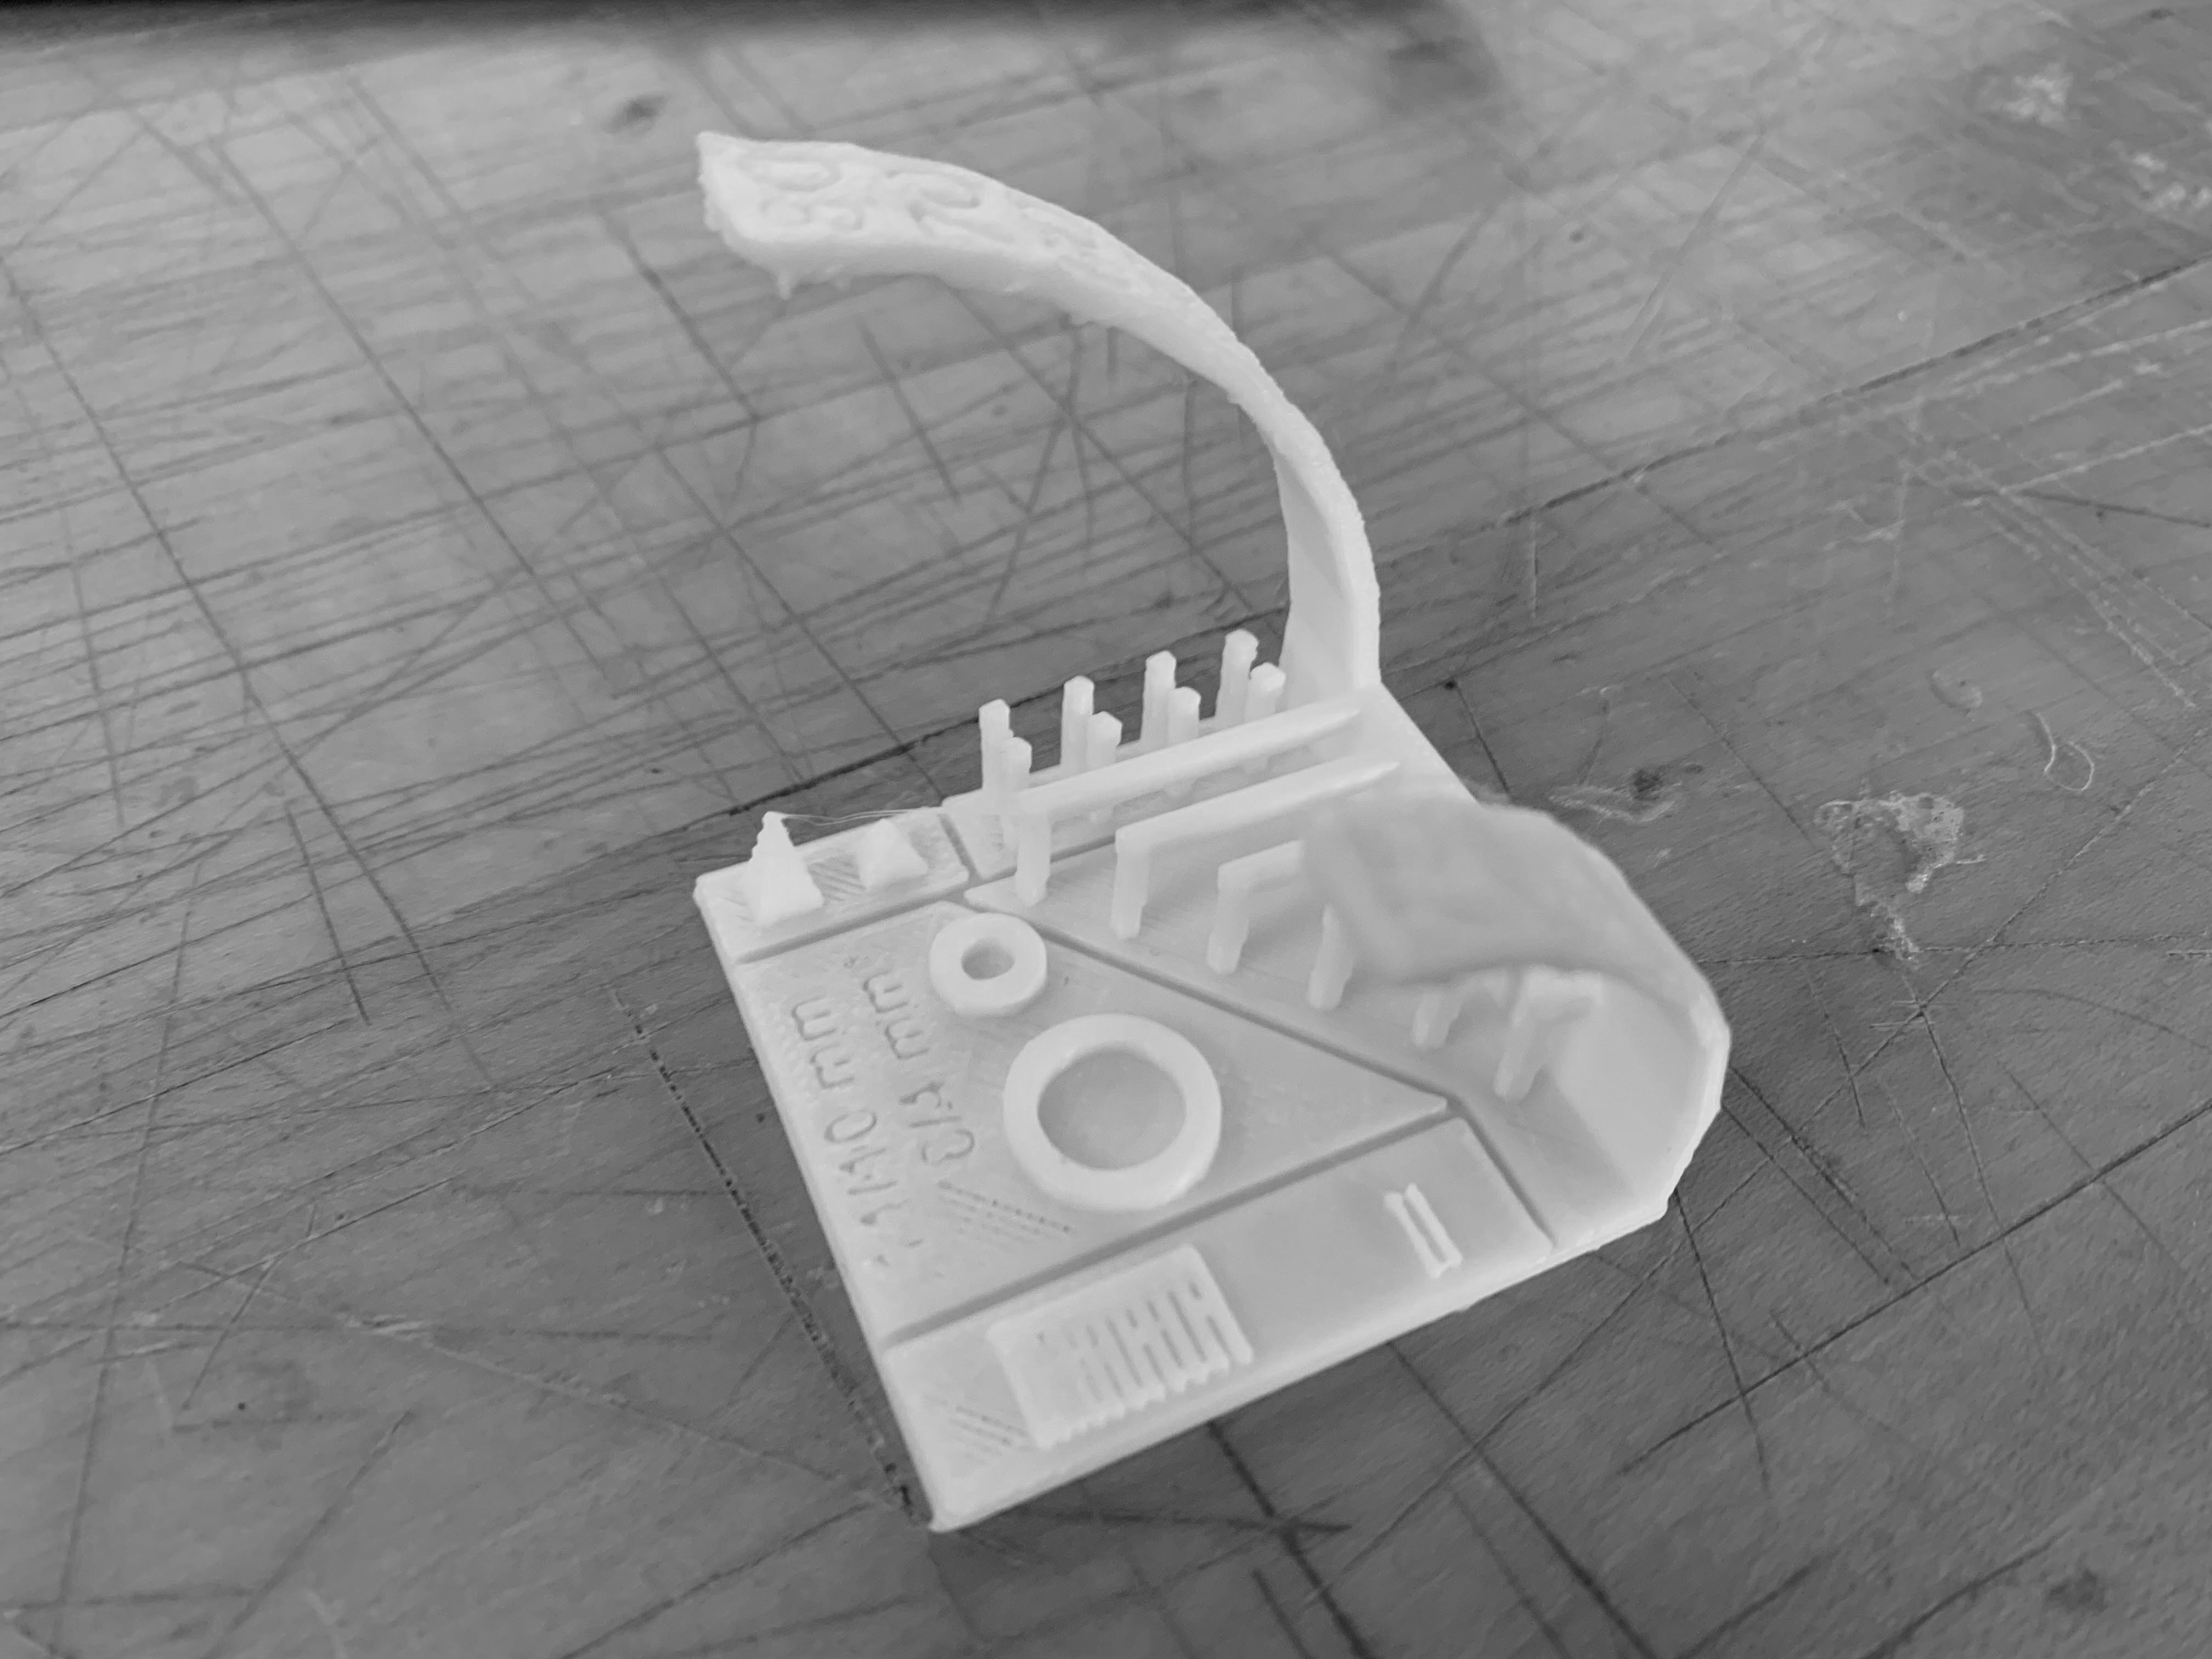
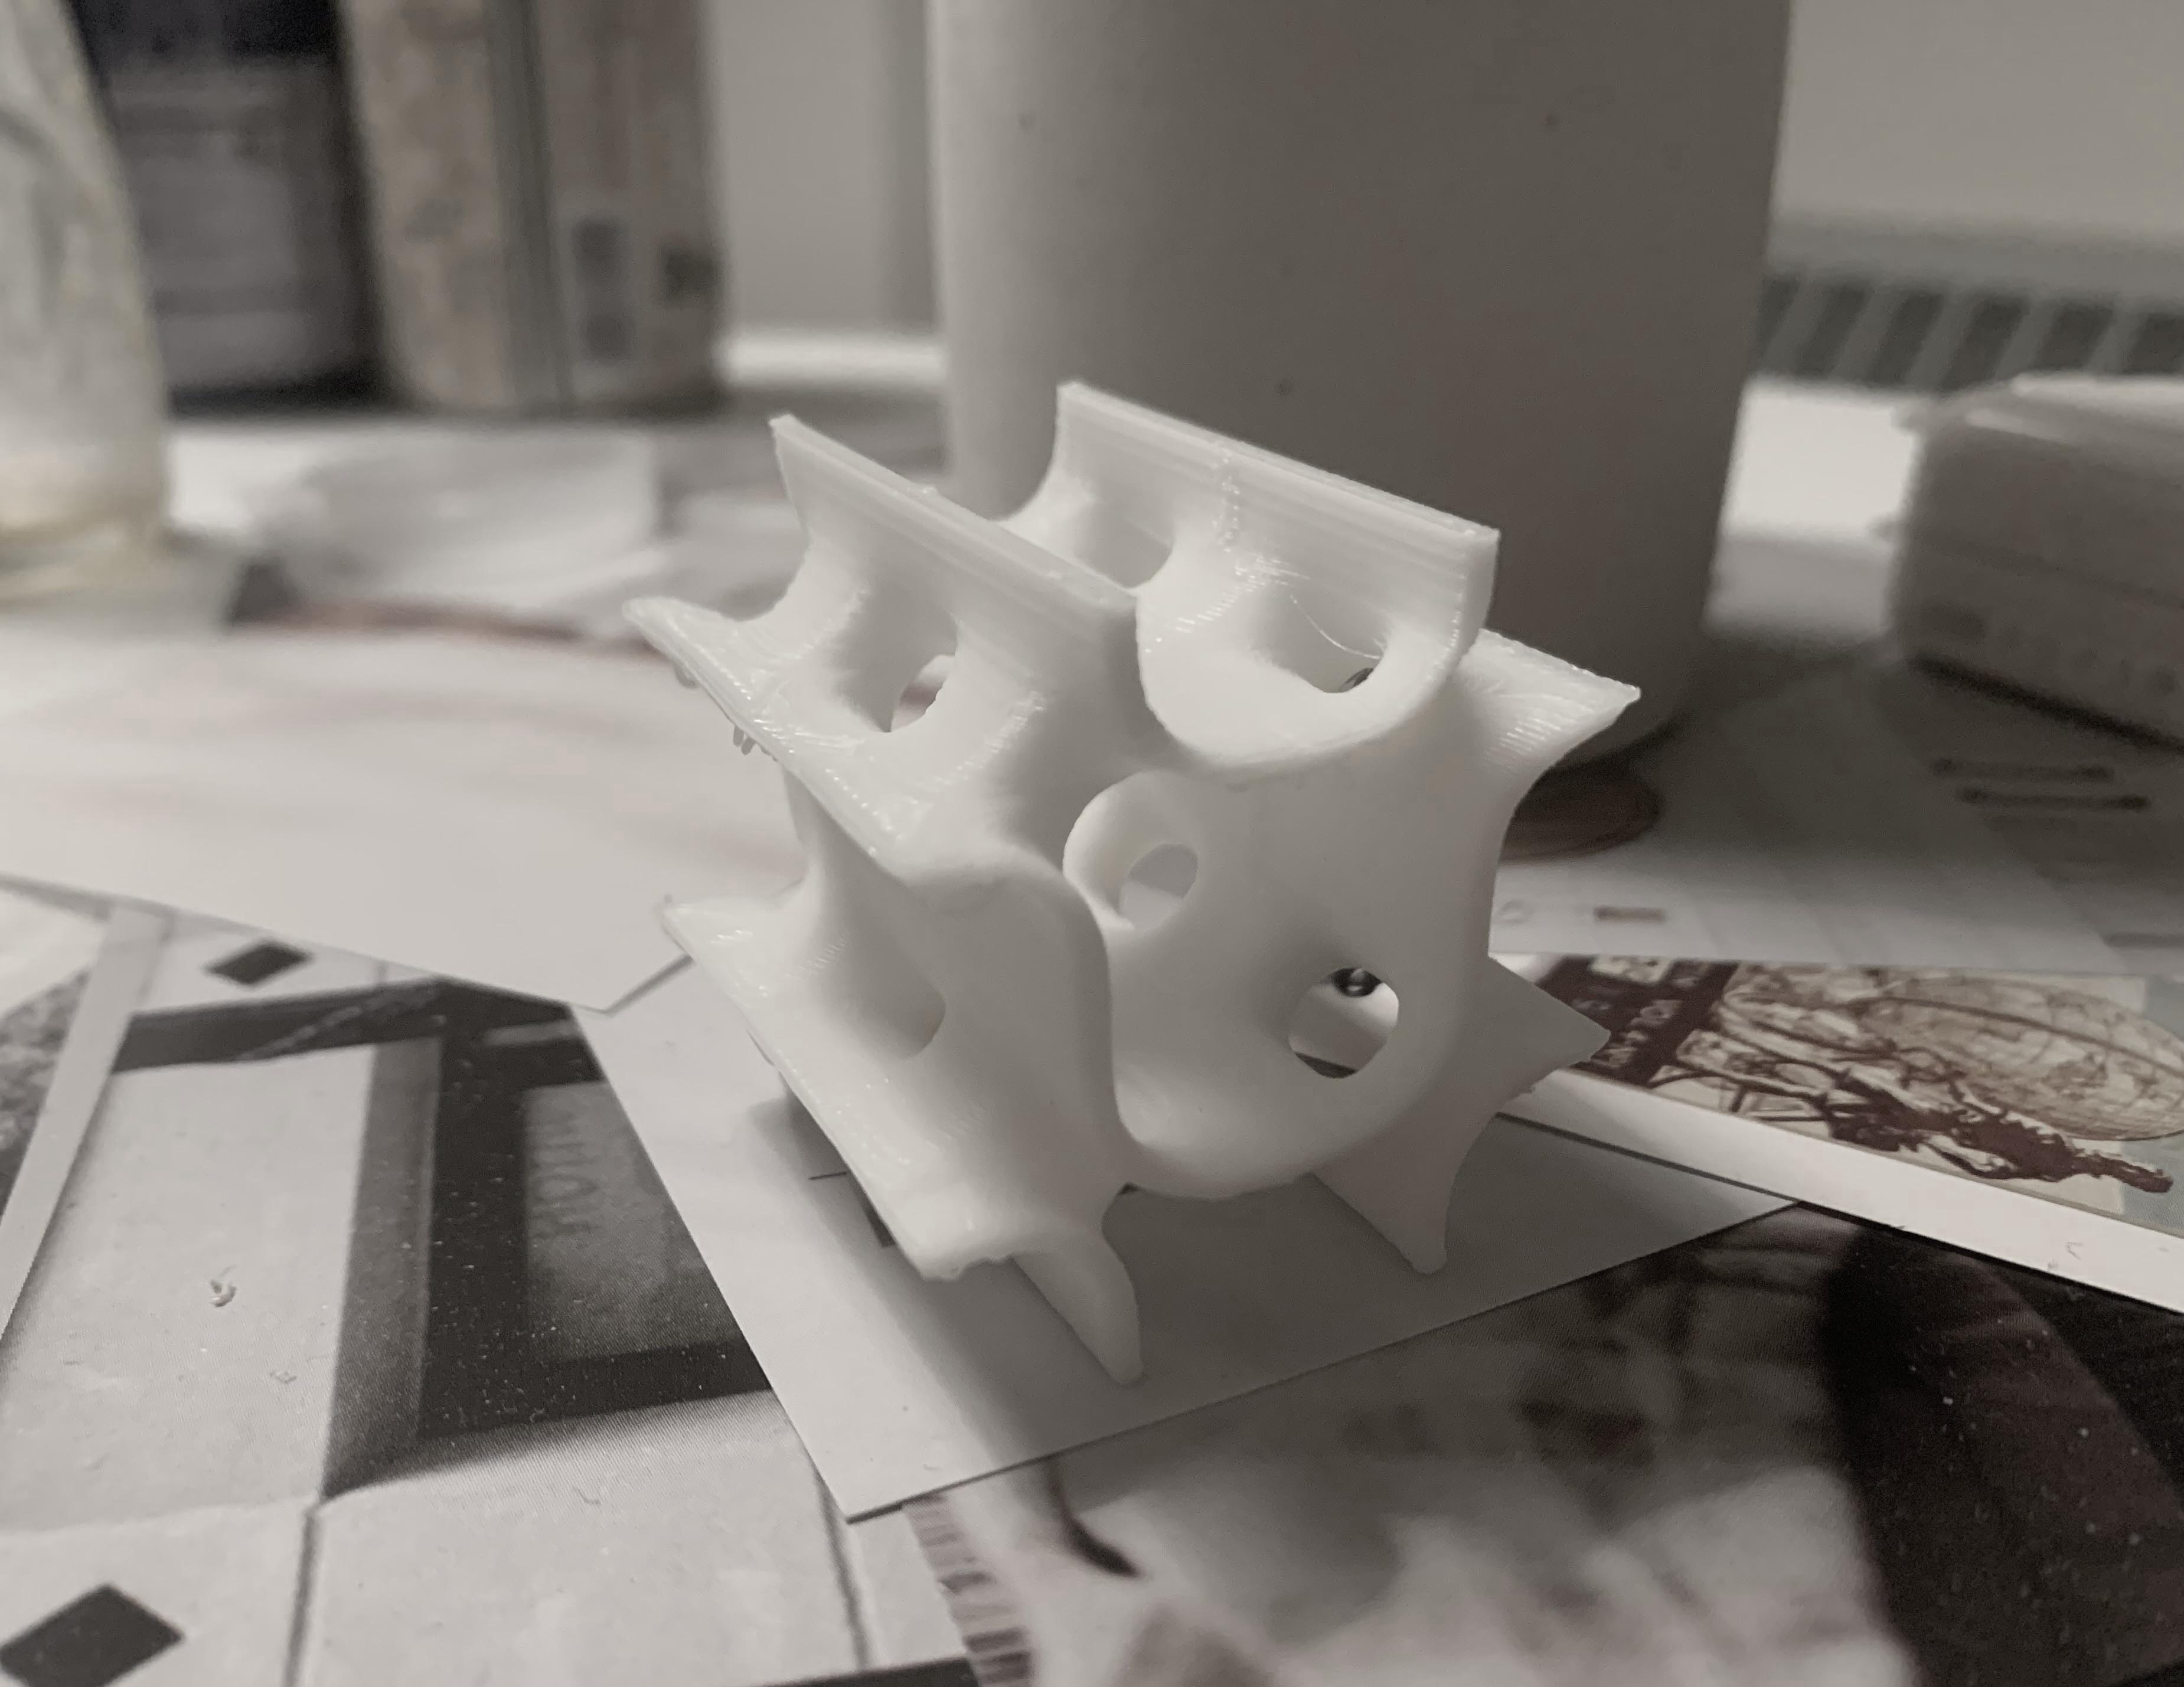
I was very interested in the 3d printer's printability for skeleton and thin surface, so I chose to print a sample unit model
of one of my previous projects, an architecture project exploring the fluidity on minimal surface. In mathematics, a minimal
surface is a surface that locally minimizes its area. This is equivalent to having a zero-mean curvature. For this kind of surface,
heads are tails, tails are heads, and the aesthetic is defined by the blurry boundary.
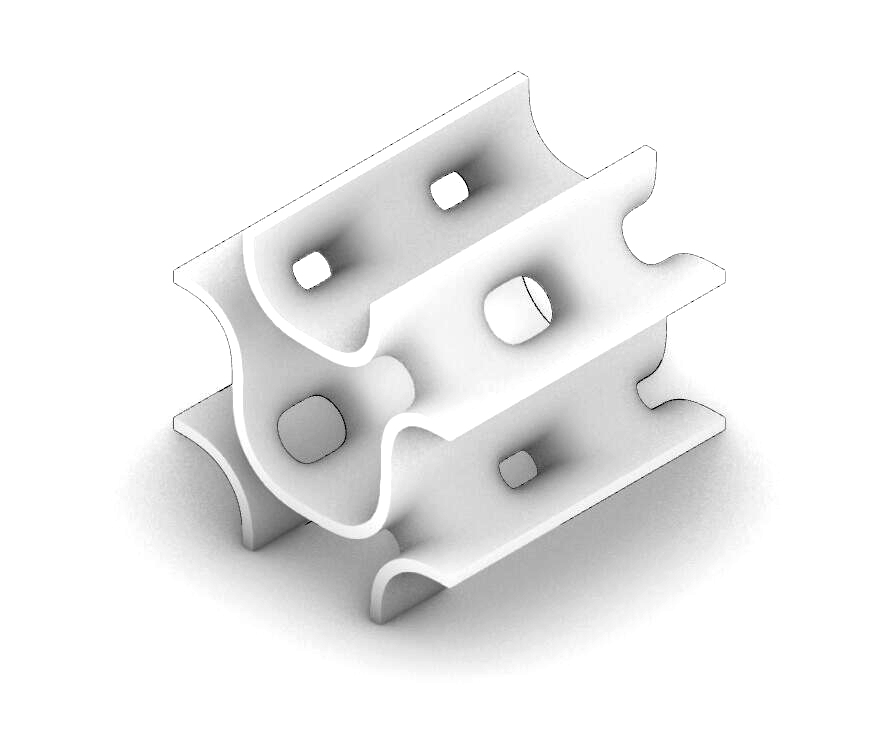
I used the same Settings as the testing file. I deliberately choose the setting that not support everywhere to test if the overhang part
can be print out on this scale successfully without any support materials. The print result is pretty nice except a little mess at the bottom.
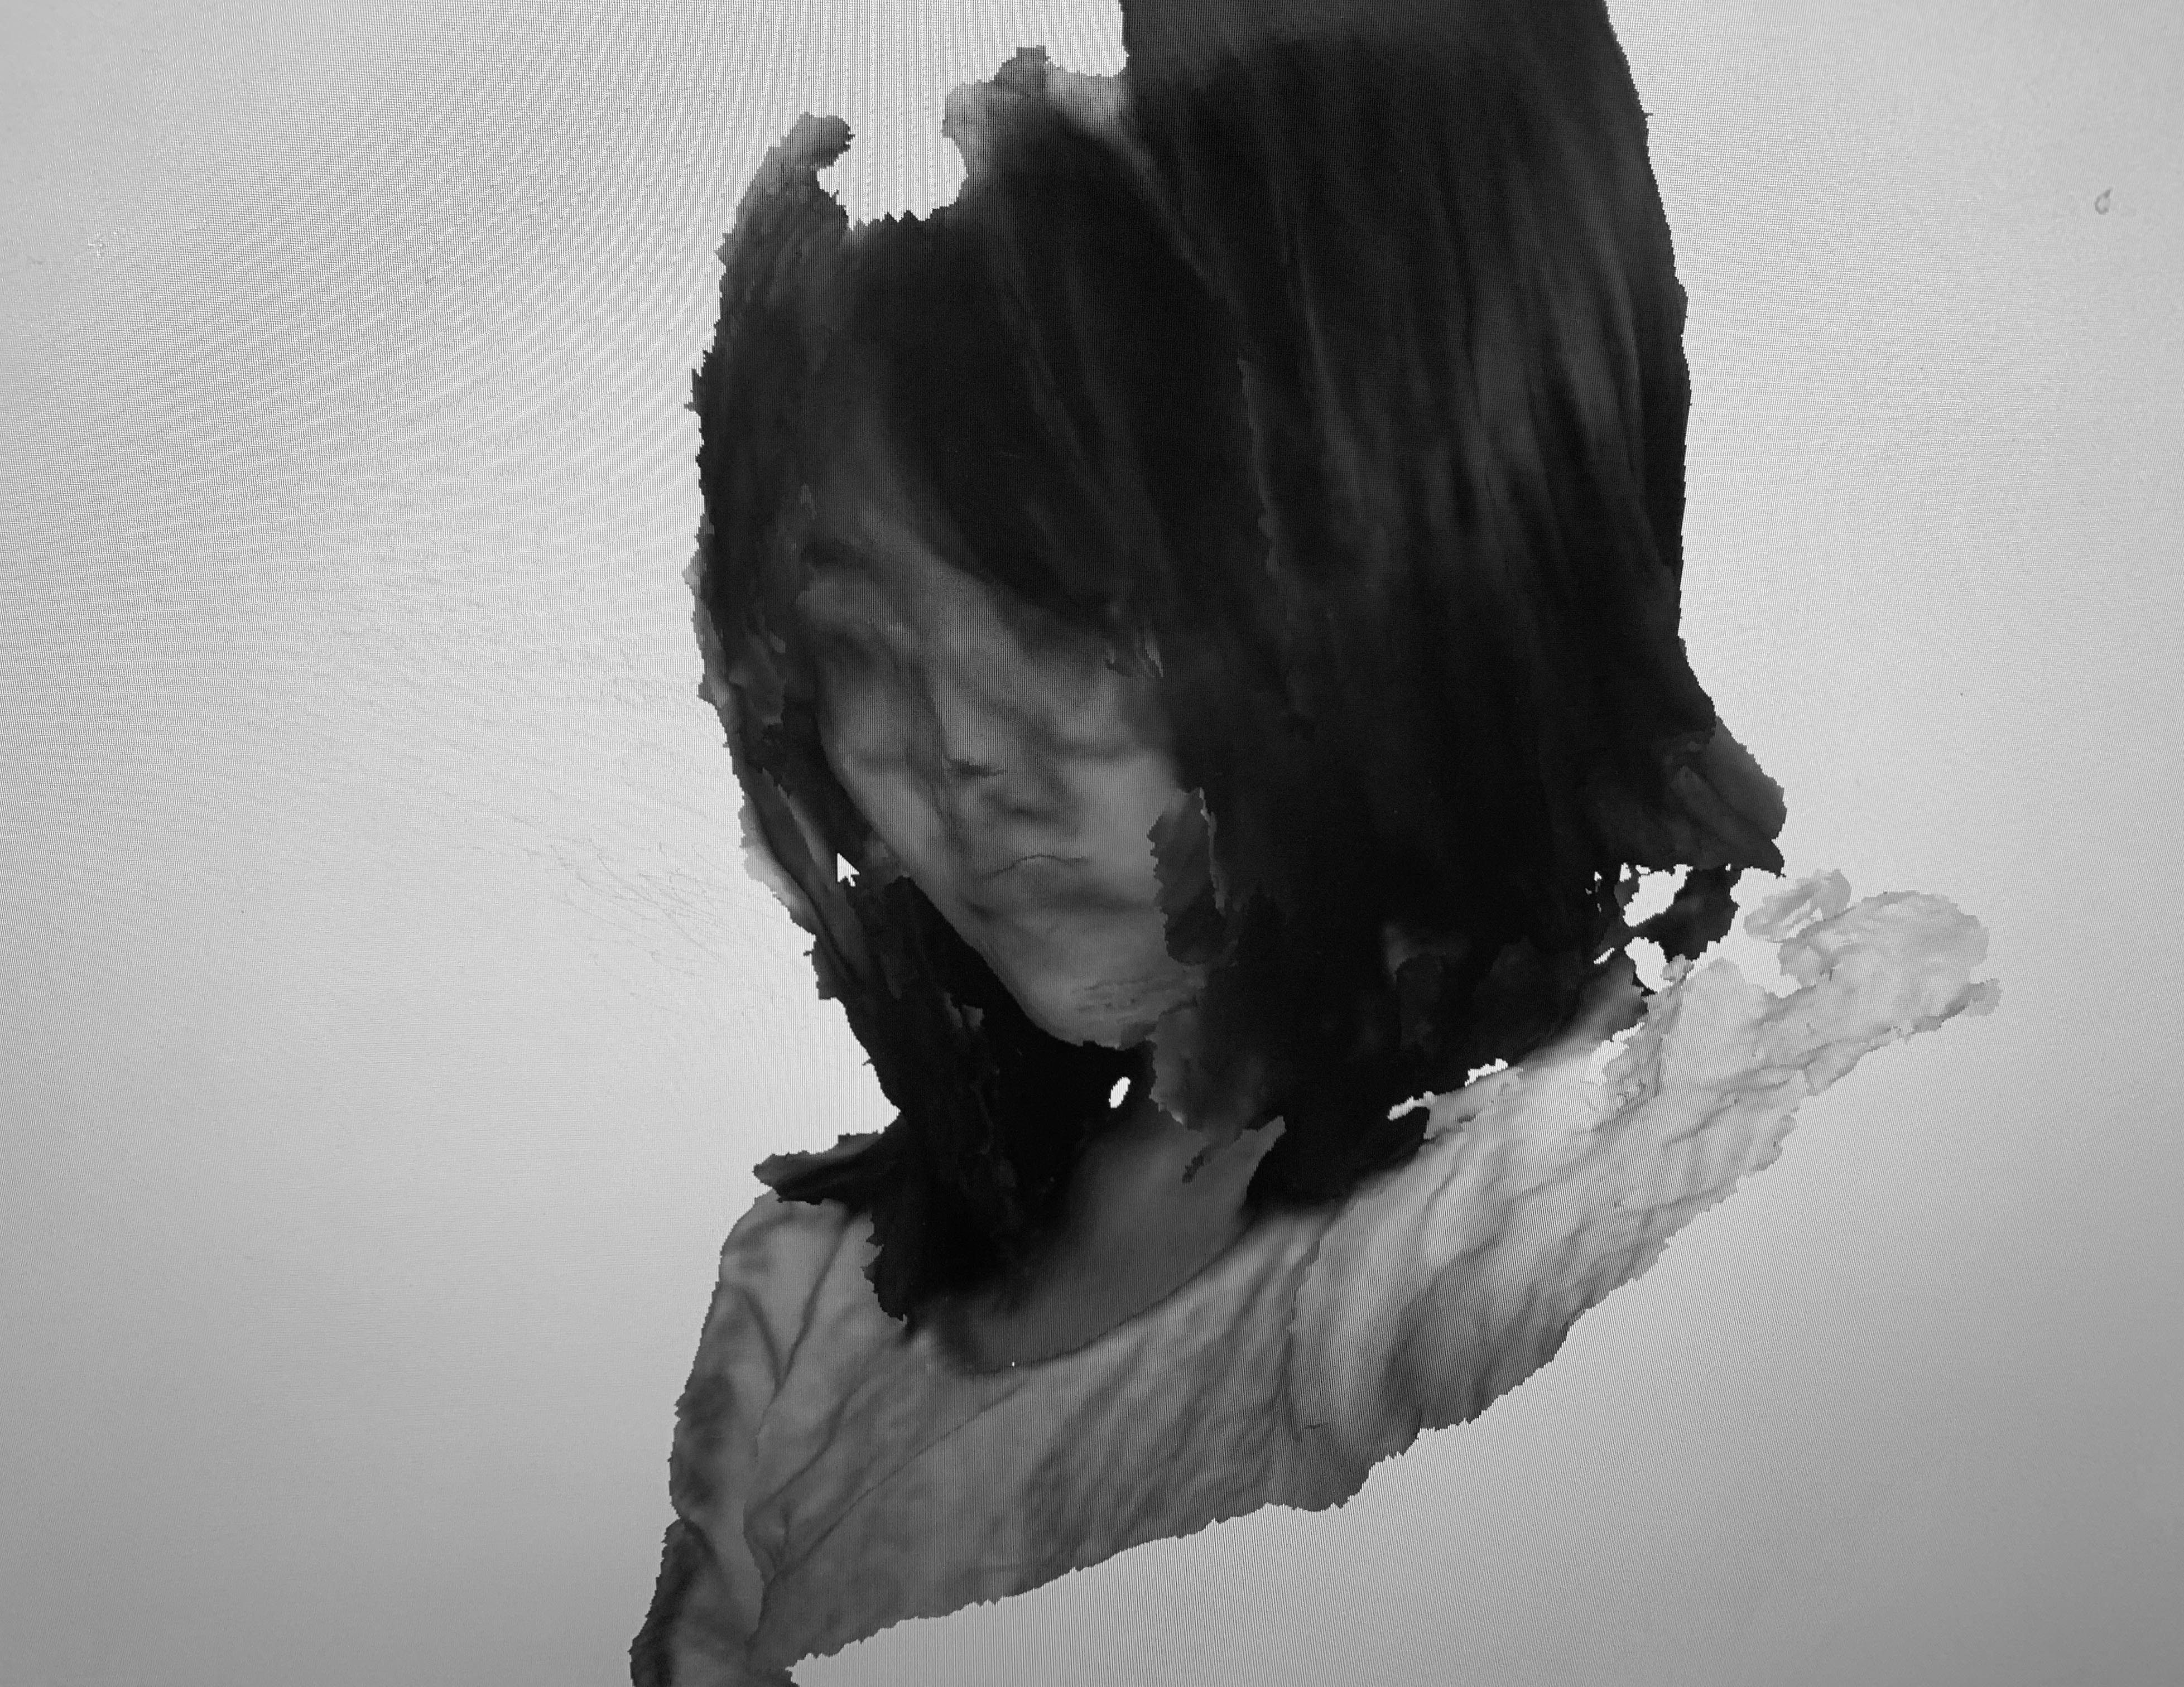
This is my first time trying 3d scan, but I am very interested in this technology. In the arch shop, I tried to scan myself, but I was not
very satisfied with the result. Because I was holding the scanning machine by myself, I could not always keep the machine position on tracking
line and I could only scan the front side of my portraits.
Other Options: