This week, I were supposed to make my board(FabTinyISP and Hello world board) doing something and understand the mechanism
between programmer, arduino IDE, code, and boards.
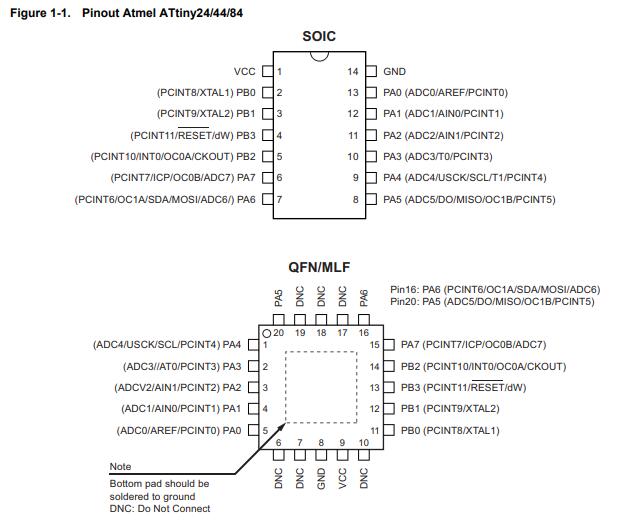
I started with reading a microcontroller data sheet. Here is the datasheet for attiny 44.
Since I have already successfully program my FabTinyISP in week2, I reread Brian’s tutorial to review what I did in weeks ago (I have already forgot the
process since I didn’t understand it at all.) It took so many weeks, but finally after the electronics design week, Brian’s tutorial
makes some sense to me.
For example,
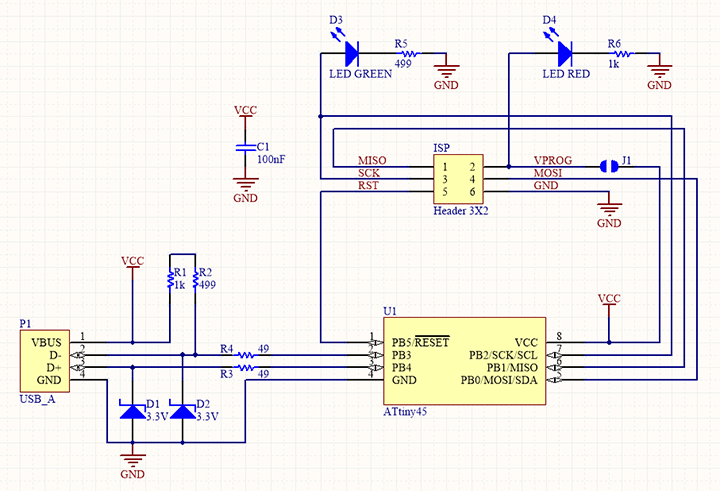
The schematic of the FabTinyISP
The tutorial said if you installed the red LED, it should be lit up now. If not, check the solder jumper and make sure that it is bridged. If your computer
complains about a USB device drawing too much power, unplug the board and check for shorts.
Although this sounds stupid, I am not fully understand how to check for shorts in week 2 even Anthony showed to me with multimeter, I have no idea where should I put the red and black tip.
However, after the electronics design week, I start to understand that if shorts happened, what you need to do is as simple as set the
multimeter in Bip mode and check soldering joints(your suspected short spots) according to your board routes in Eagle.
The orientation of Attiny45 and LED matters is because although from the appearance, each pin is the same, pins of the two components are actually different. Here is a datasheet of attiny45.
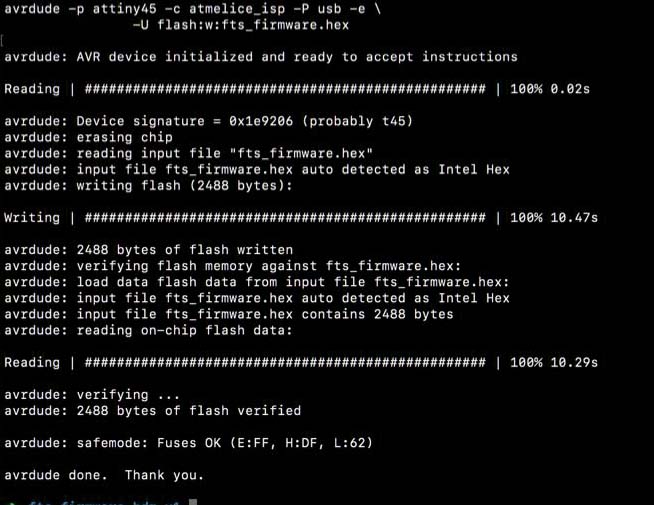
Anyway, I reprogramed the FabTinyISP again in the architecture shop’s computer.
My next step is to program my hello world board in arduino IDE. Here is an intuitive explanation of the Arduino package.
"Arduino is an open-source platform used for building electronics projects. Arduino consists of both a physical programmable
circuit board (often referred to as a microcontroller) and a piece of software, or IDE (Integrated Development Environment)
that runs on your computer, used to write and upload computer code to the physical board."
This page is very helpful to understand the relationship between arduino, boards, and what does those components do.
Although I have already done programming in arduino IDE in the electronics week with Anthony’s help and on the EDS’s computer, I have never tried myself. I read through the High-Low Tech tutorial.
The following is the step I have followed.
First, click the topline of arduino IDE and Find Preference>Boards Manager URL and paste the following url in the box. https://raw.githubusercontent.com/damellis/attiny/ide-1.6.x-boards-manager/package_damellis_attiny_index.json
Now you can go to board manager to install the board package and you will immediately find in the board menu, Attiny44/45 will appear.
I use the following setting for my programming, Attiny44, External 20Mhz, selected the detected port, and the programmerUSBtinyISP(if you use Atmel Ice, it will be Atmel-ICE(AVR))
Compile the code and upload. remember to make sure the pin number is correct so that arduino can send data to your board at the right spot.