Work Progress
This week is so frustrating. Although I thought it would be easy since I have already had experiences setting Mastercam files
and cutting on a huge CNC machine, mill this small piece of wax mold is not easy. The hardest part was preparing the file, and it
took me five or six hours to solve the problems of collision in Mastercam simulation.
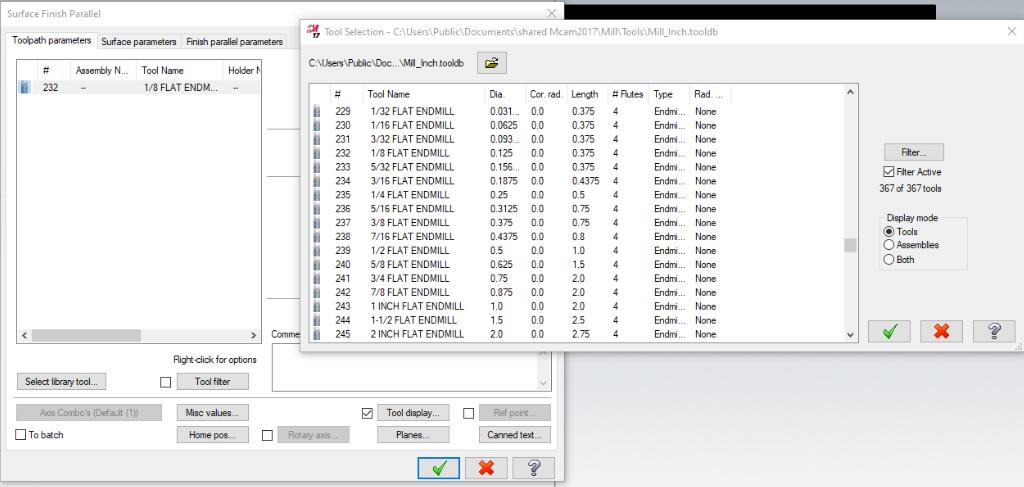
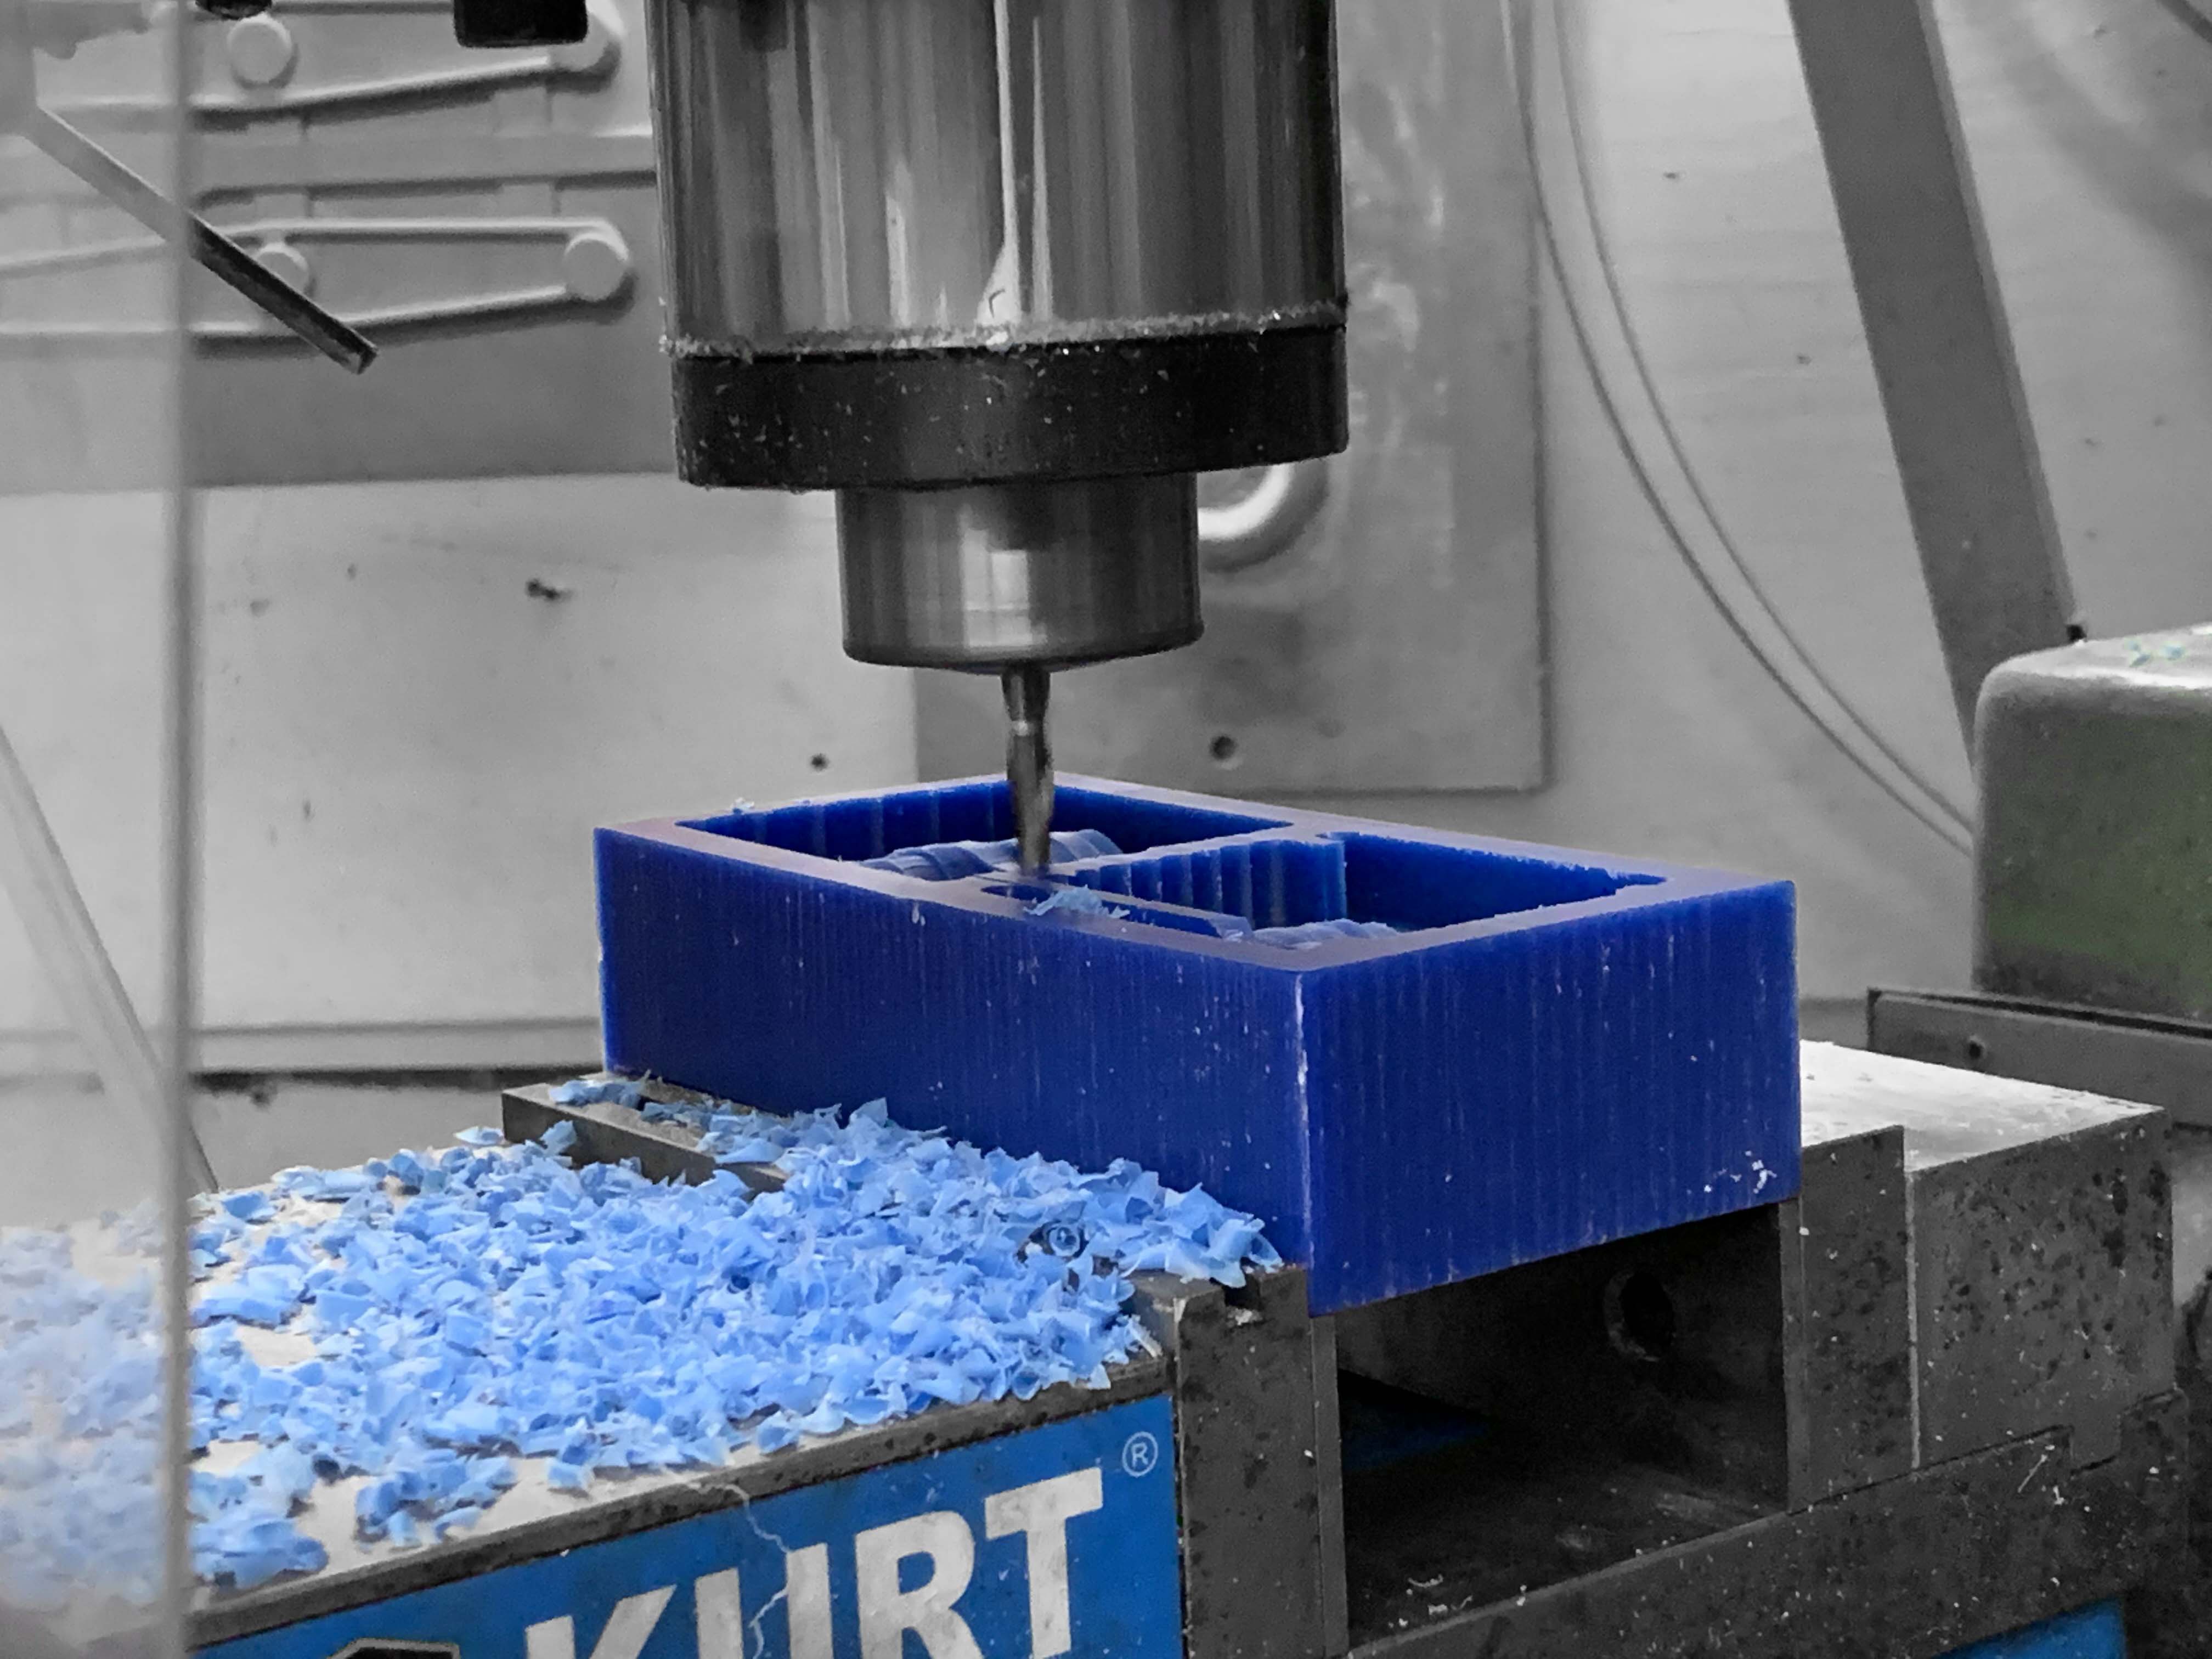
Because my model will be cut deep, in order to avoid breaking the mill, I decided to use a 1/4’’ flat end mill to make a rough
cut first, and then use the 1/8’’ tool to complete the more delicate shaping. So, there should be two types of toolpath in my setting,
1/4‘’ and 1/8‘’. Then, Jennifer told me that if I set the toolpath like this, the mill will go back and forth between the two container
boxes, which is not only a waste of time, but also more prone to make mistakes and destroy the model. Therefore, she suggested that
I set rough and fine cut respectively for the two containers, which means I will have 4 toolpaths.
The following is a summarized process and precautions for file setting (although our nice TA and shop staff will help,
it is good to know some basics by yourselves)
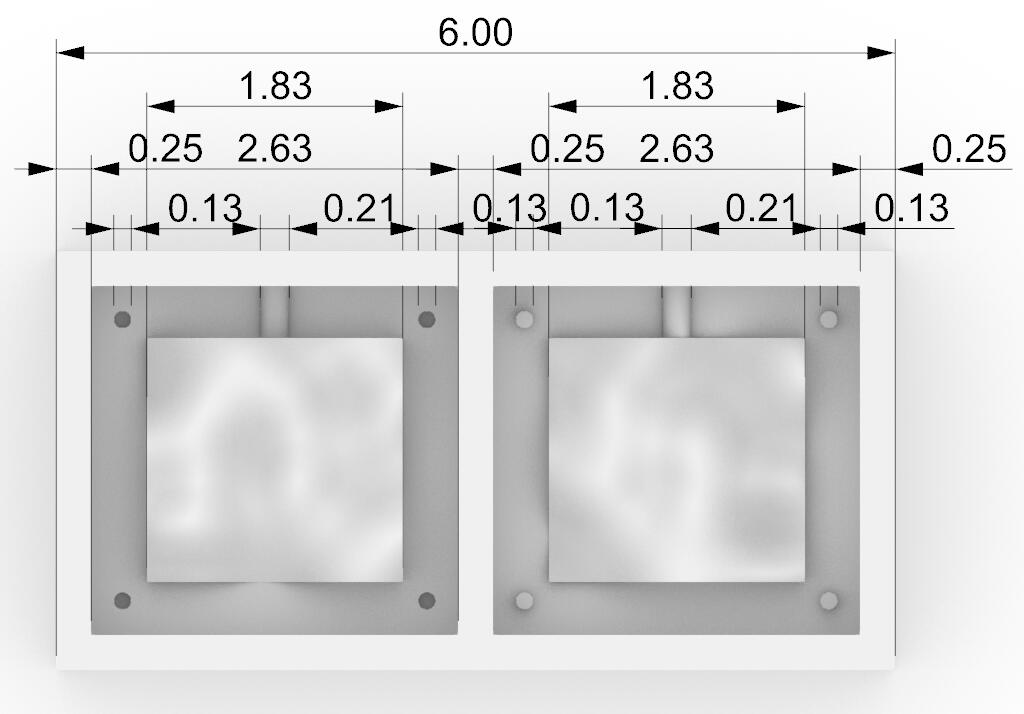
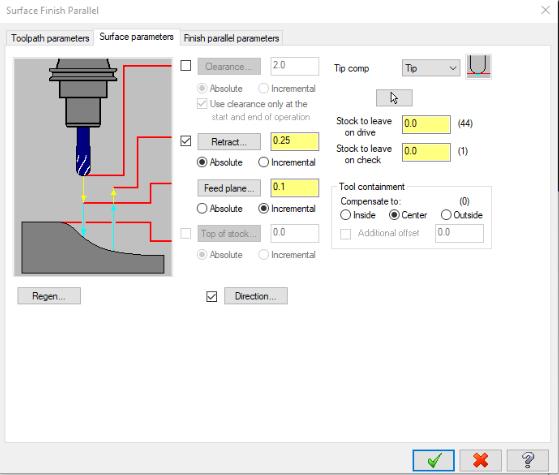

Note1: because the mill should always be perpendicular, so selecting horizontal surfaces is enough to mill, which means, you even don’t need import the vertical surfaces in the file.
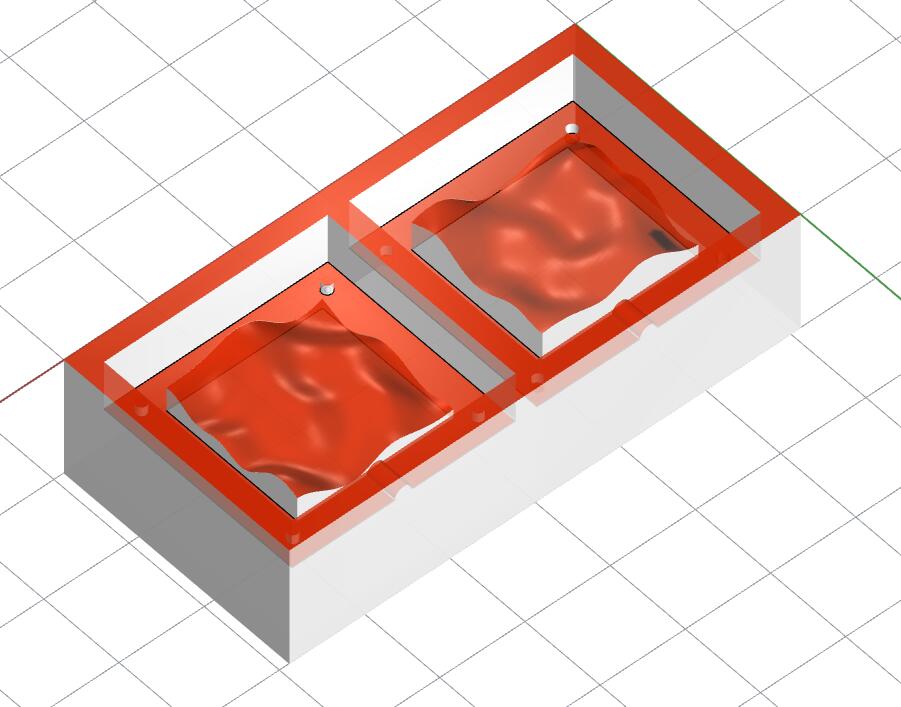
Note2: if you want to drill a 1/8’’ hole with 1/8’’ end mill, the toolpath should be a dot instead of a circle. I also set up the container surface, so anything outside the container boundary will not be cut.
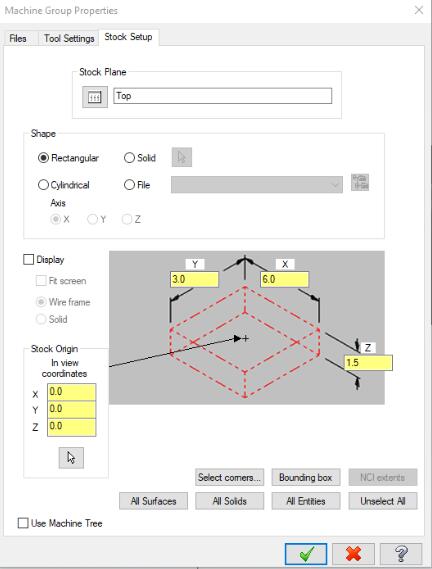
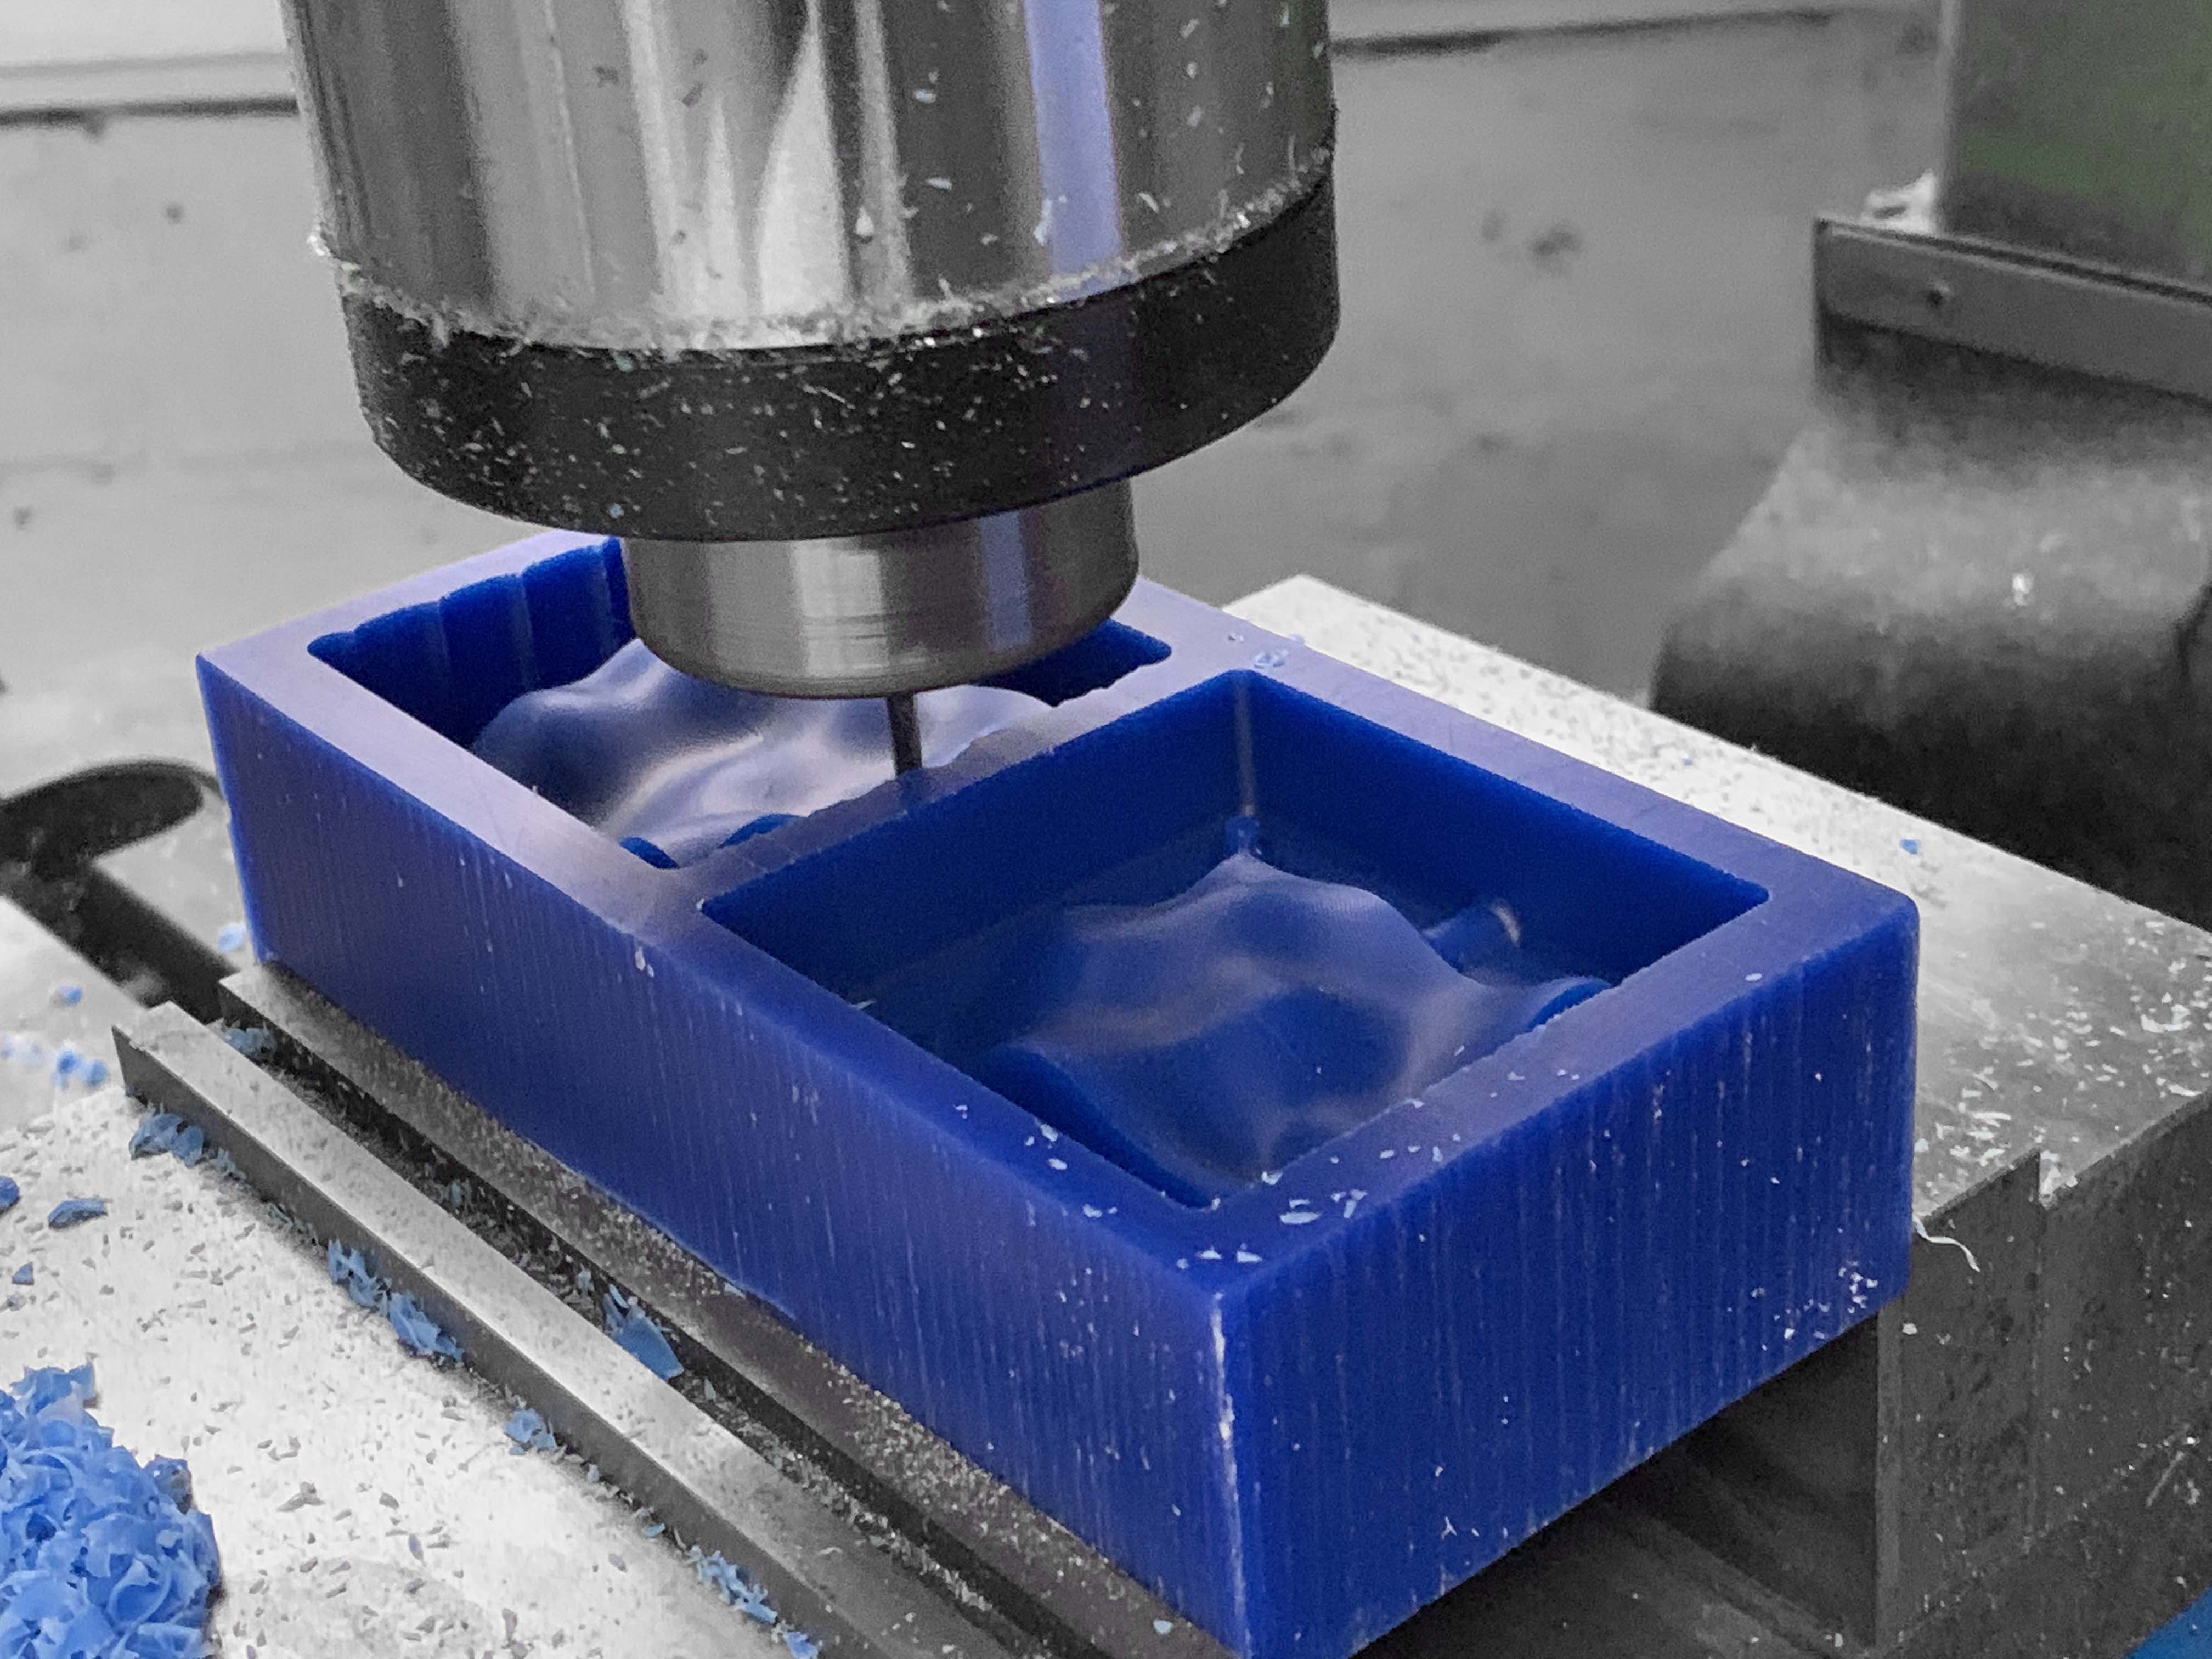
But then I ran into a problem. In the simulation phase, 1/8’’ fine mill always had a collision at the edge of the boxes (if the animation suddenly stopped during the simulation, the collision had occurred), both TA and I thought that this should not happen. Finally, after 4 to 5 hours of debugging and struggling (we not only modified the imported model in rhino, but also tested different parameters of the tool settings in Mastercam), although there were still some places on the edges that showed the scratch, it was, for the most part, ready for mill.
See my struggle
Marianna helped me operate the CNC machine.
Rough Cut
Fine Cut
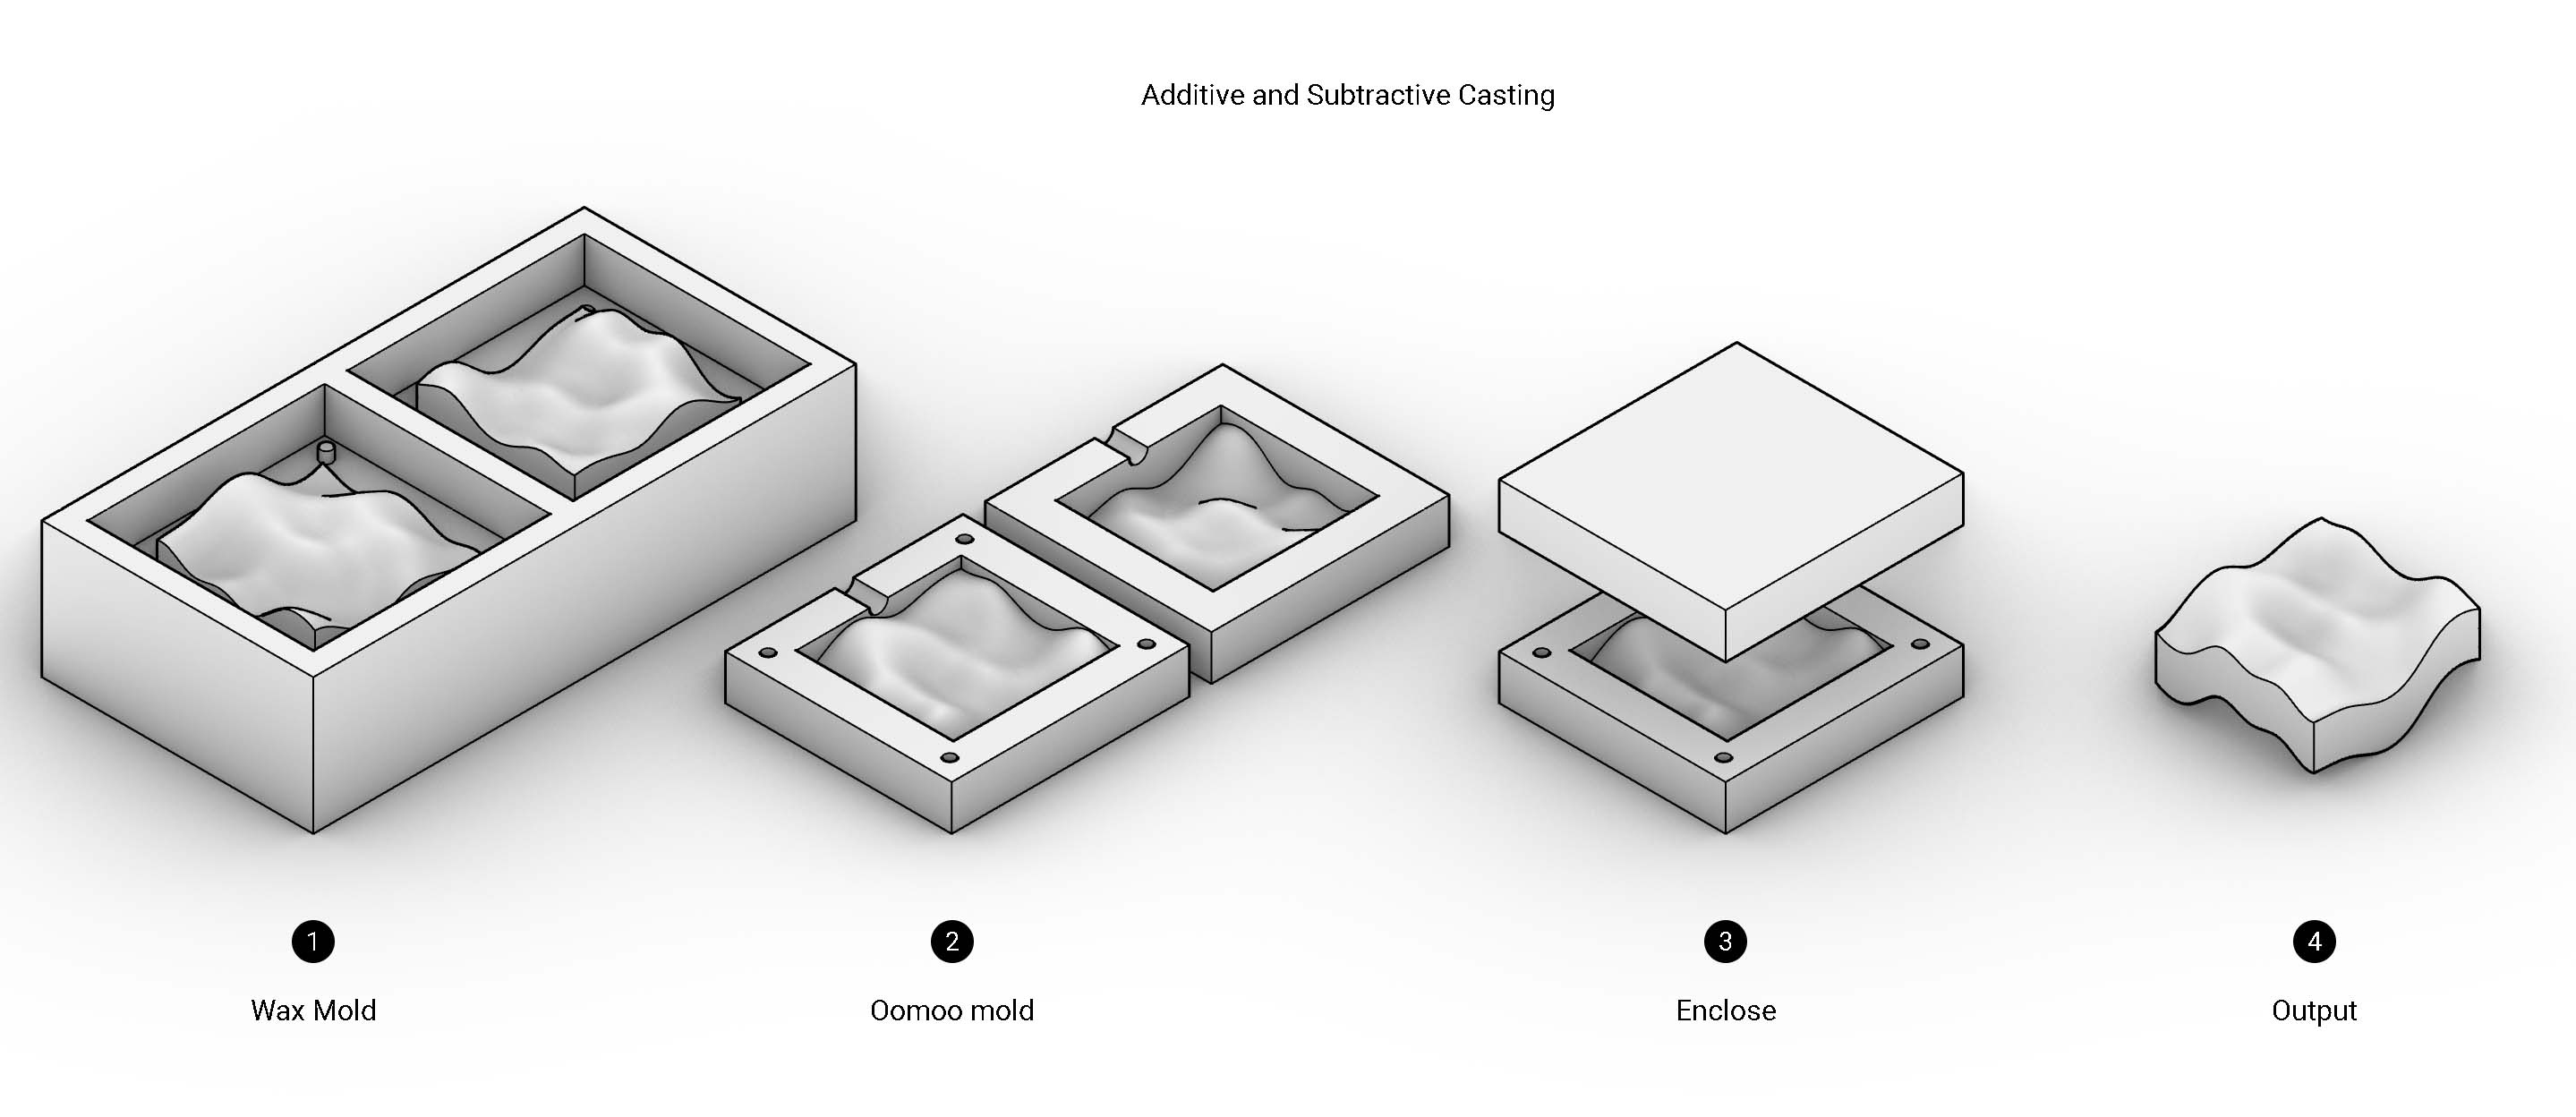
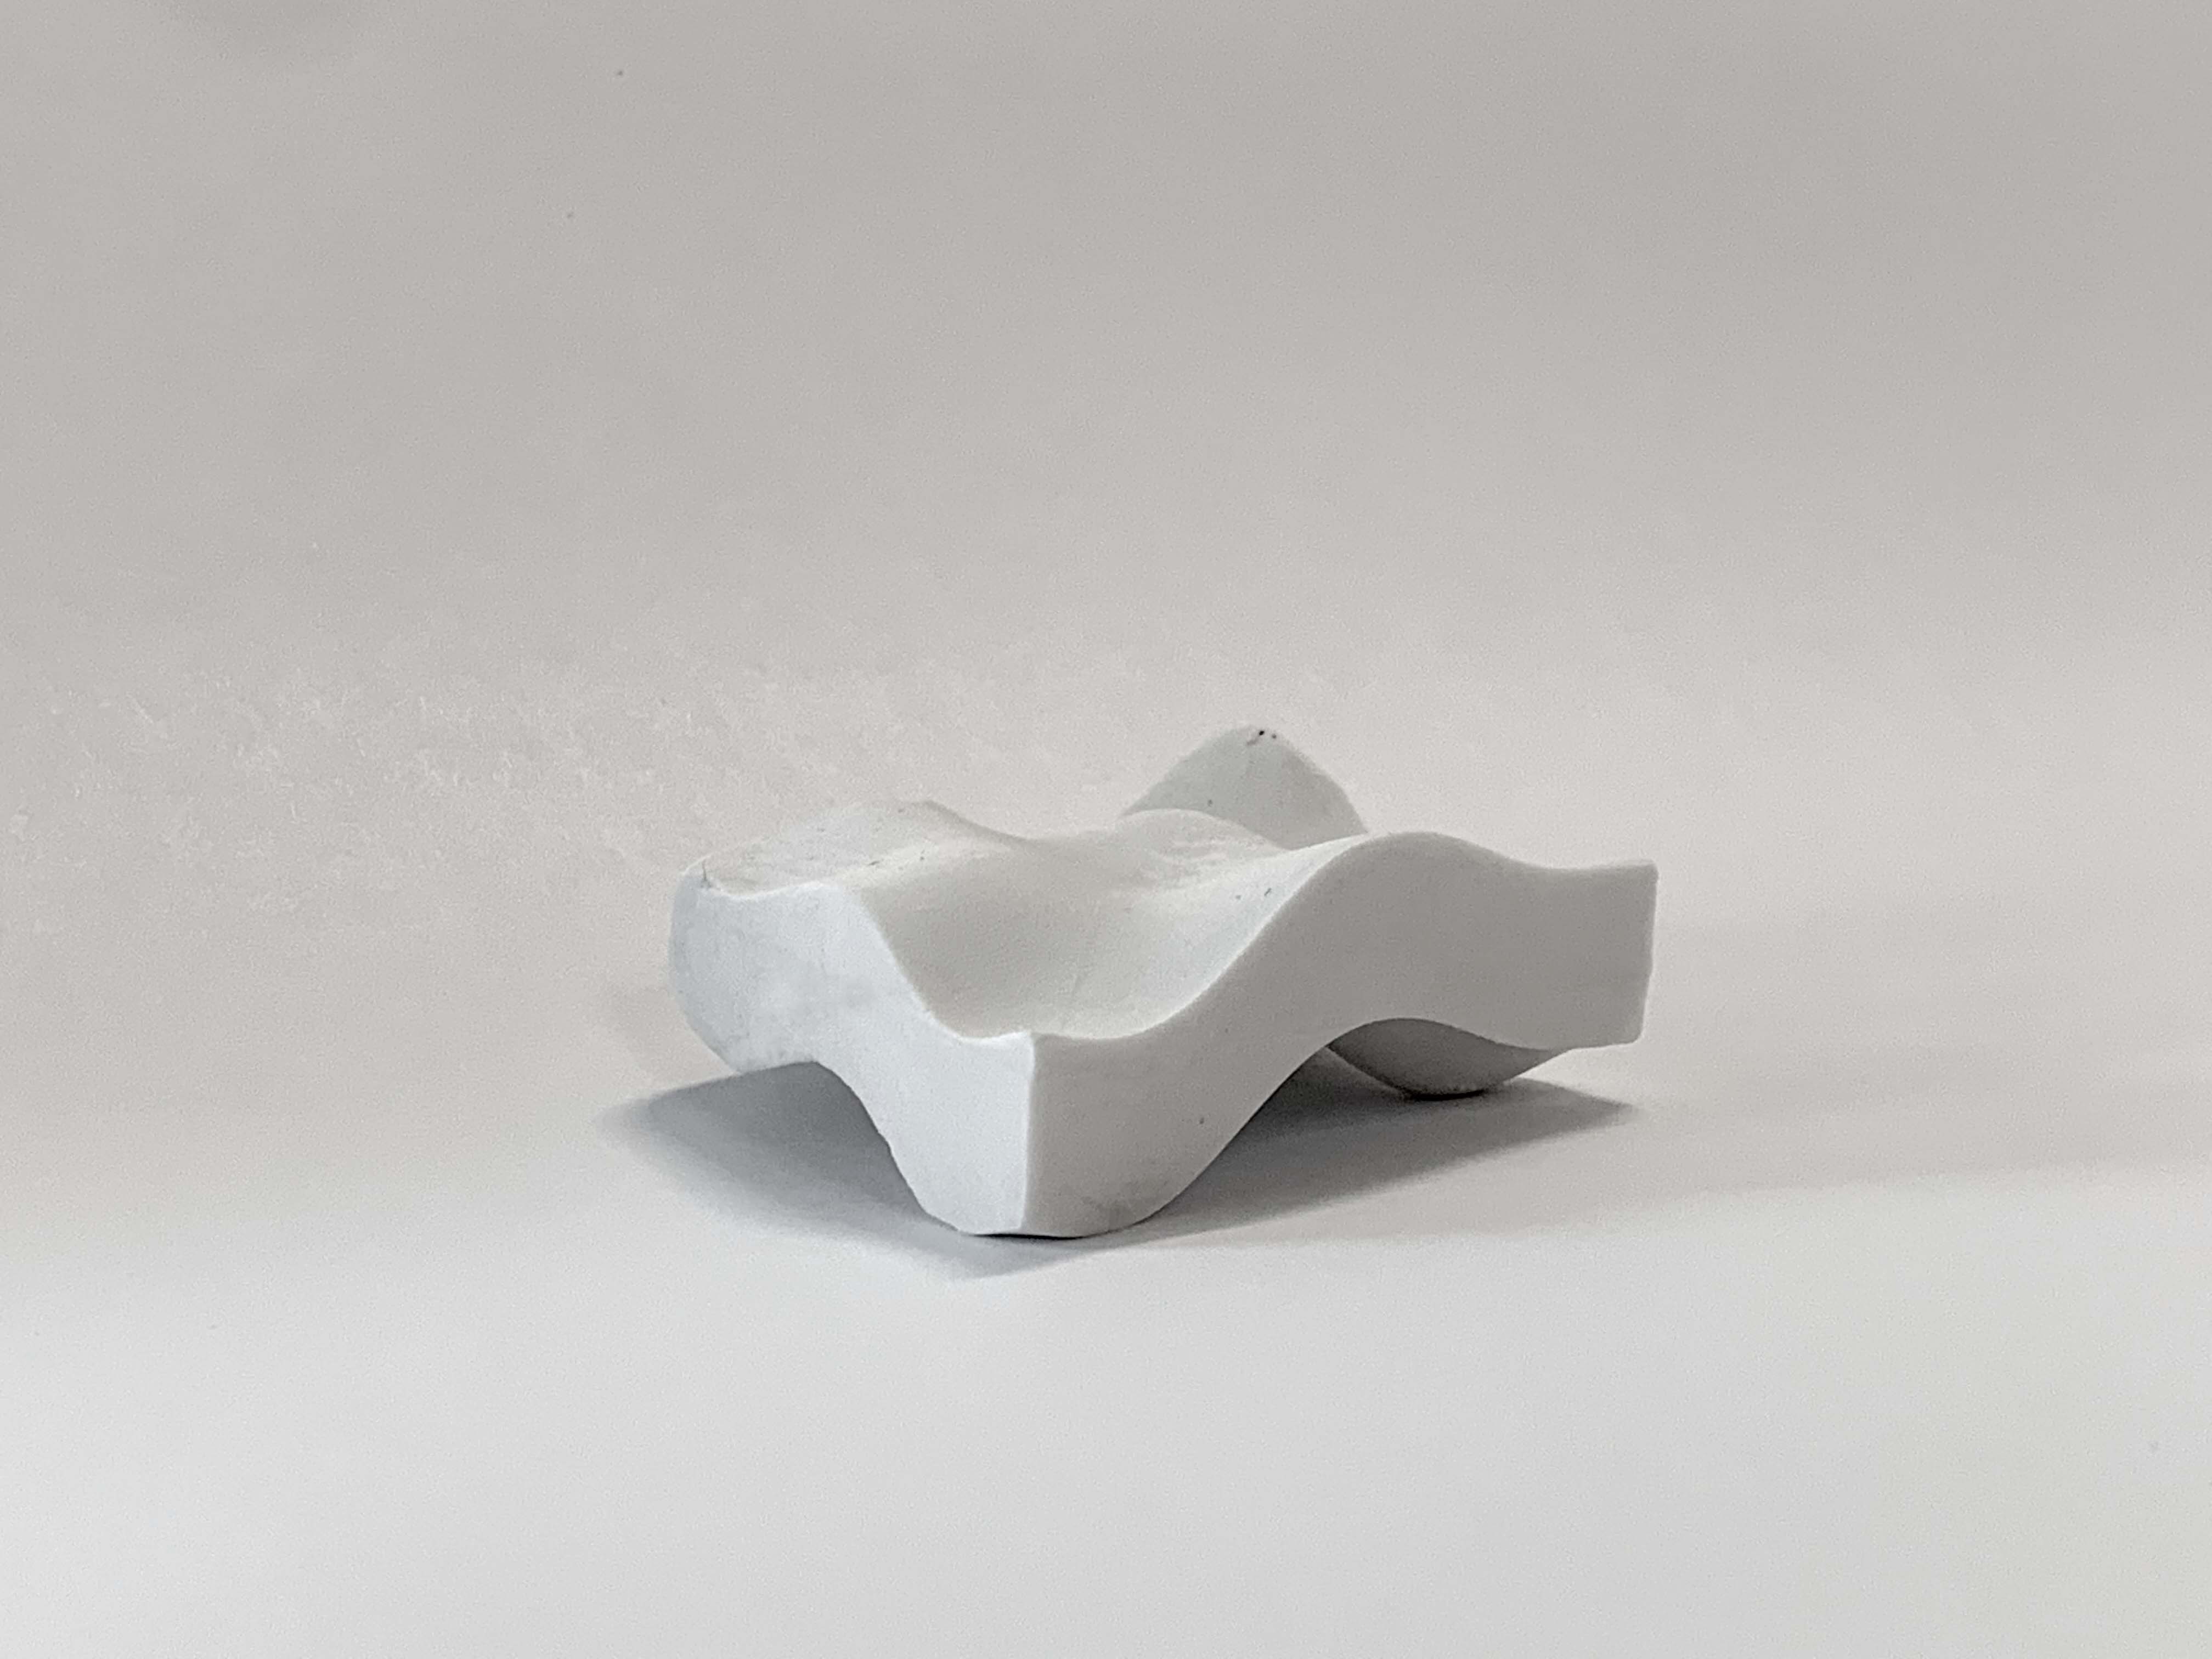
I want to cast a landscape surface that both sides curves by enclosing the two molds and then let the hydrastone mixture pouring and filling the mold from the middle of the gap.
Here is the explanation of the mold process.