Week 14. Wildcard Week!
How to make is coming to an end and its time to enjoy Wildweek! This week I want to take much more activities I can afford. Also, I will giving support on the zund to cut fabrics for the inflatables and I will be helping people cutting with the OMAX waterjet
I want to advance things I have to do for my wind tunnel, and most of them will be cutting metal in different techniques. The things I am going to manufacture for myself this week are:
Using the Waterjet OMAX 55100
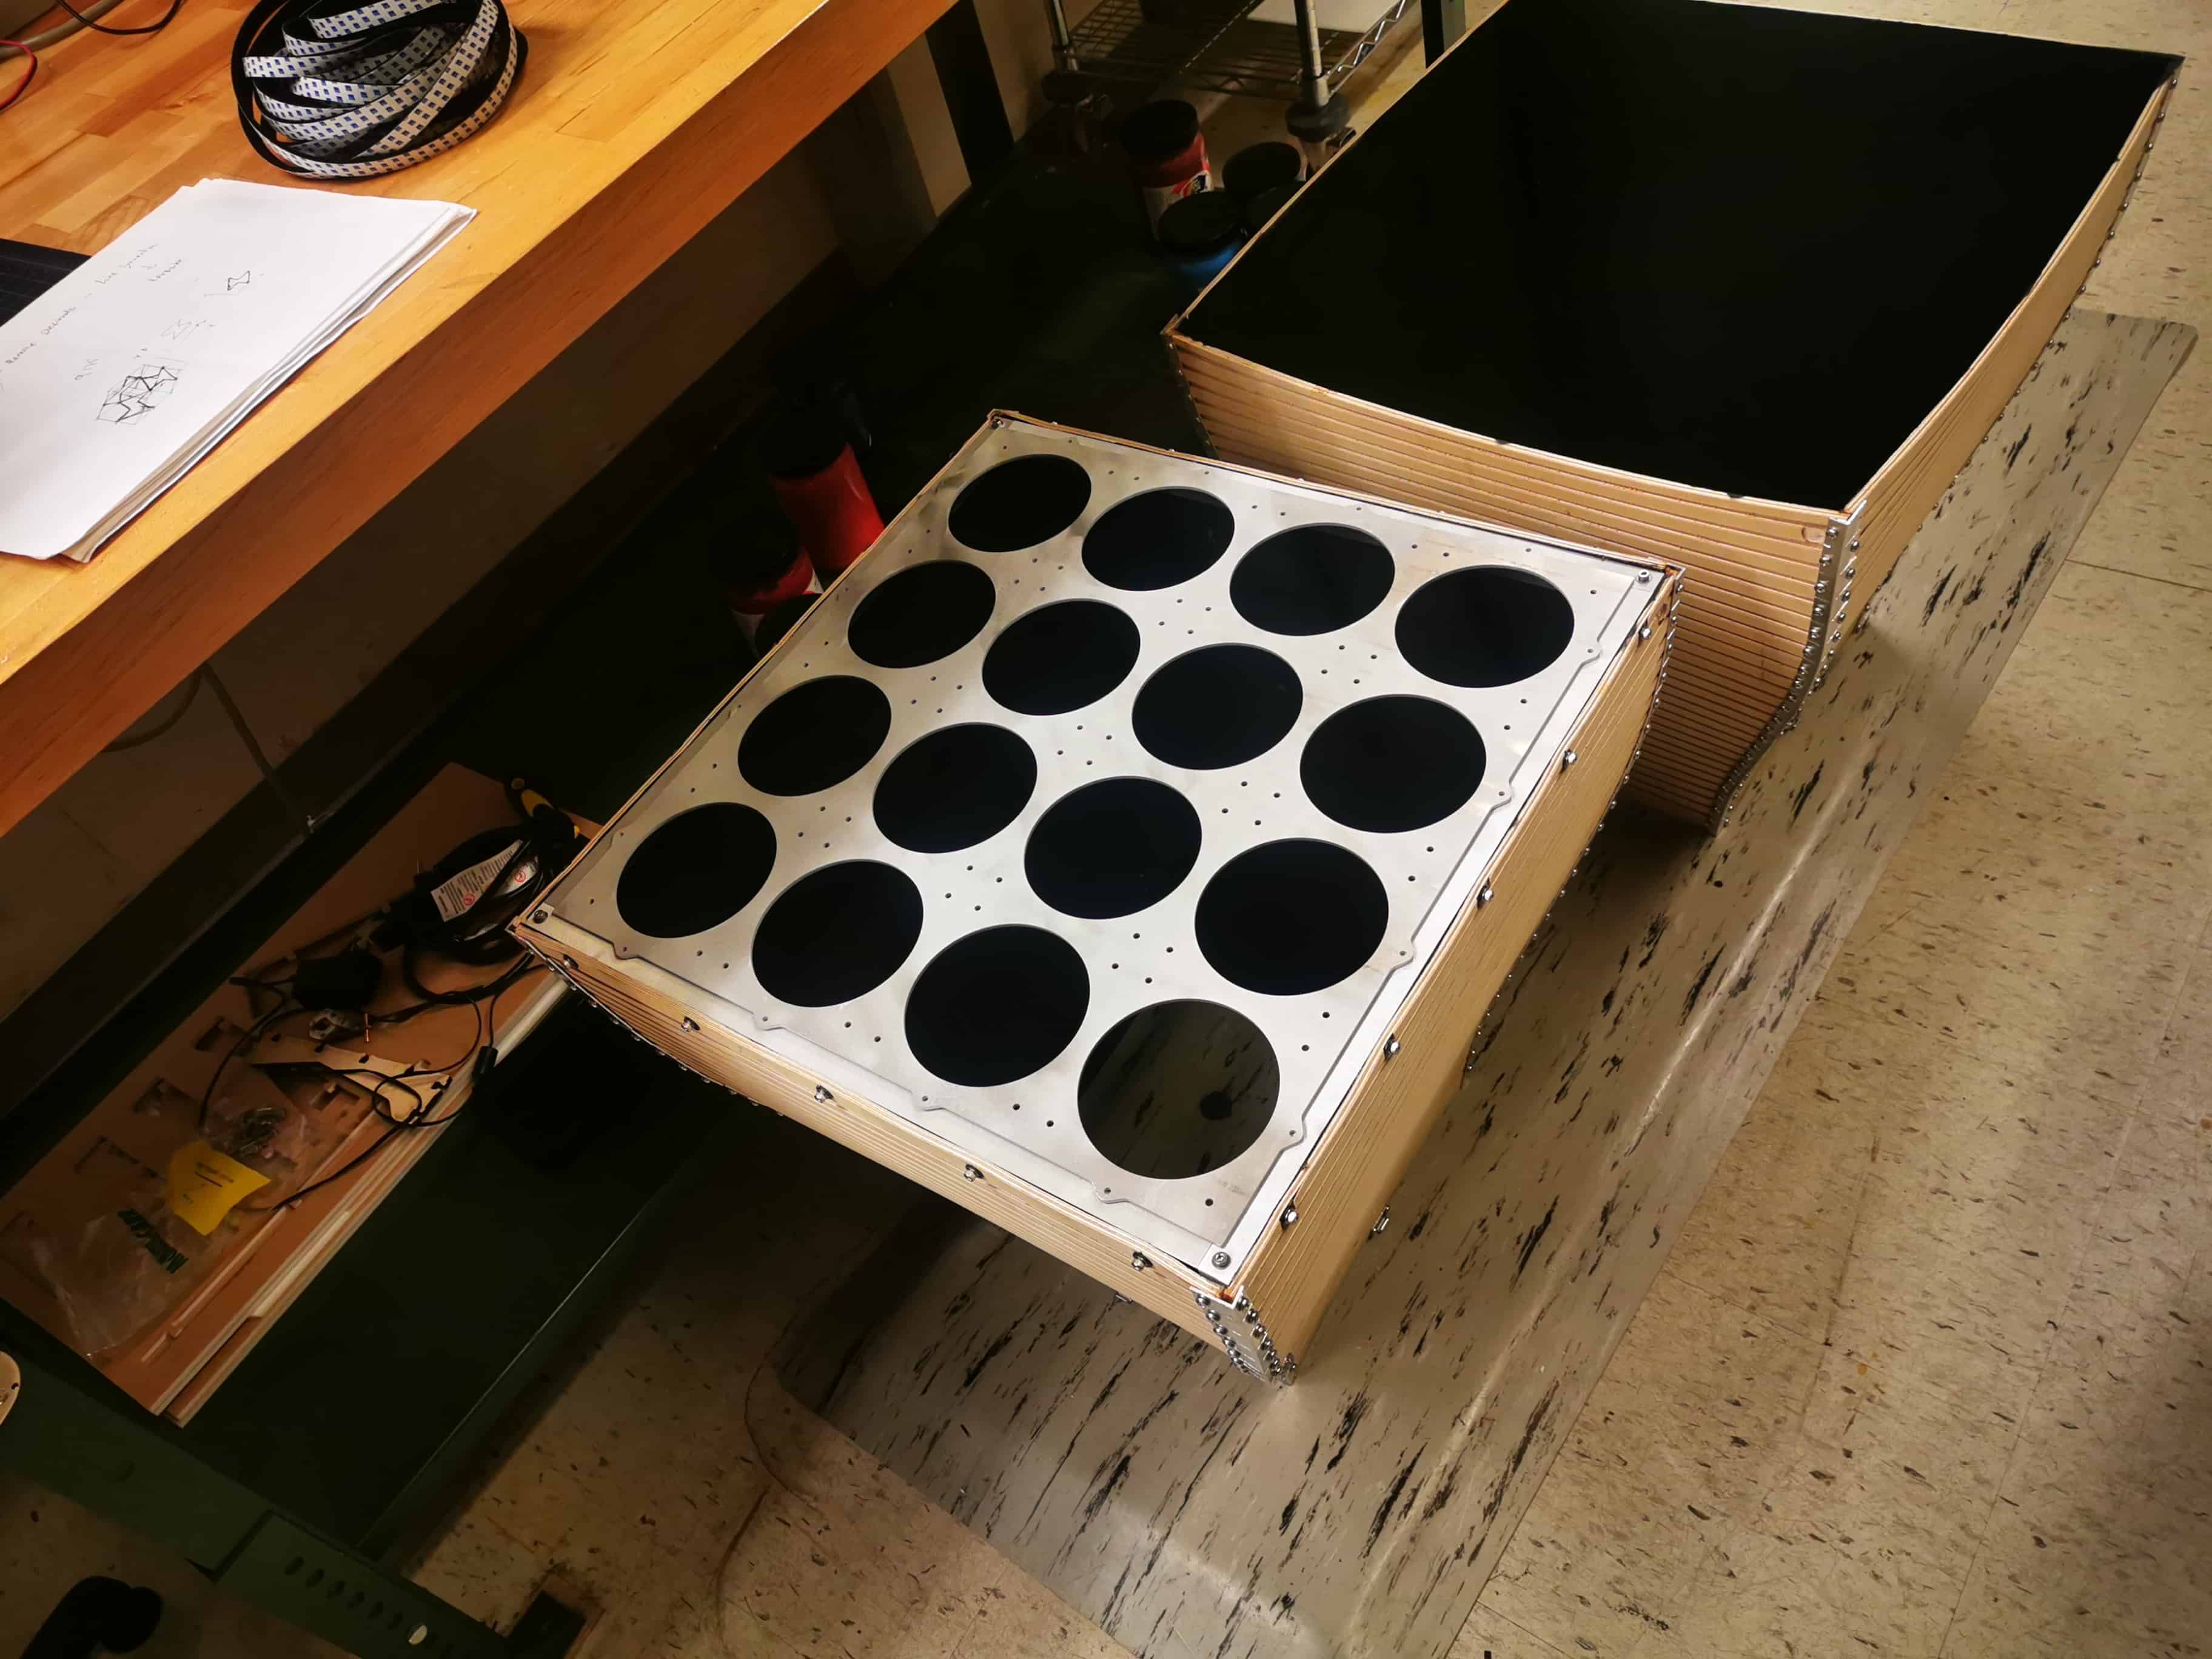
When forming the curved shapes in wood of the intake and outlet in the Make Something Big week, the tension of the wood due to it was formed in dry, made the big area of the intakes be slightly curved. This forced me to manufacture some interior beams to be as square as possible. Potentially, I will use those beams to supports bases to assemble over them the duct nozzle and also the laminarizing honeycomb
To make that, I designed in Fusion those beams with a japanese style joints in the corners that could be able to maintain allways an orthonormal position between them
Waterjet is a process in with the shape that the water with the abrasive agent takes is kind of a cone. This factor can be neglectible for thin plates but, for pieces that thickness is not neglectible (mine was 20mm aluminum) this effect can have a notory taper angle. This can be solved directly from SW without any problem. There is no calculation that estimate the angle correction for an specific thickness, so that is why I made some test in the Omax before cutting the whole 4 pieces.
After testing, the assemblyl was pretty straight forward. The tolerances of the water jet parts are awesome, lettin this part to have a really nice joints. To secure rhe beas that will support the fans, I drilled and screwed the joints to provide stability.
After assembel the square frame, I assembled it into the entrance of the duct and the result were so satisfying


Another element I waterjet was the flat plate thata will holds the computer fans. I followed the same process. Design in Fusion, extract a dxf and waterjet it.

This element was manufactured in an aluminum sheet of 3mm thickness.
Using the Zund! < 3
The Zund is a machine that since the first day I meet her, I fall in love with. Ive never experienced a faster gantry machine with that precision, repetibility and modularity.
At CBA, I am responsible of this machine, following the steps that Sam Calisch did on manufacturing our own End-Effectors to hach this machine to do things wasn't designed for.
But this week the use will be pretty much conventional. For this week, I will use the RSK-A Router (can go up to 50k RPM) and some other conventional end effectors as can be the EOT-250 (Oscilating blade) or the UCT (Universal Cutting tool)
I have been working with Agnes, from inflatables to help their alumni to cut the patterns they previously did in Rhino. It was so fun see later in class what all those pieces of fabrics becomem
But for me, I was mainly using the router to mill my window and to mill the HDPE sheets I will use to make the stands for my wind tunnel.
As the zund is a 2.5 axis machine, all you have to import is a DXF file splitting by layers the herarchy of the orders you want to make.
When you have a machine and tools able to go up to 50k, routing is kind of scary even though you have deep previously experience with CNC machines. 50k allows the machine to mill so so so fast. But the worst part is once you get use to it and go back to the Shop Bot, you want to die because it goes way more slower than the Zund
Acrilic and HDPE milling were done without any problem and the window and the HDPE supports were assembled beautifully


Never forget countersinking

The stability of the wind tunnel in a table was critical. My first thought was to hang it from the wall but there was so many possible movements it could have.. So I decided to make some conventional supports. I designed them in Fusion and used the Zund to mill them.

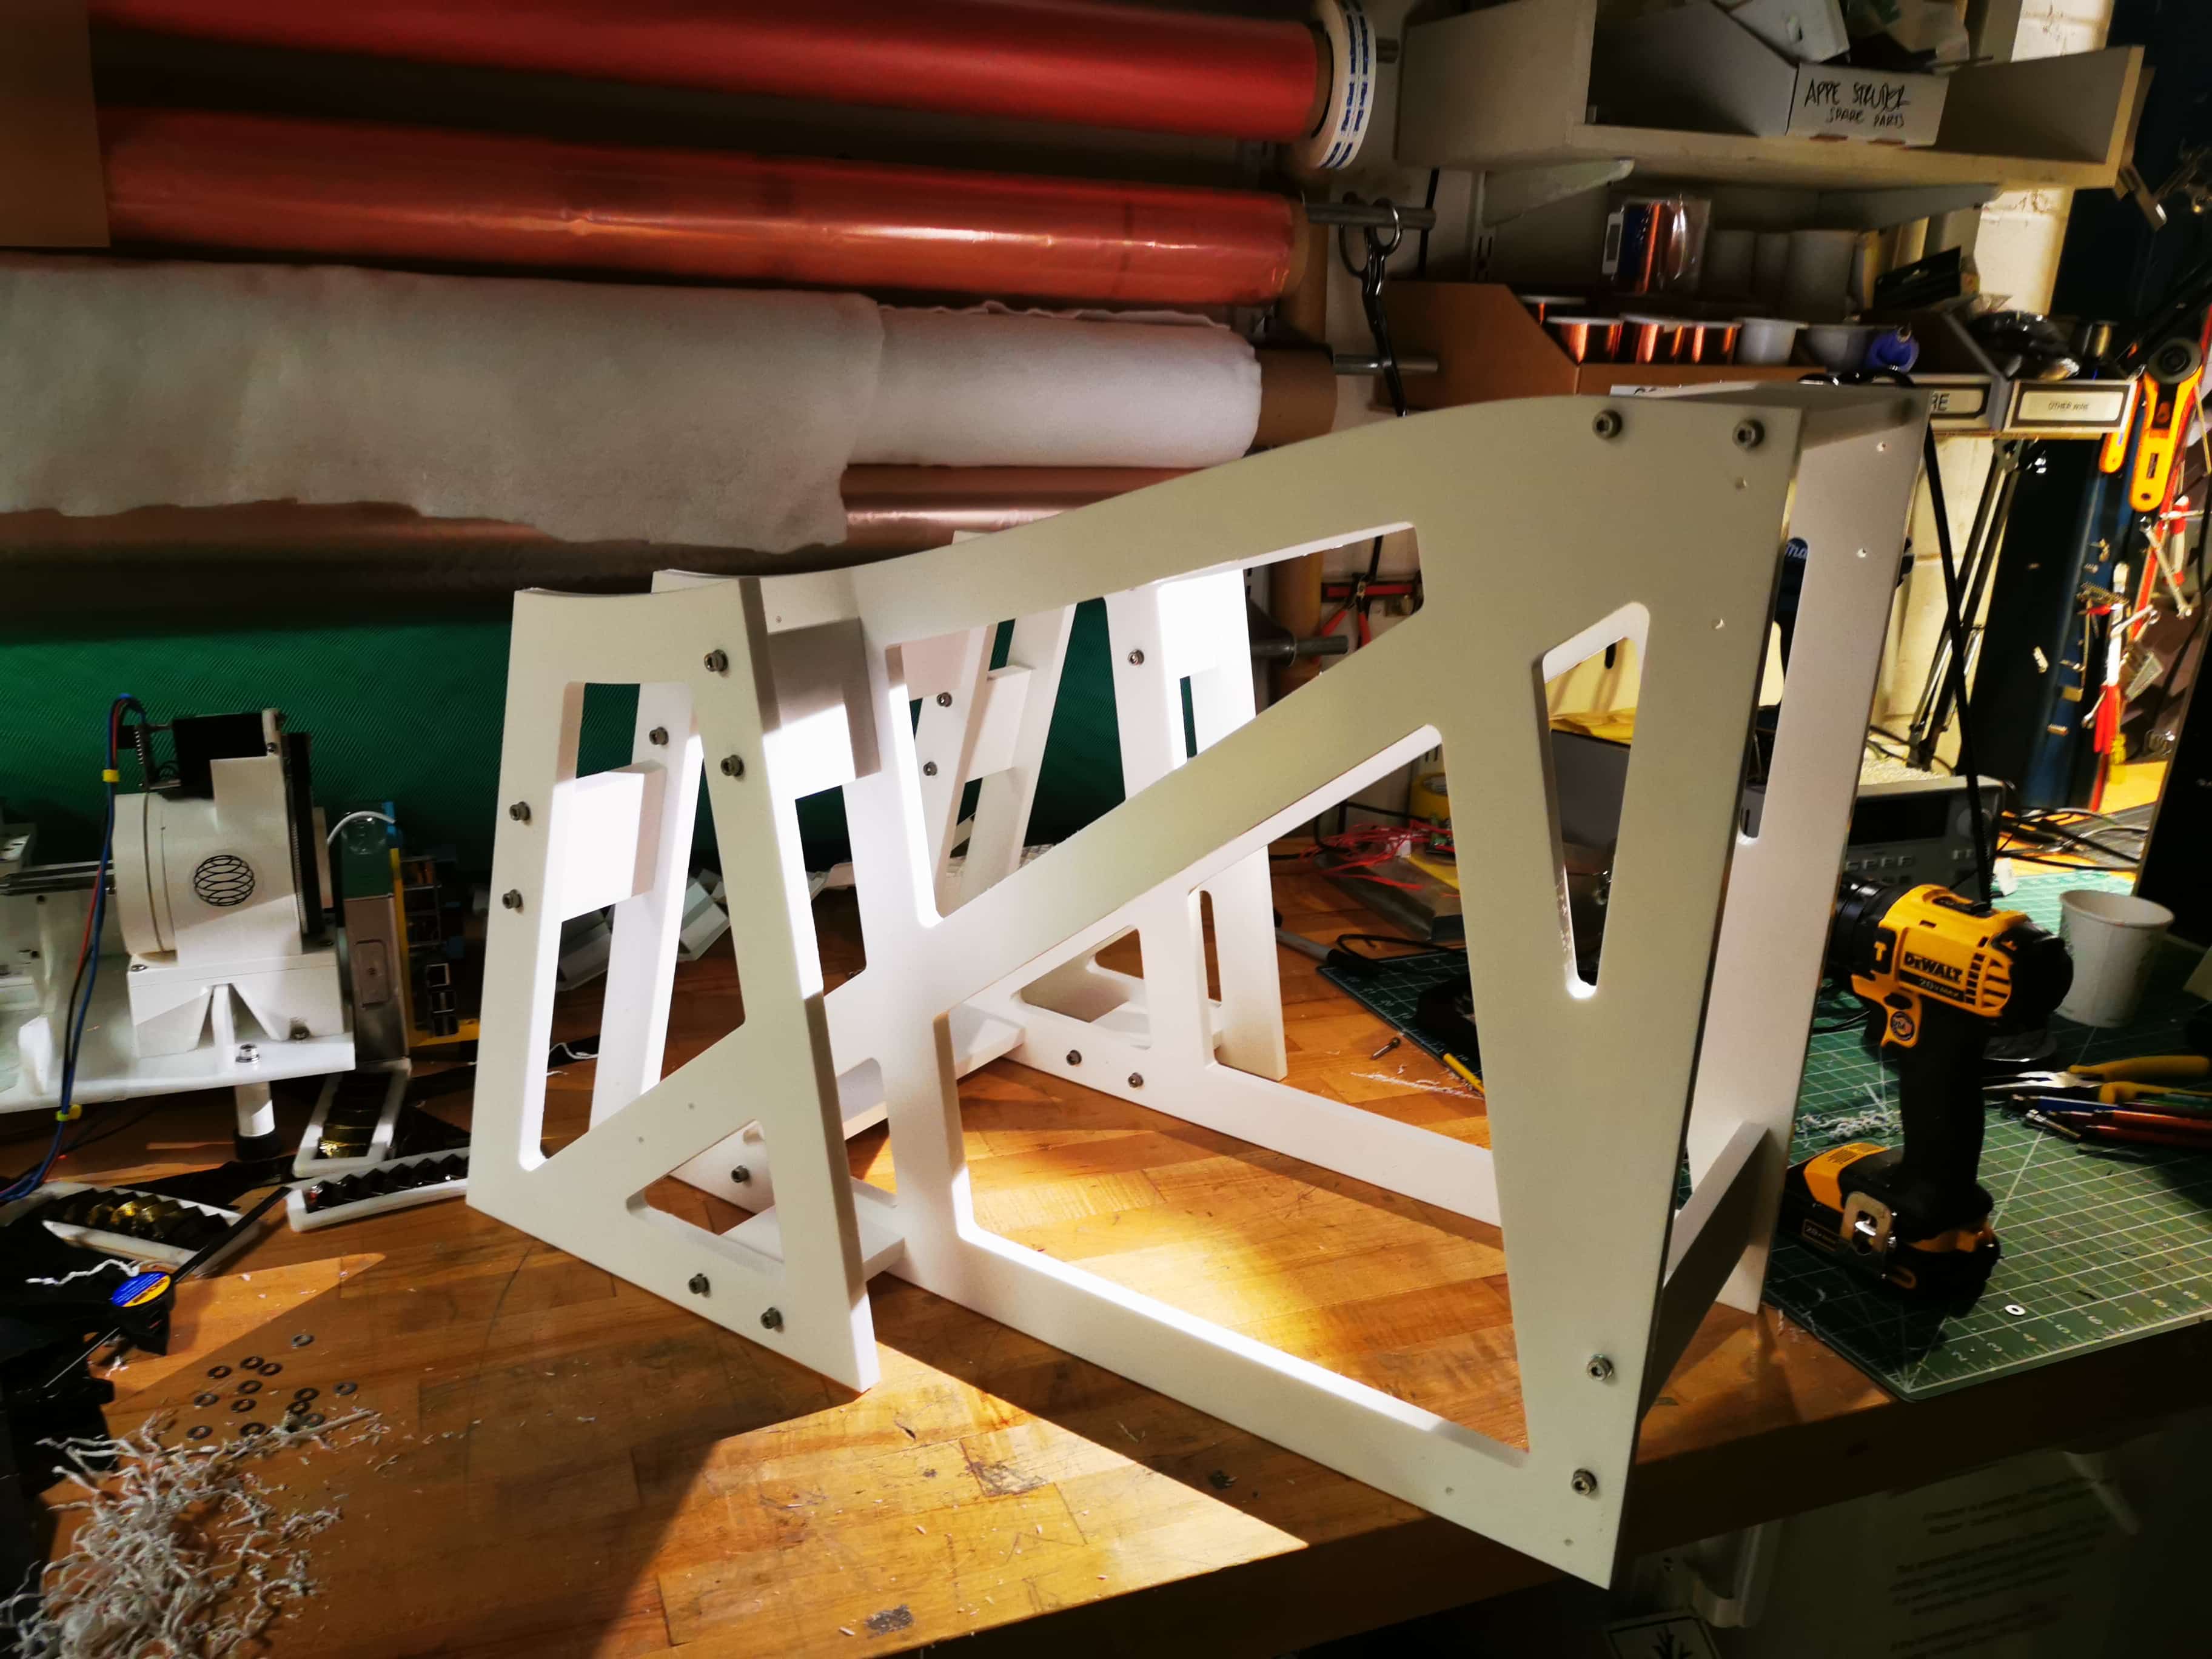
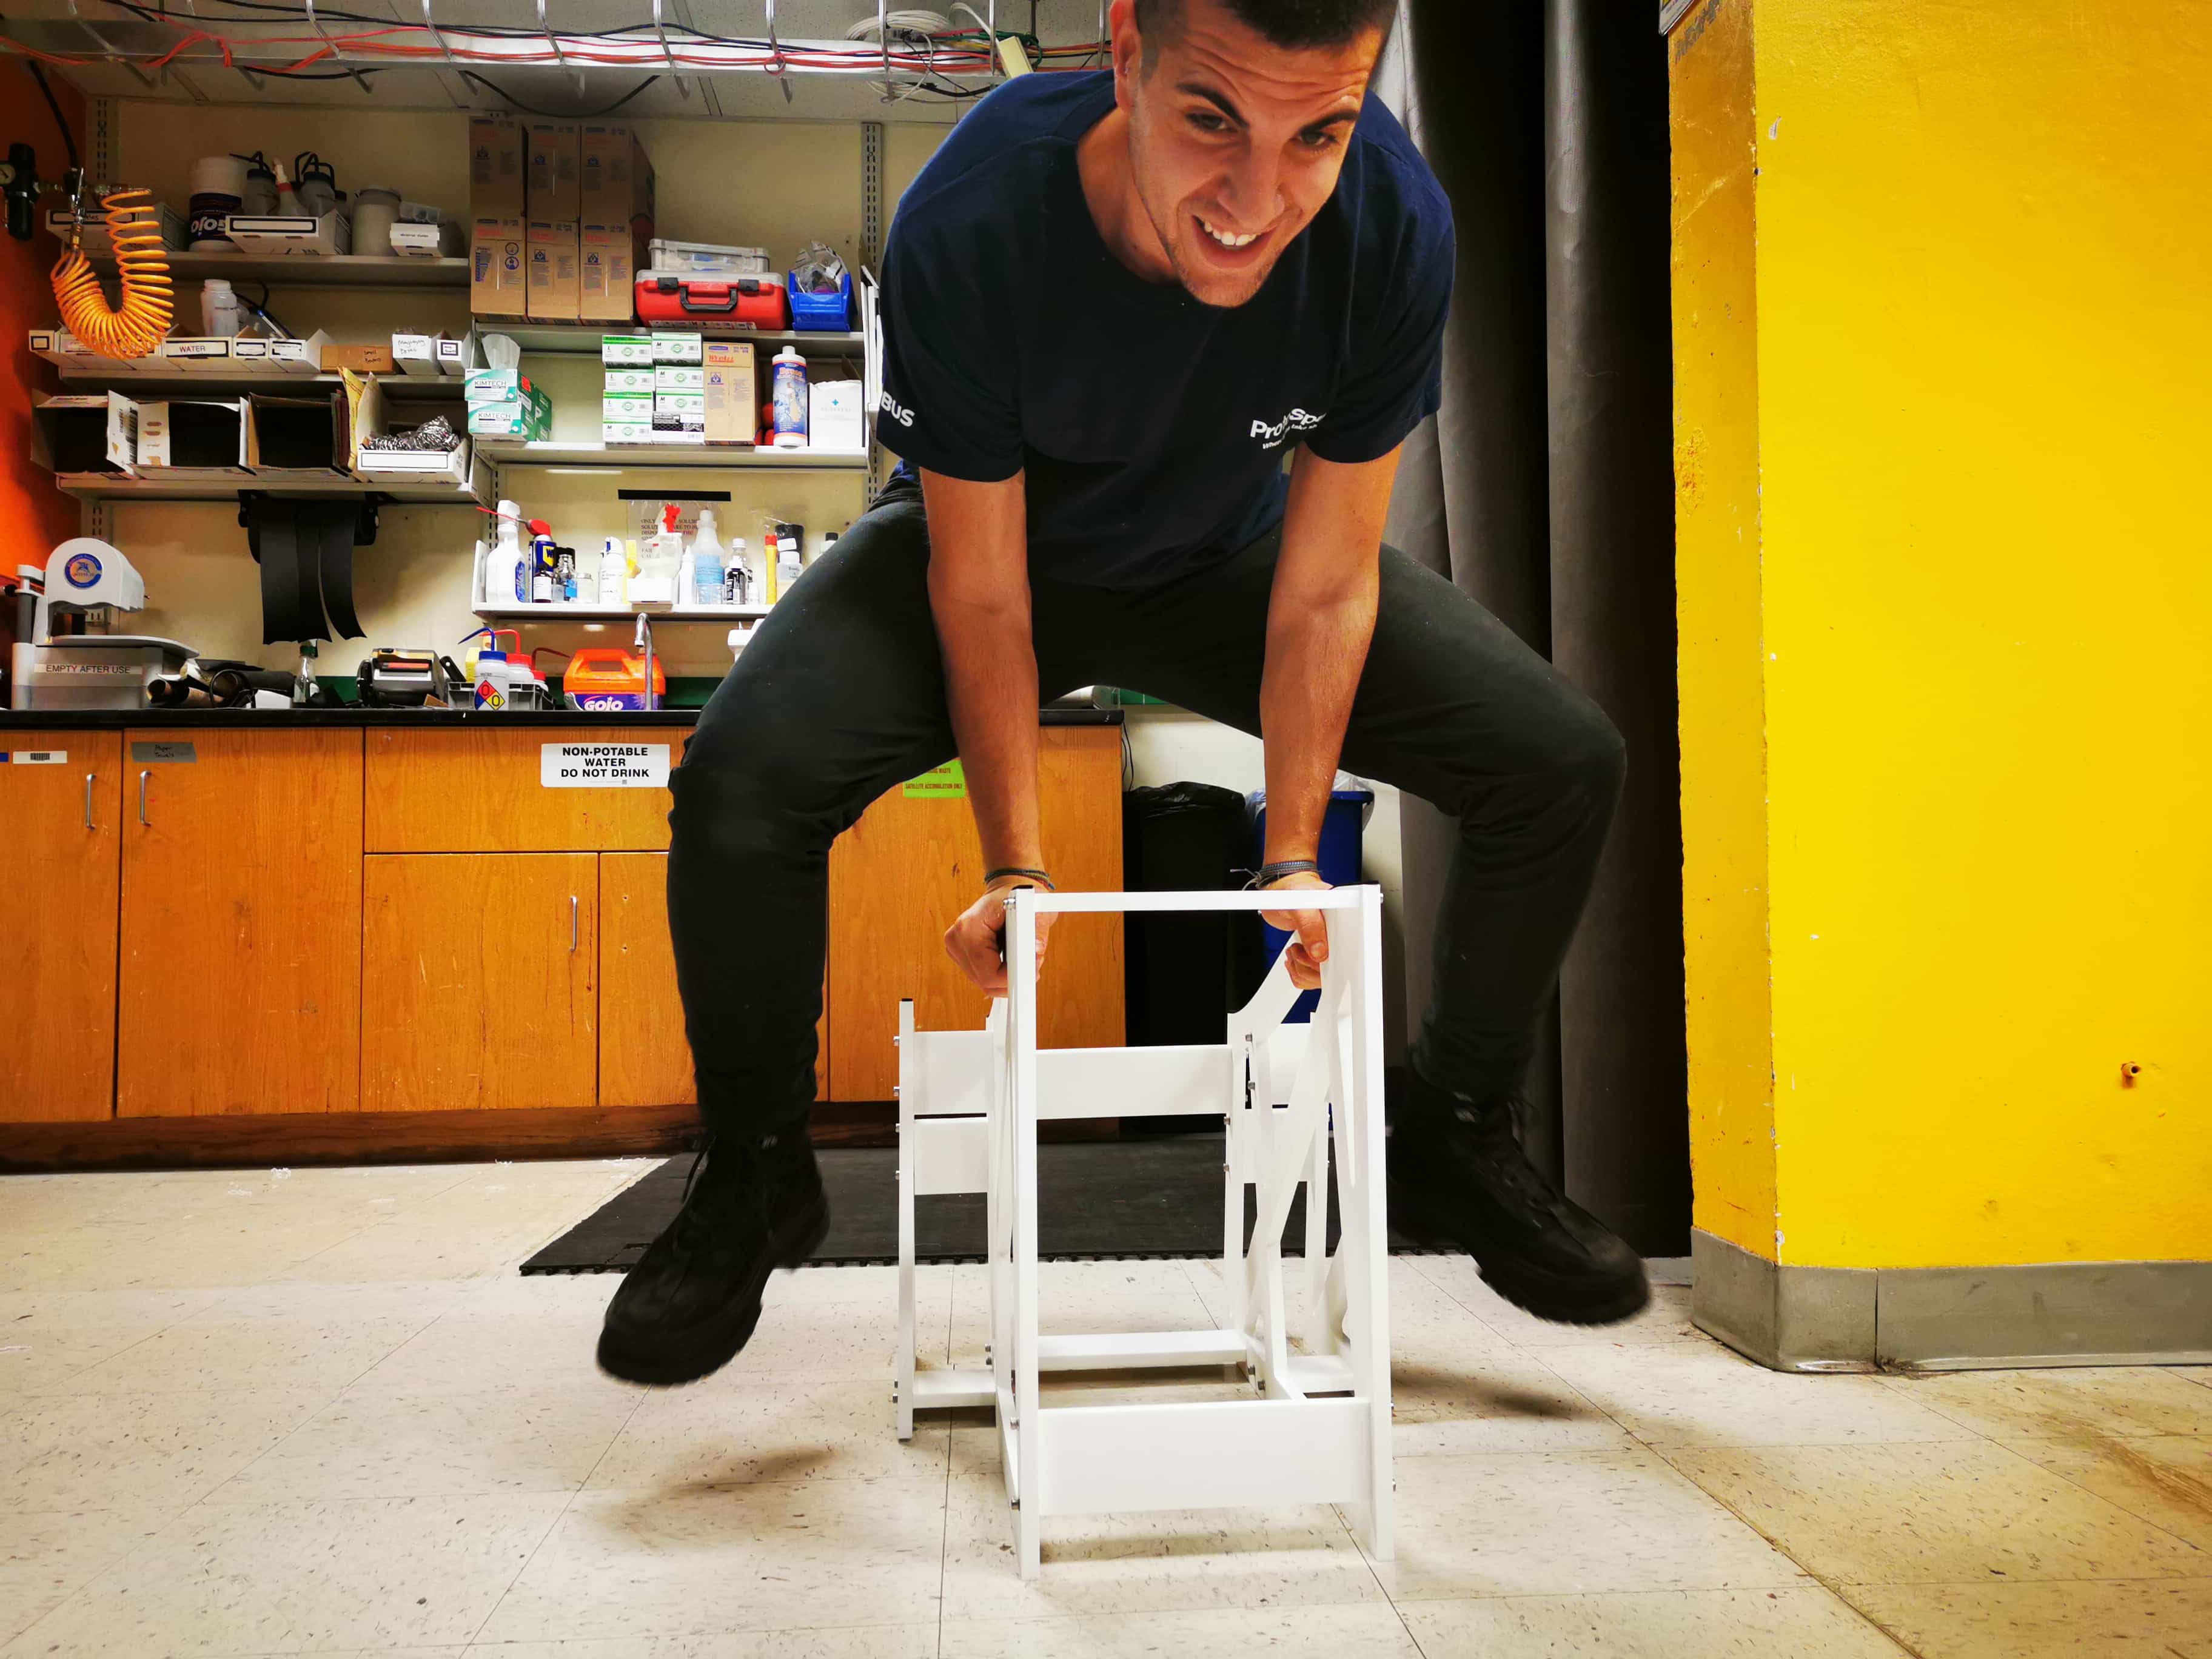
I applied an FEA and a shape optimization to ensure I will never break those guys. And I kind of test them. So so stiff
EDM!
For the sensing arm of the wind tunnel that will read the forces of the load cell, I want to EDM a monolithic flexure structure in two directions that will translate any force applied as a momentum to this canteliever beam into orthonormal forces. I am higly interested on that due to I want to read lift and drag separately.
For this prupose, I designed the load cell in fusion. The thickness of this element will be 0.75 inches that will be subtracted from a 1 inch by 1 inch aluminum bar.
We need to EDM the interior of the load cell shape, cut the wire, re wire the machine and cut the perimeter. This is due to I really want to control the distance between the interior of the load cell and the exterior walls. The stonebridge of strain gauges will be so sensitive to the deflection and we want to use the EDM tolerances to make this load cell as precise as possible
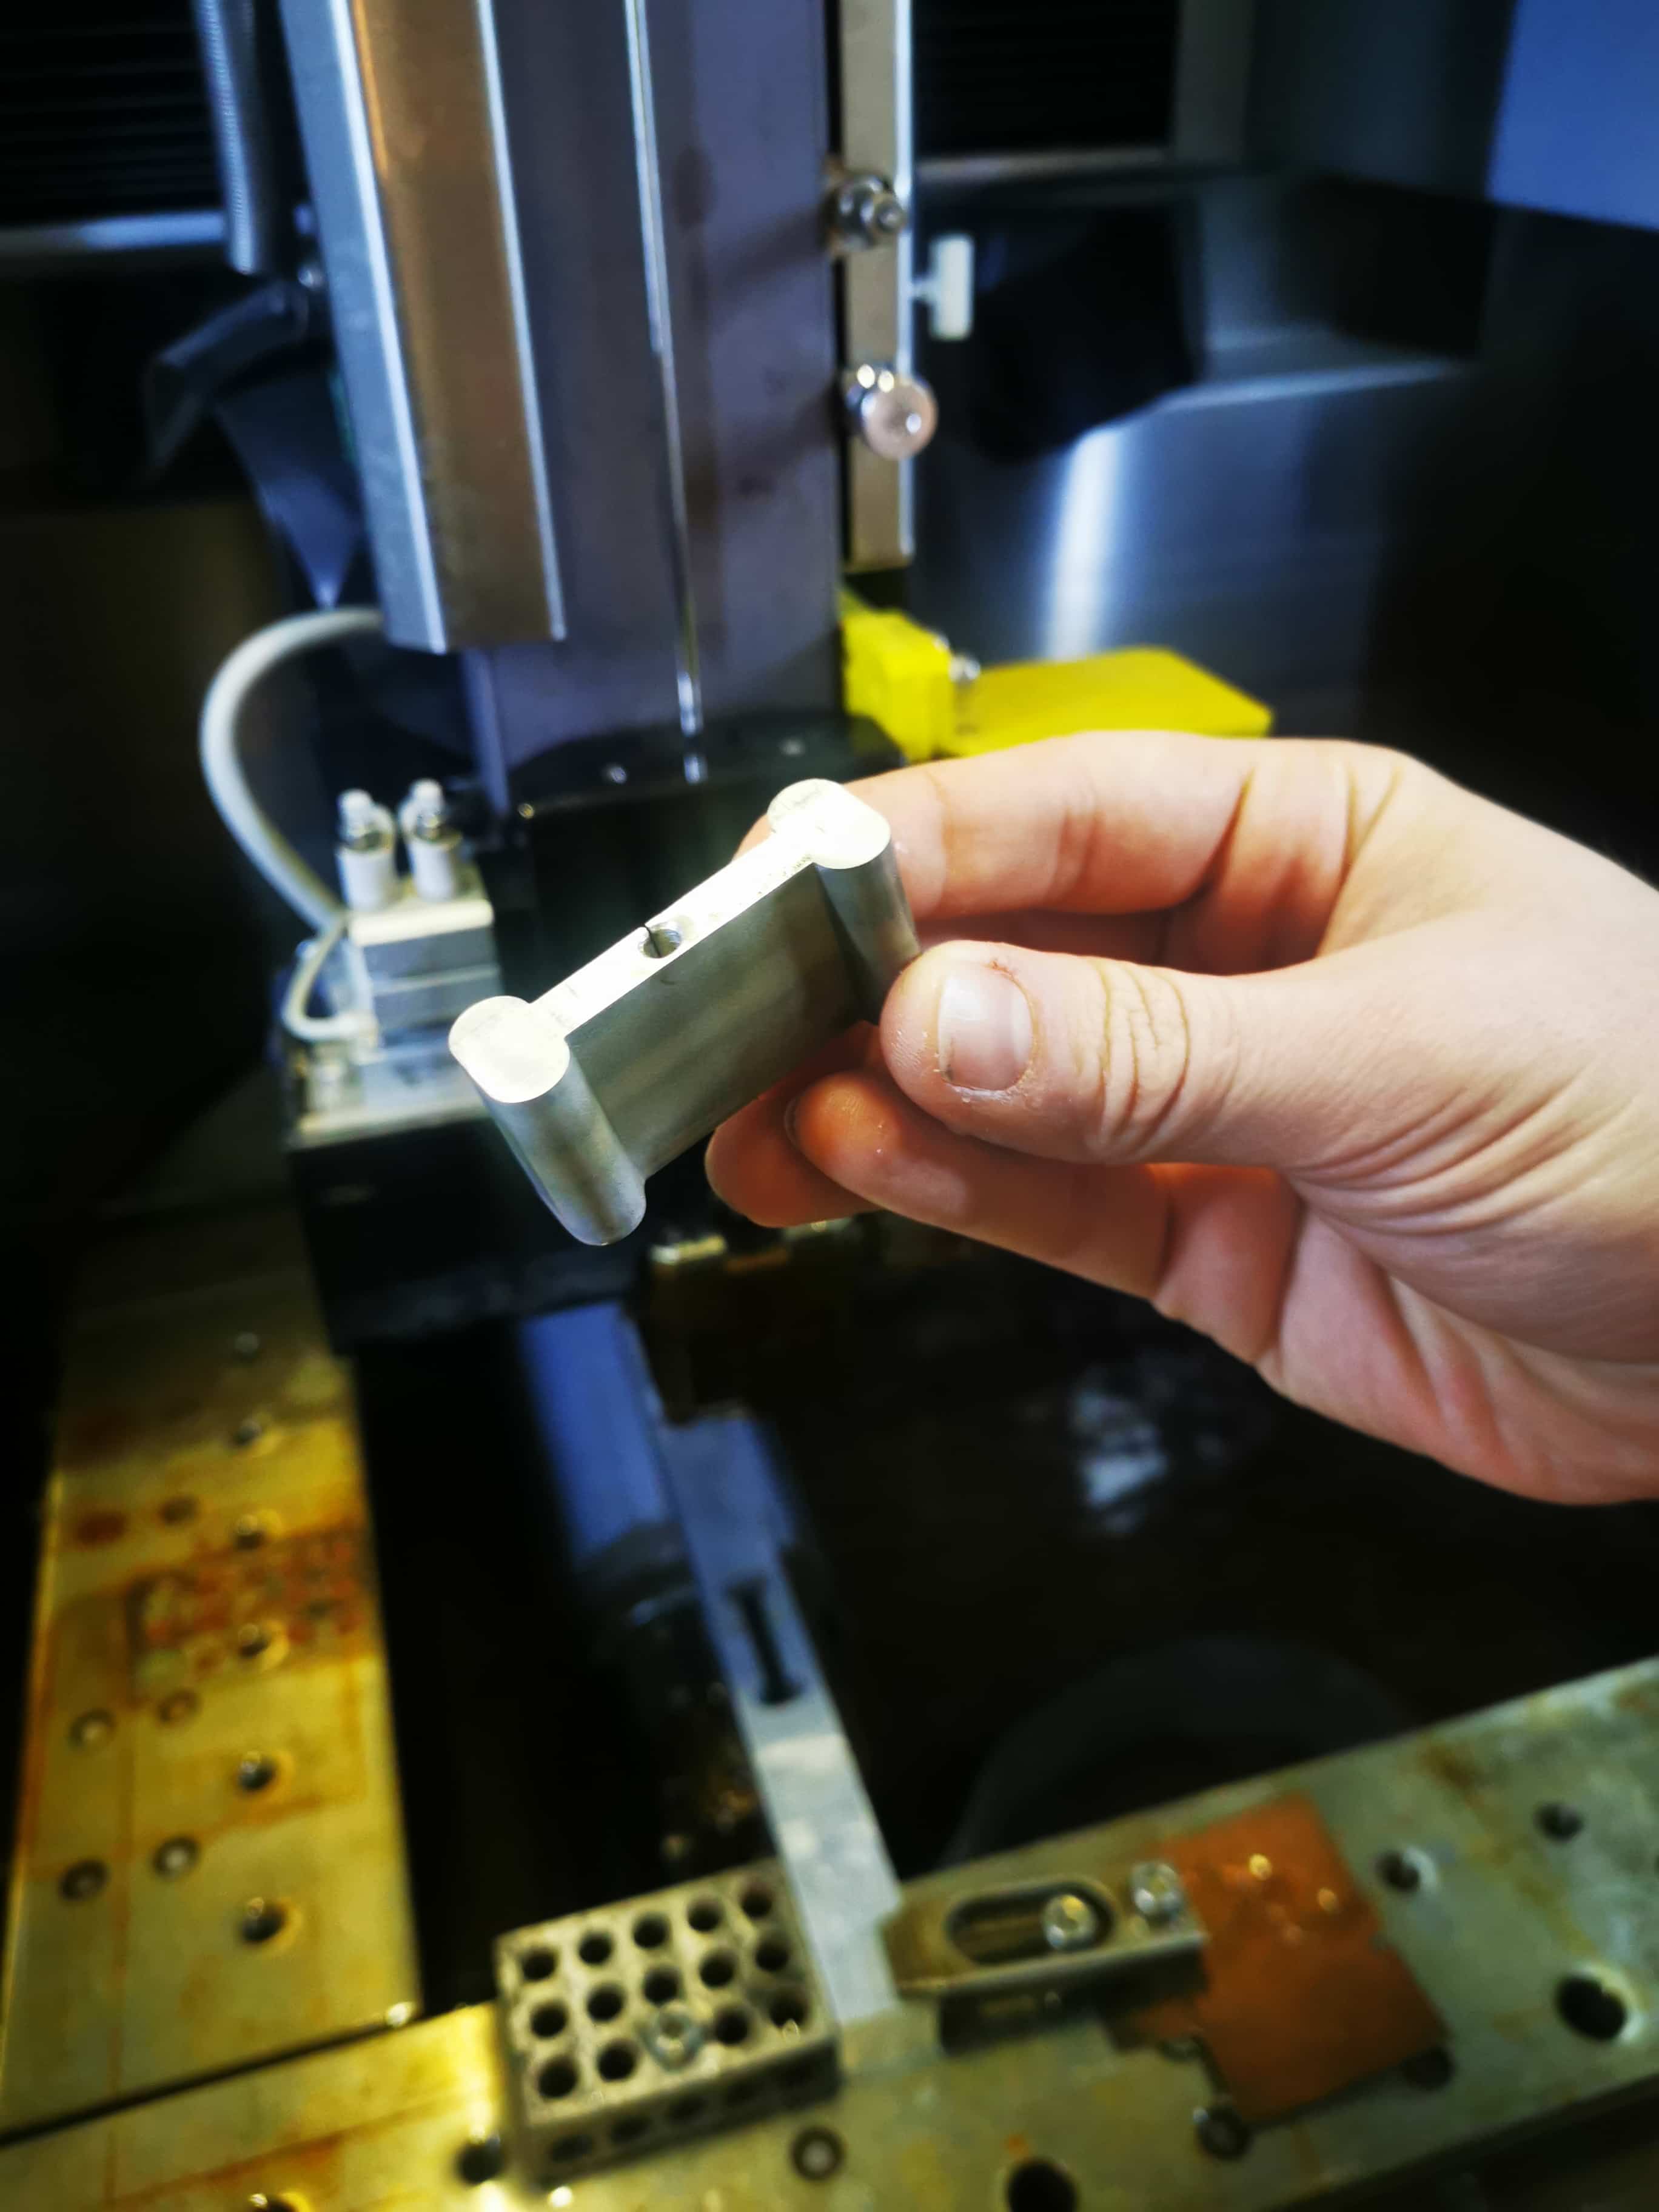

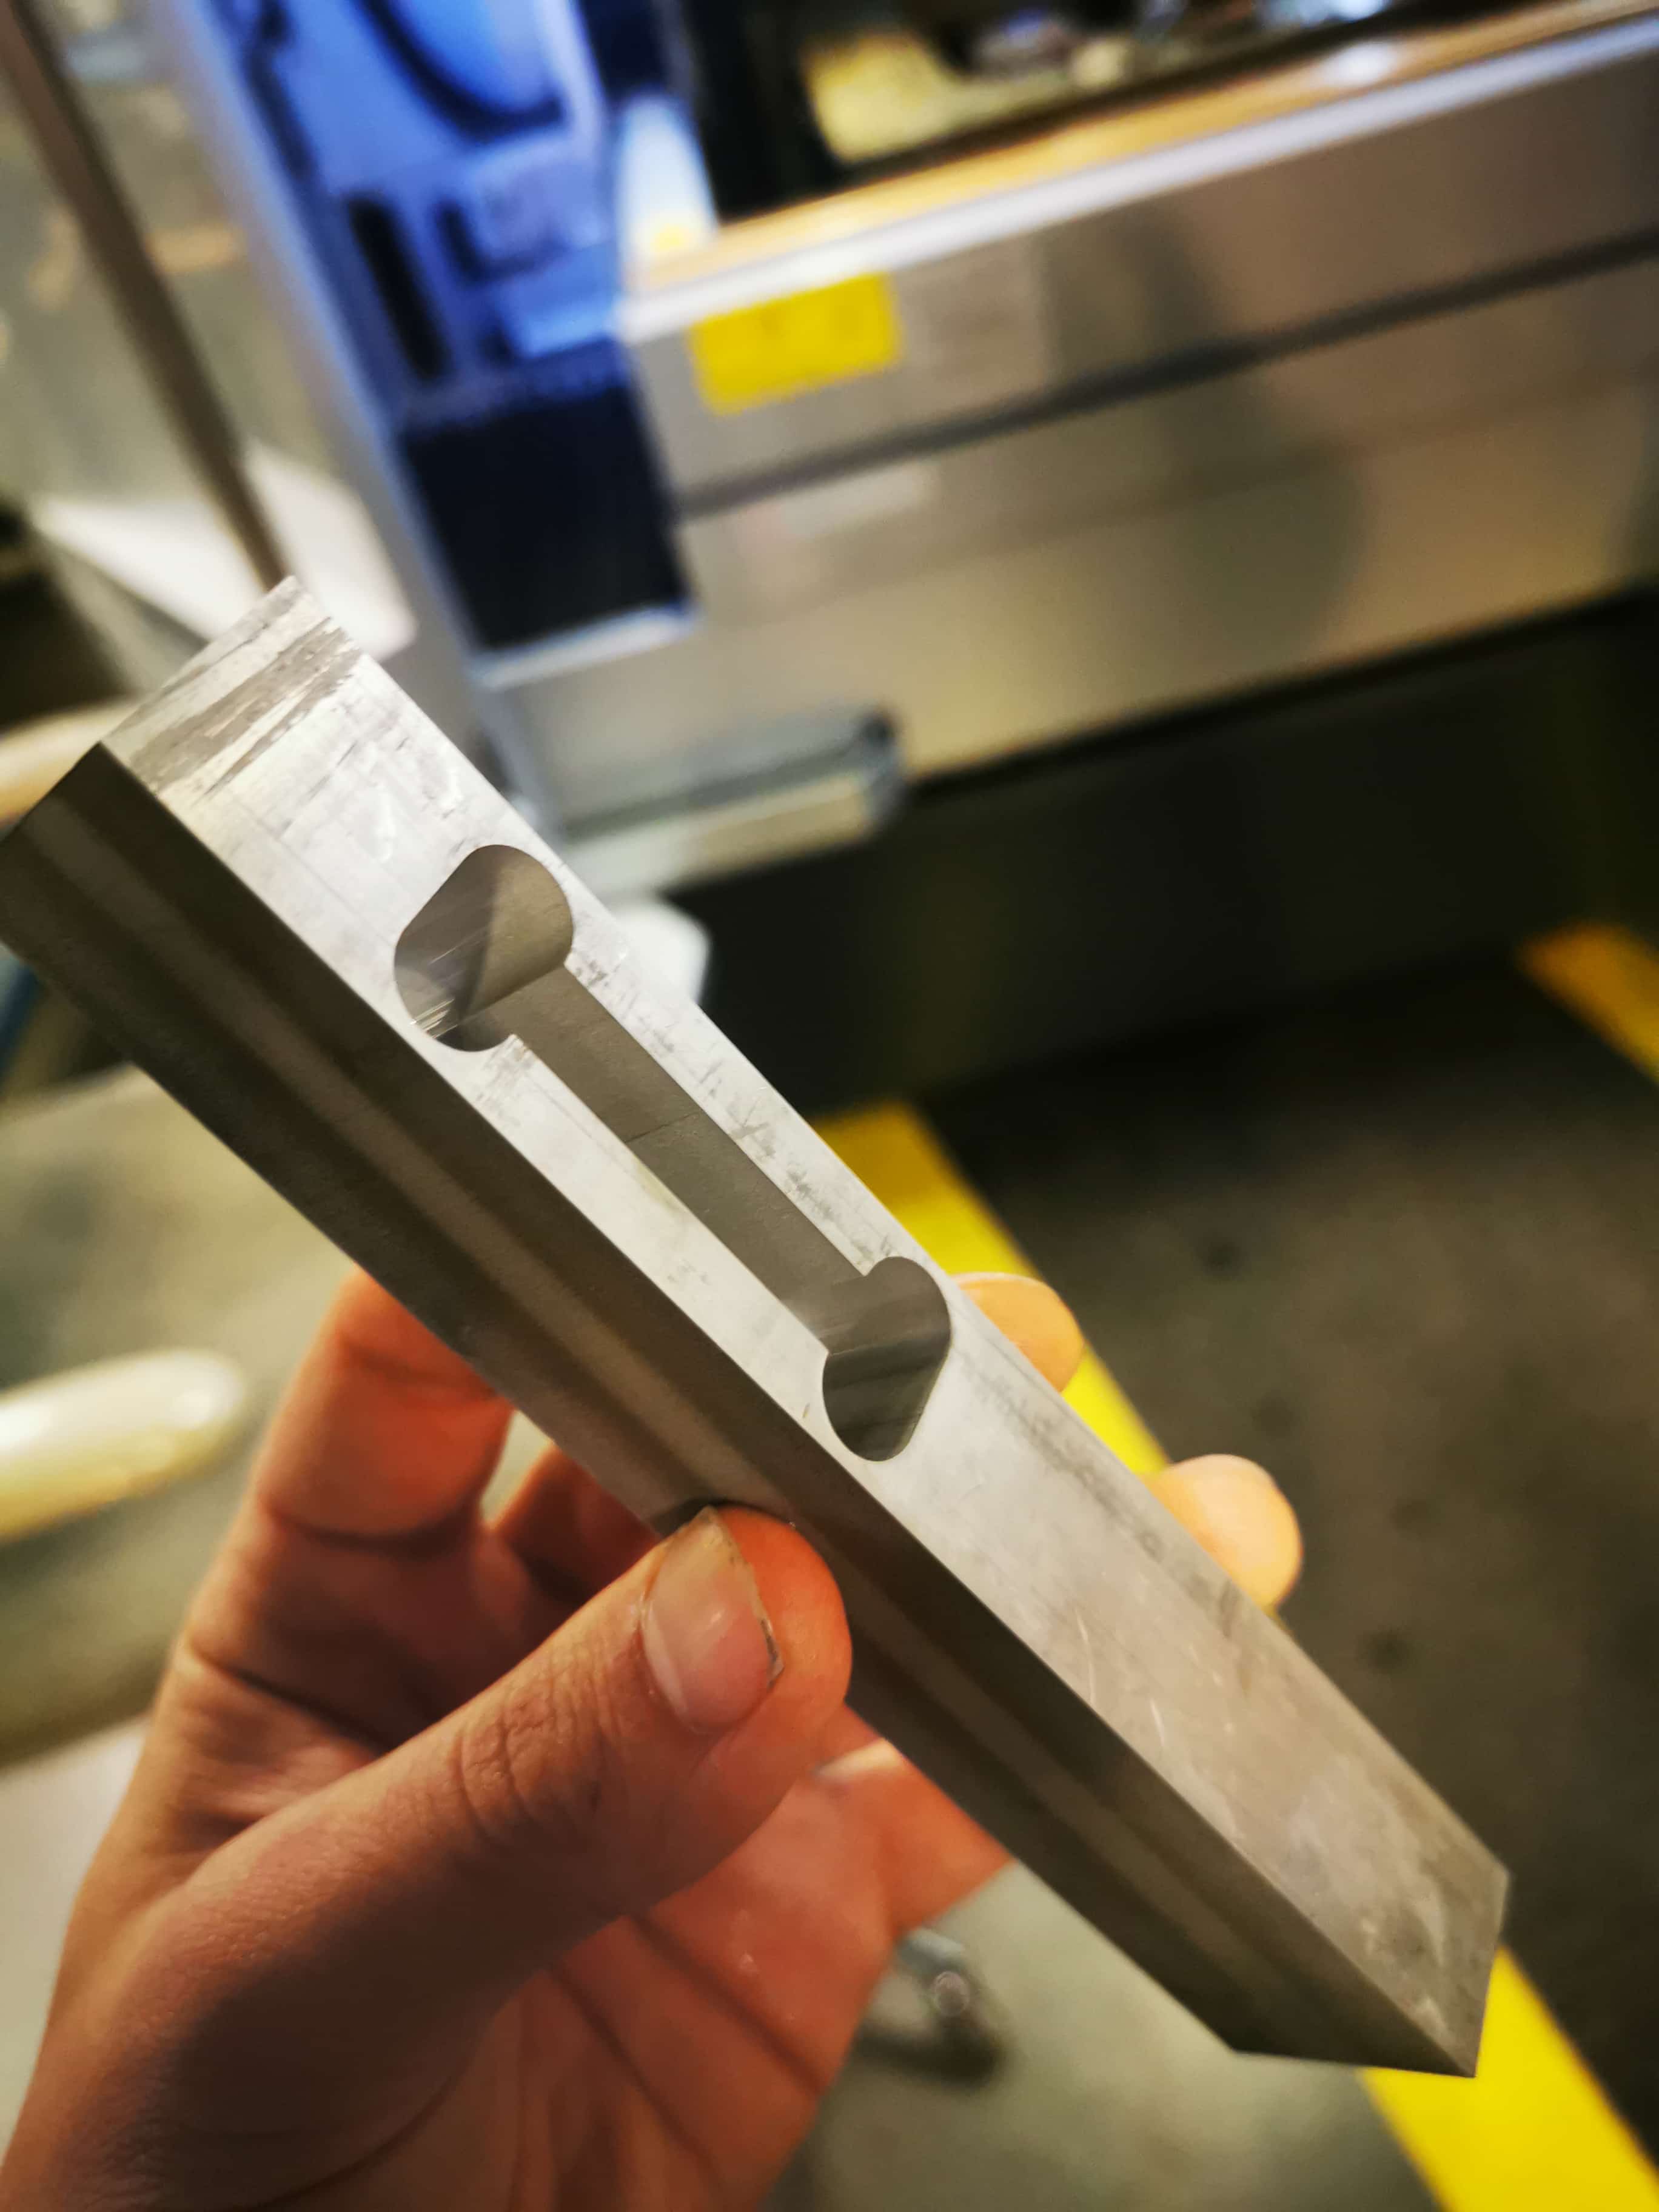
By far, EDM is the most satisfying process I ever tested.