Week 6.Make something BIG
WEEK 6 ALREADY?! NO WAY. Time is going way faster than expected.
Group Assignment
In order to start designing for the ShopBopt and to have an estimation of how long it will take and how precise this machine is, we were asked to characterize it. As rpm and cutting speed cant be touched (to play with this parameters is something quite advanced), we focused our effosrts on estimate the tolerances of manufacturing.
For that propose, we designed and machined a bunch of different control geometries, easy to meassure to be aware of the final geometrical differences once milled
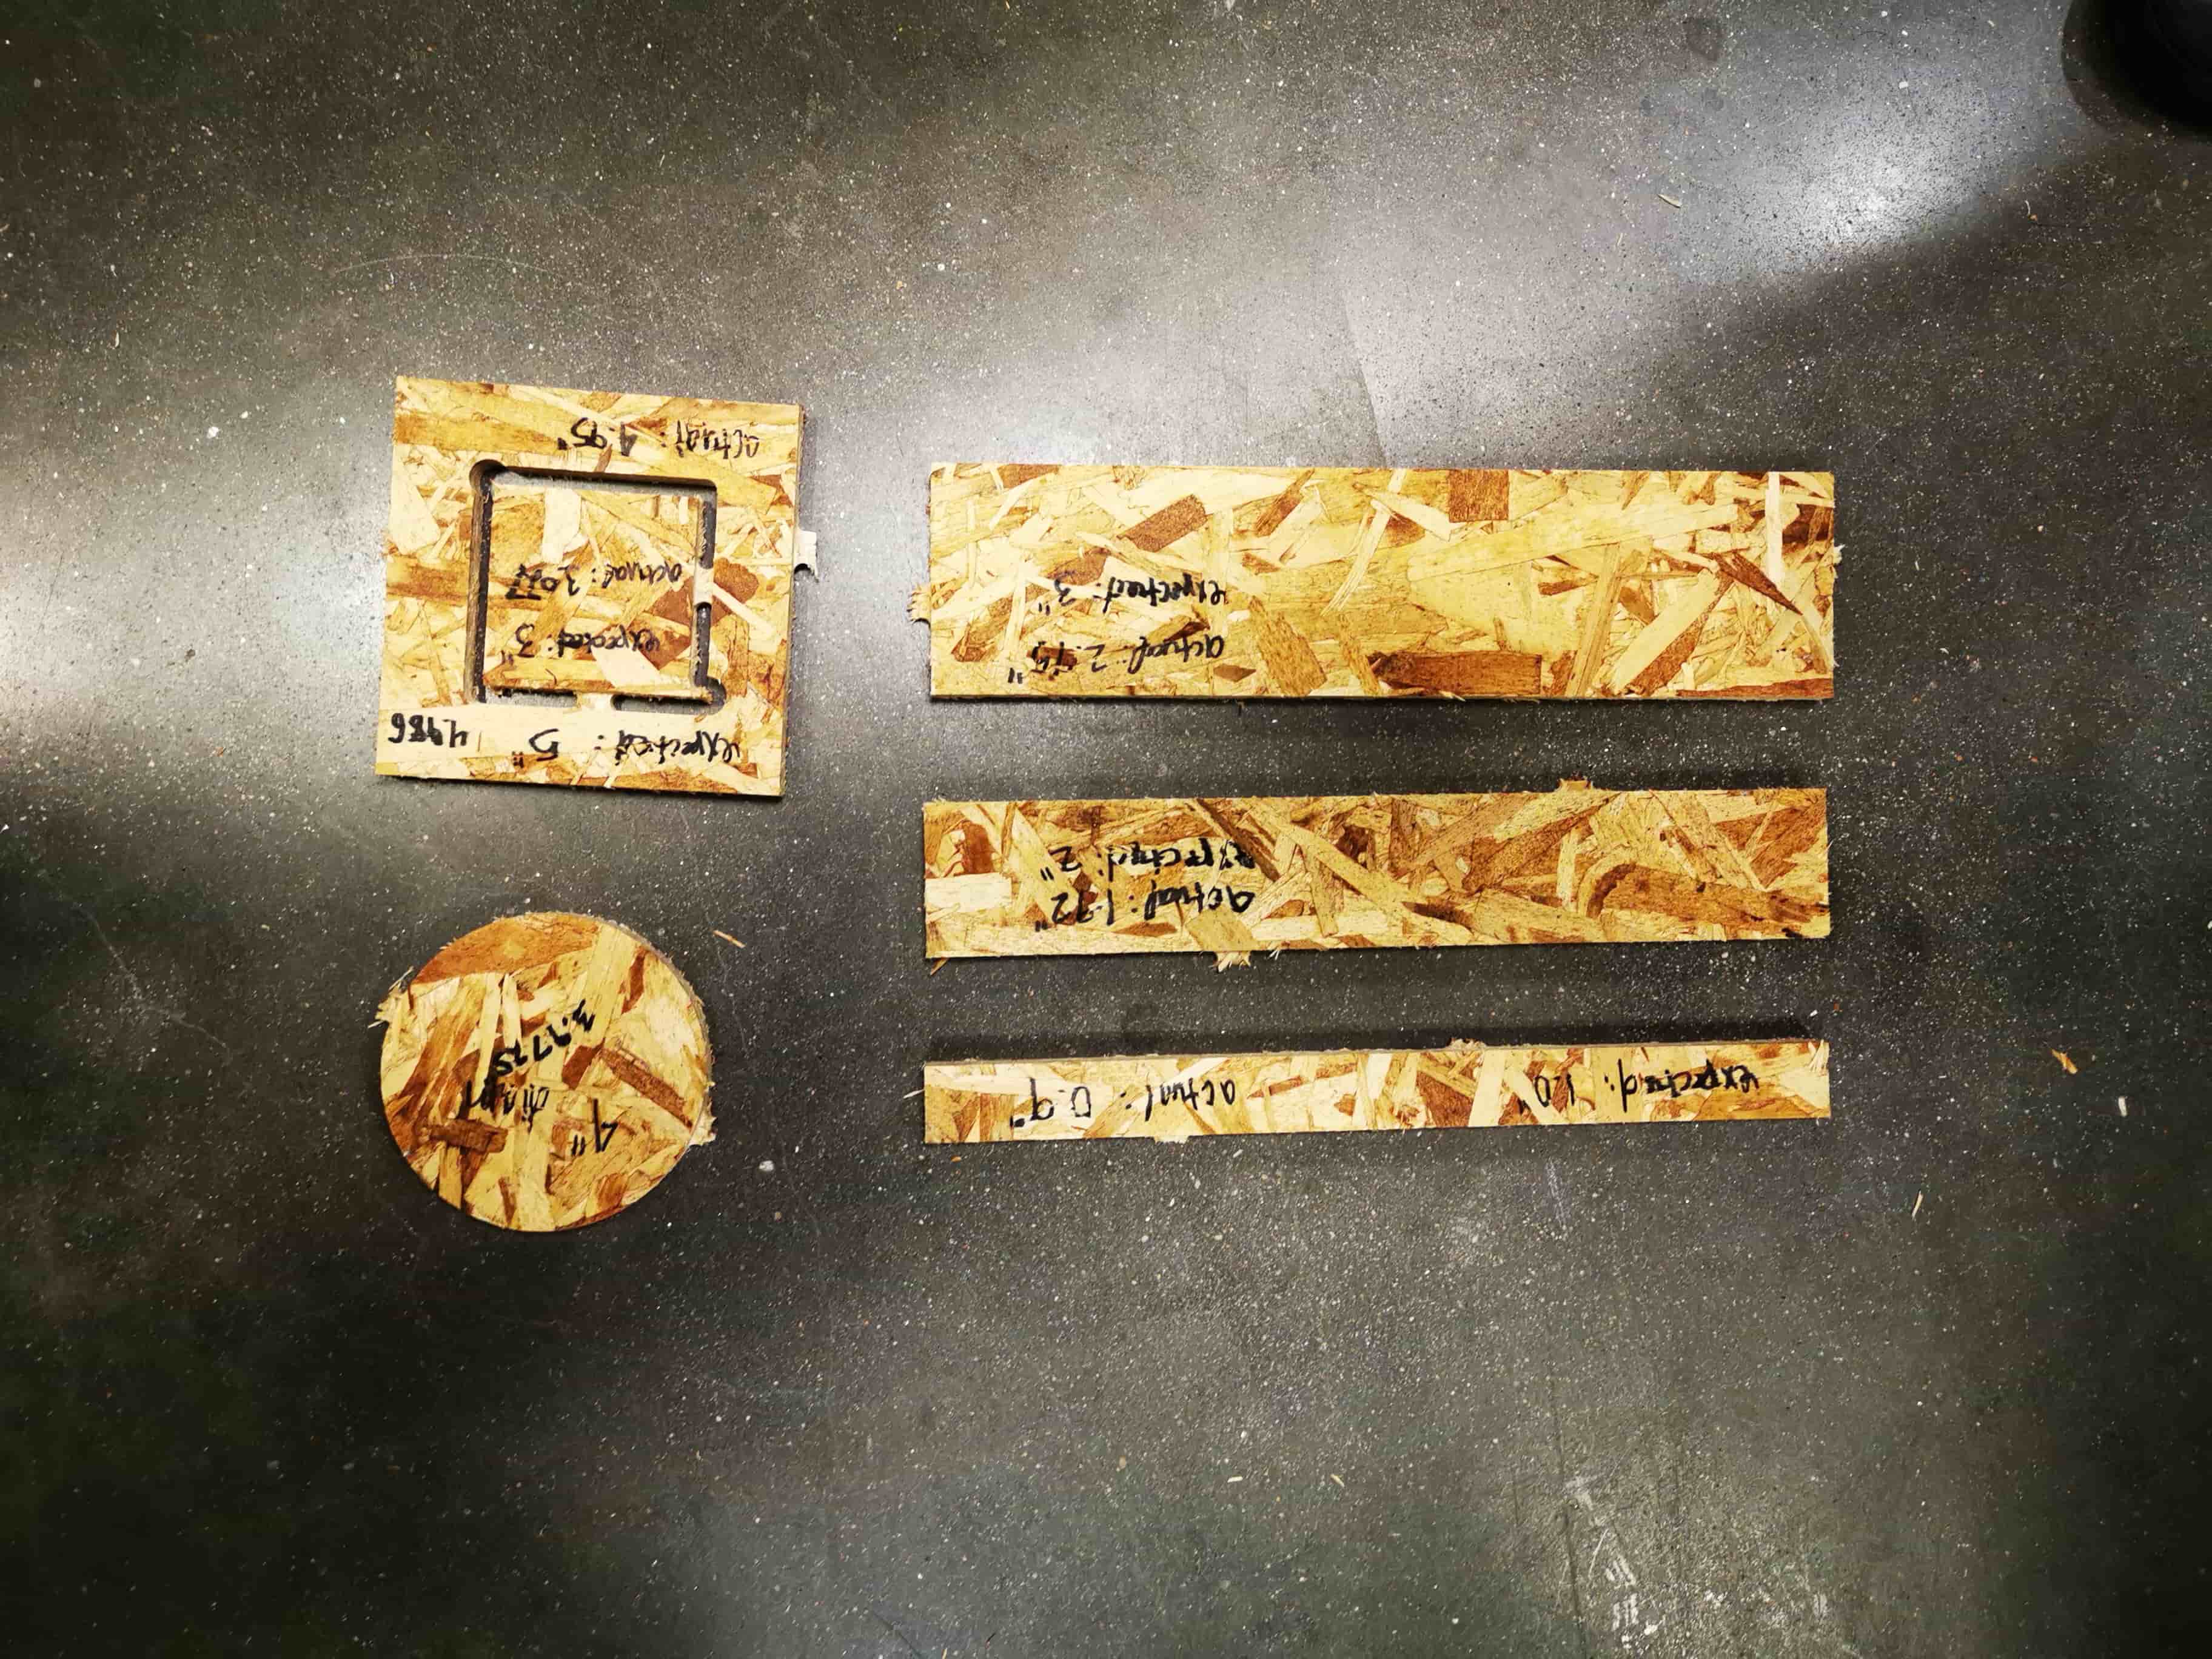
Tom, when giving the training, told us that the fixures of this material in particular were not extremelly reliable. But not because of the ShopBot, but because of the thickness of the ODM varies a lot! Which makes sense.
Taking this into account, after the analysis of the milled piueces we can set that this was completely true. The ShopBot has got a very nice tolerance and repetibility. The average of deviation were 0.04 inches. As a fact to talk about, all deviation were founded in the same side.
Individual Assignment
This week we were encouraged to mill and make something significantly big. I want to use this week to advance in my final project. Let start thinking in the windtunnel! Im going to manufacture the Nozzle, the Diffuser and the duct.
When I was designing the windtunnel, the first design I made for the intakes were all curvy, great for the air behavior, horrible for manufacturing (at least with my knowledge in wood)
BUT
Last week I spent some time with Airbus colleagues and after seing my secon version (great for manufacturing, not great for air) they encouraged me on manufacture the first design proposal.
I guess this class (and MIT in general) is the place to go out your conformt and try to do something you dont have the knowledge to. Lets learn doing it!
I ordered some 6mm thickness plywood. I didnt want to go to halph of an inch. It could be so difficult to bend and the structure wont hold that much load.
Manufacturing and assembly of the duct seems pretty straight forward. Lets start with the design and manufacturing of the intakes. Im gonna take this 1 curvature shape, unfold it in Rhinoceros, take the plant 2d shape, mill it in a 6mm
My challenge no is: How can I bend plywood and how can I join them externally in a smart/clean way?
As a first step rastering for information, I posted a detailled issue in the class site Gitlab. All the people who responded me were so so so helpfull. What a long messages full of information
MIT Hobby Shop offers a huge variety of wood tools. One response of my git issue told me that for steam bending wood, that was the right place to do. And I did. The moulds I designed for this first strategy were the following
The problem of this first strategy is that the Hobby Shop asked me for a fee and It was going to be impossible to do it before wednesday.
Changing the strategy
At this point, I was forced to change strategy. I decided to bend the plywood with living hinges and shape it makking a wood framework, using OSB as a mould frame able to deform the 4 sheets to take them to their position.
I started after design them, to mill them. When finishing the first job, because a non precise allignment in the XY axis and also because don't giving the propper atention to the screws I used to fix the wood in the table, I broke an endmill..
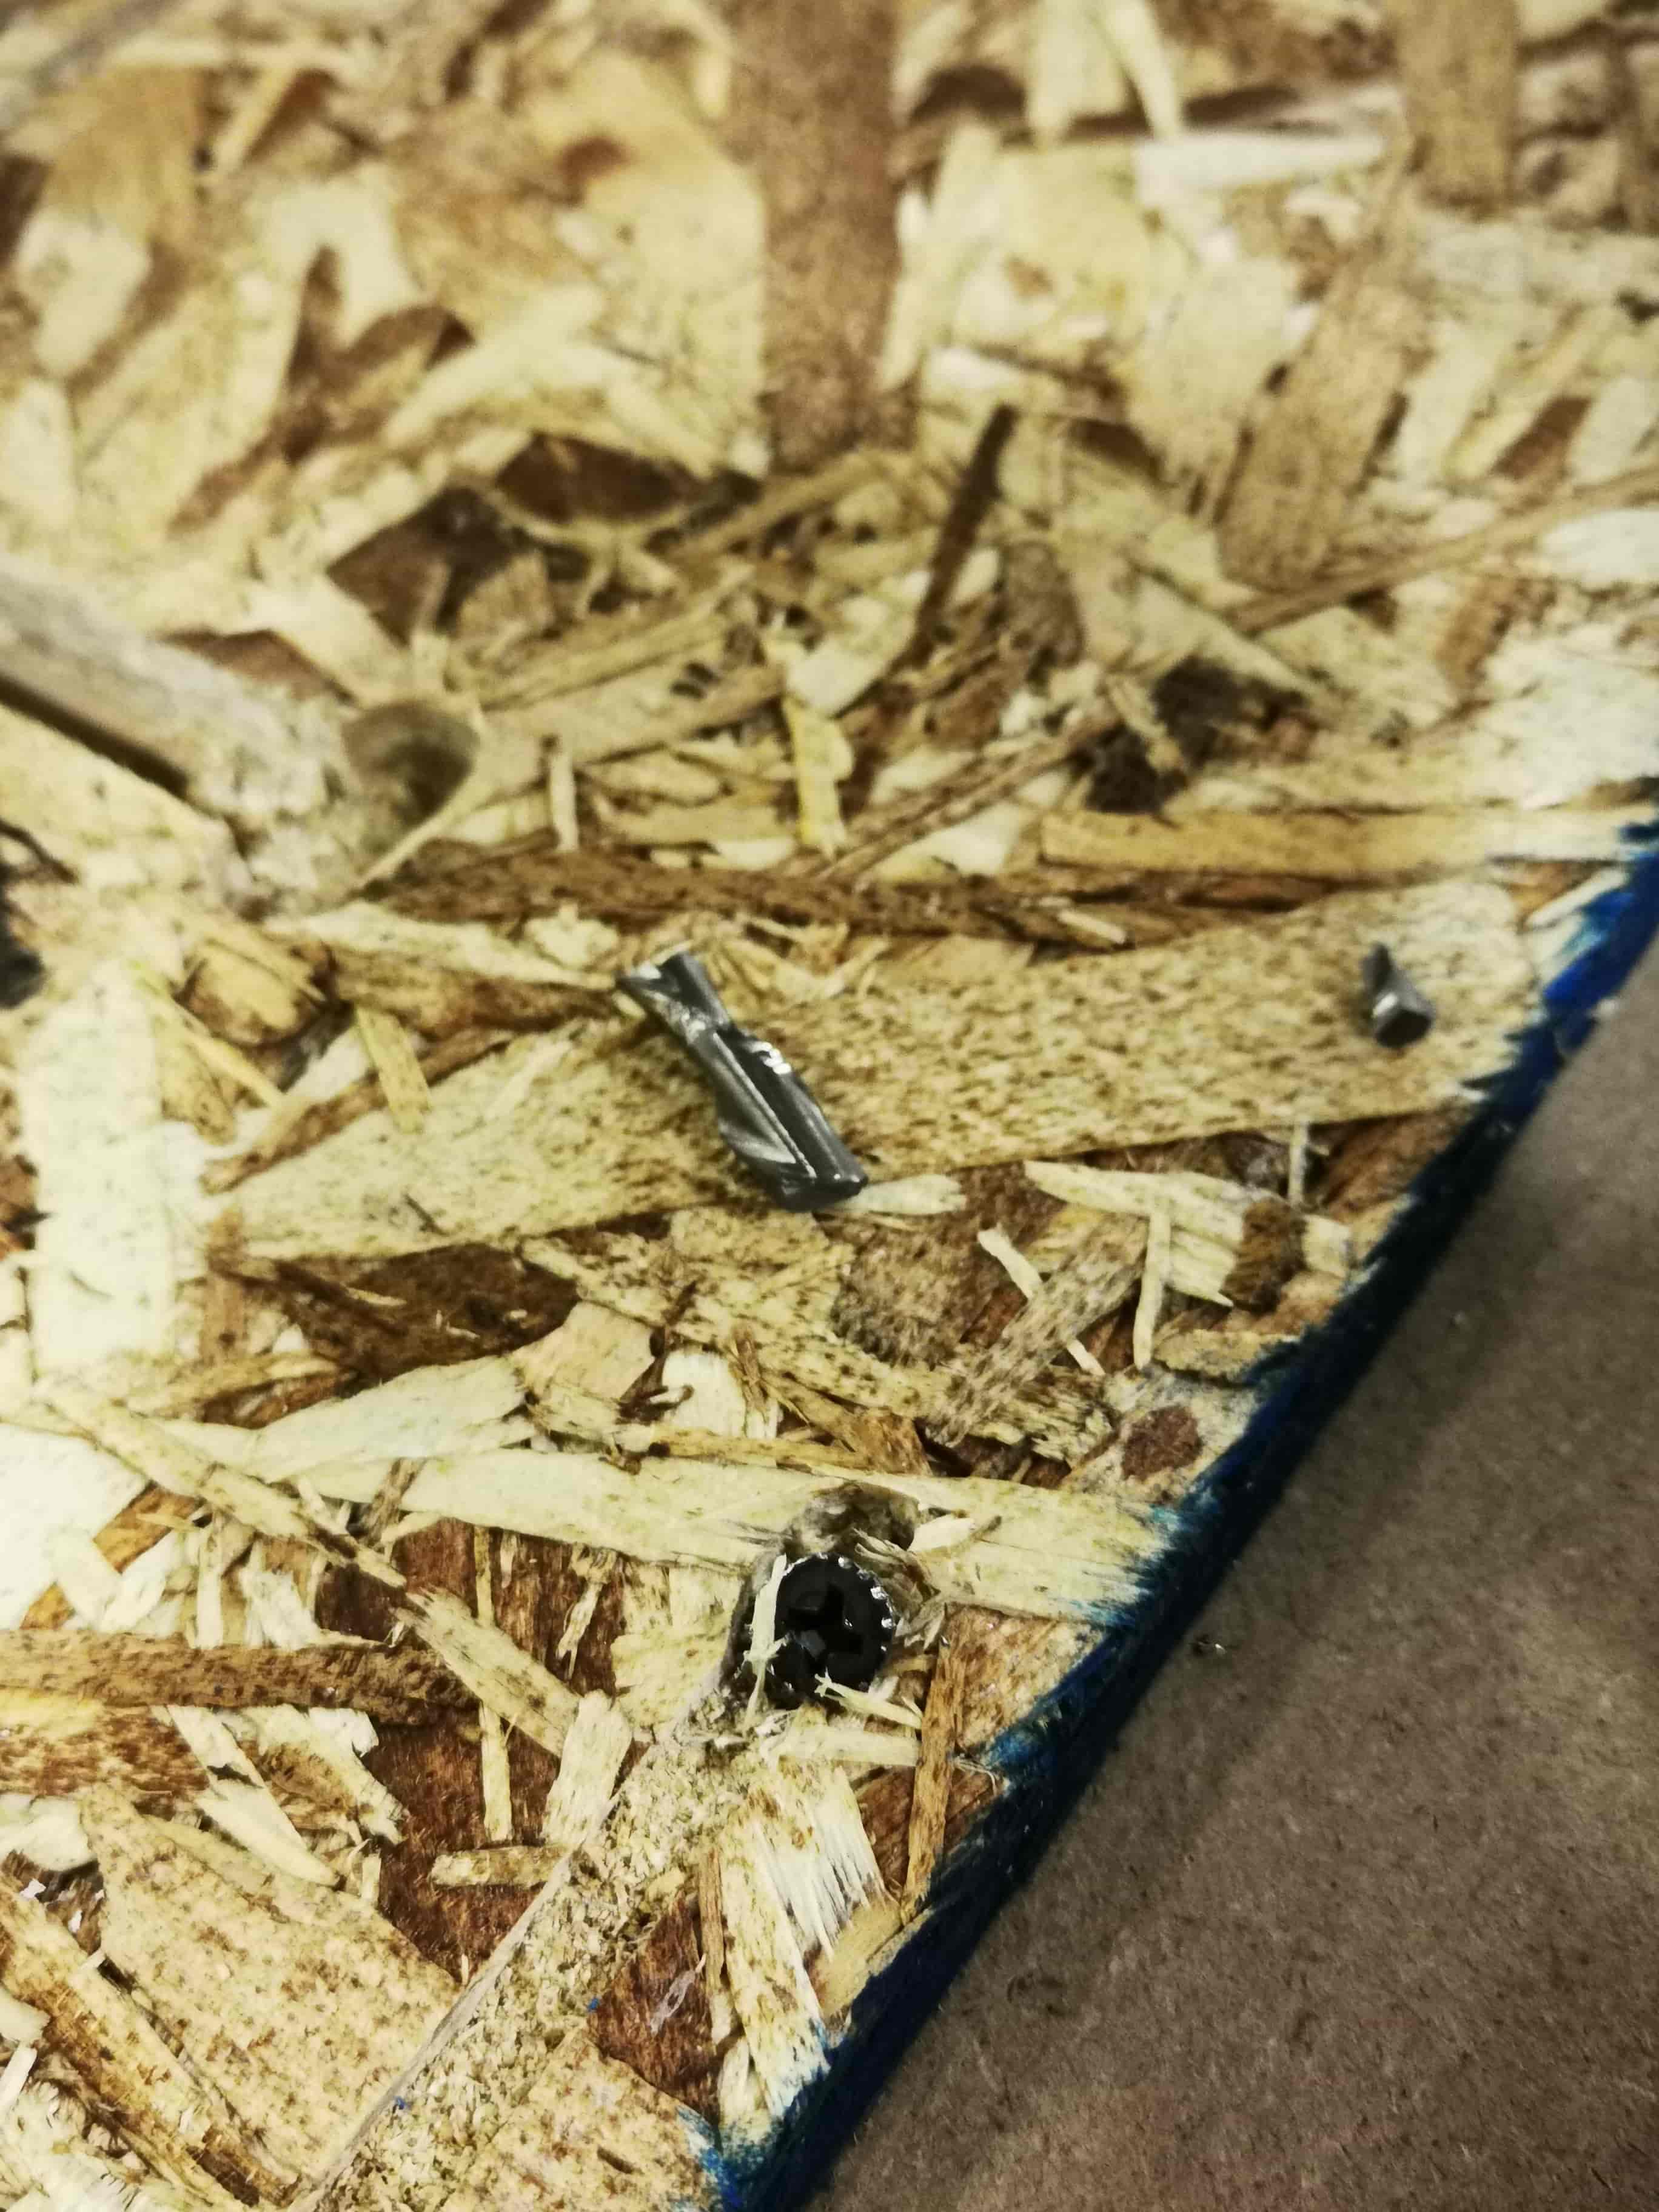
Despite this incident, all the milling process went perfect and all the pieces were done without any problem.
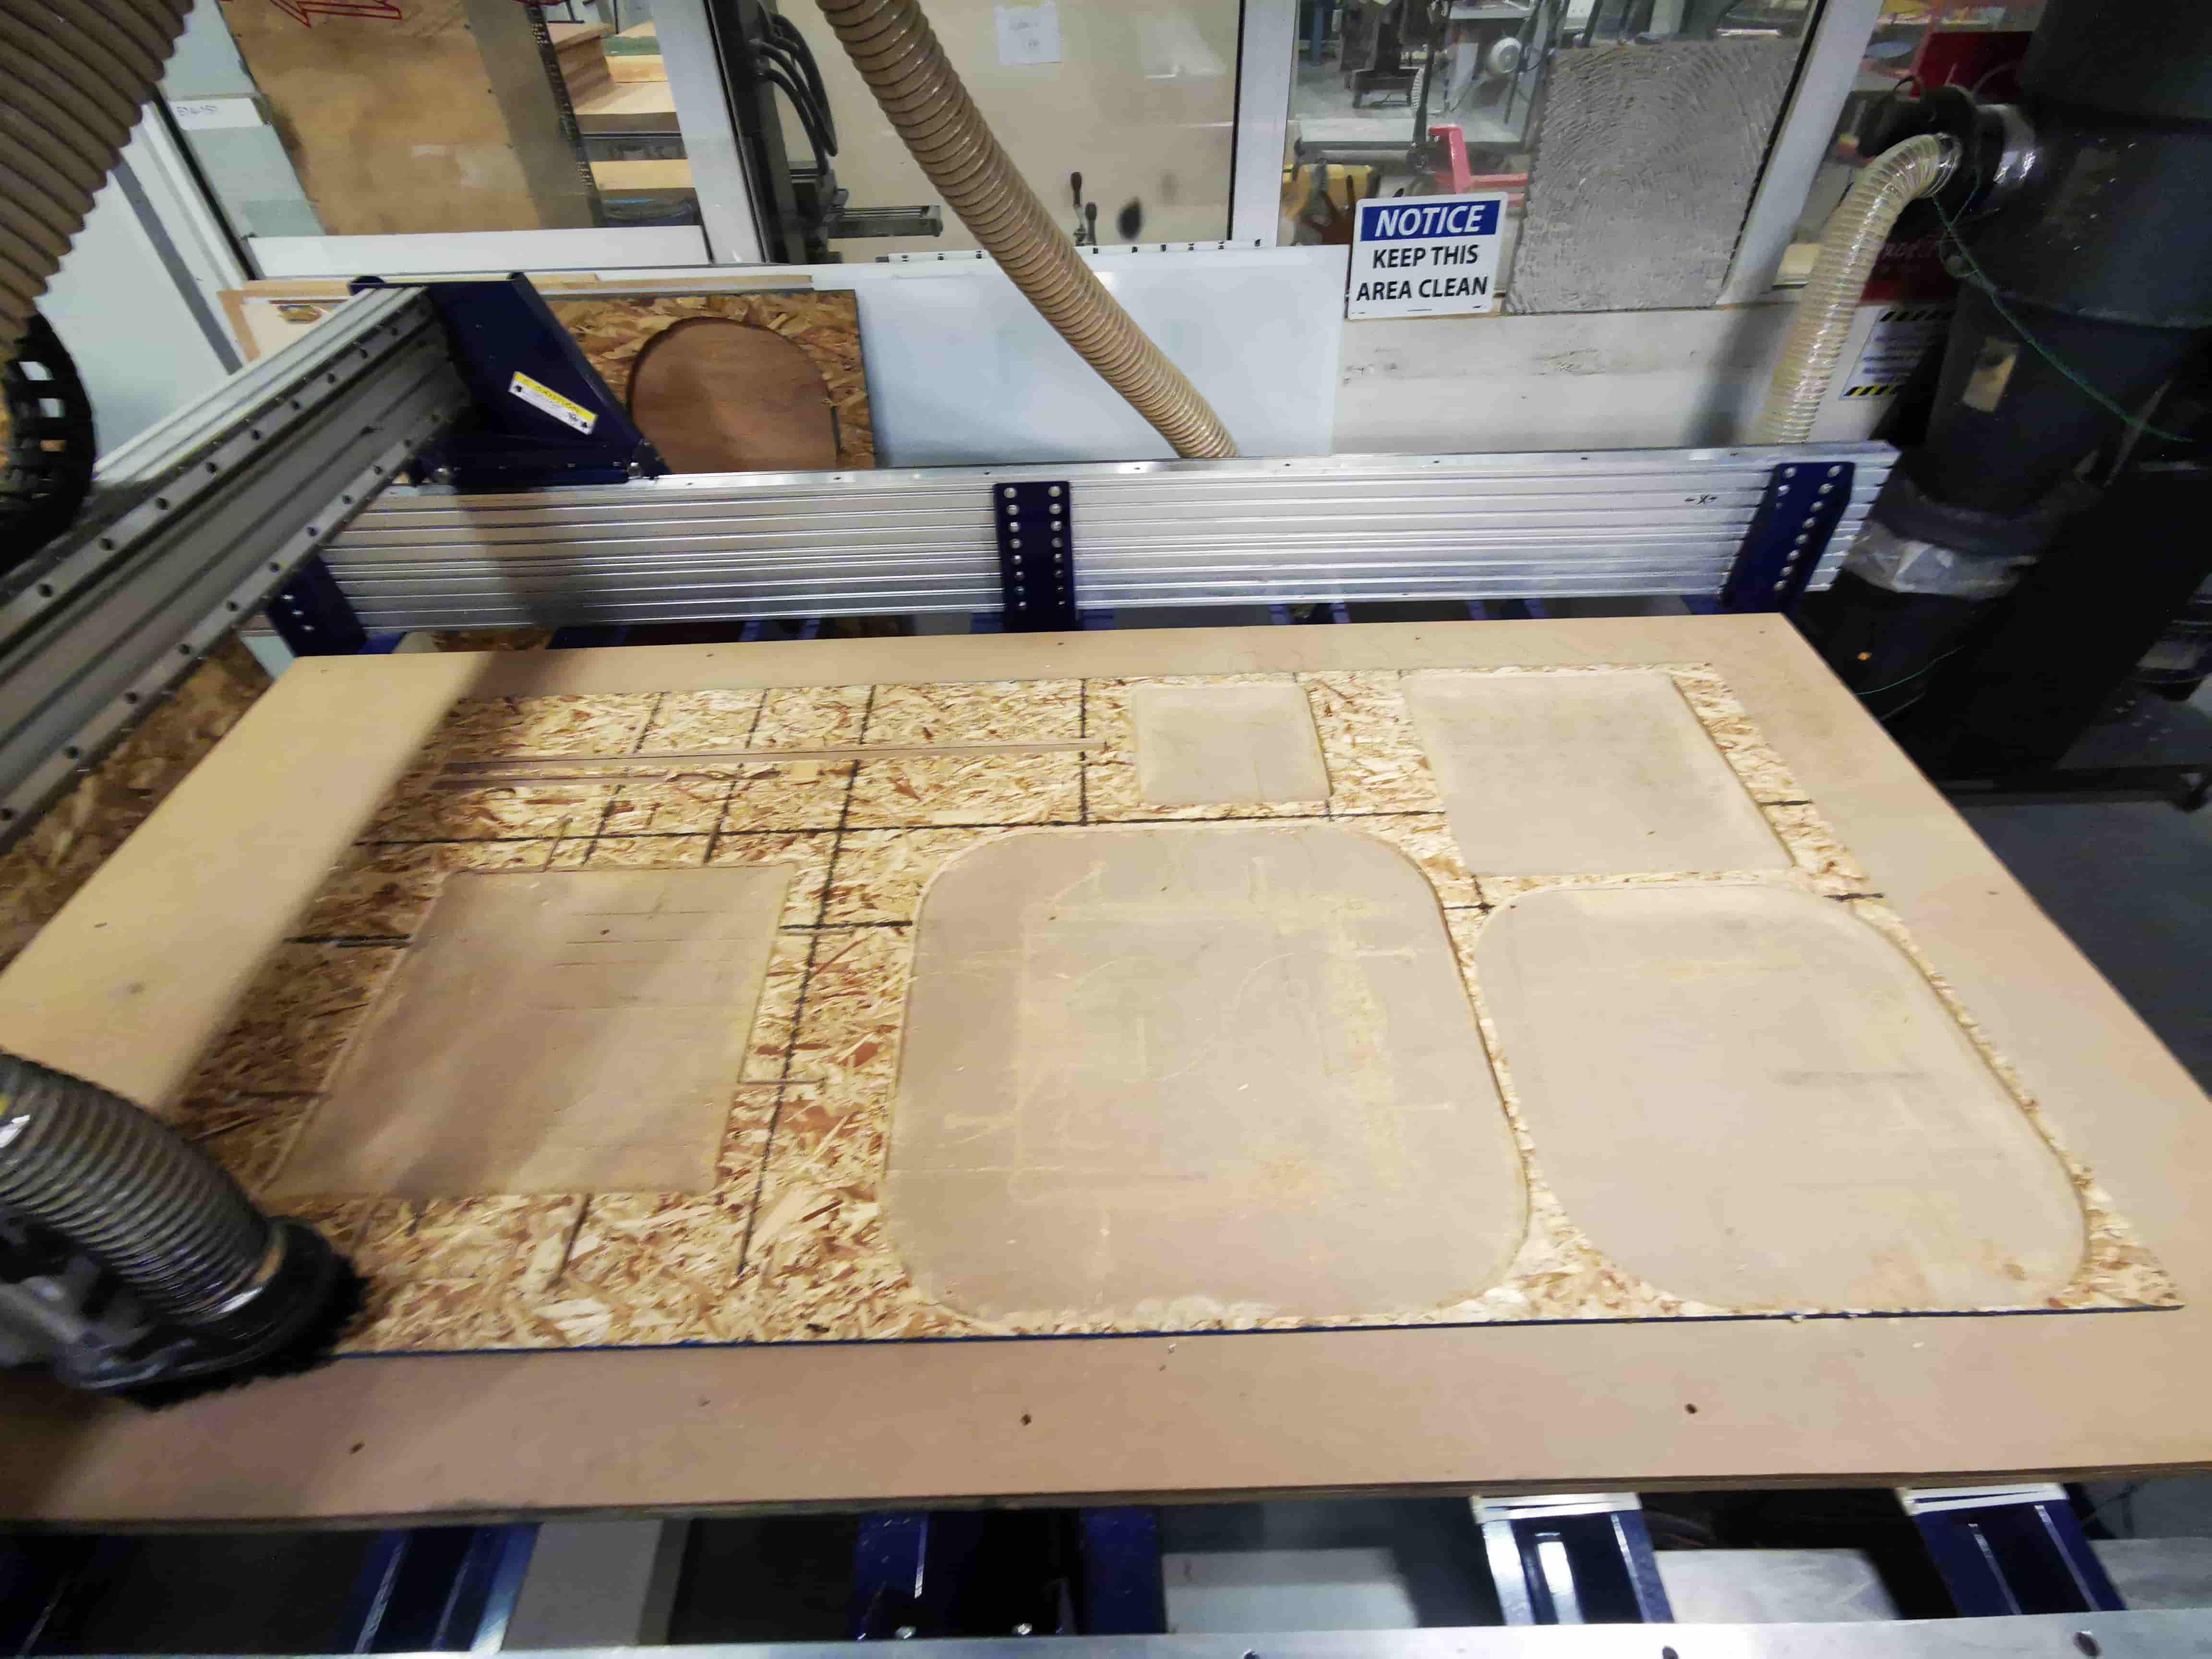
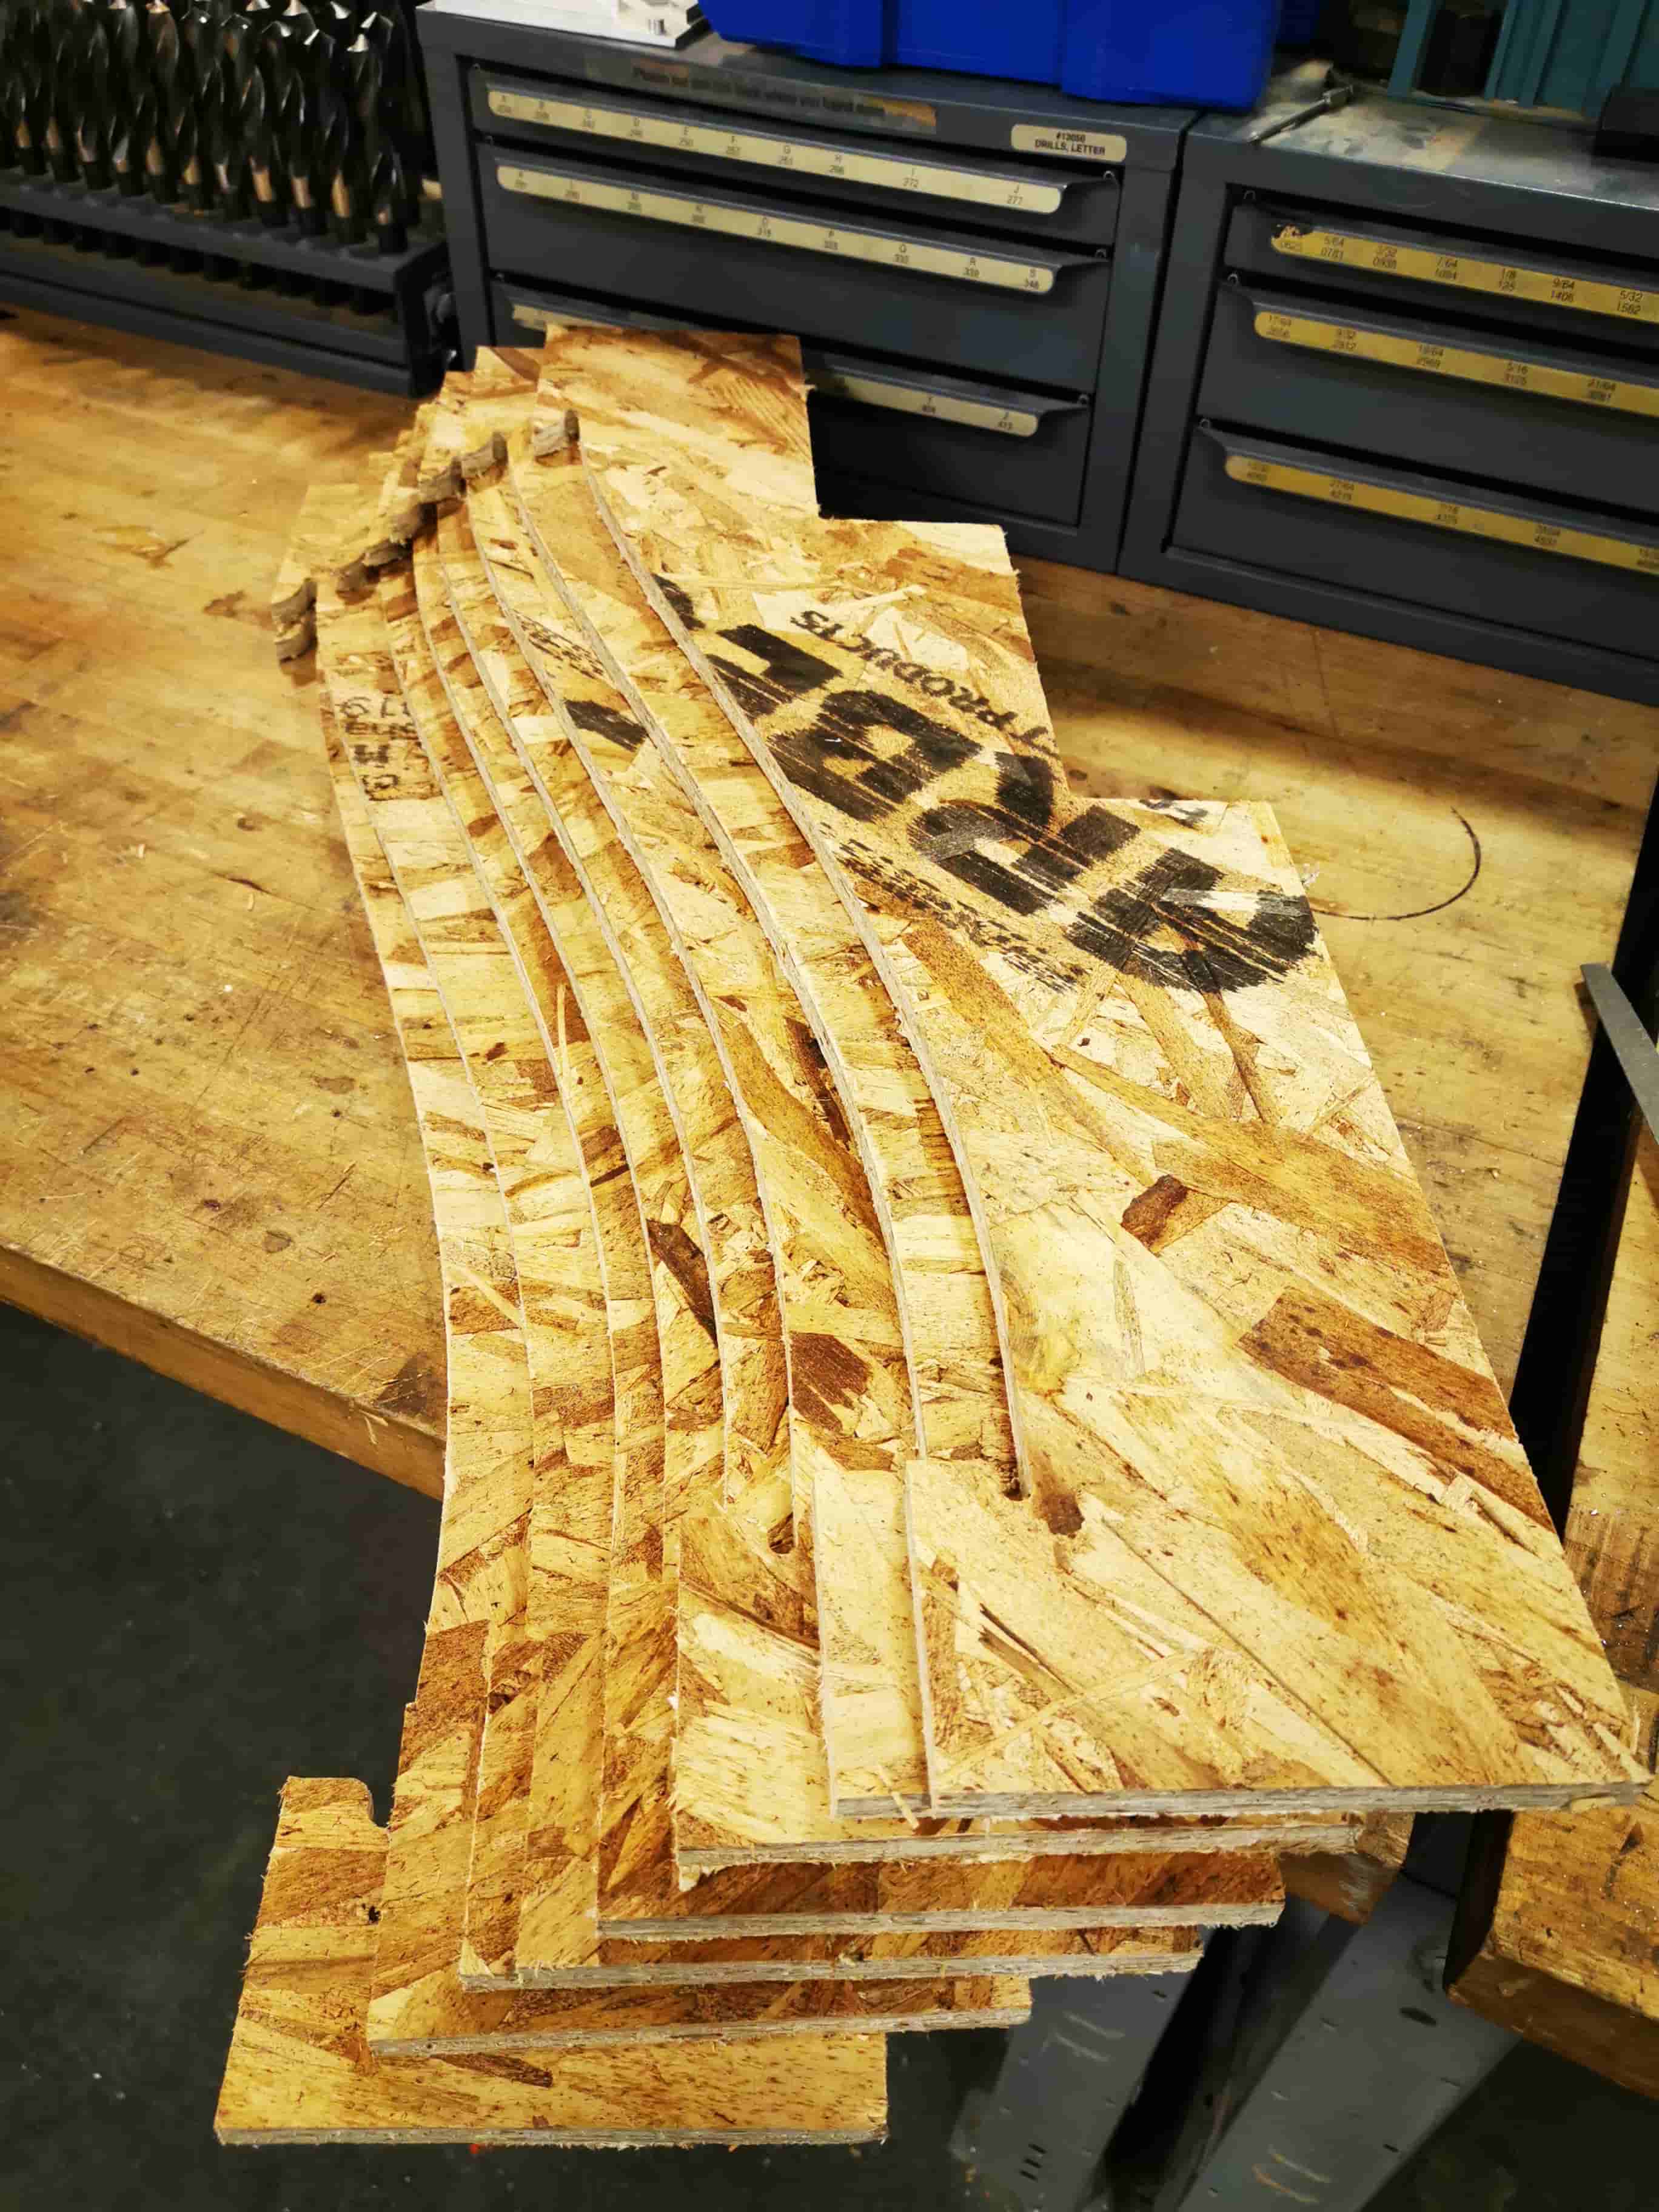
Once finished the OSB milling, I started with the playwood. It was needed to design living hinges and decide the separation of the horizontal lines and teh depth of the milling line

Milling the playwood was pretty good and so time consuming

Once milled the plywood with the desired geometry, I assembled the geometry to get ready to be glued.
After waiting for two days each one, the piece were unmolded and placed
The molded wood was glooed and atached all together in the lamination room
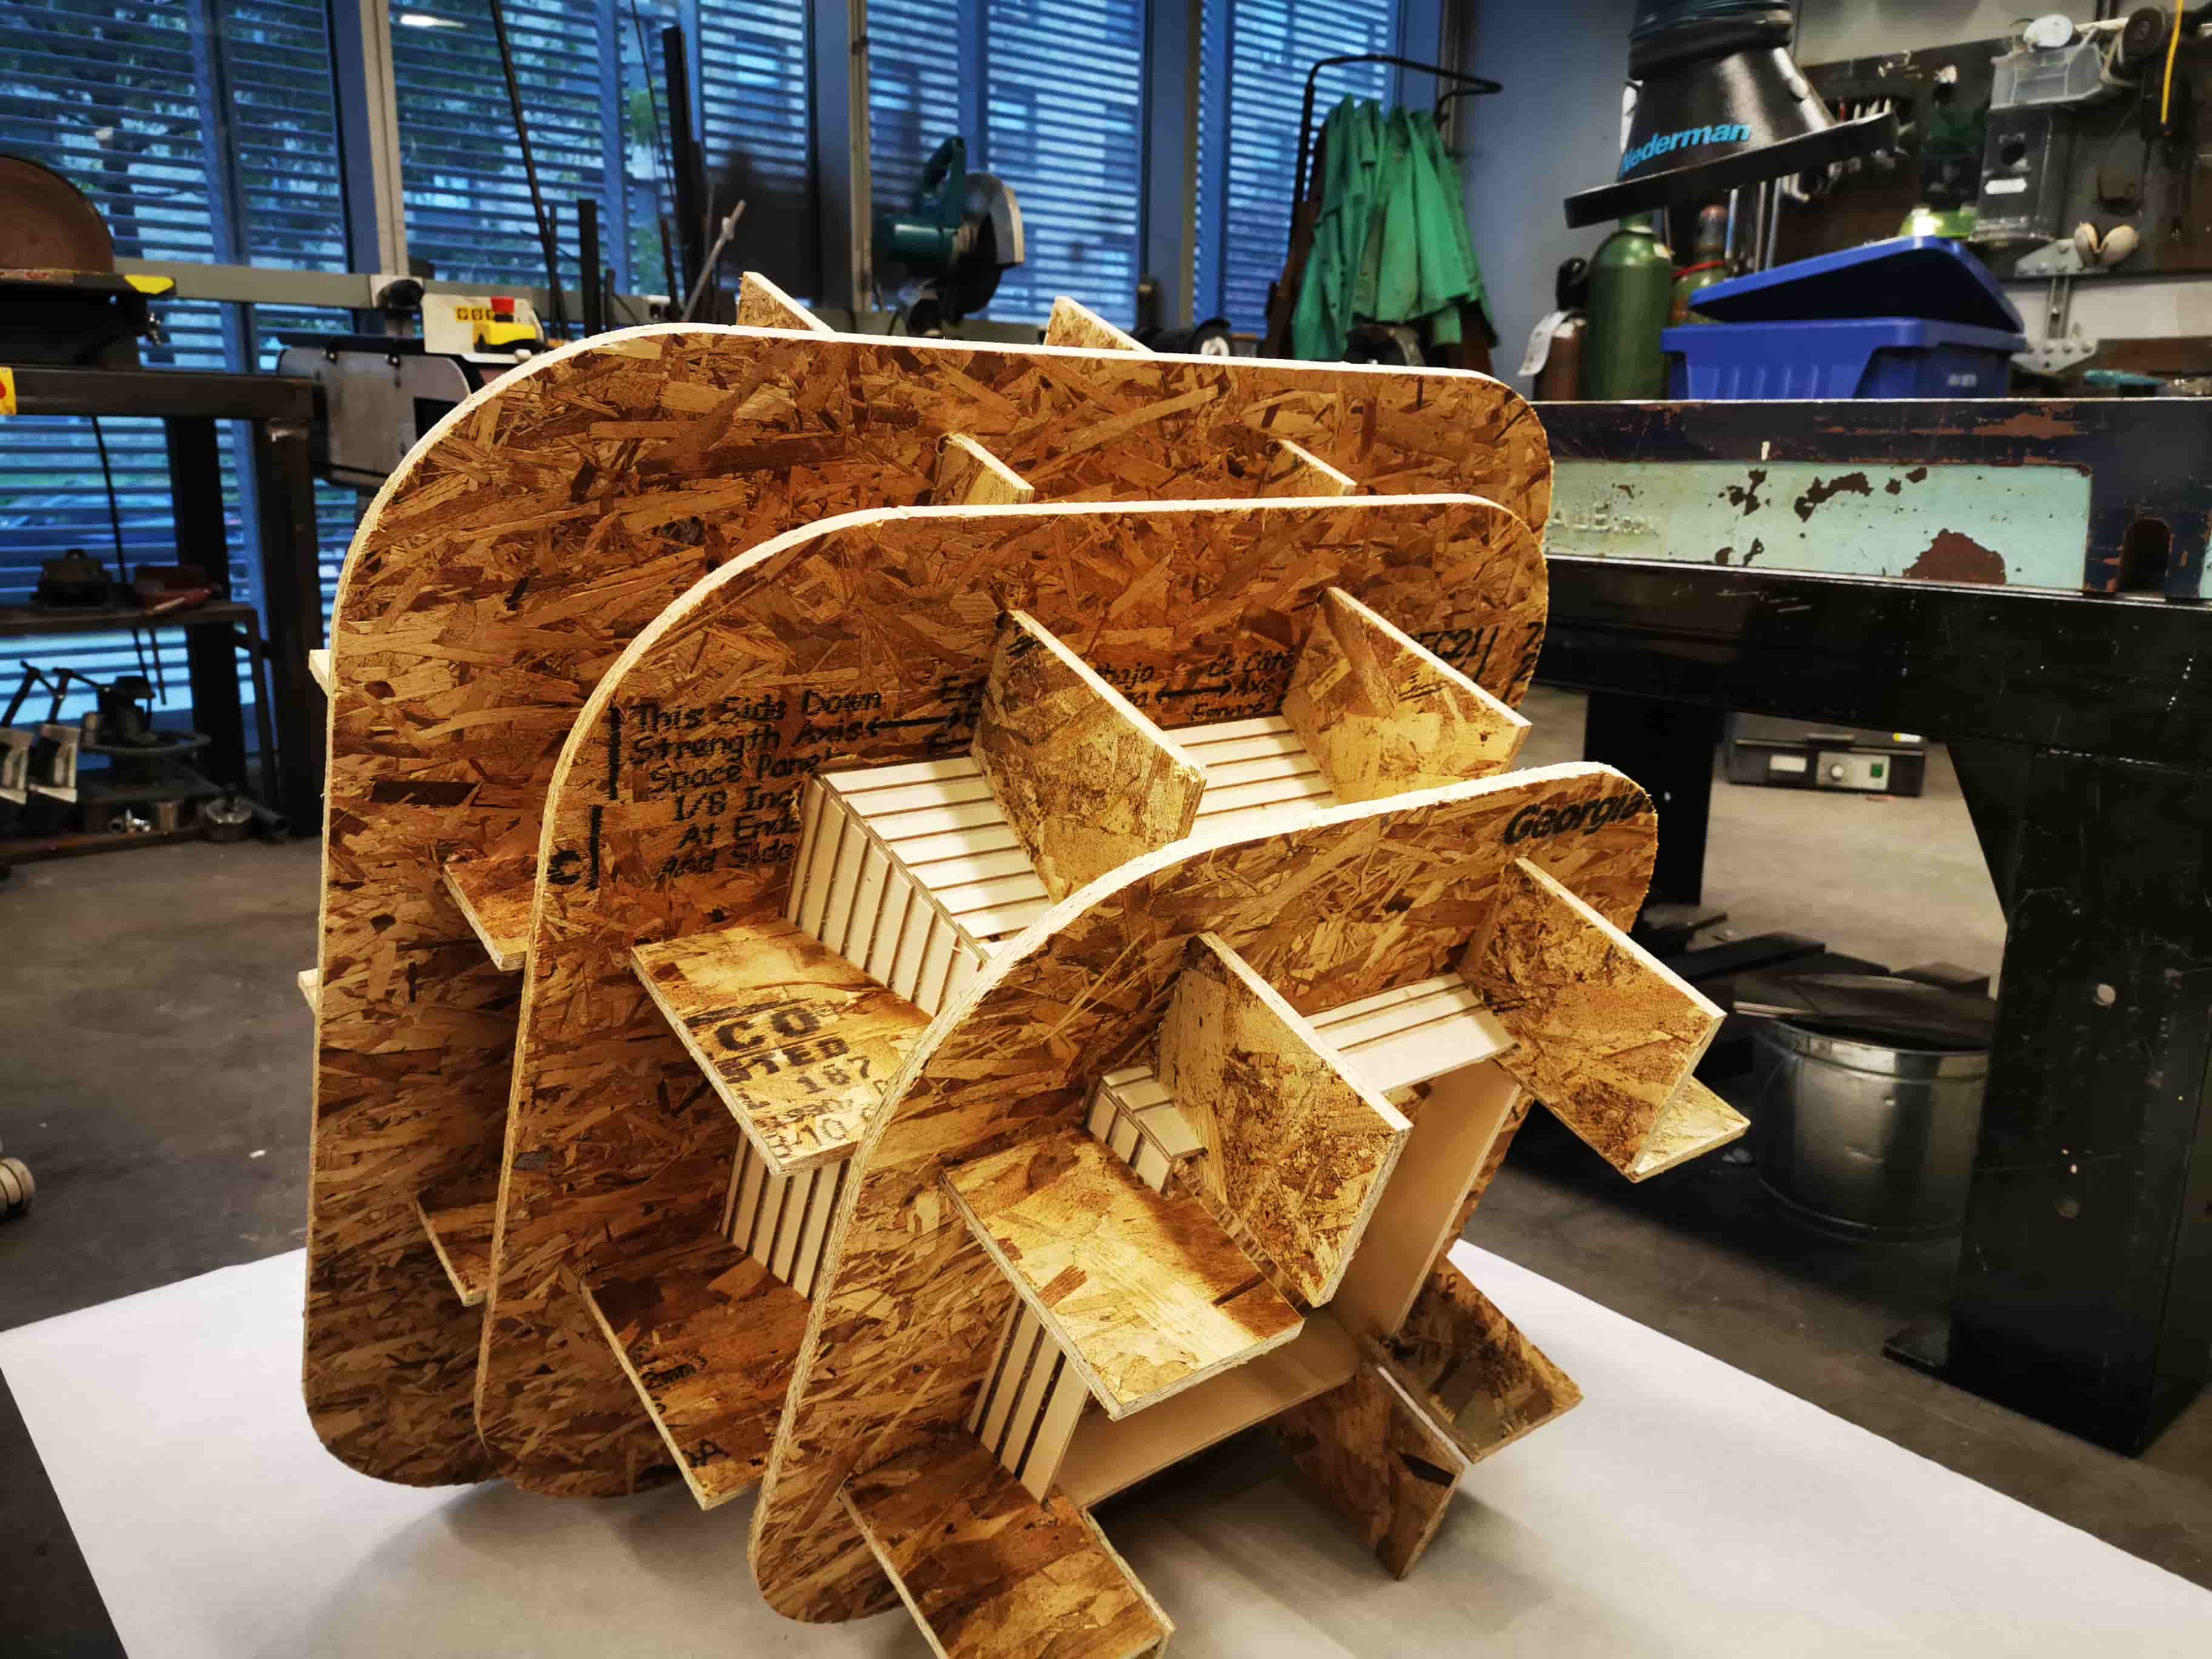
As soon as the wood glue was dry, I started with the other duct
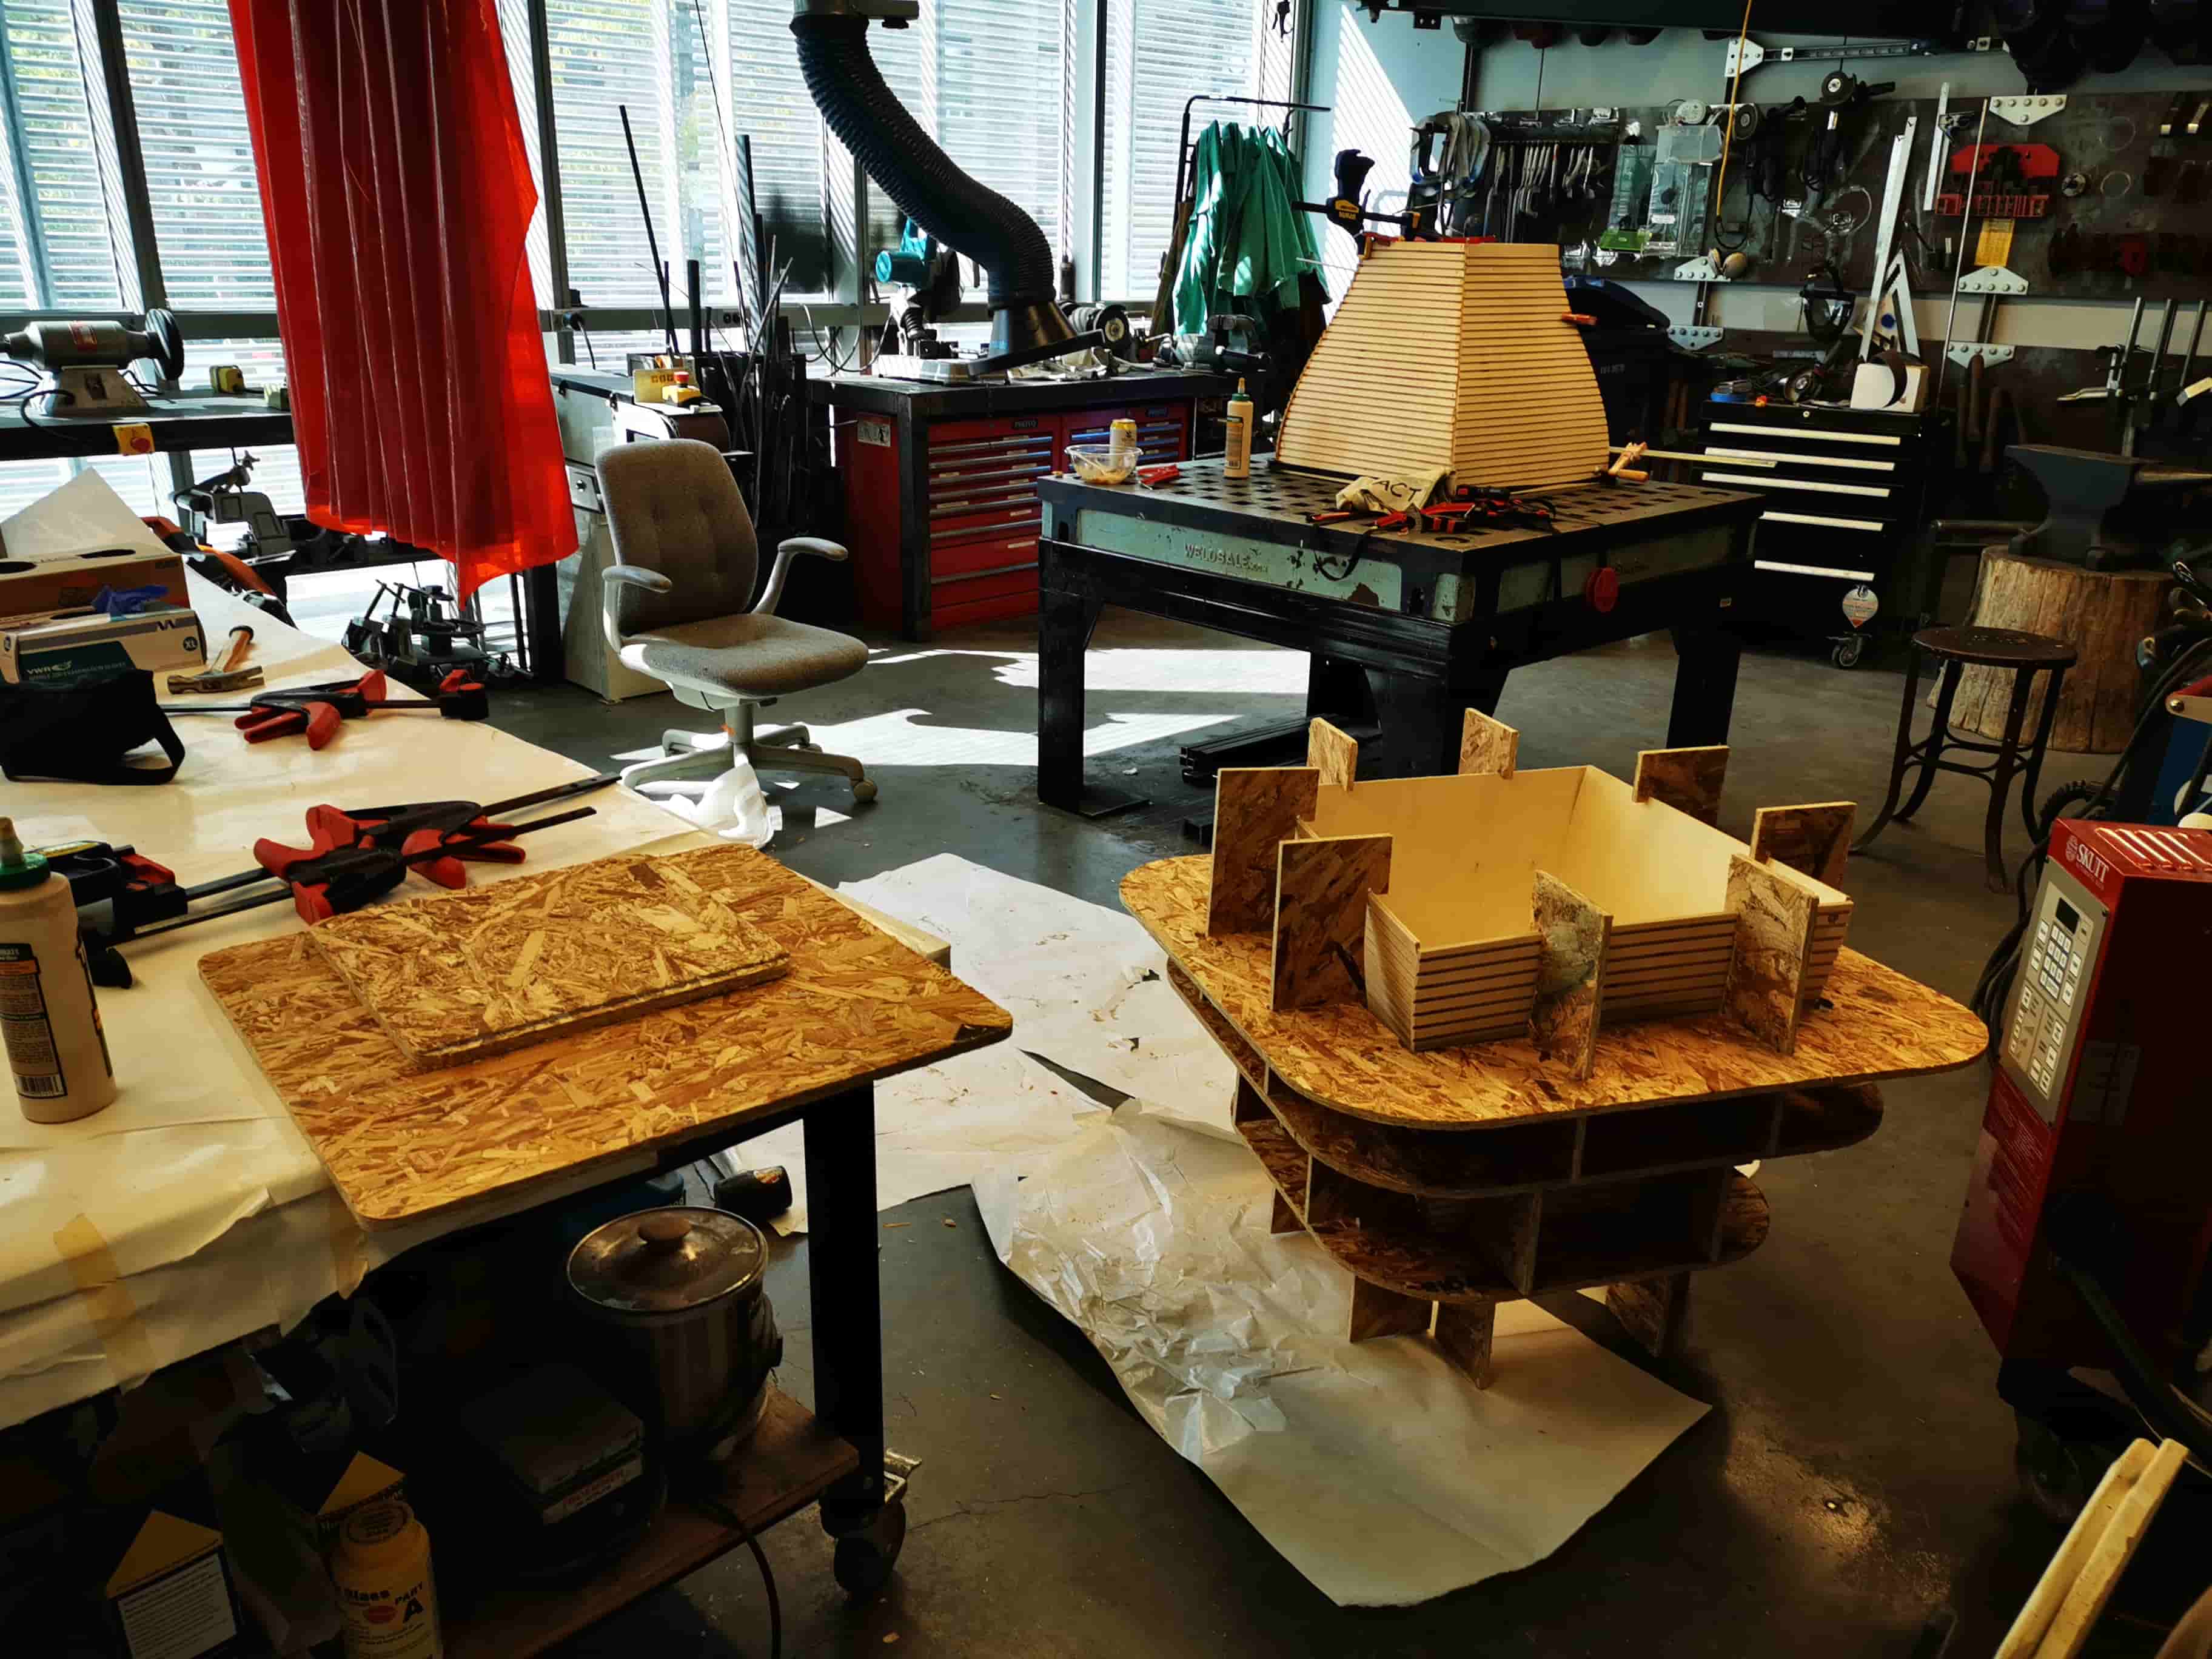
Finished and unmoulded both of the ducts, I applied a decent amount of time sanding all edges and making the piece look good. Right now, the piece is only holded by the glue. I need to fix externally this guy with Aluminum Vshape profiles I ordered last week.
To make them be able to adapt to the shape, Im going to cut both sides to make a living hinge style alu profile!
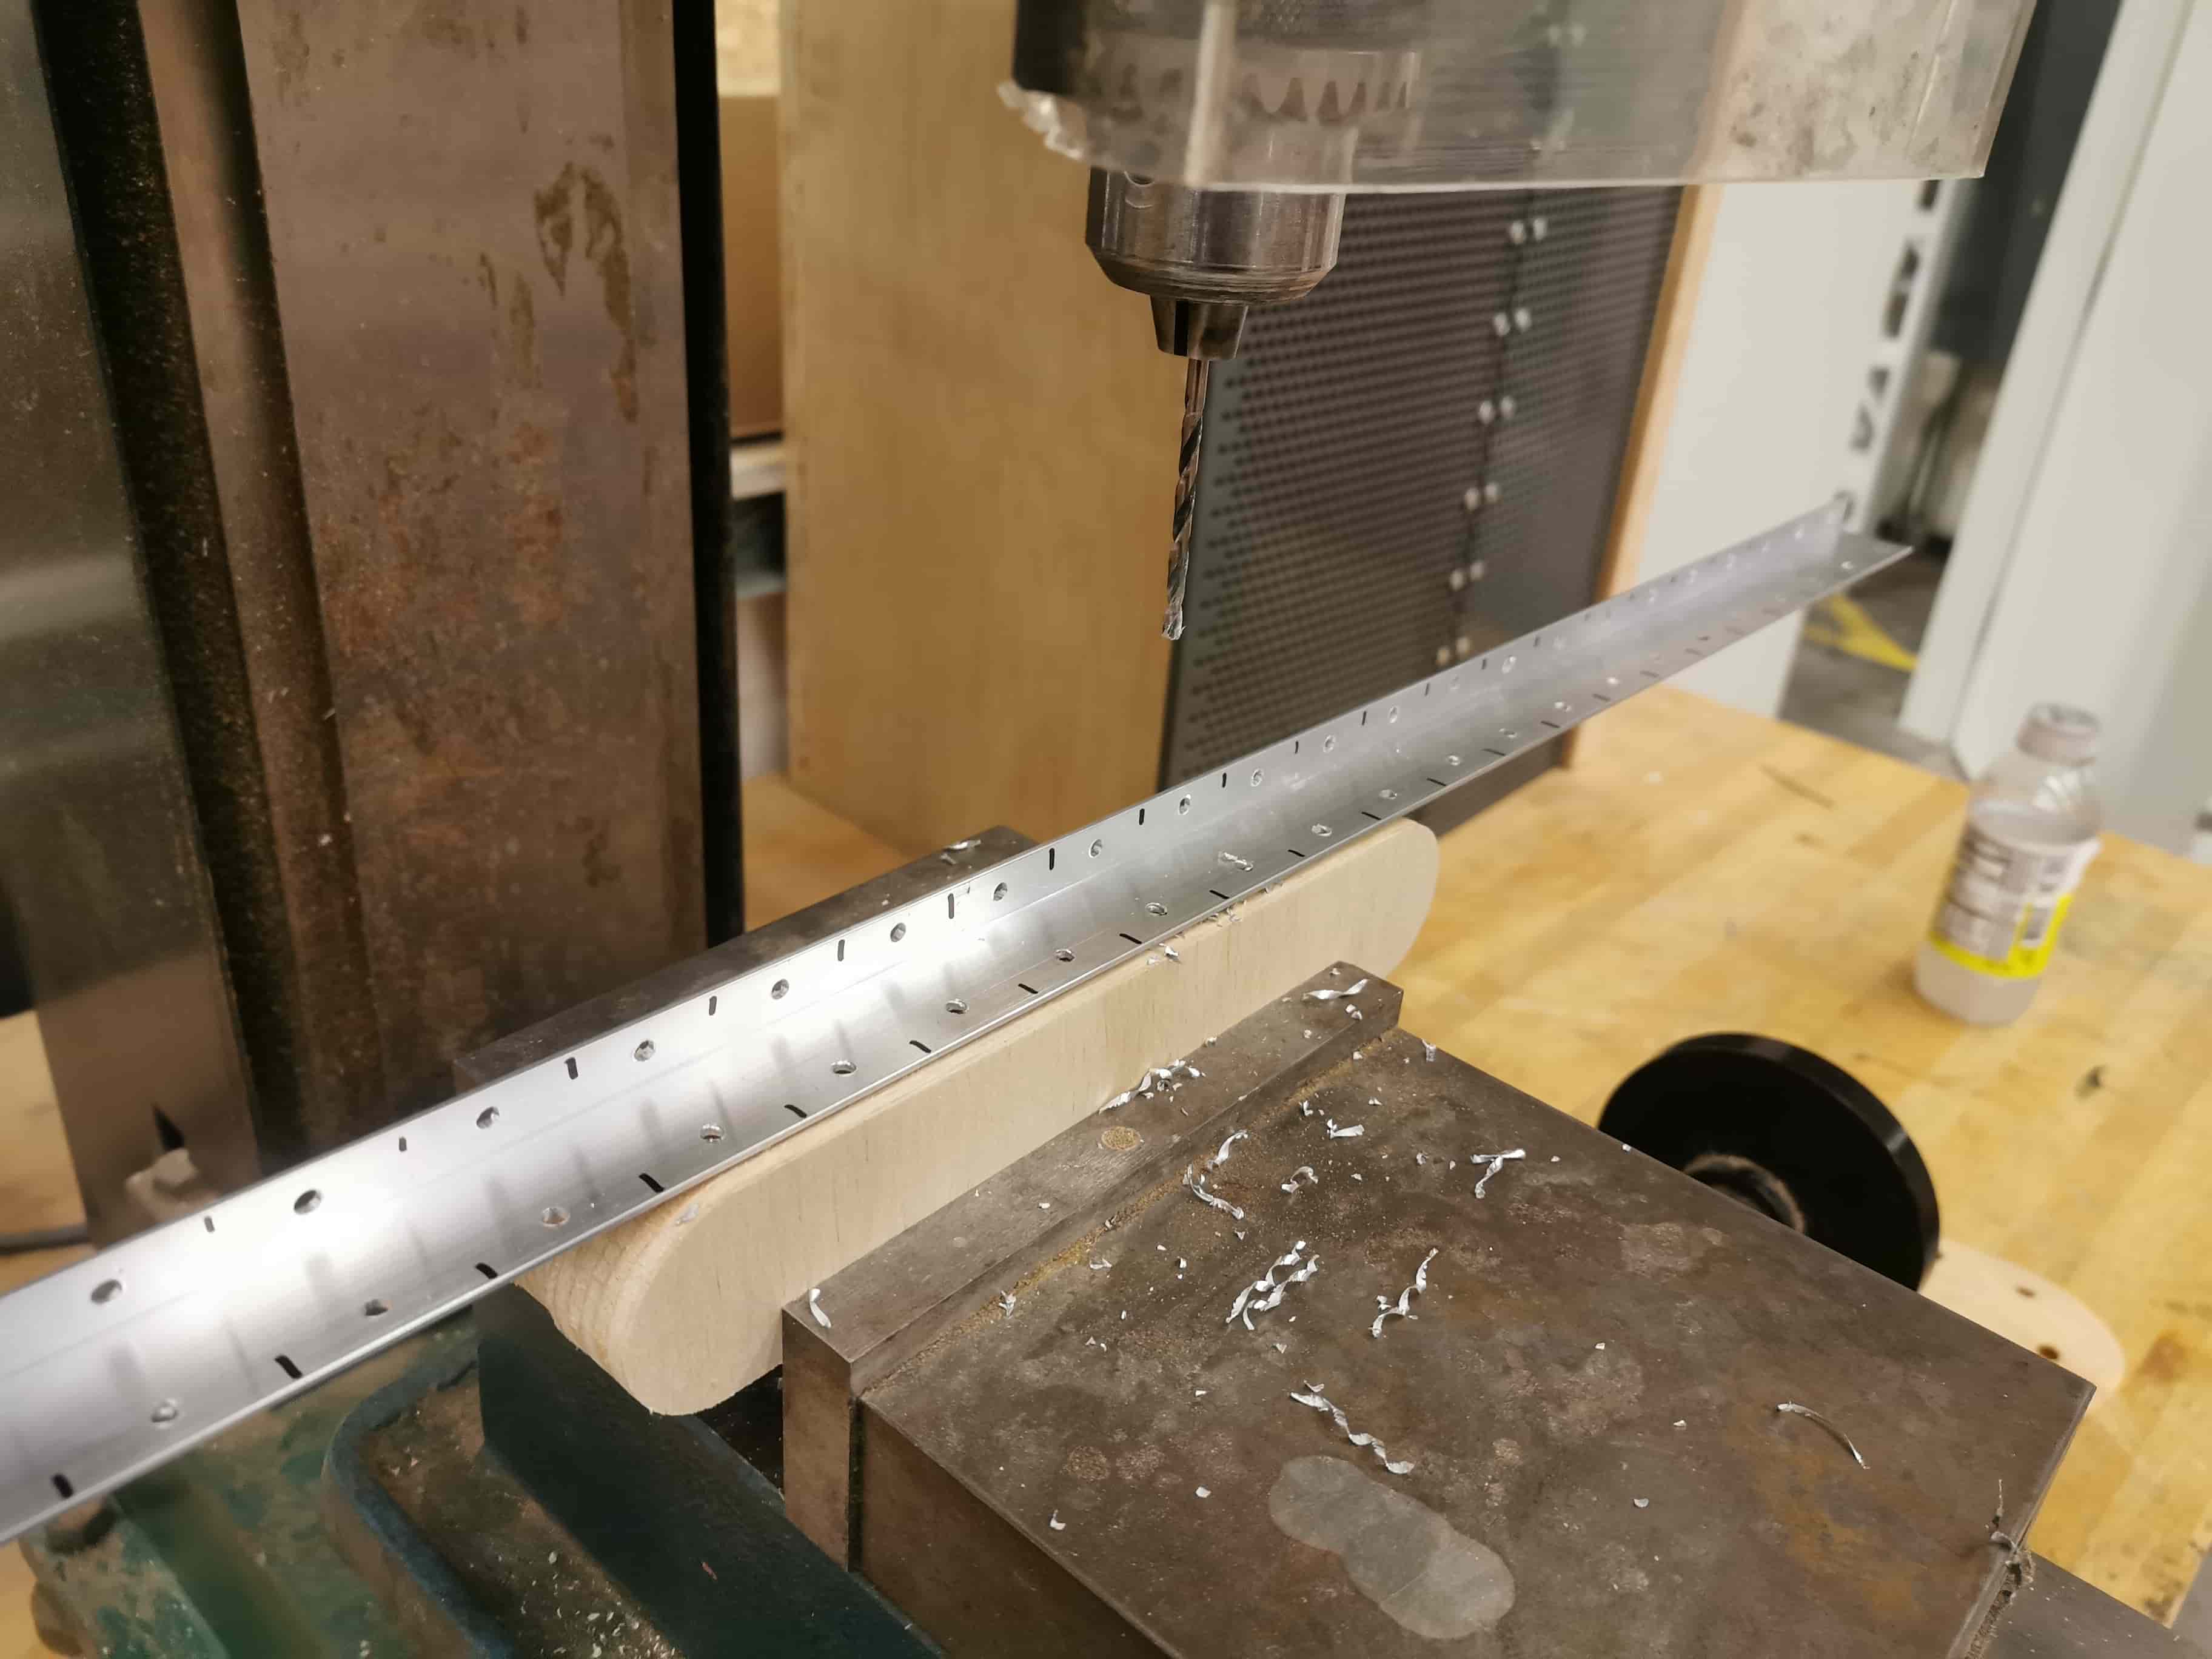
I used the vertical yaw and the vertical drill to shape my aluminum profile.
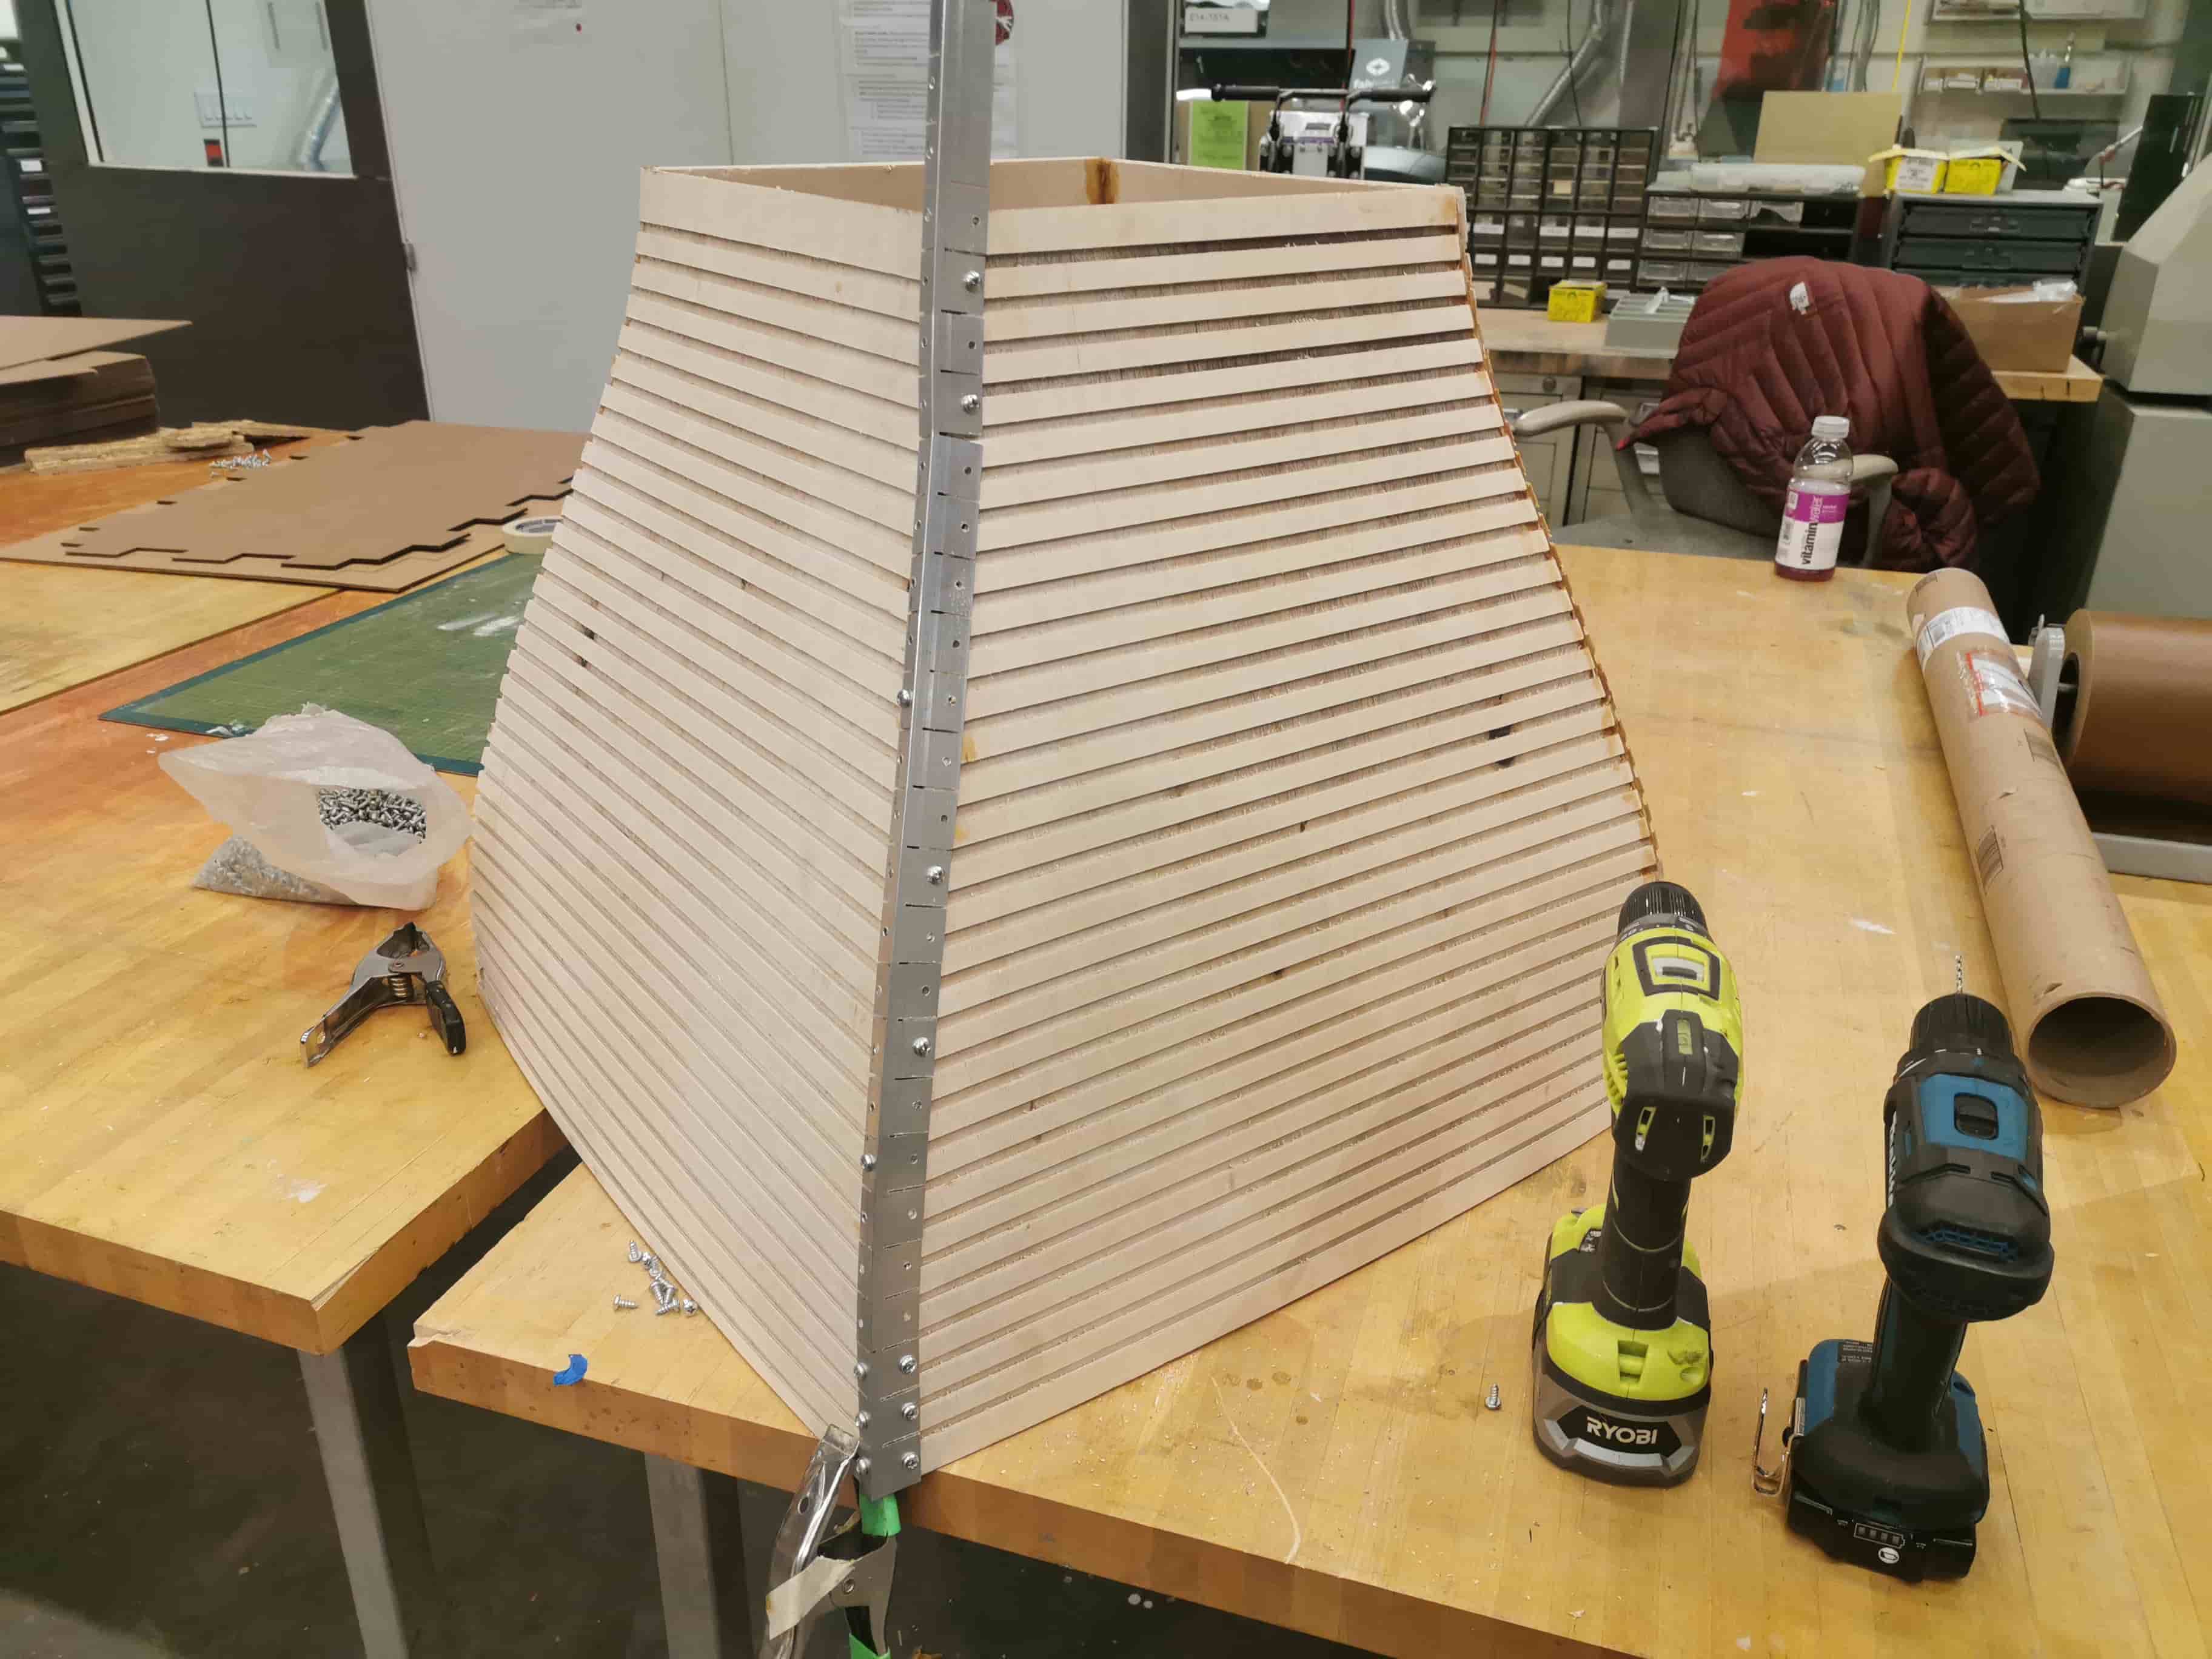
Once I did this for the 8 edges of my curvy shapes, I started working in the main duct. The assembly of the box was so sweet, zero problemo
I used the vertical yaw and the vertical drill to shape my aluminum profile.
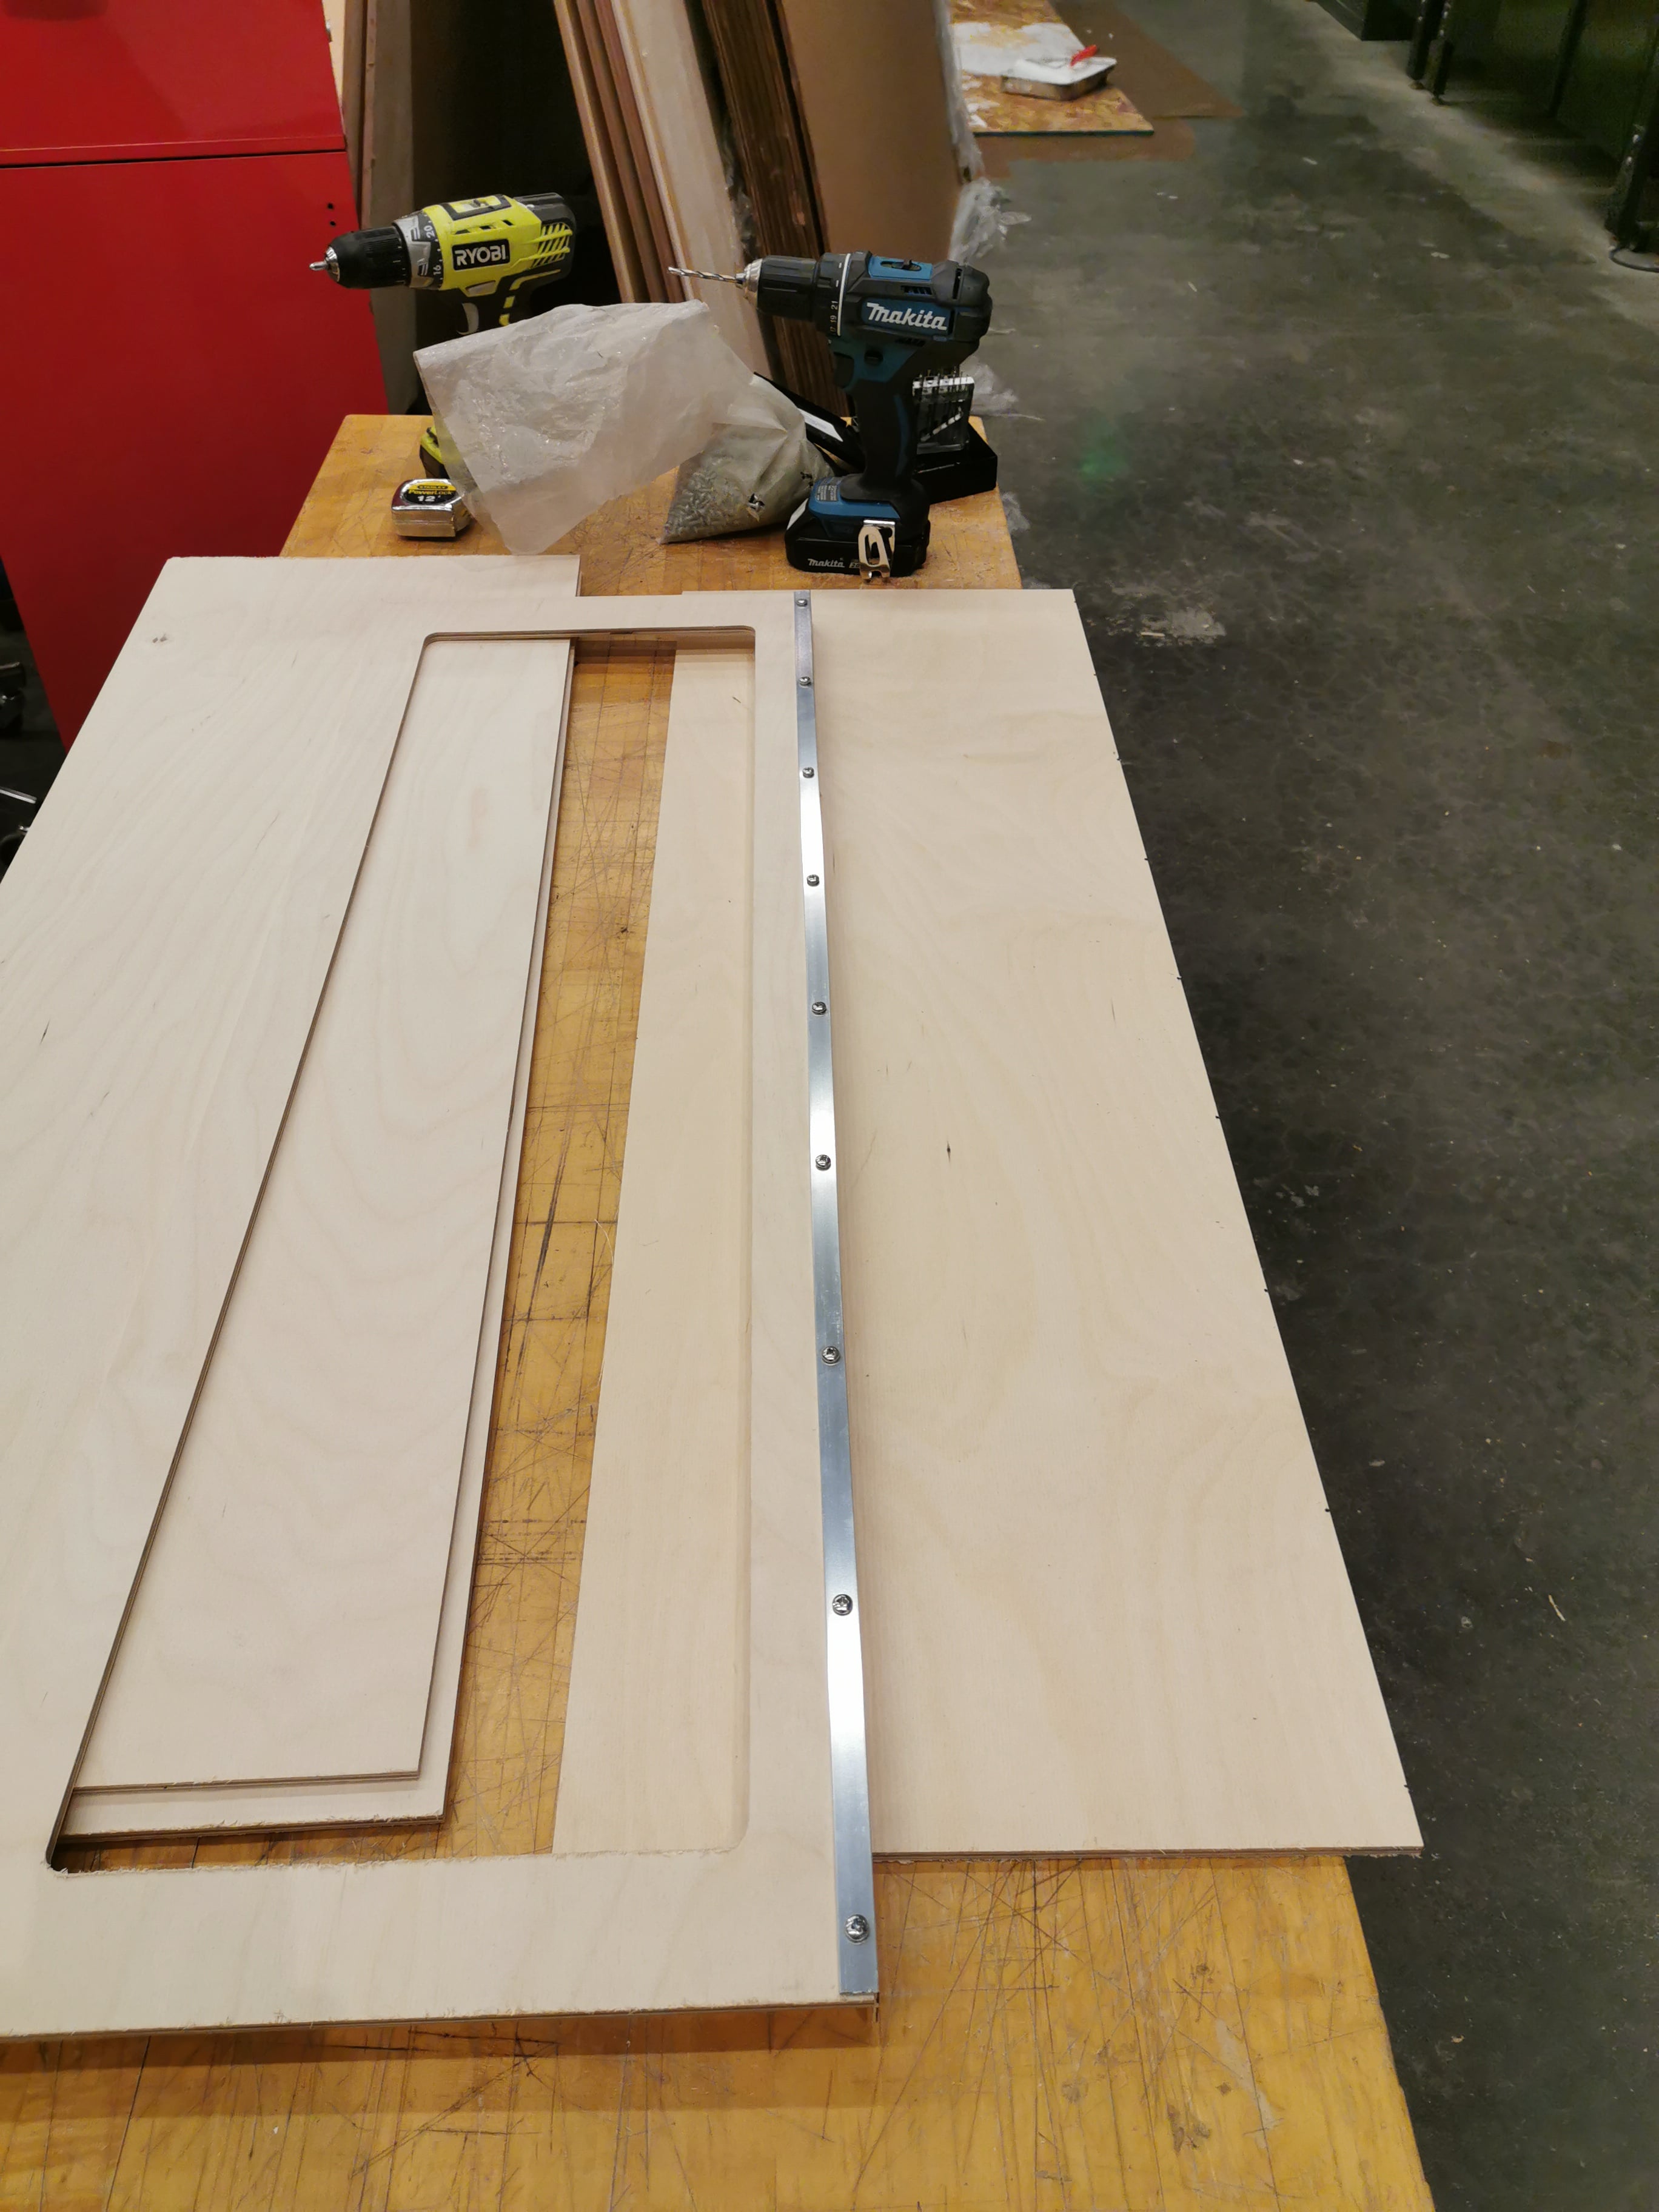
Start taking shape!
I used the vertical yaw and the vertical drill to shape my aluminum profile.
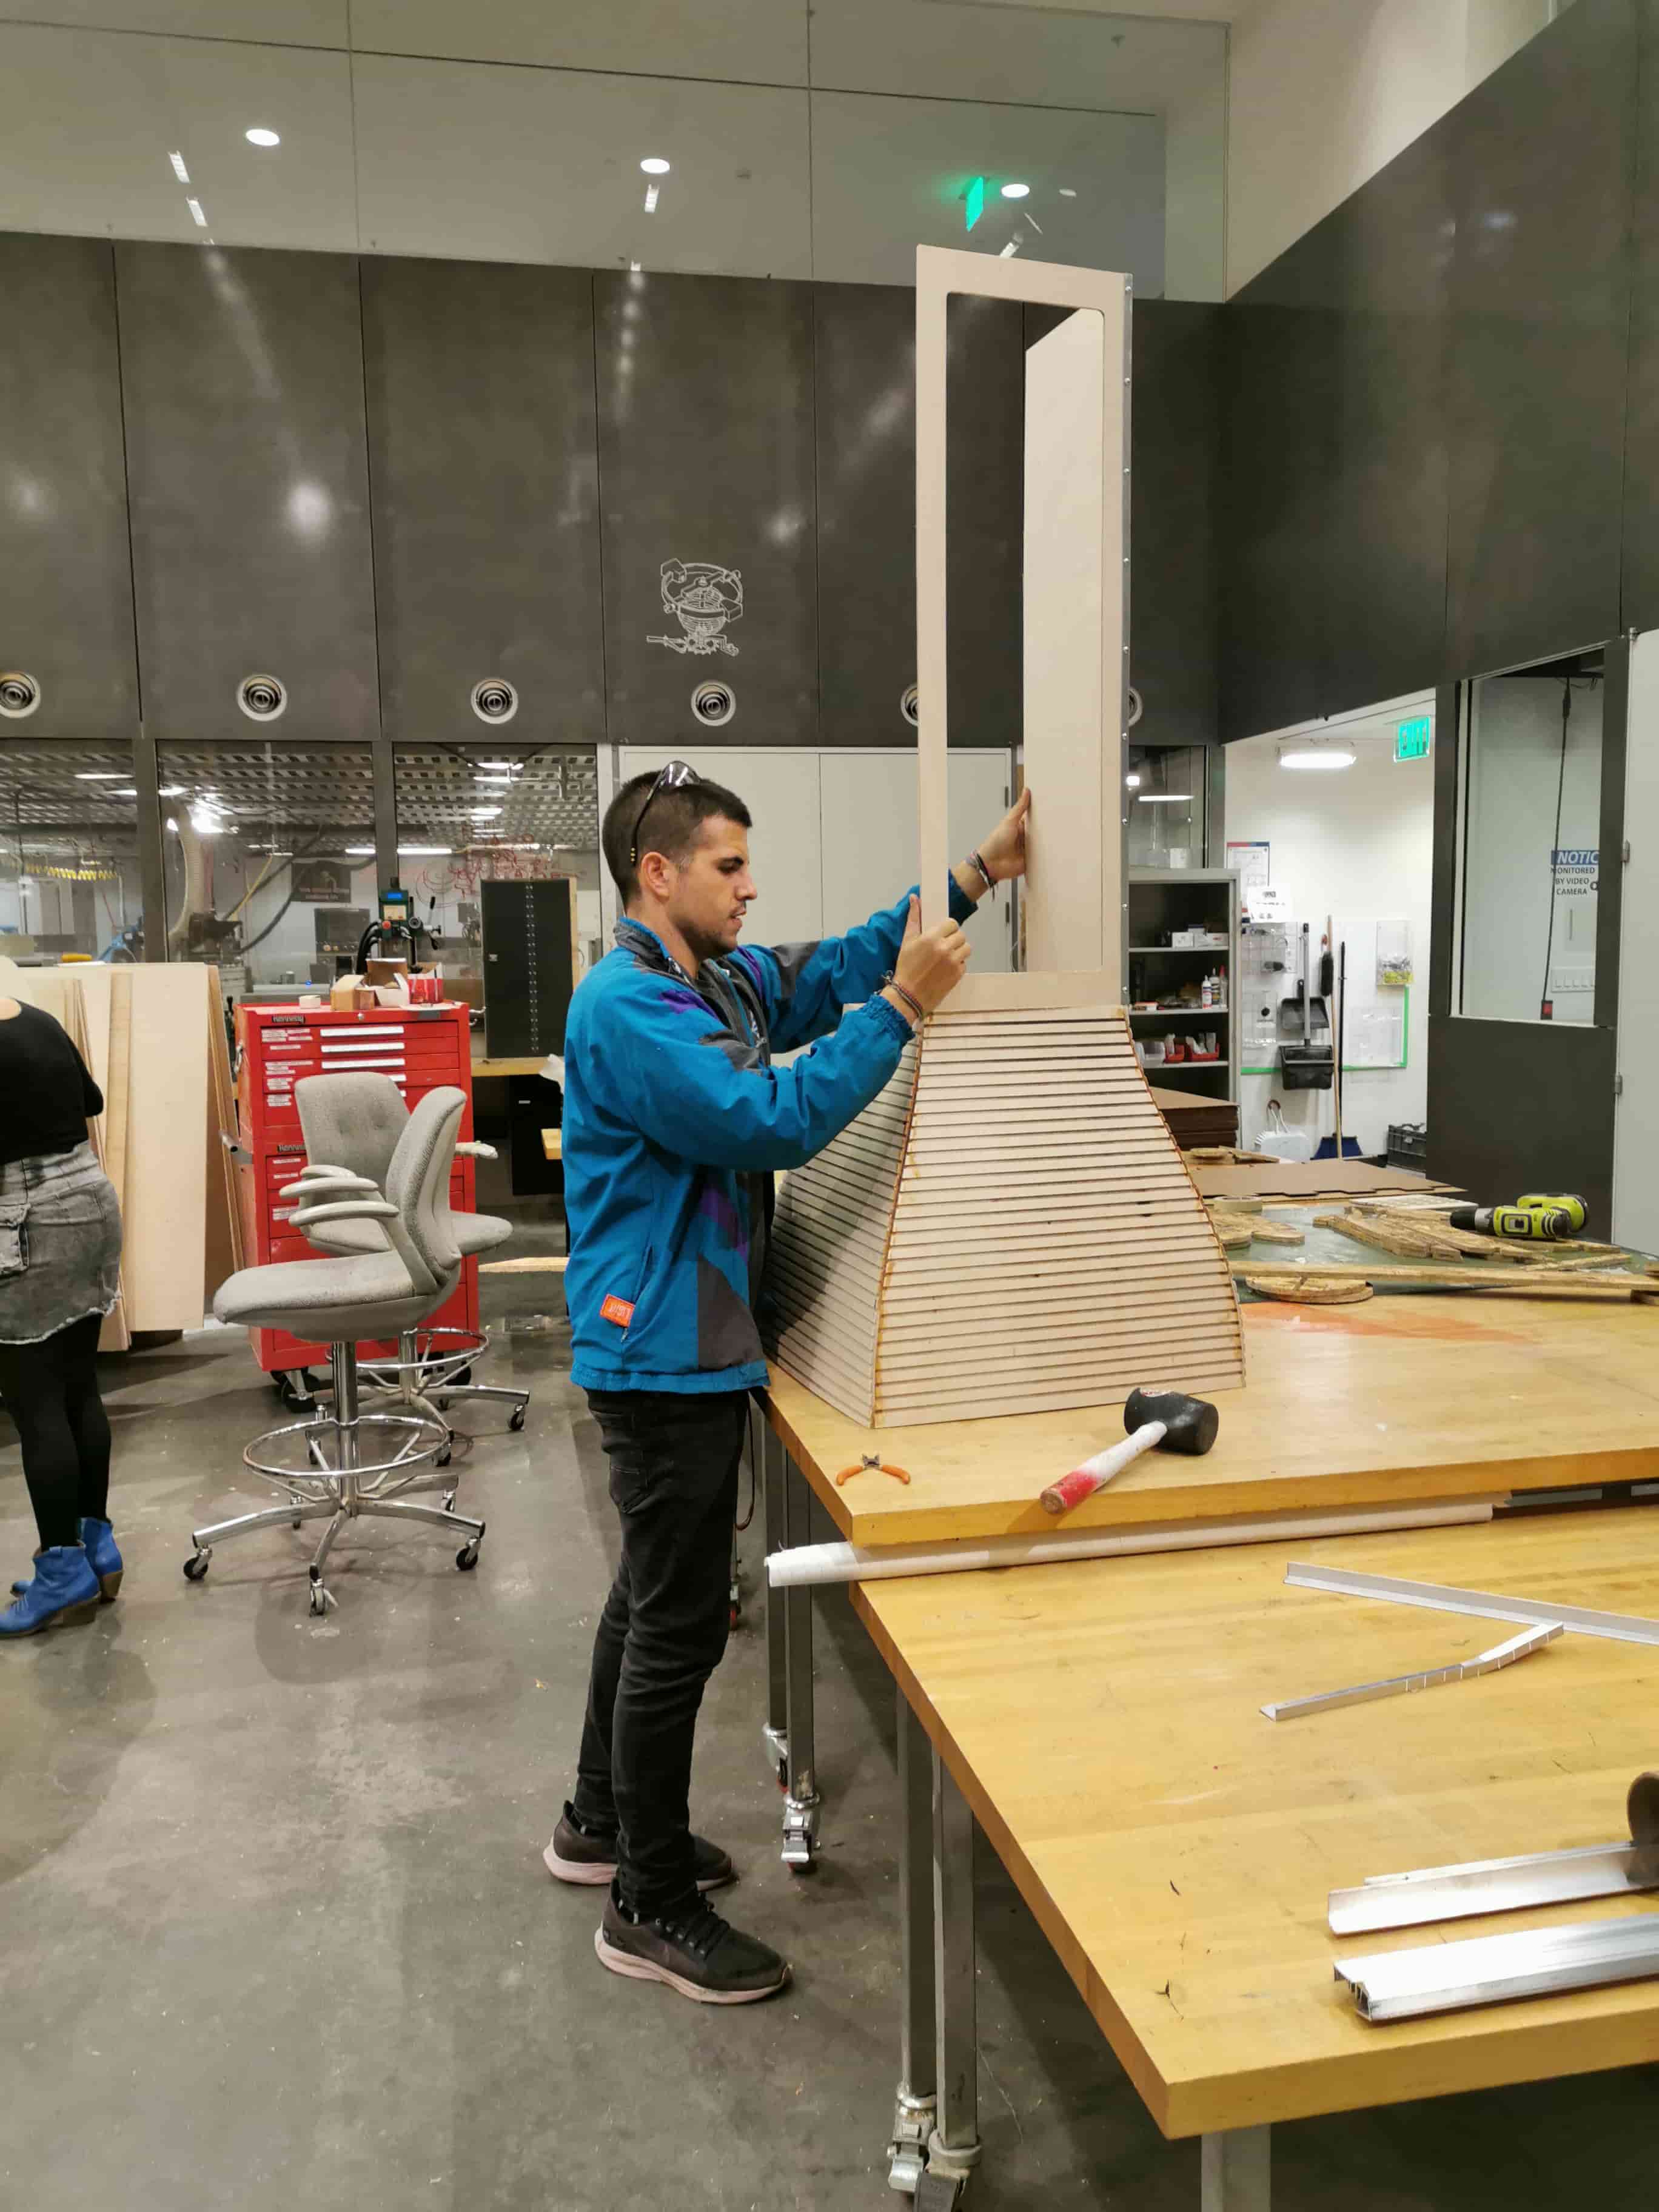
I used the vertical yaw and the vertical drill to shape my aluminum profile.
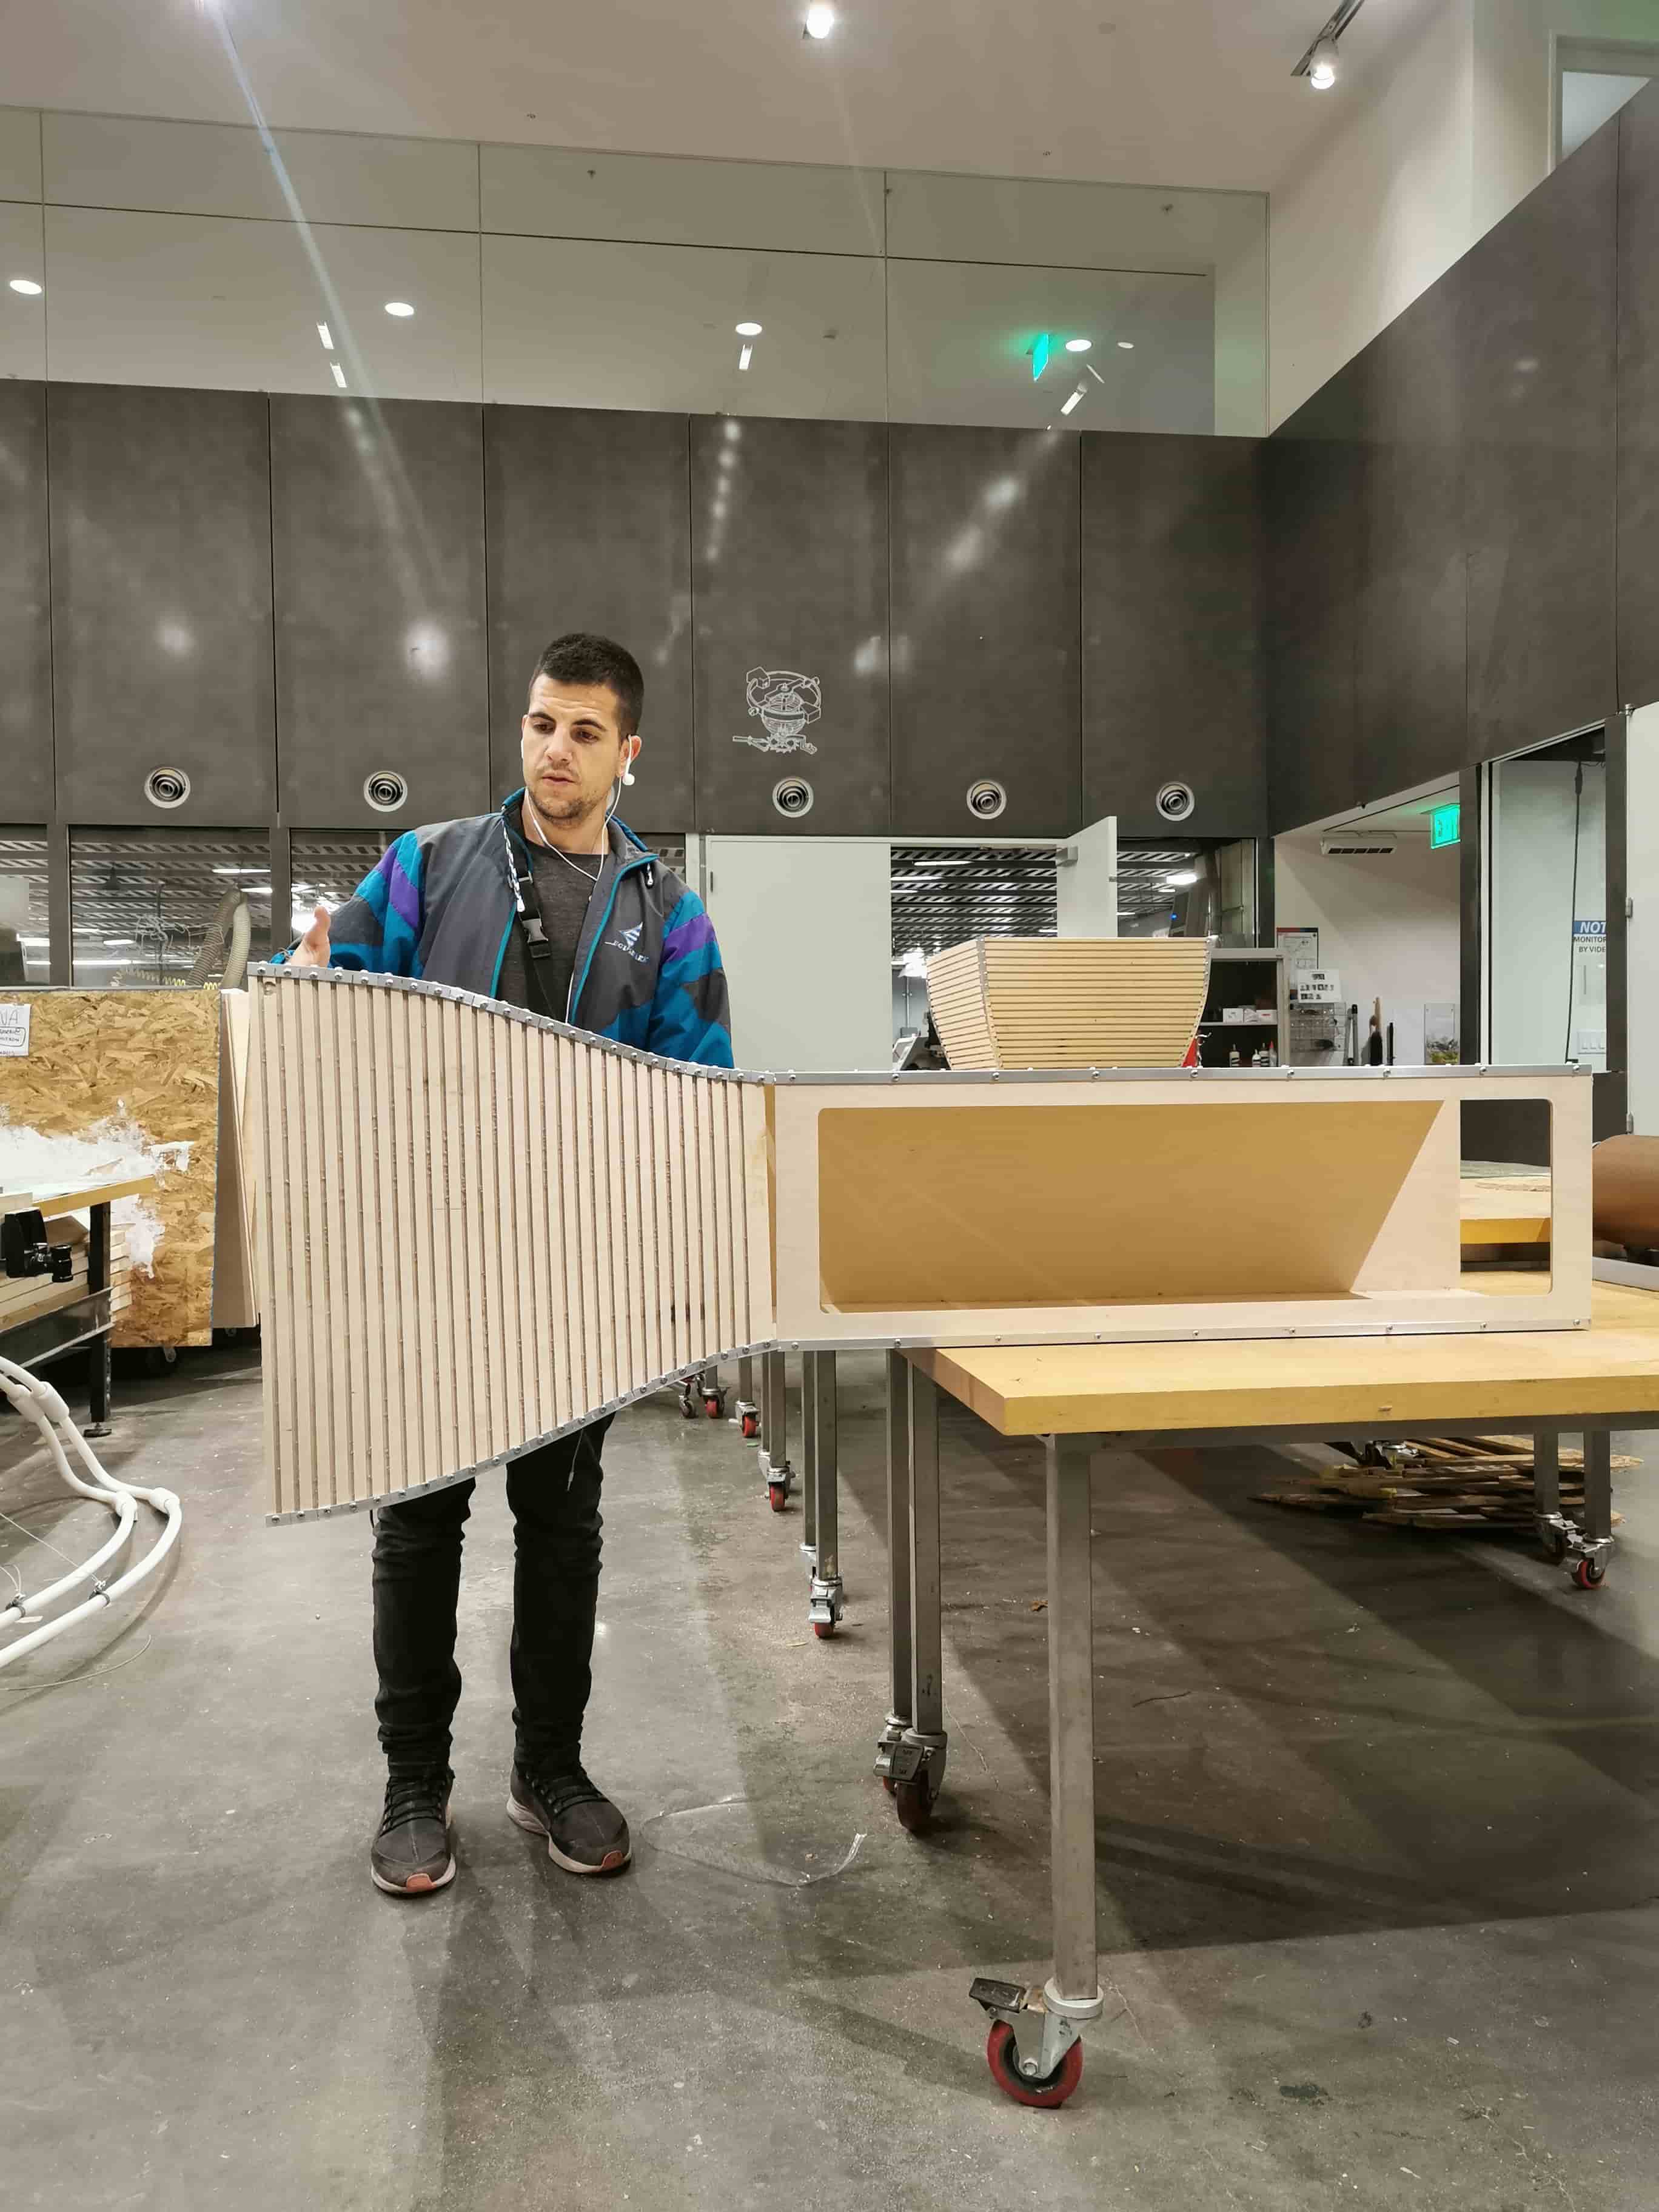
Once each separated element was assembled, I was ready to mount all with the rest of the pieces I ordered in McMaster
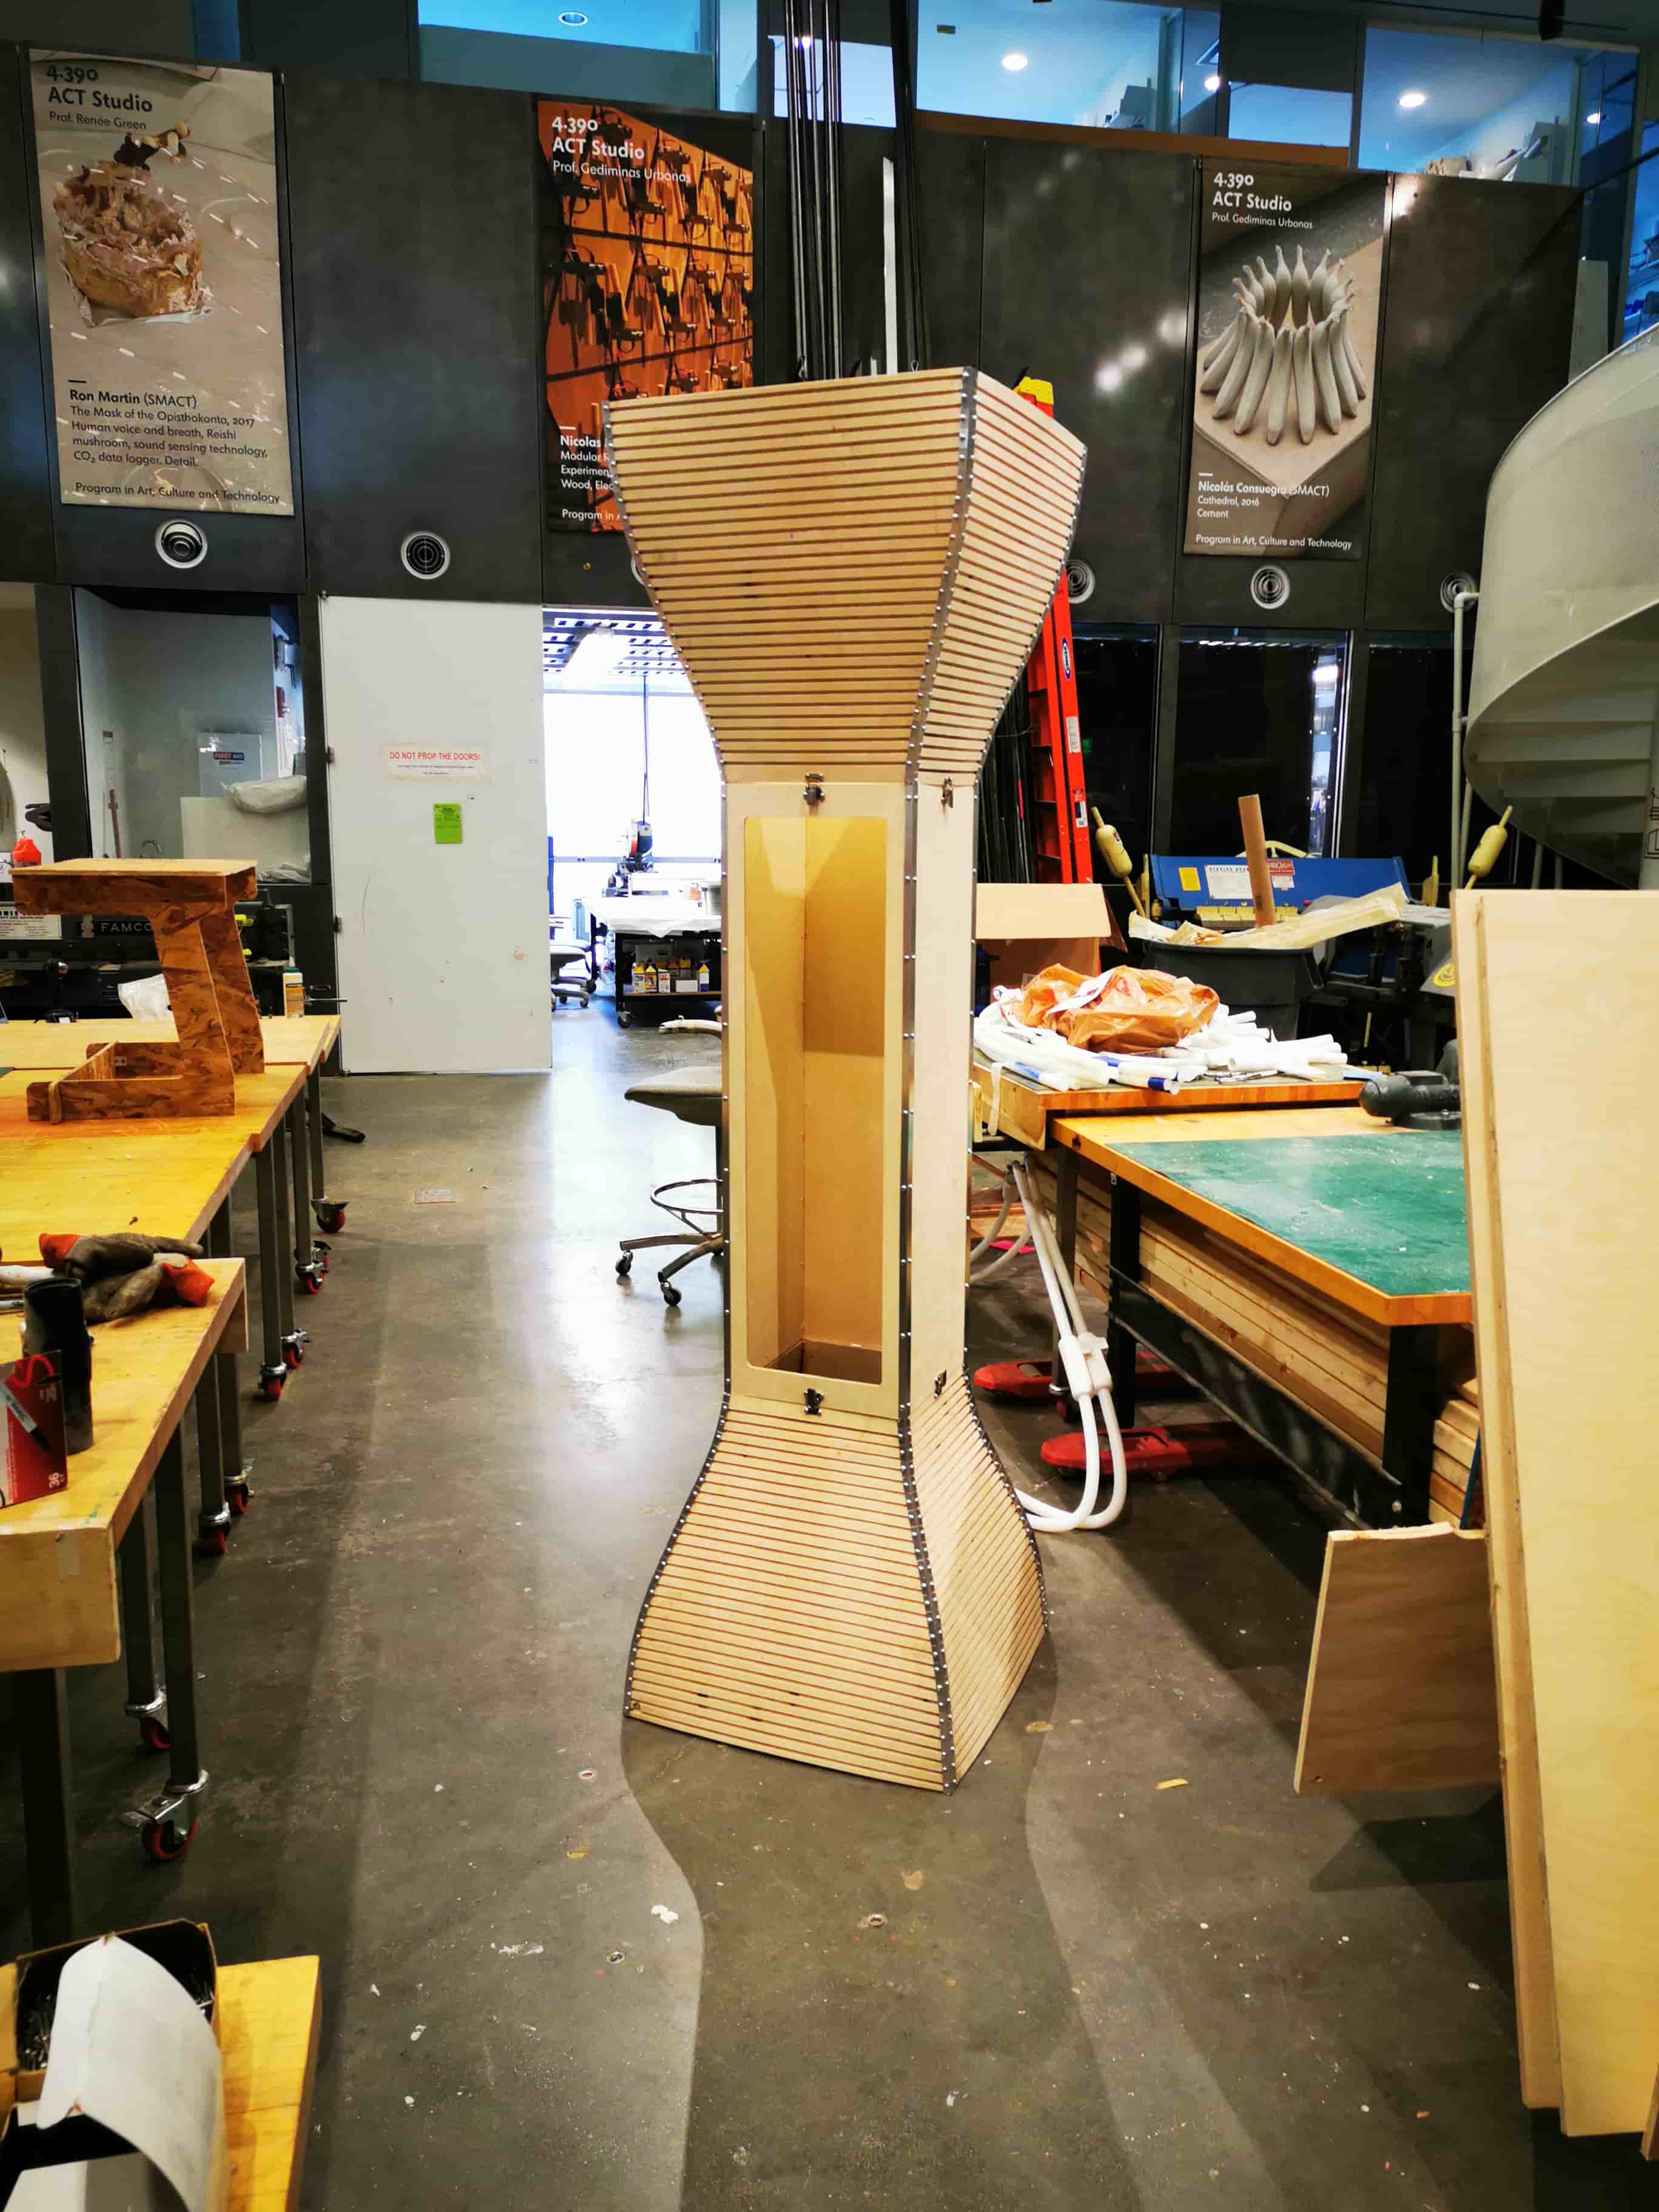
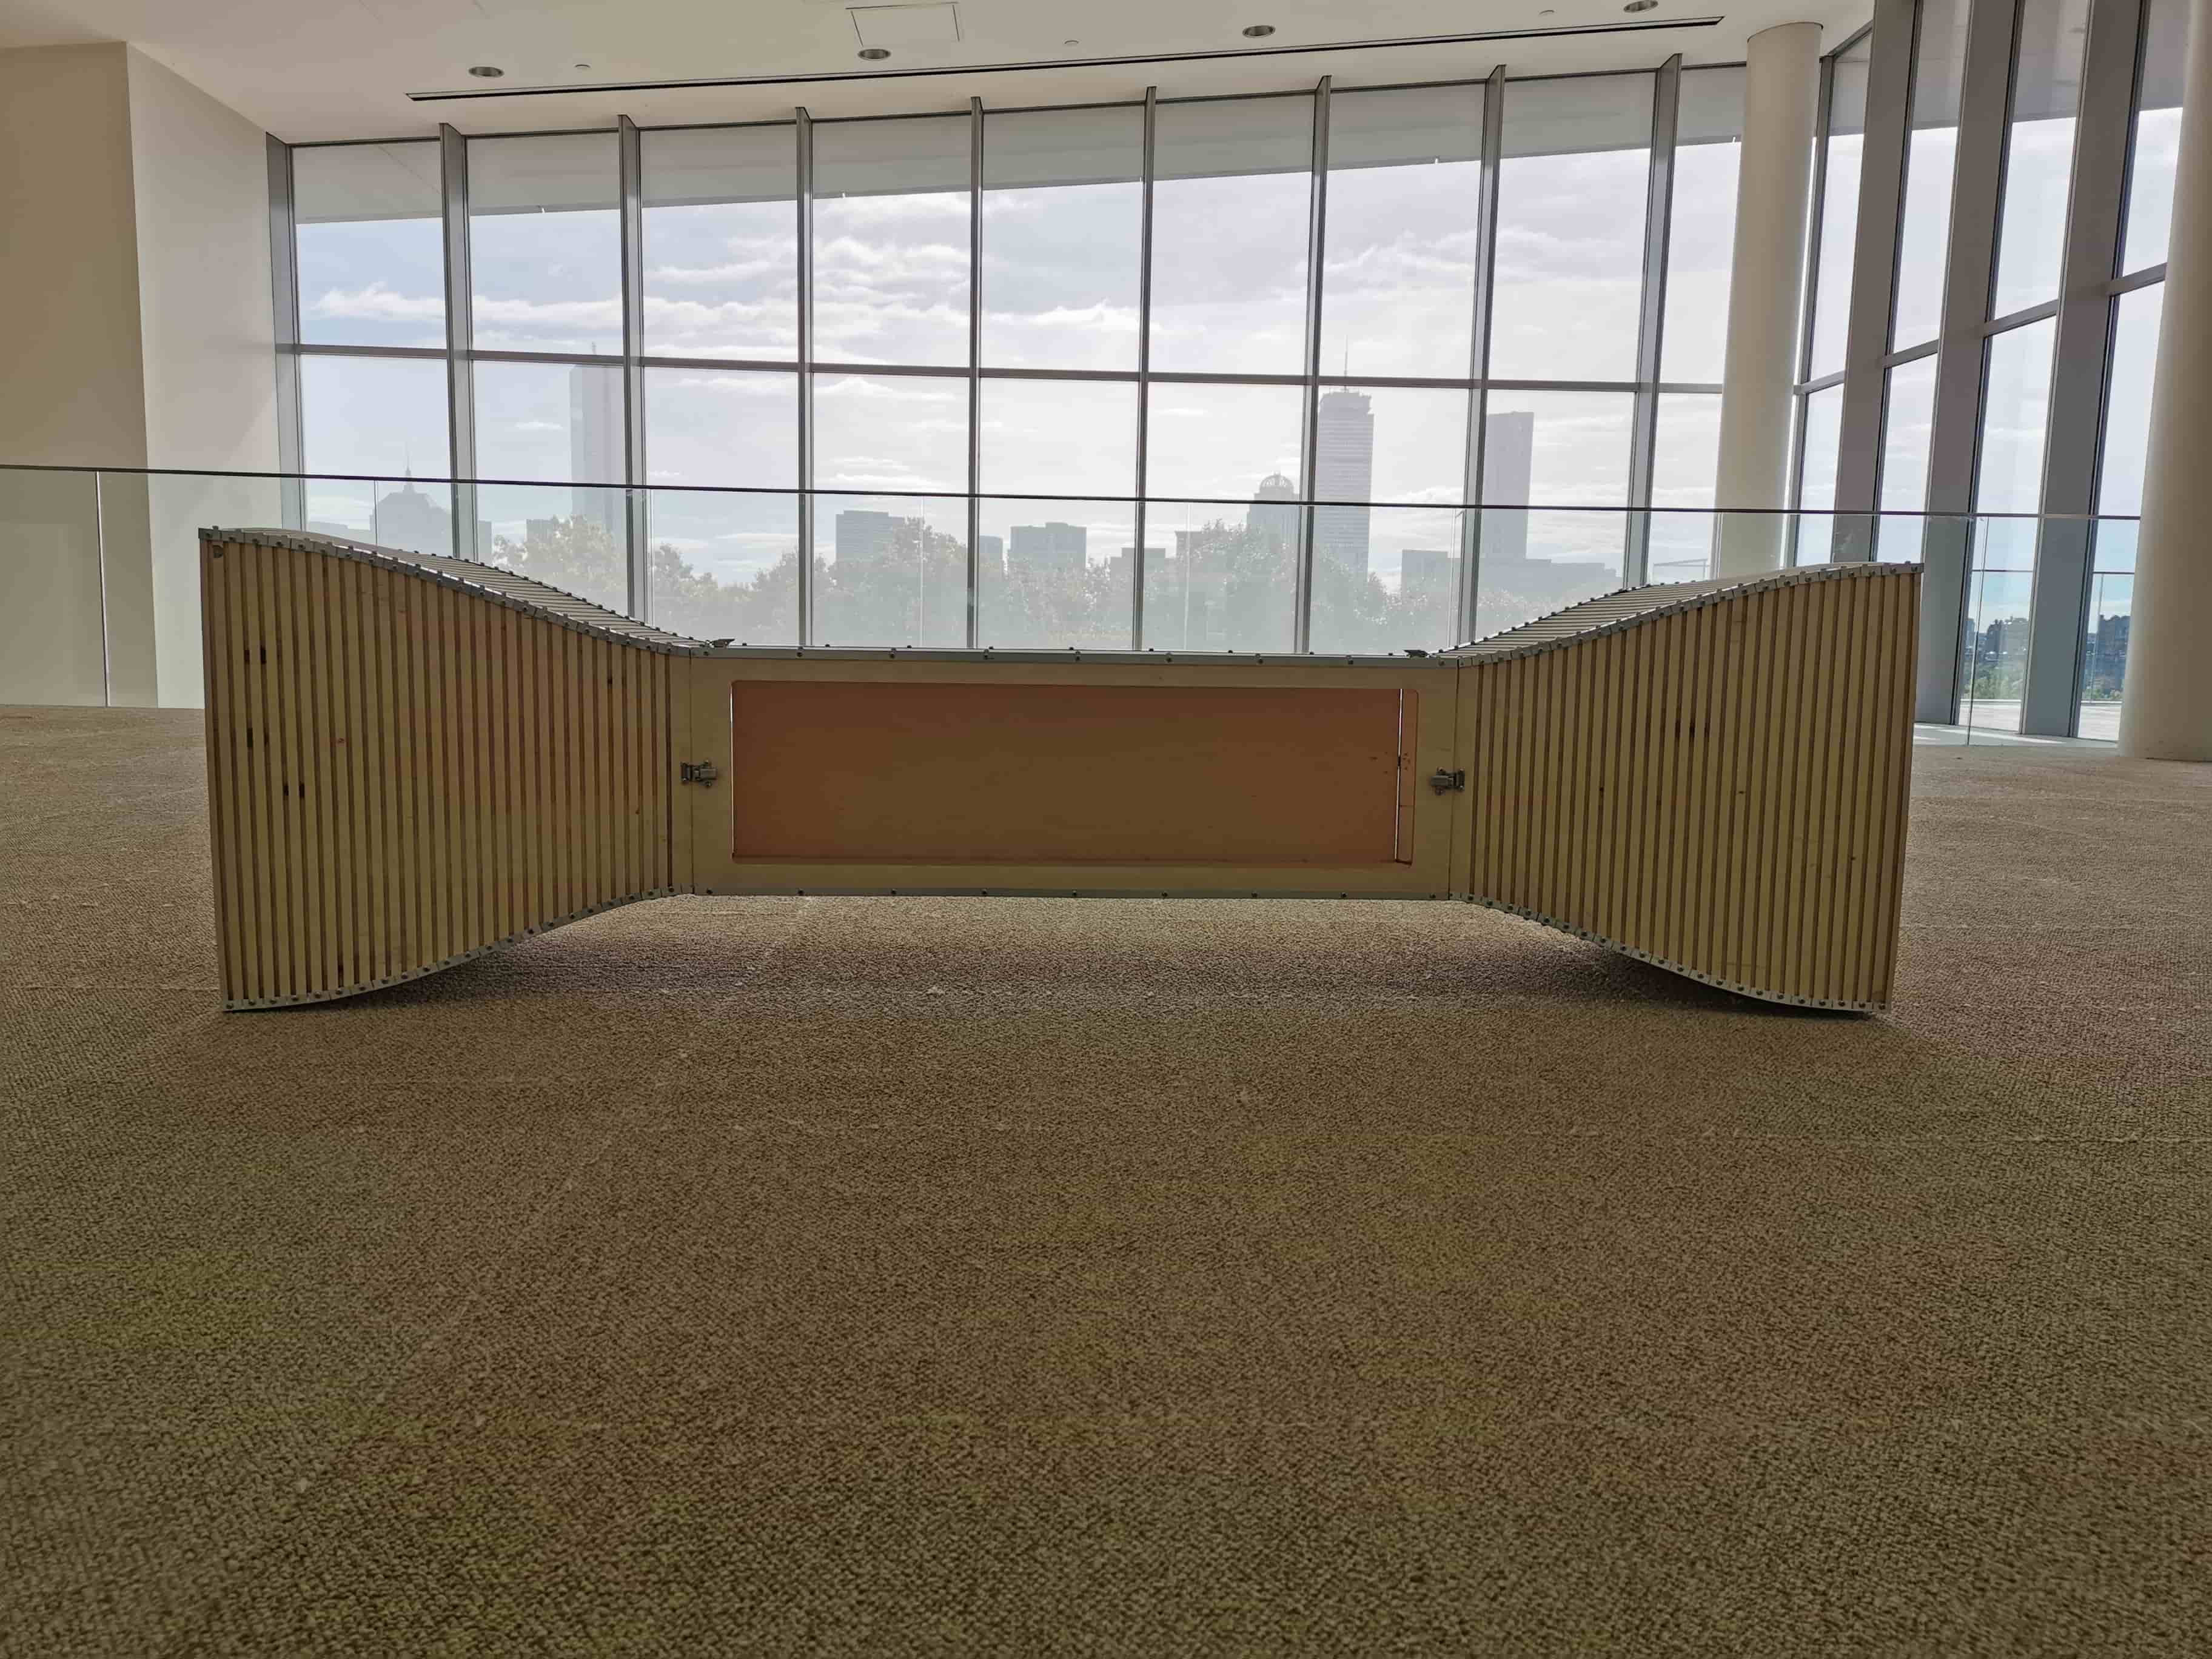
Assembled! The main structure of the wind tunnel is ready to start playing with it!
 back to menu>