Week 2. Lasers and Vynils
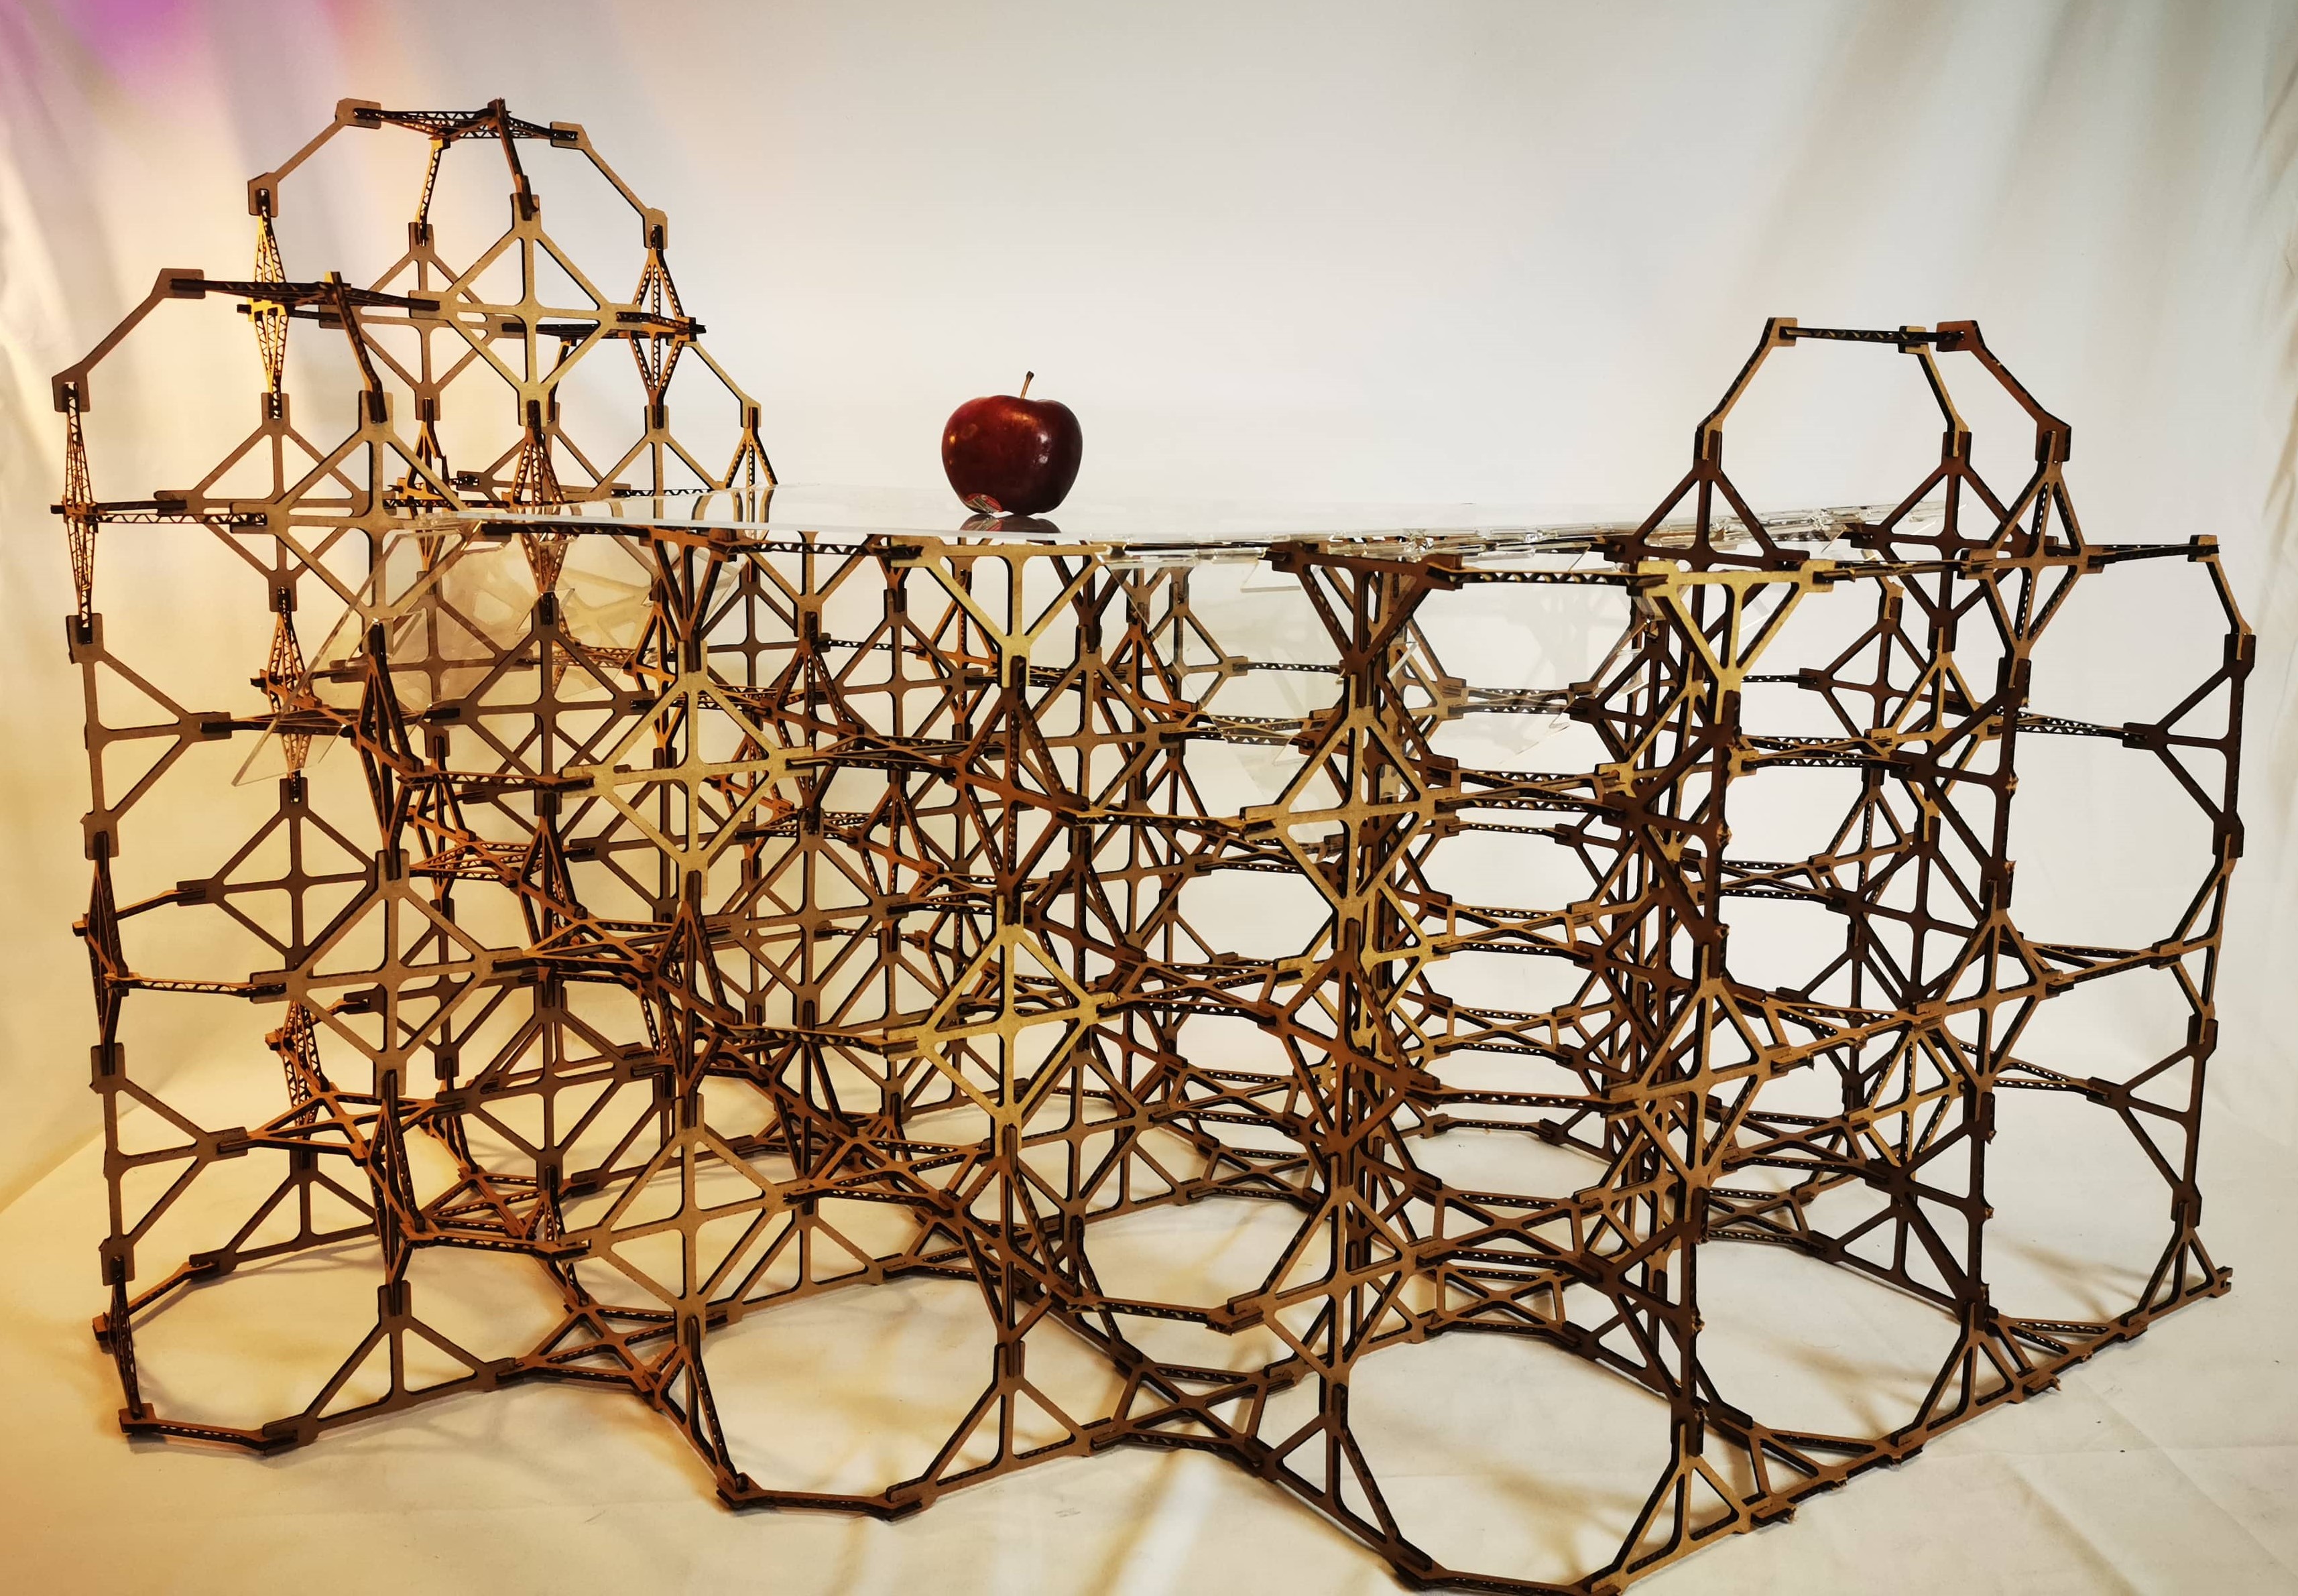
Second week in this roller coaster. So much fun a swell as hours invested! A bunch of stuff related with Gillab I’ve learnt. Also come take a look at the nice boxel table I’ve done and the sticker pop art version of the Venus de Milo!

Our first group assignment(composed by Camron, Jack, Joao and Daniel) was to discretize and test parameters of the laser cutter in order to see which affects how and which is the best configuration. Please, find the group assignment data sheet here
Our strategy was to fix all parameter with the recommended values and to make 5 test varying each specific parameter. For the recommended values, the width of the laser was estimated in 210 microns.
##Velocity
As it can be see, we are looking for for the minimal width of the laser. As we are increasing velocity, the laser gets thinner until it doesn’t cut through. The minimal value we have found was the recommended configuration, 210 microns.
##Power
Something interesting is happening here. We are finding way better behaviors of the laser width but sometimes, as the bed is not perfectly calibrated, we have found that some pieces with the same characteristics are in the limit of being cutting through. That means that remove them from the cardboard is a difficult task, and sometimes the piece can be delaminated in that process.
The minimal value we have found here was amazingly 80 microns!
##PPI
Something even more interesting is happening here!. Seems like the ppi, at least in our experiment, remain constant the laser width!. Camron was proposing some theories of this behavior and how anti intuitive it was. I was proposing the analogy as the ppi is change the length of the cutting through lines you are making. As those papers with a line composed by longitudinals cuts to being cut through there.

/////////////////////////////////////////////////////
Vynil cutter
I wanted to use two colors for the vynil cutter. For this task I took an image of the Venus de Milo and draw lines of the most dark areas to get this dxf.
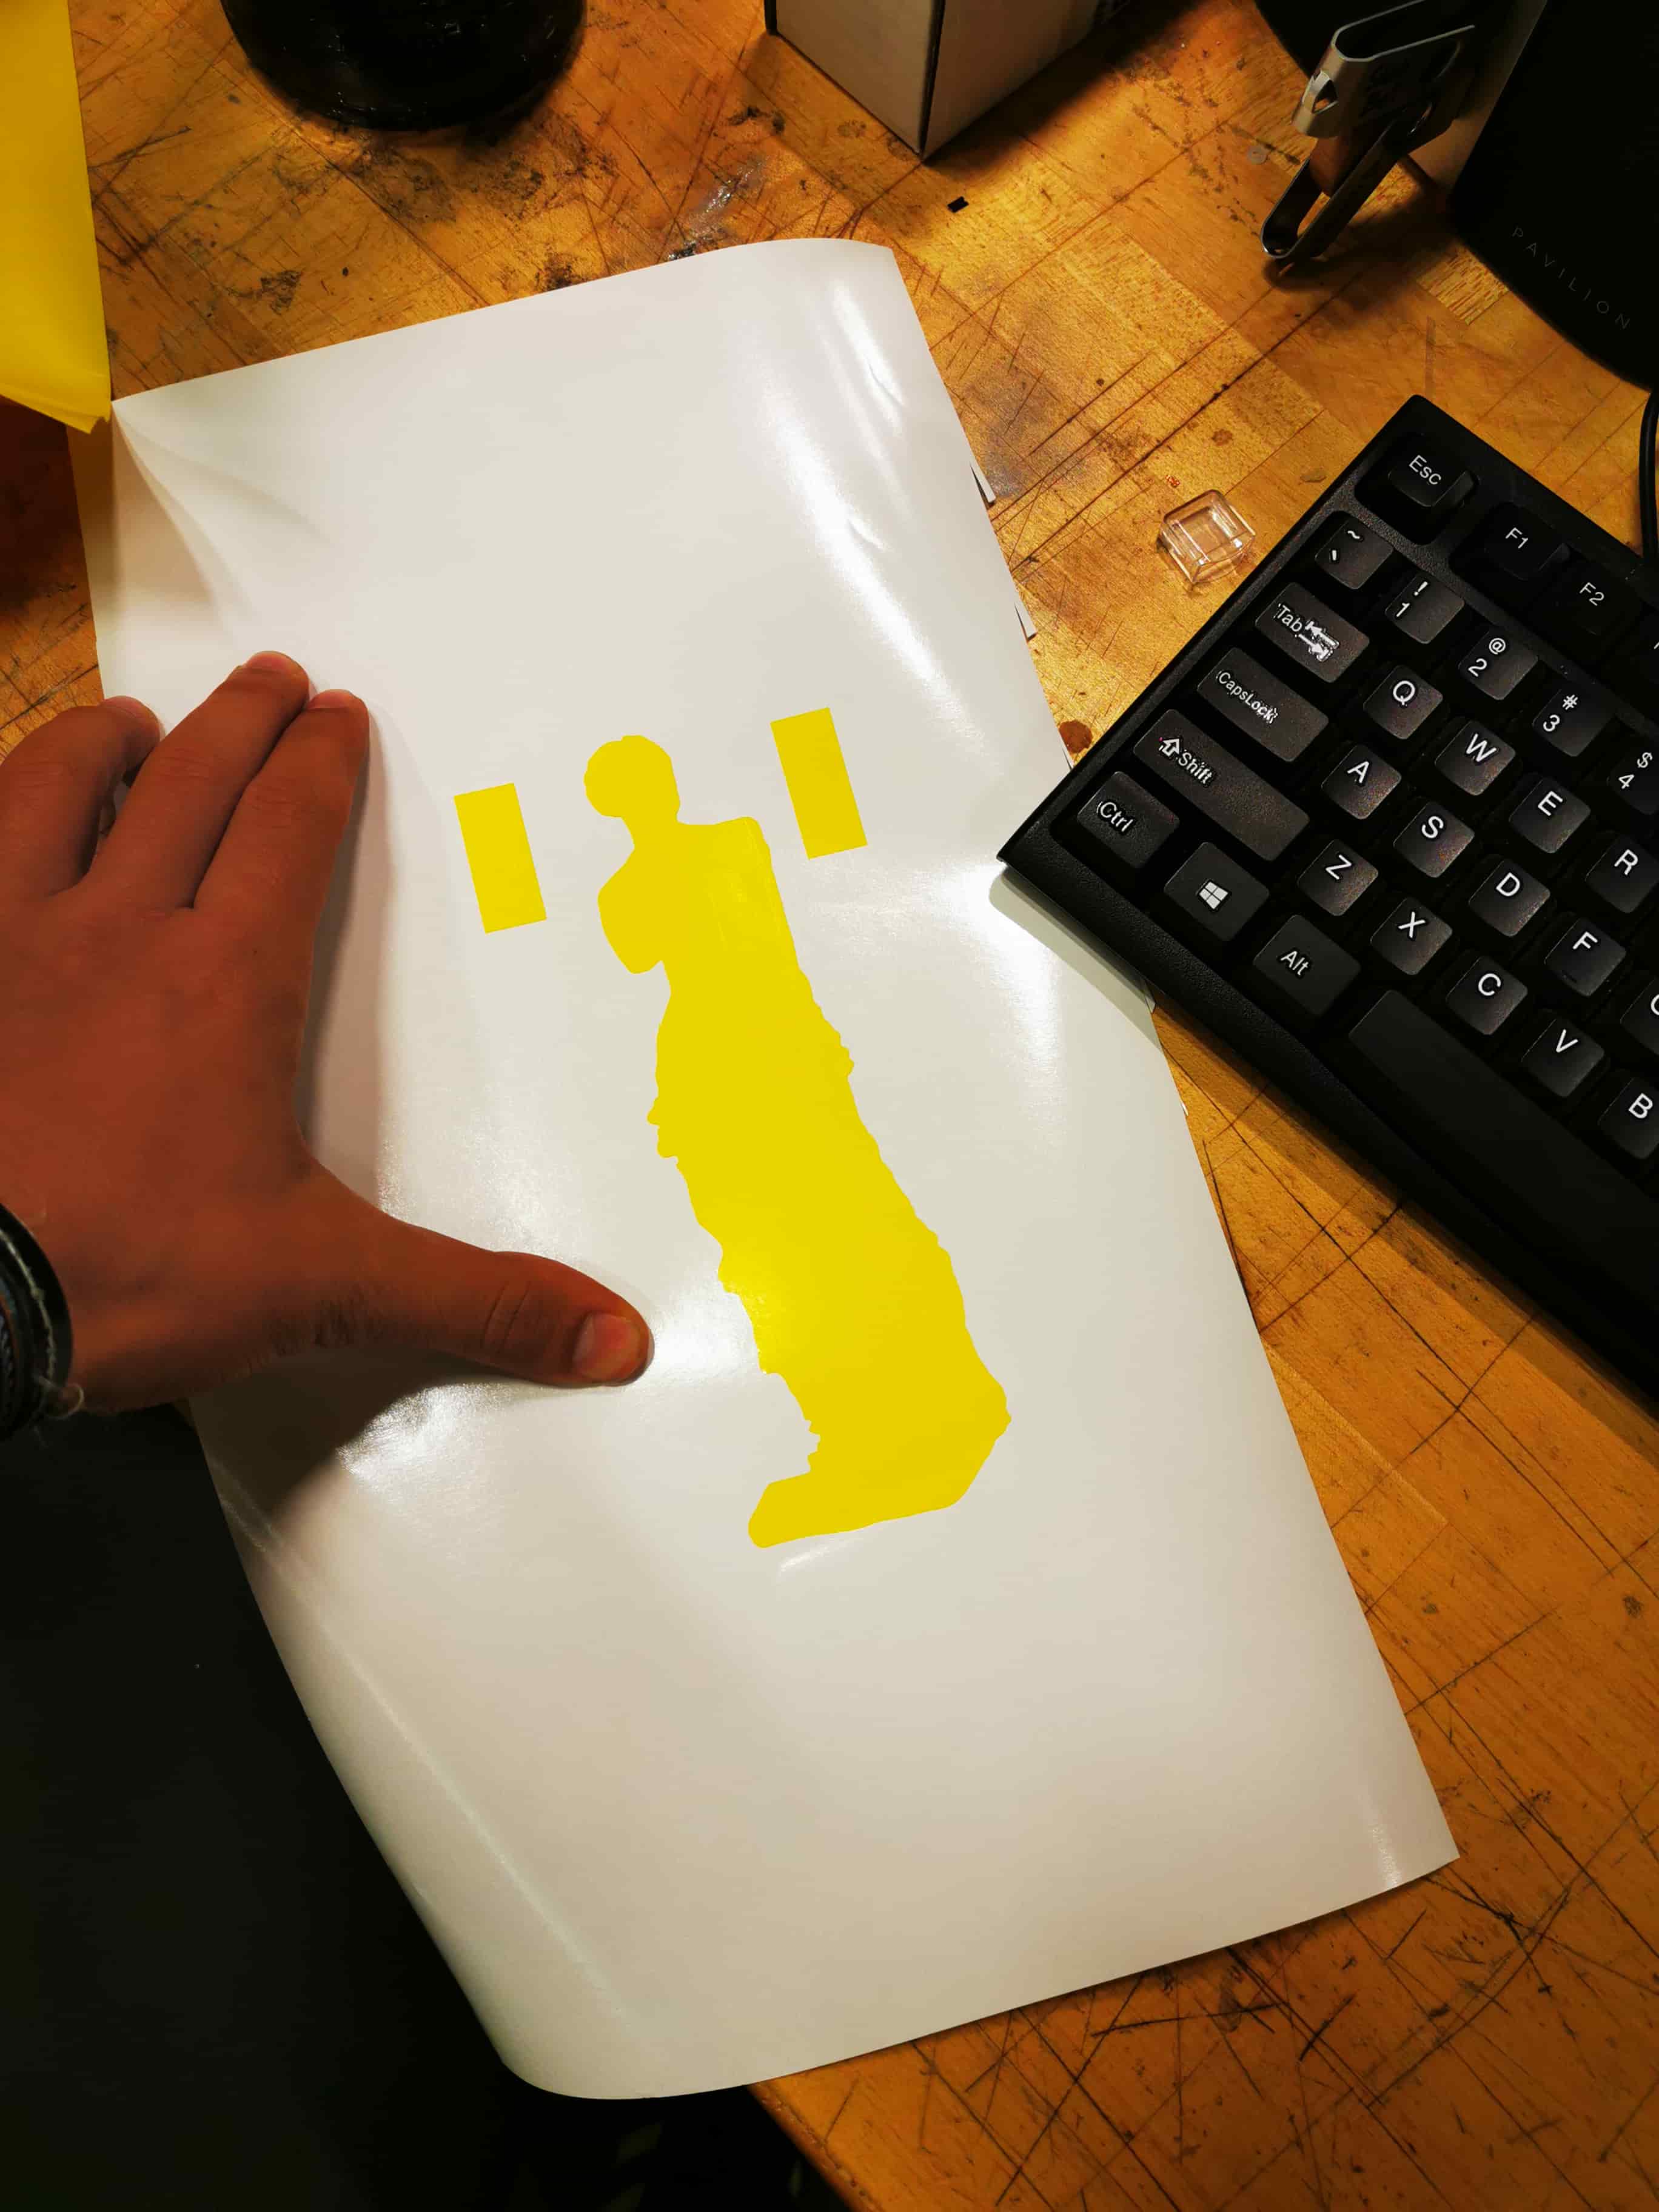
After making two layers, I cut the base:
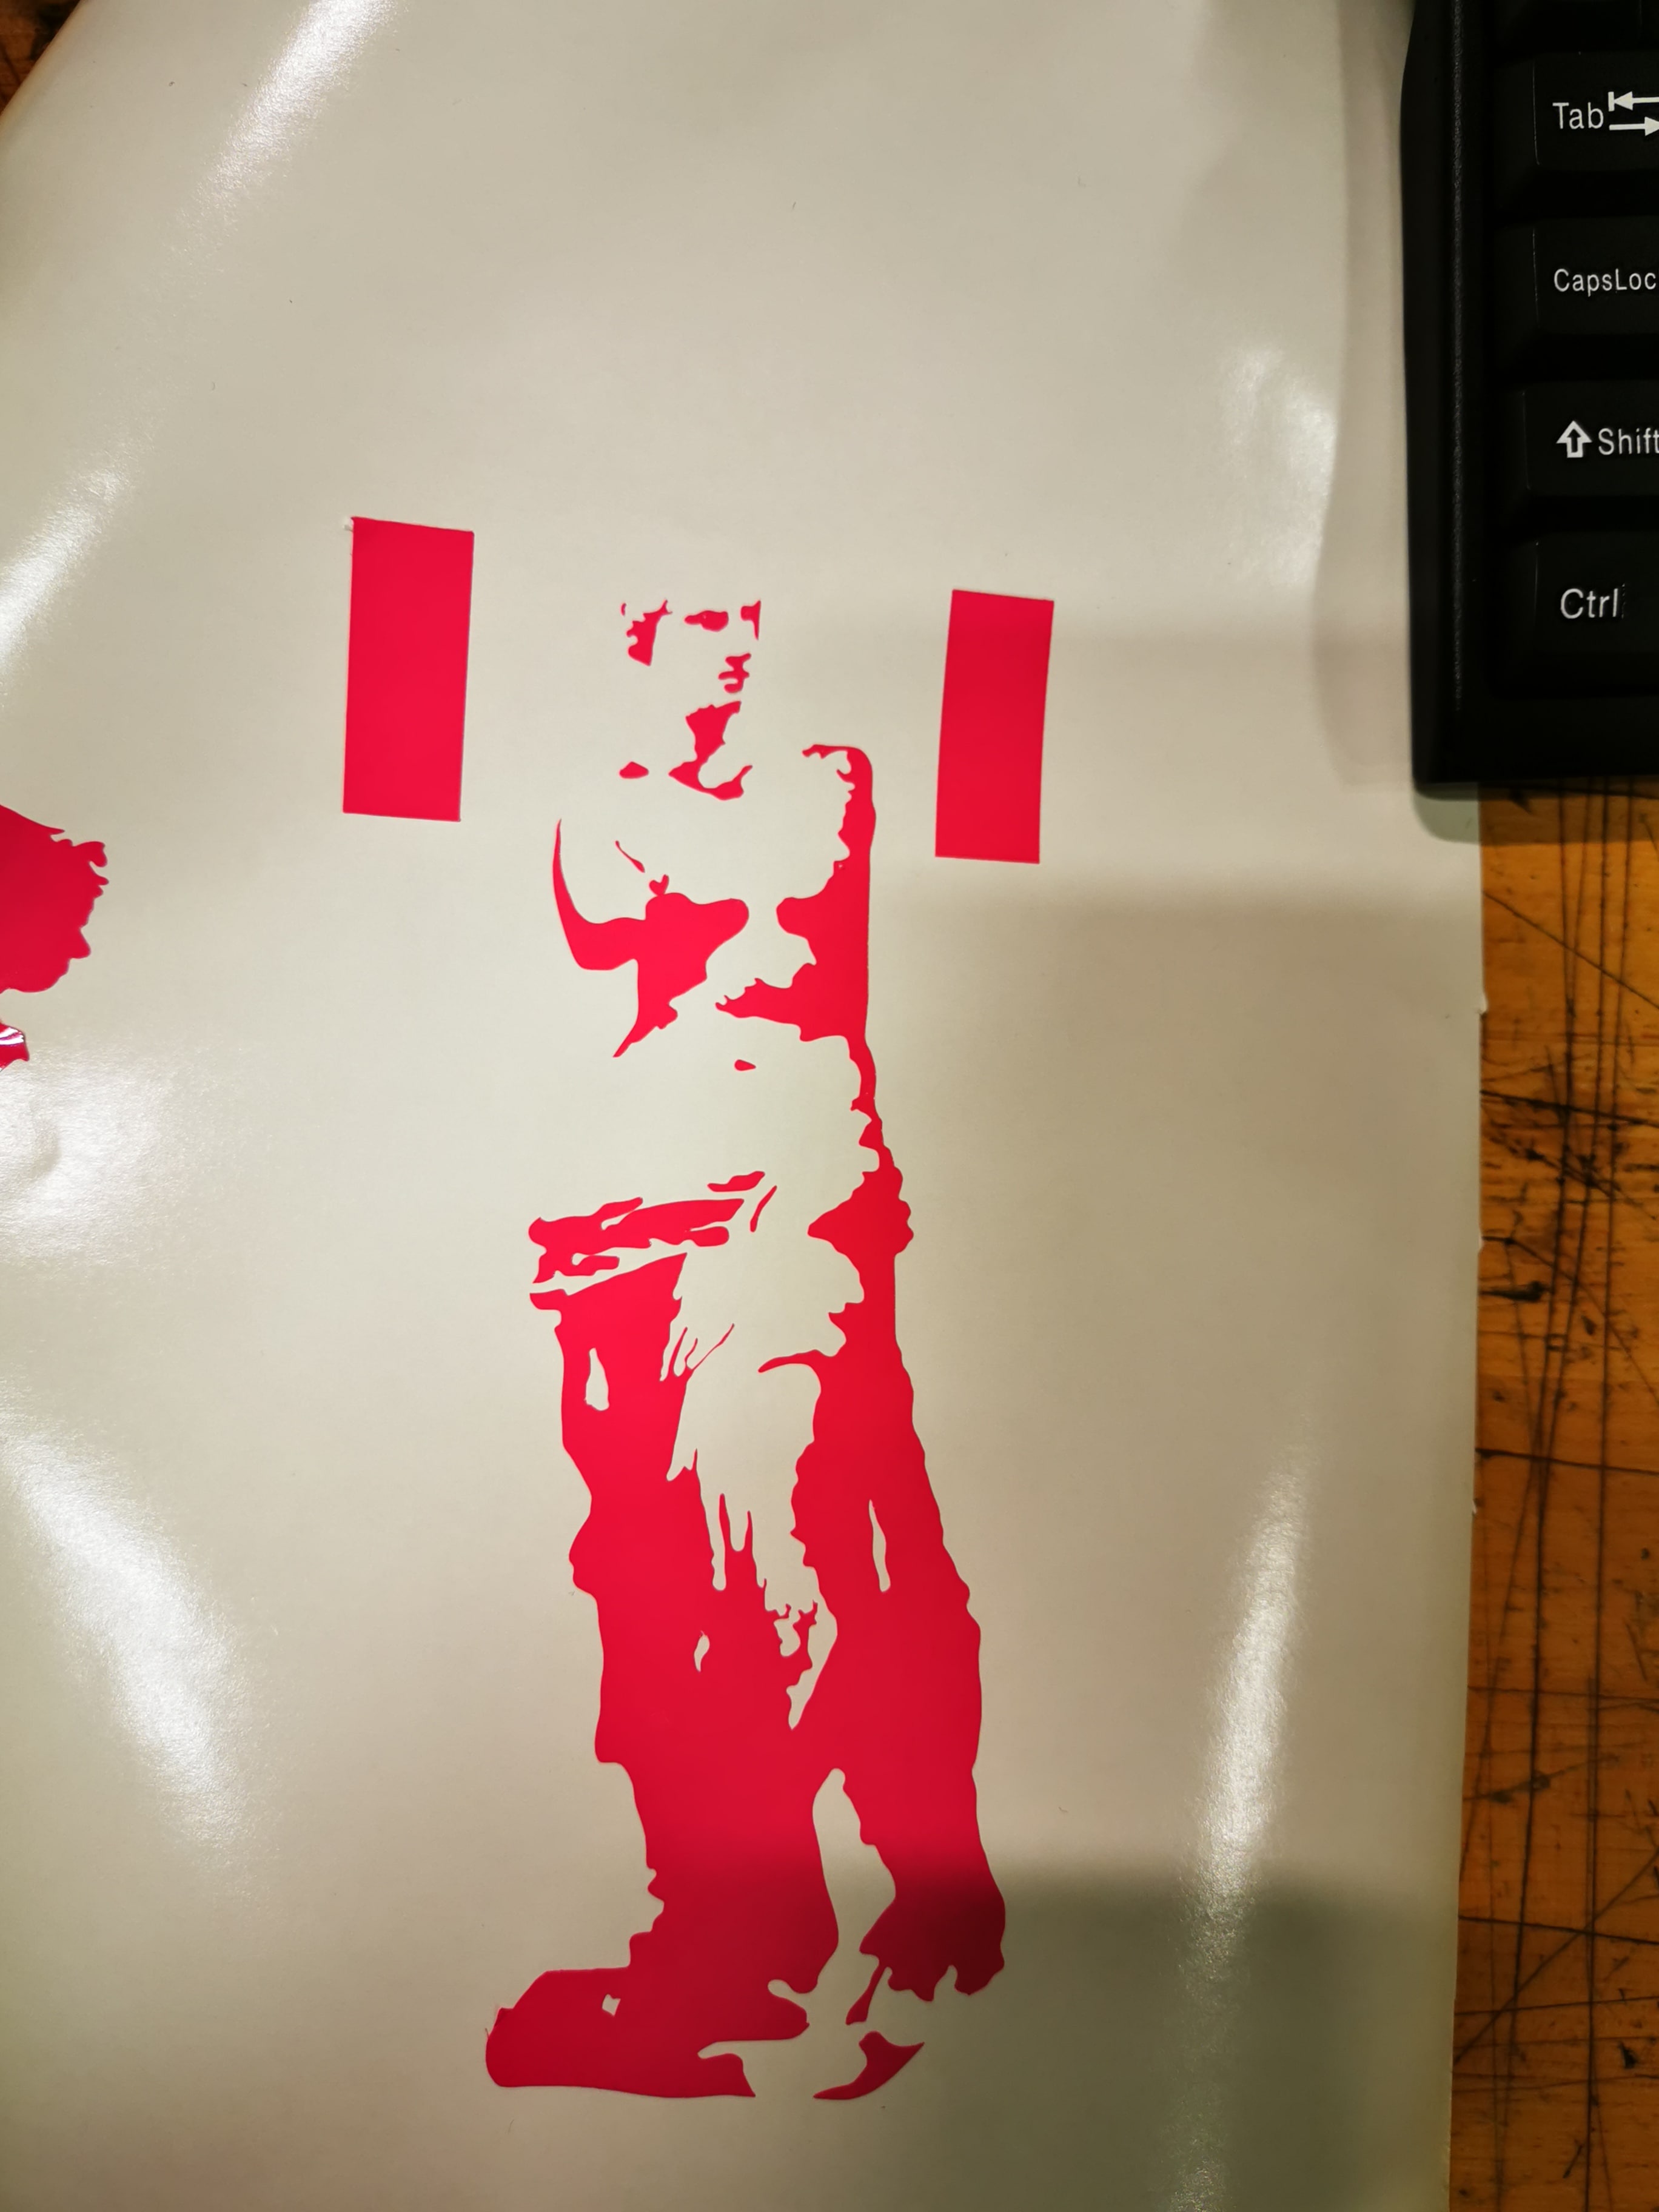
Then cut the shadows
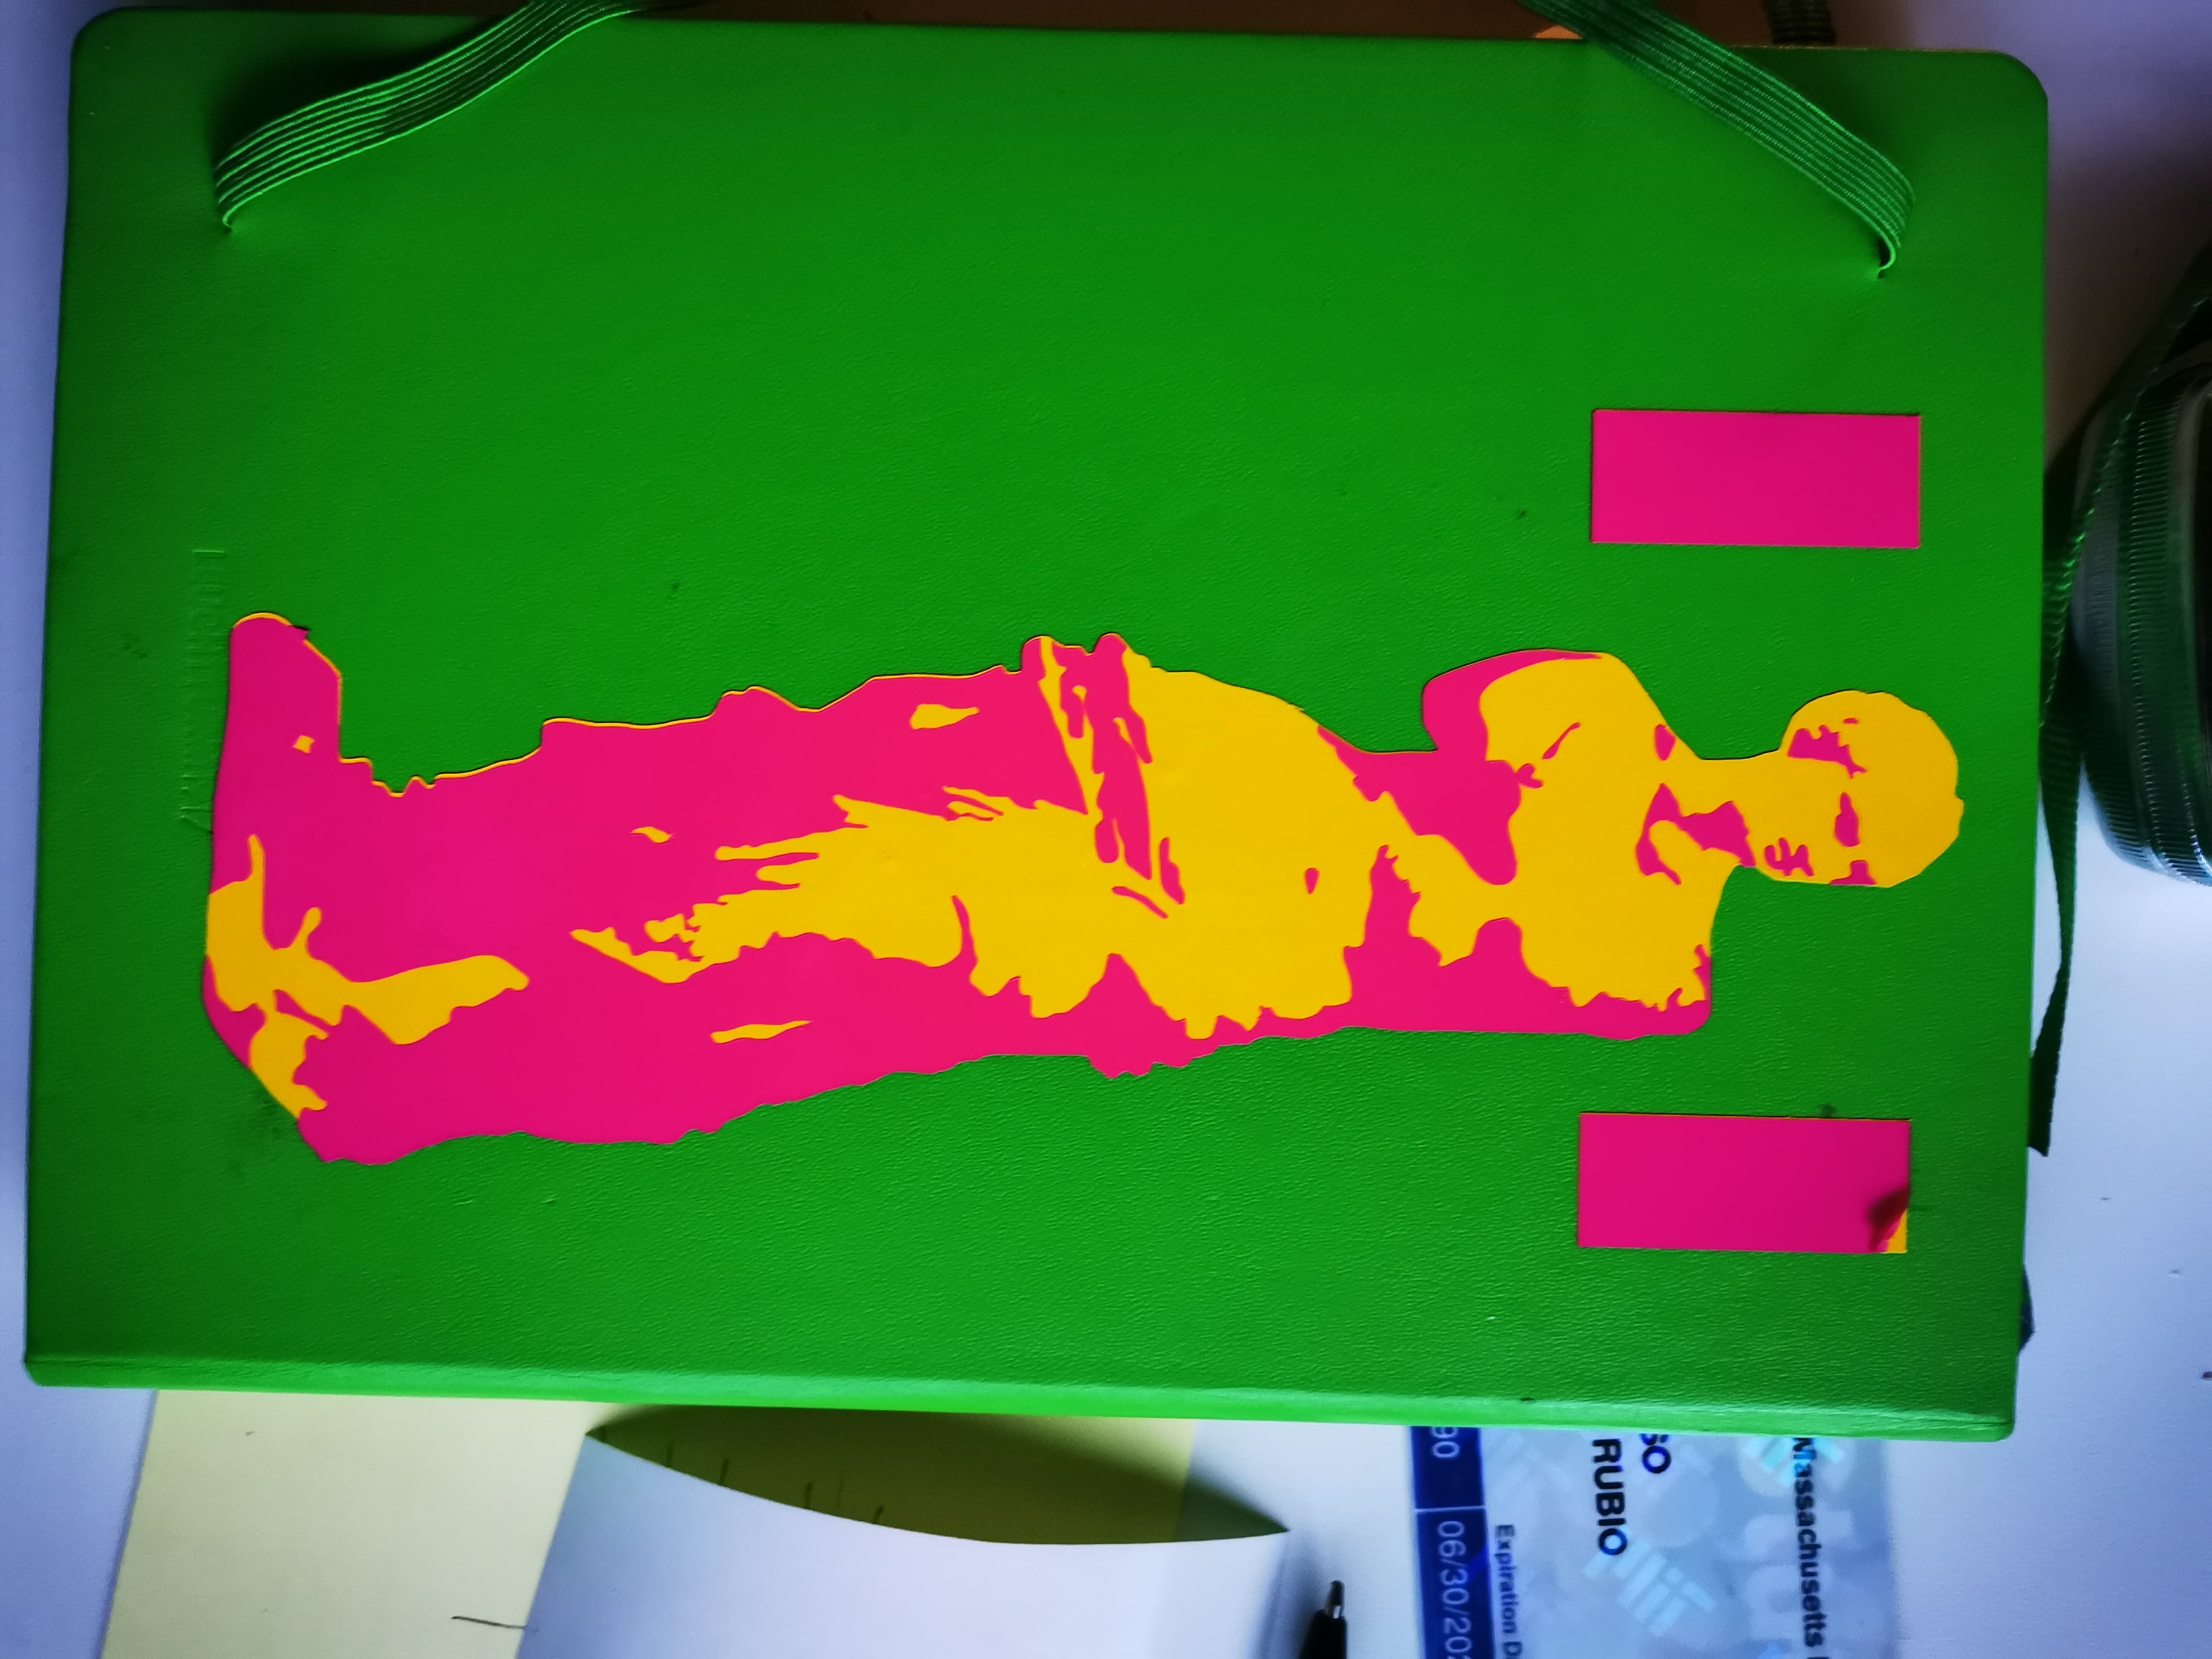
And the final result has been this sticker!
/////////////////////////////////////////////////////
Laser Cutter
Here at my lab there is a huge research of discrete element structured called boxels. And I have to tell, I’m falling in love with them!.
So I decided to manufacture a table with them.
First, I designed and parametrized an unit.
After do an unit, I started to 3d modeling the table:
I added an acrilyc weird fold that goes inside the structure!
So after freeze the model I started with the production.
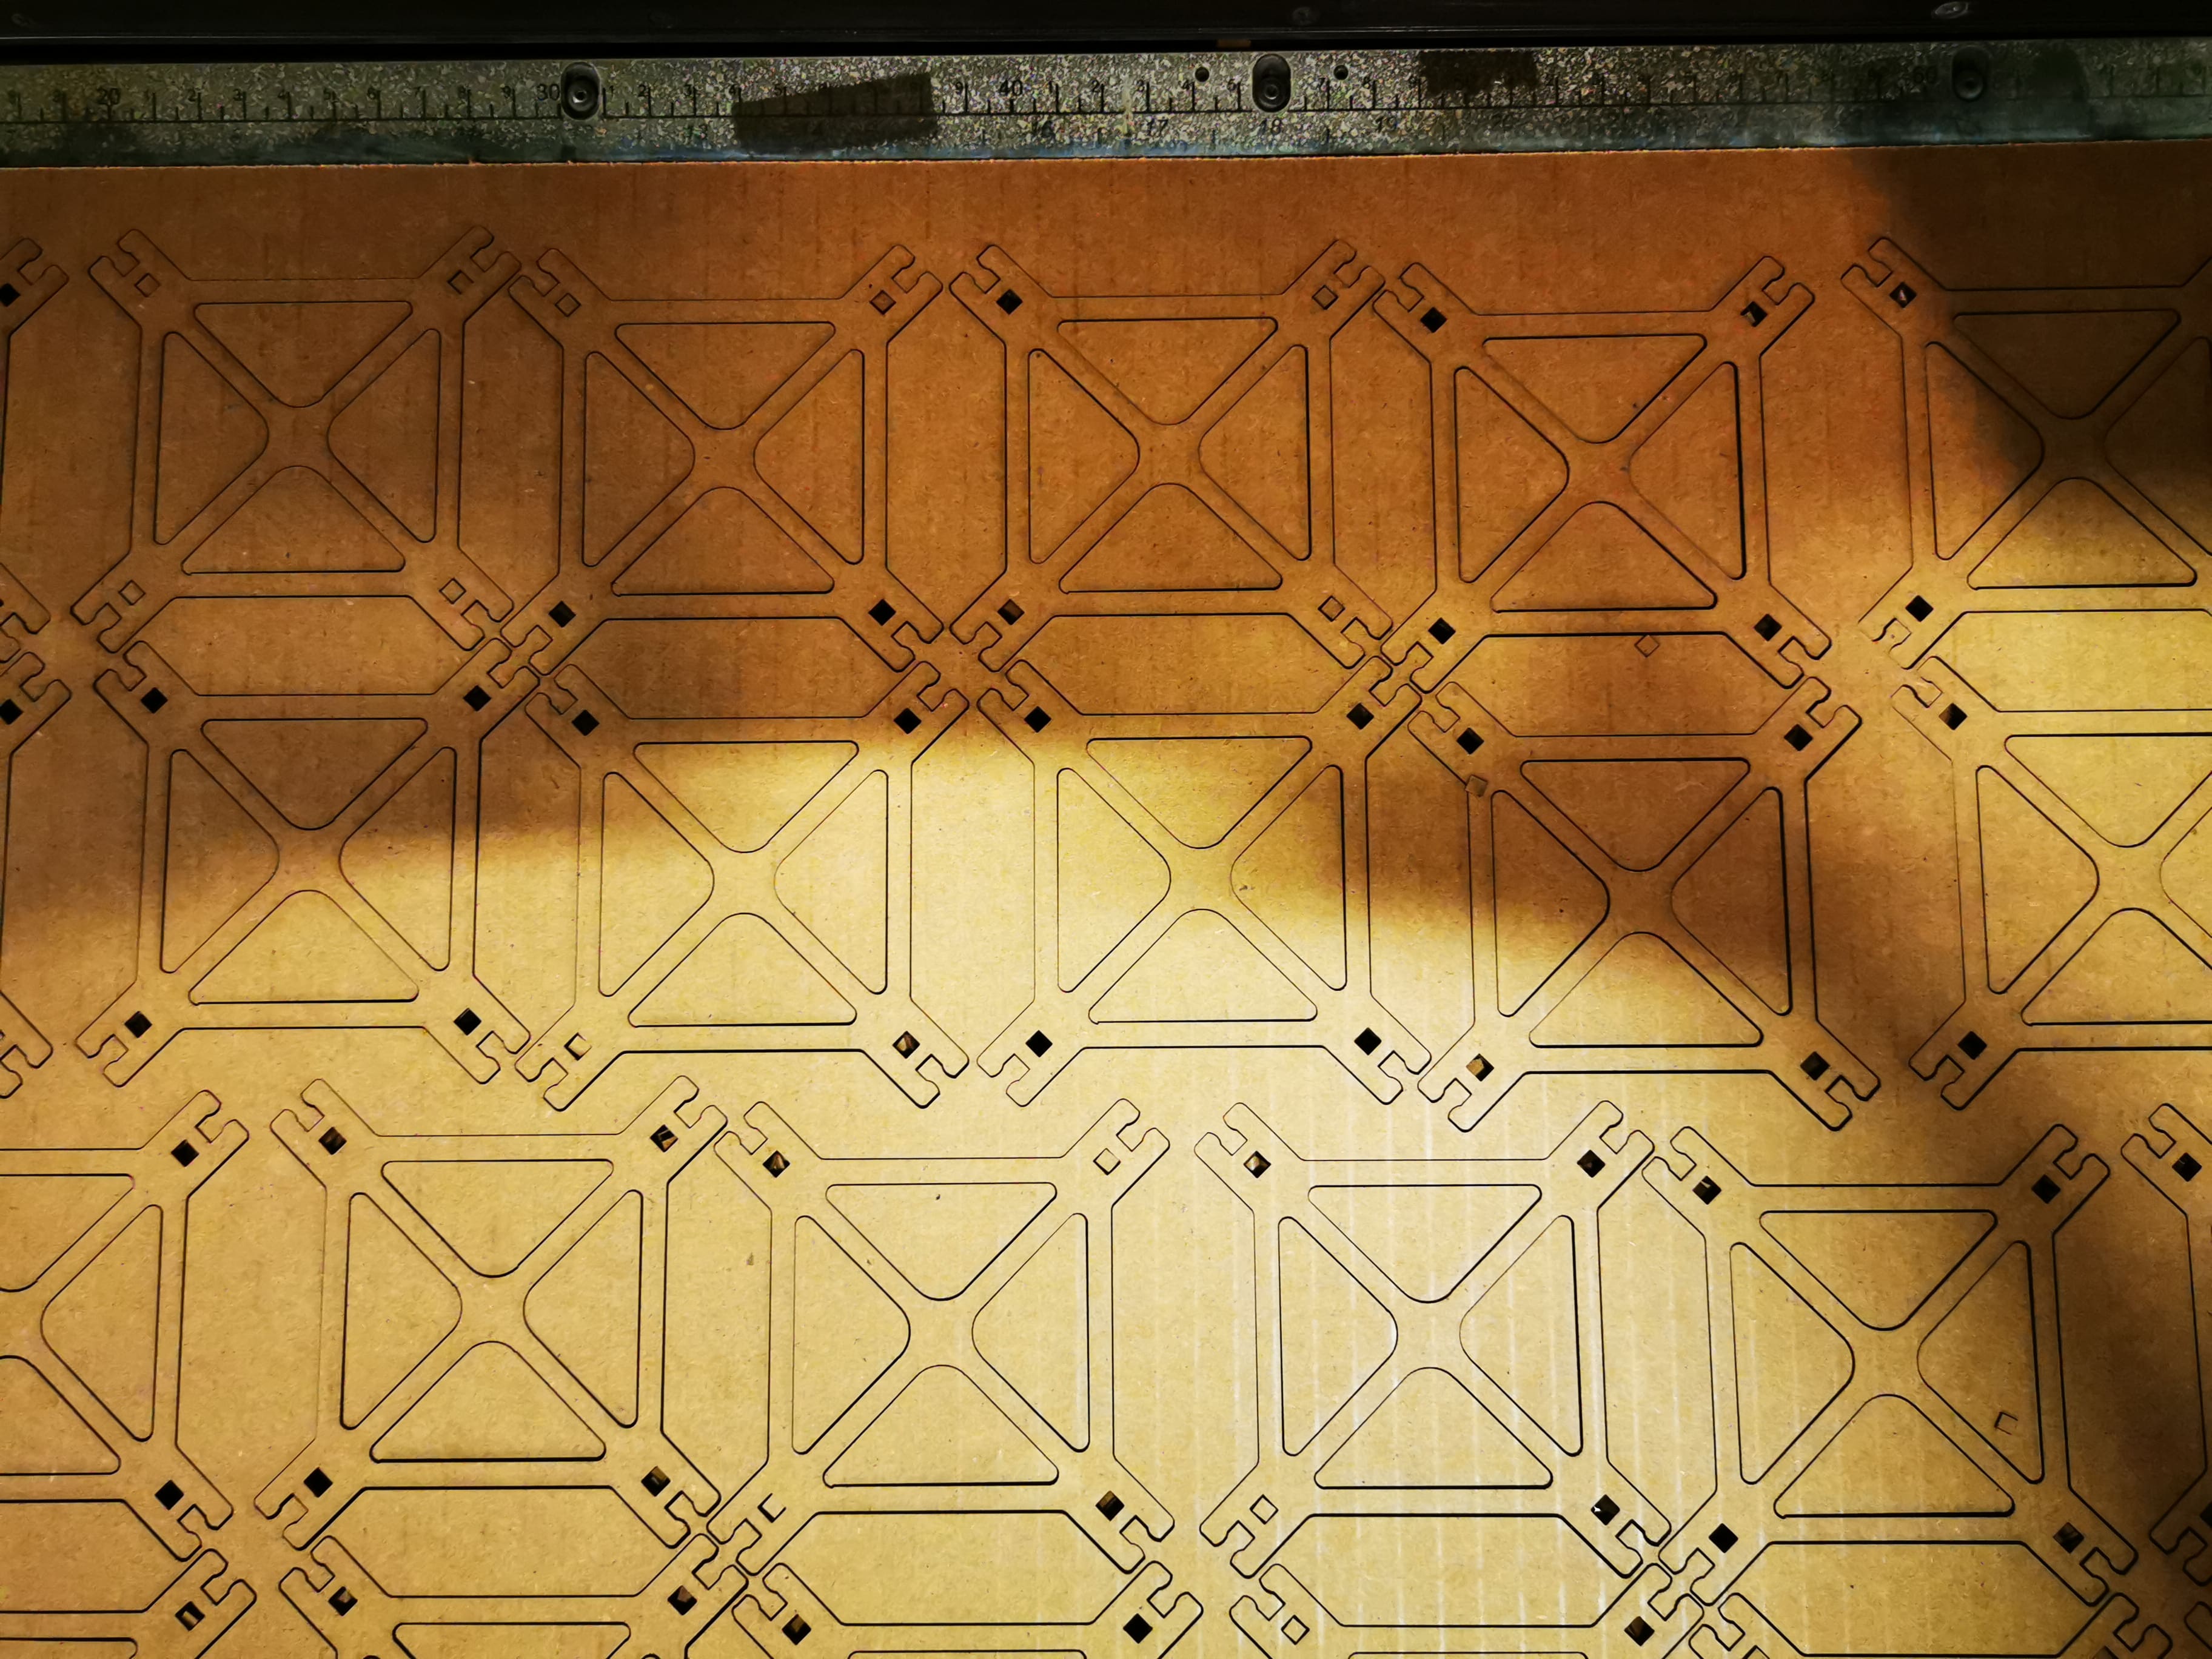
And after manufacture all elements, I started with the assembly. It was way more fun than spected.
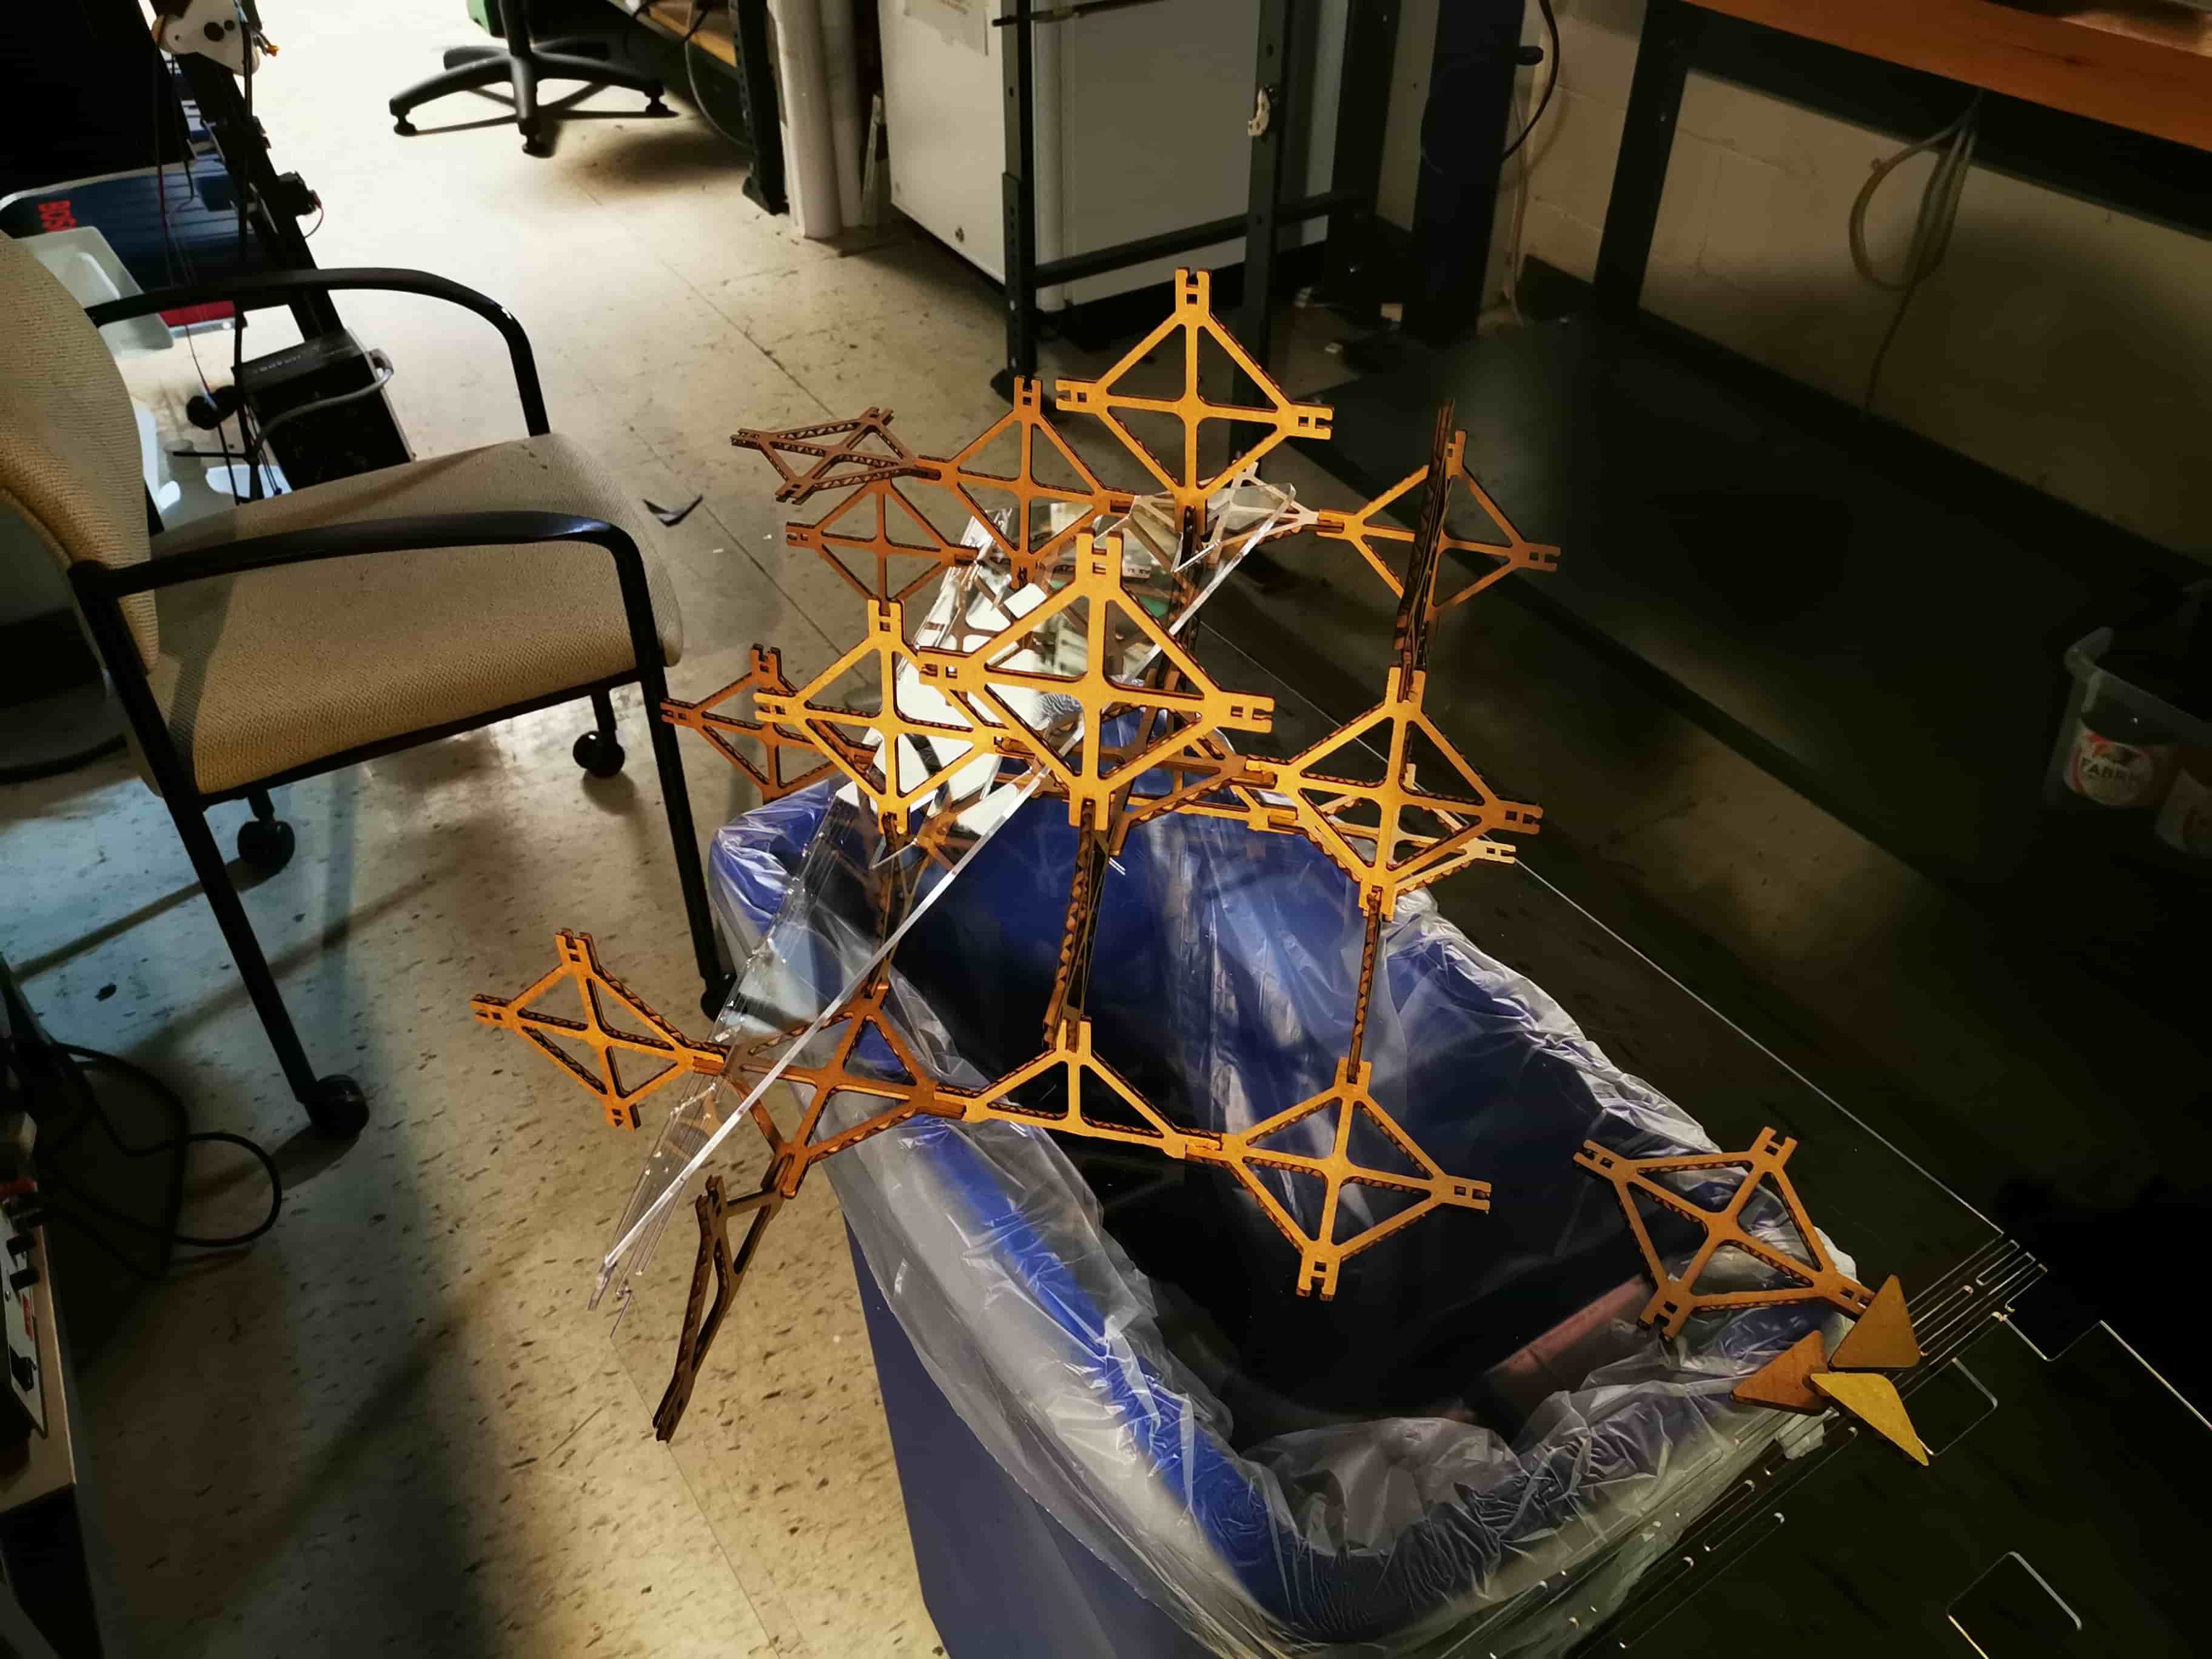
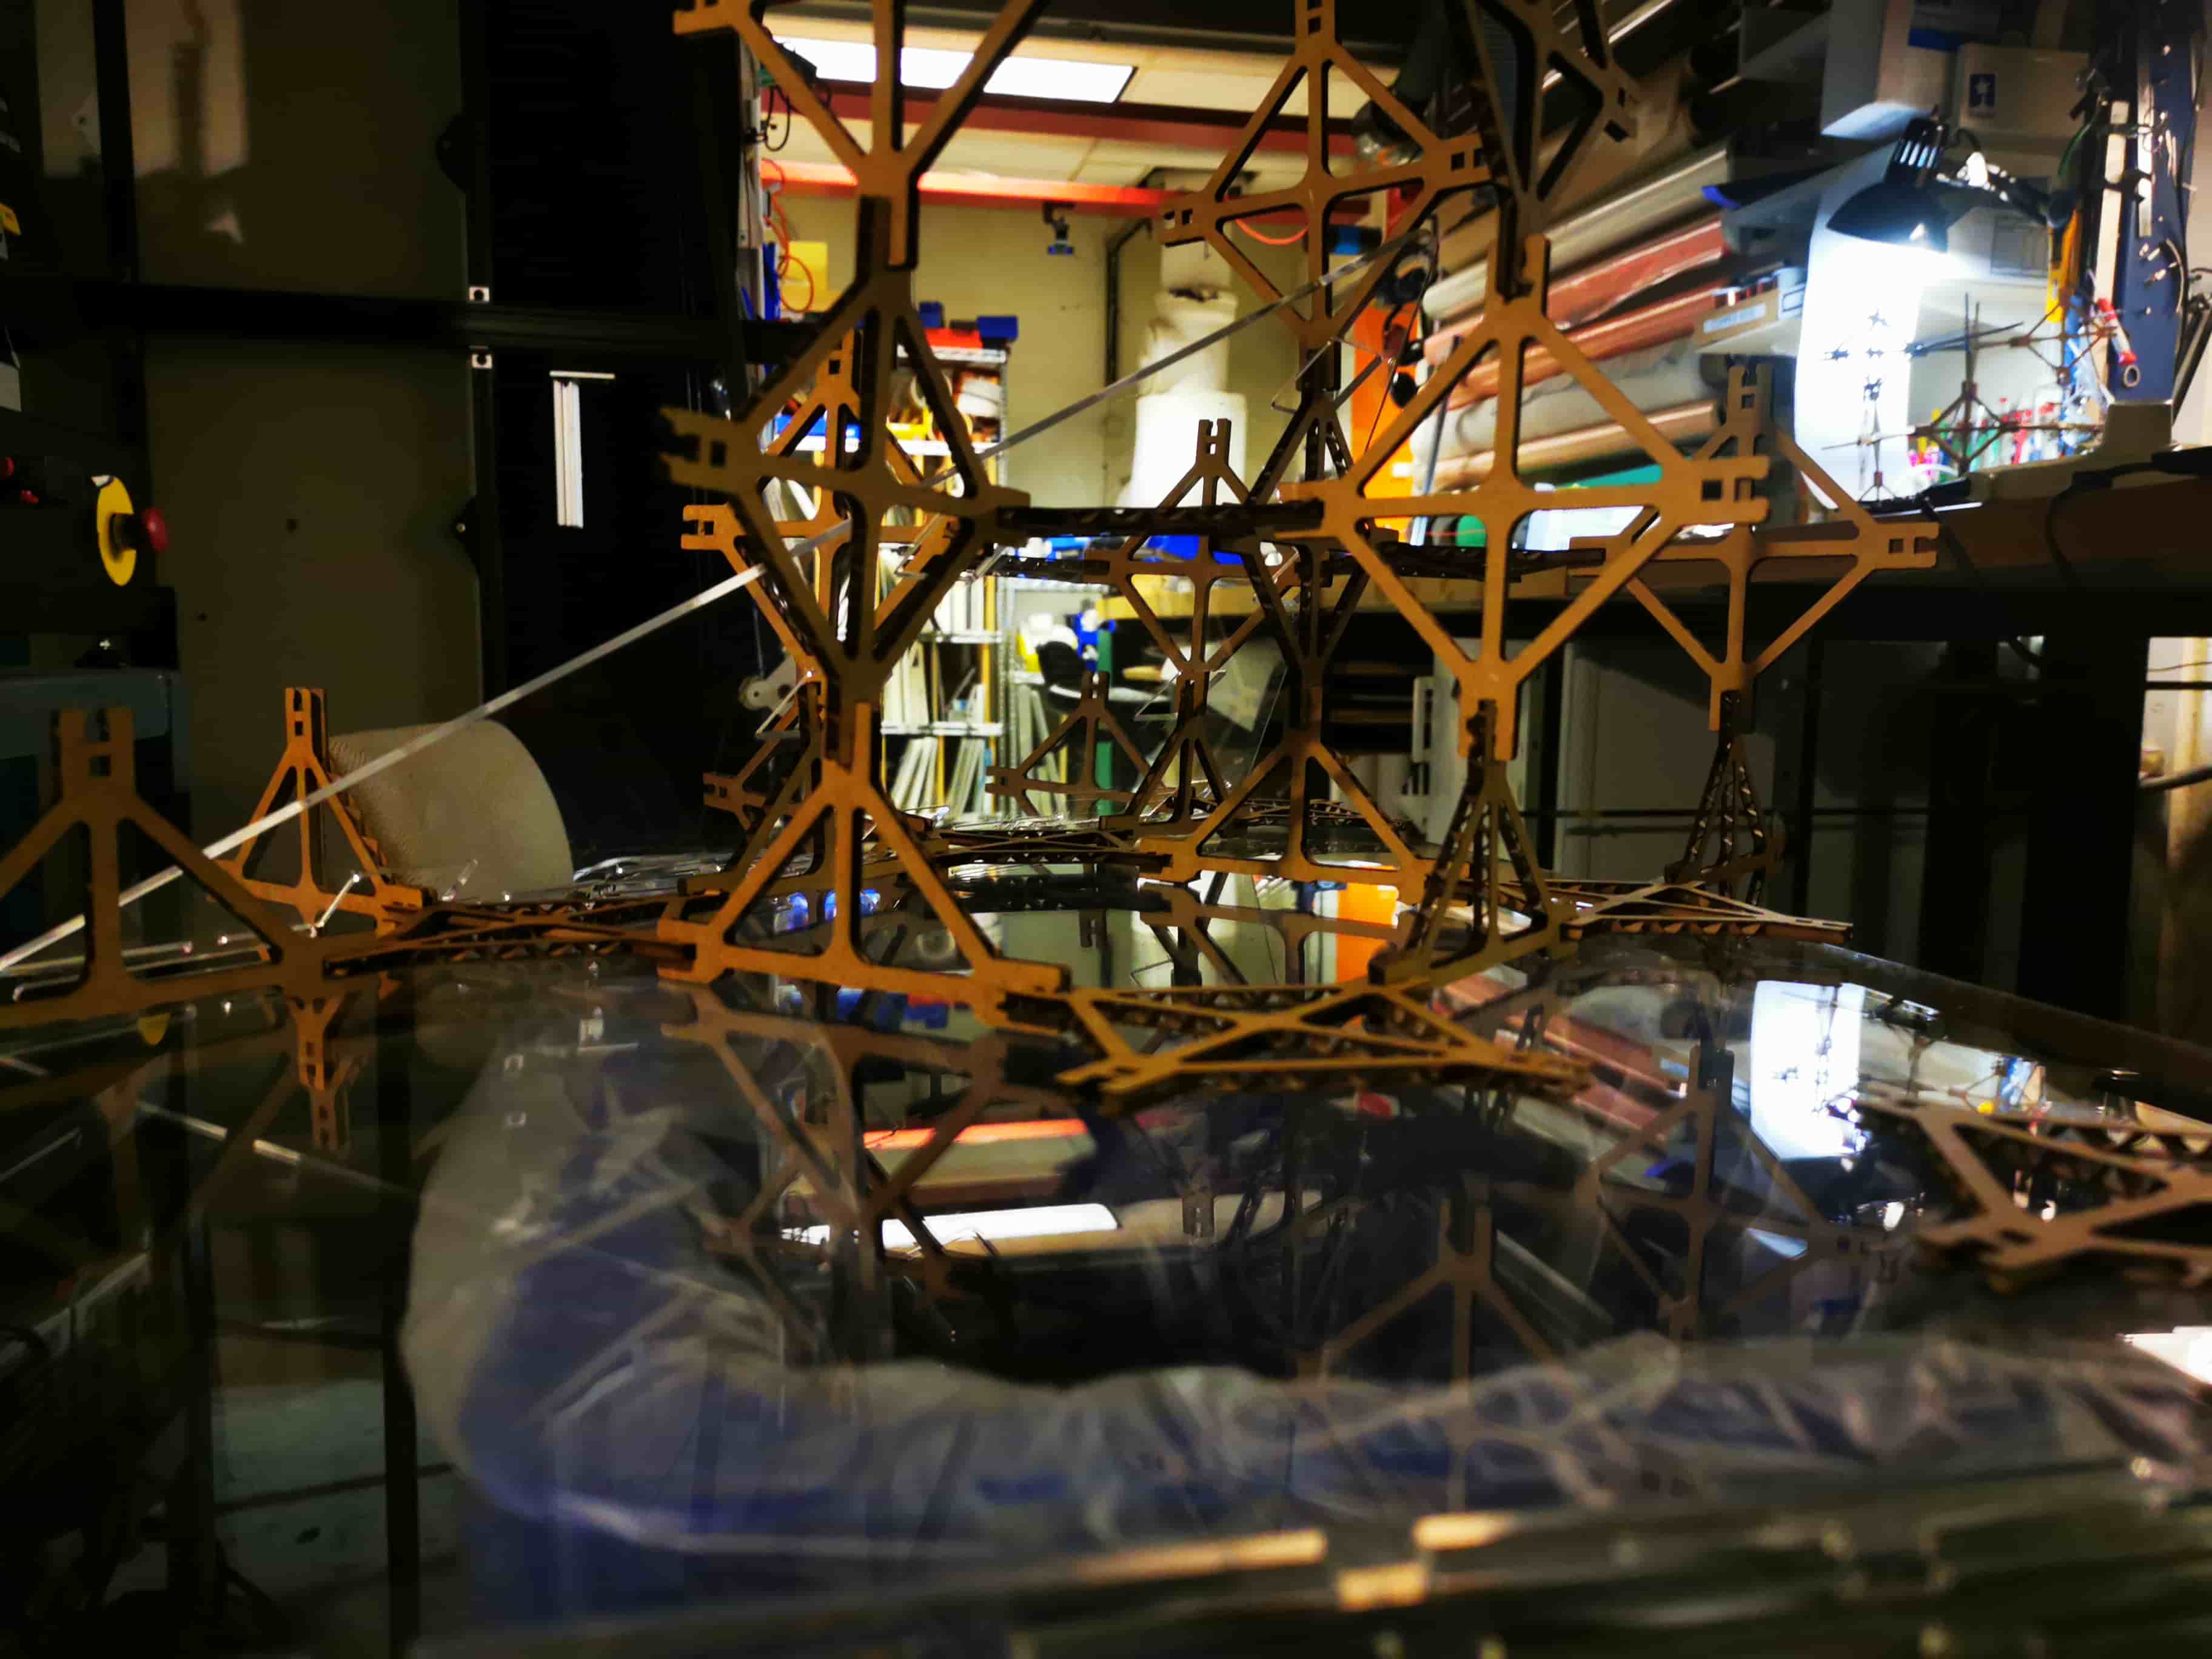
Star taking shape!
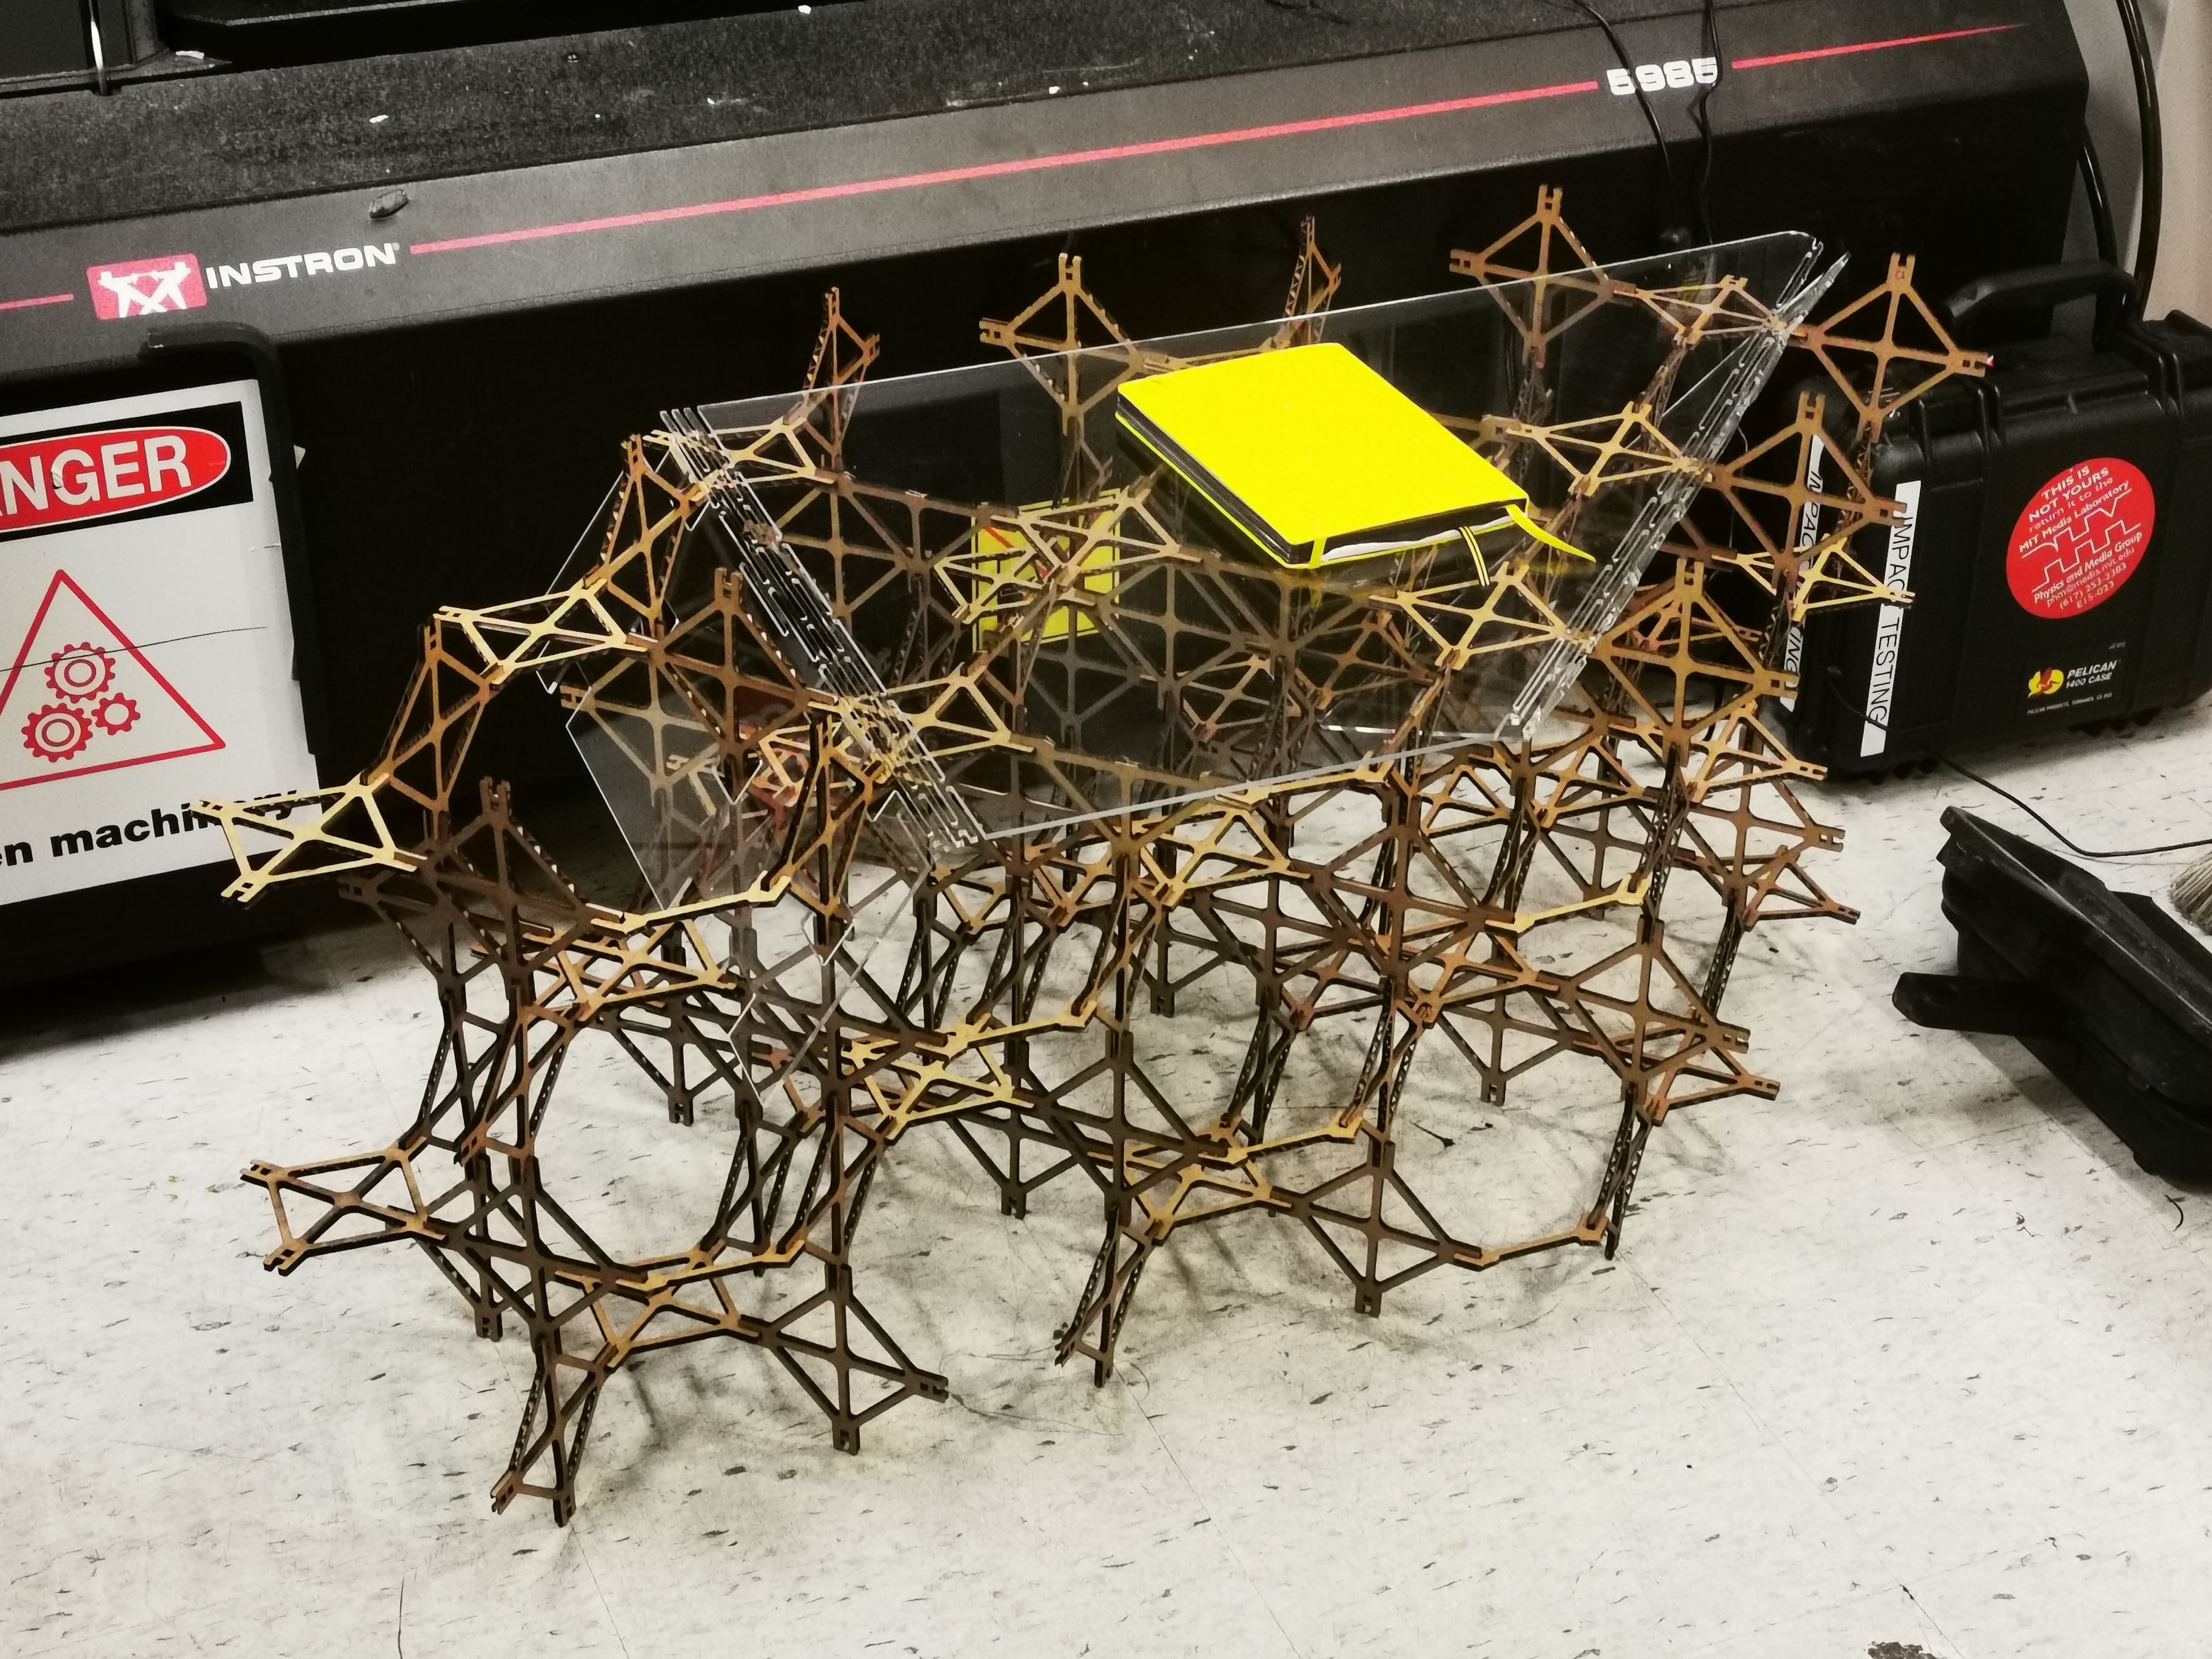
Finally, after cutting a lot of cardboard and spending time in the final manufacture, this has been the result!

 back to menu>