Week 3. Making a Programme, become it a programmer

This week the topic to work on is electronic production. I was looking forward to start on this section of the course which will have more content in electronic design, embedded programming, input and output devices, etc
As an introduction, we had the theory of how PCBs are manufactured. From all the available technologies proposed, we are going to use the Roland milling machine. As I am quite use to CNC milling, this part of the manufacture the base of the PCB has been pretty straight forward. Also, I was not used to this scale of milling machines so I had enjoyed so much the tiny Roland.

GROUP ASSIGNMENT
As a processor to generate the CNC code to the Milling machine, MODS, a tool developed by CBA was introduced to us and I like quite much the PNG way to generate code. It make things so easy and precise
The group assignment this week was to characterize the design rules of the machine for us in the future be able to make our own PCBs. As the material use to be always the same, the epoxy-copper prototyping board, the only parameter to play with was the tool diameter and the minimal interior and exteriors thickness both can make
INDIVIDUAL ASSIGNMENT
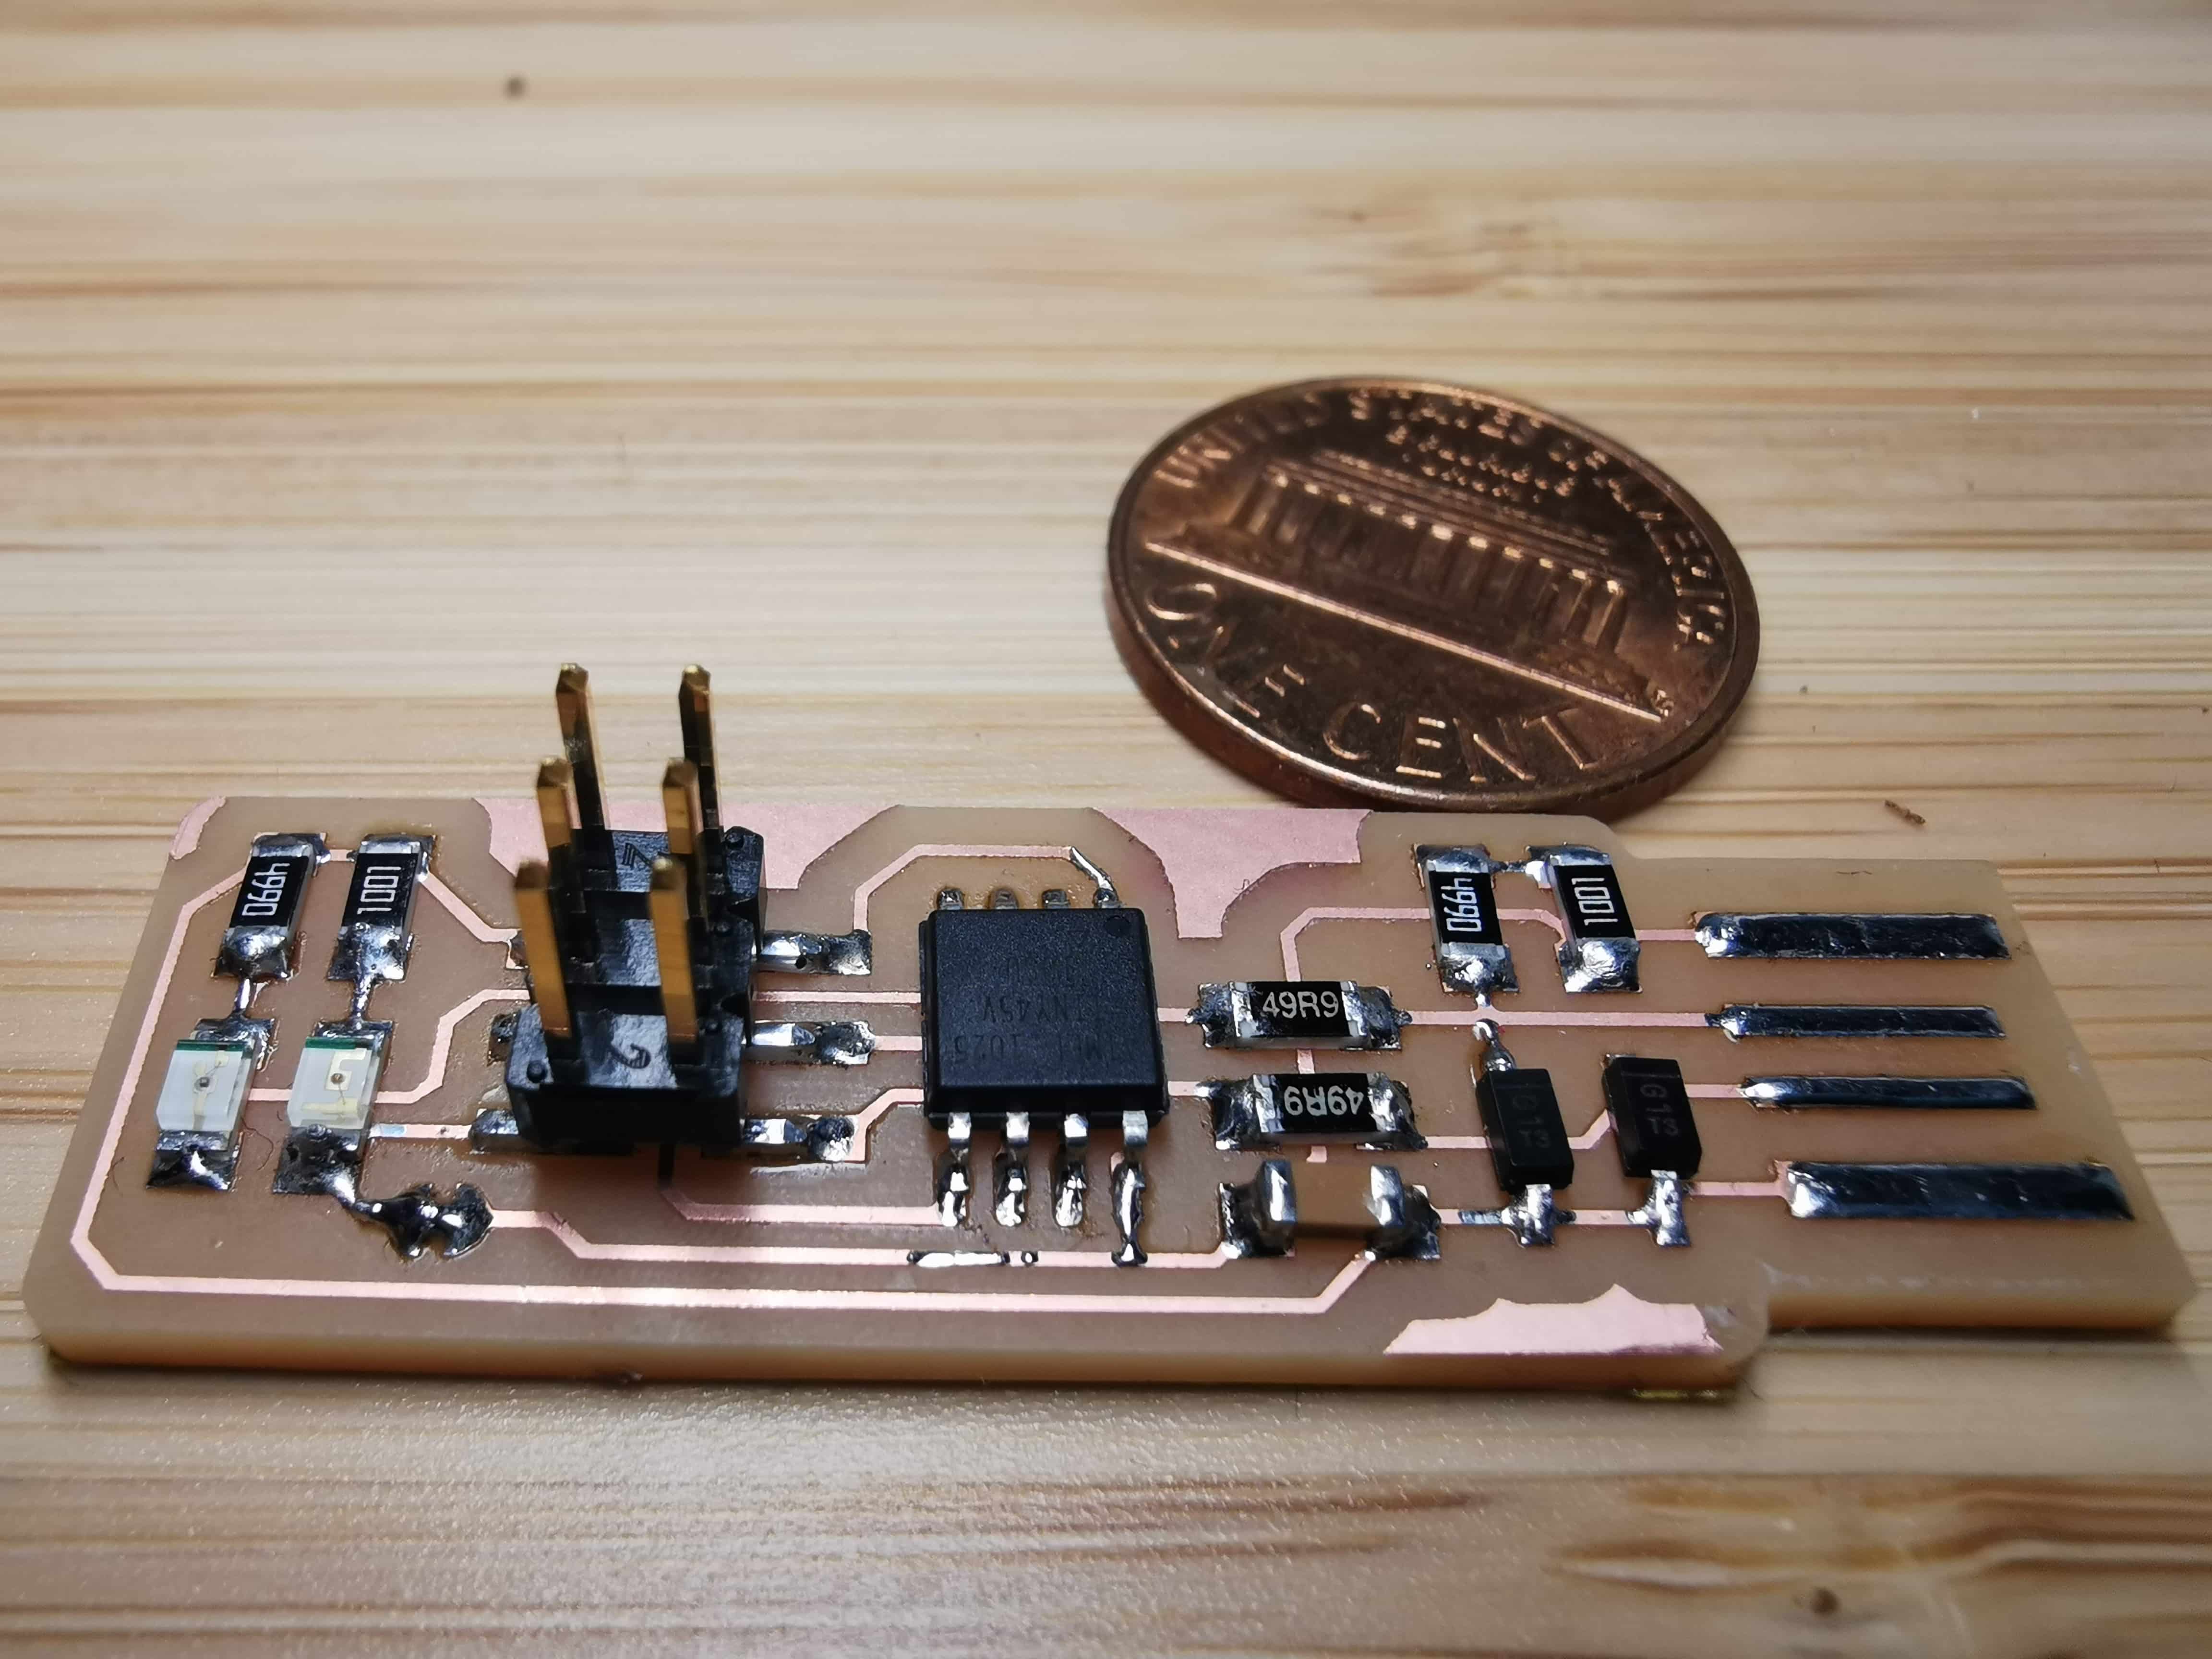
We were asked to make an in-circuit programmer. Then after manufacture it, try to program it with other programmer in order to convert our PCB in a programmer itself!

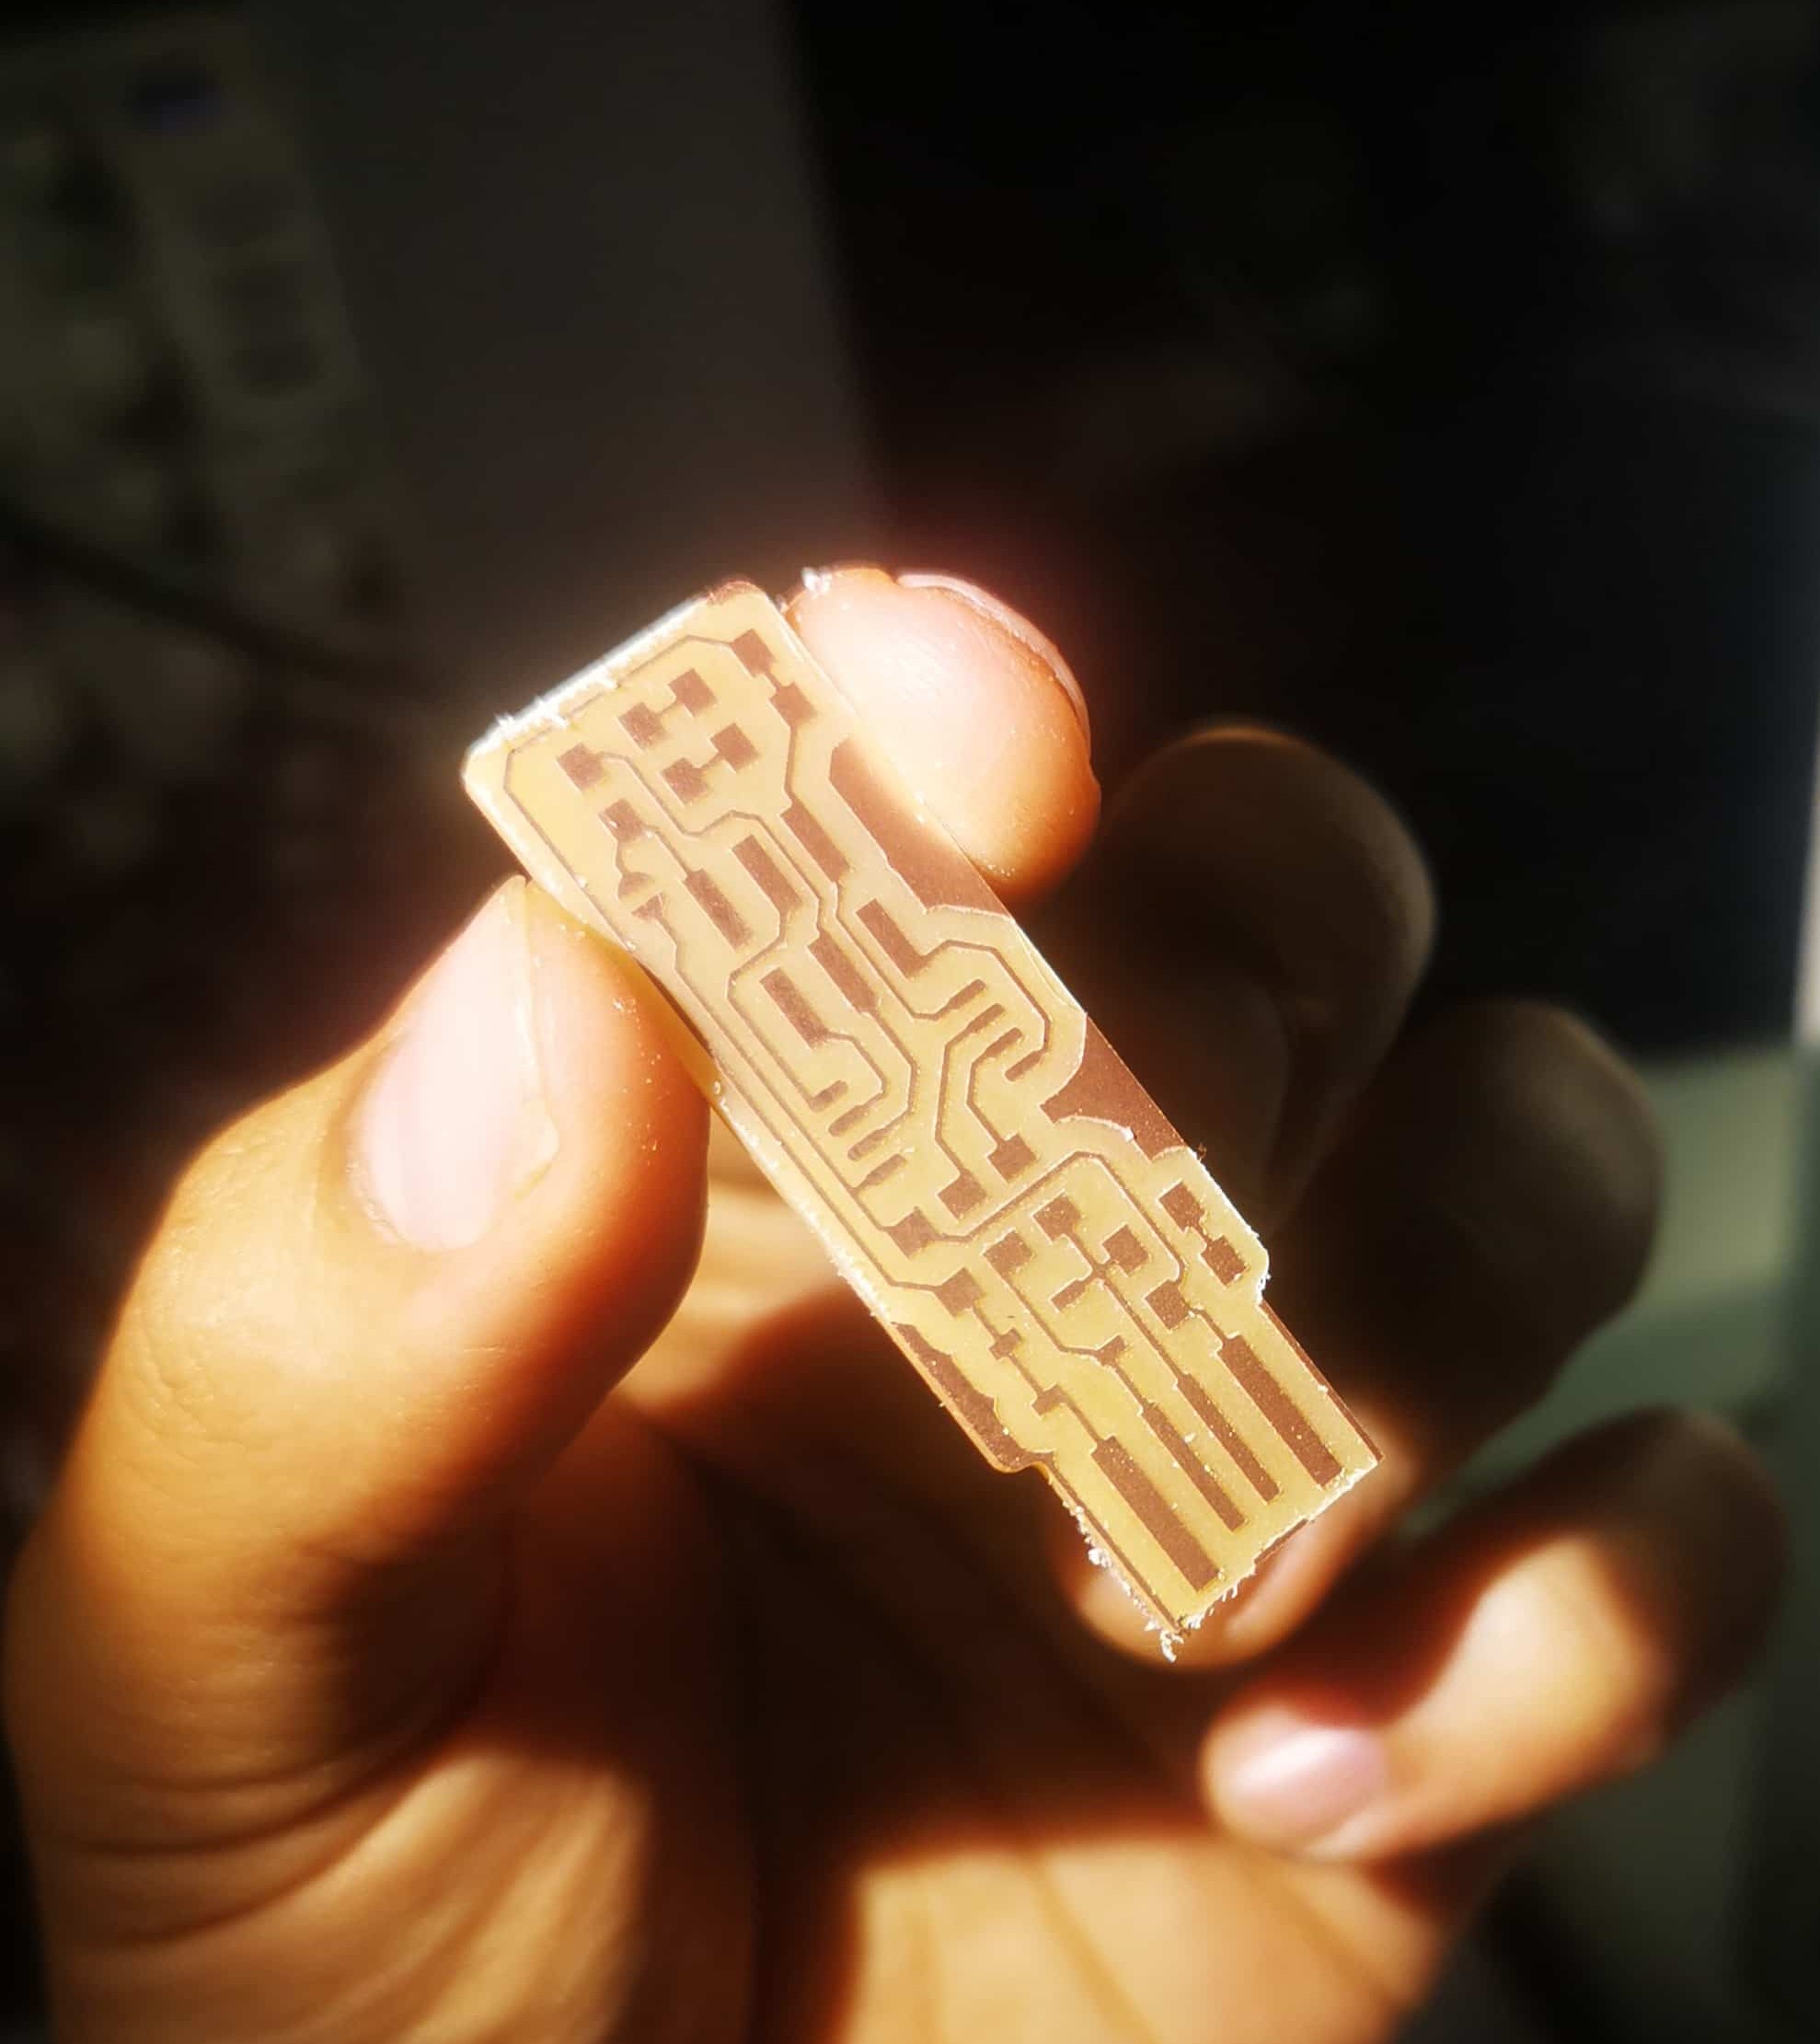
I used the Roland of the CBA shop and the PCB milling was a success. I was lucky and the cutting tool was pretty new, Just passing my finger to remove the lateral chips was enough to have a perfect finishing

After doing that, I read Brian's HTMAA page in which he has a nice explanations of the components needed and all the schematics used to mount in the right orientation the diodes and leds (thanks again Zach for solving all question I had).

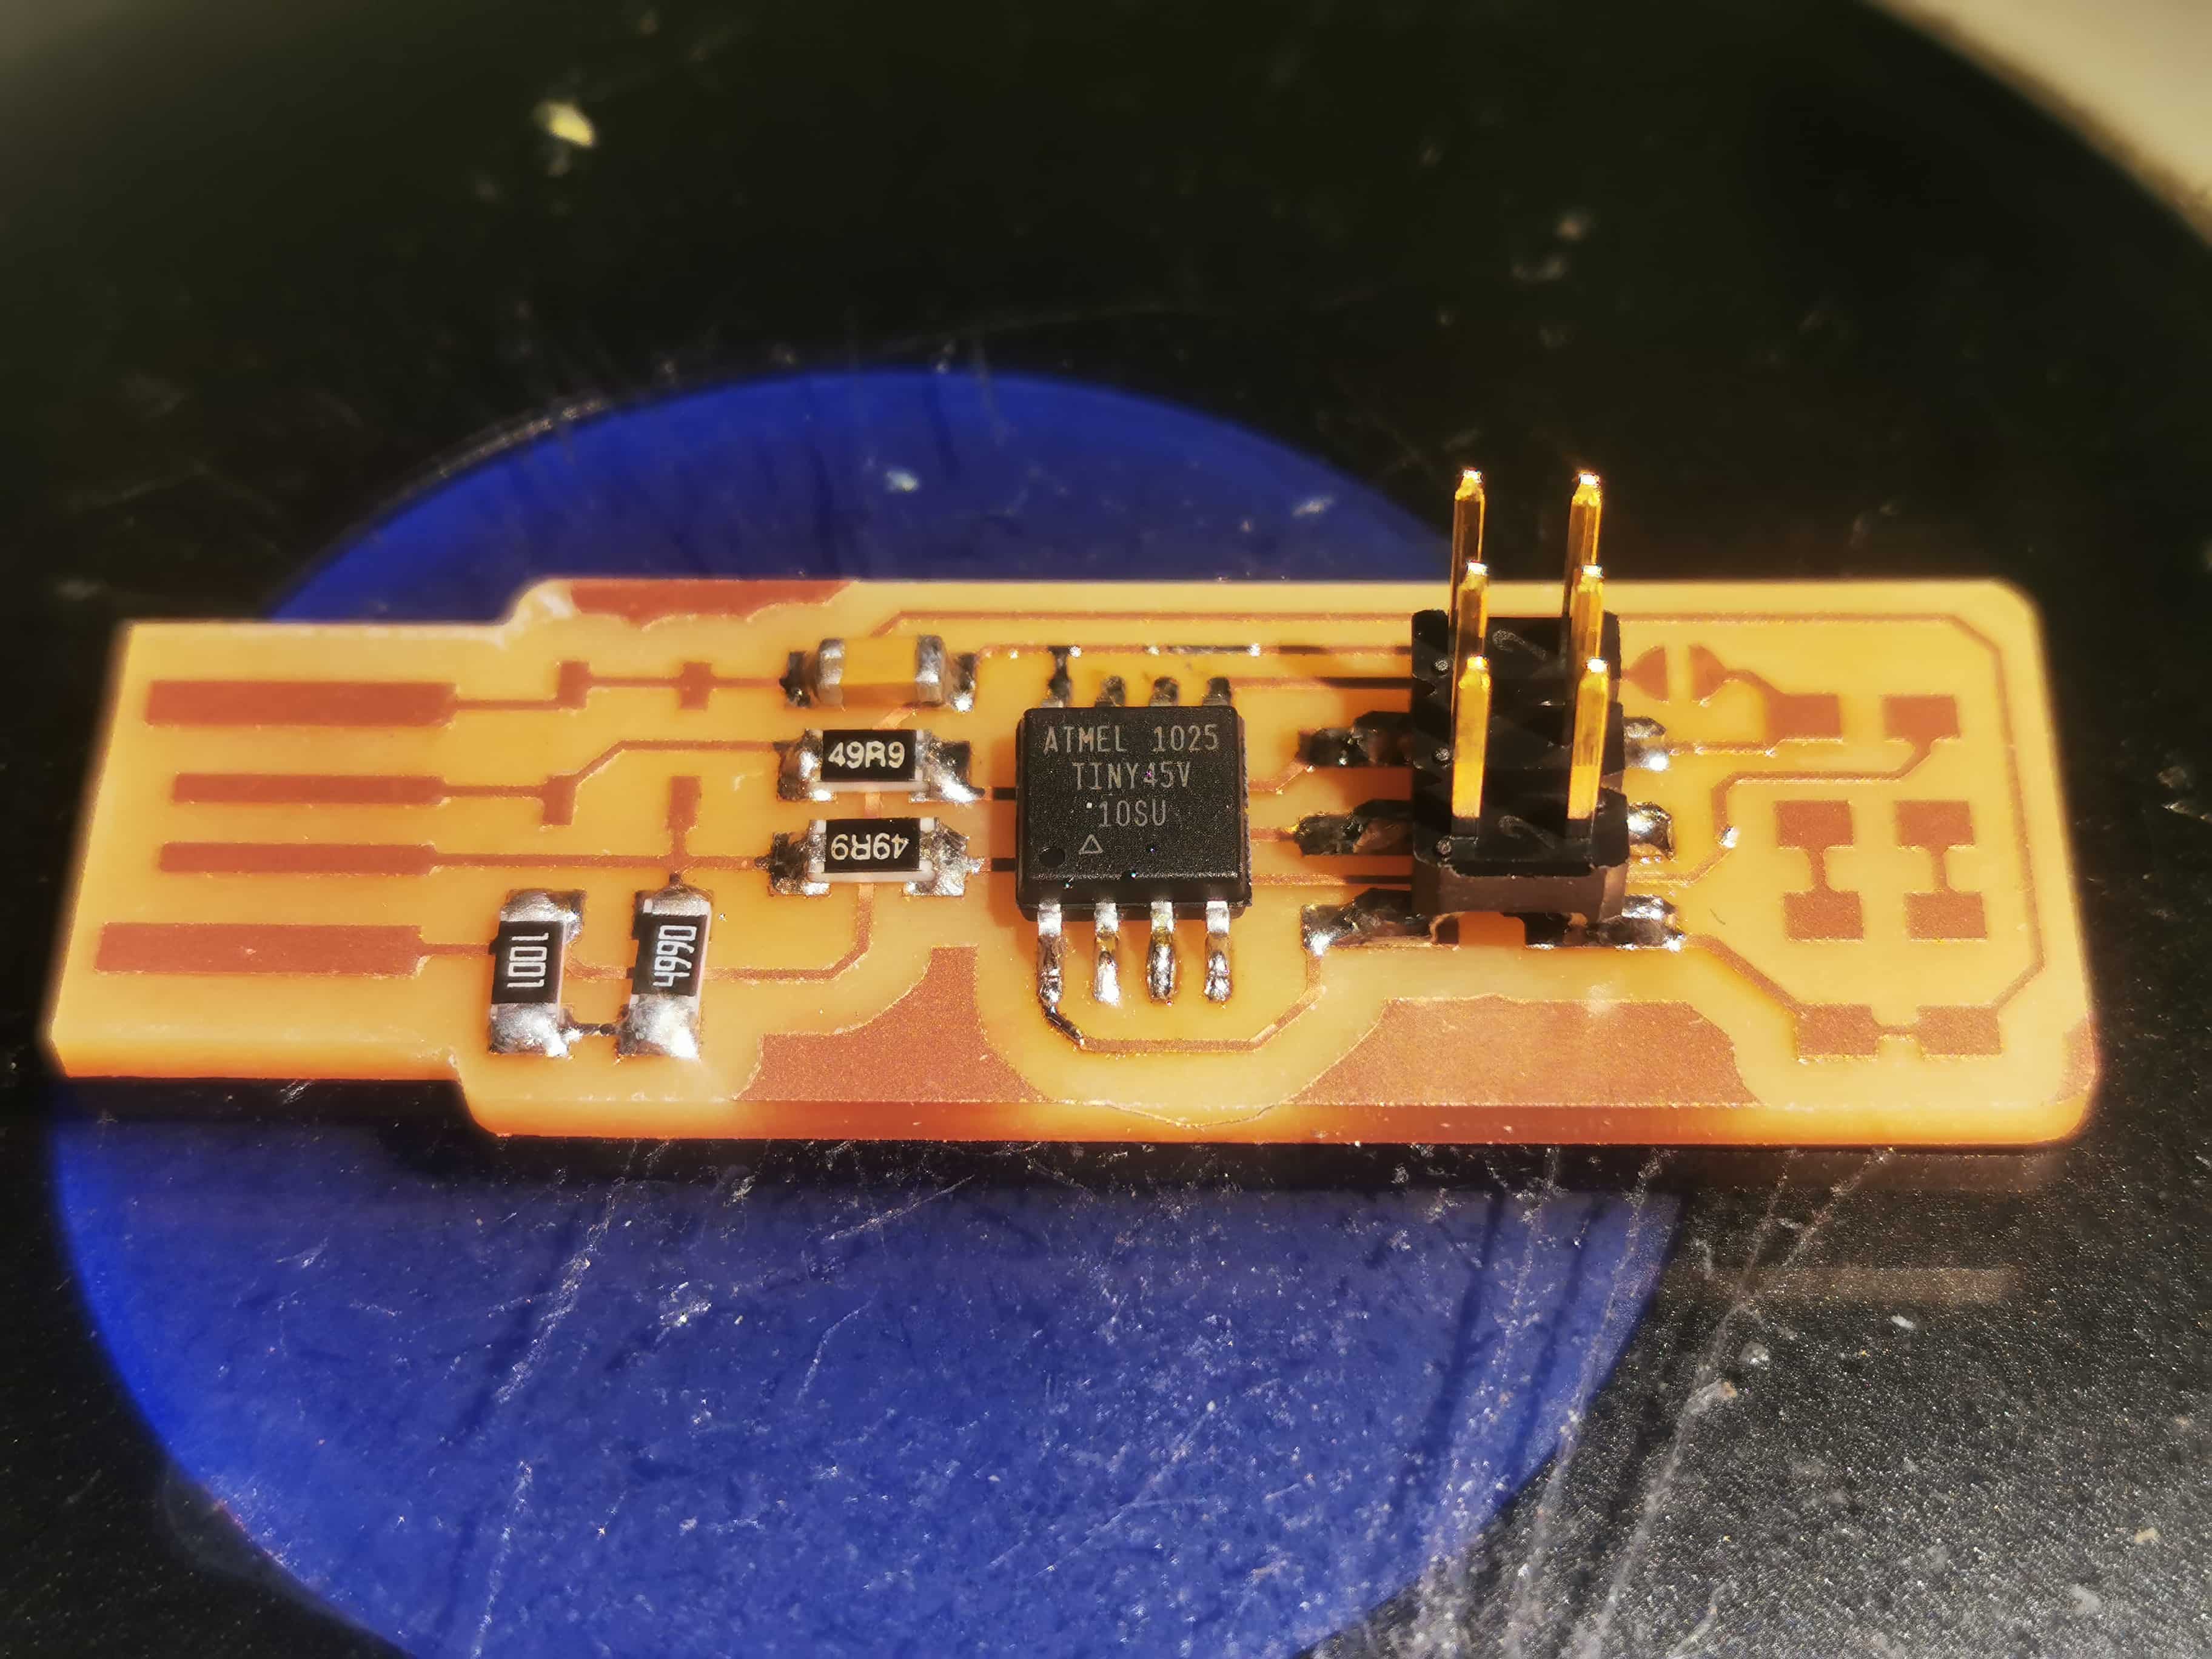
Start taking shape!

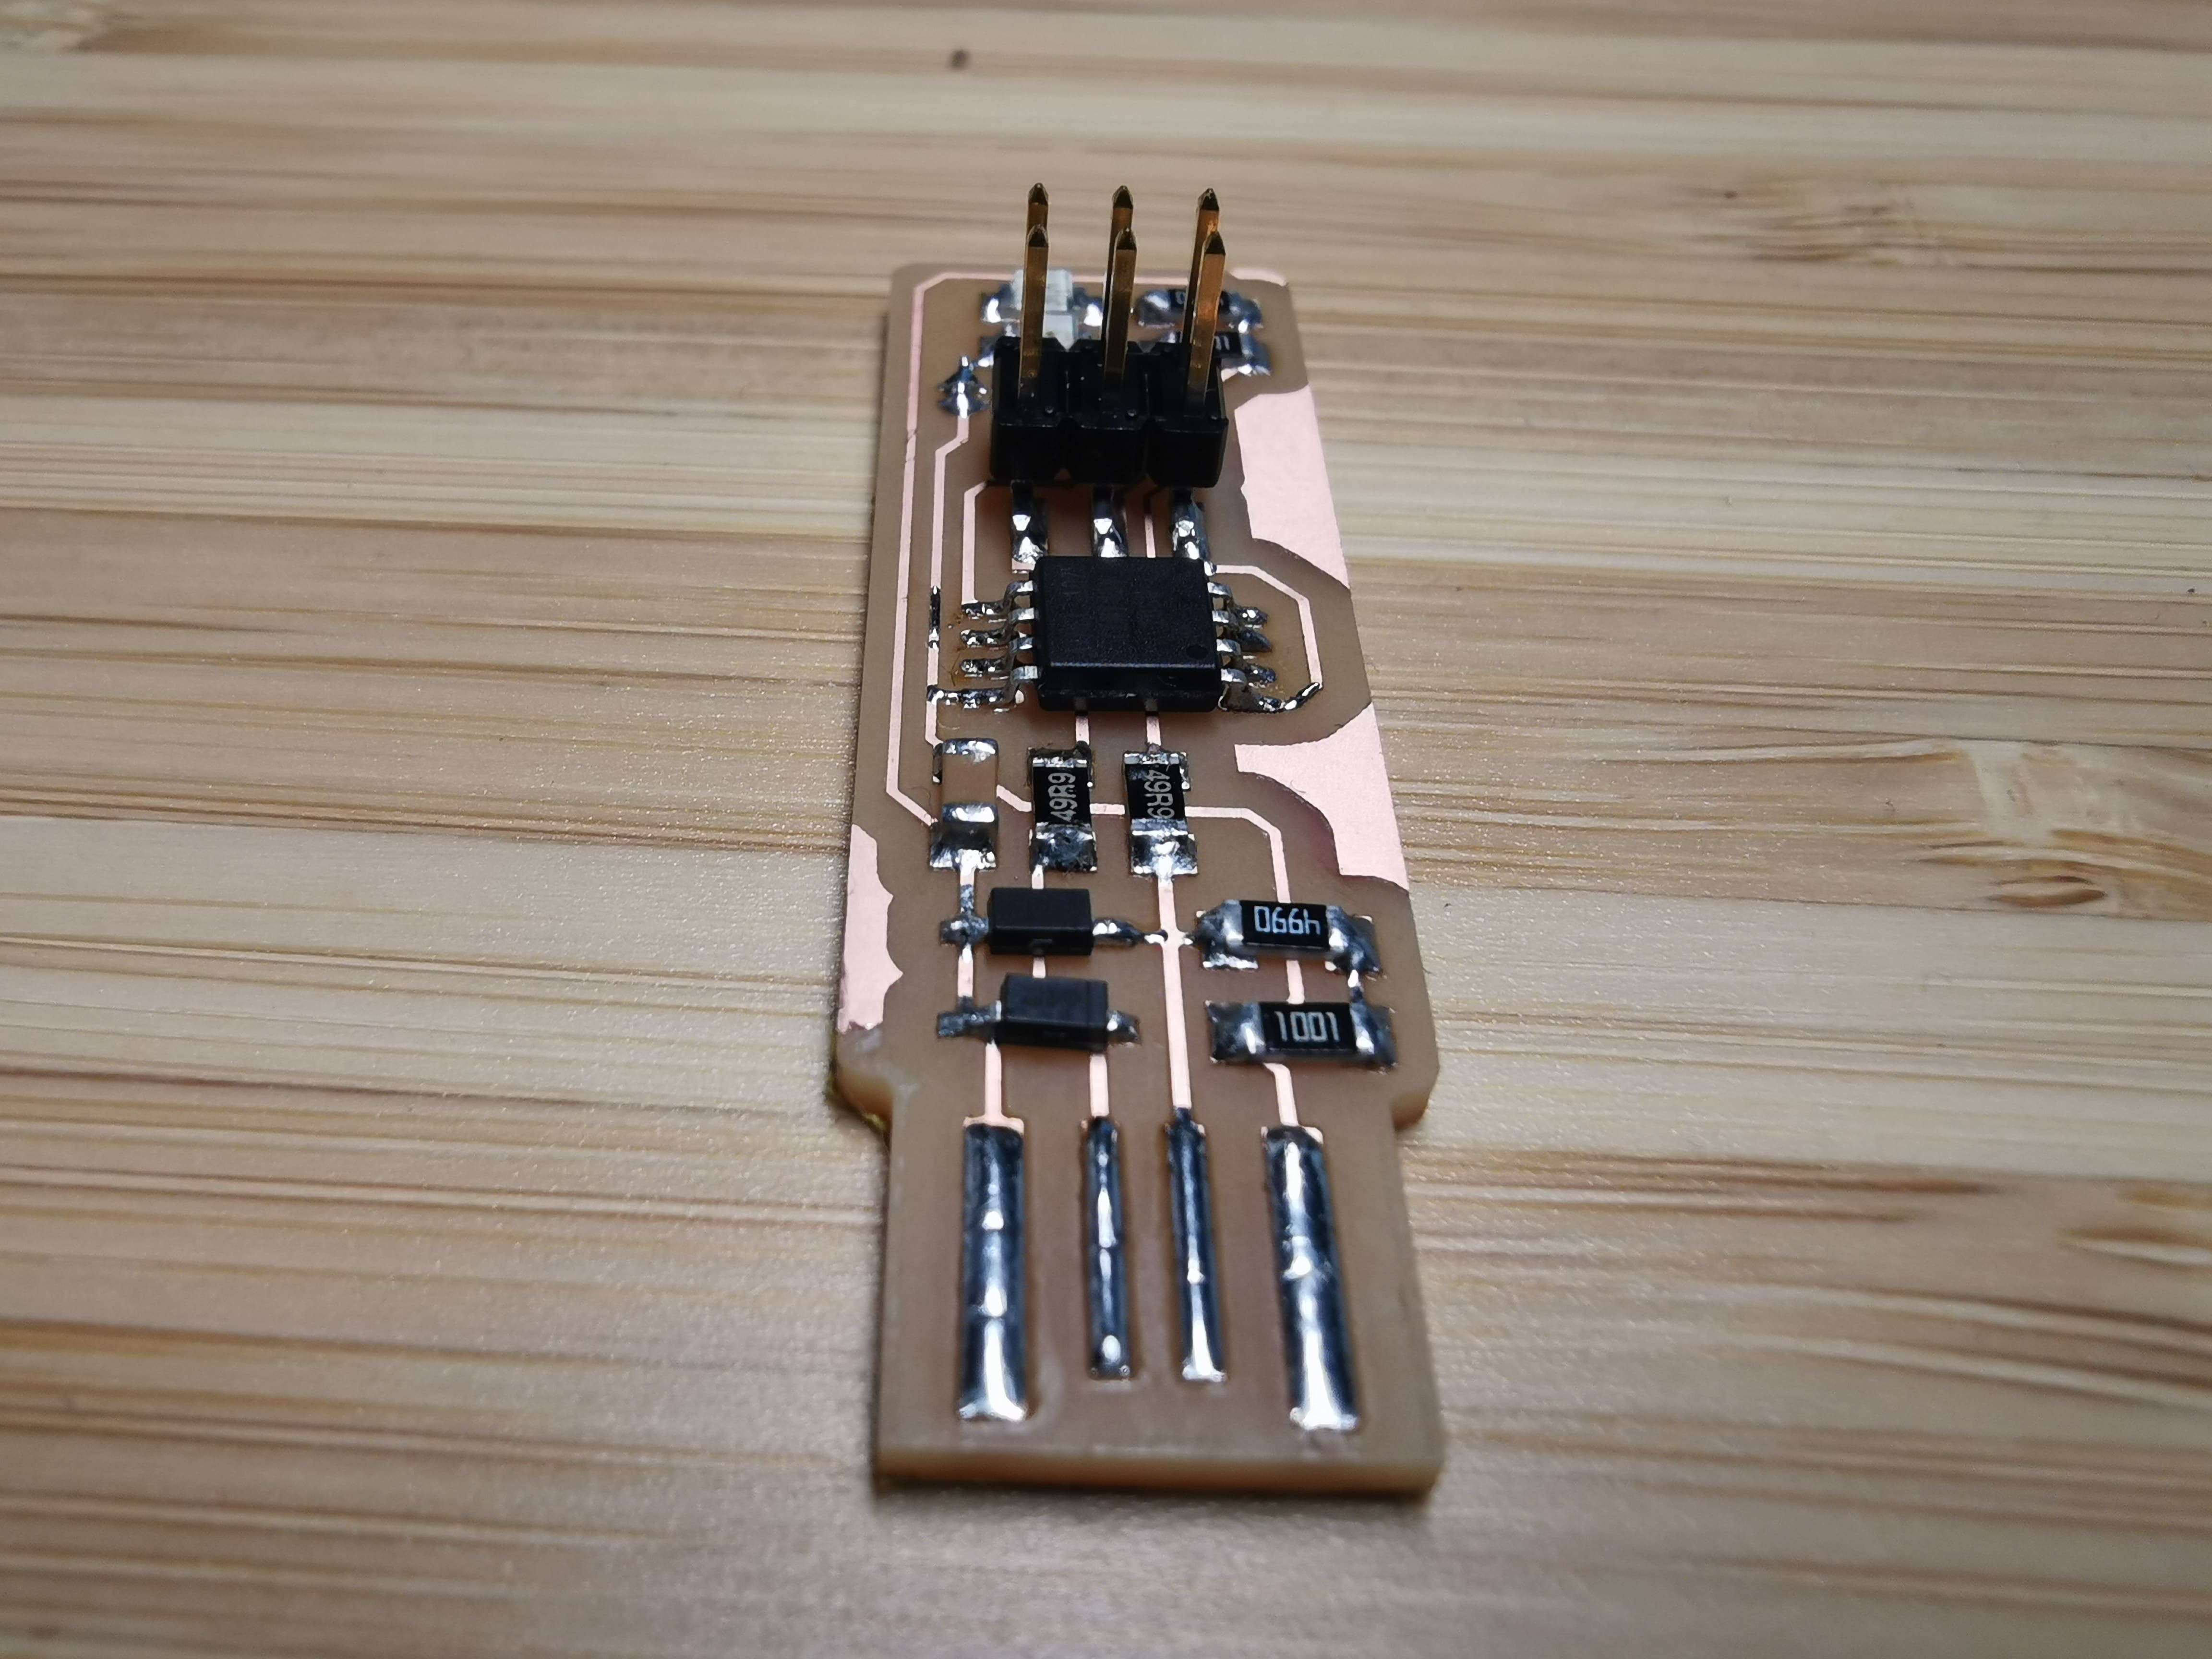
I did't have any problem on the soldering part and I consider my soldering are pretty shiny and smooth

Once assembled, Cameron Audrey and I programmed out empty chip with the protocols to talk to USB and also once it was done, with the information to be itself a programmer. After doing that, we broke the soldering bridge so we are ready to use our chips to program other generation of chips!
back to menu>