Week 2
This week was spent learning about cutting and computer aided design. I had never used a laser cutter or even CAD'ed a part before but had a deep dive into both of these documented below.
Vinyl Cutting
First I worked with the cutting machine and vinyl. I wanted to make something that would be a constant reminder of where I came from. I decided to cut out the Washington state outline and attach it to my bottle for a constant reminder. To do this, I first picked the PNG I wanted to cut out, made it into vectors and then printed it onto vinyl. I picked out all the extra parts of vinyl I did not need in my design and used transfer tape to pick it up off the sheet. Here is what it looks like now:
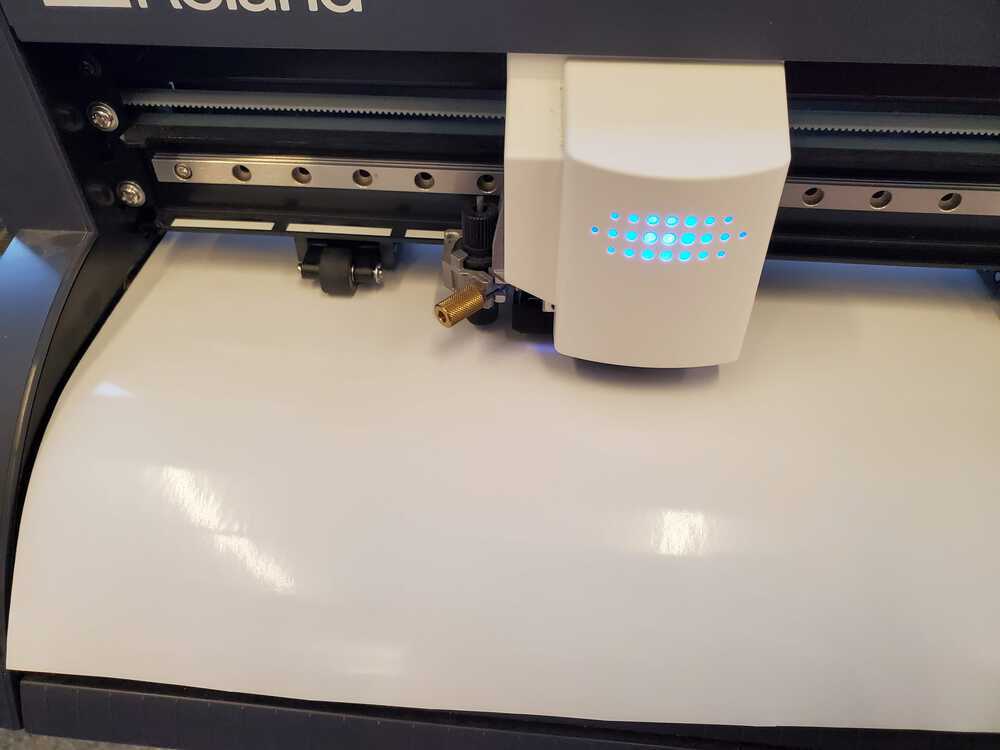
Cutting the vinyl
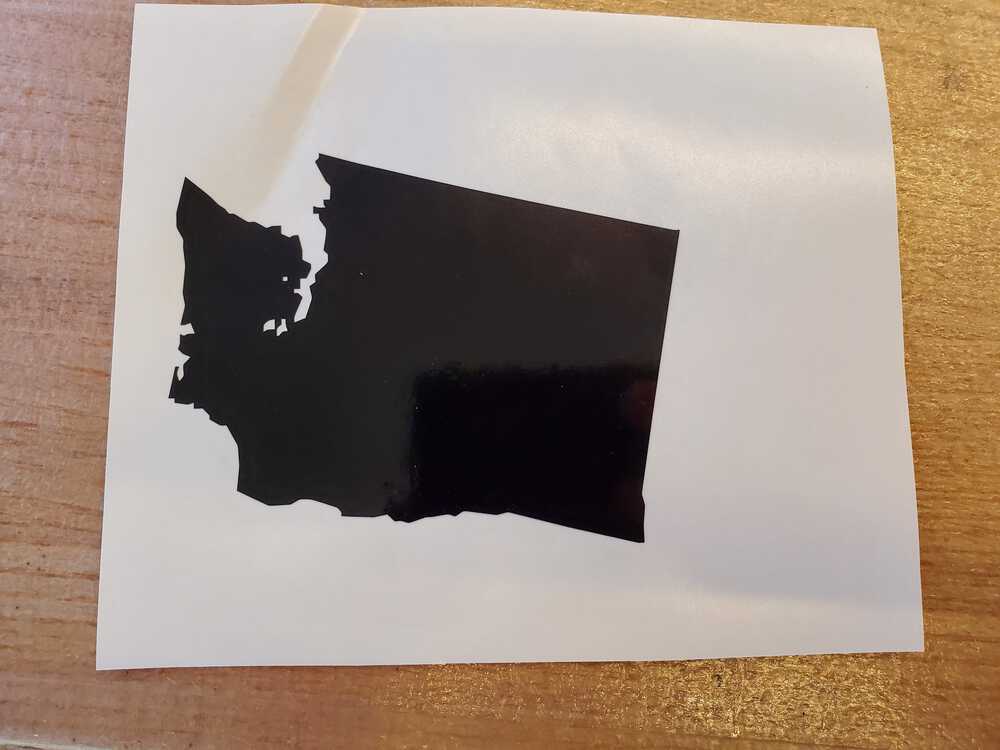
Cut design
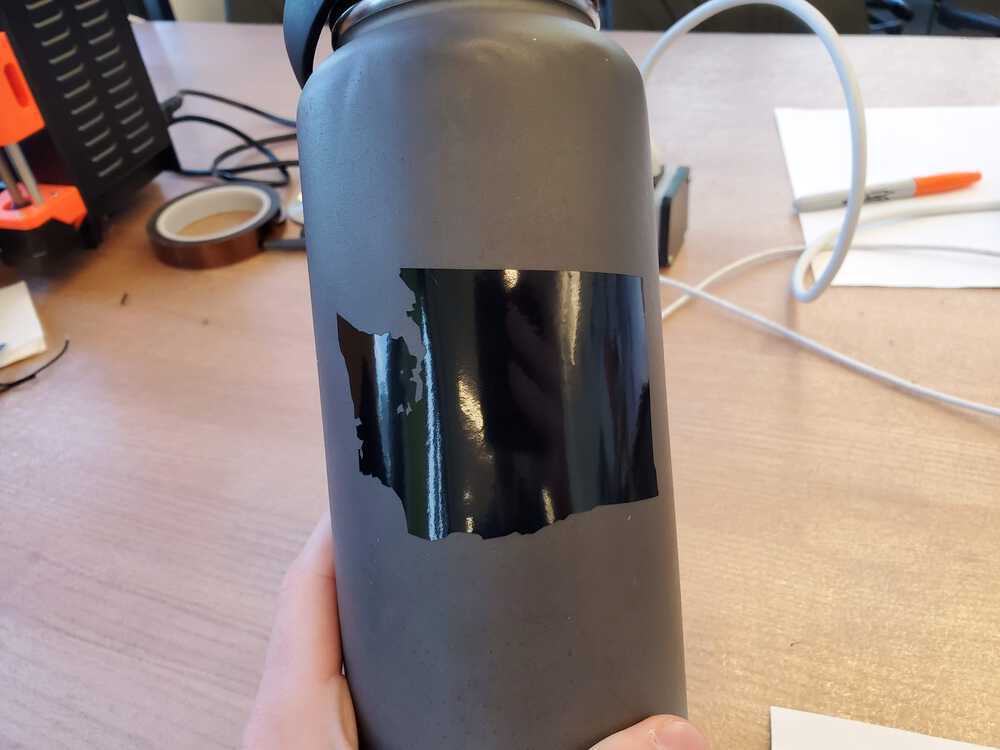
Vinyl on bottle
Group Laser Cut Testing
This was my first time using a laser cutter. To learn how the manual settings work for cardboard (the cheap and enviornmentally friendly material of choice), we went on an exploration of what power and speed work best. Starting with a low setting of power and high of speed we gradually worked our way to increasing power without making a fire. After finding out that we can have the power at the maximum and still not cut through the cardboard, we moved onto decreasing the speed of the laser. In the end we found the sweet spot for cutting our cardbpoard was 100% power and 10% speed. We created a Google sheet of our progress and iterations until finding the power and speed.
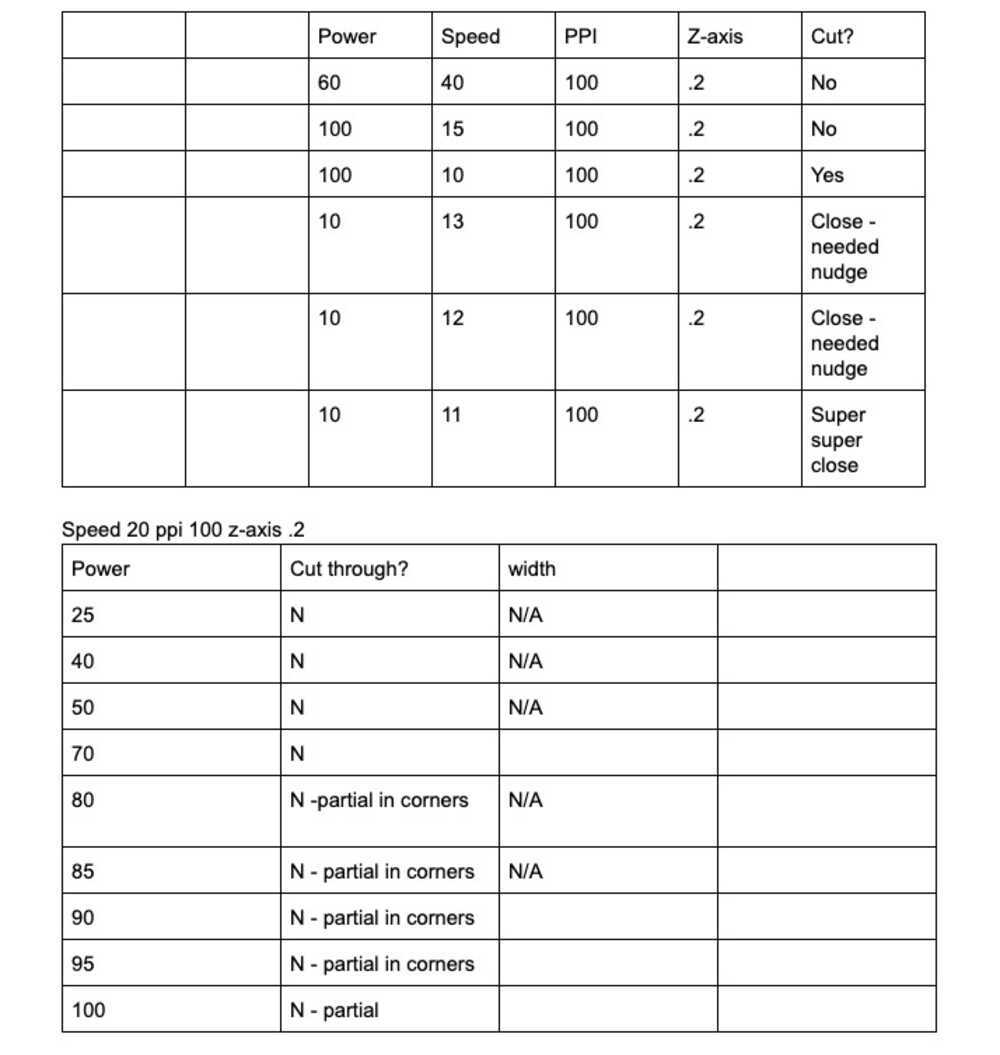
The results of our group testing for finding the best speed and power for cardboard cutting
CAD
CAD was the part that took the longest for me this week. I had never opened Solidworks before or used any CADing software. I found out what sketches, features, parts, and assemblies are and how they interact with one another. Playing around was some of the best ways to get used to the tool as was looking at what all the buttons. I leaned how to go from a 2D sketch to a 3D part that you can edit and assemble together with different parts.
Laser Cutting Blocks
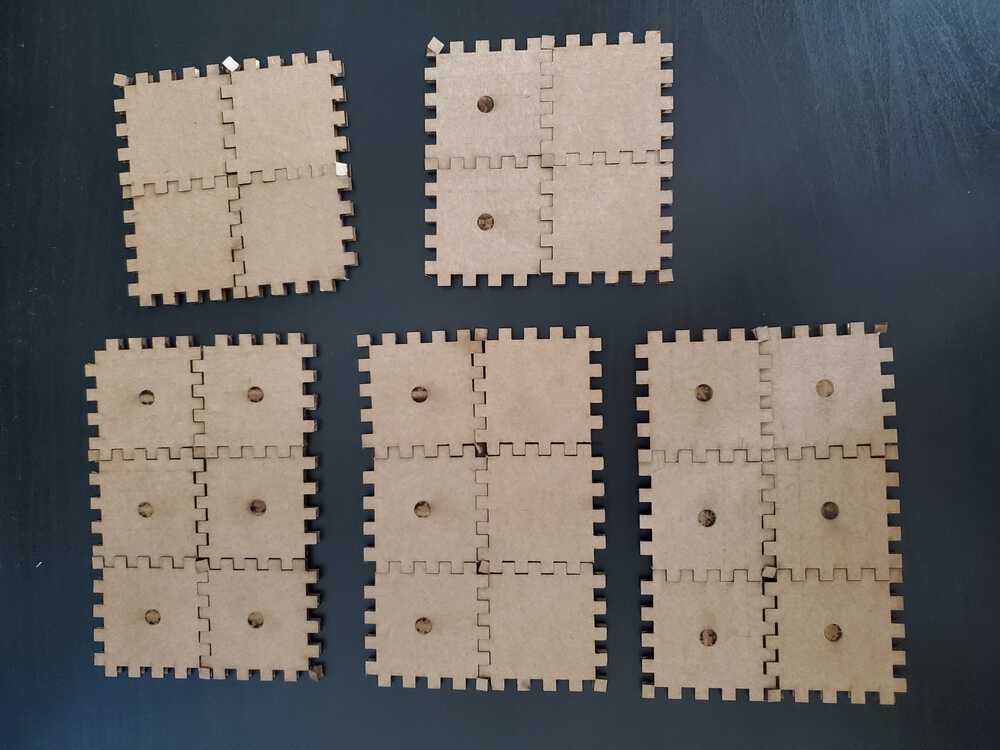
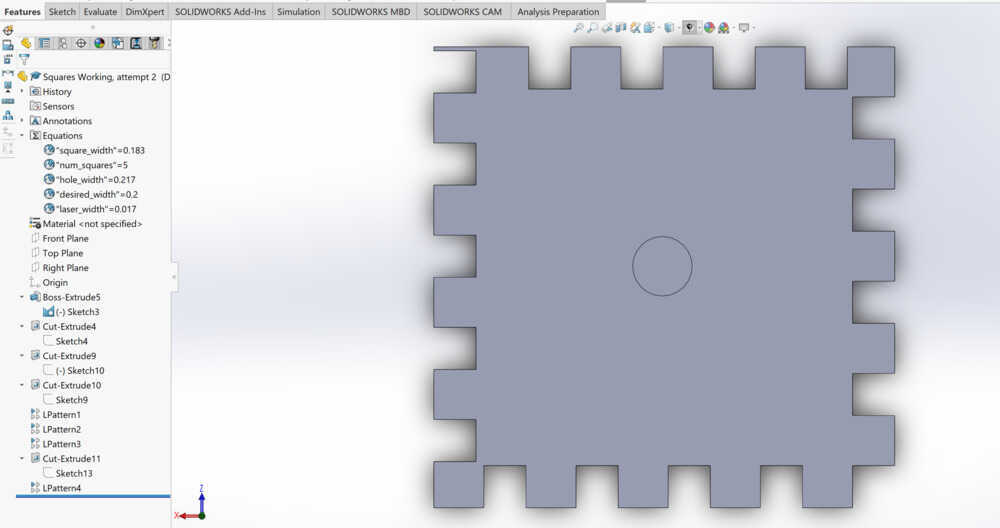
My main output this week was uniform standard blocks that fit together to create something more. I started with created a 2inch x 2inch square and cutting it out. From there, I was the ability to make a box of any size (WxLxH) with this one standard block. I created ridges to match up the different blocks and make them stick together--how else will we store items in this box? All of these items were parametric to create different size blocks with different ridge sizes easily. The difficulty arose when accounting for the size of the laser itself. The squares look great but do not stick together if the holes and the ends are the same size. To do this, I measured the size of a 2 inch x 2 inch square that had been laser cut out. I found the size was 1.985 instead of the expected 2 inches. From this, I found the laser was taking off about 0.0075 inches on each side of the cardboard. I started playing around with different sizes of squares vs holes on the blocks. This part took the most trial and error both with the CAD design and the laser printing.
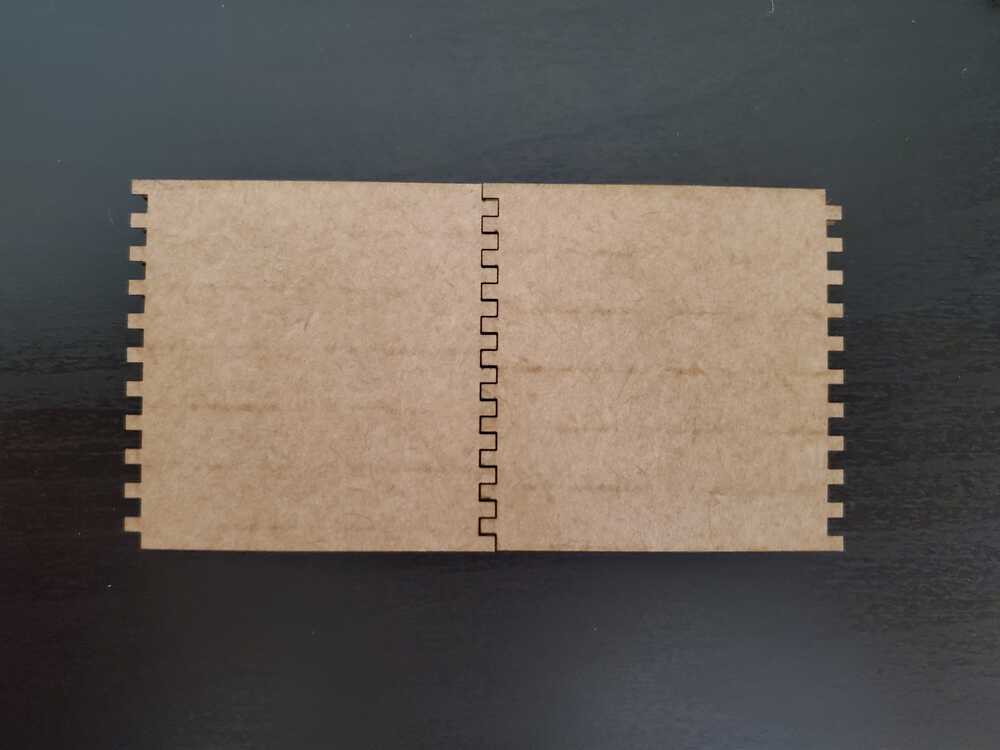
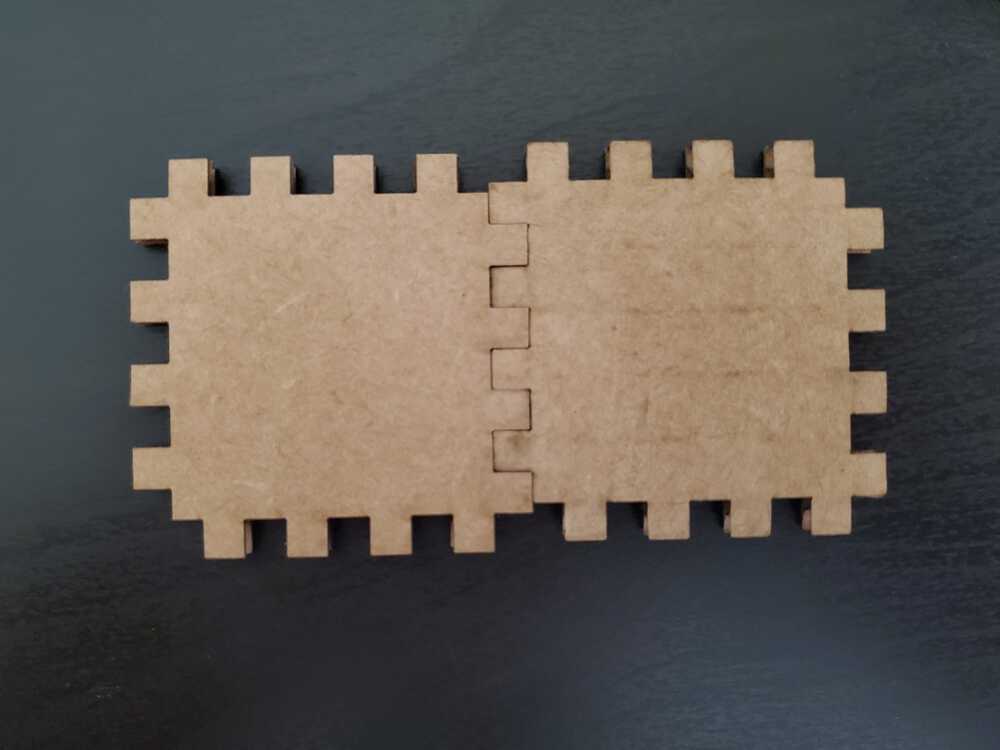
The first iteration, 10 prongs to hold them together, looked nice but did not stay locked
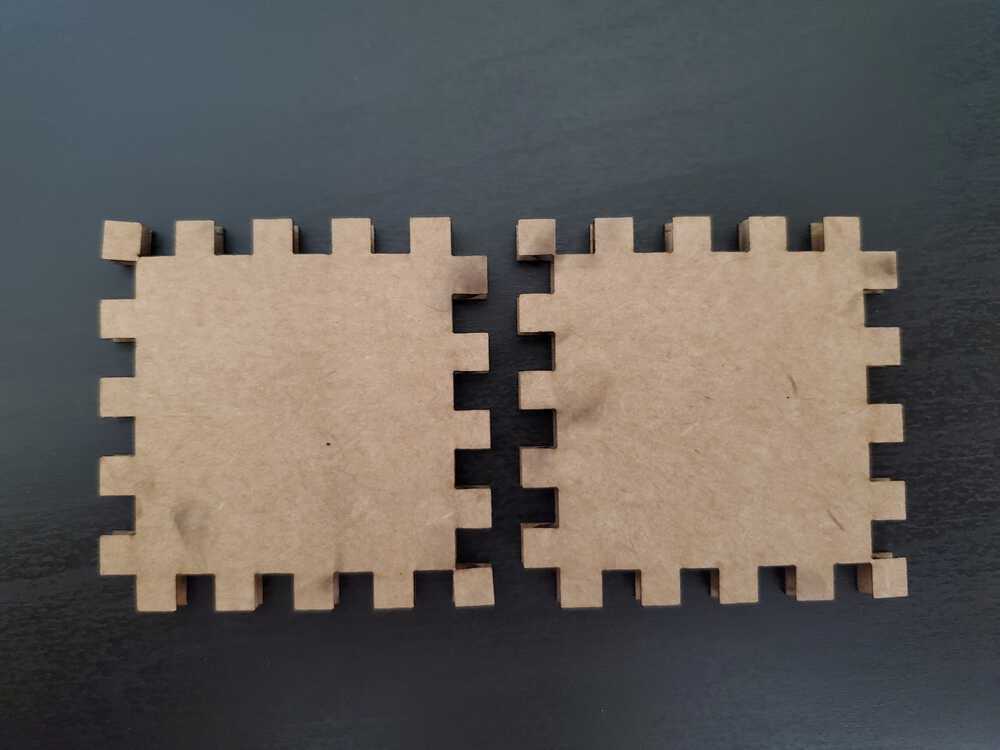
Second iteration, smaller with the corners coming off to top left and bottom right
Third iteration, trying to make larger prongs with smaller gaps
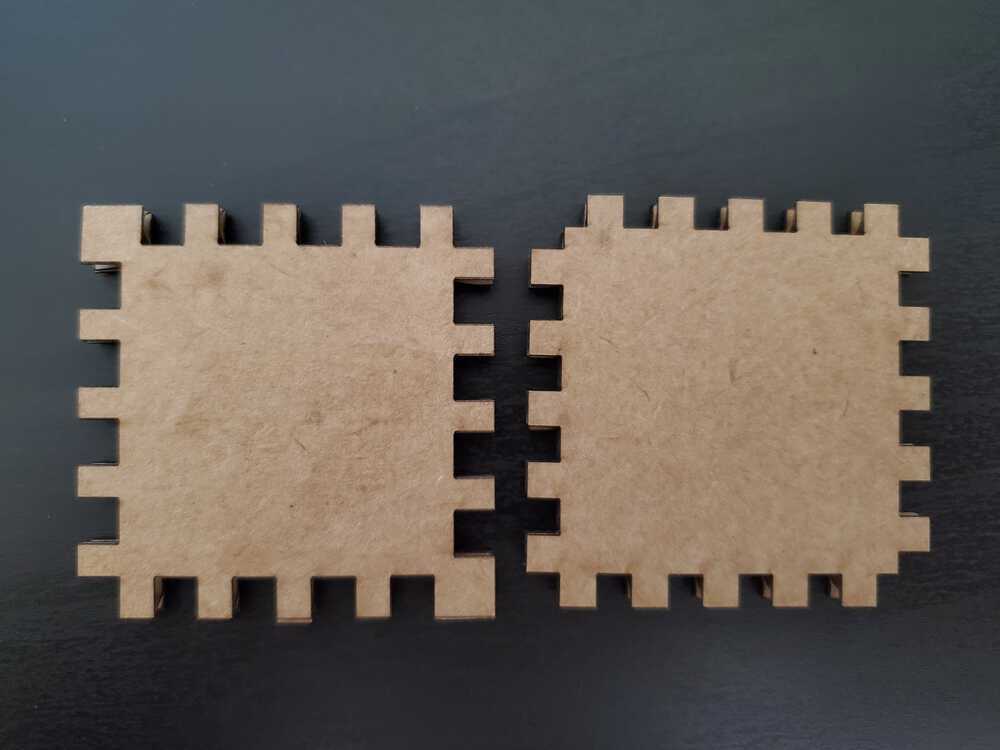
Fourth iteration, closing the gaps but having corners calls off
Fifth iteration, closing gaps but having the blocks be offcenter when they connect
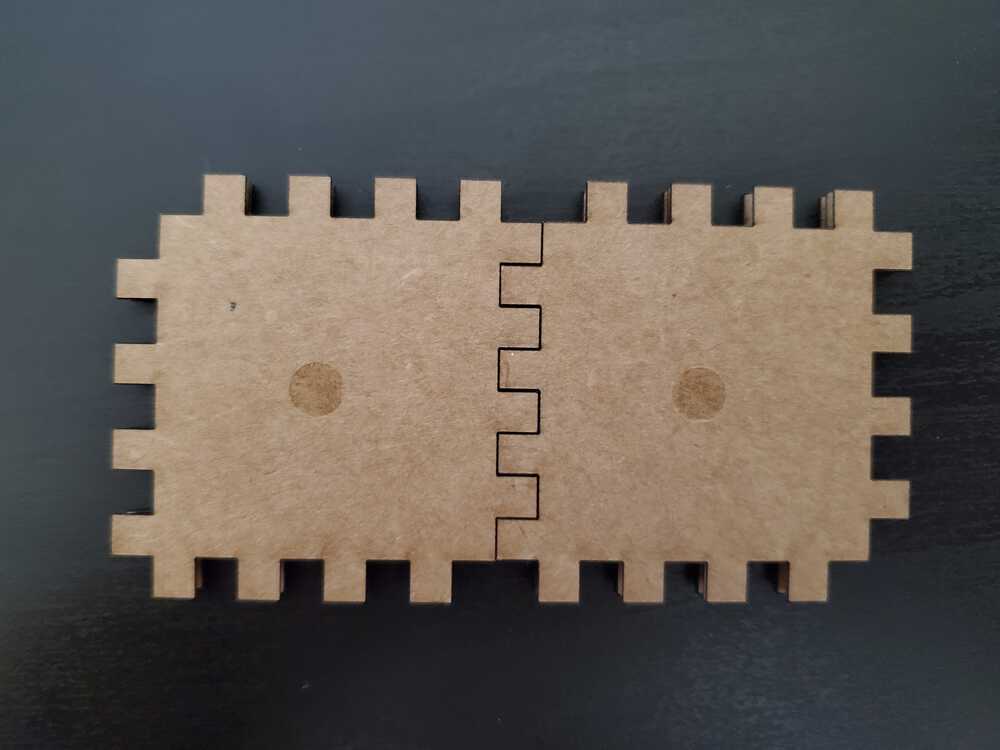
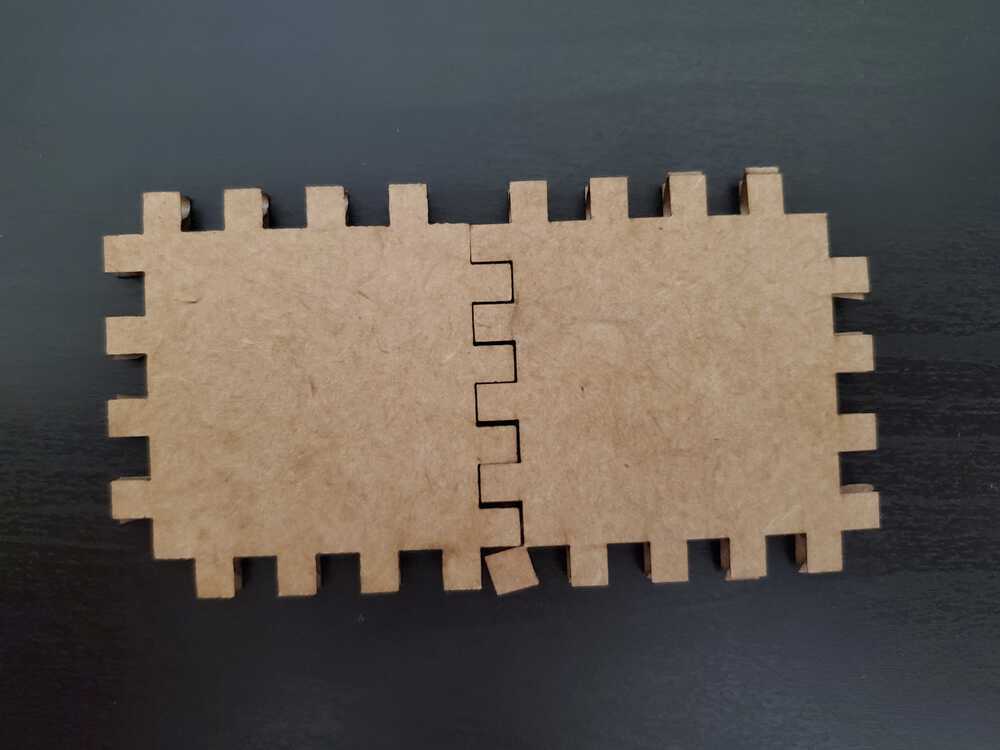
Sixth iteration, centered and getting the slots smaller to have them hold together; added an etched dot to show which face is up
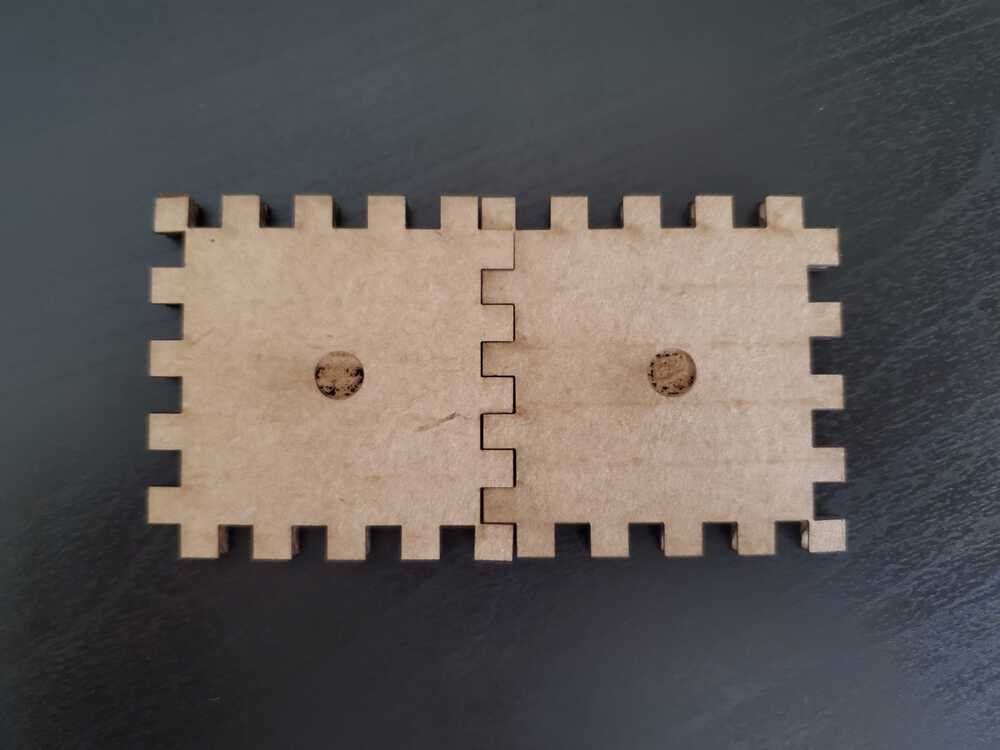
Seventh iteration, the final design that sticks together when assembled!
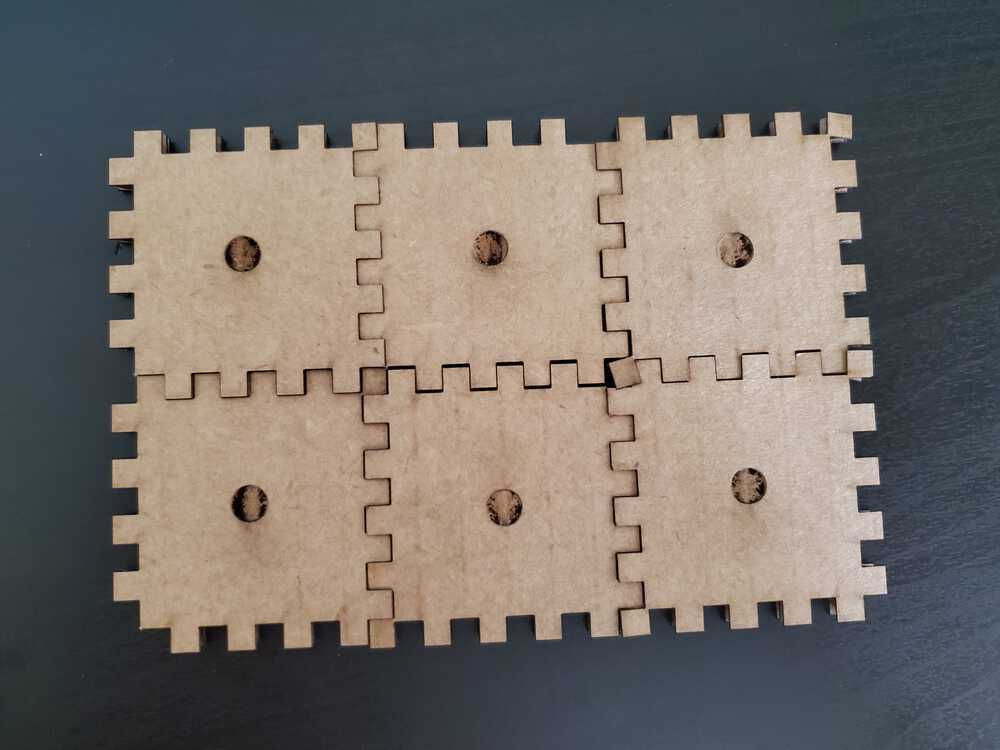
Putting the pieces together and testing sturdiness
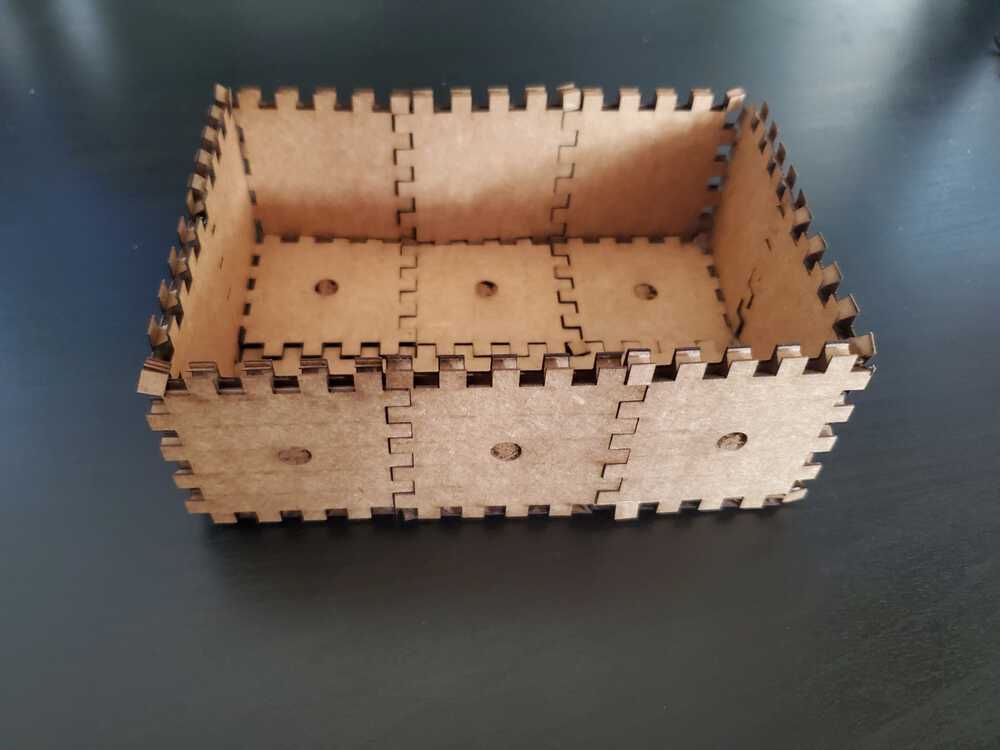
3x2 base, 1 high box
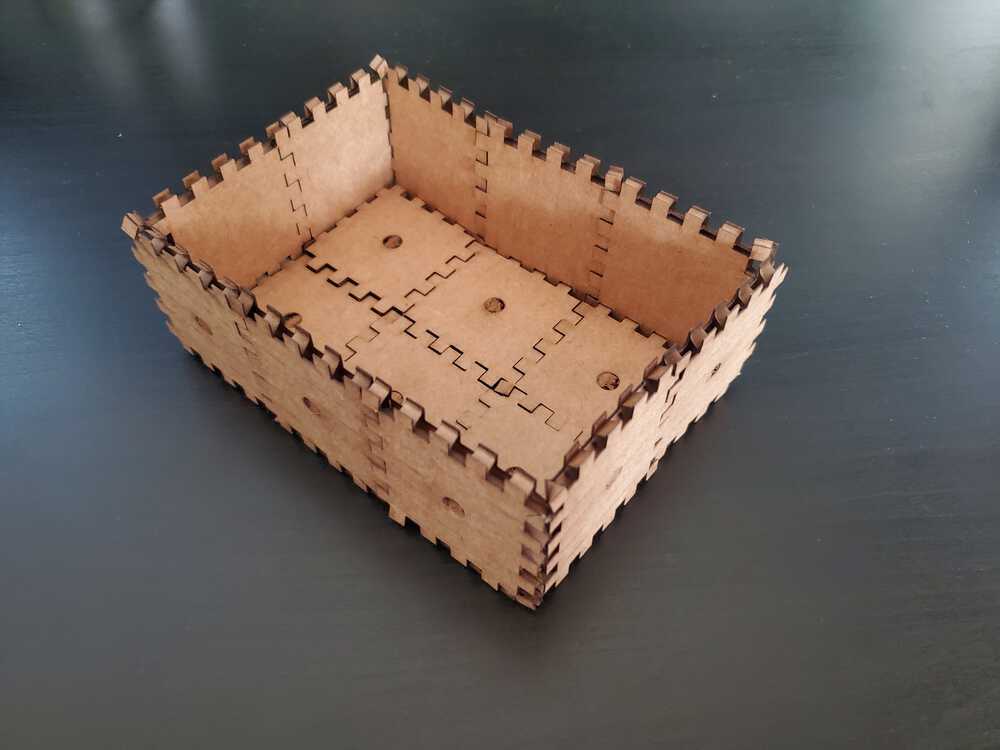
3x2 base, 1 high box from a different angle
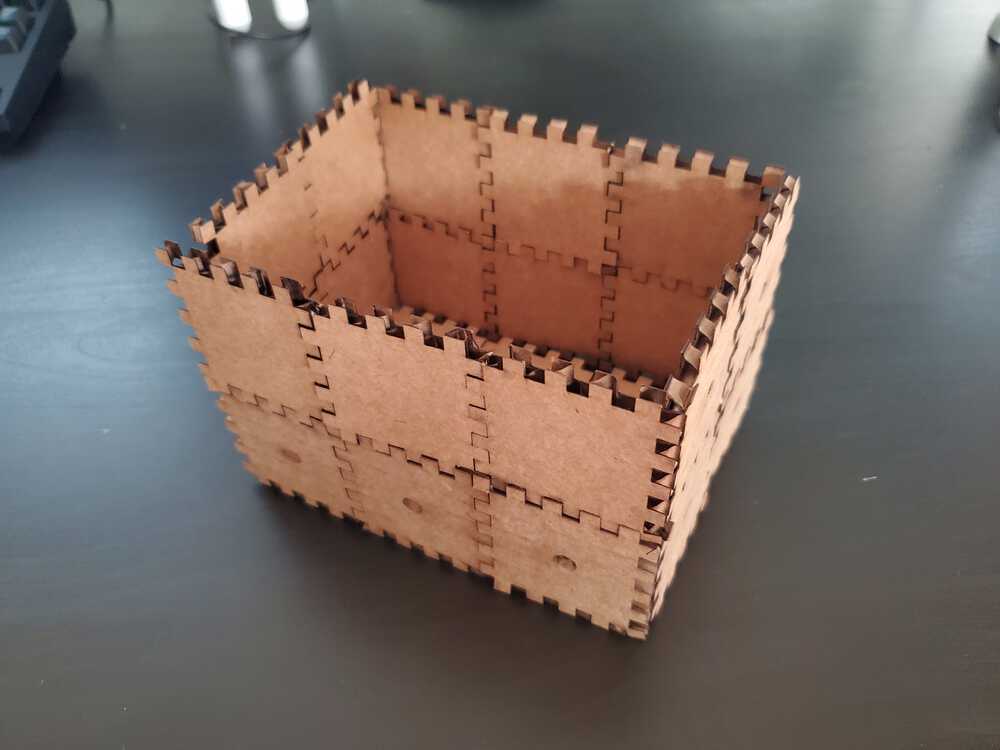
3x2 base, 2 high box, stands up well
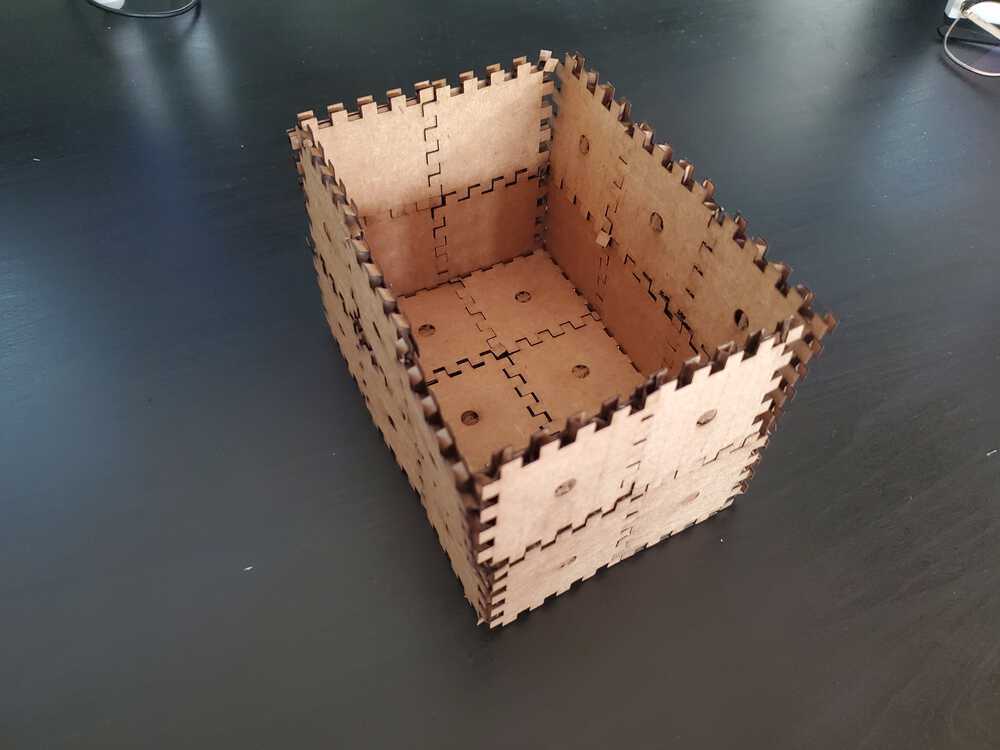
3x2 base, 2 high box, different angle
Box spread out
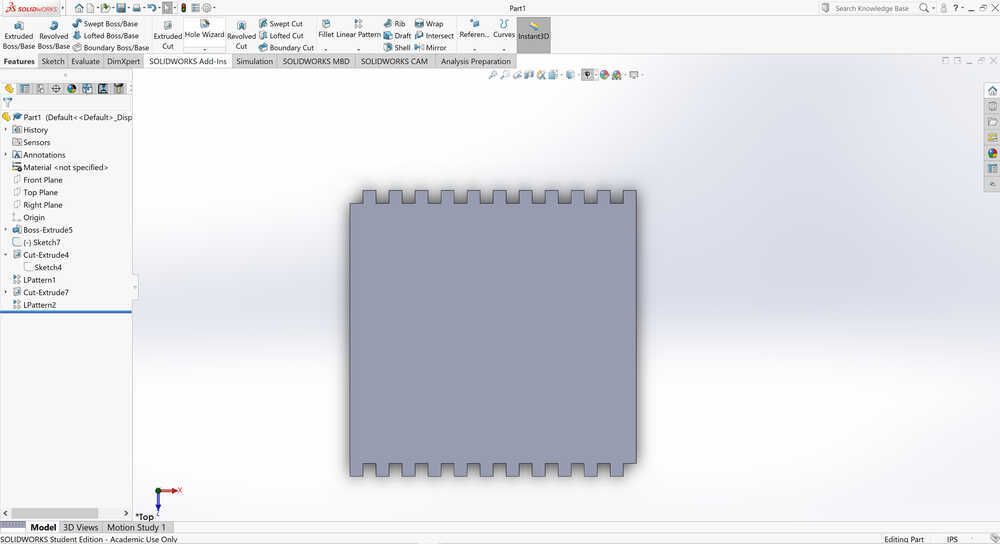
CADing the first iteration
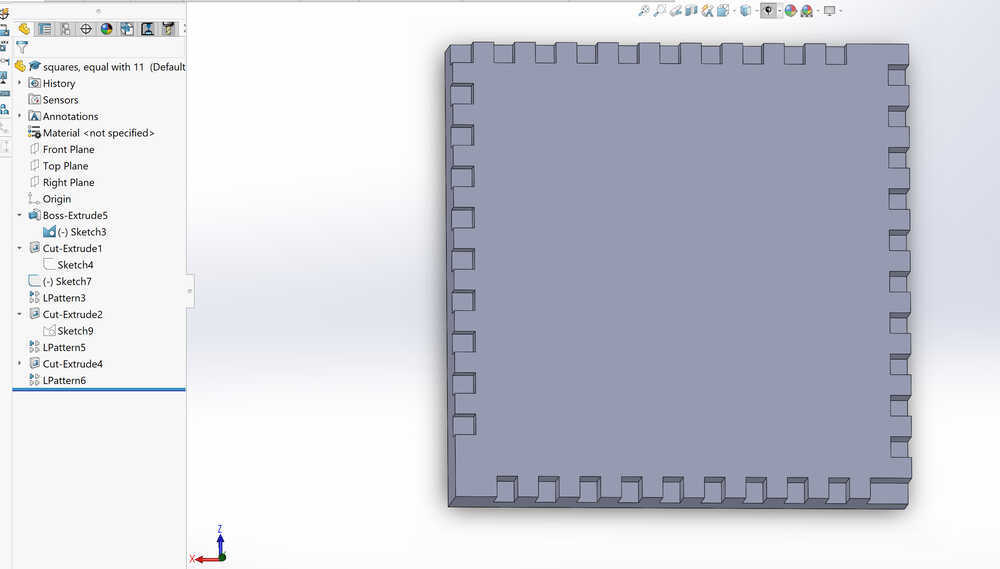
CADing midway iteration
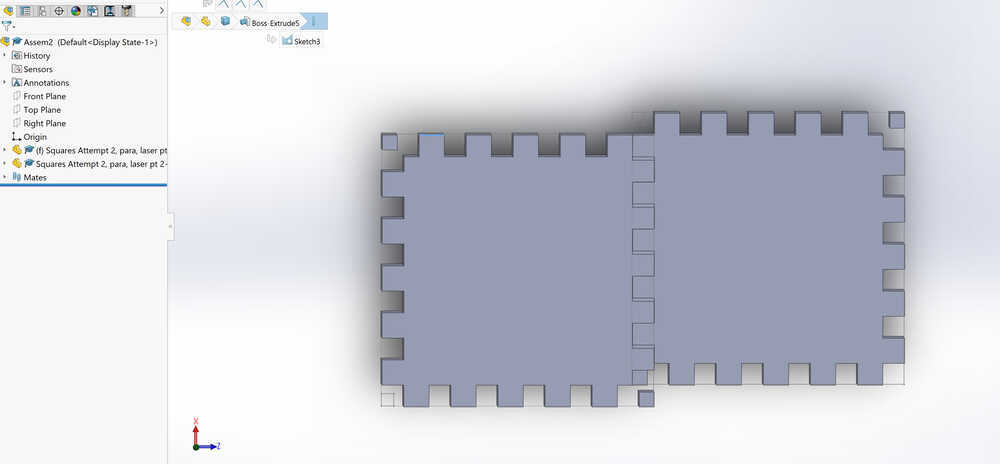
Assembling the pieces together in CAD
The final CAD file for the blocks
I hope you enjoyed week 2, come back next week for more.