I recently joined the MIT Visualization Group at CSAIL this semester.
It struck me that in my many years here, I've never seen any of their swag, despite having a snazzy logo :)
So, I decided to do something about that.
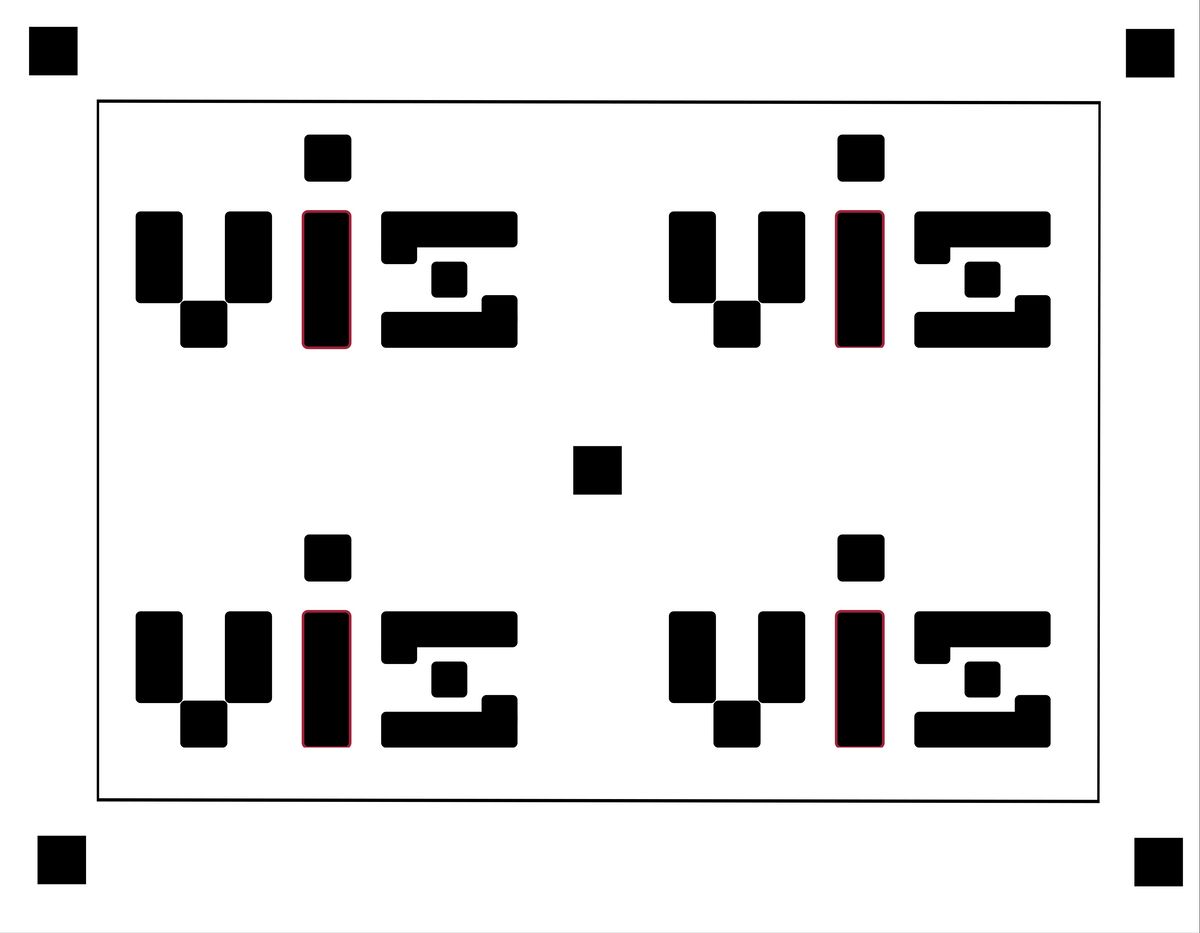
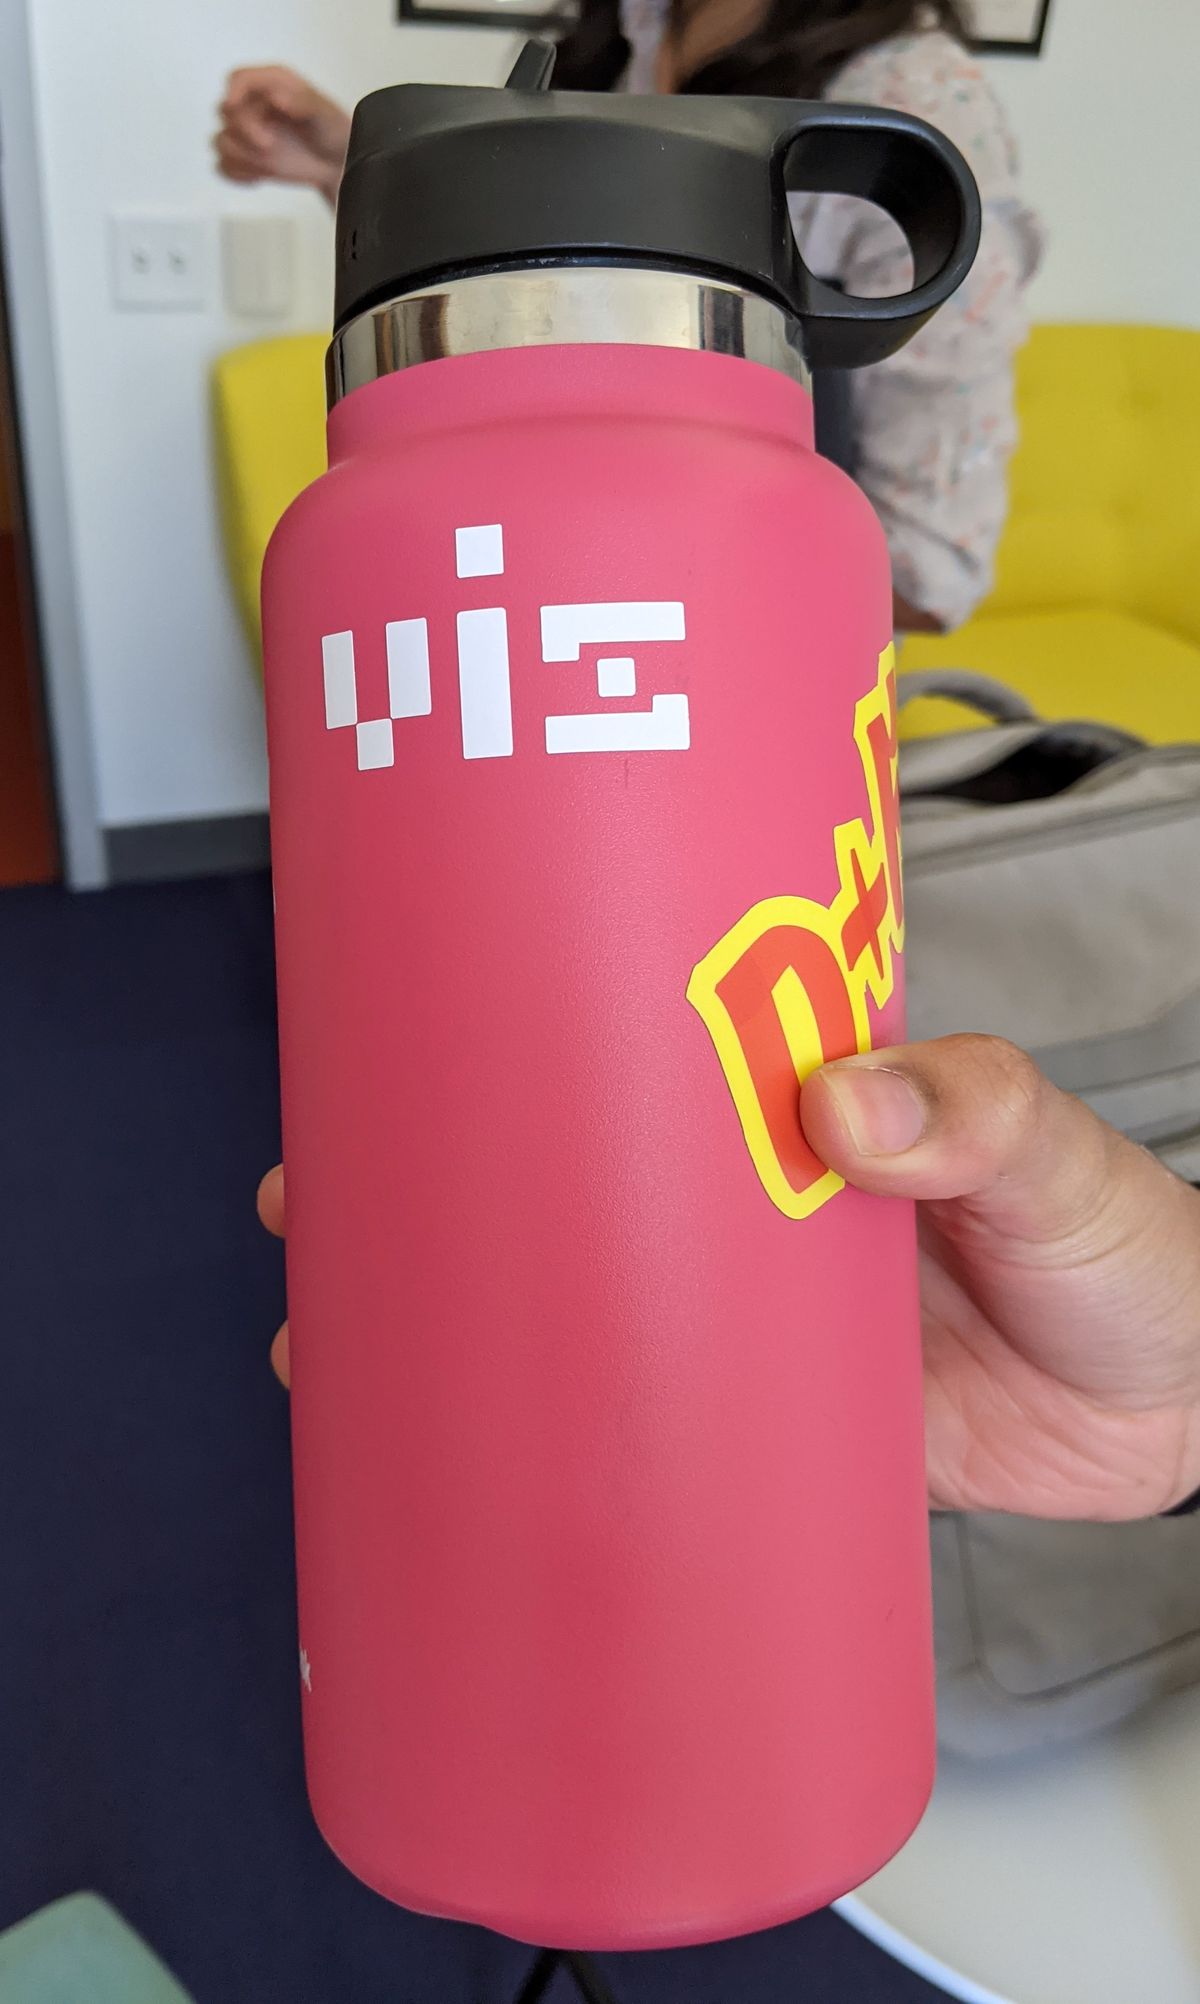
Grabbing the logo was straightforward enough - it exists as an SVG on the group page, which made importing to Sketchpad.io and laying out on a grid easy.
Initially, instead of the 2x2 grid, I did an 8x8 grid, but quickly abandoned this idea after one test run when the vinyl cutter ripped parts of it due to the unevenness of the vinyl sheet.
My original plan called for separately printing the black and red elements, and then using five dots to align both layers to make a composite red/black sticker.
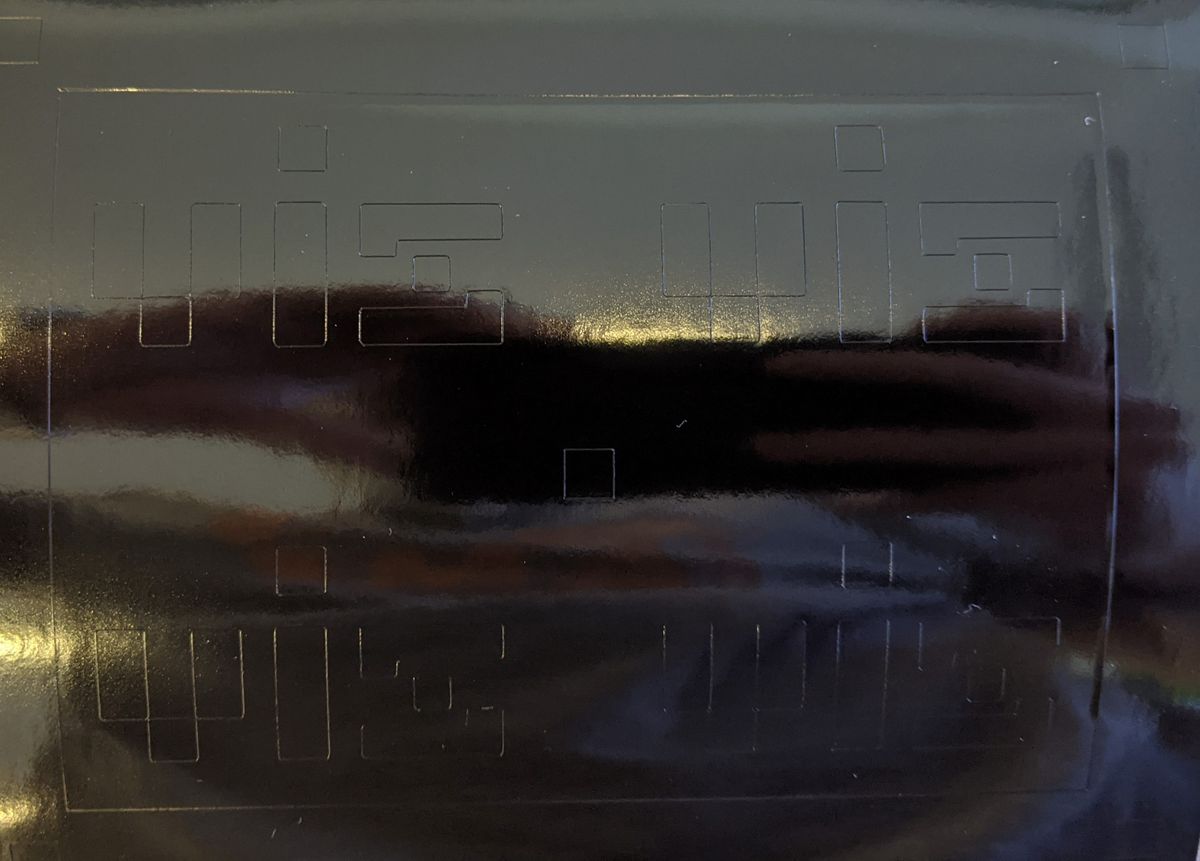
However, upon review of the EDS shop's available vinyl colors, the only red available was a bright, pastel red - this wouldn't do, so I resolved to just do pure-white and pure-black vinyl stickers.
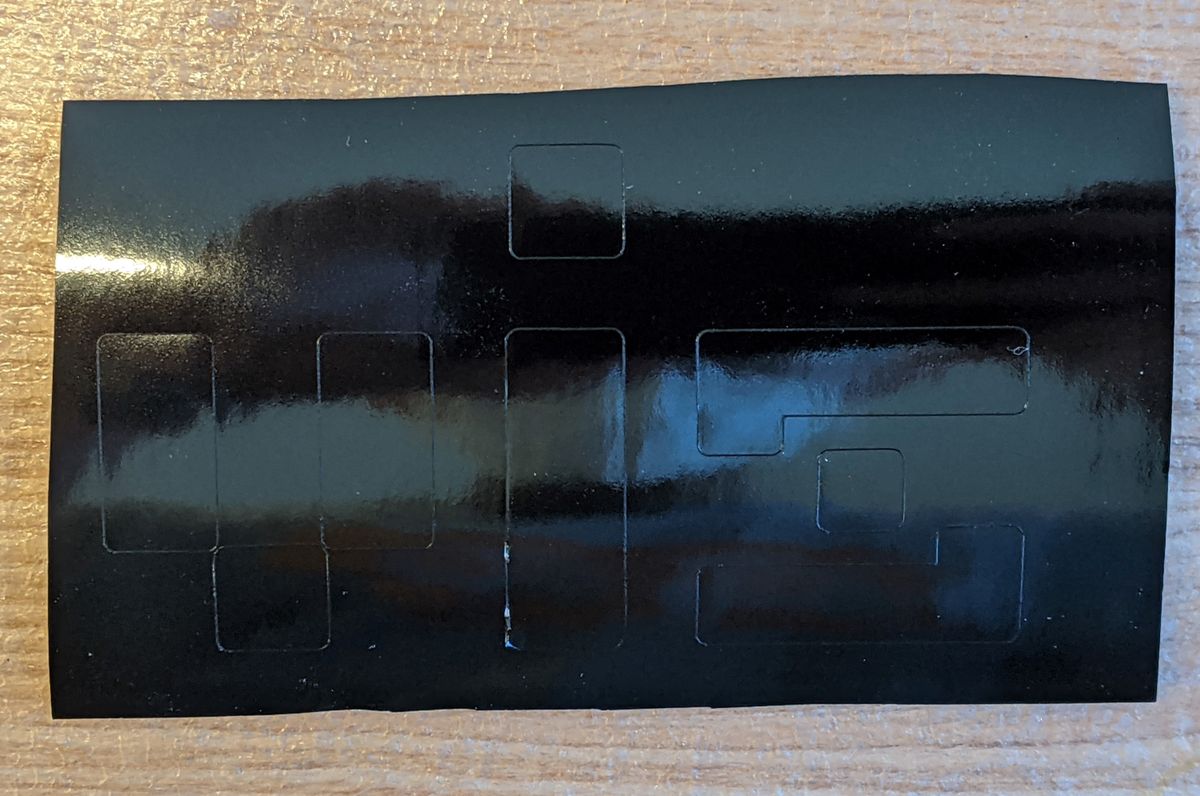
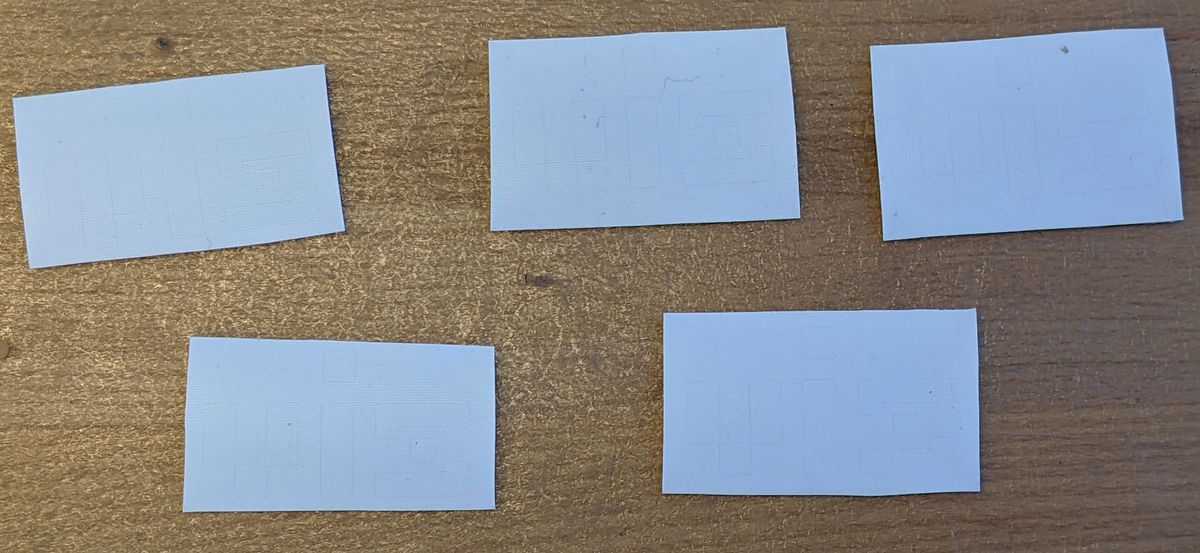
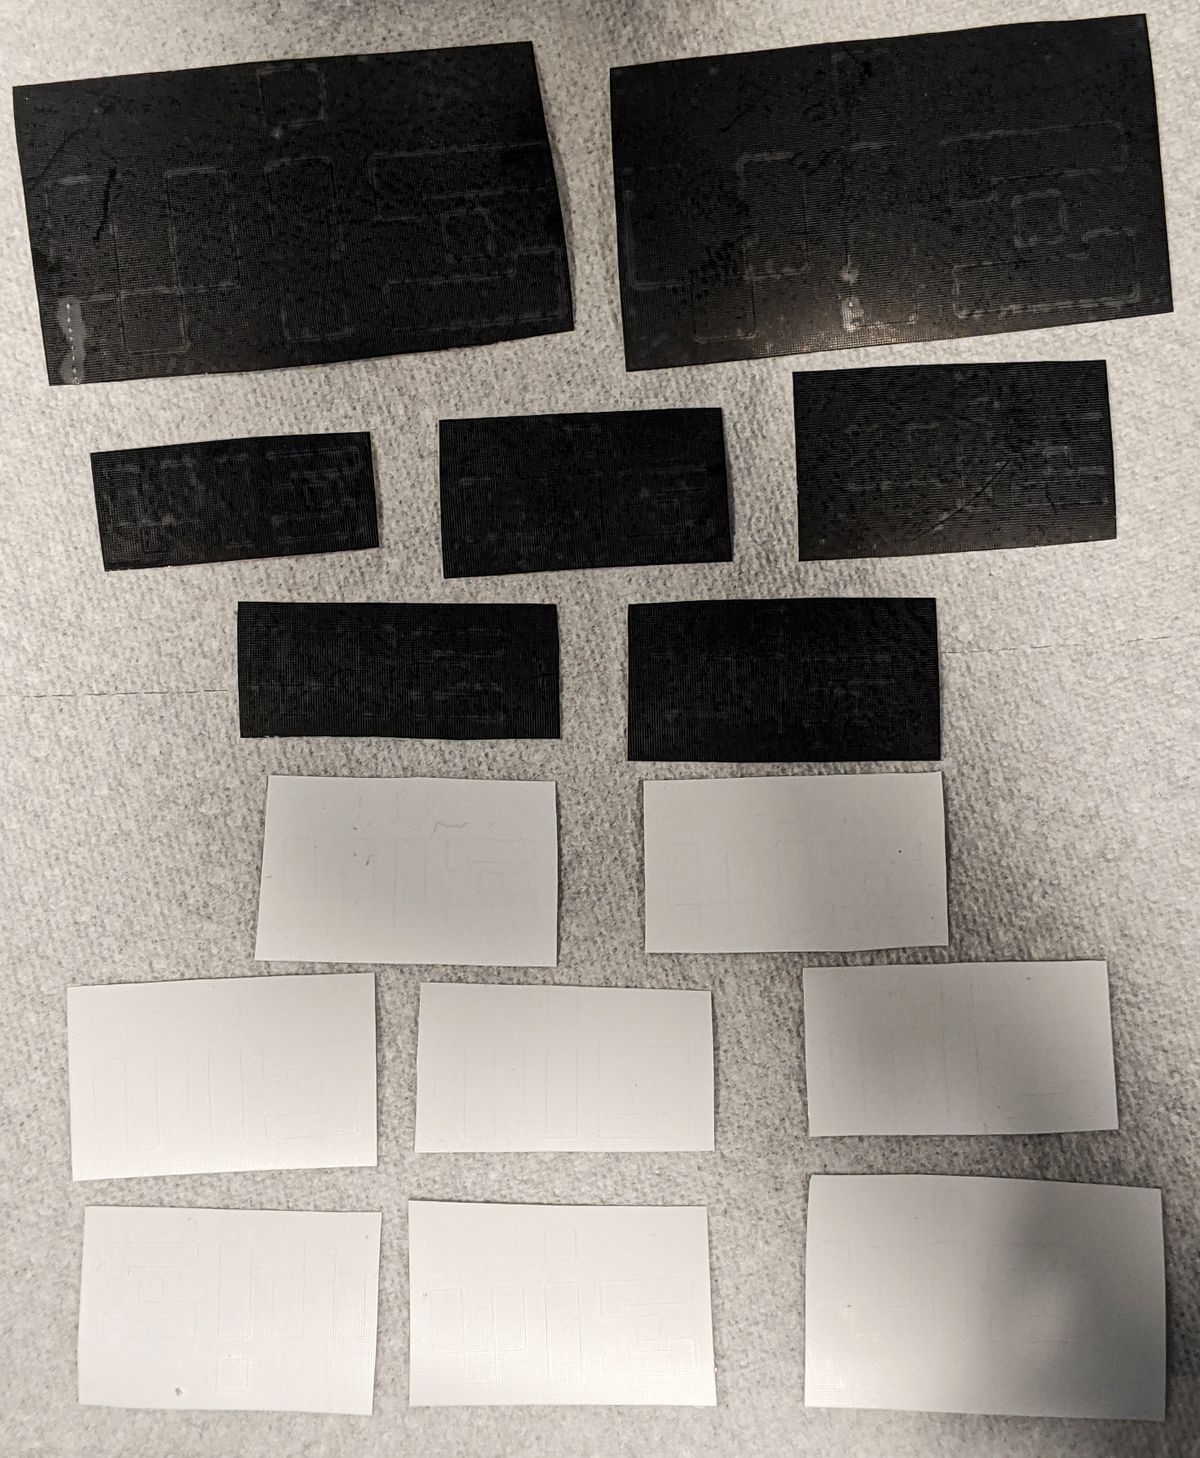
With a force of 140g for the white and 130g for the black (maybe the black ones are thicker?), the vinyl cut excellently without too much excessive penetration.
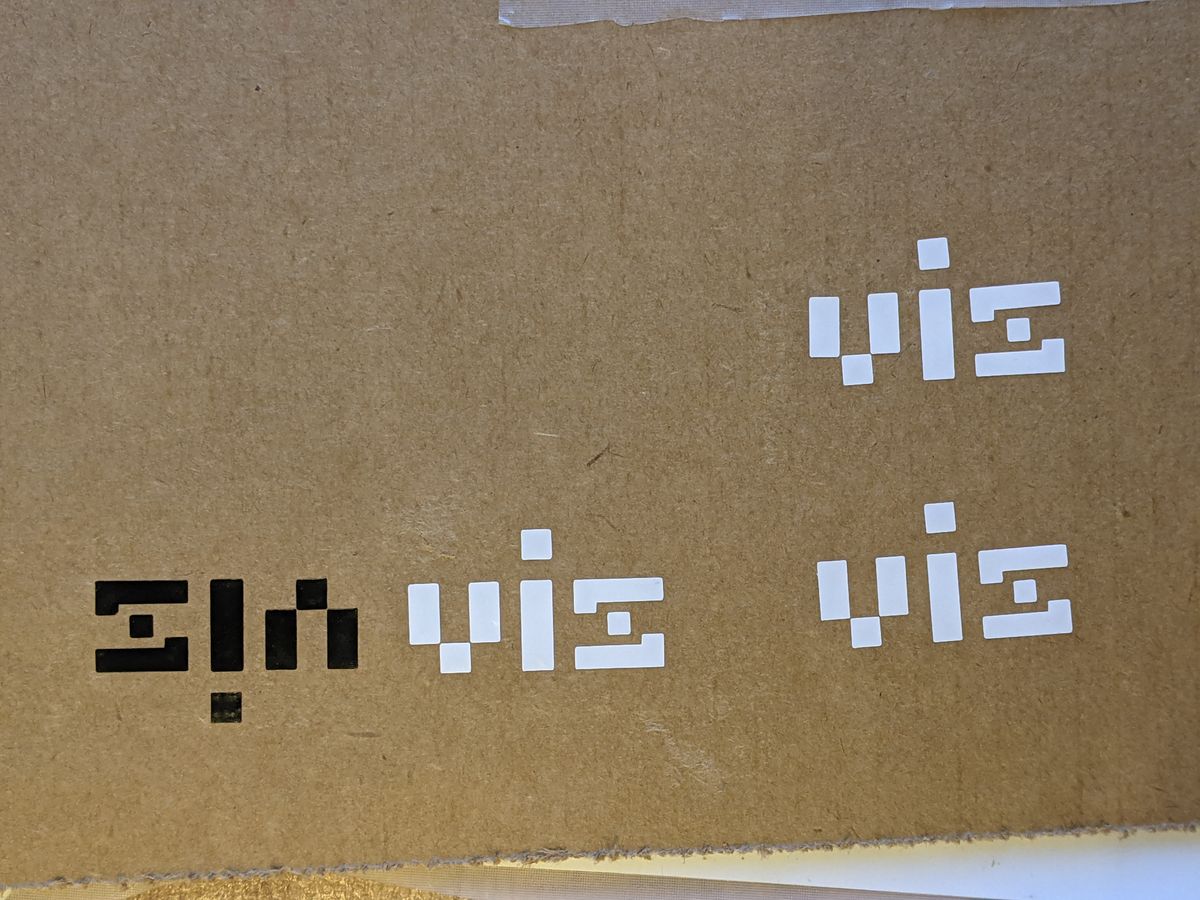
After testing my ability to apply (and explain how to apply to a classmate) the vinyl on a scrap piece of cardboard, I took the 6 white, 5 black, and 2 large black stickers to my group's weekly meeting.
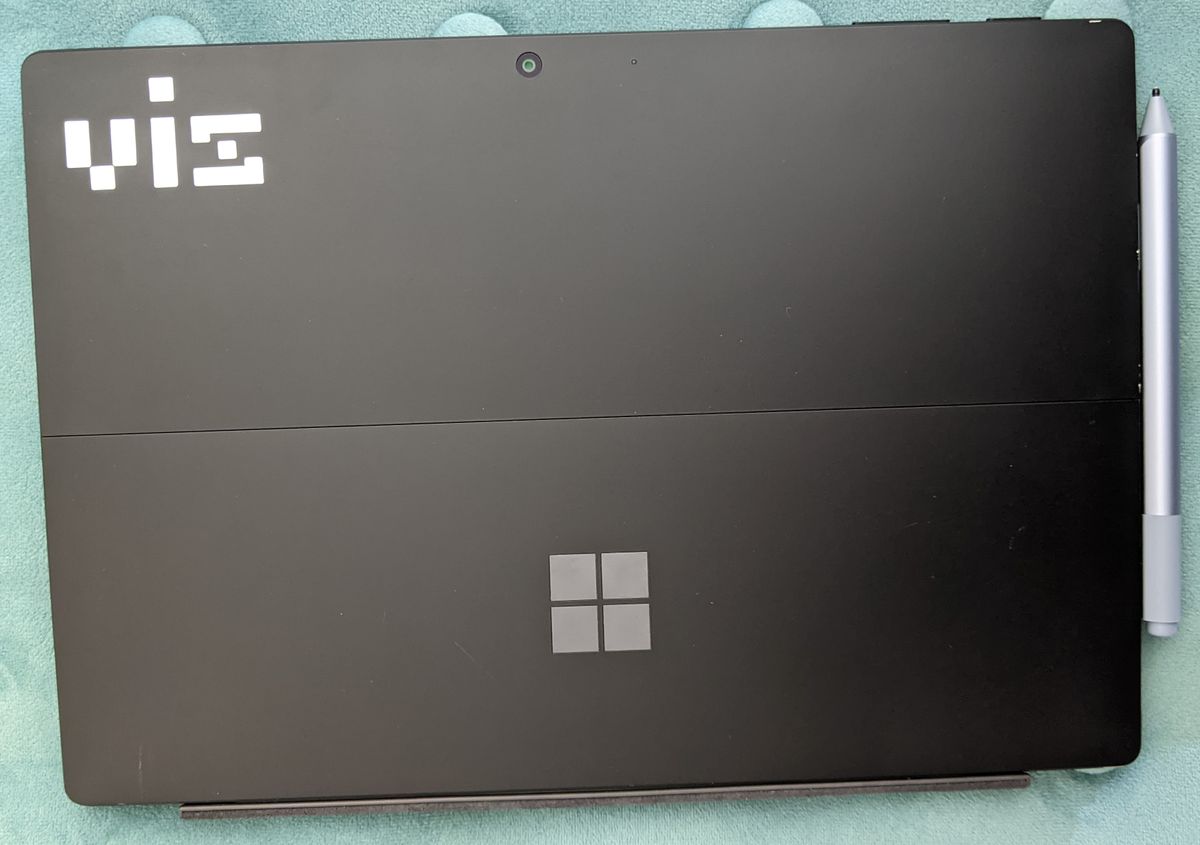
The stickers were met with much enthusiasm, to my delight! Turns out they had been looking to get stickers for a while, and they were very happy with the end result, simplistic as it was!
Laser Cutting
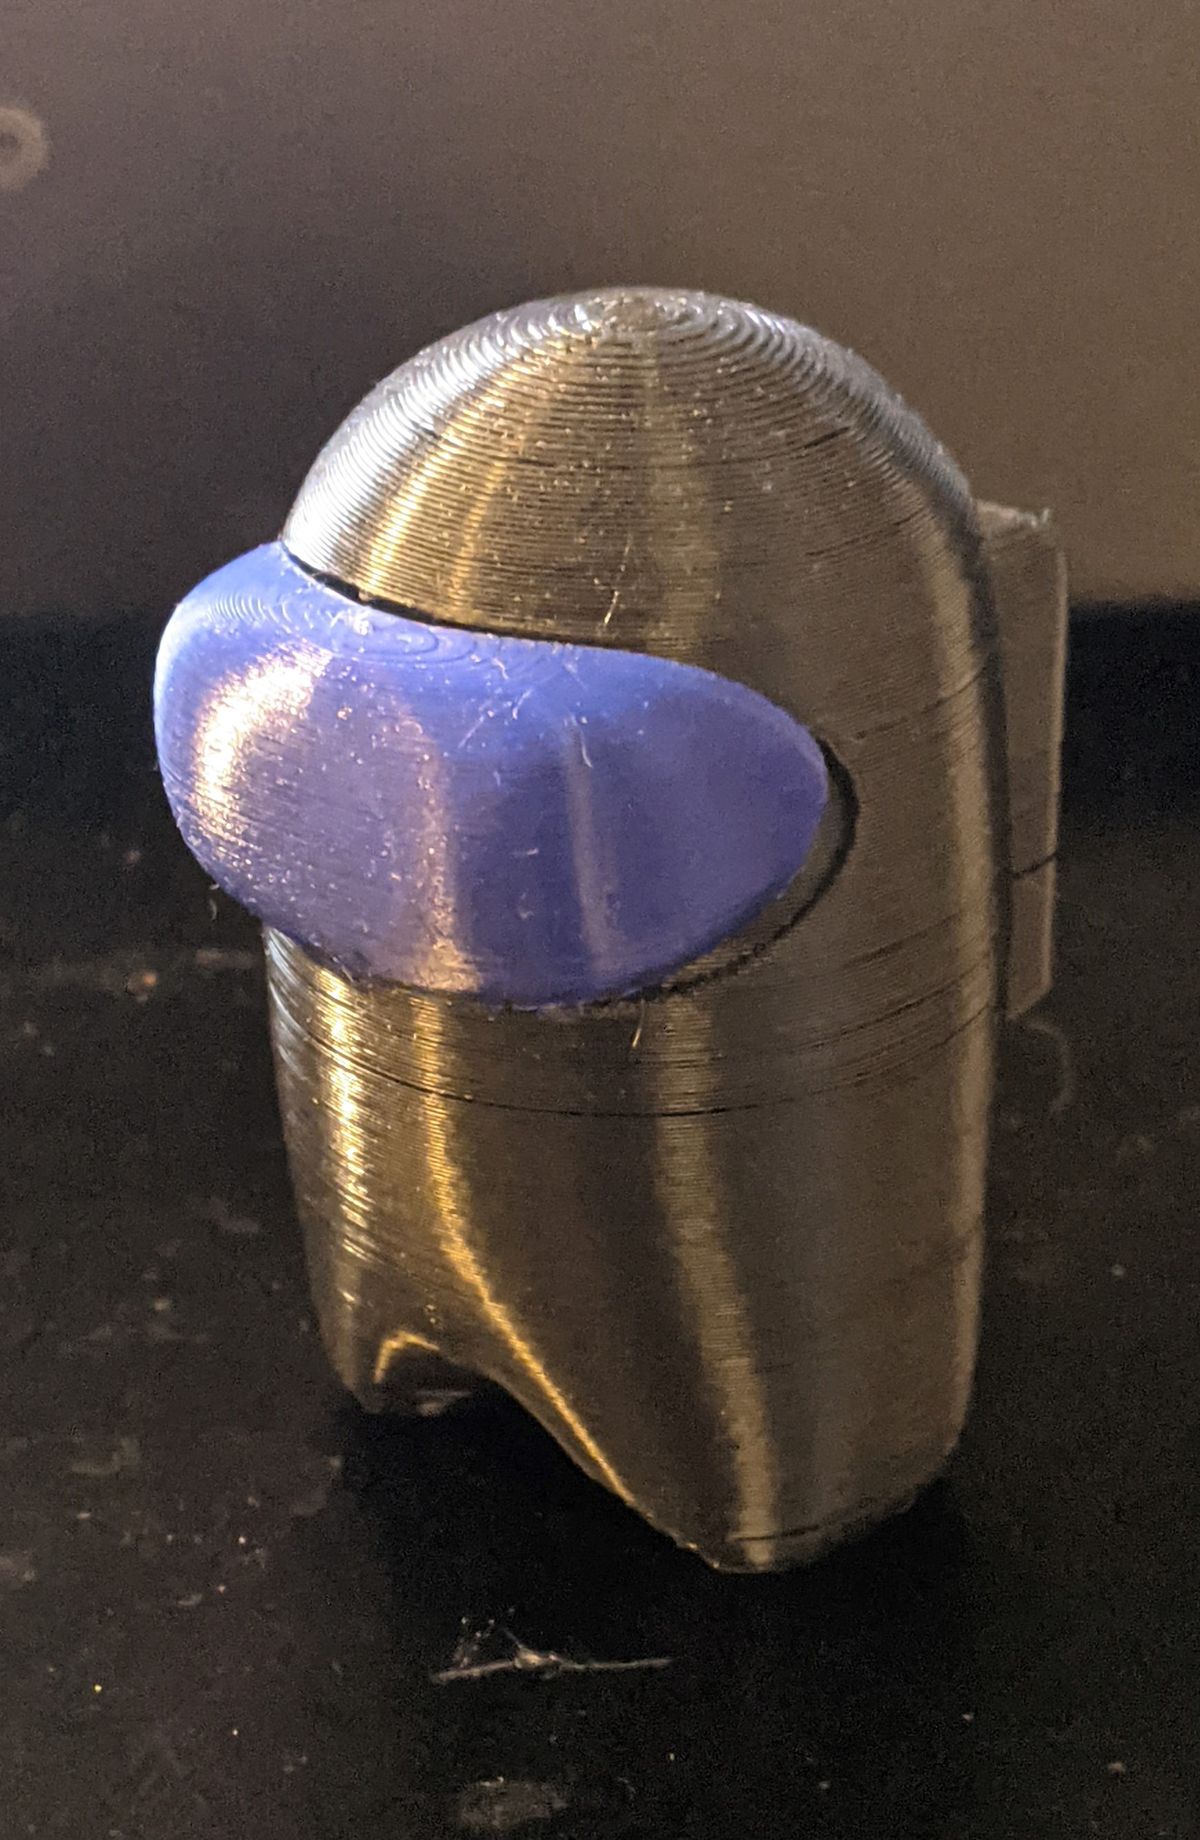
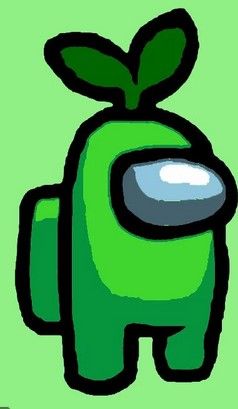
Earlier in the summer, I had 3D printed an Among Us crewman, and I thought that this would be the perfect opportunity to creatively turn a reference 3D model and 2D art into a parametrically-designed stacked slice model.
And he'll be totally not sus at all.
As a nod to the game's "hats" (if you could call some of them that!) being one of the three only available comestic/customization options, I decided to make my crewman (or is he an imposter?!) have interchangeable hats!
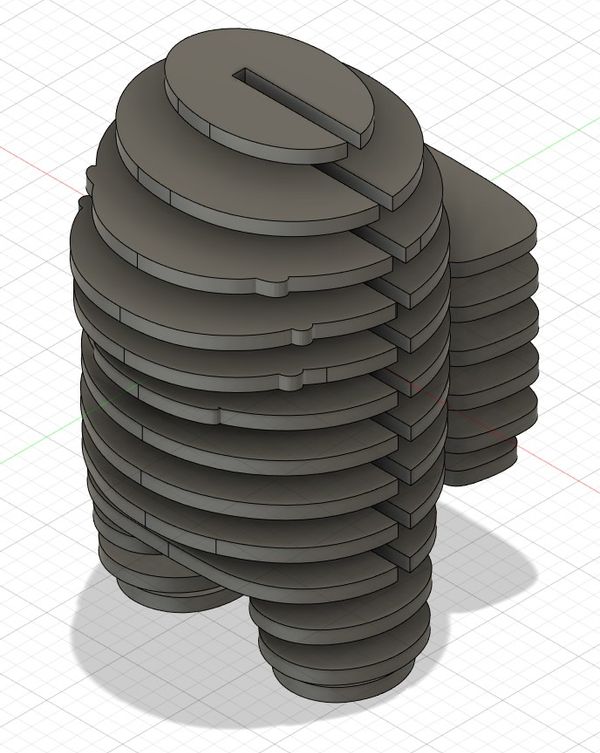
Turning the physical model in my hands gave me a better sense of visualizing how the stacked slice model might work.
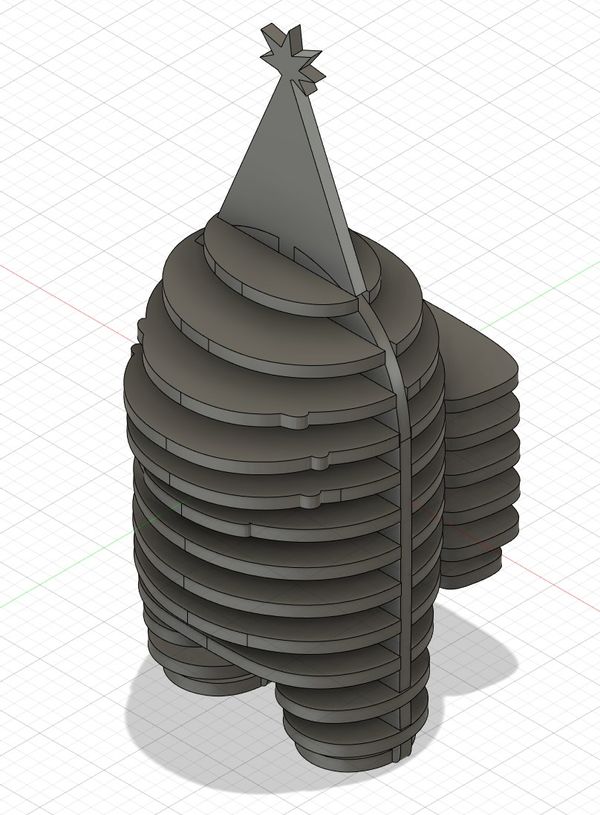
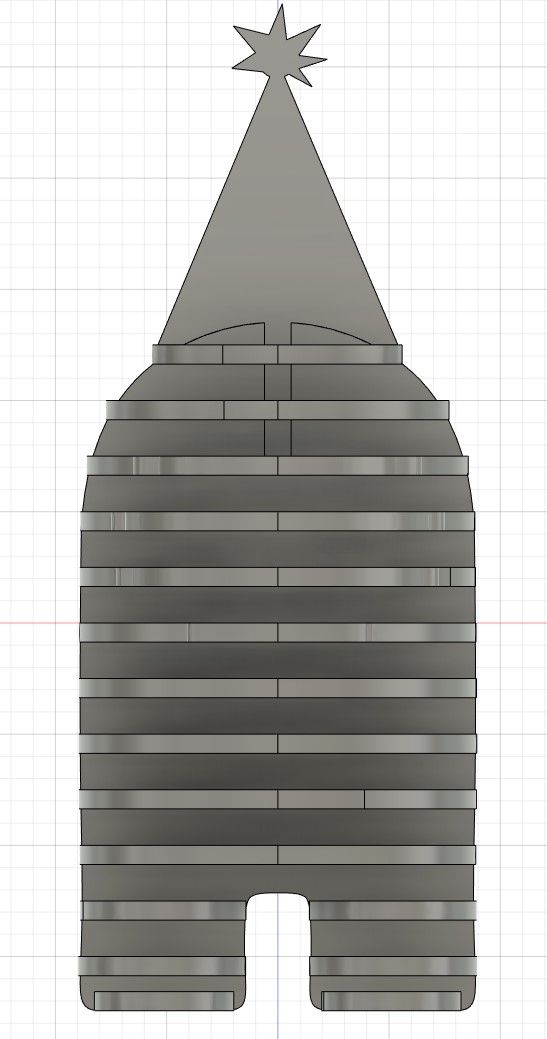
As a largely vertical model with a good amount of overhang on the visor and backpack, the "typical" way of a central skeleton piece parallel to the ground wouldn't work as there would be nothing for the overhangs to attach to.
This meant that my central skeleton piece had to be vertical with the stacked slices attached to horizontally by way of a very tight press fit to prevent sagging on one side.
We'll get to the attachment of the hats later.
However, with the leg and feet design being completed late at night, I didn't put too much thought into the structural stability or balance of the model.
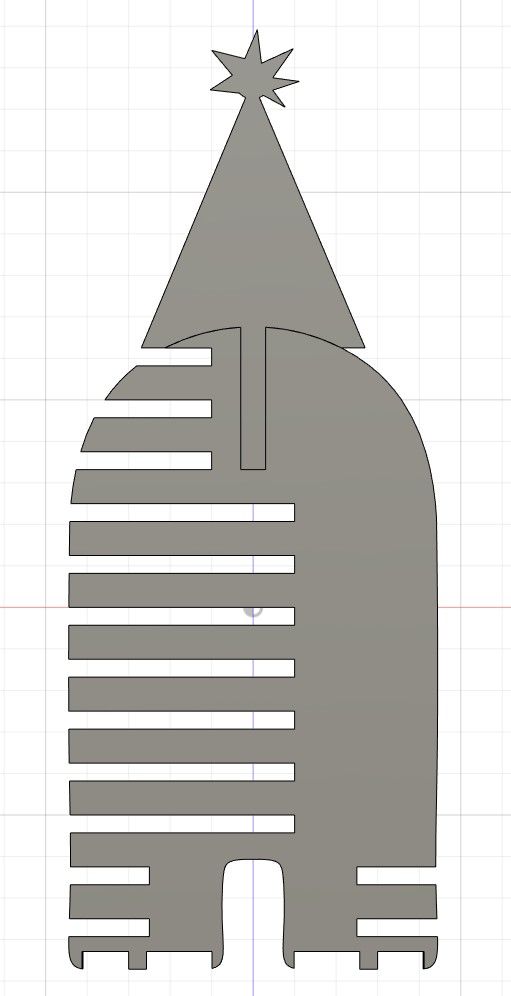
My lack of experience with design for manufacturing shows, and we can see from the cross-section of the central skeleton piece that there was absolutely no way those two feet were going to securely stay attached and be load-bearing. Okay, yeah, a bit of a sus design.
Furthermore, in between the two legs, only a small piece of material attaches one leg to the rest of the central skeleton!
The design of the hats was fairly straightforward, and I figured out an elegant-yet-simple way to attach them to the crewman in a eureka! moment.
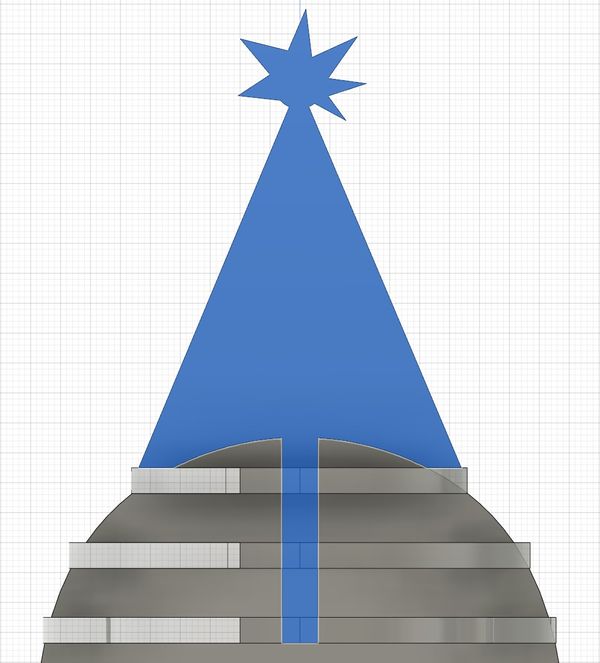
Each hat would have a mounting end, and the central skeleton piece would have a loose press-fit cutout for it to slide into, securing it on three sides (left, bottom, right).
This was further secured front and back by the first three slices of the stack.
Together with the base of the hat moulded to the curvature of the top of the crewman's head, this provided a snug and secure fit for interchangeable hats.
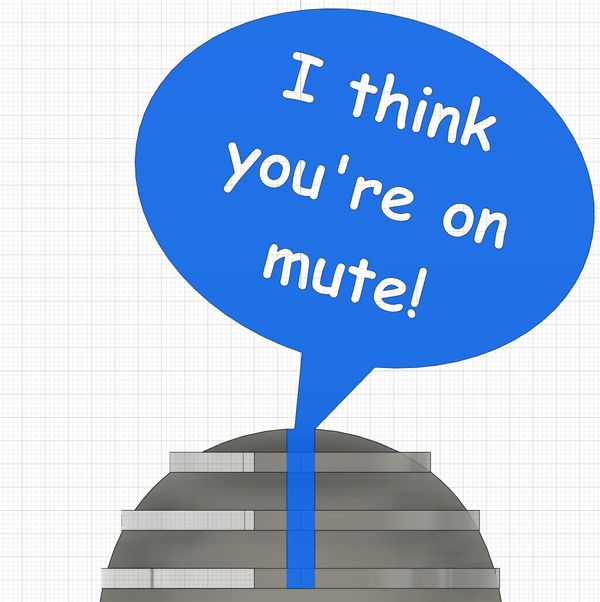
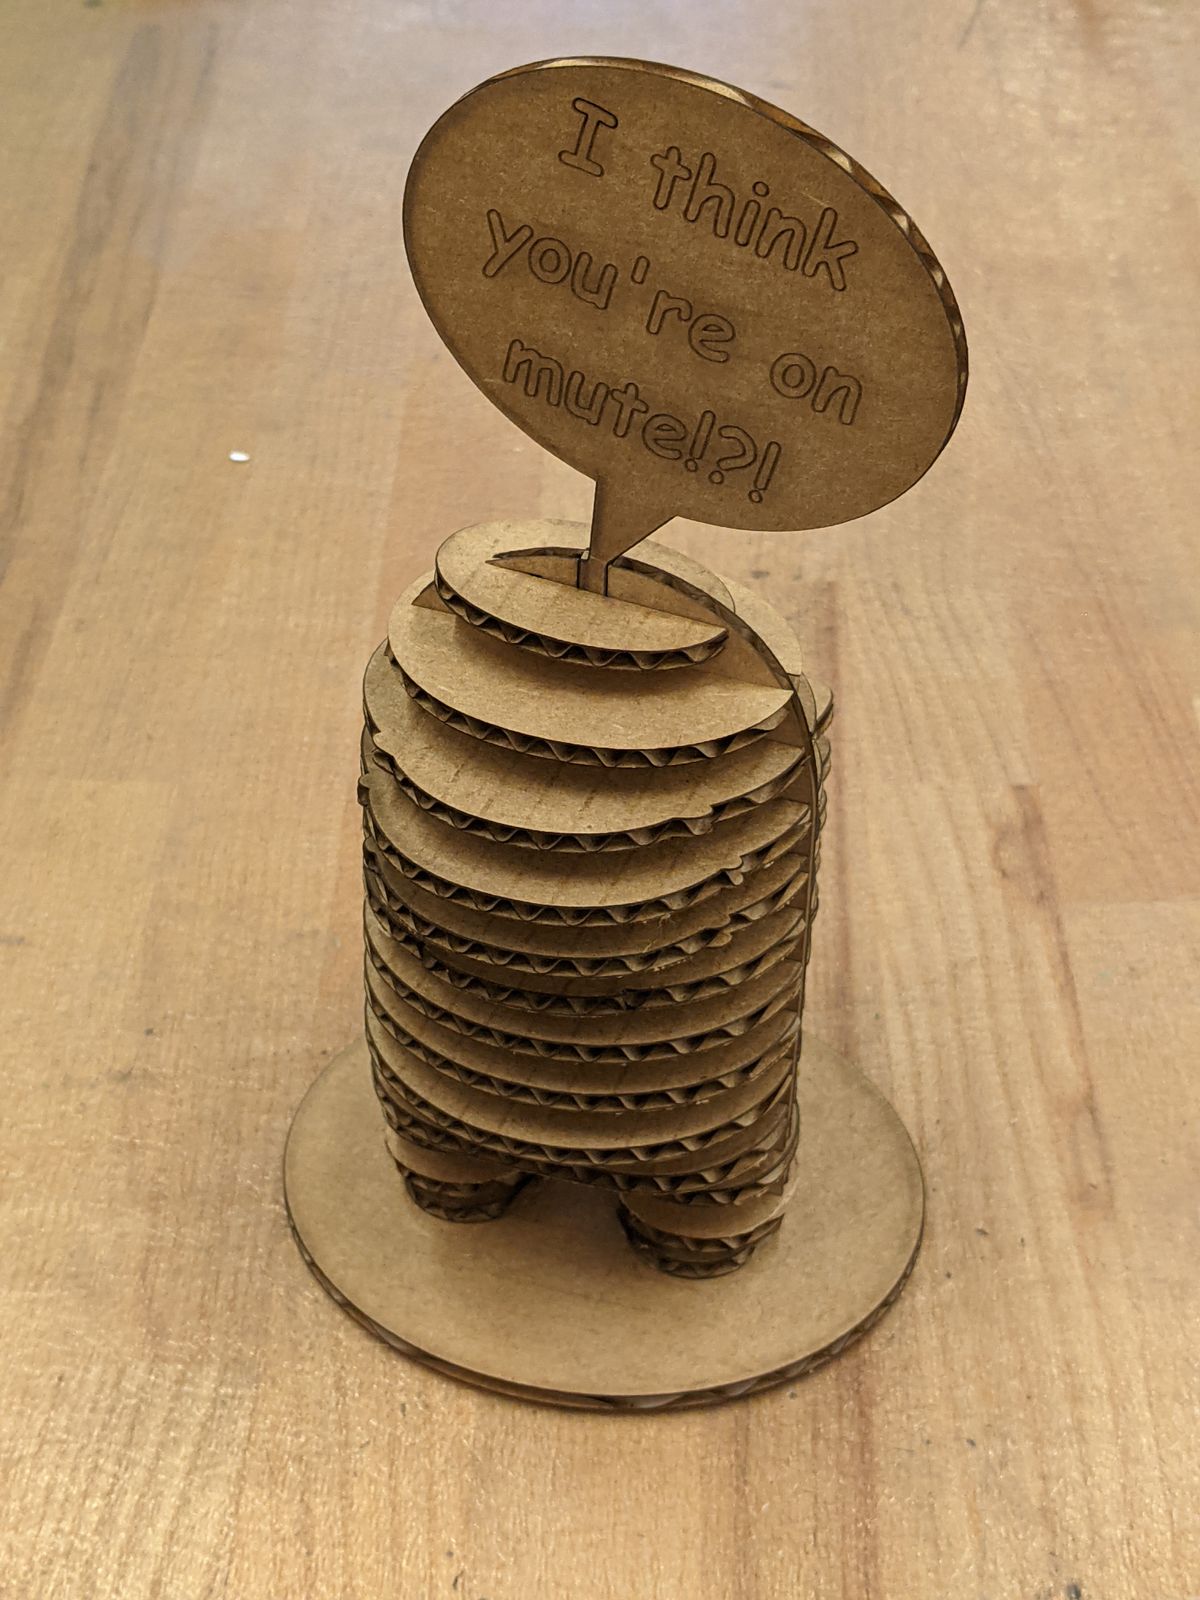
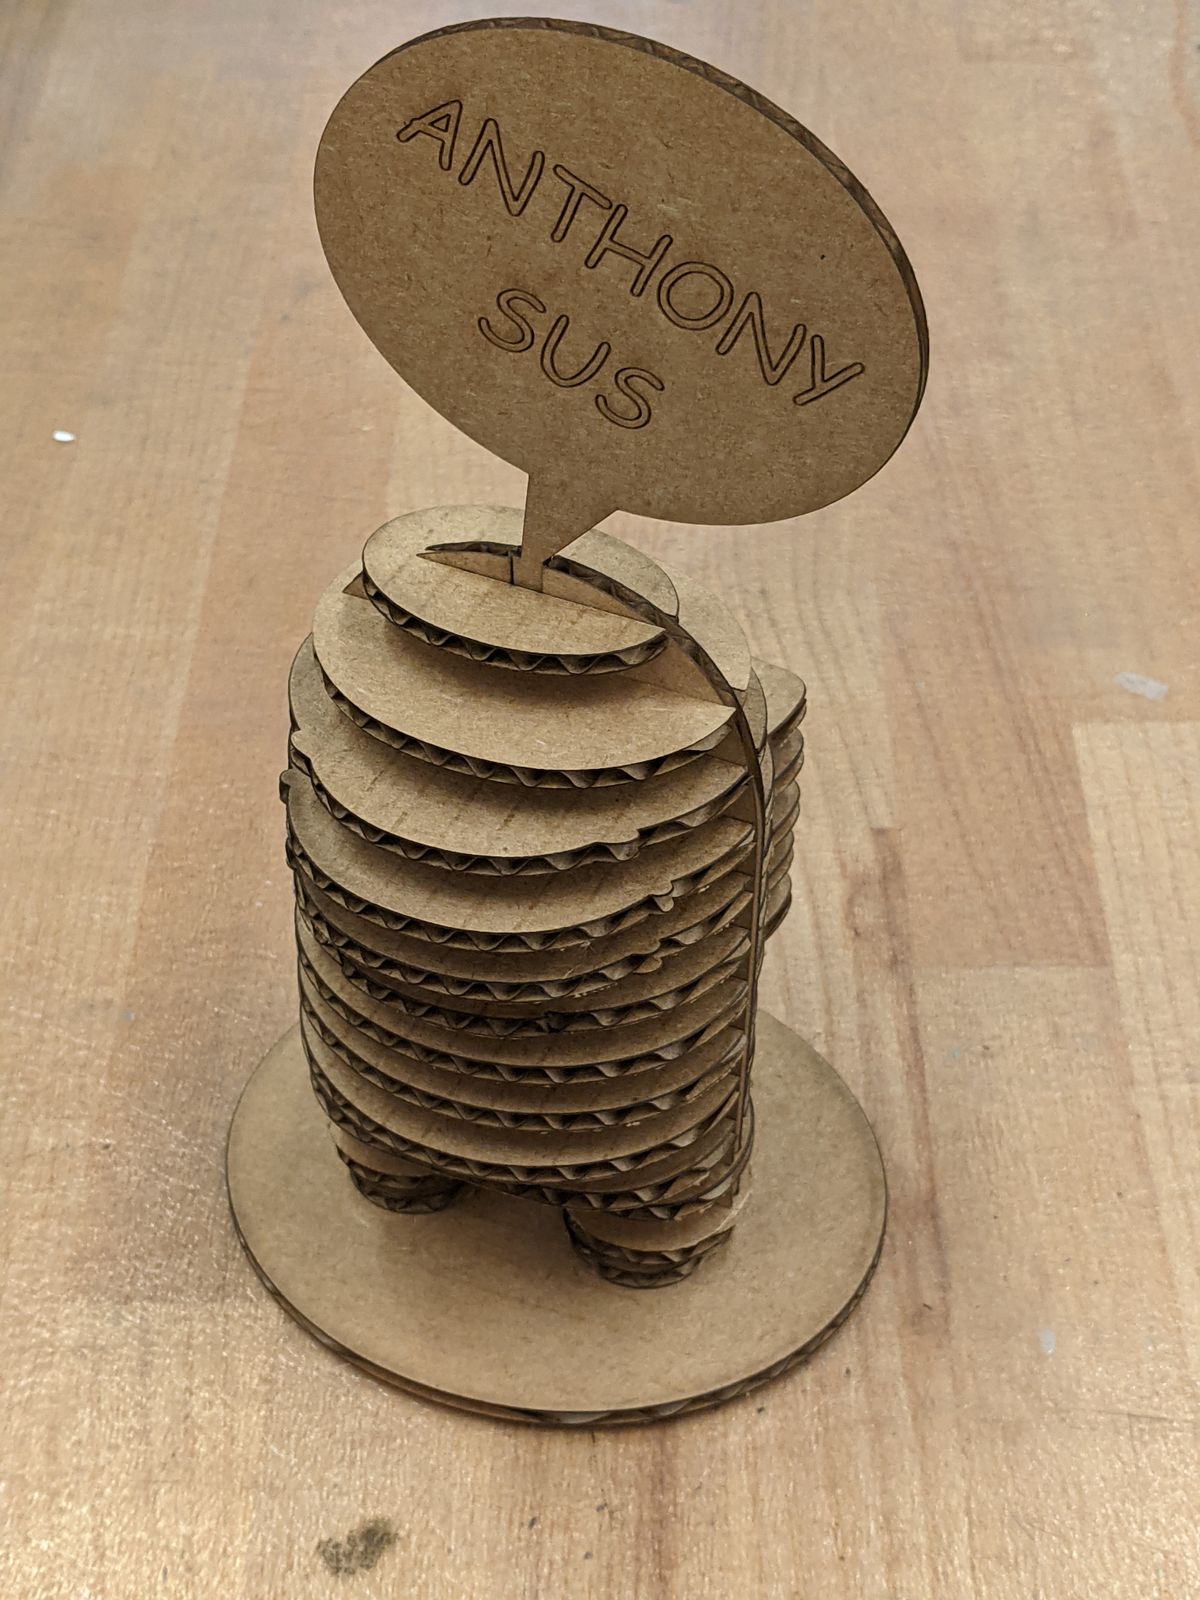
As an homage to the year of Zoom we had in 2020, one of the "hats" is a speech bubble letting the other person know that they're muted (:
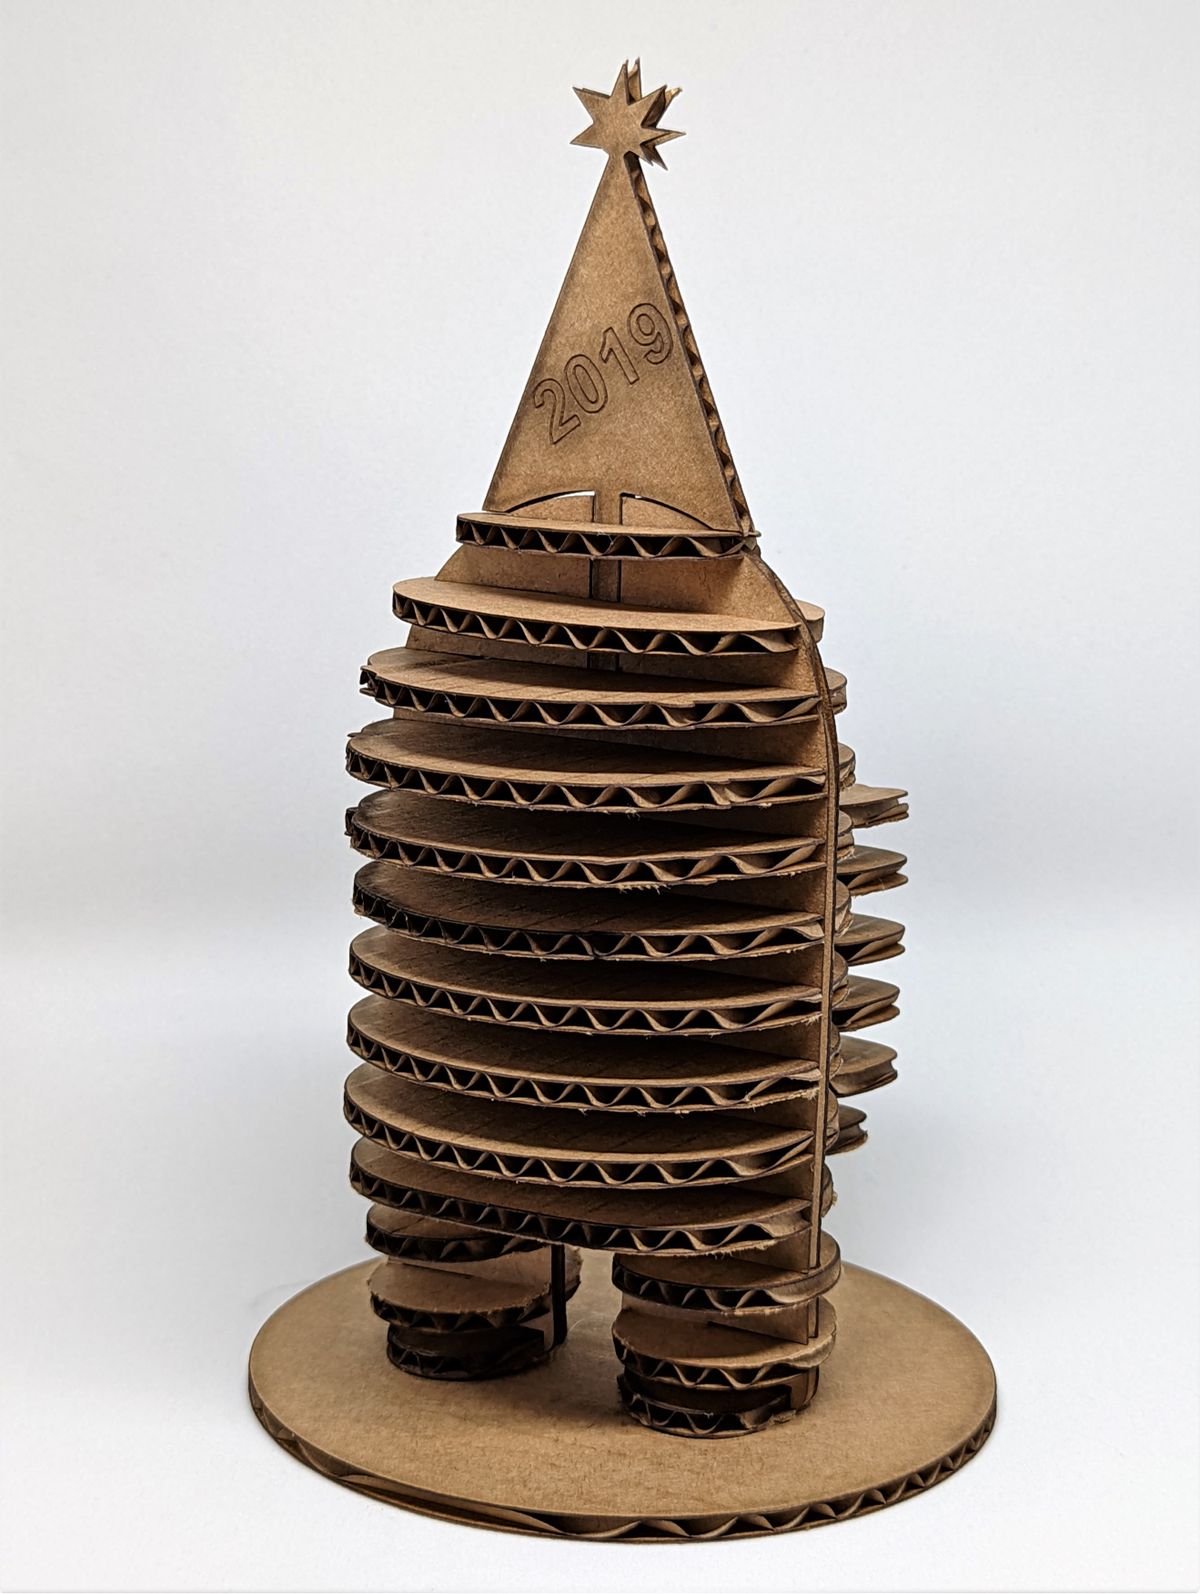
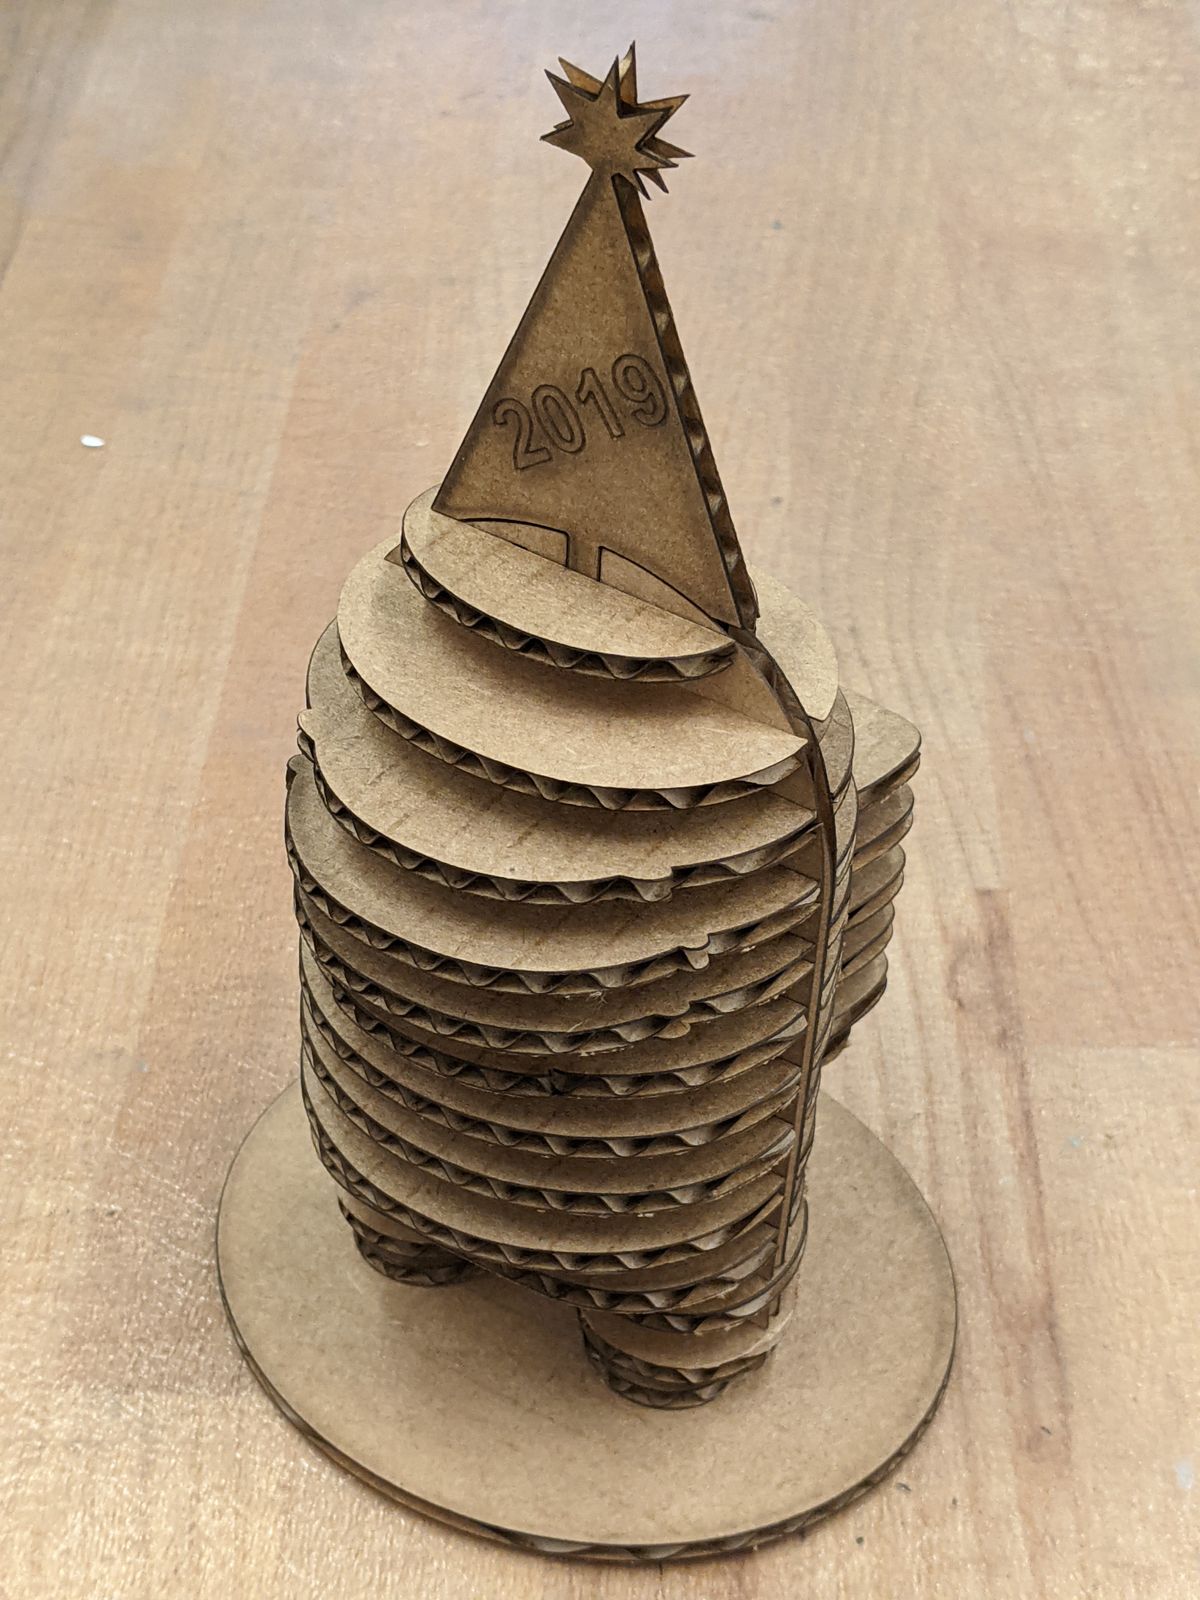
I also picked the Christmas/party hat with the year 2019 on it, mostly because there's something whimsical and nostalgic of the "last good normal times" we had, which was the holiday season of 2019 :'(
One final last minute change was switching the cutout of the text on the speech bubble to a raster. Preparing the model for laser cutting was made incredibly easy thanks to this Fusion360 plugin I discovered that allowed me to specify a laser kerf amount to account for and a specific face to export to DXF with.
Fusion360 doesn't seem to export text as complete, closed vectors unfortunately, so rastering only rastered the outline of the text.
To make the text more visible, I thickened the individual lines in CorelDraw when laying out the DXFs for cutting and manually calibrated the raster settings to run at a higher power and slower speed, resulting in a more prominent cut that did not fully penetrate.
For the most part, most pieces were cut fine, although a couple didn't cut all the way through and had to be punched out or cut through with a knife.
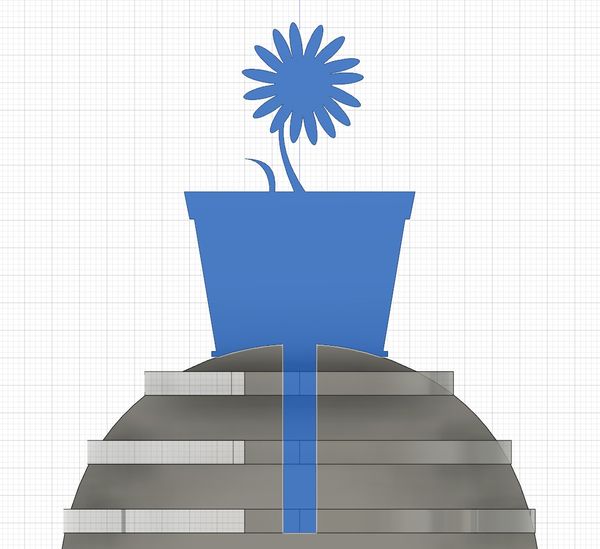
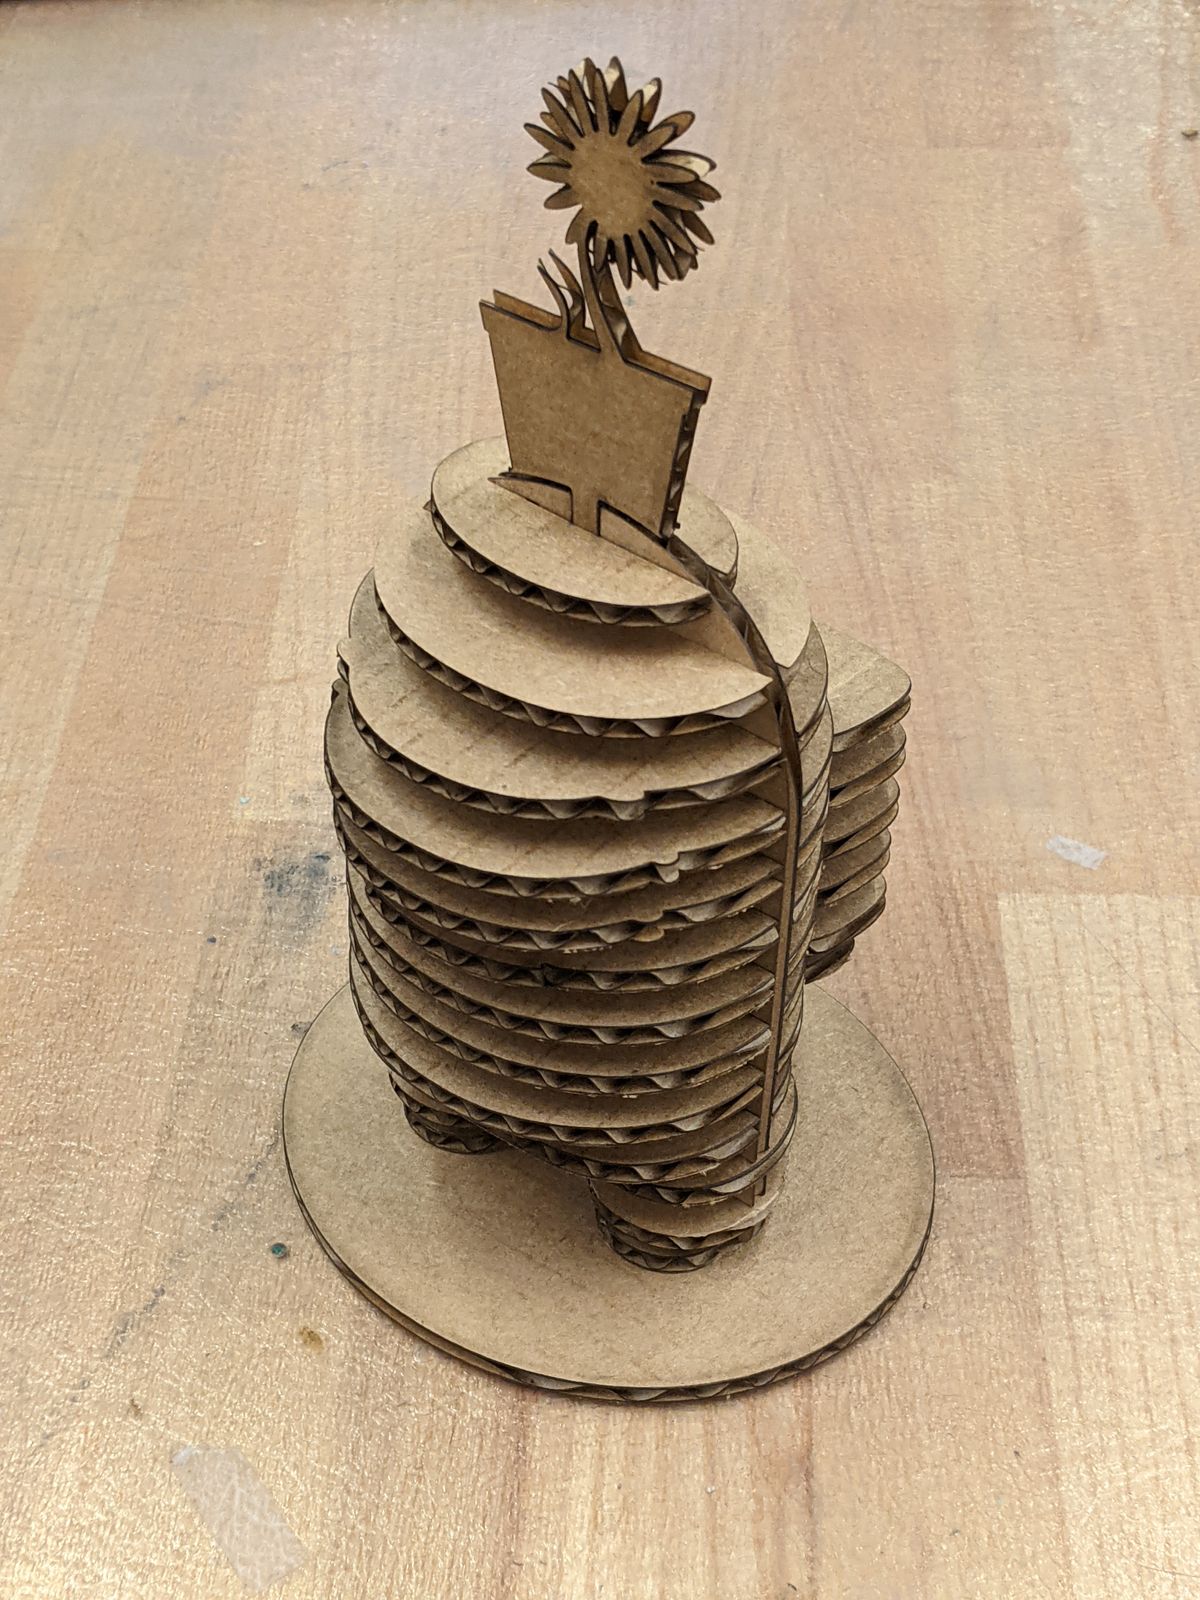
The flower pot was the only piece that needed a major redesign due to the thin stem of the flower being incredibly fragile and breaking during removal.
To reduce stress on the mounting end of the hats, I reduced the kerf amount when exporting the hats' DXFs, which would result in more of the original material being taken away by the laser, thus loosening up the fit of the joint.
The redesigned flower pot, rastered text (including a last-minute addition as homage to Anthony), and overall hat attachment mechanism all ended up working out well!
To resolve the stability and standing issue, I cut an ellipsoidal base for my crewman (in hindsight, I should've rastered something on the base too - that would've been a cool stand for it!)
and received permission from Anthony to hot glue the legs down to the base to provide it more stability in standing, something I would've not needed a base for had I been more conscious of the leg design and weight distribution!
I had also considered attaching a small oval piece of curved vinyl for the visor, but unfortunately ran out of time before being able to do so.
Laser Cutter Characteristics
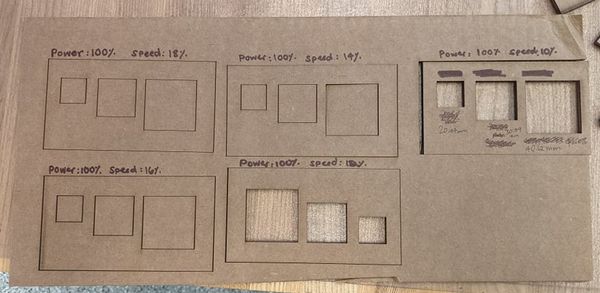
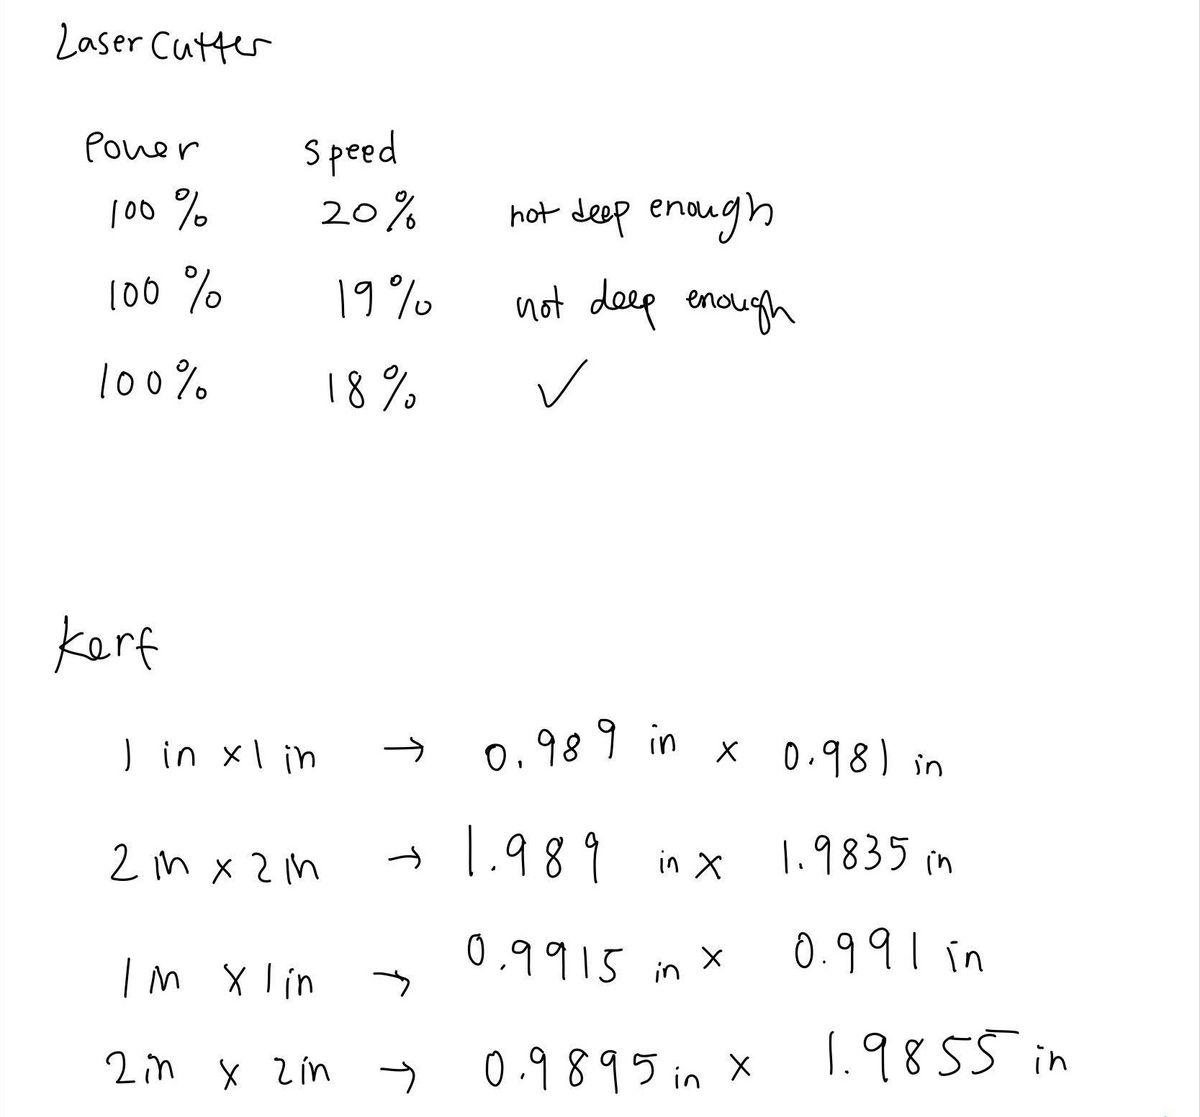
As a group, we split into smaller teams each dealing with characterizing a certain element of each of the two laser cutters.
From test cuts of squares and rectangles of a specified width, we were able to determine the laser kerf, which we determined to be approximately 0.216mm.
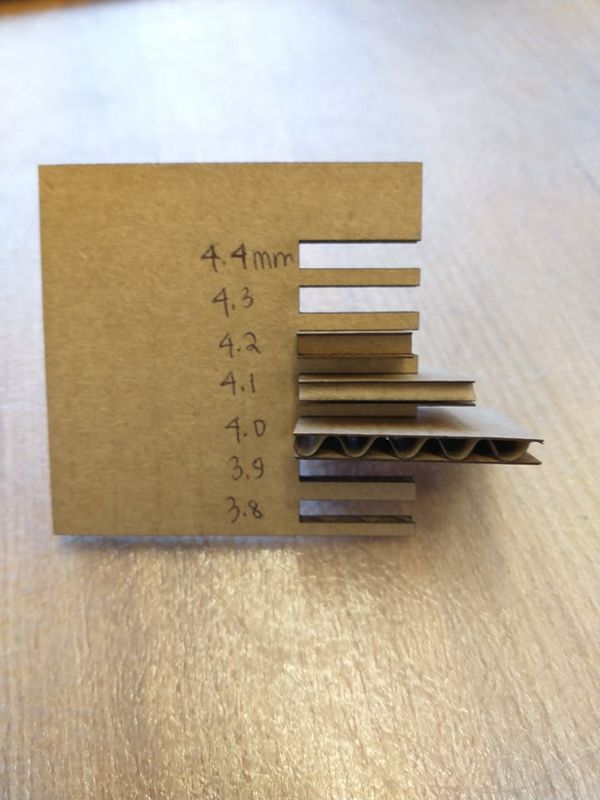
More critically, we were able to determine three different cut widths for different levels of press-fit grip.