Gabriella Perry
Computer-Controlled Machining
"make (design+mill+assemble) something big (~meter-scale)"
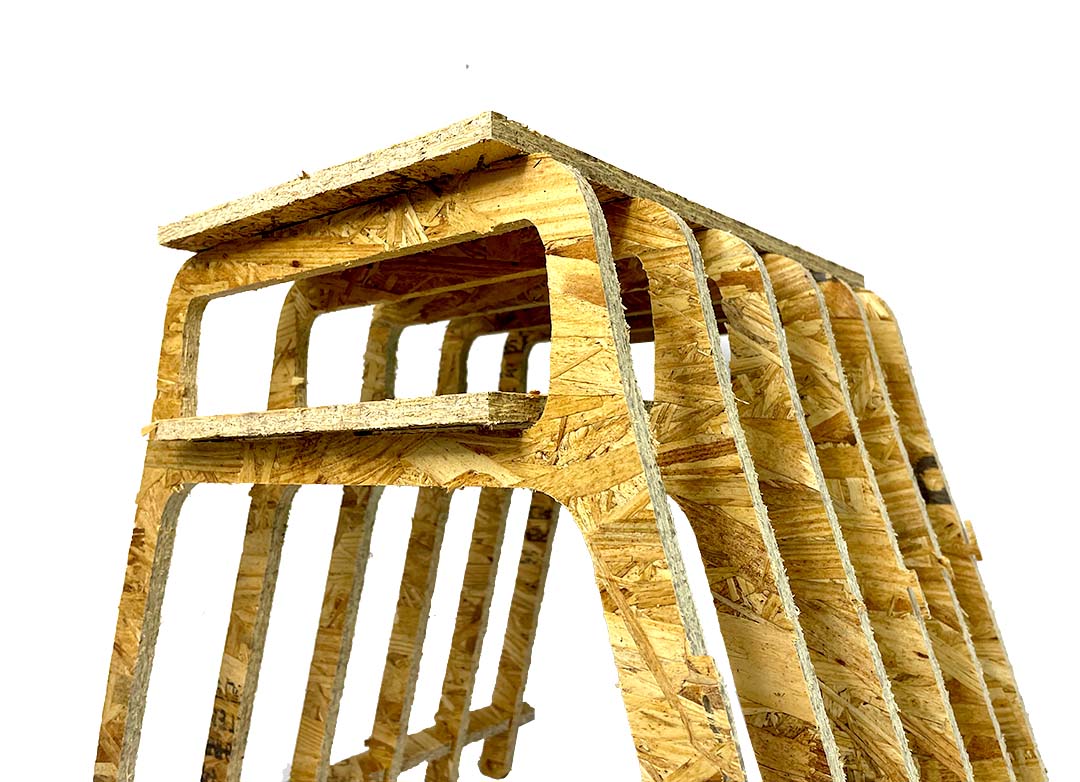
My apartment is the place for holding after-parties in my friend group. Unfortunately, my roommate and I only own one couch and a chair, so people have to sit on the floor if we have more than four guests over. For Computer-Controlled Machining week, also known as "Make it Big" week, I decided to design and fabricate a stool to add more seating for my apartment. I designed the stool with a shelf to hold a book, phone, or other flattish objects that people temporarily want to store.
Since cutting time was limited based on the number of students in the class we didn't have much time to figure out the "perfect fit" for our joints. Fortunately, our TA Joonwas kind enough to put together documentation on his test cuts, his own stool, and how to use the aspire software. This was incredibly helpful.
I initially drew the toolpath for the CNC offset by 0.125 (half the width of the endmill) because I thought we had to account for kerf. I was pleasantly surprised when I learned that the Aspire software could set the tool to run outside, inside, or on the toolpath line. When setting up the files I accounted for the OSB width to be around 0.465" thick as noted by Joon in his documentation. However, the OSB sheets varied in thickness quite a bit, and my sheets thickness ranged between 0.45 to 0.465. In the end my pieces fit together nicely, but the stool is pretty wobbly. I may add more structural reinforcing components or add wood glue to provide some more rigidity.
Takeaways:
- Measure your OSB sheet before you are ready to cut.
- OSB gives you lots of splinters.
- Buy nicer plywood in advance....
- Make sure to design your joints with some room on the long dimension or dog bones.
- Aspire files are not backward compatible, so make sure you have the same version on your personal computer as the lab computers.