Gabriella Perry
Molding and Casting
"design a mold around the stock and tooling that you'll be using, mill it (rough cut + (at least) three-axis finish cut), and use it to cast parts."
This past weekend was Halloween, and how better to celebrate than with casting some Halloween candy! I wanted to take advantage of the potential for the assignment to be edible so I decided to make Halloween candy for the week. I am interested in robotics and I found an adorable lil robot model online; check out the original model here on Thingiverse!. I used the drape function in rhino to give him a little spookier look.
For material testing in the Harvard Lab check out ouor group assignment page here!


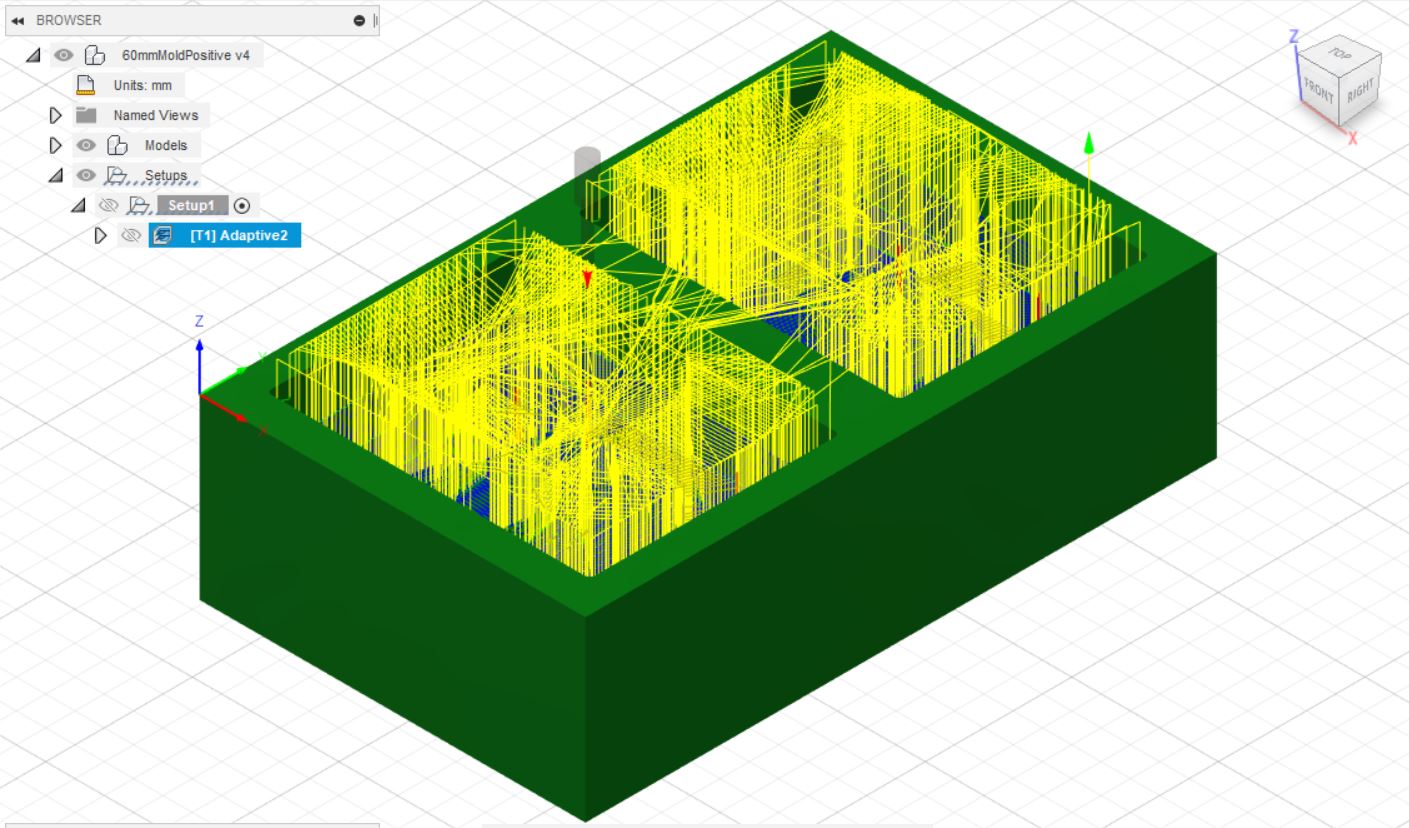
Originally I planned to use fusion and the shopbot to mill the wax mold, but I got hung up on the unknown tool dimensions in fusion. I also did not fully understand how finishing passes worked. I switched over to using Mods on the Harvard Shop's Roland Milling machine once I became sick of fusion. The mods tutorials from Neil were super helpful.
During the first attempt at milling, I had made a fatal error. Since I had designed the model without knowing much about the tool geometry, I had made the mold deeper than the end mill could reach and rammed the collet into the wax. We had a limited amount of wax, so I decided to redesign my model to be smaller and shallower. I scaled the design by 30% and switched to a 1/16" endmill. I also adjusted the layer resolution to be about half the diameter of the milling tool to get a more defined surface. Unfortunately, I could not run a finishing cut because the mods program would freeze and crash the computer when trying to calculate the finish cut.


Parallel to the milling, I also 3D printed a mold for comparison to the milled mold. The setup of this was, of course, more straightforward than the milling process. Since I was not limited to the depth of the spindle I was able to print the original deeper mold. I made a mistake here as well. I sprayed the mold with mold release and then realized this meant I could no longer cast chocolate into this now chemically-smelling mold. Instead of the food-safe casting material, I used OOMOO as a preliminary test. I reprinted this mold for the chocolate casting phase and cast the mold using the Sorta-Clear food safe material.

I bought Ghiradelli chocolate melting wafers for casting the ghostie robots. The mold had a hole in the top for pouring the chocolate, but I forgot to design the mold with a vent to displace the air in the mold properly. To fix this issue, I ended up pouring the chocolate into each half of the mold individually, letting the chocolate cool for a little, then smushing the molds together. It was a bit messy, but the chocolate ghost robots turned out great from the milled mold and the printed mold!


