Cardboard Construction Kit
Designing the Vase on Fusion360
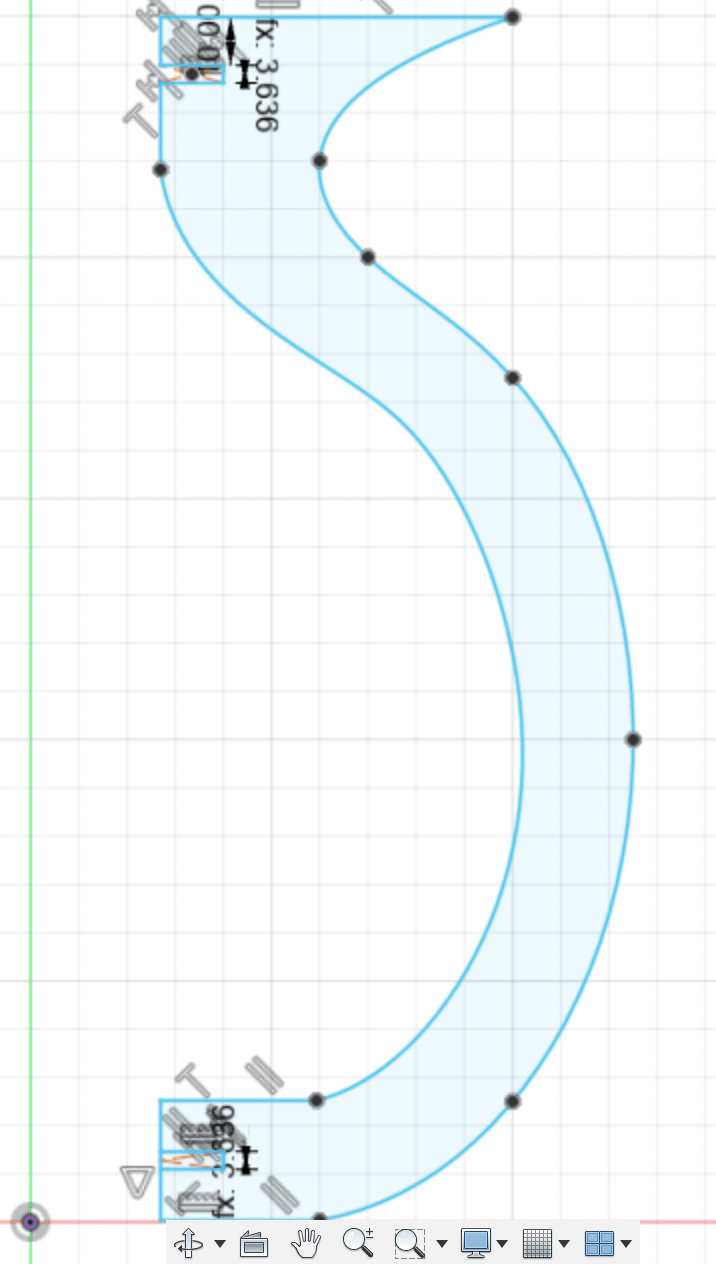
I designed the circular piece with a circular pattern of notches arranged around the circumference. I then created the side piece along the same radius as the base, and added two notches. I added user parameters for the notch width so that it would be standardized across the whole project, and also tweaked my design so the pieces would fit together nicely(no overlapping seams, matching diameters, etc.).
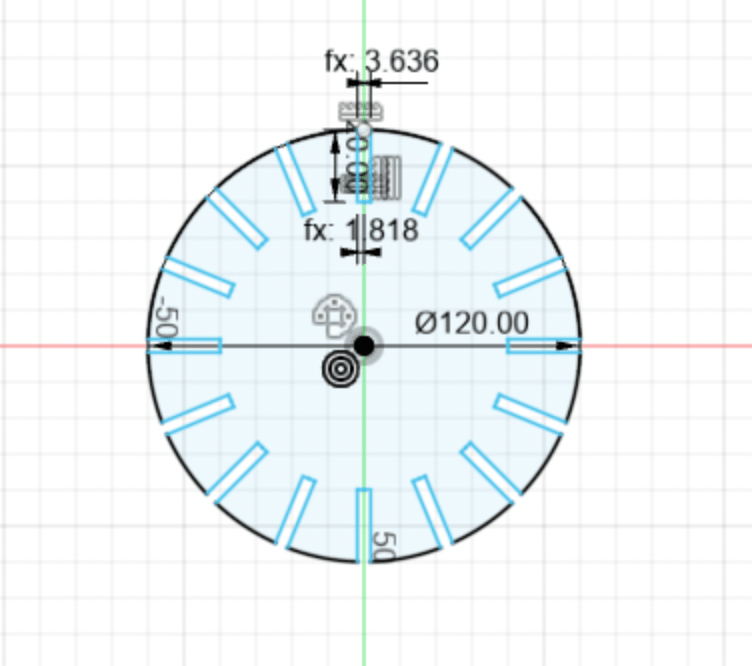
Tweaking Notch Parameter
Since lasers also have a width(“kerf”), the notches on the circular base would be cut out slightly wider than the thickness of the cardboard. Our group found that the kerf width was .514 mm, and with the cardboard being 4.15 mm, I subtracted the kerf from the cardboard width to edit the notch width parameter(3.636mm).

Laser Cutting and Assembly
I cut the vase out of cardboard with the laser on power 80 at 30 mm/sec. The assembly went fairly quick, as the joints fit rather perfectly and snugly.