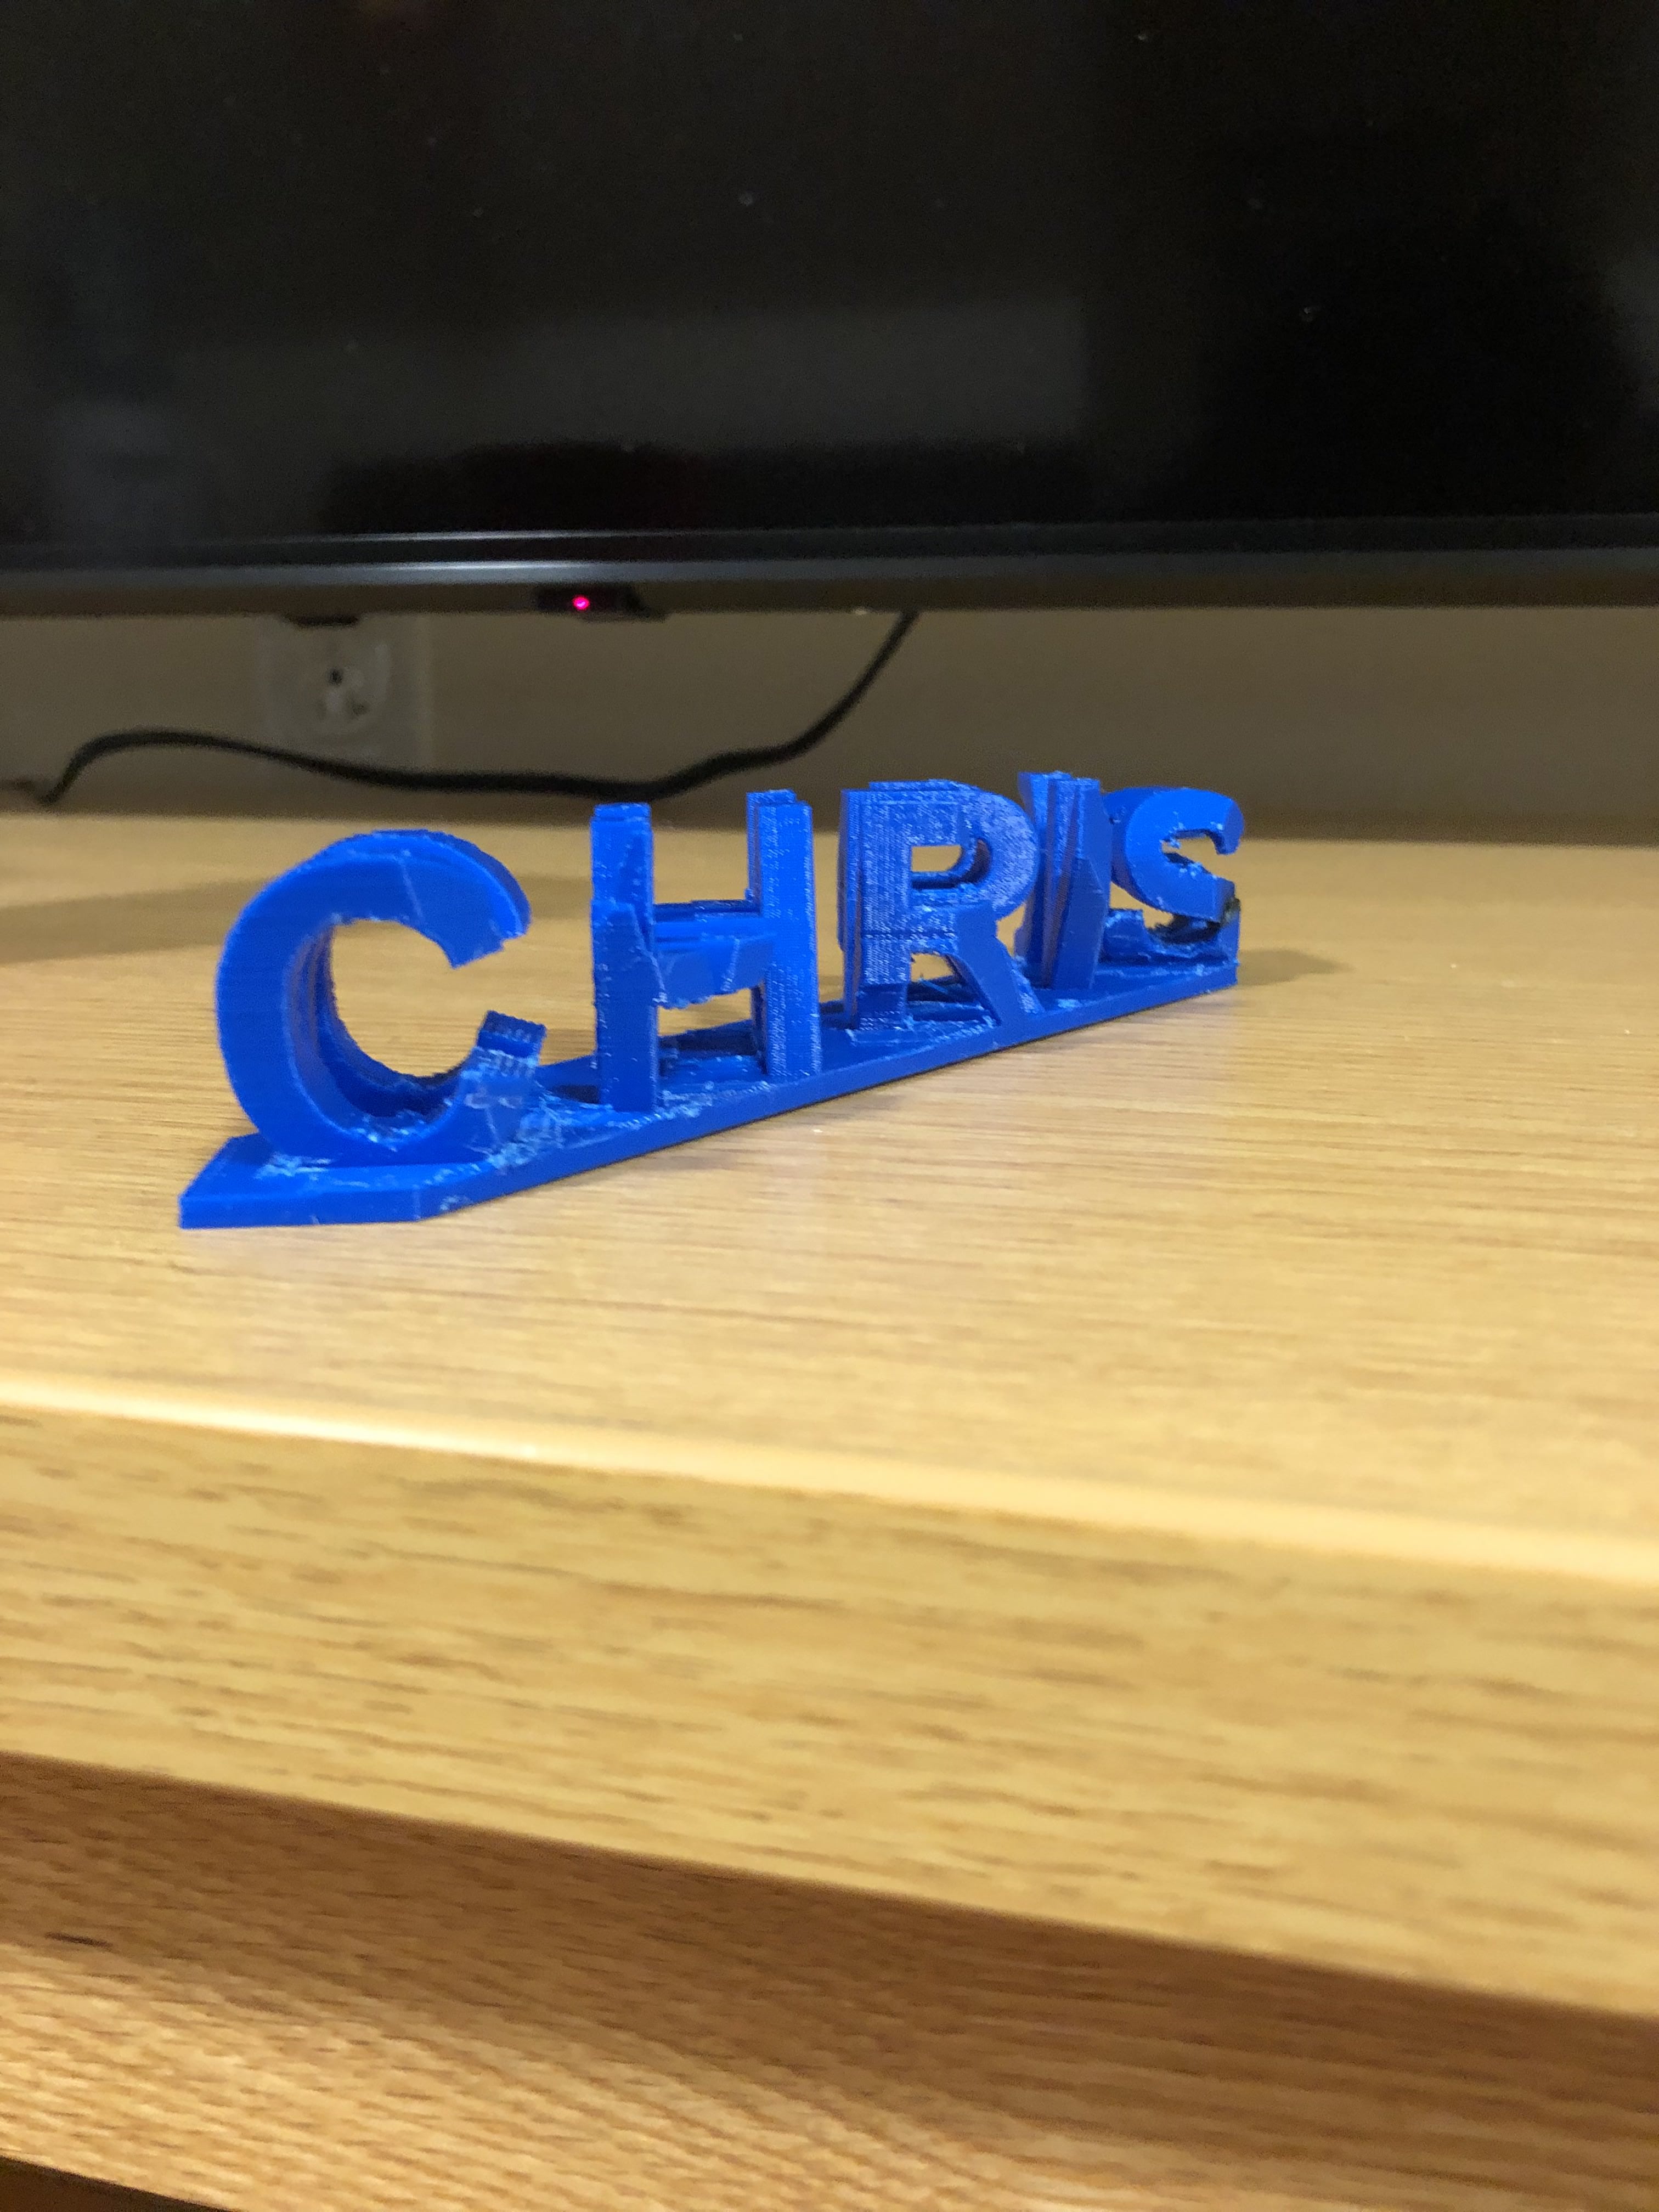
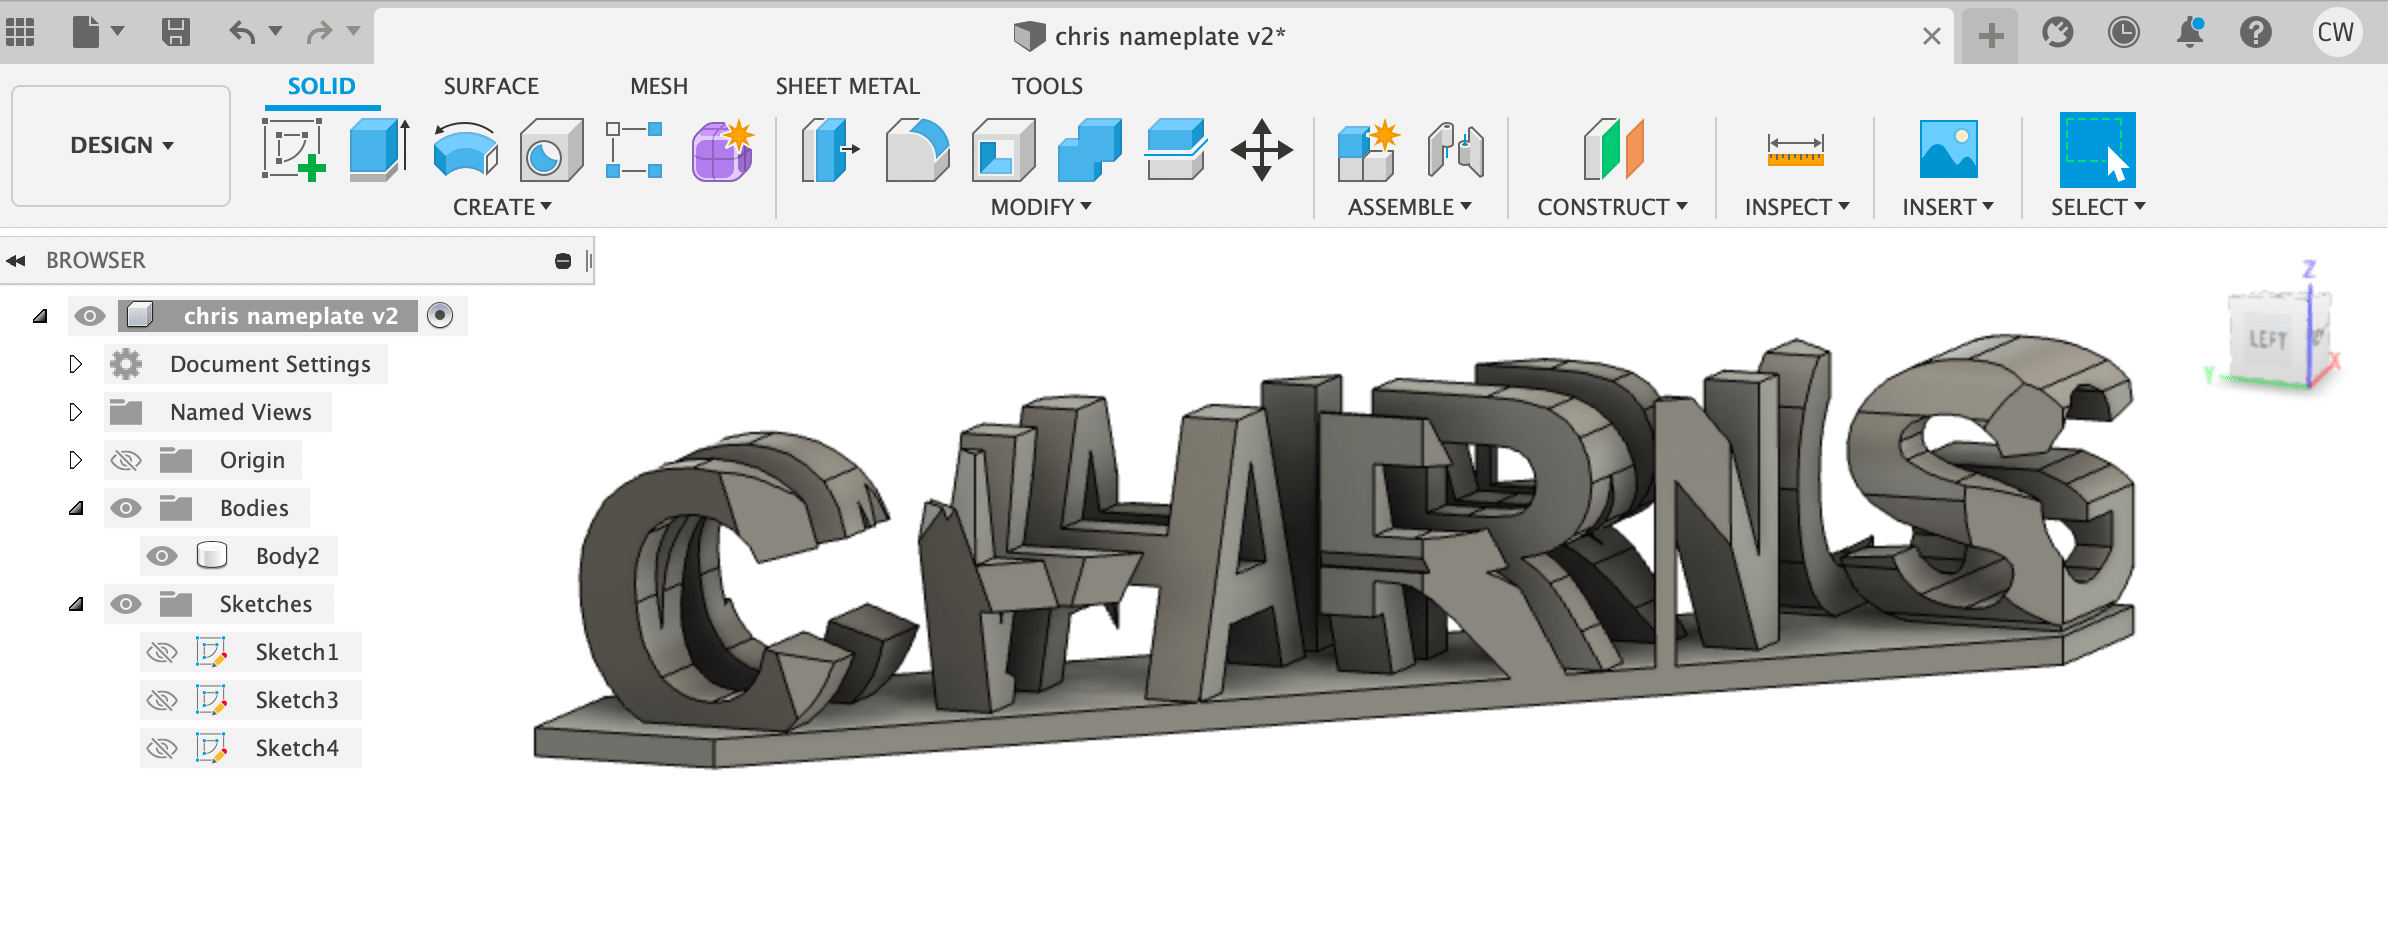
Nameplate
Designing
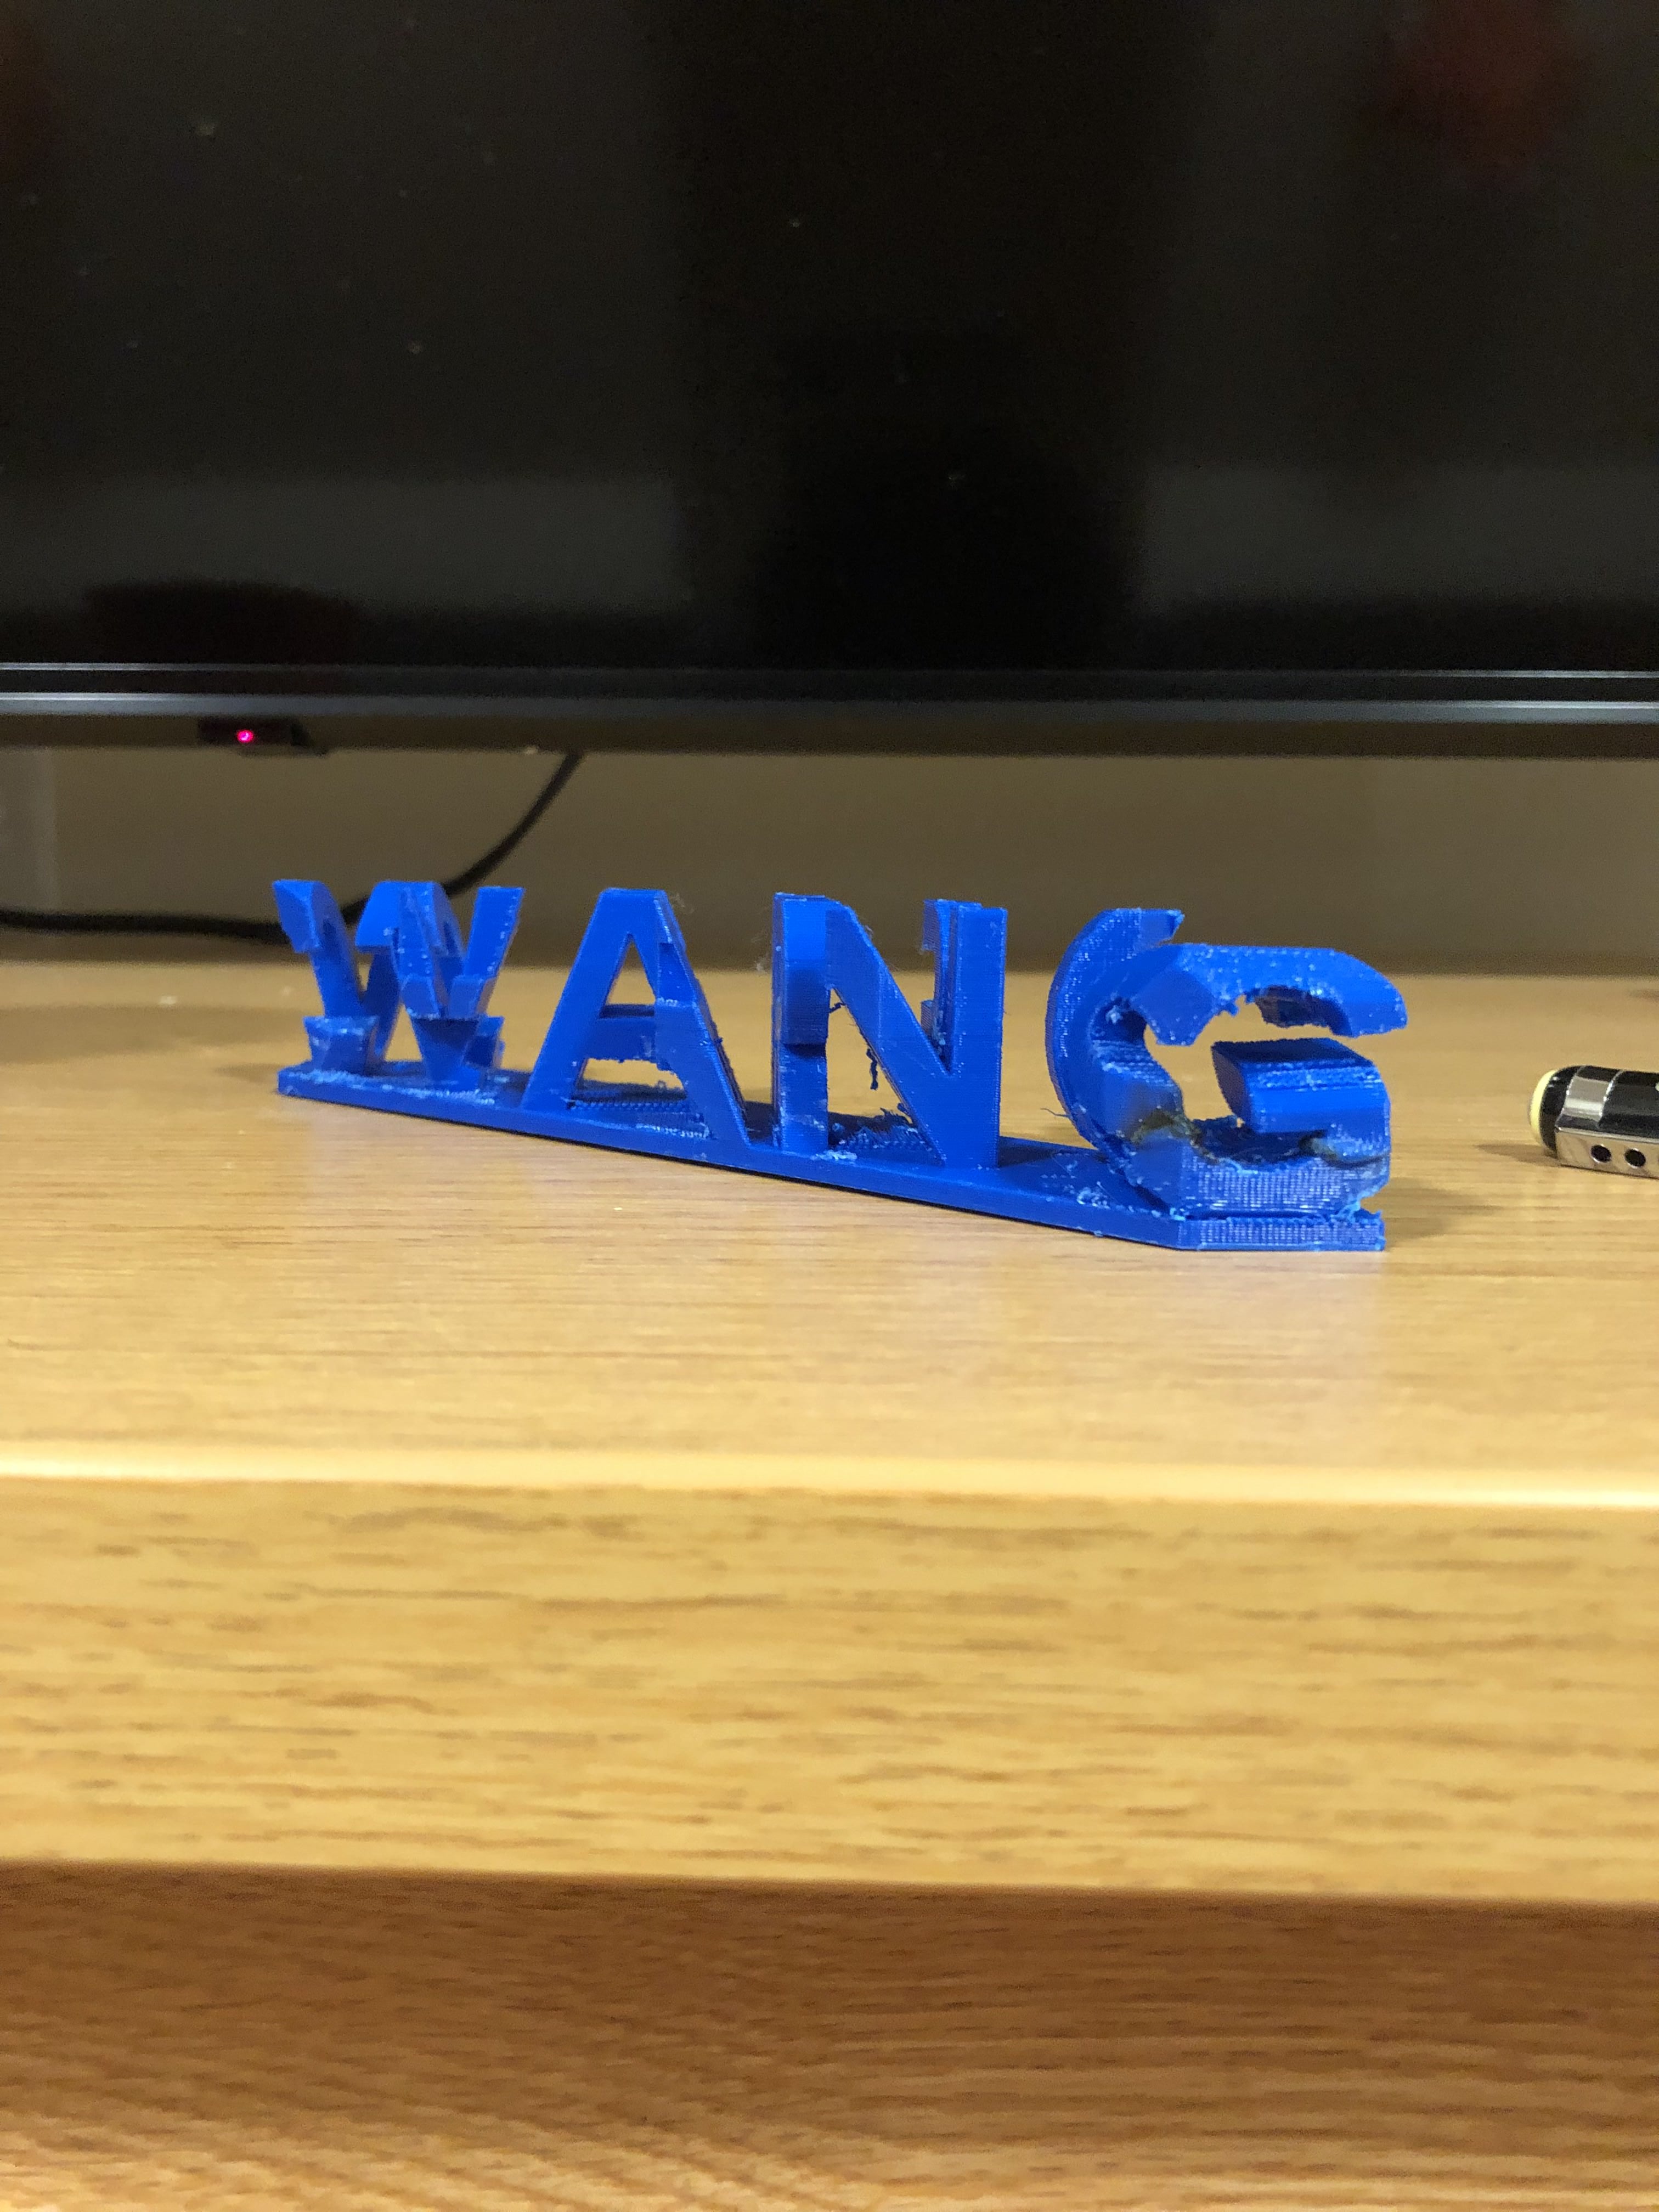
I want the nameplate to show my first name at one angle, and then my last name in another. I designed the nameplate by making a 2D sketch with my name, and then extruded it long enough to fit my last name on the adjacent plane. I then wrote my last name, and then spent the next hour trying to figure out how to extrude the negative space around it so that it could cut my last name out through this angle.
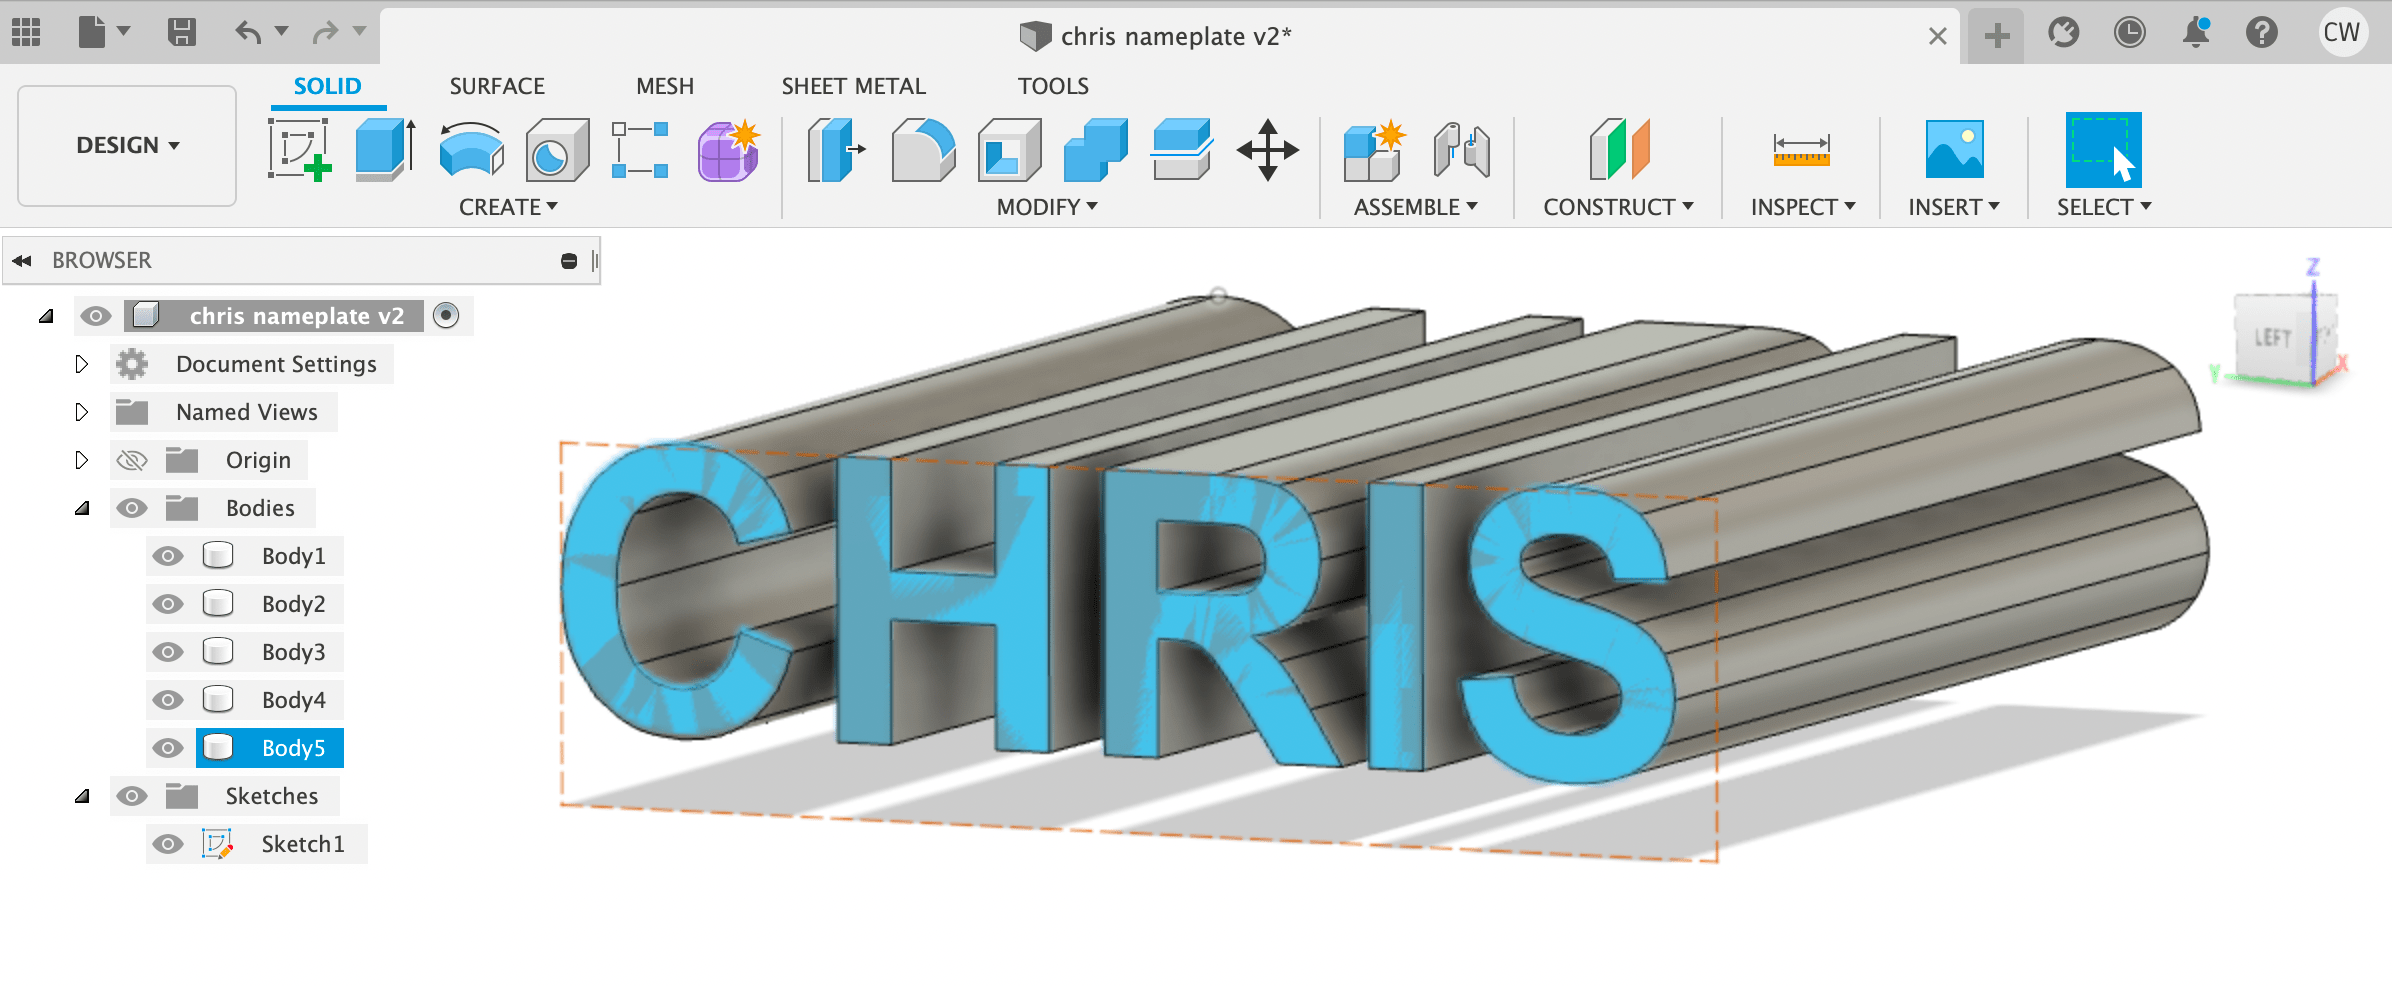


After finally struggling through this part, I finally was able to see the illusion, but it was still a large square. I cut out a diagonal portion of this by making a sketch directly underneath the print, and then extruded it upwards to cut out the unnecessary parts.
I cut out a diagonal portion of this by making a sketch directly underneath the print, and then extruded it upwards to cut out the unnecessary parts.
Troubleshooting
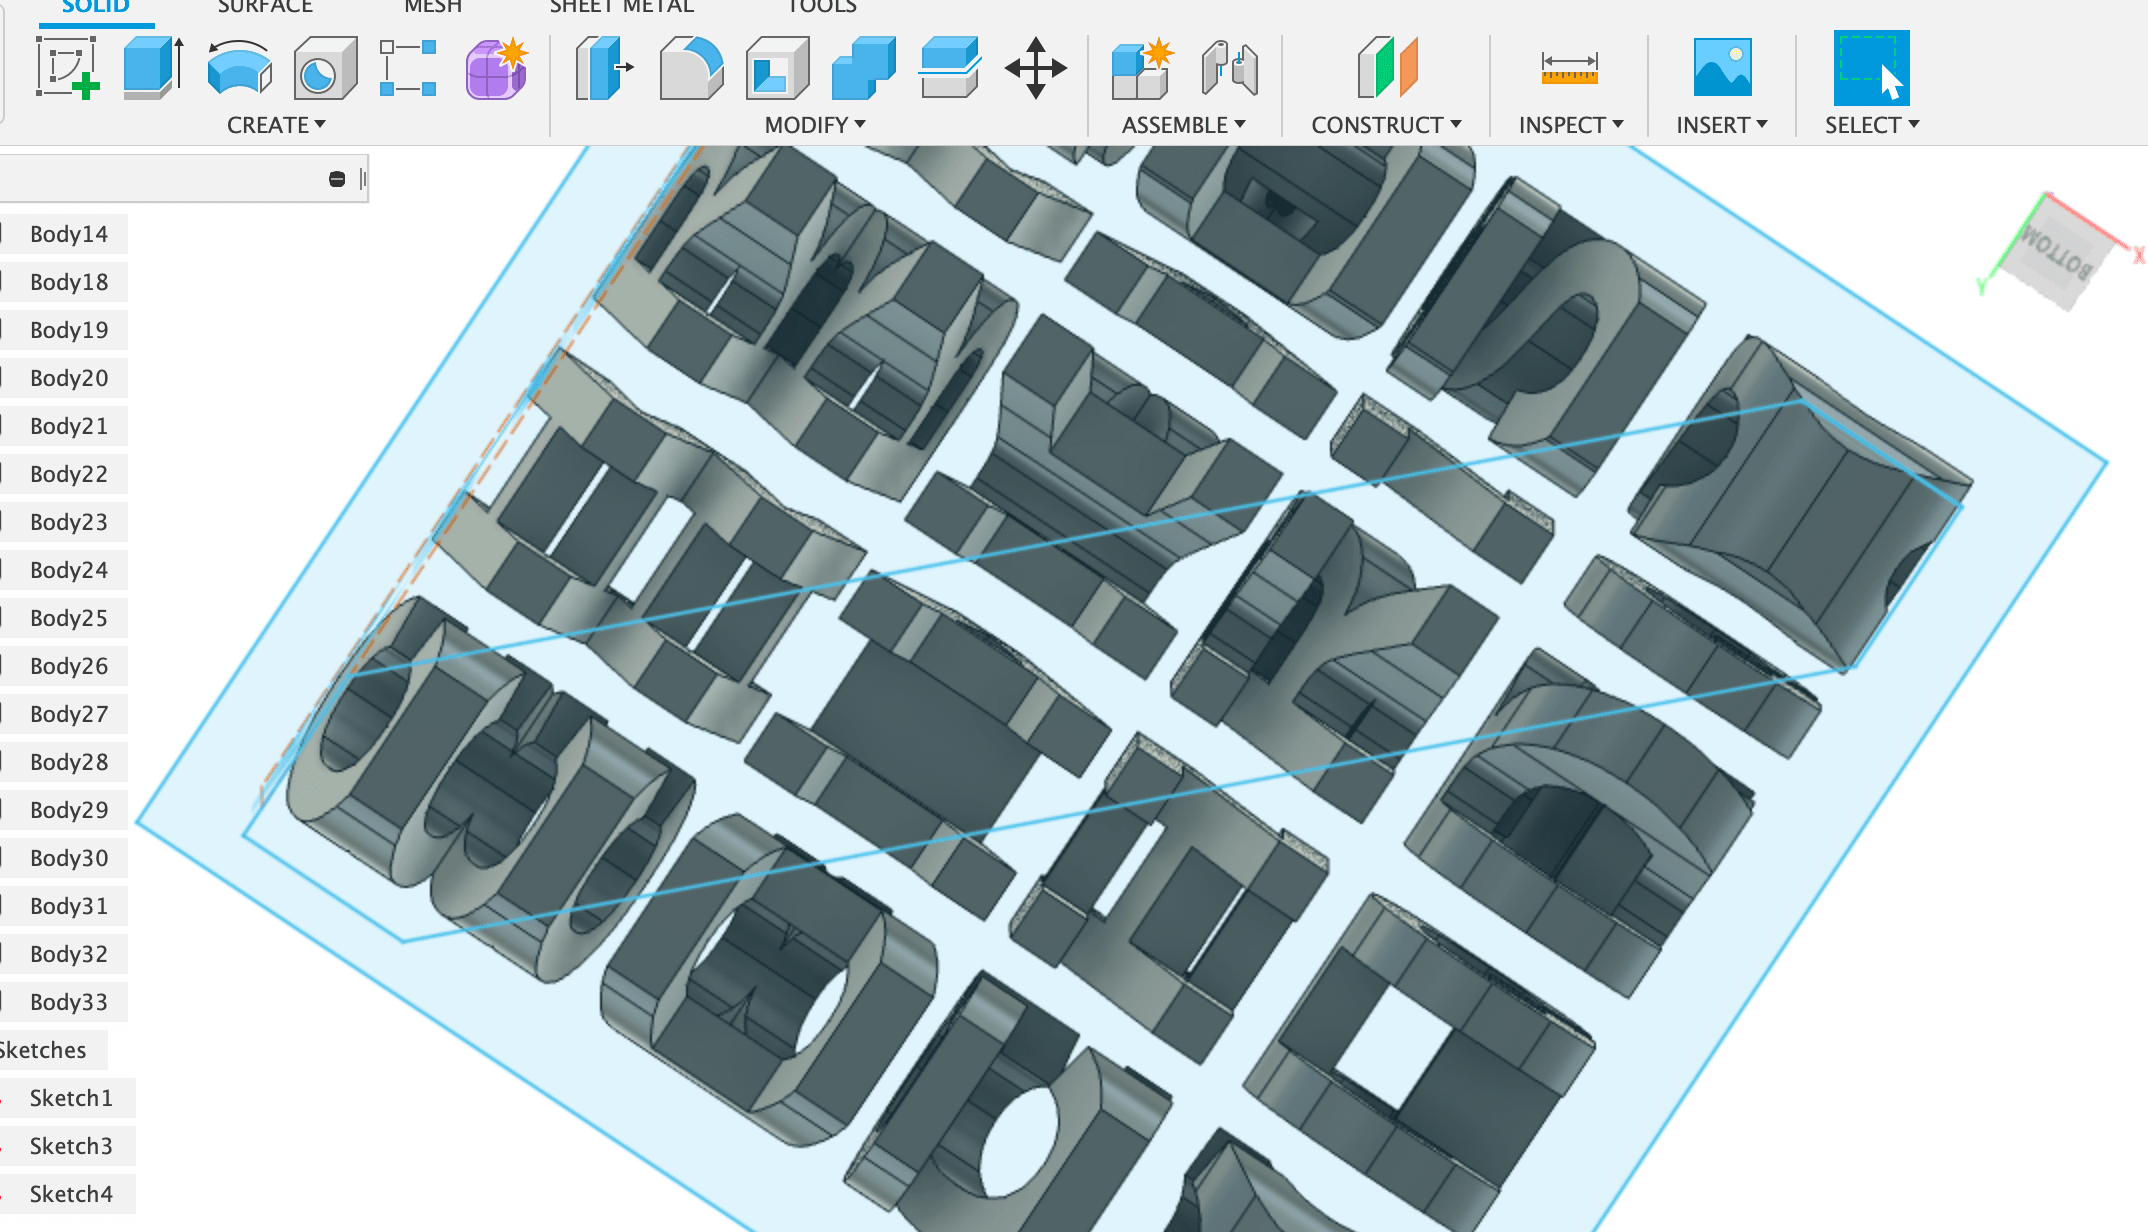
Because I cut it at a diagonal, there were many floating pieces and sharp leftovers that needed to be removed because they weren’t printable. I removed these extra parts by cutting/extruding them away. This started to take forever, so I removed the floating pieces and learned the split body function to cut away any sharp/thin edges that were bridging off of the main components. Eventually, I was left with a printable nameplate that I could slice. Before sending it off to Prusa, however, I added a base plate to hold the letters together.
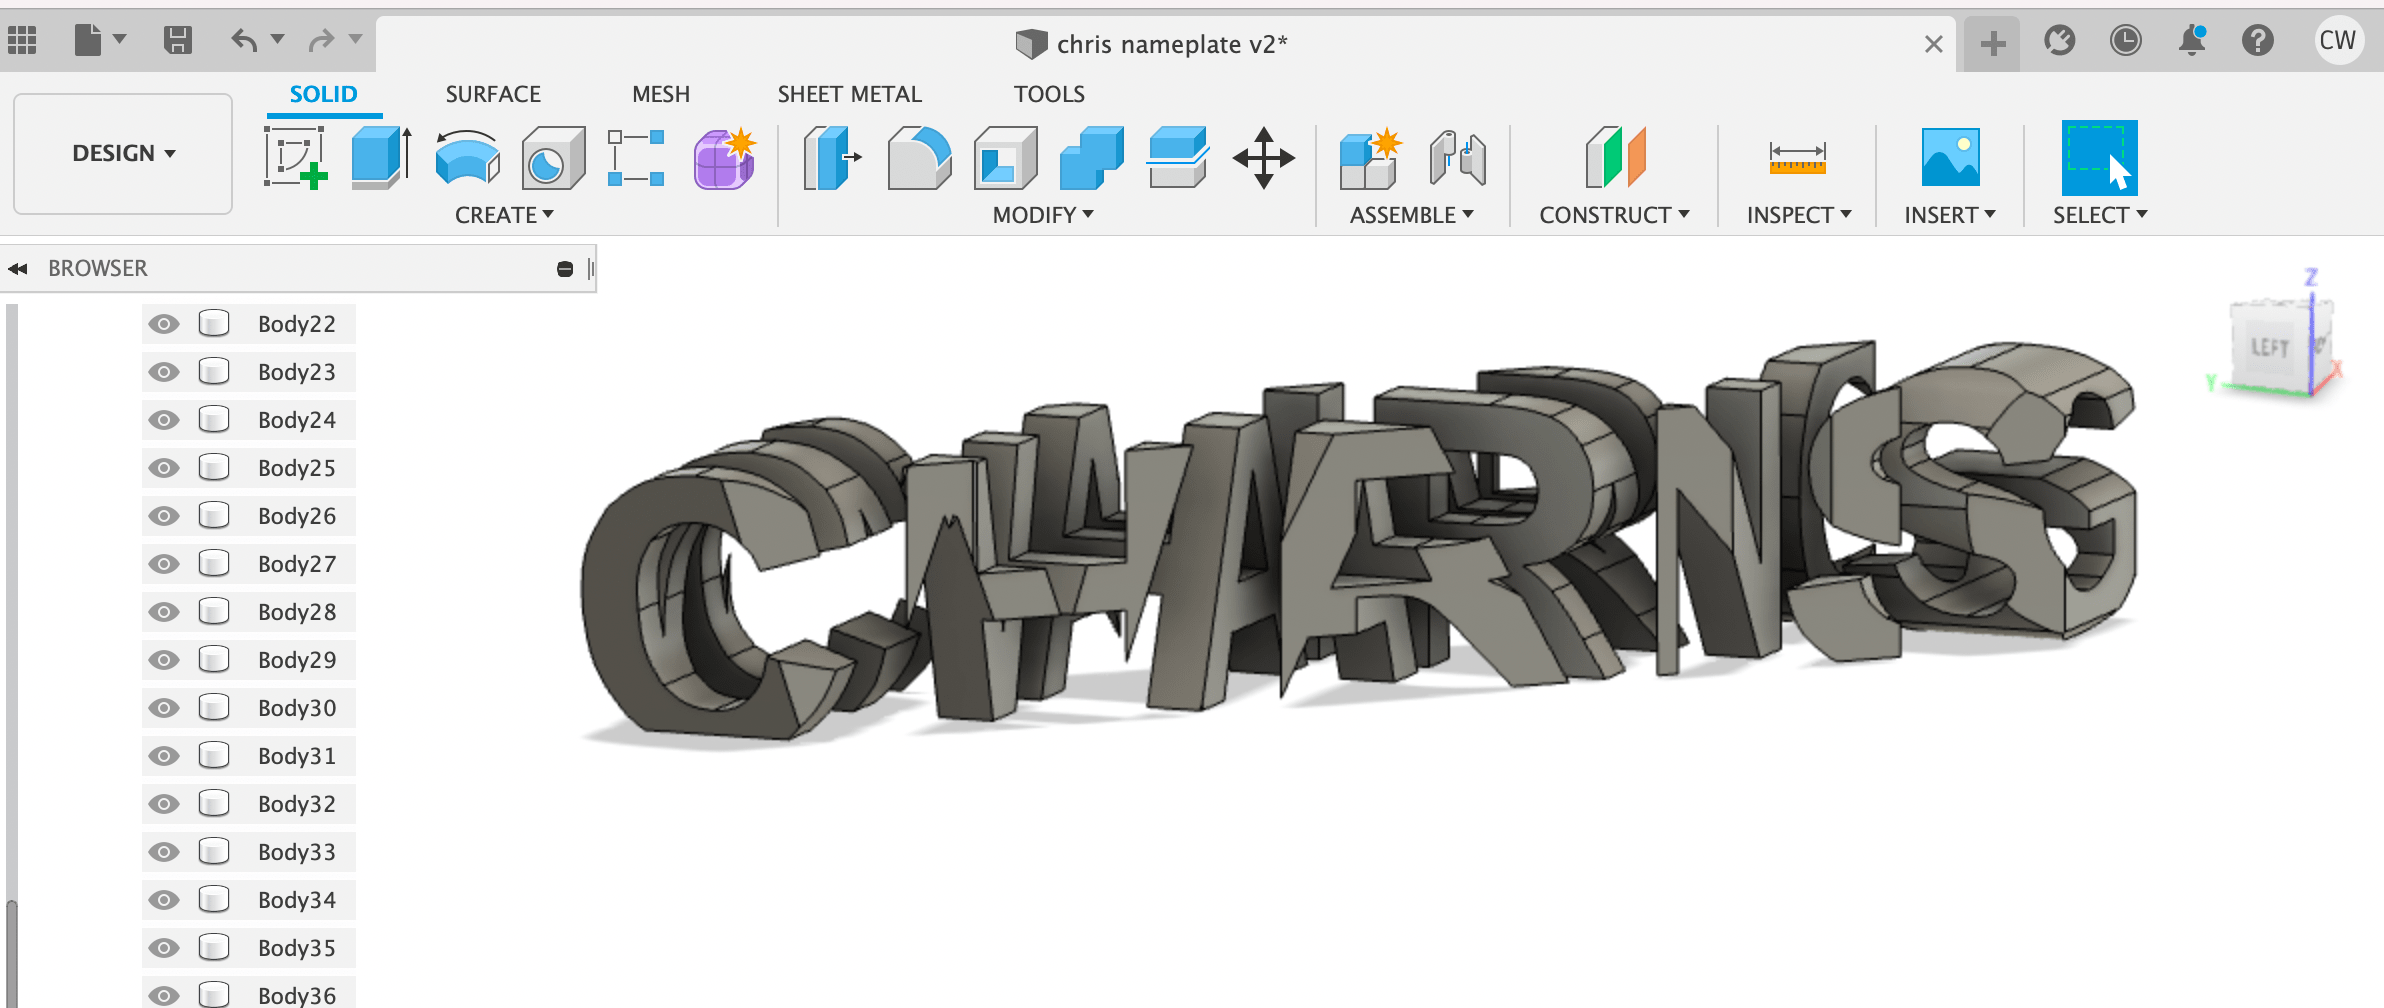
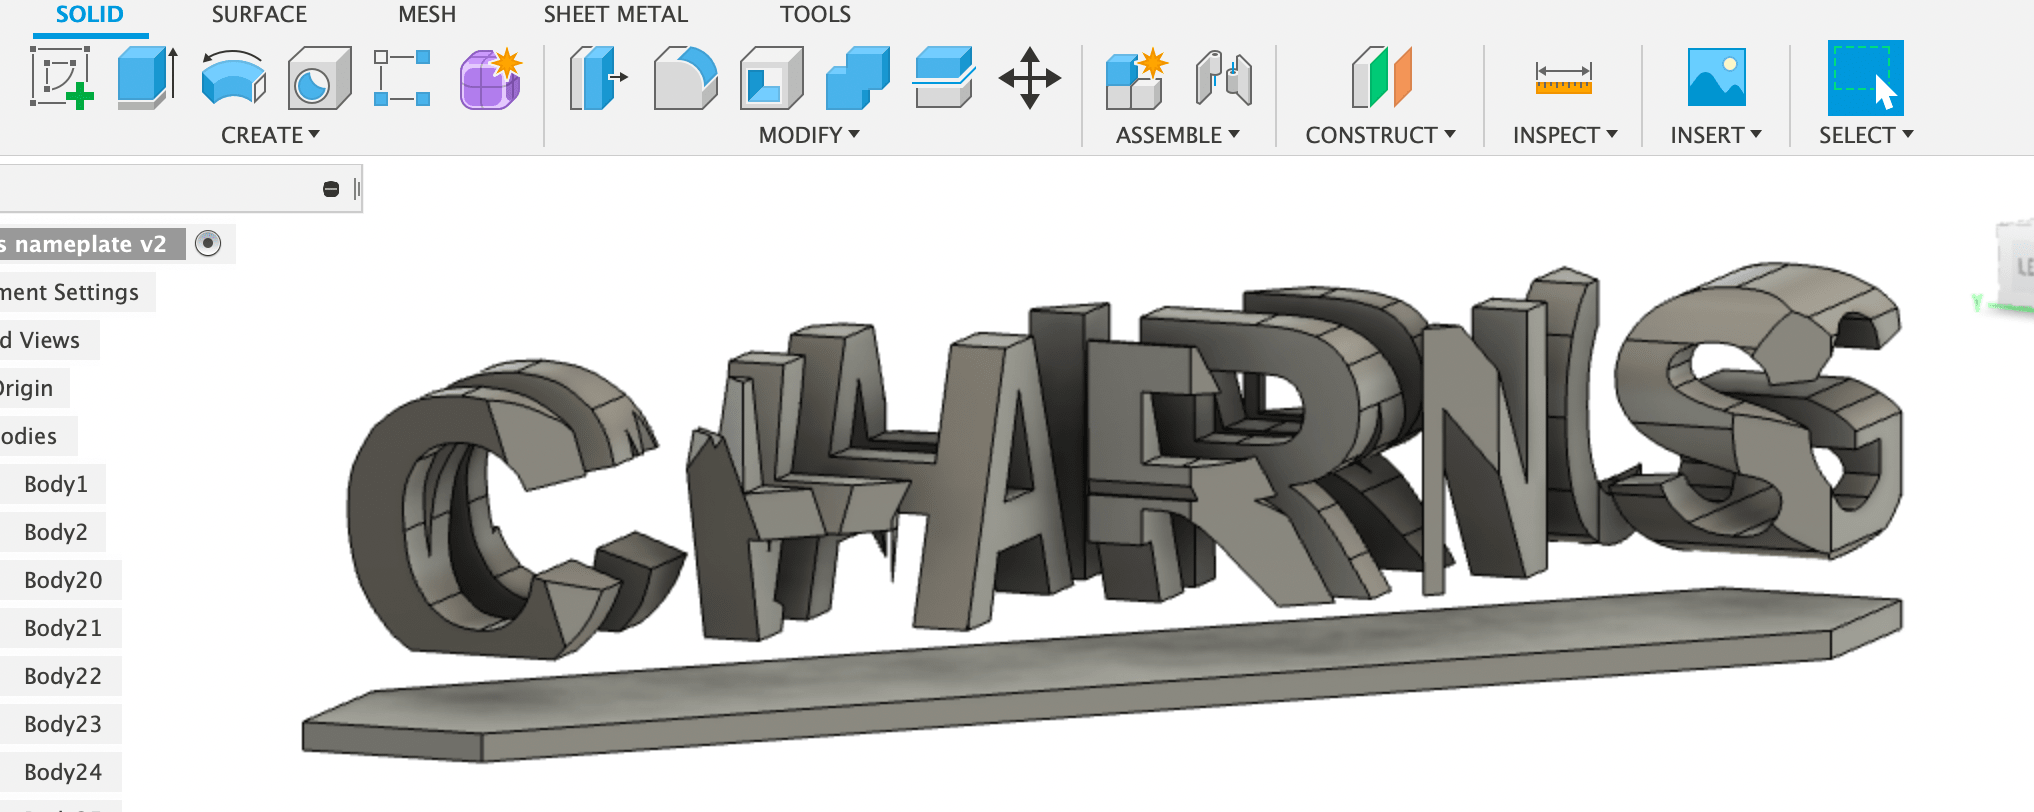
Because I cut it at a diagonal, there were many floating pieces and sharp leftovers that needed to be removed because they weren’t printable. I removed these extra parts by cutting/extruding them away. This started to take forever, so I removed the floating pieces and learned the split body function to cut away any sharp/thin edges that were bridging off of the main components. Eventually, I was left with a printable nameplate that I could slice. Before sending it off to Prusa, however, I added a base plate to hold the letters together.
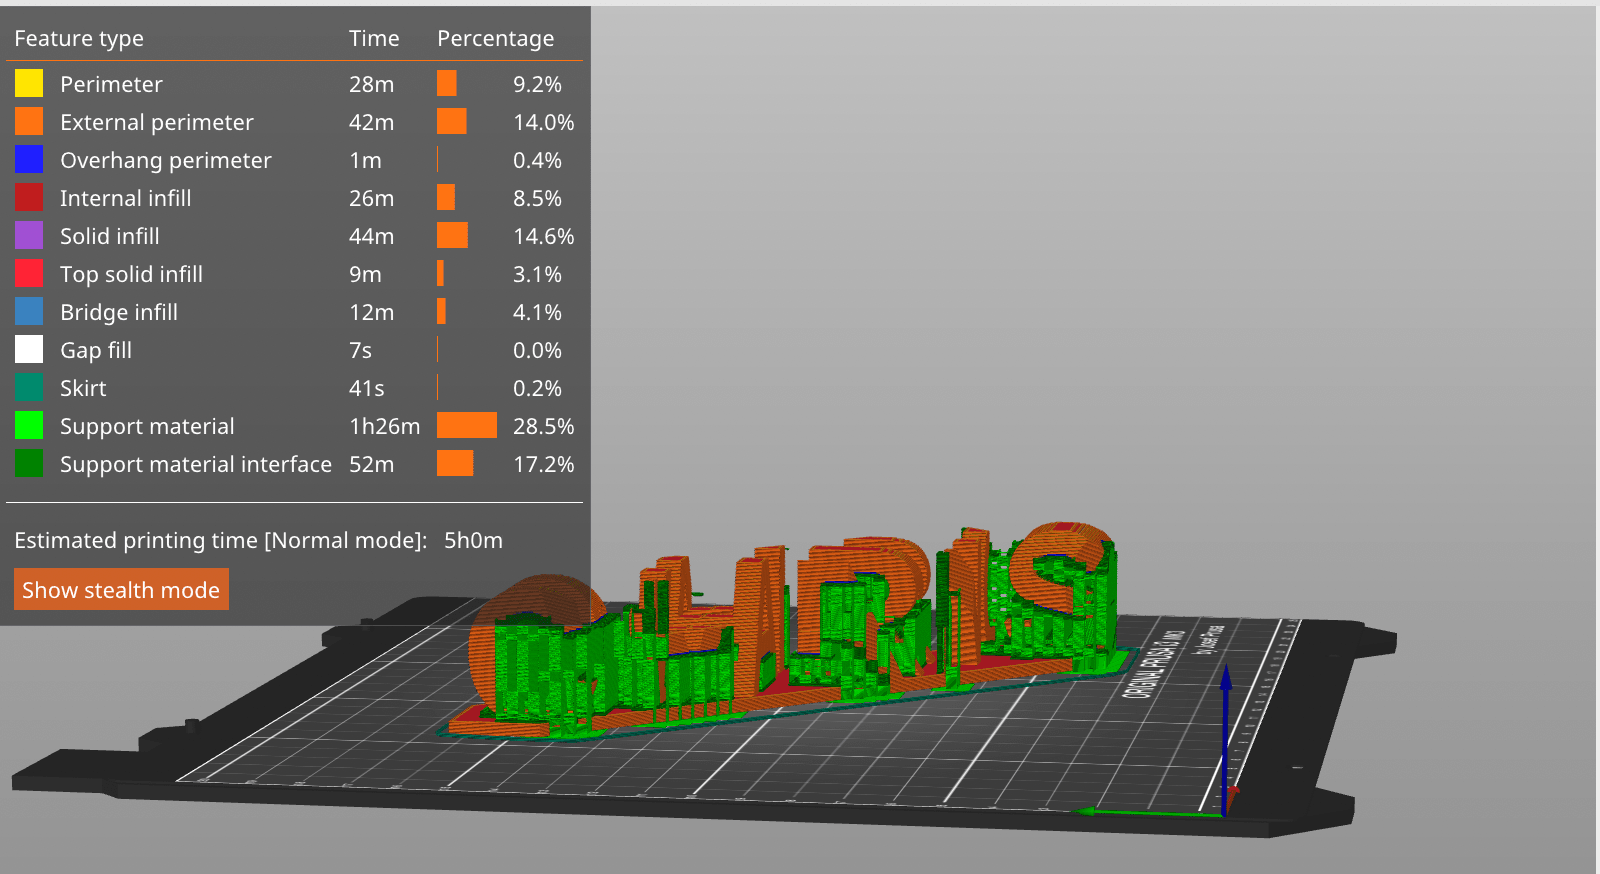
Slicing
I sliced the nameplate and realized I needed a lot more support in order to print it, so I added supports and then sent the file to the printer.
Printing
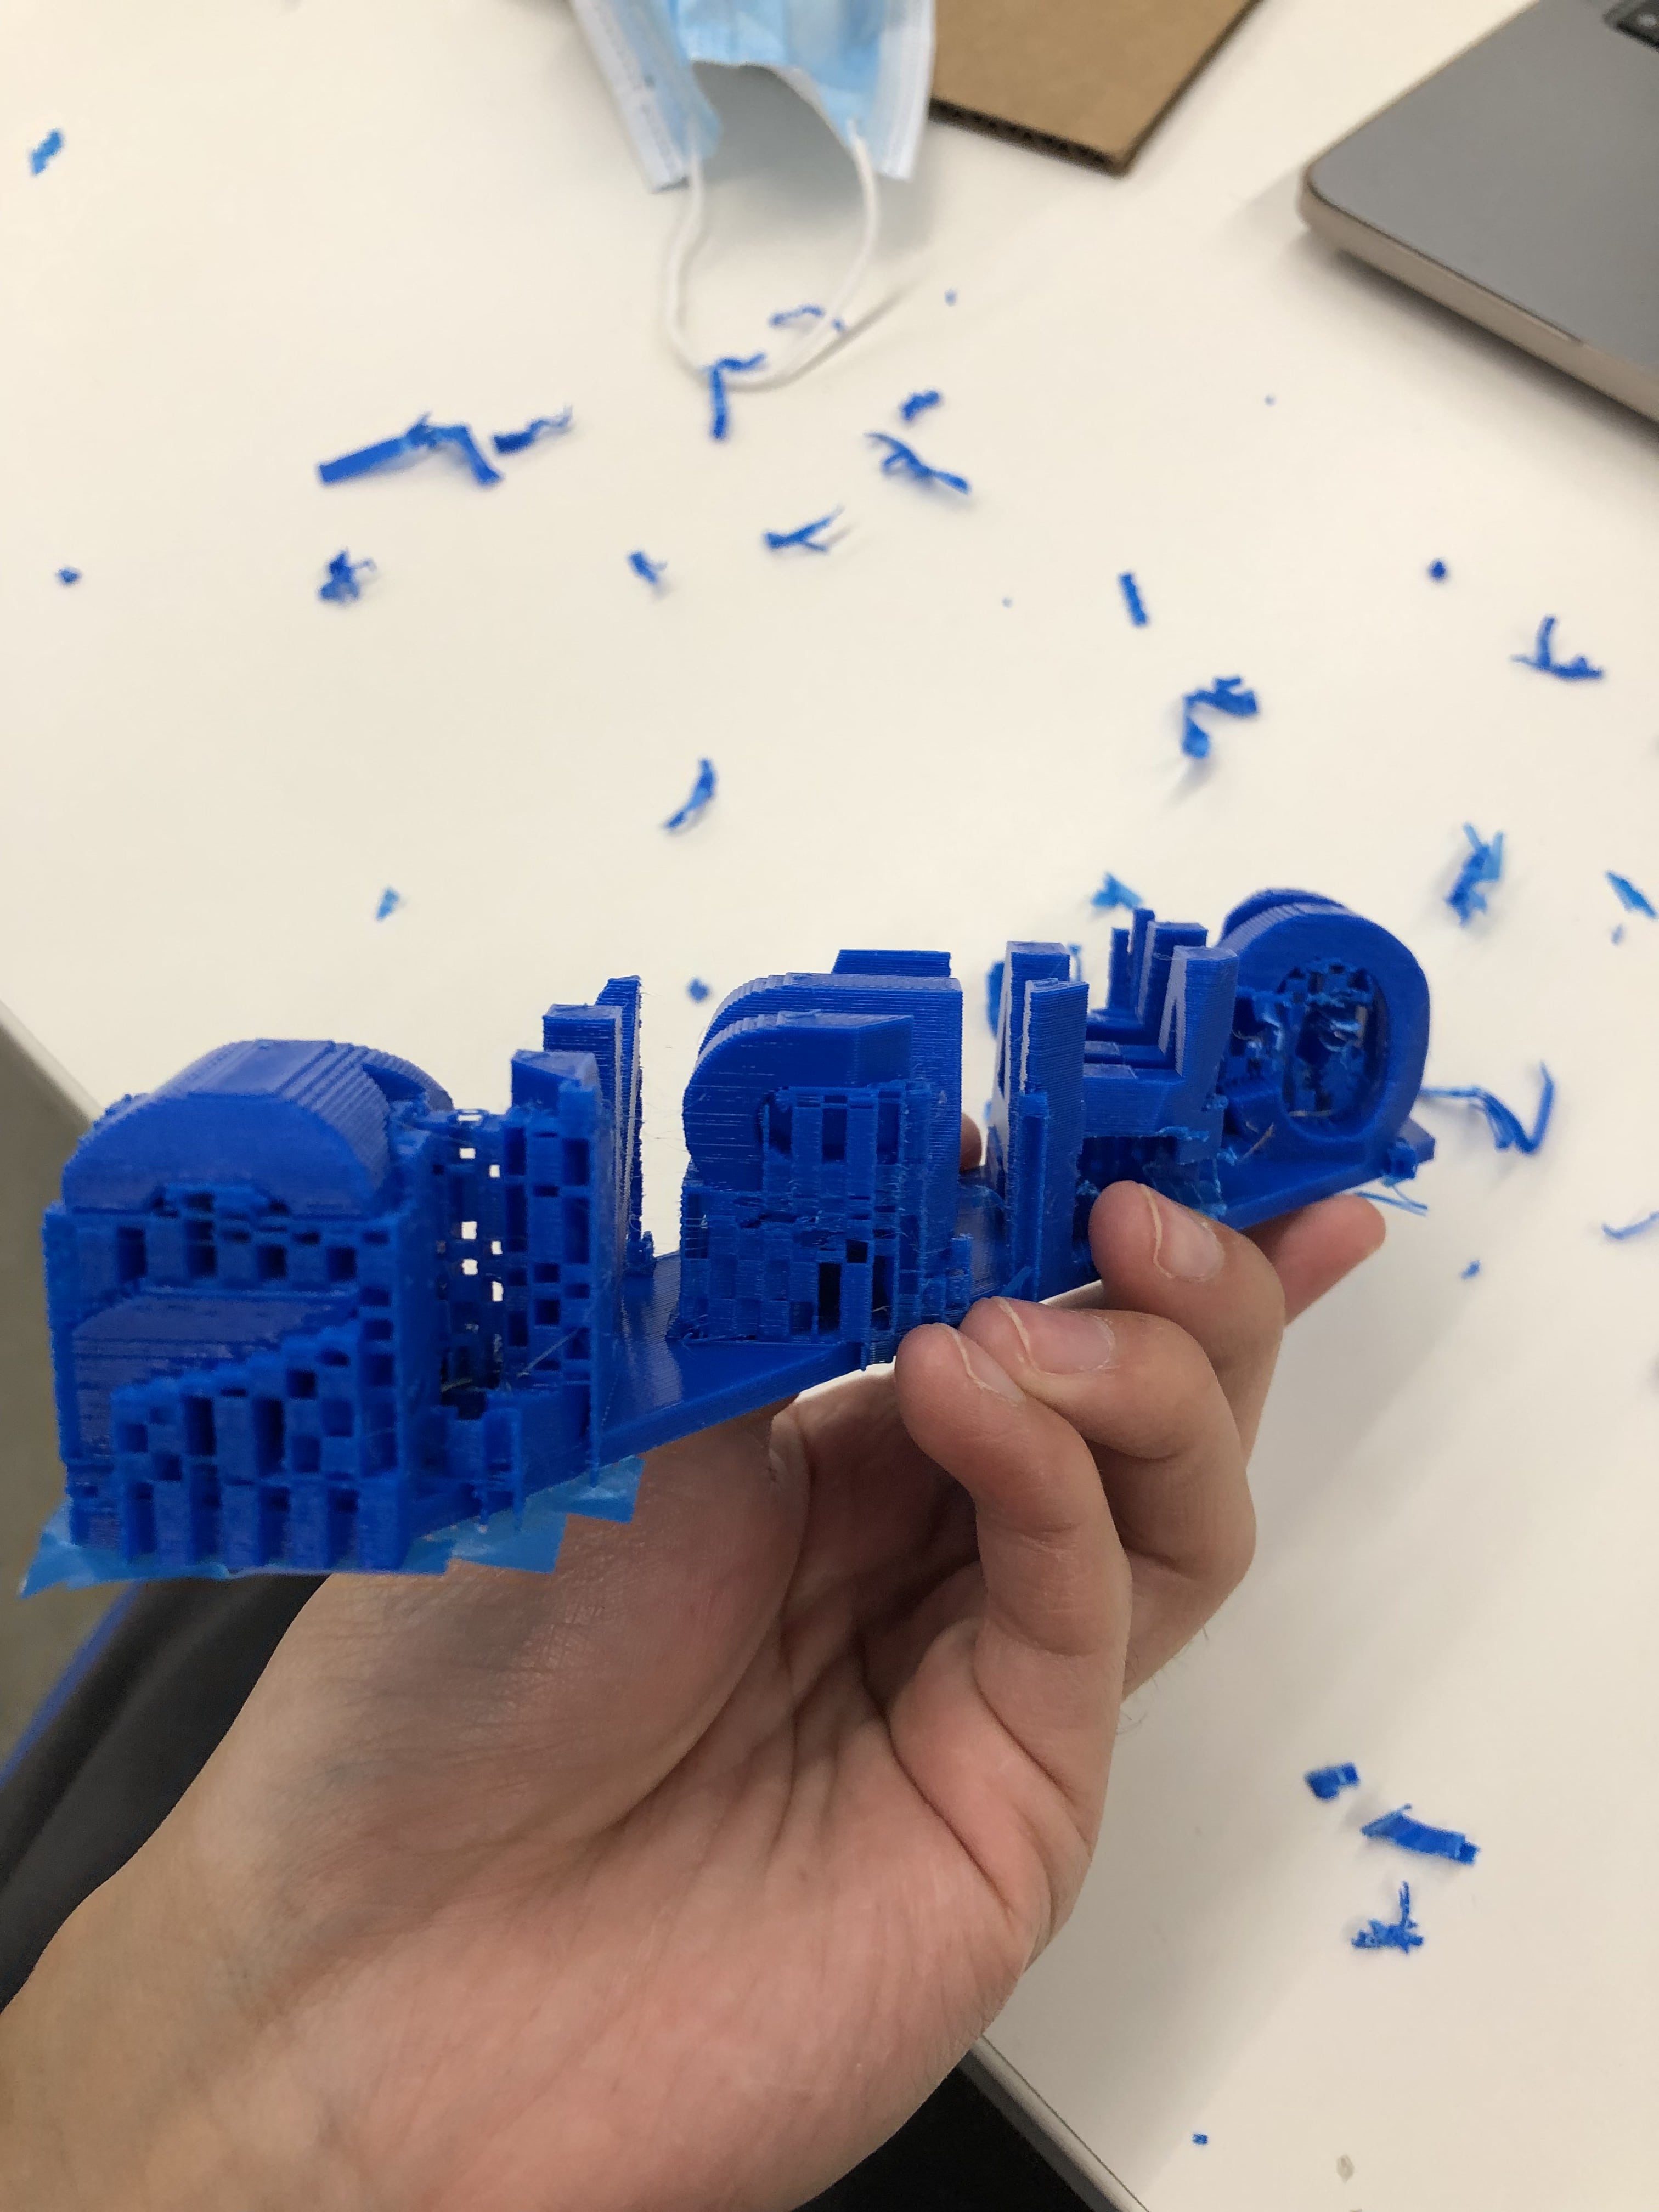
I underestimated the amount of support that was needed, and spent 2 HOURS trying to rip it off, and even broke part of the plate and had to melt the pieces back together. In the future, I should try using water soluble supports.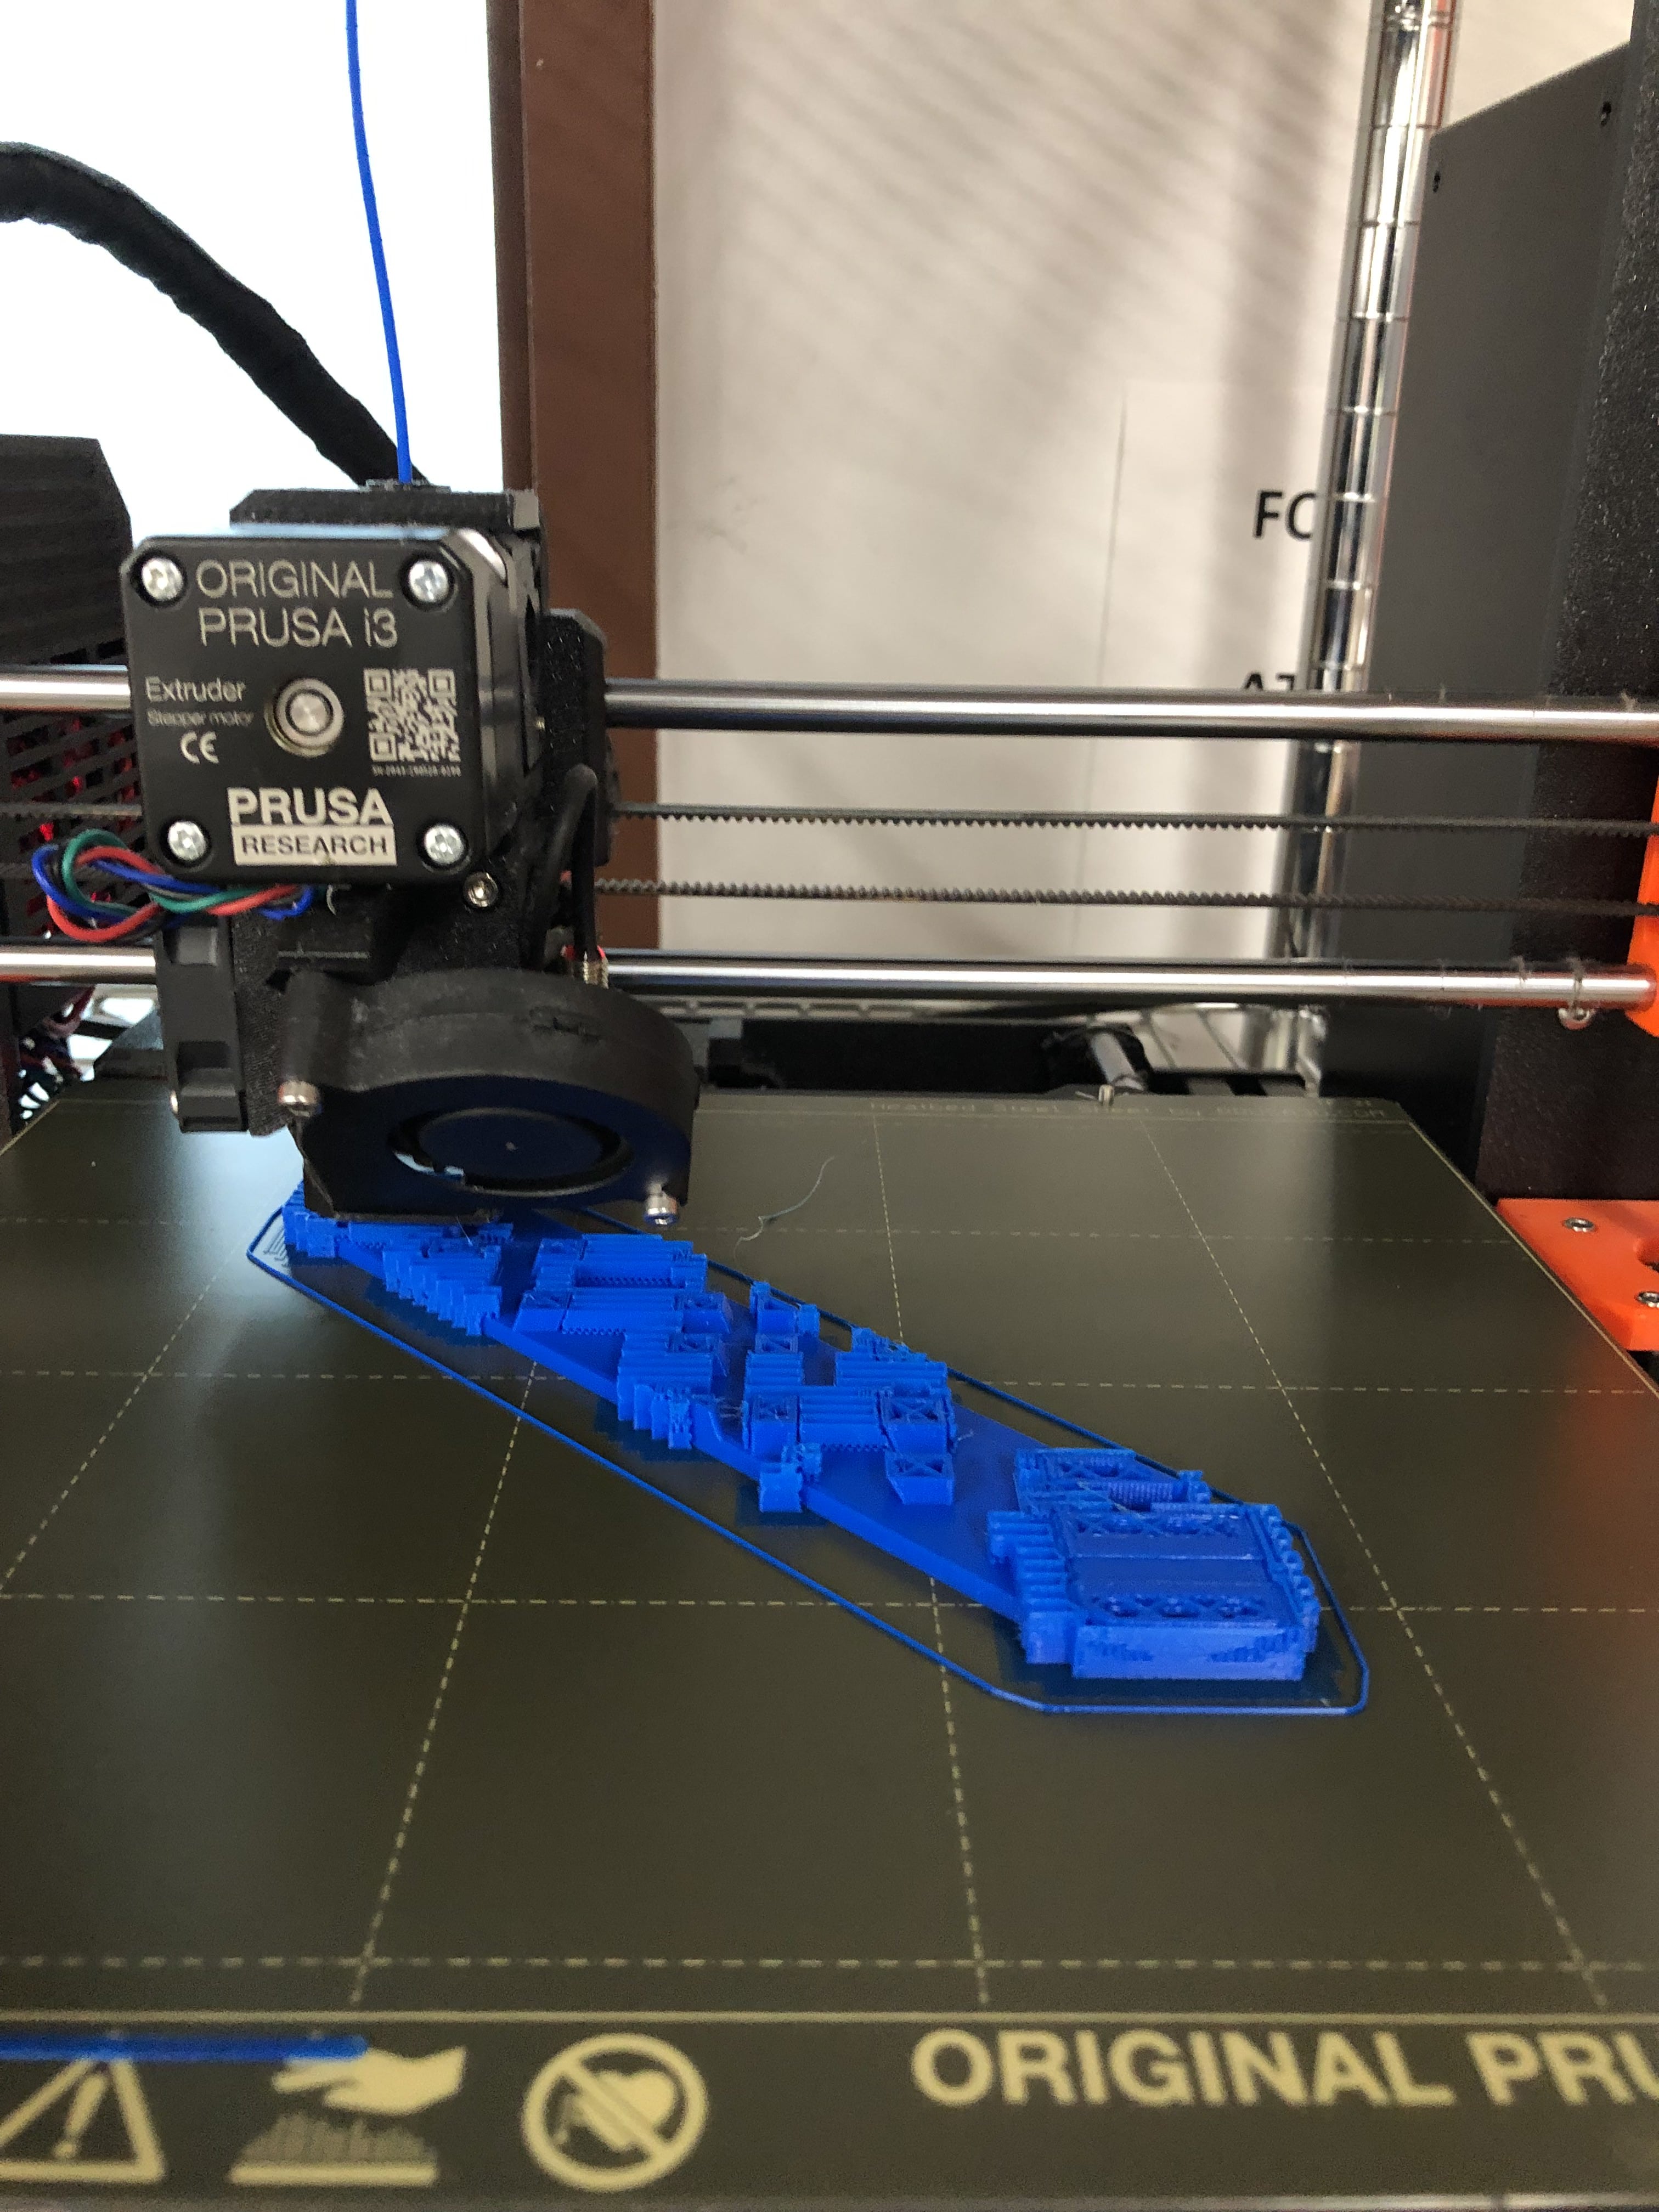
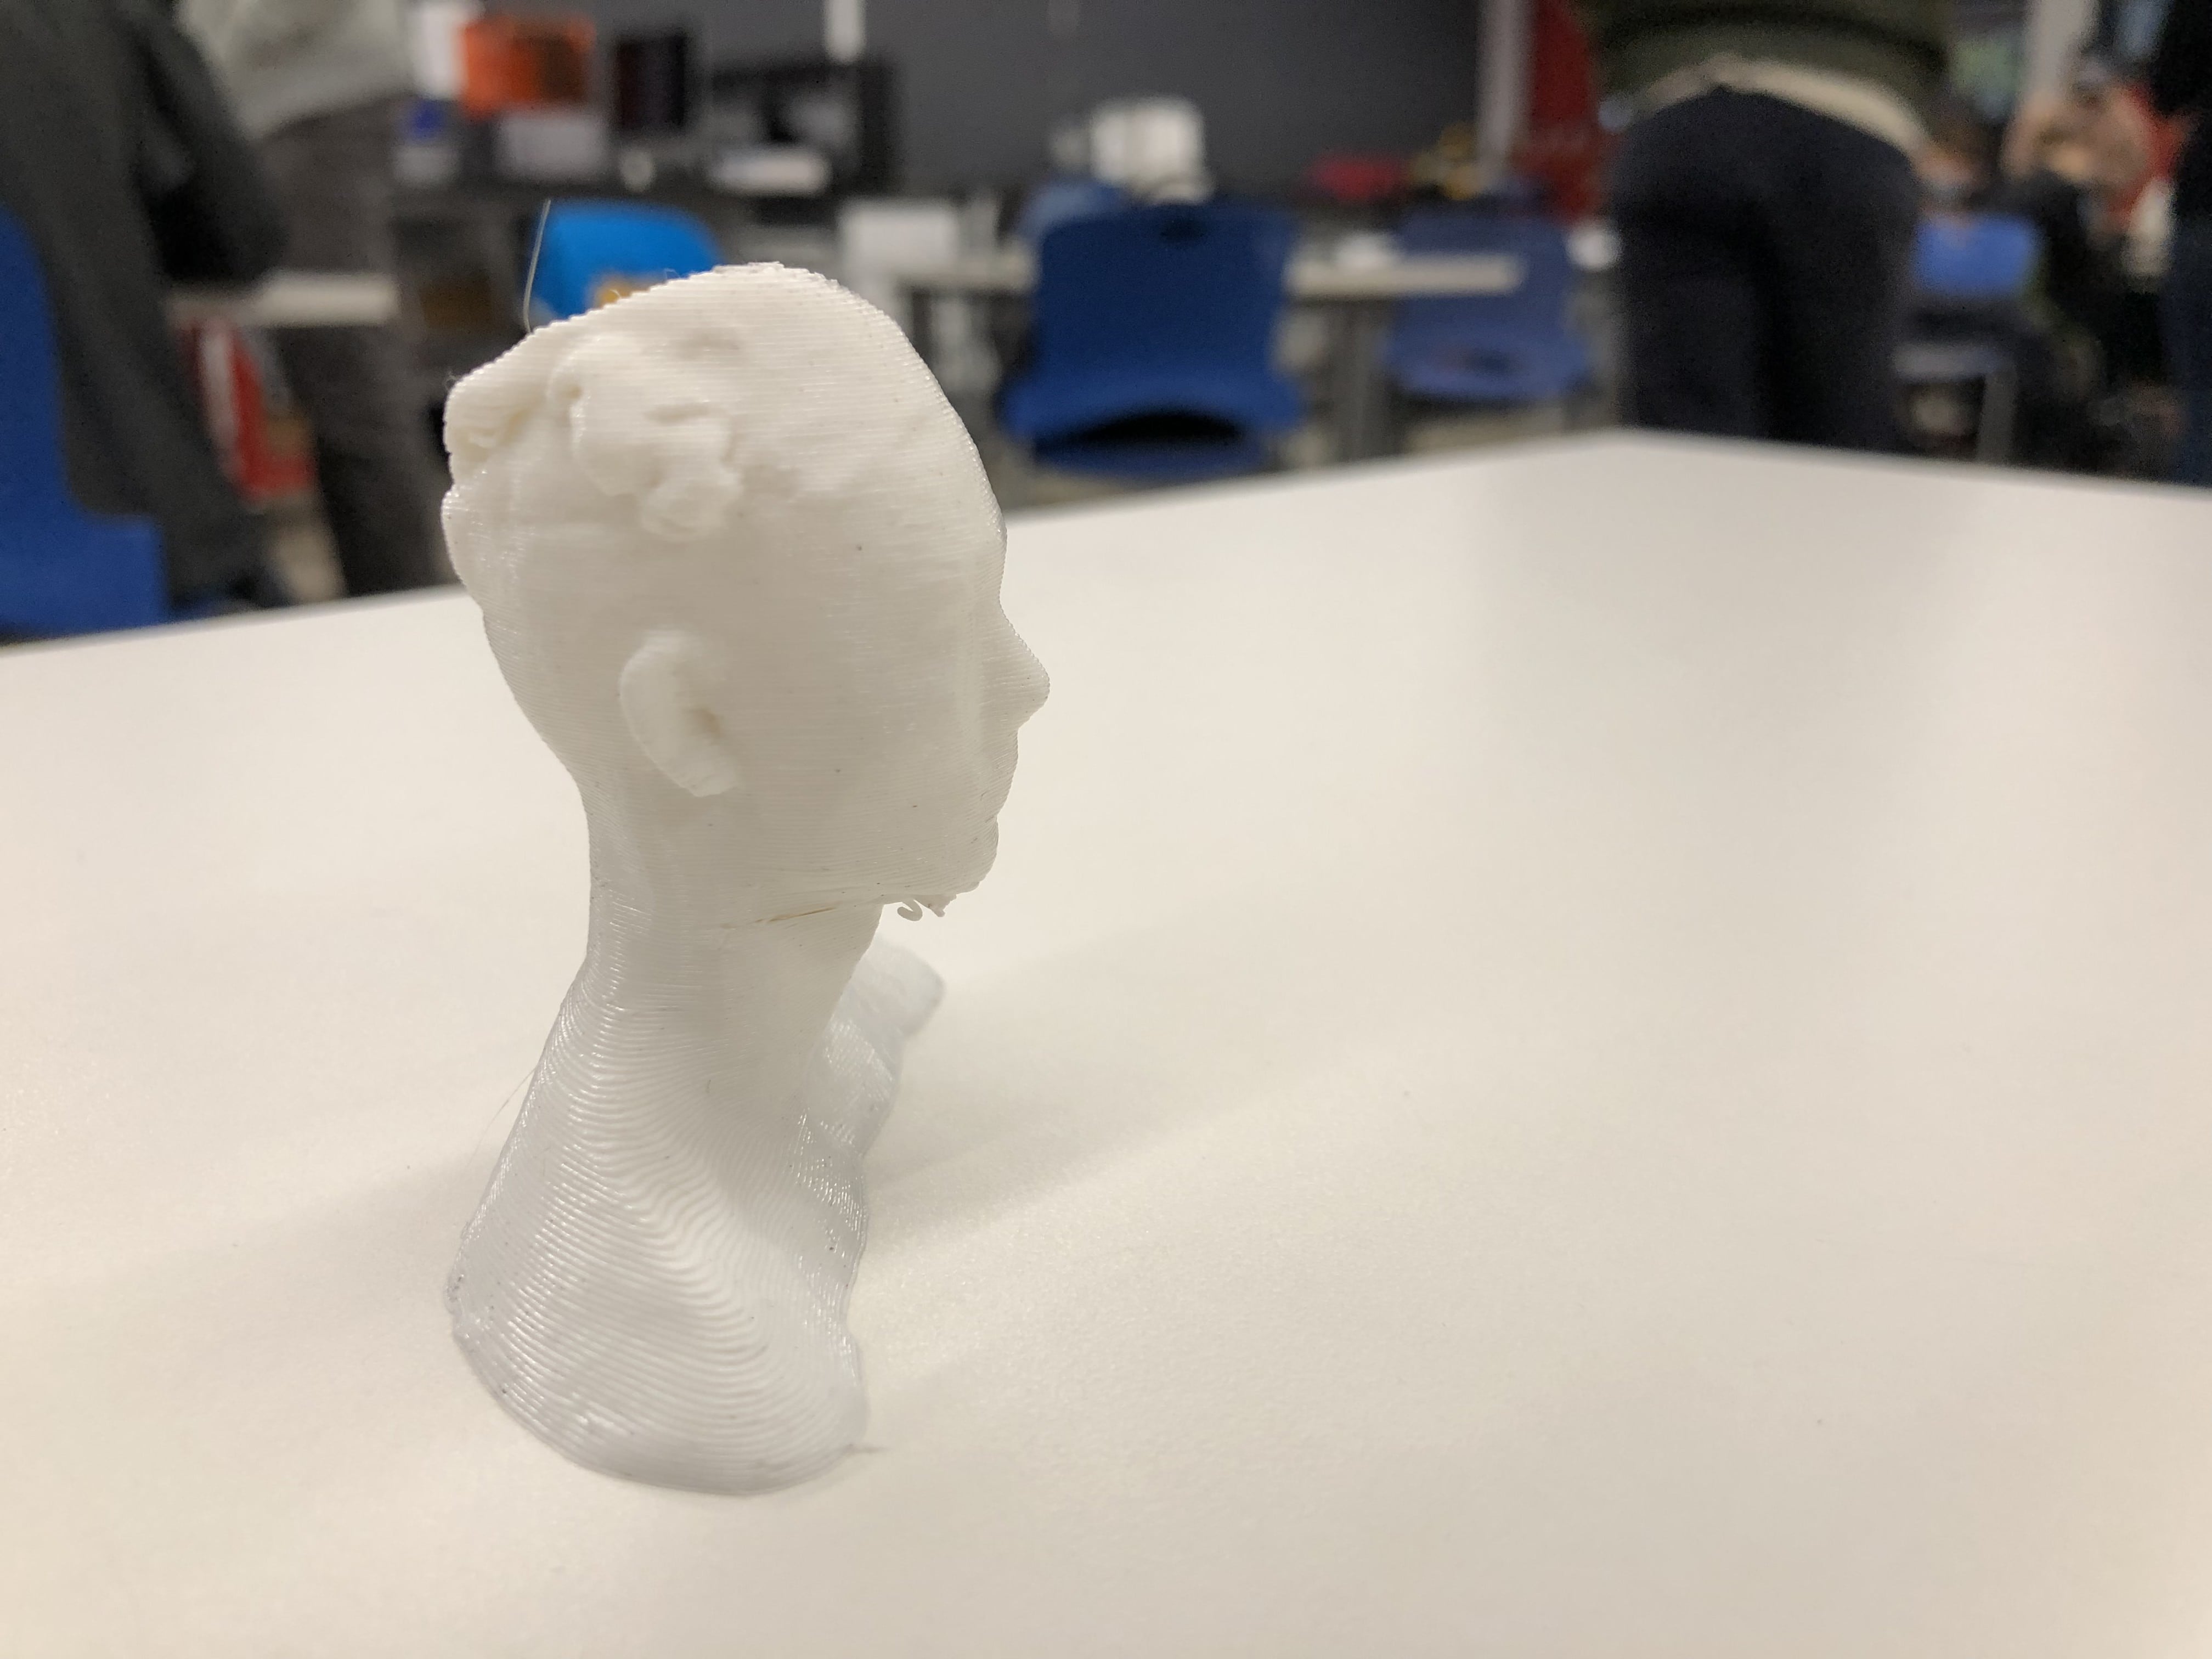
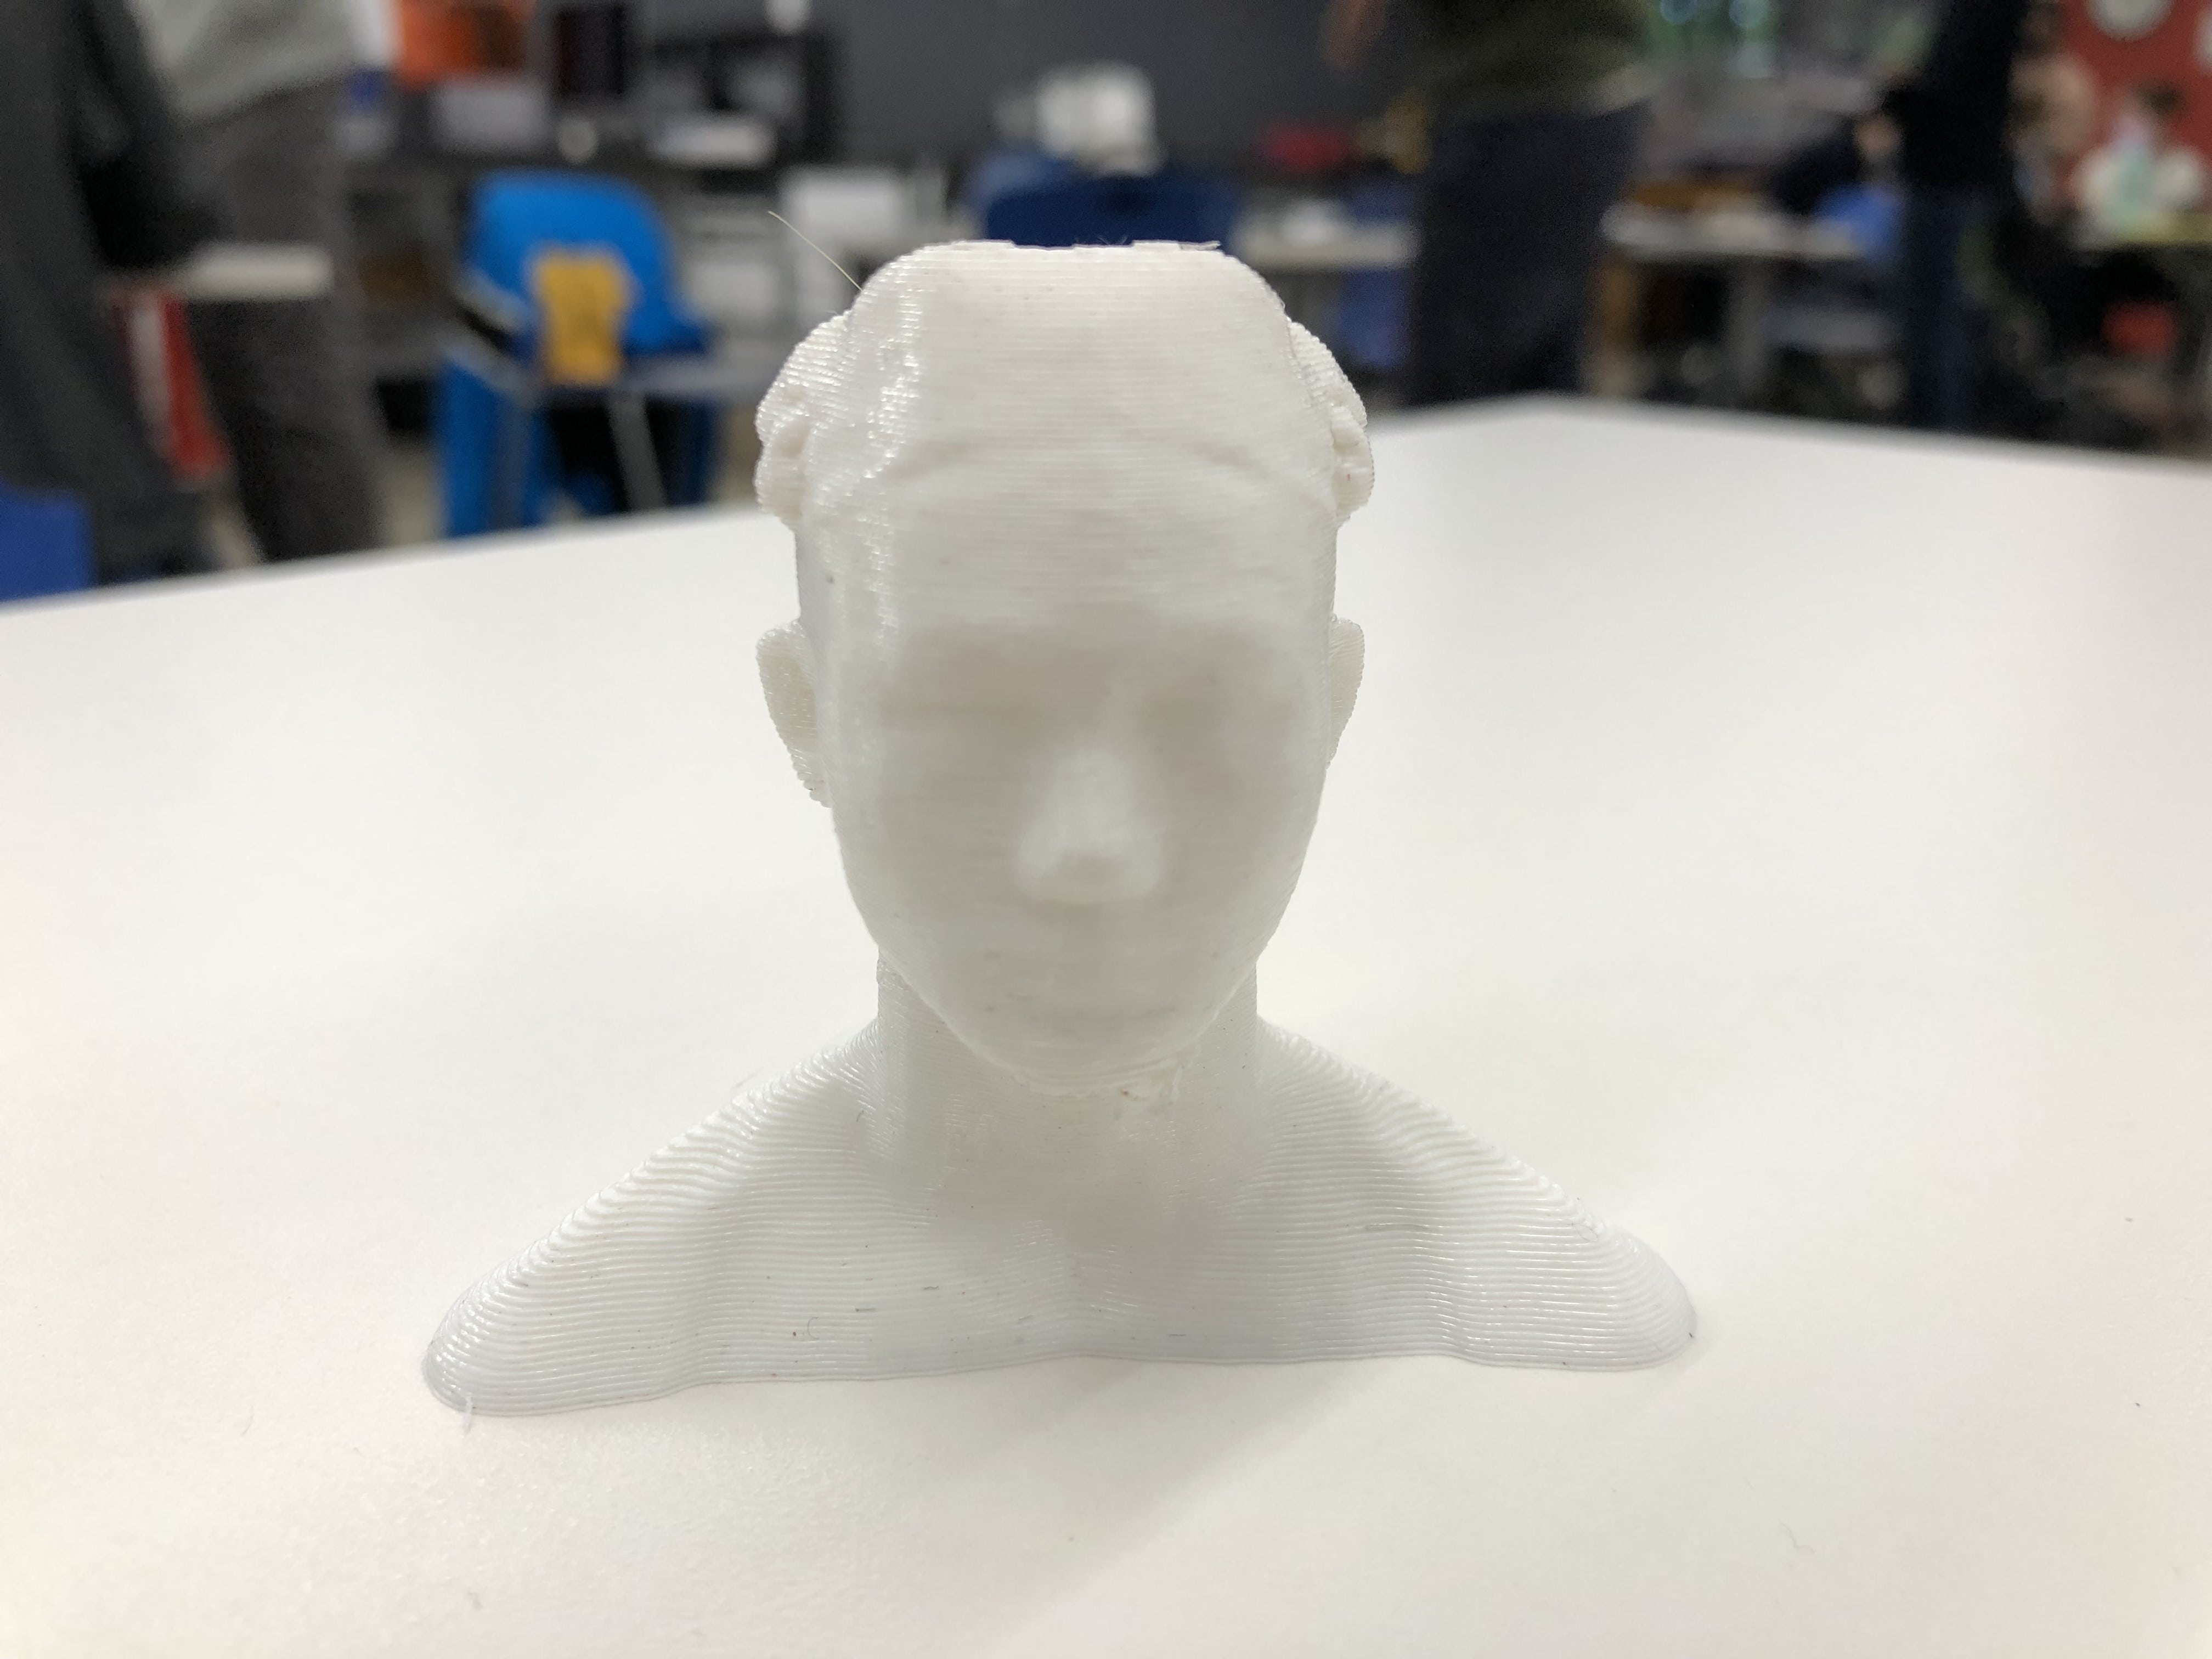
Here is the final result.