Design
Using Fusion360
I began the design by designing the backbone and arms of the chair, which from the side were two circles with a circular ladder between them. This took a long time, as I was trying to map out the dimensions of the chair and also create the notches that many of the semicircles would slide into. Since this was the most important part of the chair(the backbone and arms literally hold everything together), I realized how important it was to add copious amounts of constraints to the design, as the learning curve for Fusion360 was enormous.
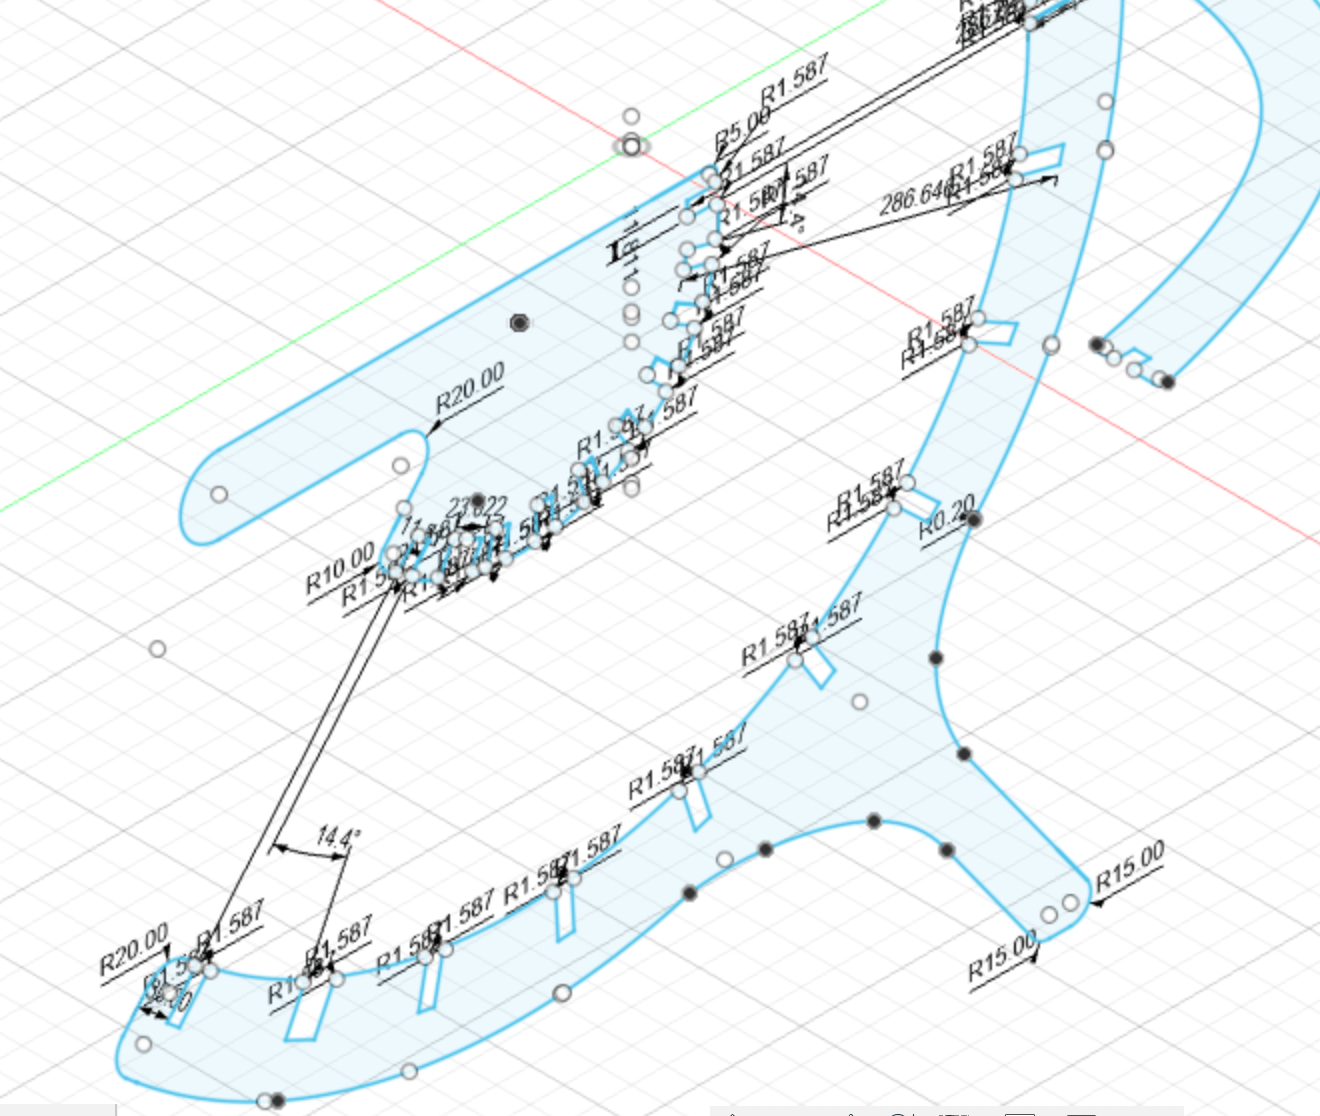
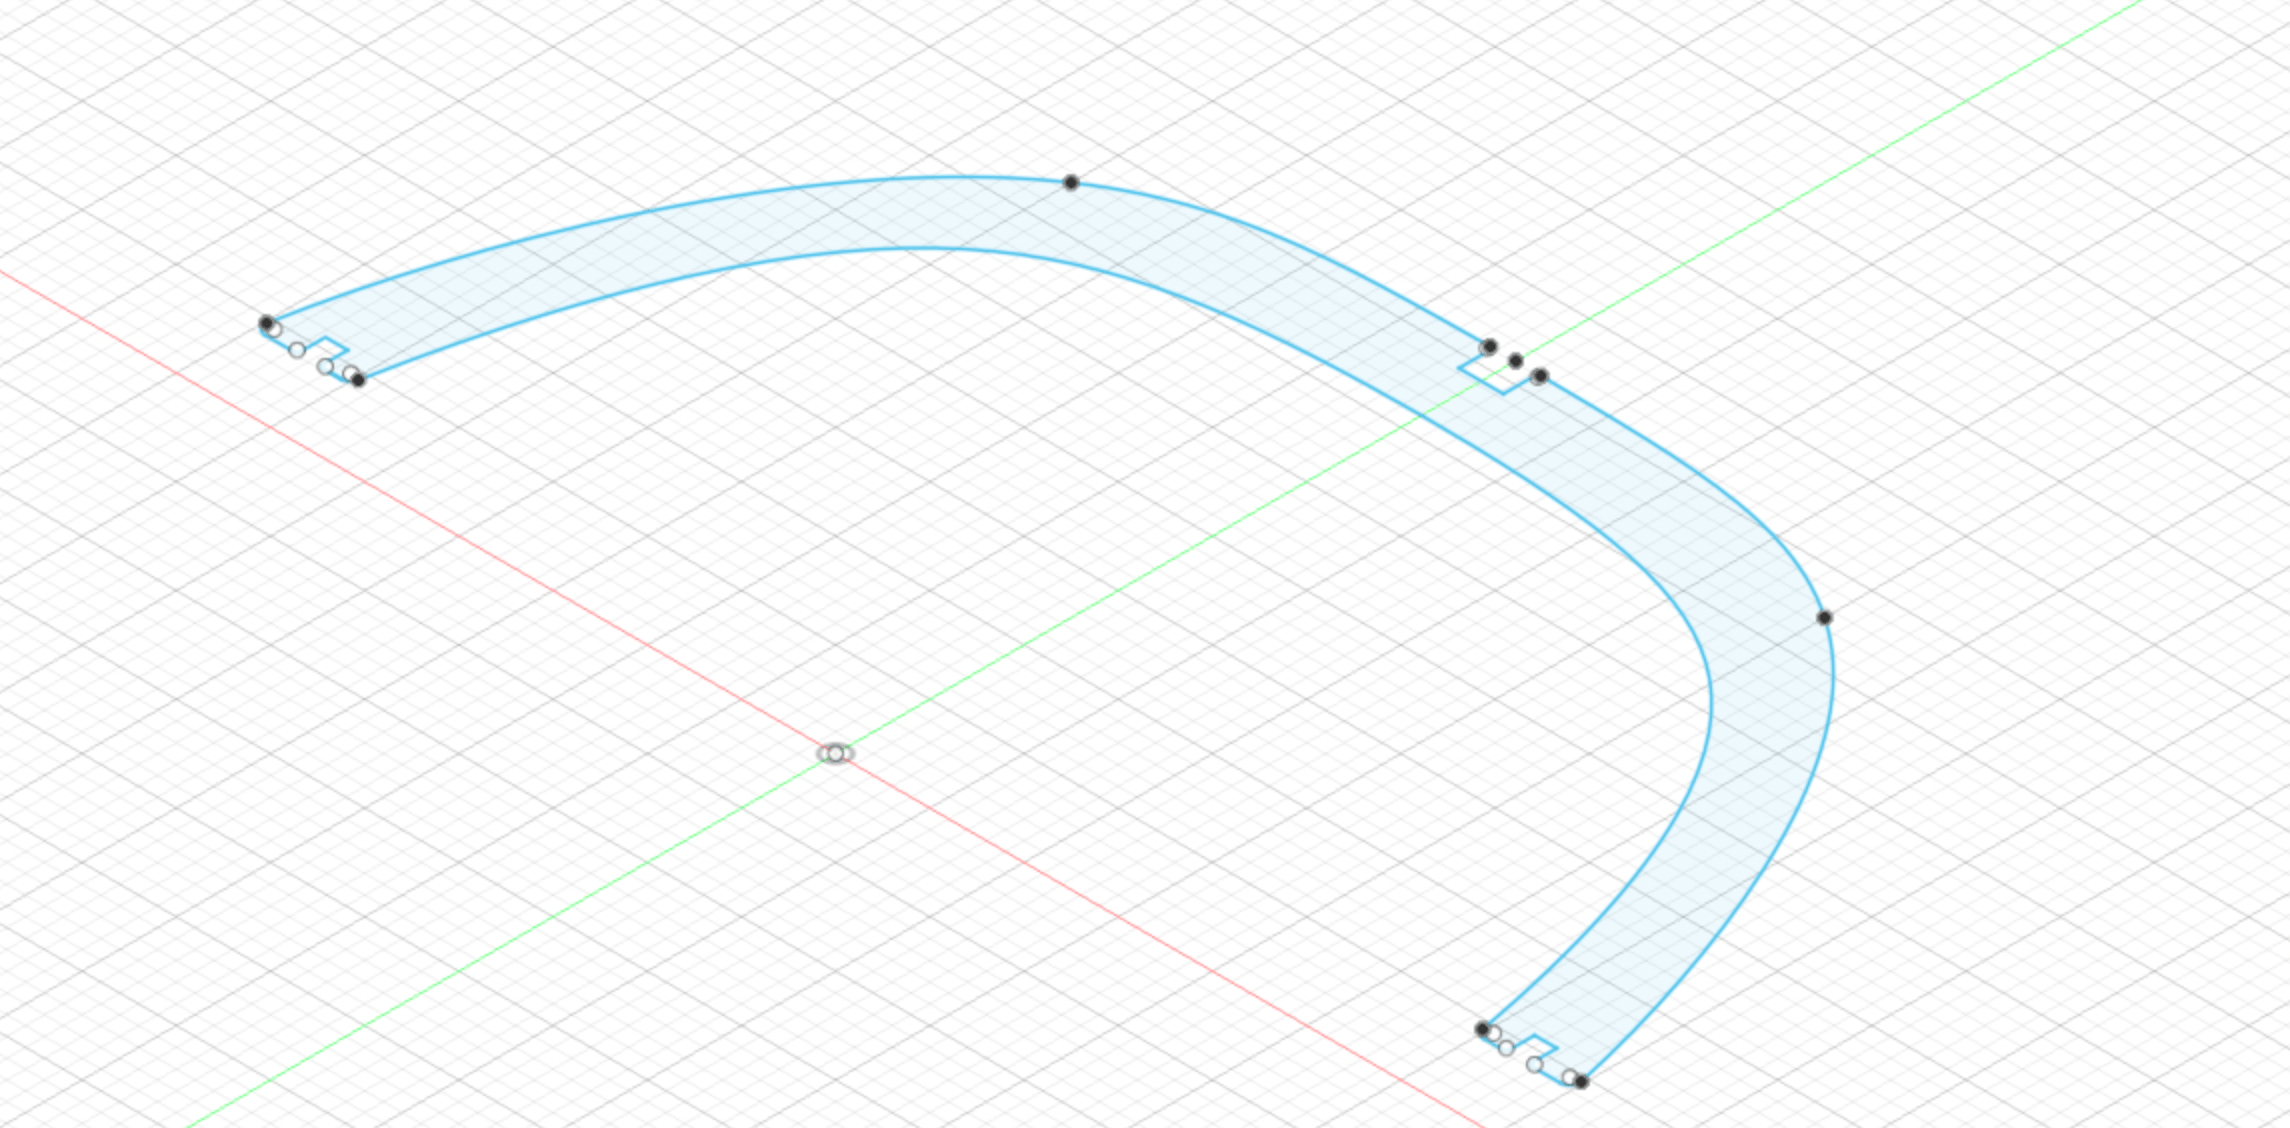
I then designed the 9 semicircle pieces that would make up the body of the chair, and also designed the one semicircle that would become the front legs of the chair. I chose to double up the thickness of this piece(in addition to the backbone) because the legs would not be structurally sound with only a .465” layer of wood.

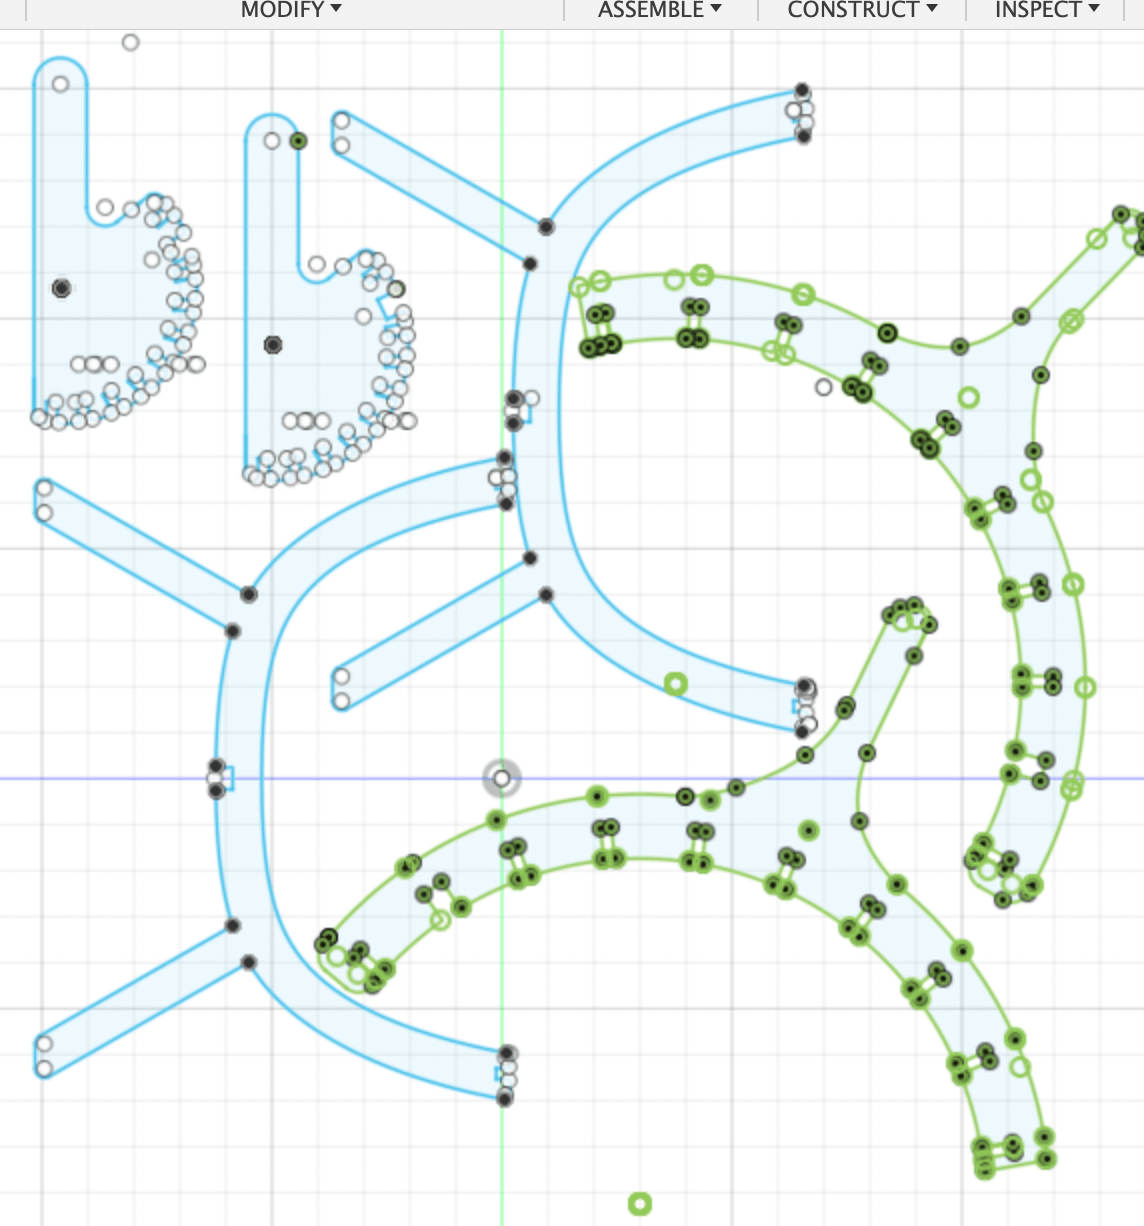
I double checked all the measurements on my piece by adding more constraints, and also filleted all the notches so that the pieces could be fit with ease. After this, I arranged all my pieces within 2 4x4 squares to be sent to Aspire.
Aspire
I went on to attempt to make my design millable. I ran into a ton of issues regarding open vectors, as many of my edges were overlapped and couldn’t be fixed on the software. I attempted fixing this issue by extruding my entire sketch in Fusion360 and projecting the outline into a new sketch, and even went into my design piece by piece to attempt finding the 79 overlapped or intersecting lines. Finally, I ended up using Rhino to piece and join each of the fragments together with Joon’s help so that I closed all the open vectors. I was able to set the right specifications for the design to be cut, and then exported both the files to a USB. I did a TERRRIBLE thing and got so frustrated throughout the day that I forgot to document my Aspire and Rhino process, which was done entirely on the fab computers. I will open up the files later and extract screenshots from that computer to upload onto this website.
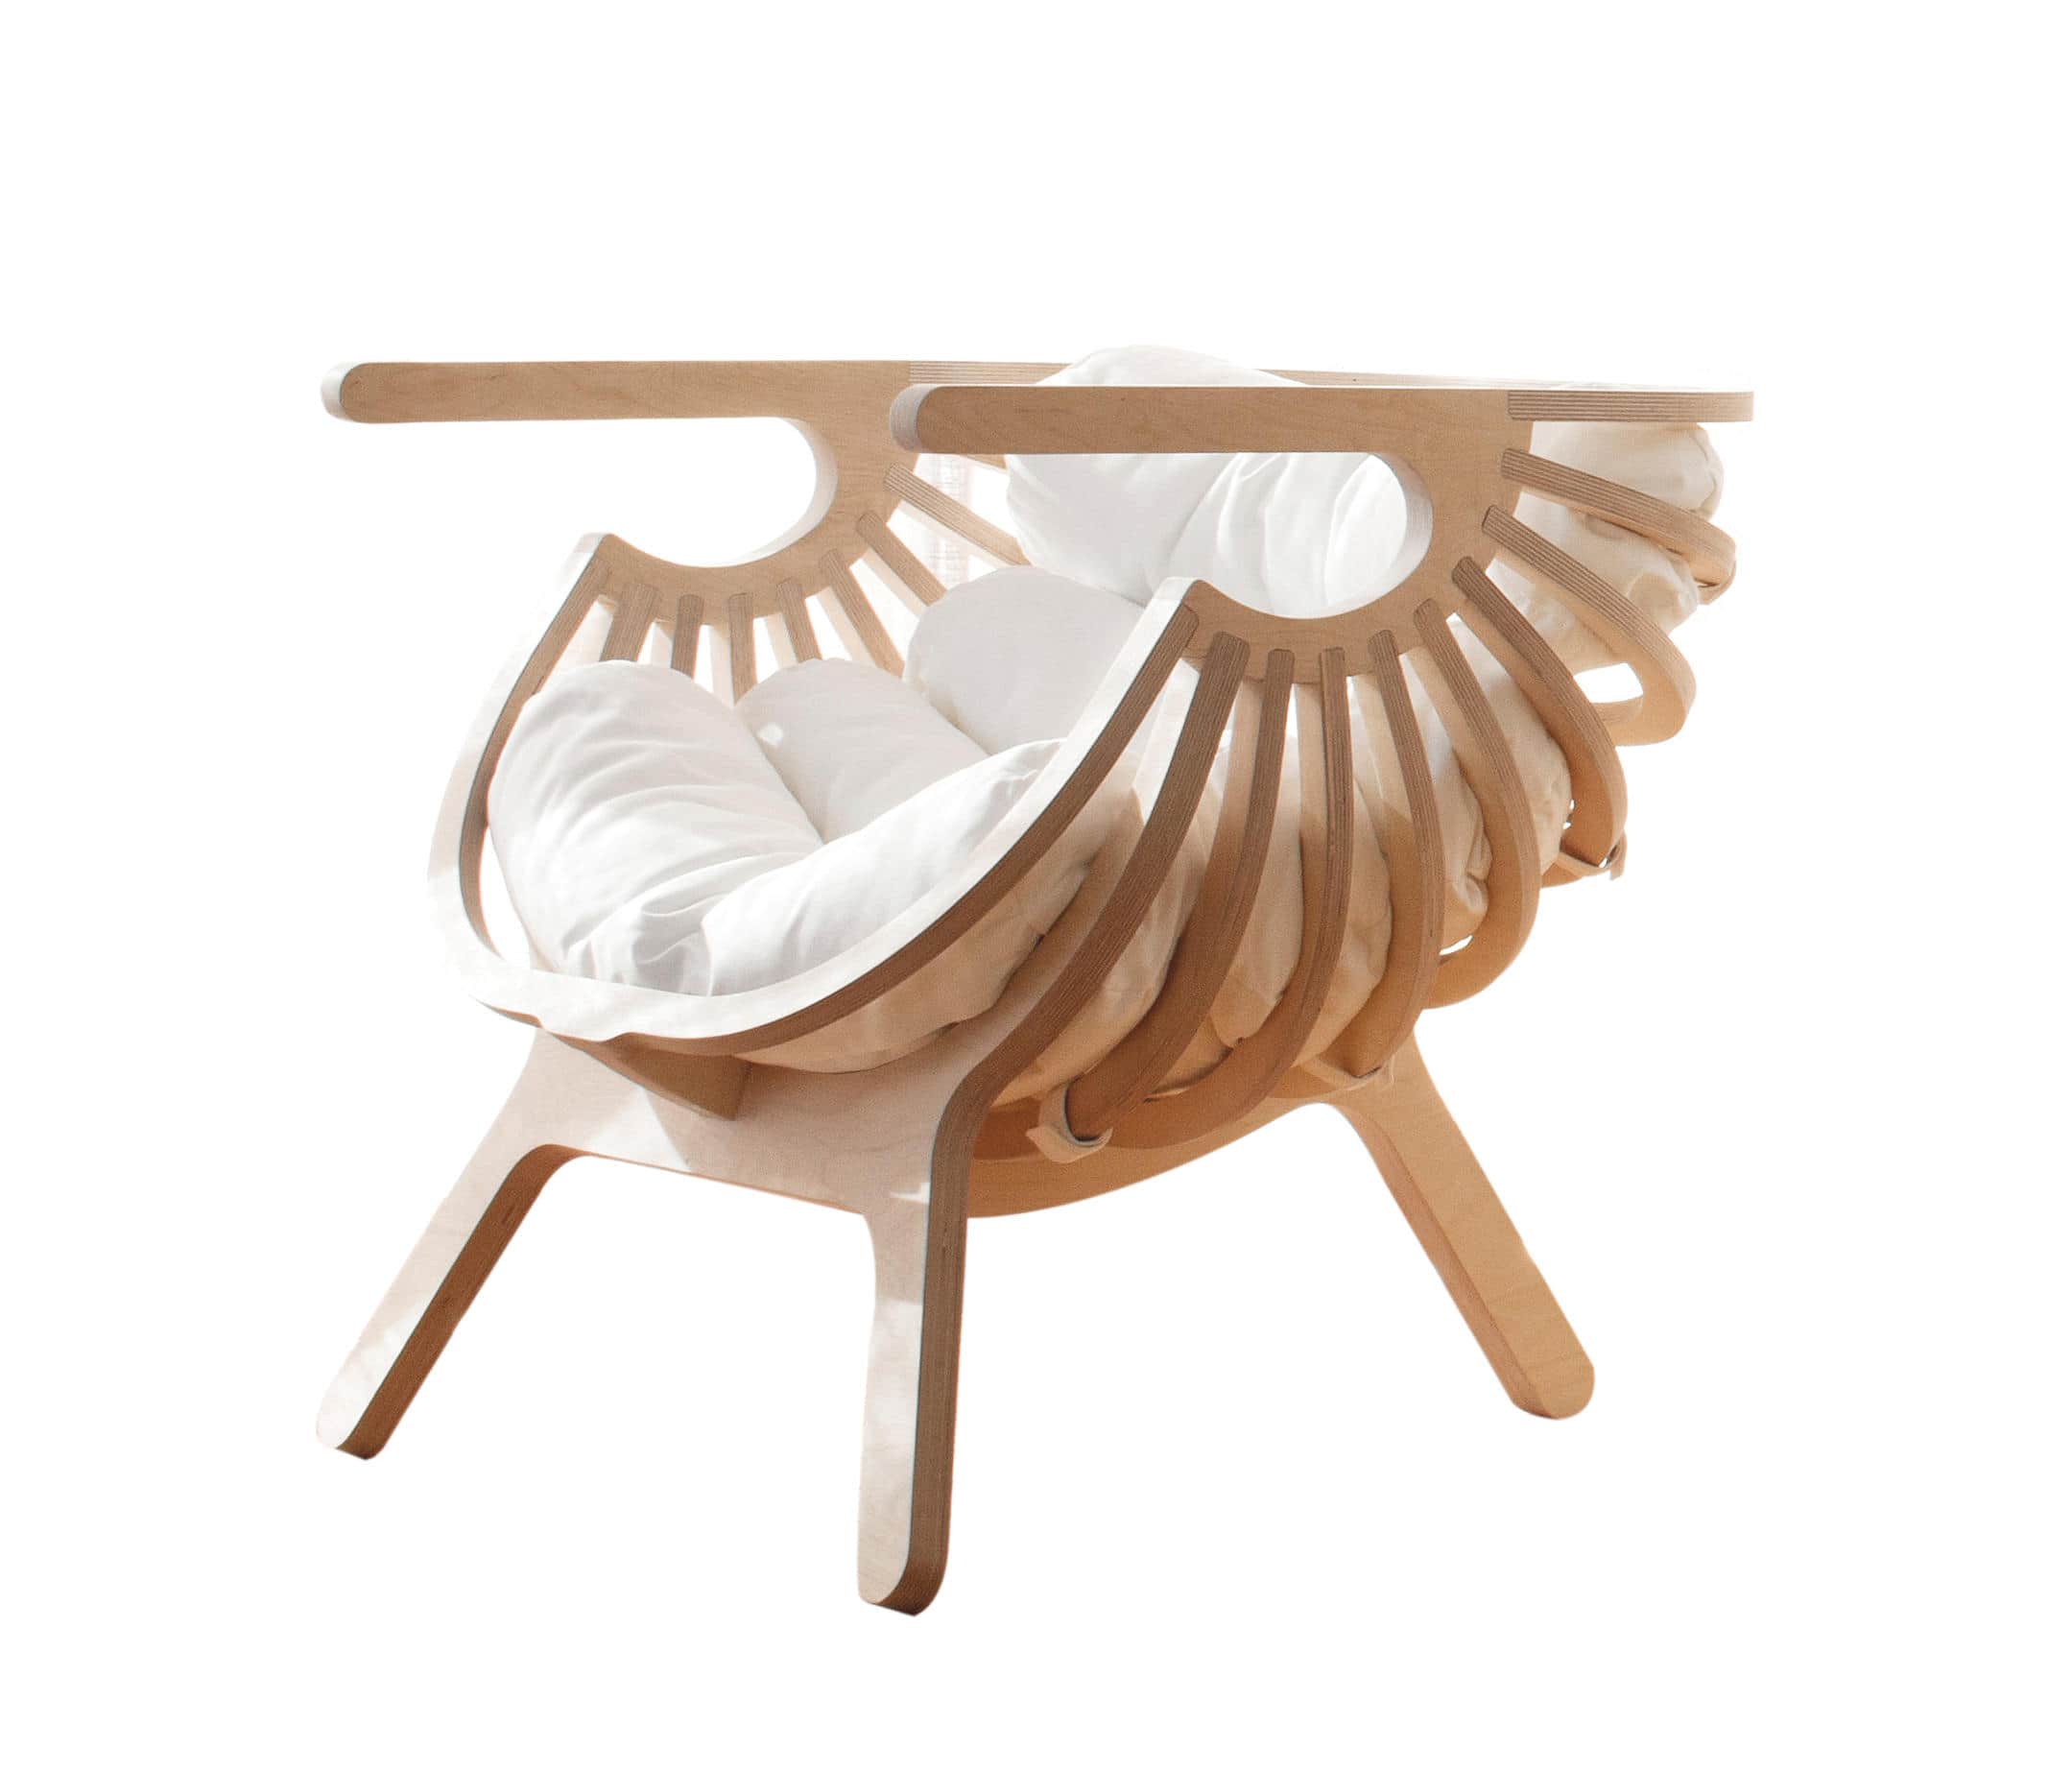
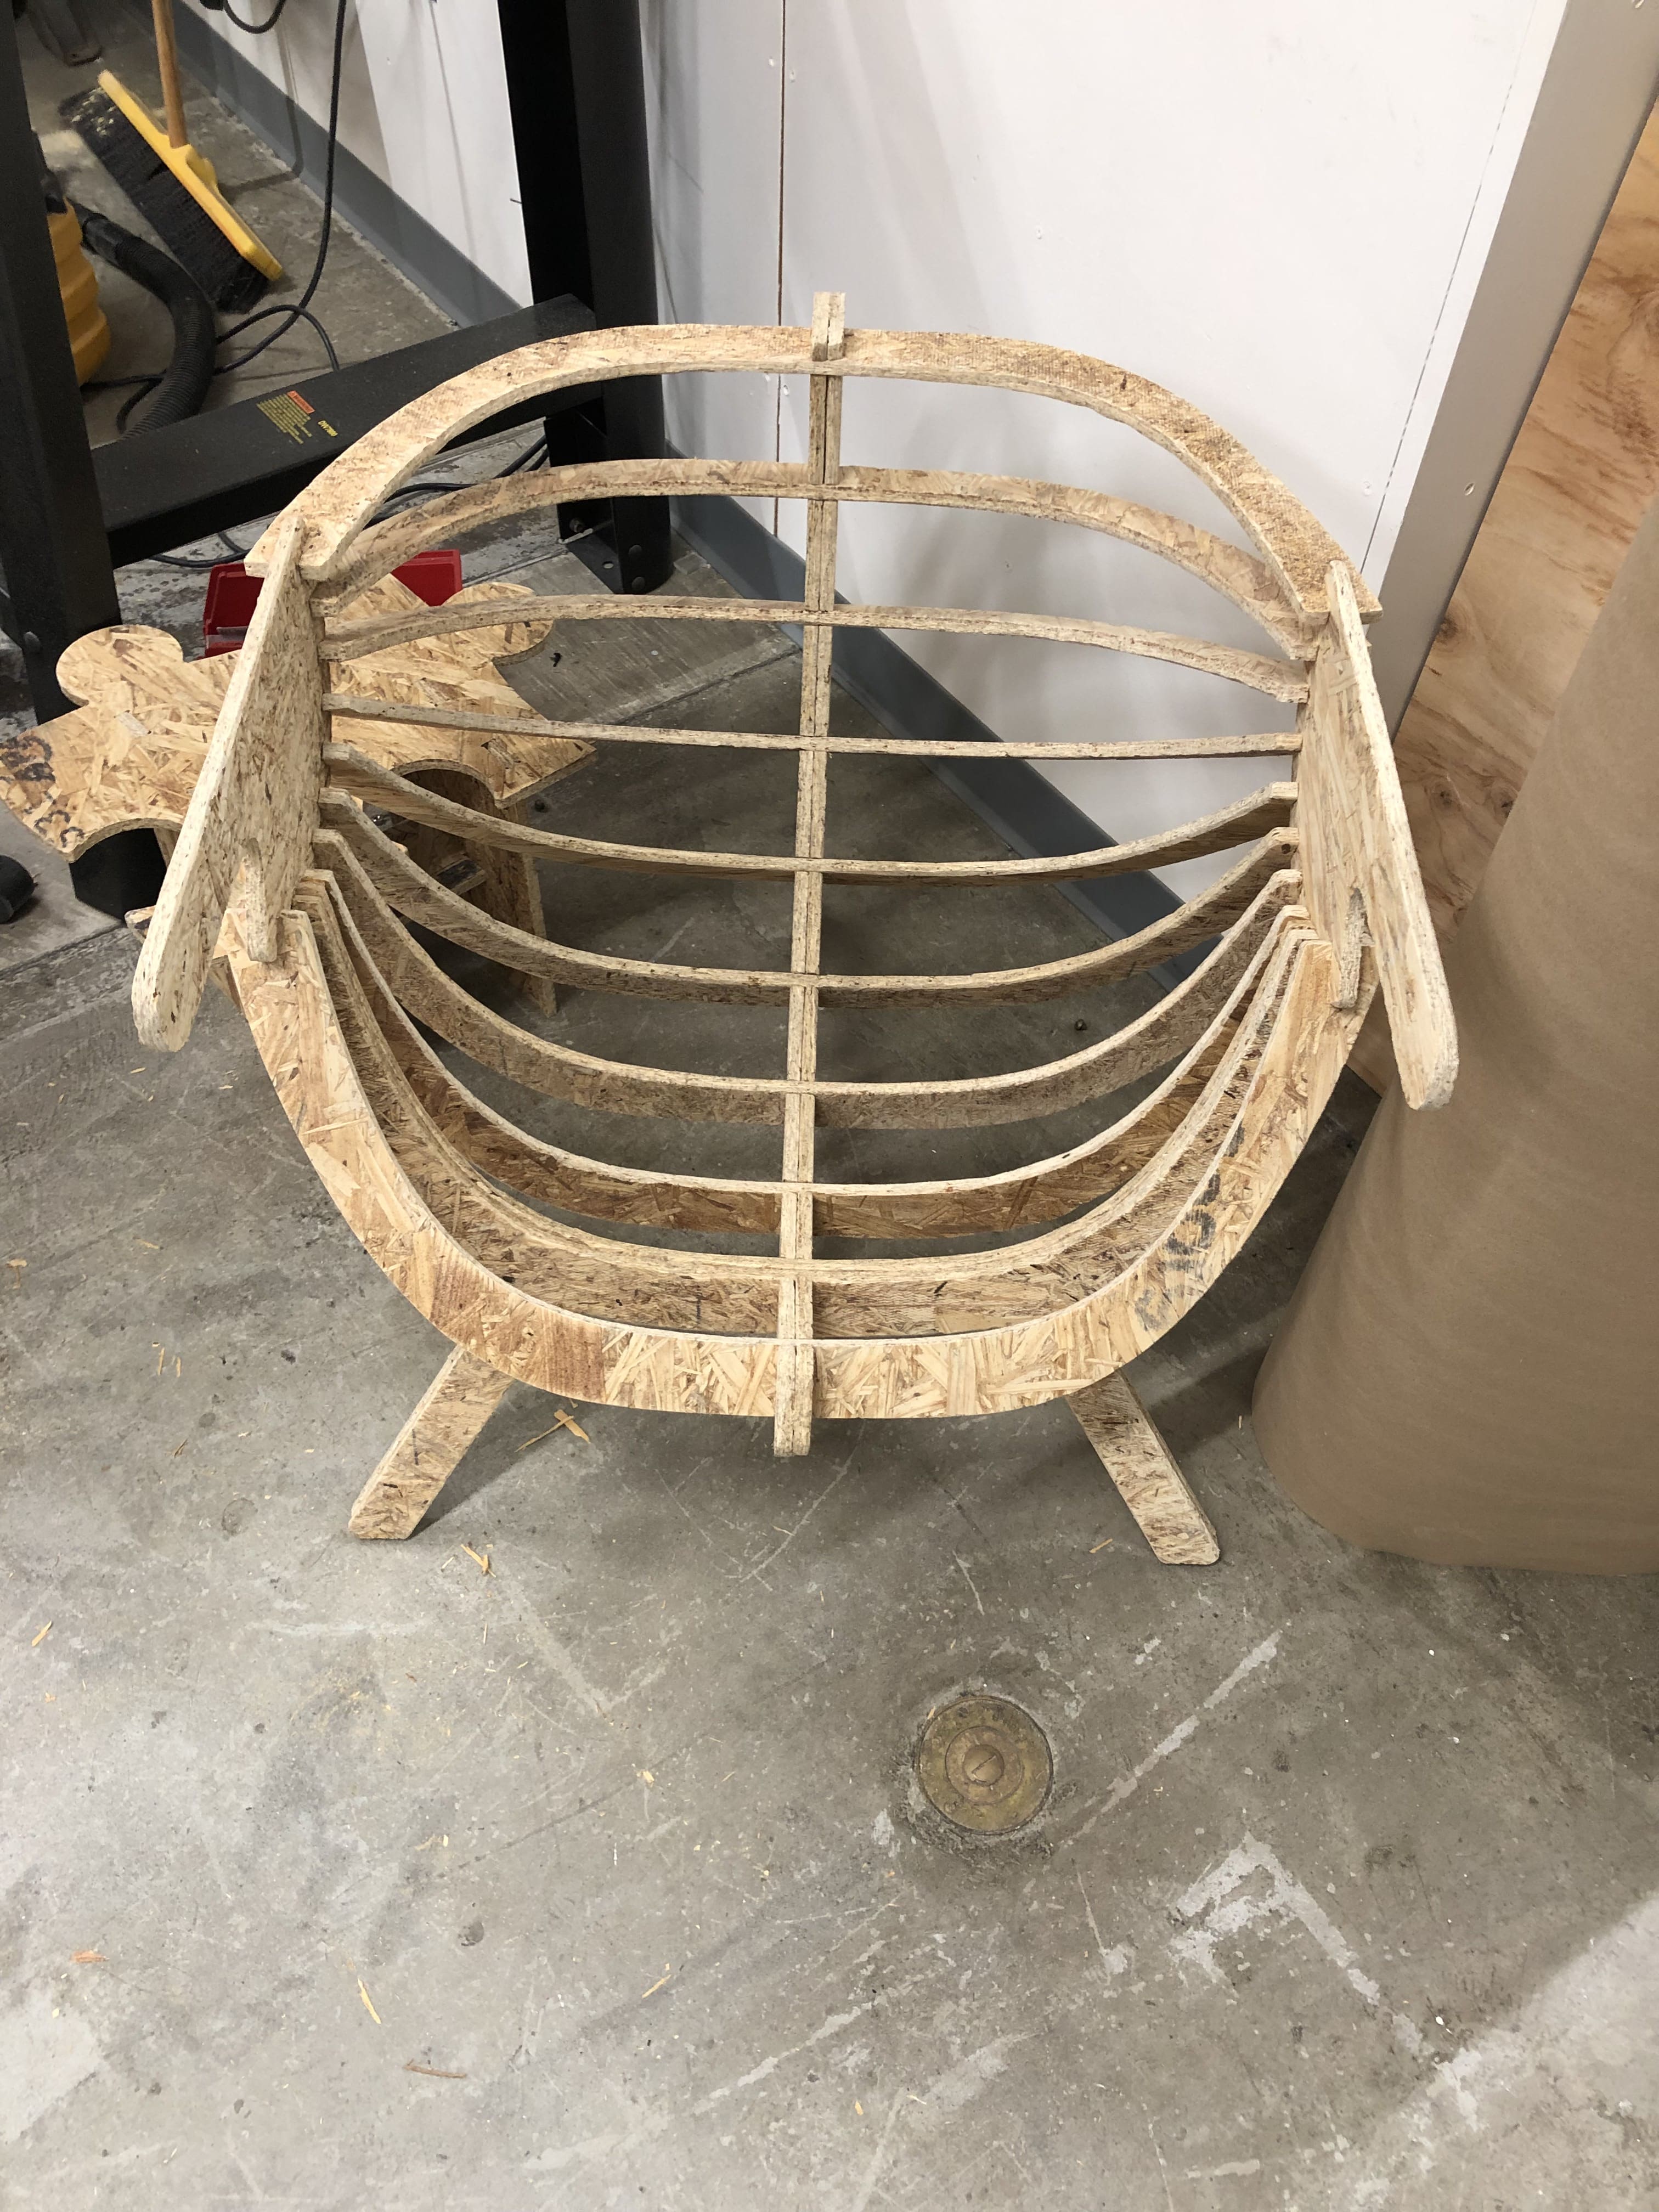
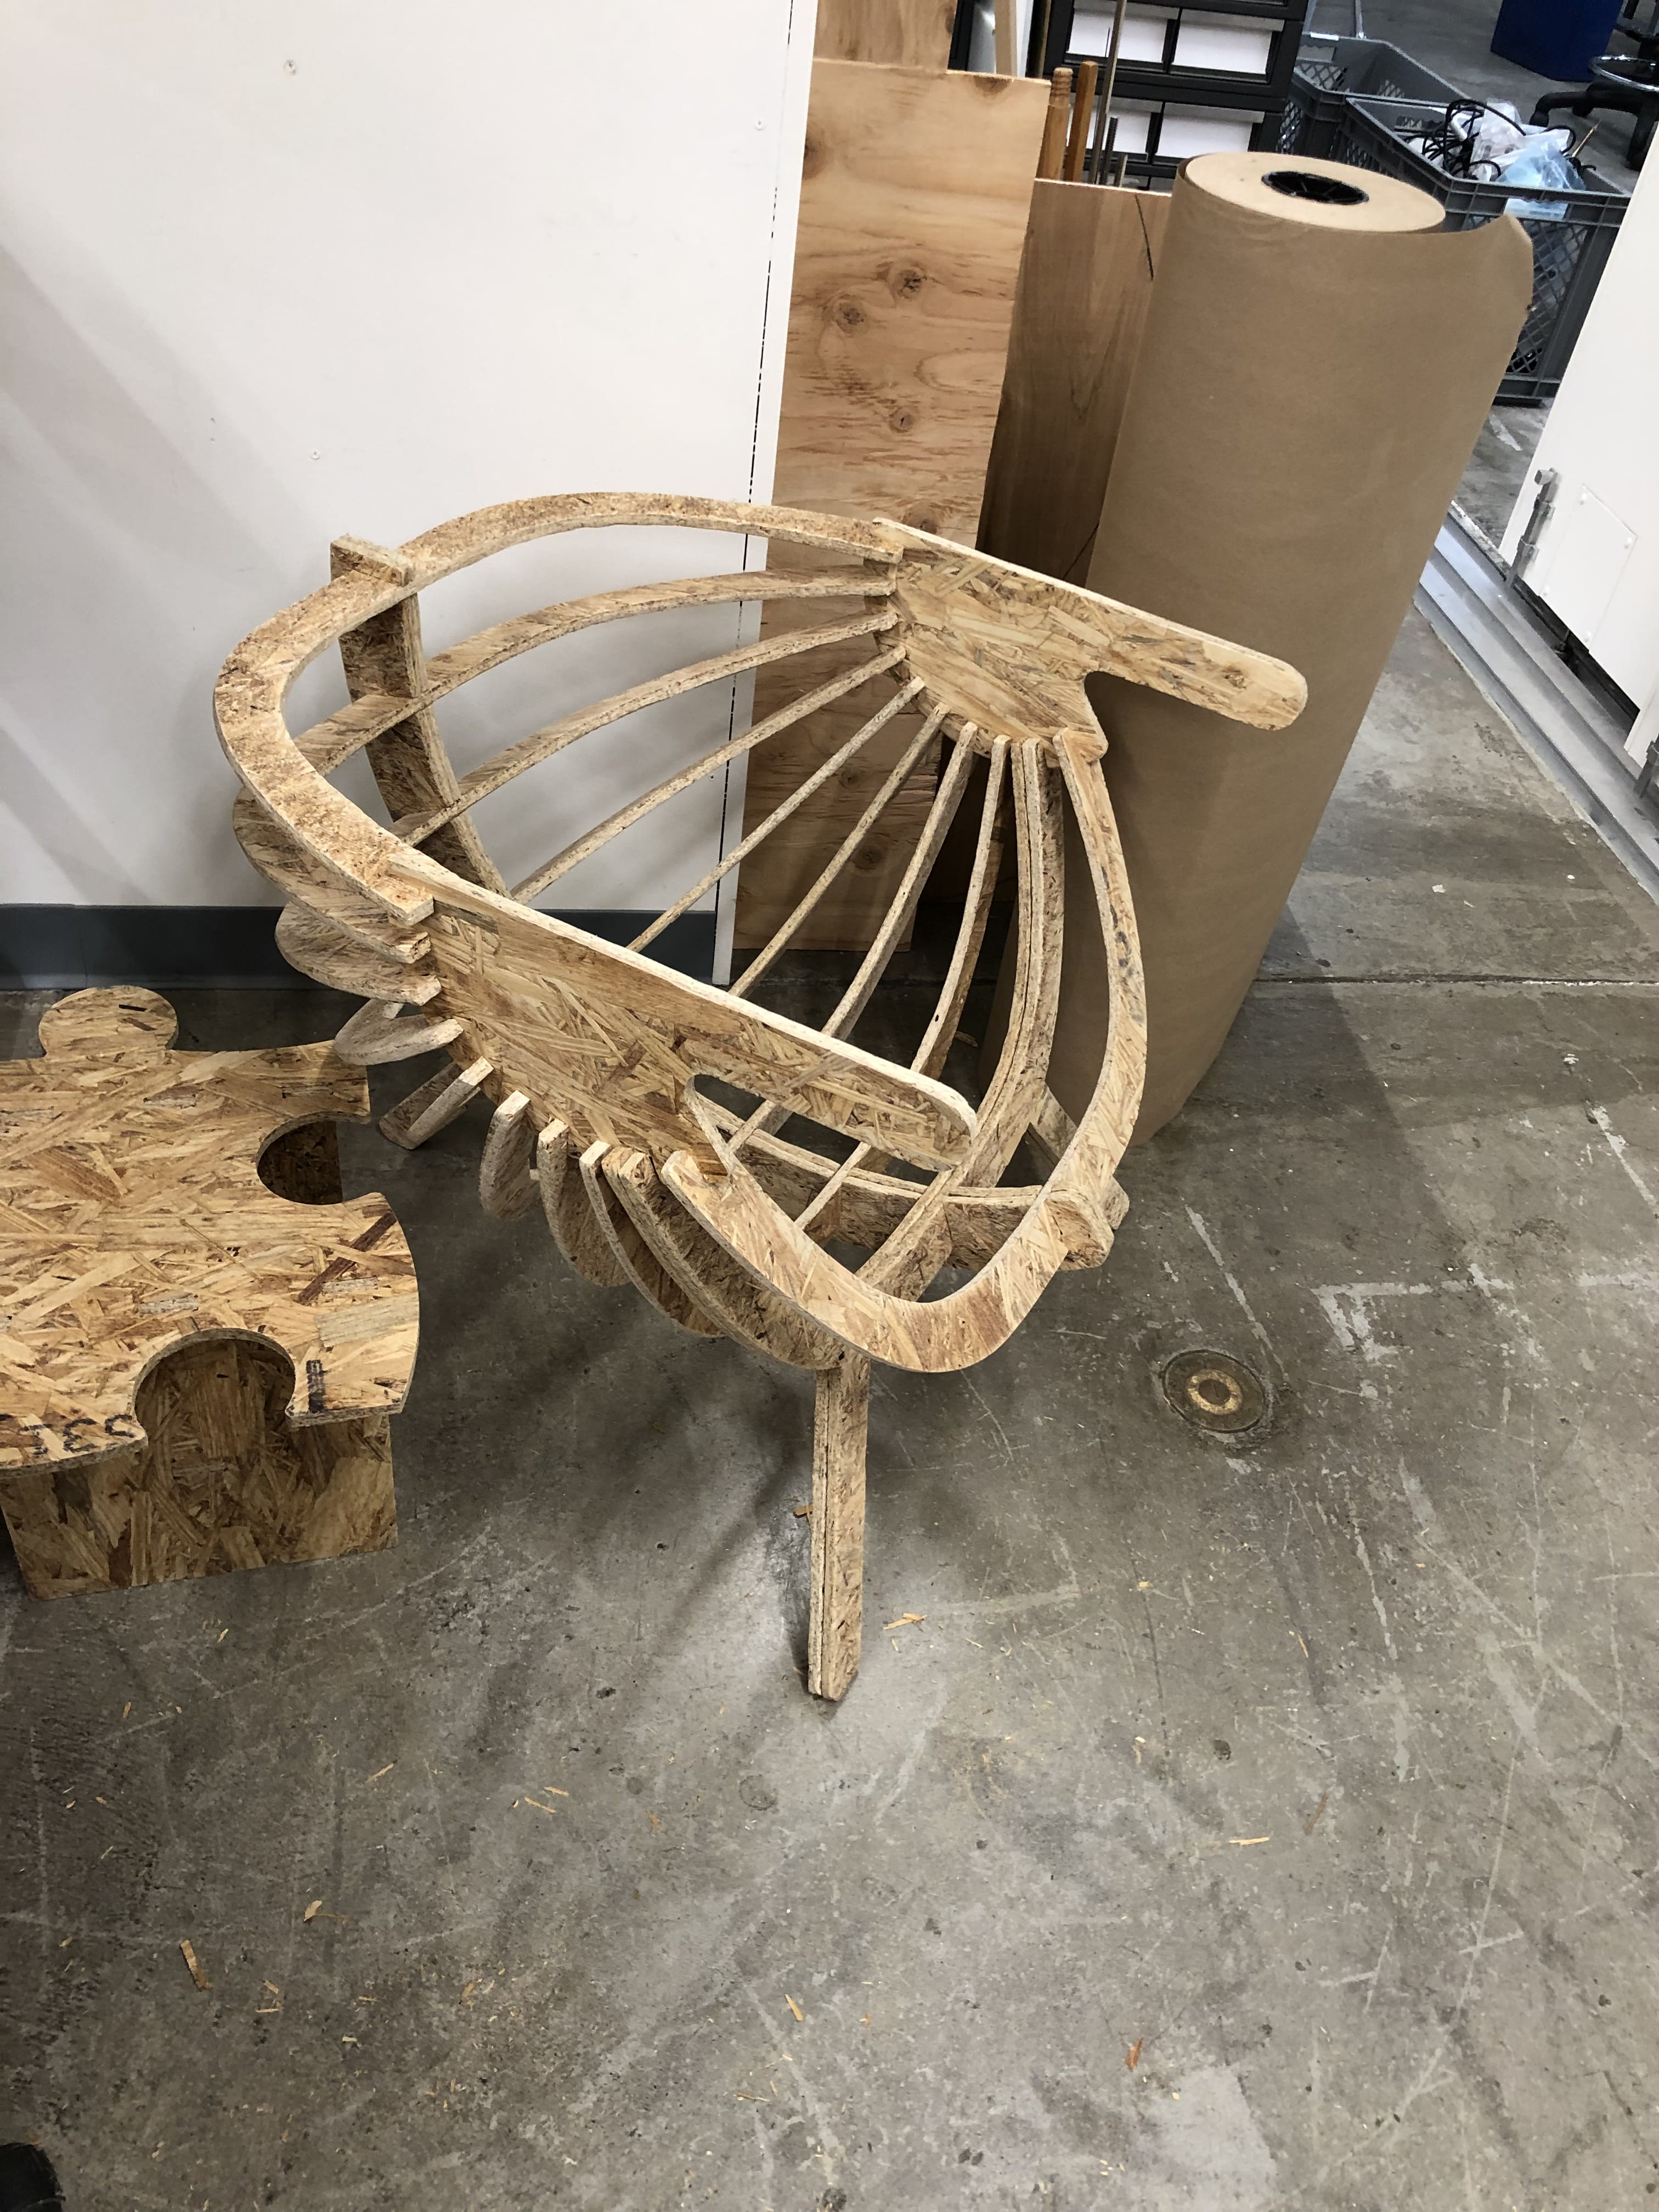
Chair Construction
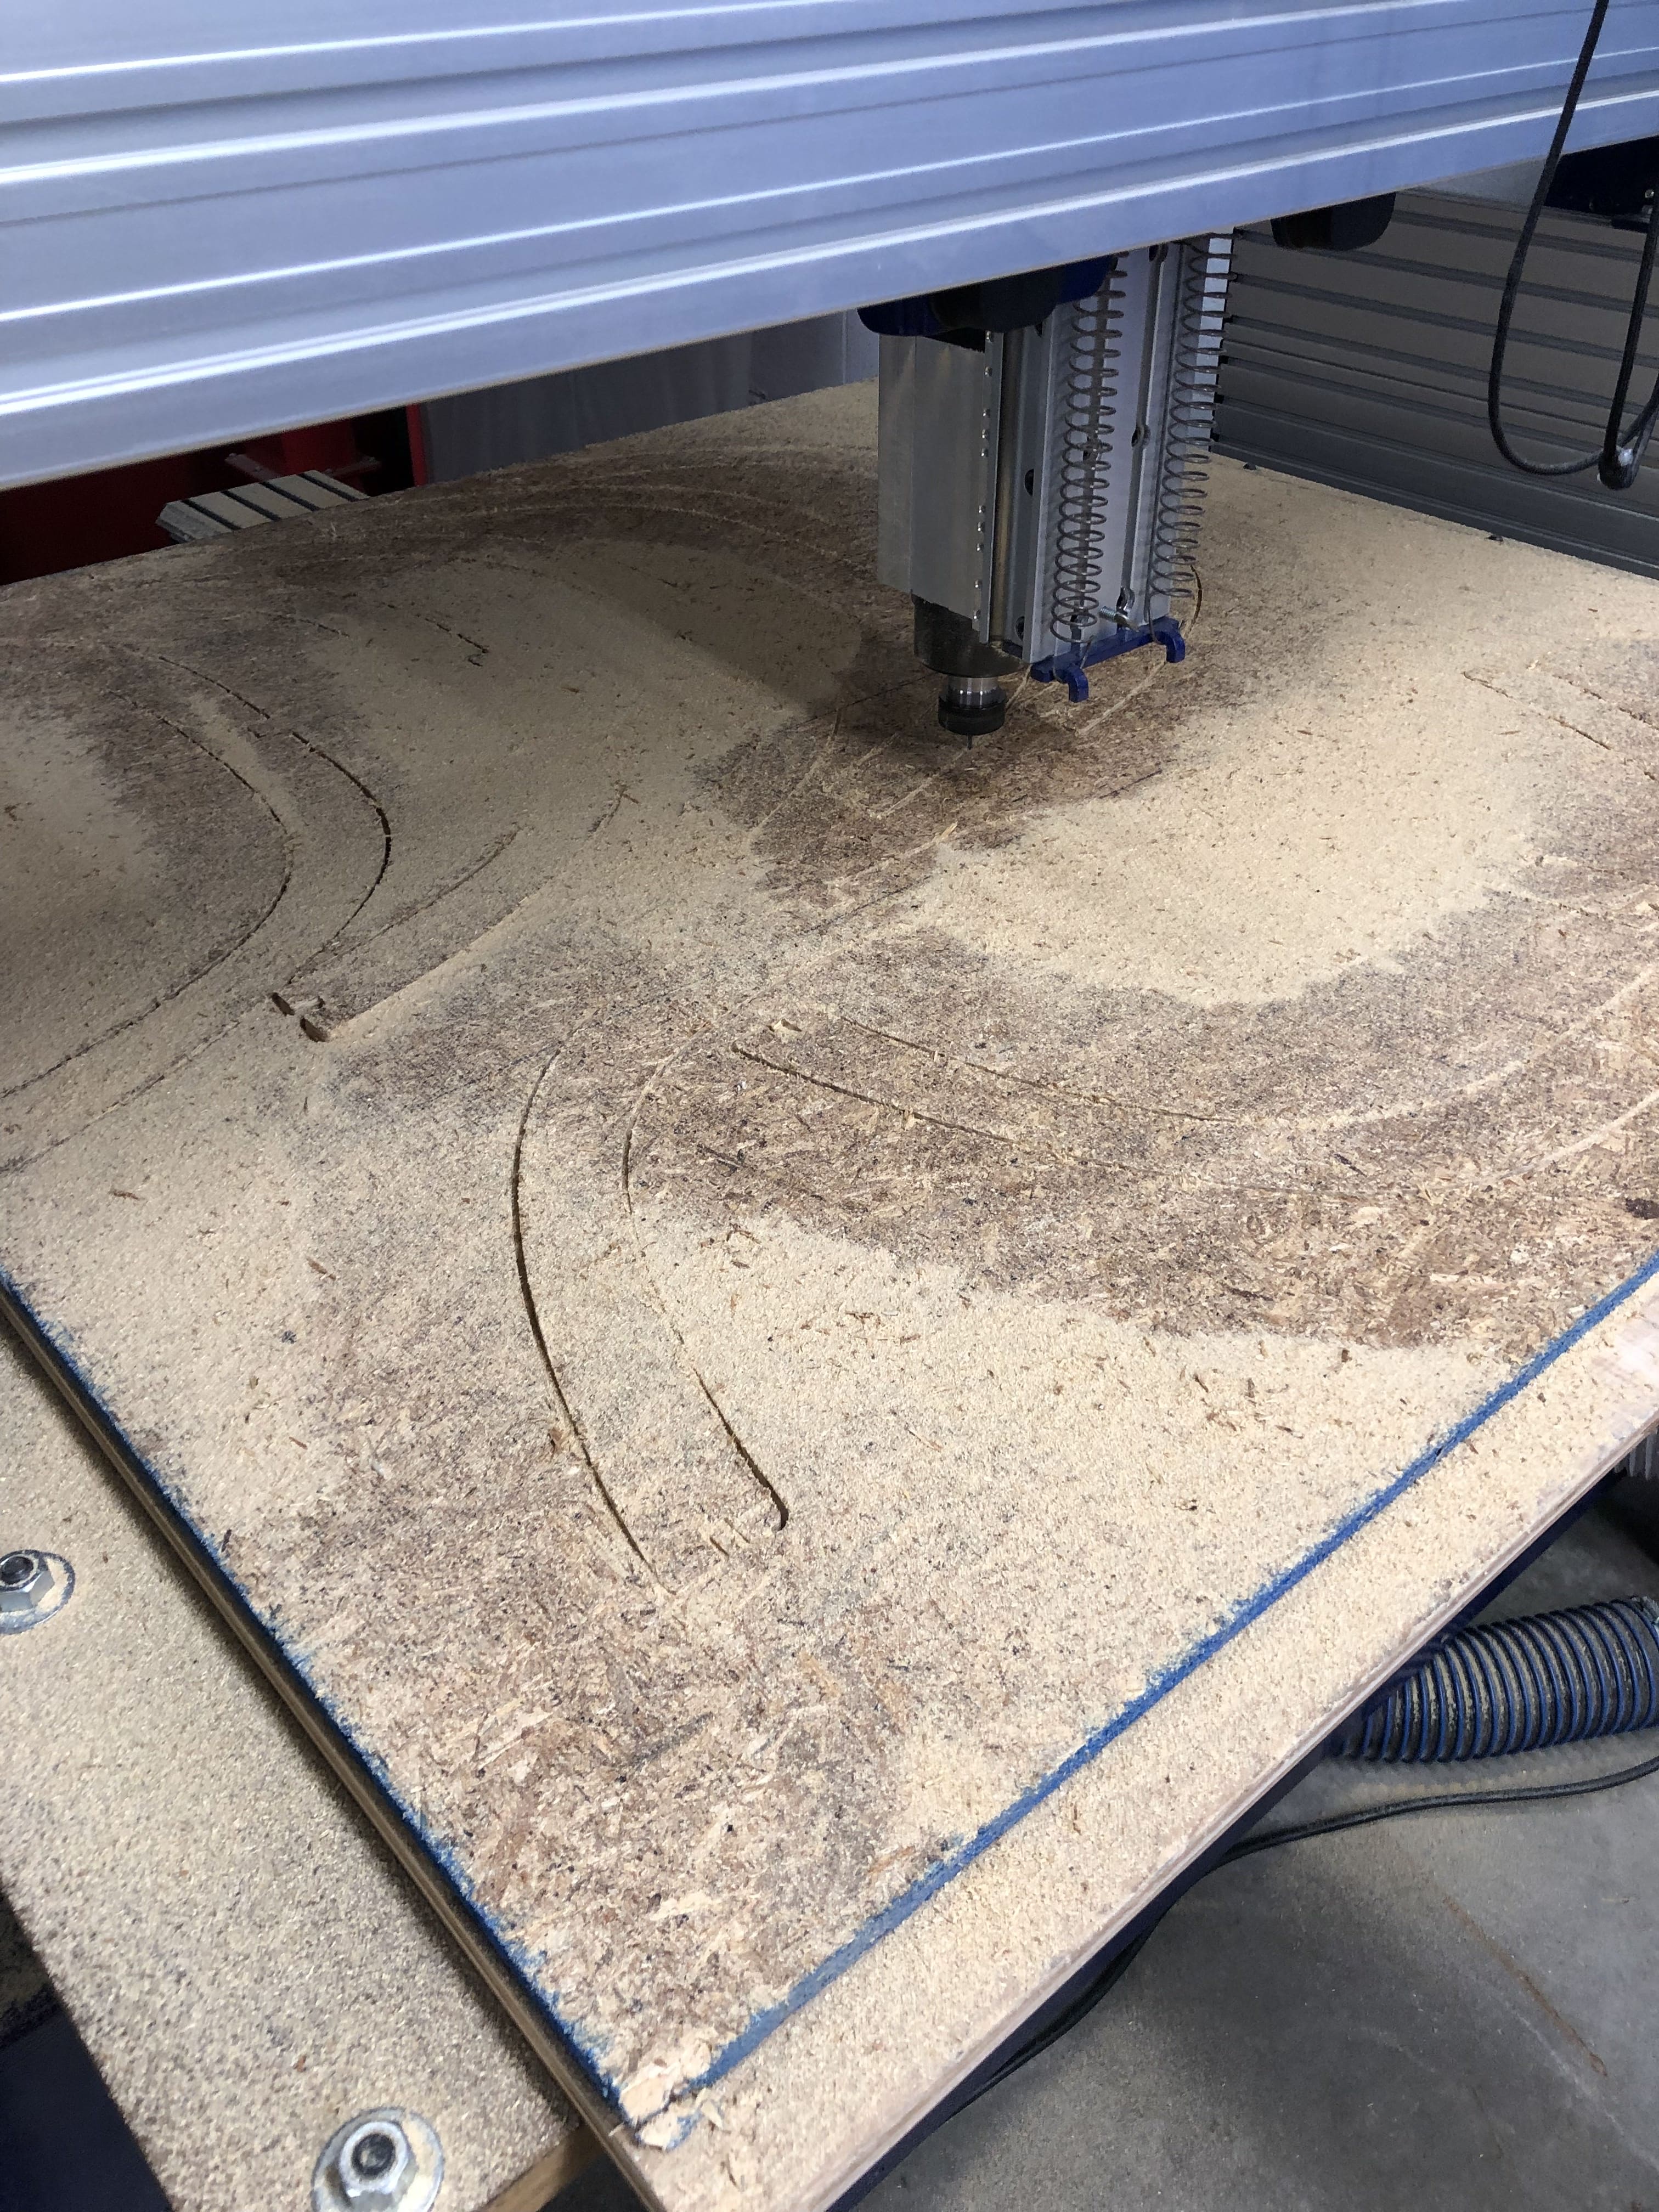
Cutting
The cutting process was a lot more involved than I had anticipated, as there were many steps, such as the z-zero process that I didn’t know were necessary beforehand. I thankfully didn't run into any problems in both of my cuts, but the pieces that came out were extremely rough and needed sanding to be usable.
Sanding and Assembly
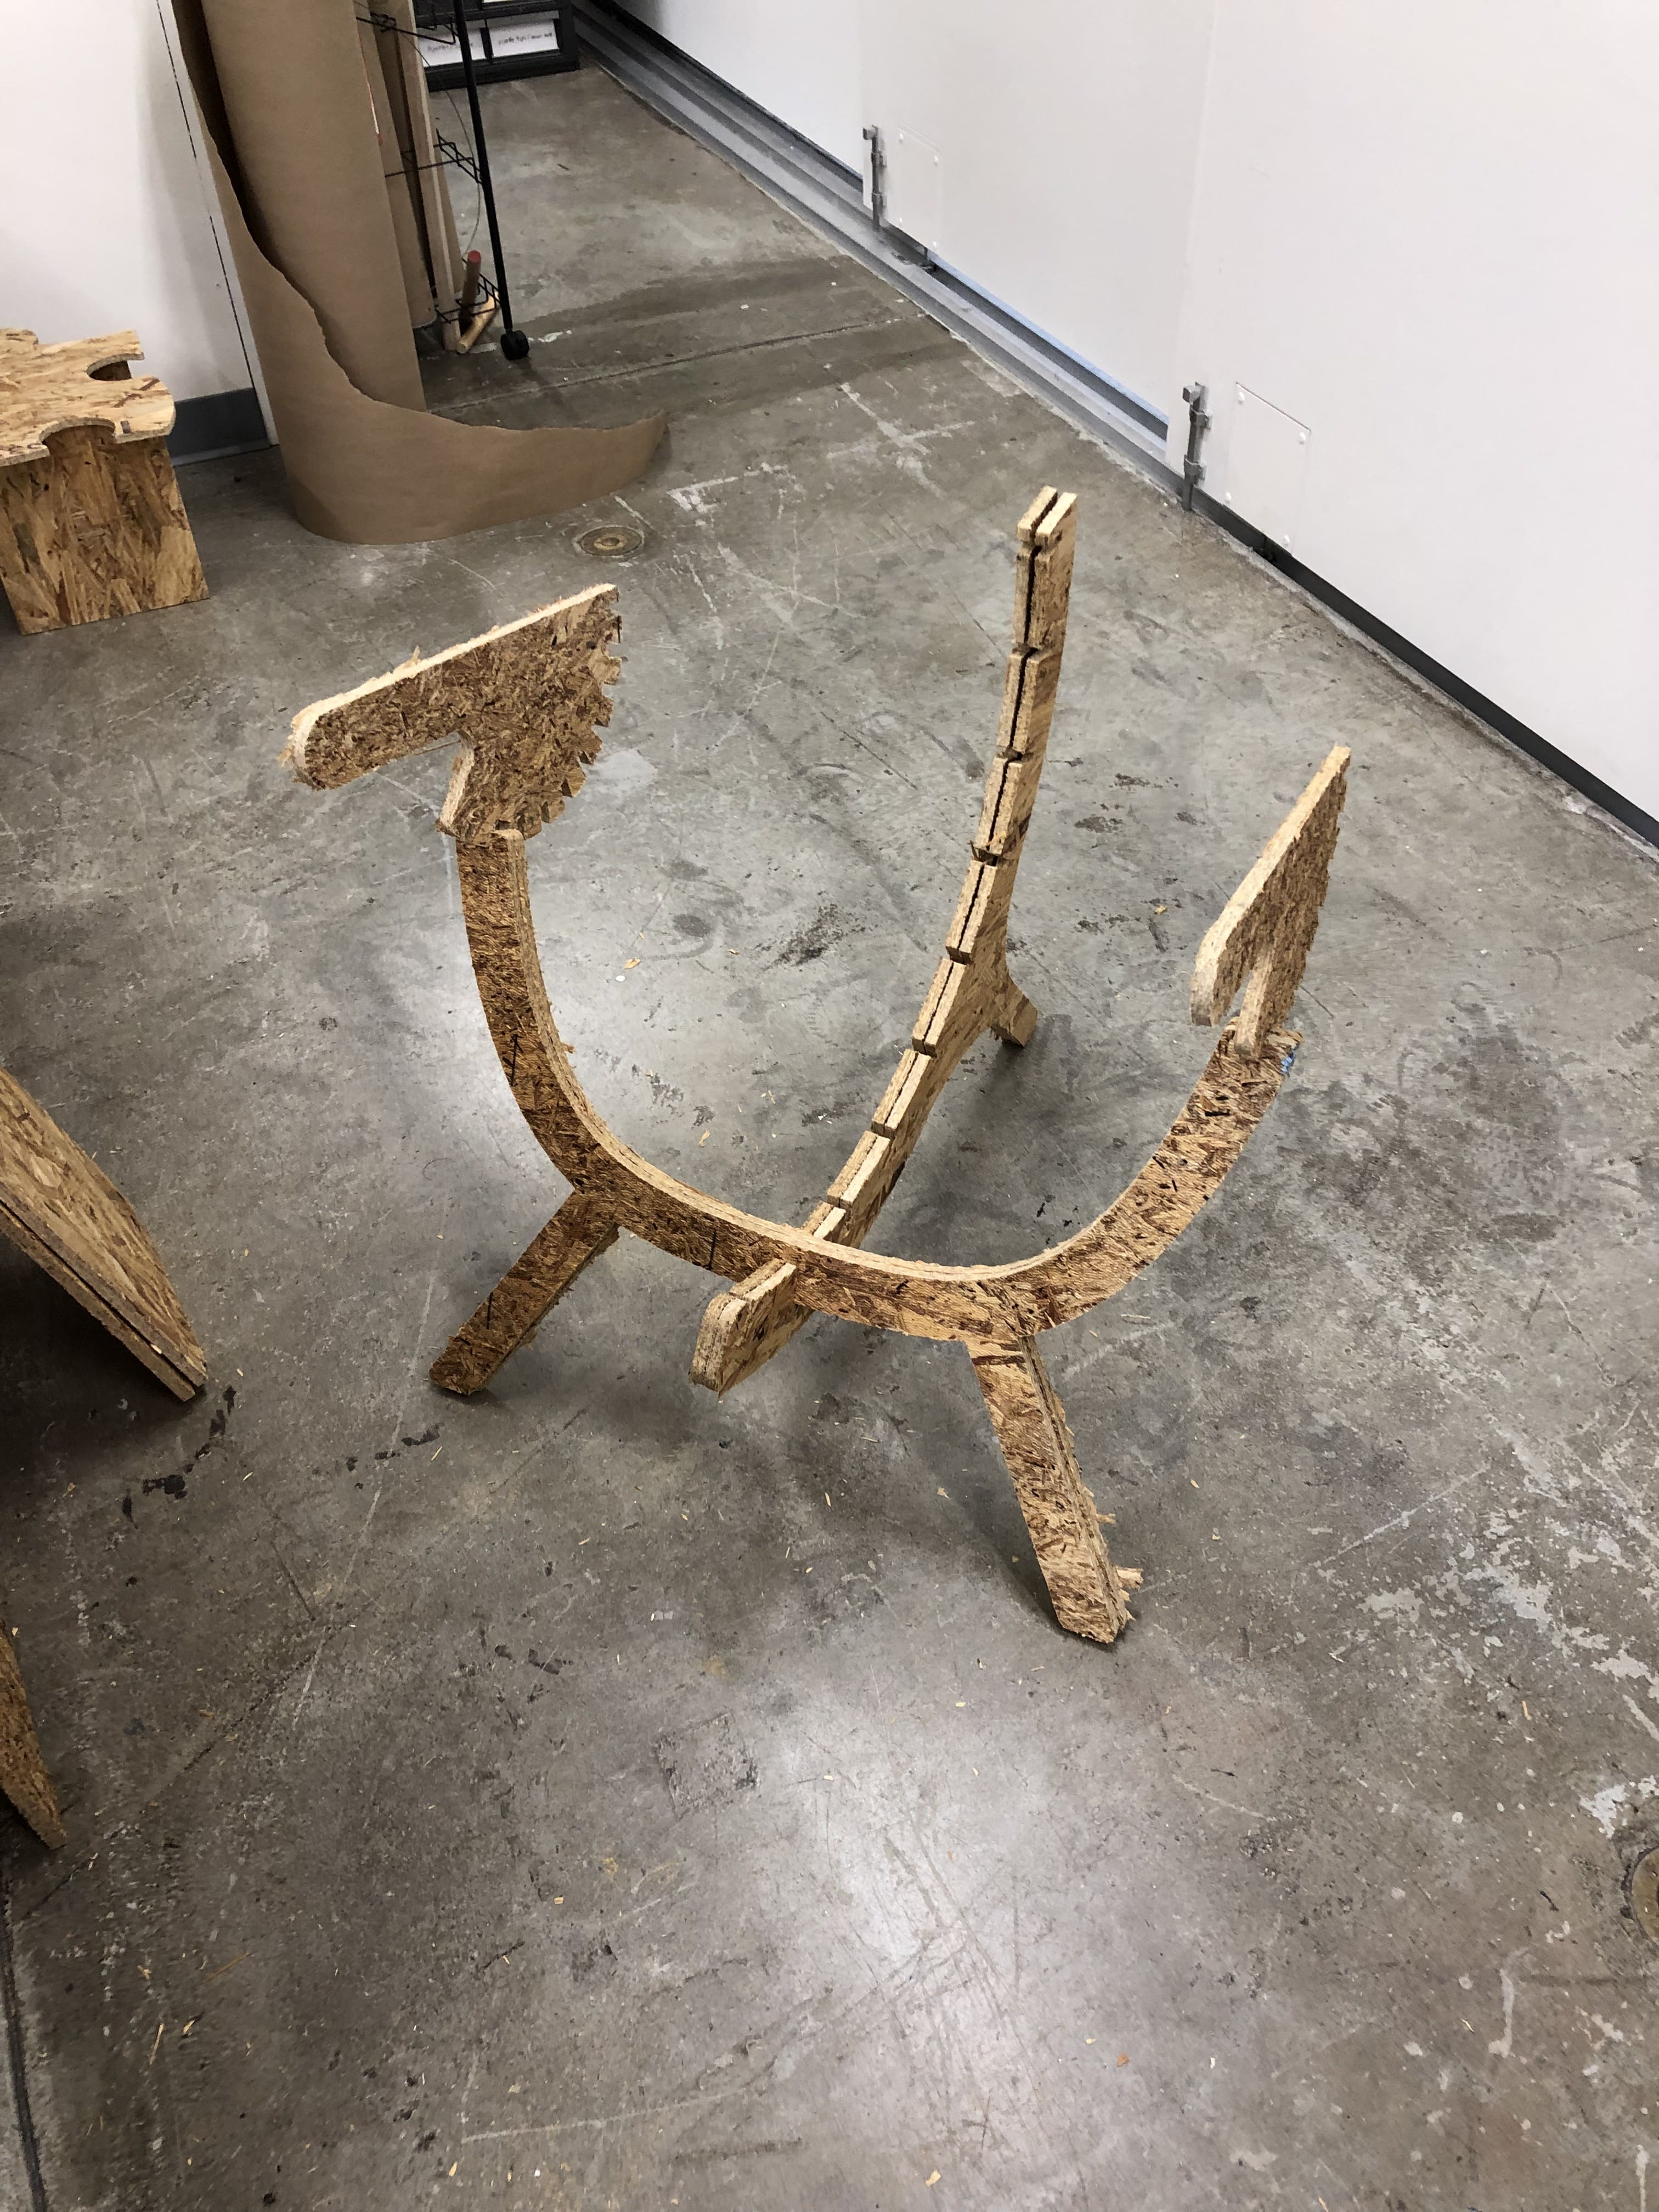
After using 2 different time slots to cut my chair out, I spent 4 more hours sanding the surfaces and edges of all 14 pieces. I think I breathed in so much sawdust through my mask that I had to take a couple breaks haha. It took me a second to assemble the chair, as the design was VERY tightly connected. I ended up breaking one of the notches on both the arms to let the pieces move while I fit them together. Finally, however, I was able to assemble the chair and it looked BEAUTIFUL and surprisingly similar to the actual design. However, I do not think that the chair can hold much weight at the moment so I plan on adding steel reinforcements to the legs before anyone sits down.
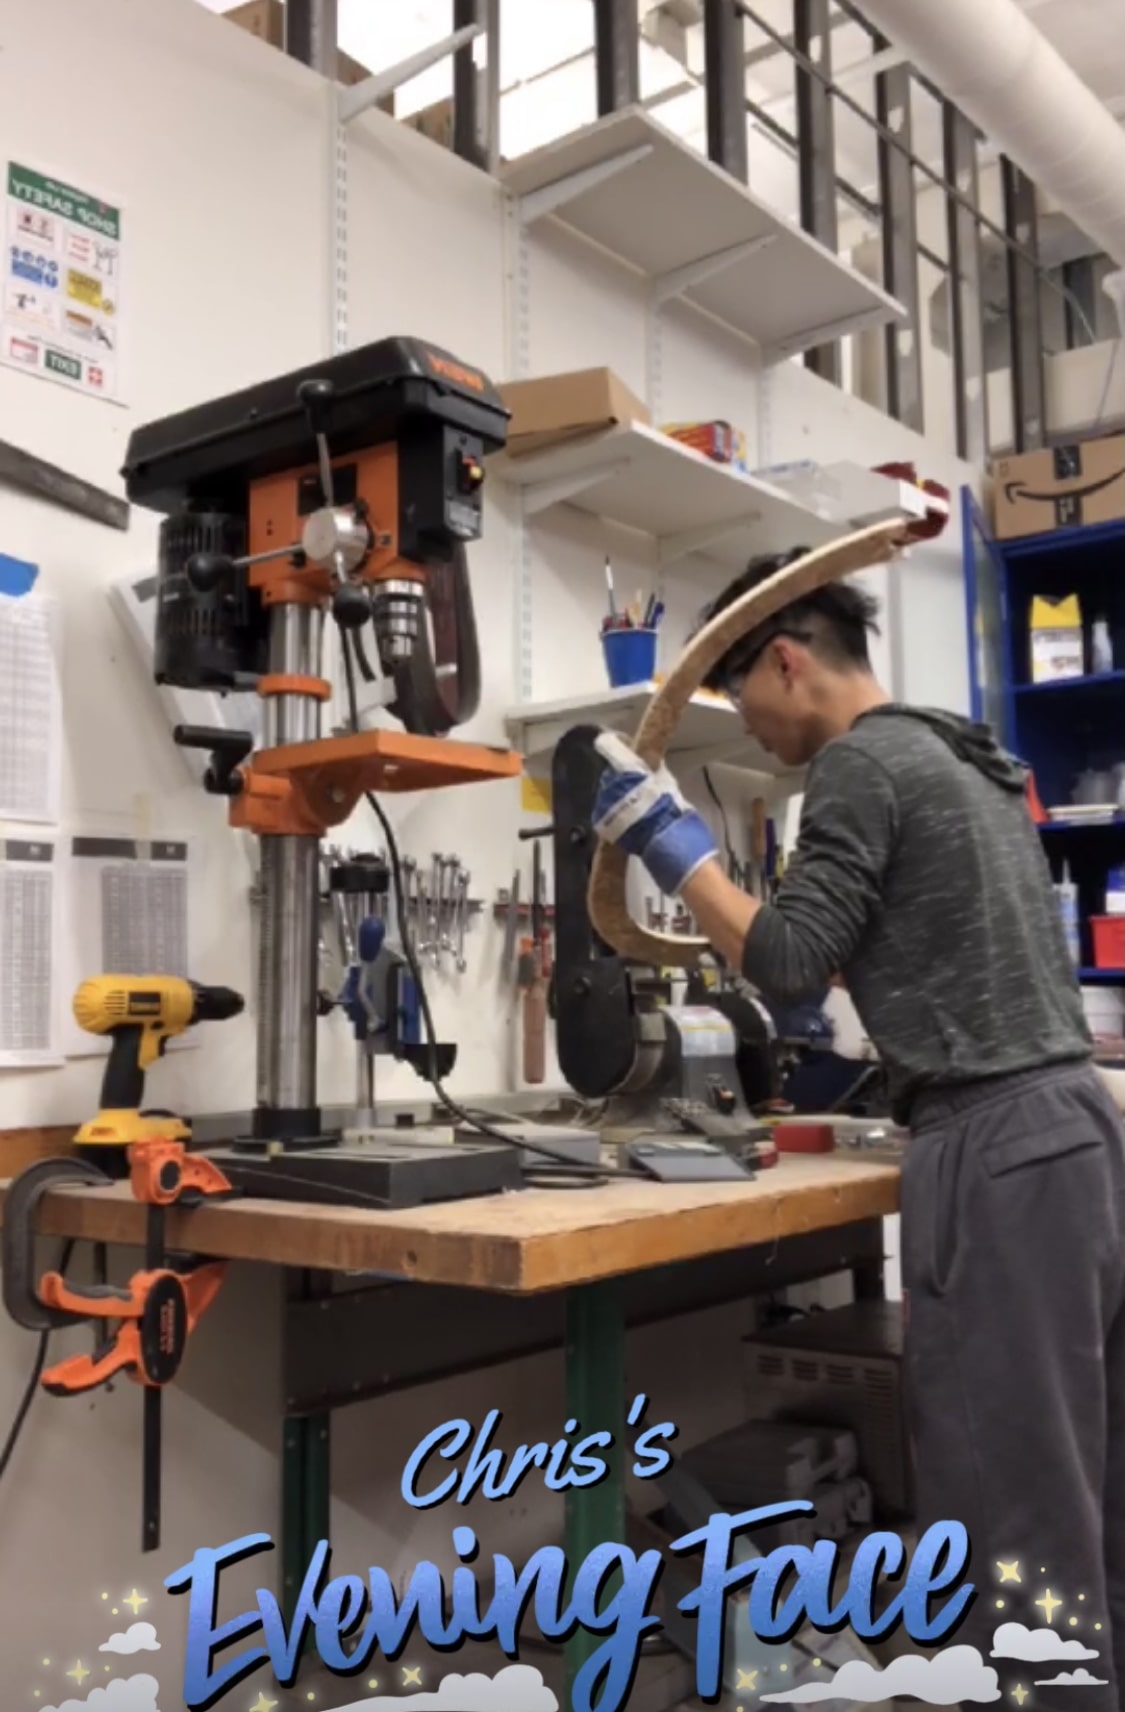
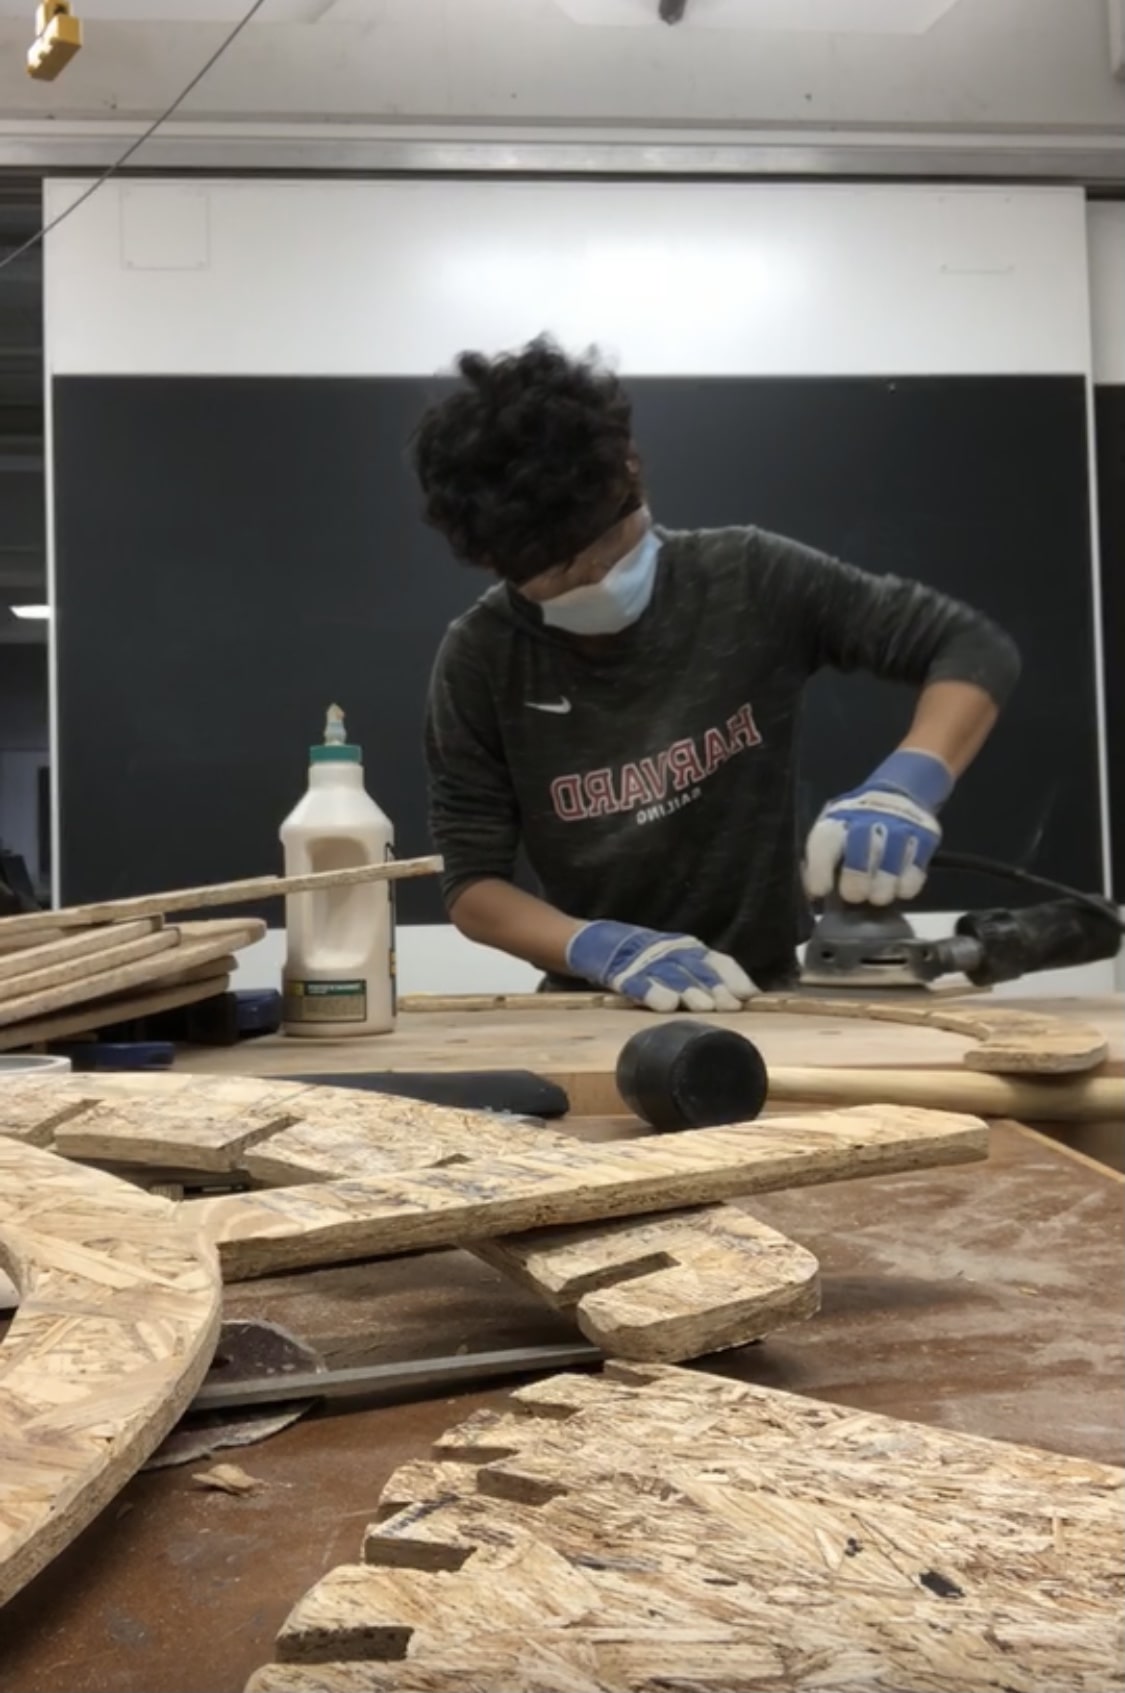
Here are some timelapse screenshots of my sanding process.
-->