Assignment and Idea:
For this assignment, we were instructed to add an output device to a microcontroller board that I’ve designed, and tell it to do something.
Building on input week, I felt a lot of confidence going into this week’s output assignment.
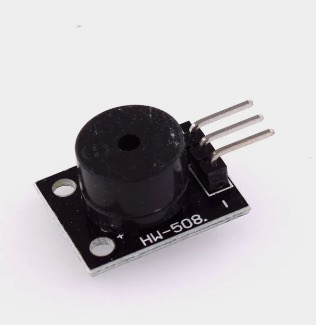
I found a box of Arduino parts in the REEF cabinet, and within this treasure chest, I found the HW 508 buzzer:
I wanted to follow the same recipe for success that I had in week 9, so I got some jumper wires from the REEF cabinet and reinspected the data sheet for the MK Zero:
I needed to connect the buzzer to the 5V connector on the MKR Zero for power, the ground to the ground, and picked a digital pin for speaker output.
Once connected, I spun up the Arduino IDE and added the MKR Zero as a board, and used the following page as inspiration for code:
How to Use a Passive Buzzer Module
To write this:
int buzzer = 6; // set the buzzer control digital IO pin

void setup() {
  pinMode(buzzer, OUTPUT); // set pin 8 as output
}

void loop() {
  for (int i = 0; i < 100; i++) {  // make a sound
    digitalWrite(buzzer, HIGH); // send high signal to buzzer
    delay(1); // delay 1ms
    digitalWrite(buzzer, LOW); // send low signal to buzzer
    delay(1);
  }
  delay(50);
  for (int j = 0; j < 100; j++) { // make another sound
    digitalWrite(buzzer, HIGH);
    delay(2); // delay 2ms
    digitalWrite(buzzer, LOW);
    delay(2);
  }
  delay(500);
}

Volume up, for sweet buzzing tone after sweet buzzing tone!
The only thing left was to execute the same code on my own board based on an ESP32 (using the same pins for data, power, and ground) fabricated and tested in Week 6 Electronics Production:
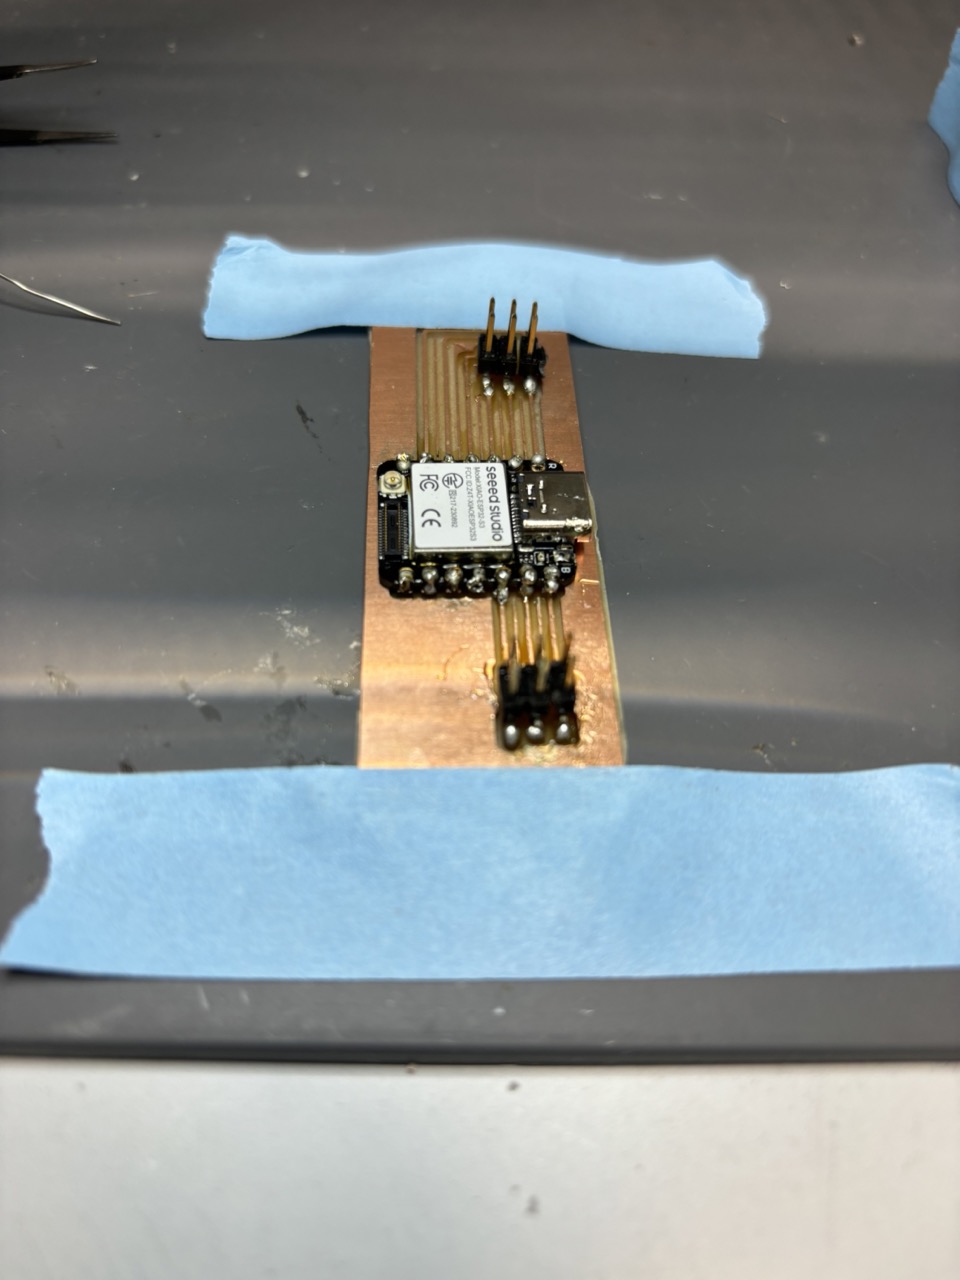 I folleded the same steps from weeks 3 and 9 to pick a new board in the IDE, test with blink code for connectivity, and upload the buzzer code:
As with week 9, I decided to not mount the buzzer on the PCB, as I was not sure about its final placement as a component in my final project, but acknowledge that a mounted and soldered component would be a cleaner option.
I acknowledge the help and support of The Harvard REEF staff in thinking through the steps required to do this assignment simply, and ChatGPT 3.5, which helped me take text and images from the native OS X text editor I used to quickly document on my Mac into simple HTML for my git repo.
Updated June 8, 2024